Introduction
When it comes to setting up a reliable and high-speed network connection, running Ethernet cables is often the go-to solution. Ethernet cables provide a stable and fast connection for devices such as computers, gaming consoles, and smart TVs, allowing for seamless data transfer and internet access.
In this guide, we will take you through the step-by-step process of running Ethernet cables in your home or office. We will cover everything from choosing the right cable and gathering the necessary tools to terminating and testing the connection. Whether you’re an IT professional or a tech-savvy individual looking to improve your network setup, this article will provide you with the knowledge and guidance you need.
Running Ethernet cables offers several advantages over relying solely on Wi-Fi connections. Ethernet provides a more stable and secure connection, especially in areas with a high amount of wireless interference. It also ensures faster data transfer speeds, making it ideal for activities that demand a high bandwidth, such as online gaming or streaming high-definition videos.
Before we dive into the details, it’s important to note that running Ethernet cables may require some physical work, such as drilling holes or climbing into crawl spaces. If you’re not comfortable with DIY projects or if you’re uncertain about the electrical and structural integrity of your space, it may be best to consult a professional.
Now, let’s get started on the journey of setting up your Ethernet network. Whether you’re connecting a single device or wiring an entire building, the following steps will guide you through the process and ensure a successful installation.
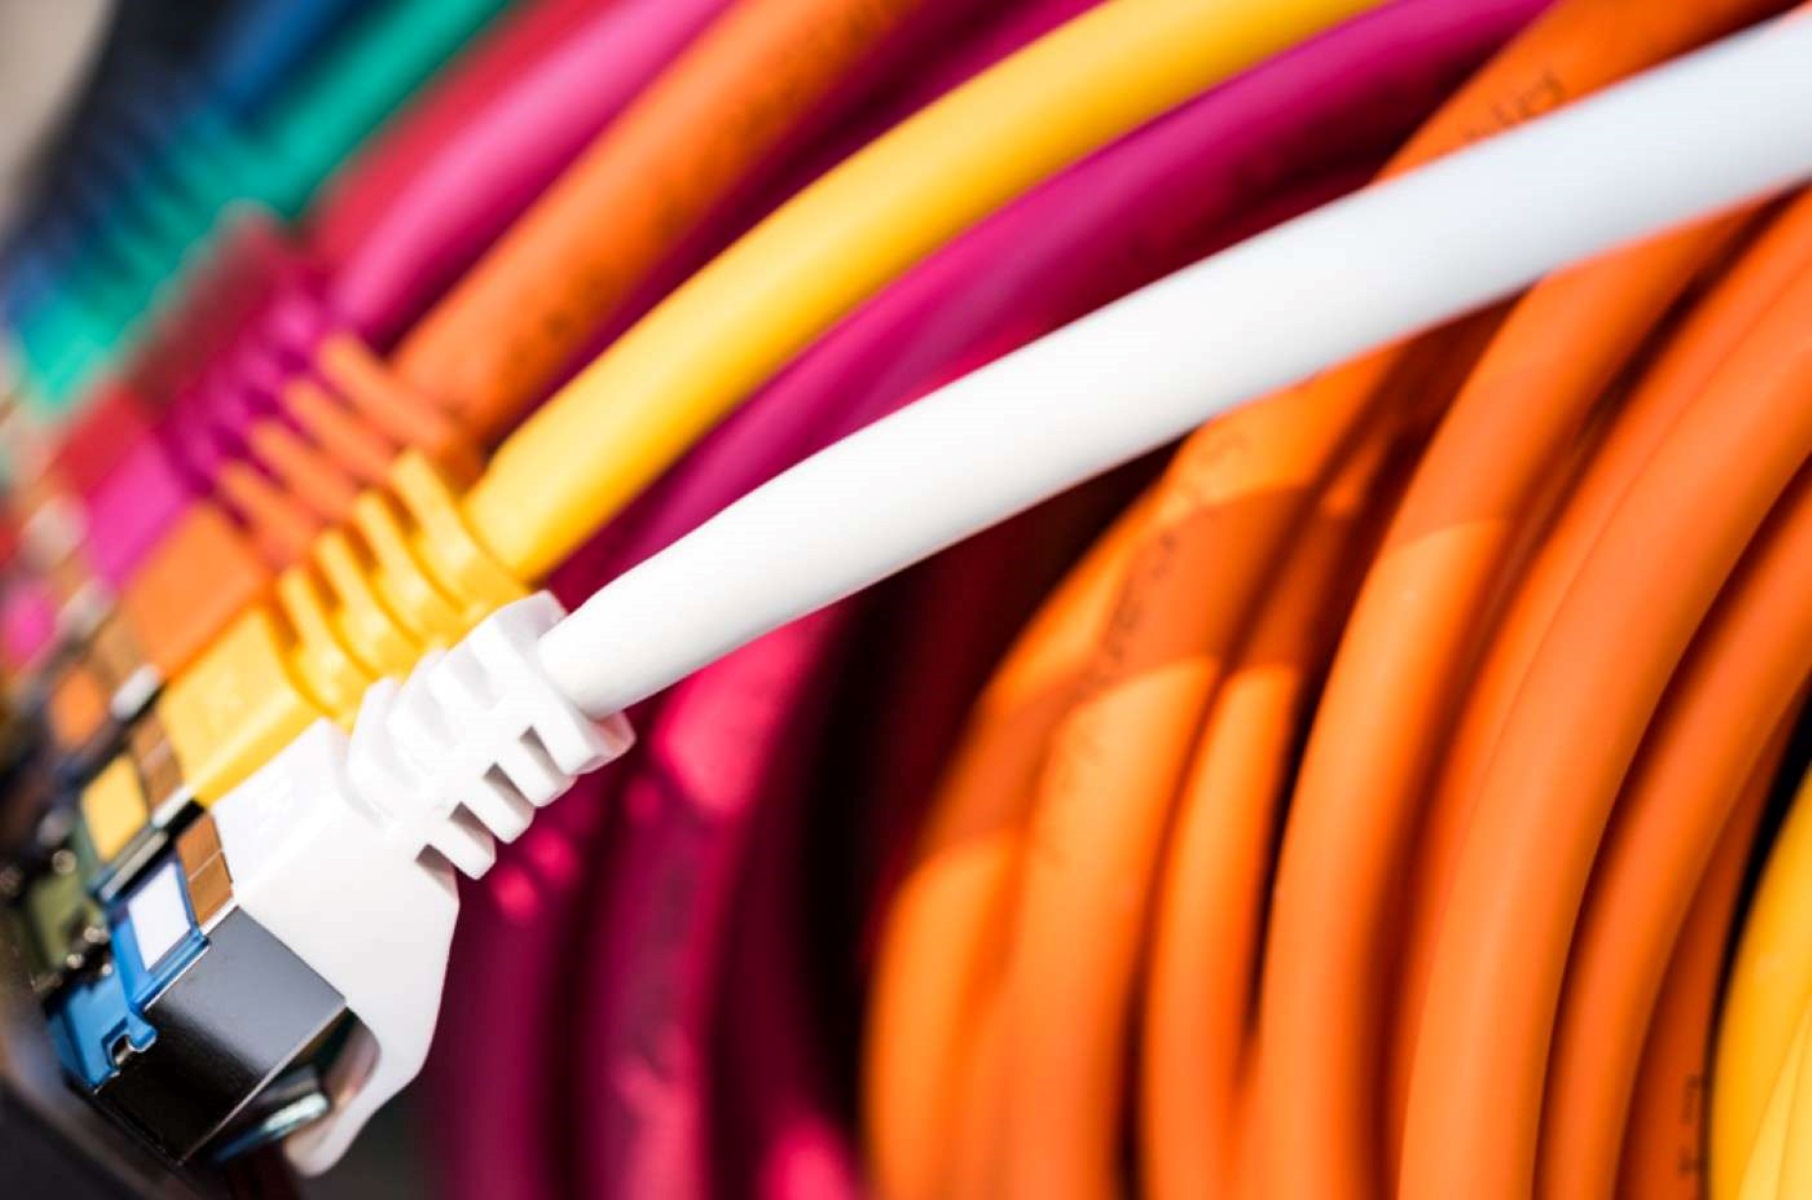
Choosing the Right Ethernet Cable
One of the first steps in running Ethernet cables is choosing the right type of cable for your needs. Ethernet cables come in different categories, with each category offering varying speeds and capabilities. Here are the most common categories you should consider:
- Cat5e: This is the most basic and widely used Ethernet cable. It supports speeds of up to 1 gigabit per second (Gbps) and is suitable for most home and small office setups.
- Cat6: With improved specifications, Cat6 cables can handle speeds of up to 10 Gbps. They are recommended for larger networks or environments where high-speed data transfer is crucial.
- Cat6a: The “a” stands for augmented, indicating improved performance and less signal degradation over longer distances. Cat6a cables can support speeds of up to 10 Gbps over 100 meters.
- Cat7: Designed for professional networking applications, Cat7 cables can handle speeds of up to 10 Gbps over 100 meters. They also provide better protection against electromagnetic interference.
When choosing an Ethernet cable, consider the maximum speed your network devices can handle. If you’re unsure, it’s generally safe to go for a higher category cable to future-proof your network.
Additionally, pay attention to the quality of the cable. Look for cables with high-quality copper conductors and good shielding to minimize signal loss and interference. Avoid purchasing cables that are excessively long, as longer cables can introduce signal degradation. It’s best to measure and purchase the appropriate length for your installation.
Finally, consider the specific requirements of your network setup. If you anticipate the need for Power over Ethernet (PoE), make sure to choose cables that support this feature. Furthermore, if you plan to run cables outdoors or in areas with extreme temperatures, opt for cables specifically designed for outdoor use or with temperature ratings that can withstand the conditions.
By choosing the right Ethernet cable for your network, you’ll ensure optimal performance and minimize potential issues in the future. Now that you’ve selected the appropriate cable, let’s move on to the next steps in running Ethernet cables.
Gathering the Necessary Tools and Equipment
Before you start running Ethernet cables, it’s important to gather all the necessary tools and equipment. Having everything prepared will make the installation process smoother and more efficient. Here’s a list of items you’ll need:
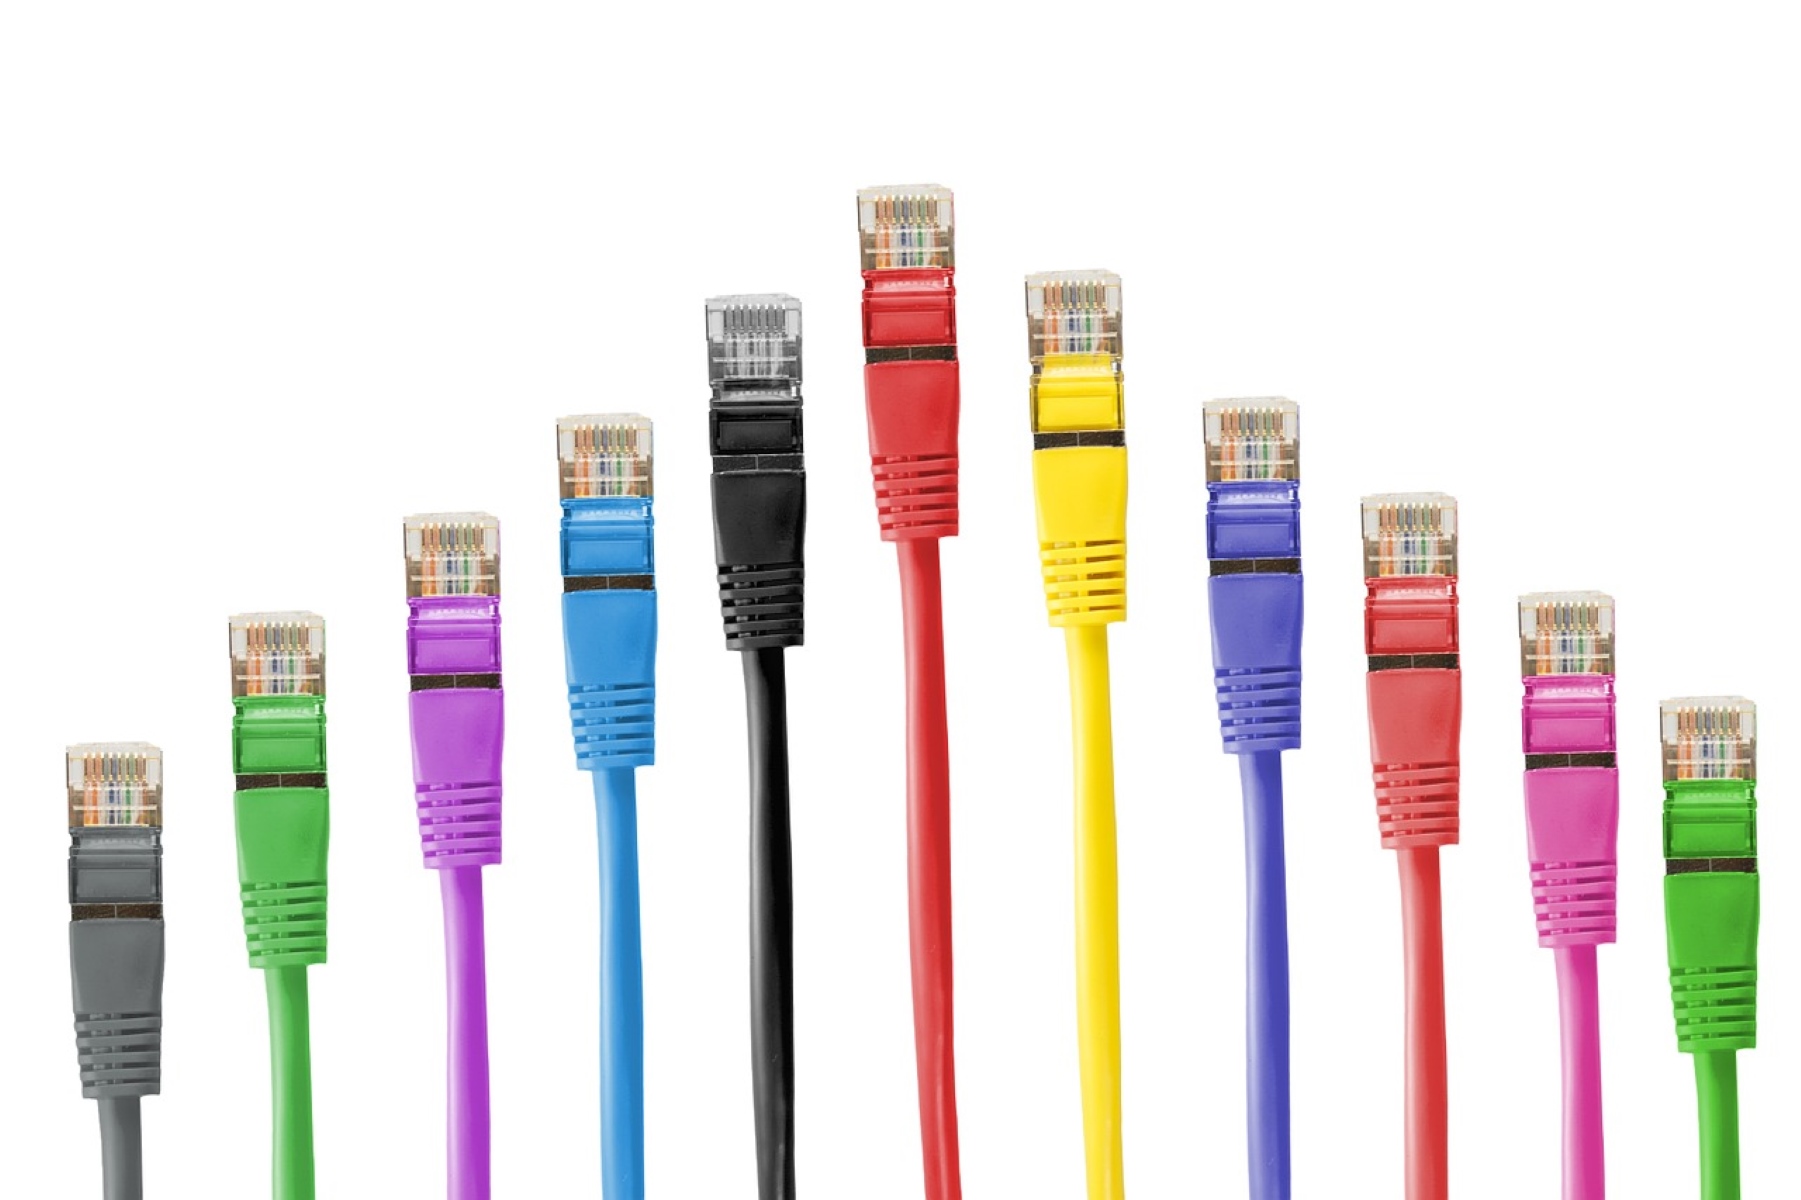
- Ethernet cables: Make sure you have enough Ethernet cables to connect all the desired devices. Measure the distances and choose cables of appropriate lengths to avoid unnecessary cable slack.
- Wire cutters/strippers: These tools will come in handy for cutting and stripping the outer insulation layer of the Ethernet cable.
- Crimp tool: If you’re planning on terminating your Ethernet cables with RJ-45 connectors, a crimp tool is essential. This tool will securely attach the connectors to the cable ends.
- Power drill: Depending on the layout of your space, you may need a power drill to create holes for routing the Ethernet cables. Ensure you have the appropriate drill bits for drilling into walls or other surfaces.
- Cable clips or cable staples: These small clips or staples are used to secure the Ethernet cables along their path, preventing them from being tripped over or becoming tangled.
- Label maker or tape: To keep things organized, consider using a label maker or tape to label both ends of the Ethernet cables, indicating the device they are connected to.
- Tape measure or measuring tape: Accurate measurements will ensure you have the correct cable lengths and help with planning the cable paths.
- Flashlight or headlamp: In case you need to work in dimly lit areas or crawl spaces, having a reliable light source will greatly assist you.
- Drywall saw or fish tape: If you encounter obstacles like walls or ceilings, you may need a drywall saw or fish tape to navigate the cables through these barriers.
- Optional: Cable tester: While not essential, a cable tester can be helpful for checking the integrity and connectivity of your Ethernet cables.
By gathering these tools and equipment before starting the installation process, you’ll be well-prepared to tackle any challenges that may arise. Now that you have everything you need, let’s move on to planning the layout of your Ethernet network.
Planning the Ethernet Layout
Before you start running Ethernet cables, it’s important to have a clear plan for the layout of your network. This involves determining the locations where you want to install Ethernet ports or connect devices, and deciding on the best path for running the cables. Here are the key steps in planning the Ethernet layout:
- Identify the desired locations: Take note of the devices that need to be connected via Ethernet. These could include computers, gaming consoles, smart TVs, or any other device that requires a stable and fast internet connection. Determine the ideal location for Ethernet ports or connections in proximity to these devices.
- Map out the cable routes: Once you know where you want the Ethernet connections to be, map out the routes for running the cables. Consider factors such as the shortest and most direct path, avoiding any potential obstacles like walls, floors, or furniture.
- Consider hardware requirements: Think about where you will install networking equipment such as routers, switches, or hubs. Plan for the cables to connect these devices to the Ethernet ports strategically.
- Choose between in-wall or surface-mounted: Decide whether you want to run the cables through the walls or along the surface. In-wall installation provides a clean and concealed look, but it may require more effort and potentially damage the walls. Surface-mounted installation is easier and more flexible but can be visually less appealing.
- Take safety precautions: When planning the layout, consider safety measures such as avoiding running cables near high traffic areas where they may be tripped over or damaged. Additionally, ensure the cables are not exposed to potential hazards like water or extreme temperatures.
Having a well-thought-out plan for the Ethernet layout will save you time and effort during the installation process. It will also ensure that your network setup is efficient and caters to your specific needs. Once you have planned the layout, it’s time to proceed with preparing the Ethernet cables before running them.
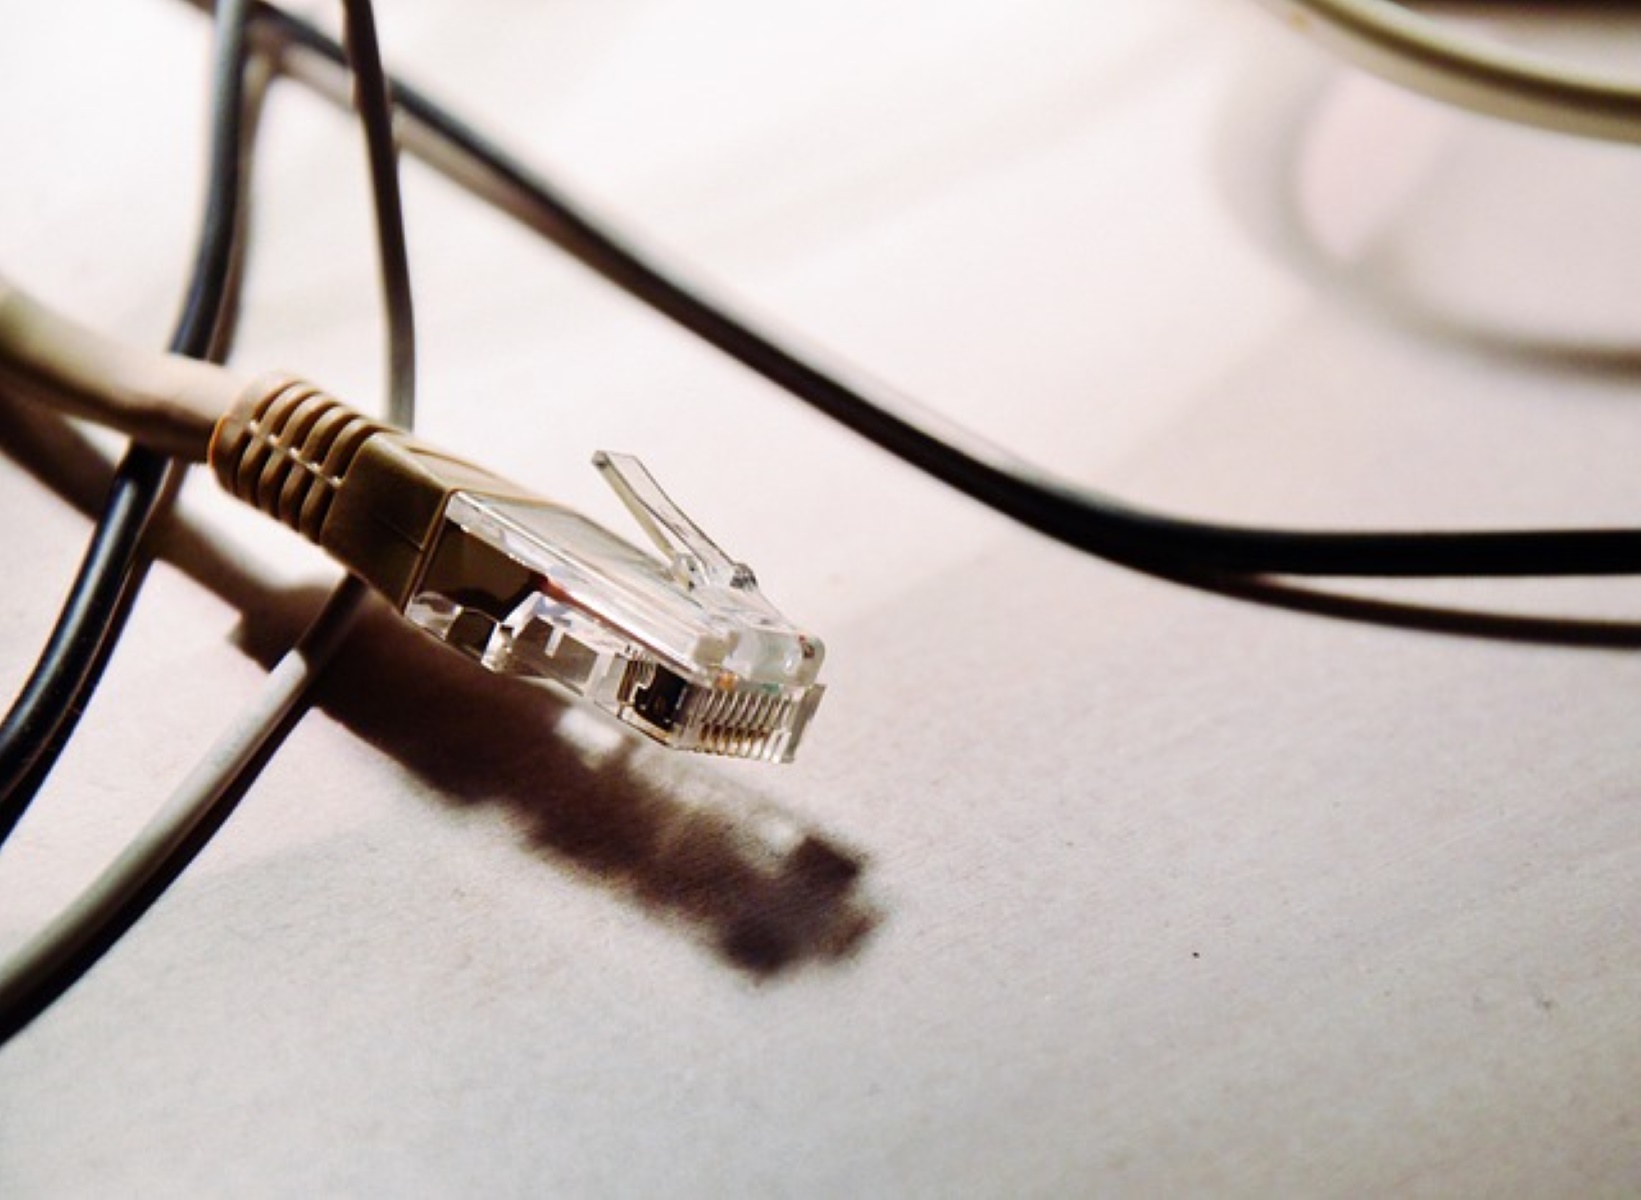
Preparing the Ethernet Cable
Before running the Ethernet cables, it’s important to properly prepare them for the installation process. This involves several steps to ensure that the cables are ready to be connected and terminated correctly. Follow these steps to prepare the Ethernet cables:
- Measure and cut the cables: Measure the required length of each cable based on your planned layout. Add extra length to account for any unexpected twists and turns. Use wire cutters to carefully cut the cables to the desired lengths.
- Remove the outer insulation: Use wire strippers to remove approximately 1-2 inches of the outer insulation at each end of the cable. Be cautious not to damage the internal wires while stripping the insulation.
- Straighten and arrange the twisted pairs: Untwist the four pairs of wires inside the cable. Arrange them in the proper order according to the Ethernet standard. The standard color order is typically: orange-white, orange, green-white, blue, blue-white, green, brown-white, brown.
- Trim the wires evenly: Once the wires are straightened and arranged, use wire cutters to trim them evenly so that they all end at the same length. This will ensure a clean and secure connection when terminating the Ethernet cable.
- Check for any damaged wires: Inspect the wires and ensure that none of them are frayed, bent, or damaged. If you notice any damaged wires, it’s best to cut off those sections and start with a fresh length of cable.
Properly preparing the Ethernet cables ensures that they are ready for termination and results in a reliable and secure connection. Once the cables are prepared, it’s time to move on to the next step: running the Ethernet cables through your chosen routes.
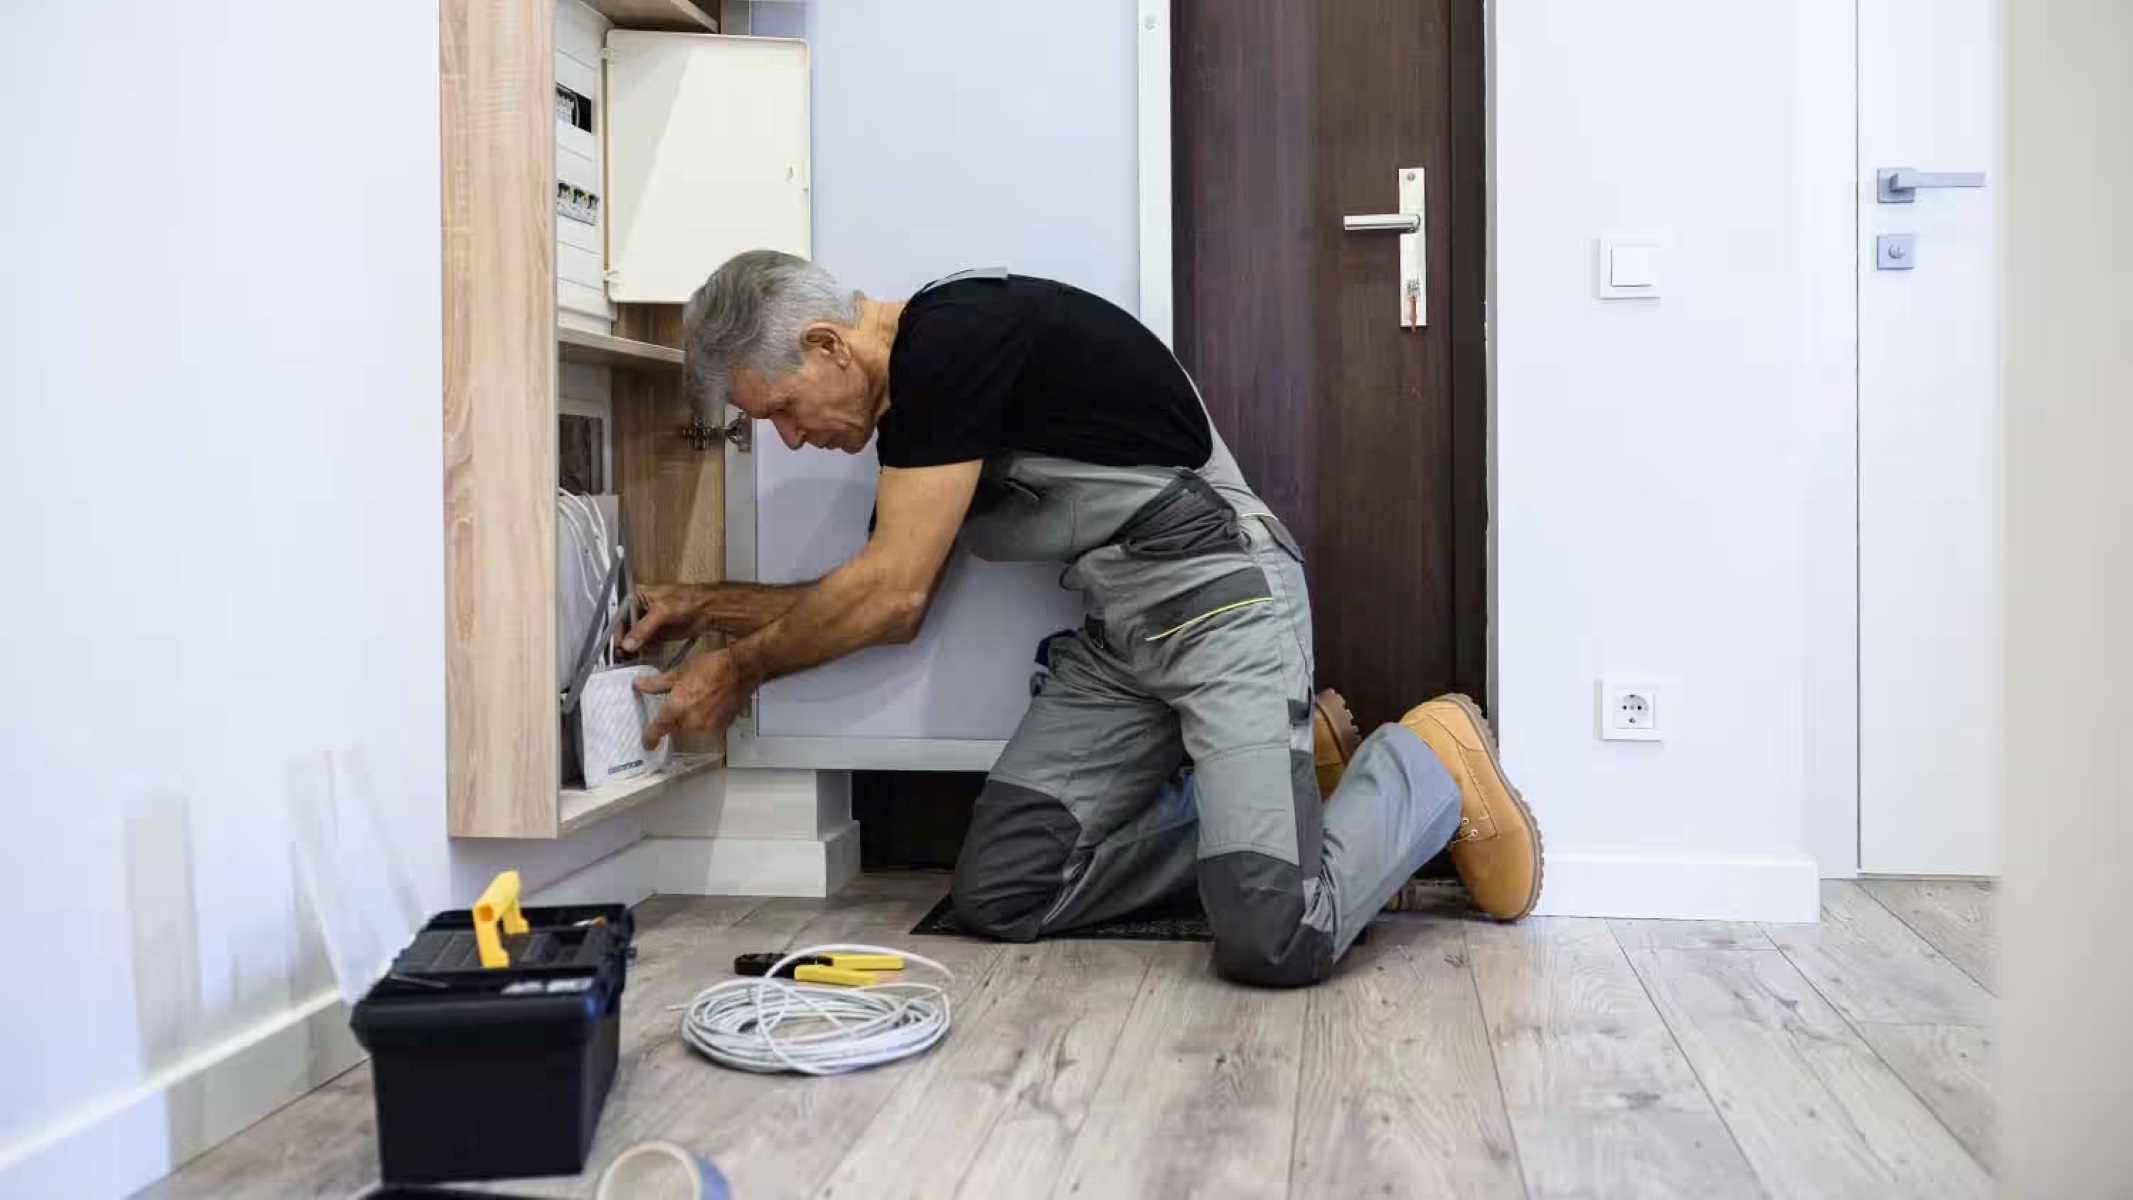
Running the Ethernet Cable
Now that you have prepared the Ethernet cables, it’s time to run them through the designated routes in your network setup. Follow these steps to properly run the Ethernet cables:
- Start at the network equipment: Begin running the Ethernet cable from the location of your network equipment, such as your router or switch. Leave enough slack to comfortably connect the cable to the equipment.
- Secure the cable: Use cable clips or staples to secure the Ethernet cable along its path. This helps to prevent tripping hazards and keeps the cable neatly organized.
- Avoid electrical interference: Keep the Ethernet cable away from any sources of electrical interference, such as power cables or electrical equipment. This will help ensure a stable and uninterrupted network connection.
- Navigate obstacles: If you encounter obstacles like walls or floors, use tools like a drywall saw or fish tape to create holes or find existing pathways to route the cable. Take care to avoid any potential structural damage or hazards.
- Use cable management techniques: As you run the Ethernet cable, use cable management techniques to keep the cables organized and visually appealing. This includes using cable ties to bundle multiple cables together and keeping a consistent and tidy layout.
- Test connectivity: Periodically test the connectivity of the Ethernet cable as you run it. This will help identify any issues or interruptions in the signal and allow you to rectify them before completing the installation.
Remember to refer to your layout plan to ensure that the Ethernet cable is being run along the desired path. Take your time and be mindful of any potential obstacles or challenges you may encounter. Once you have successfully run the Ethernet cable to its intended destination, the next step is to terminate and test the Ethernet connection.
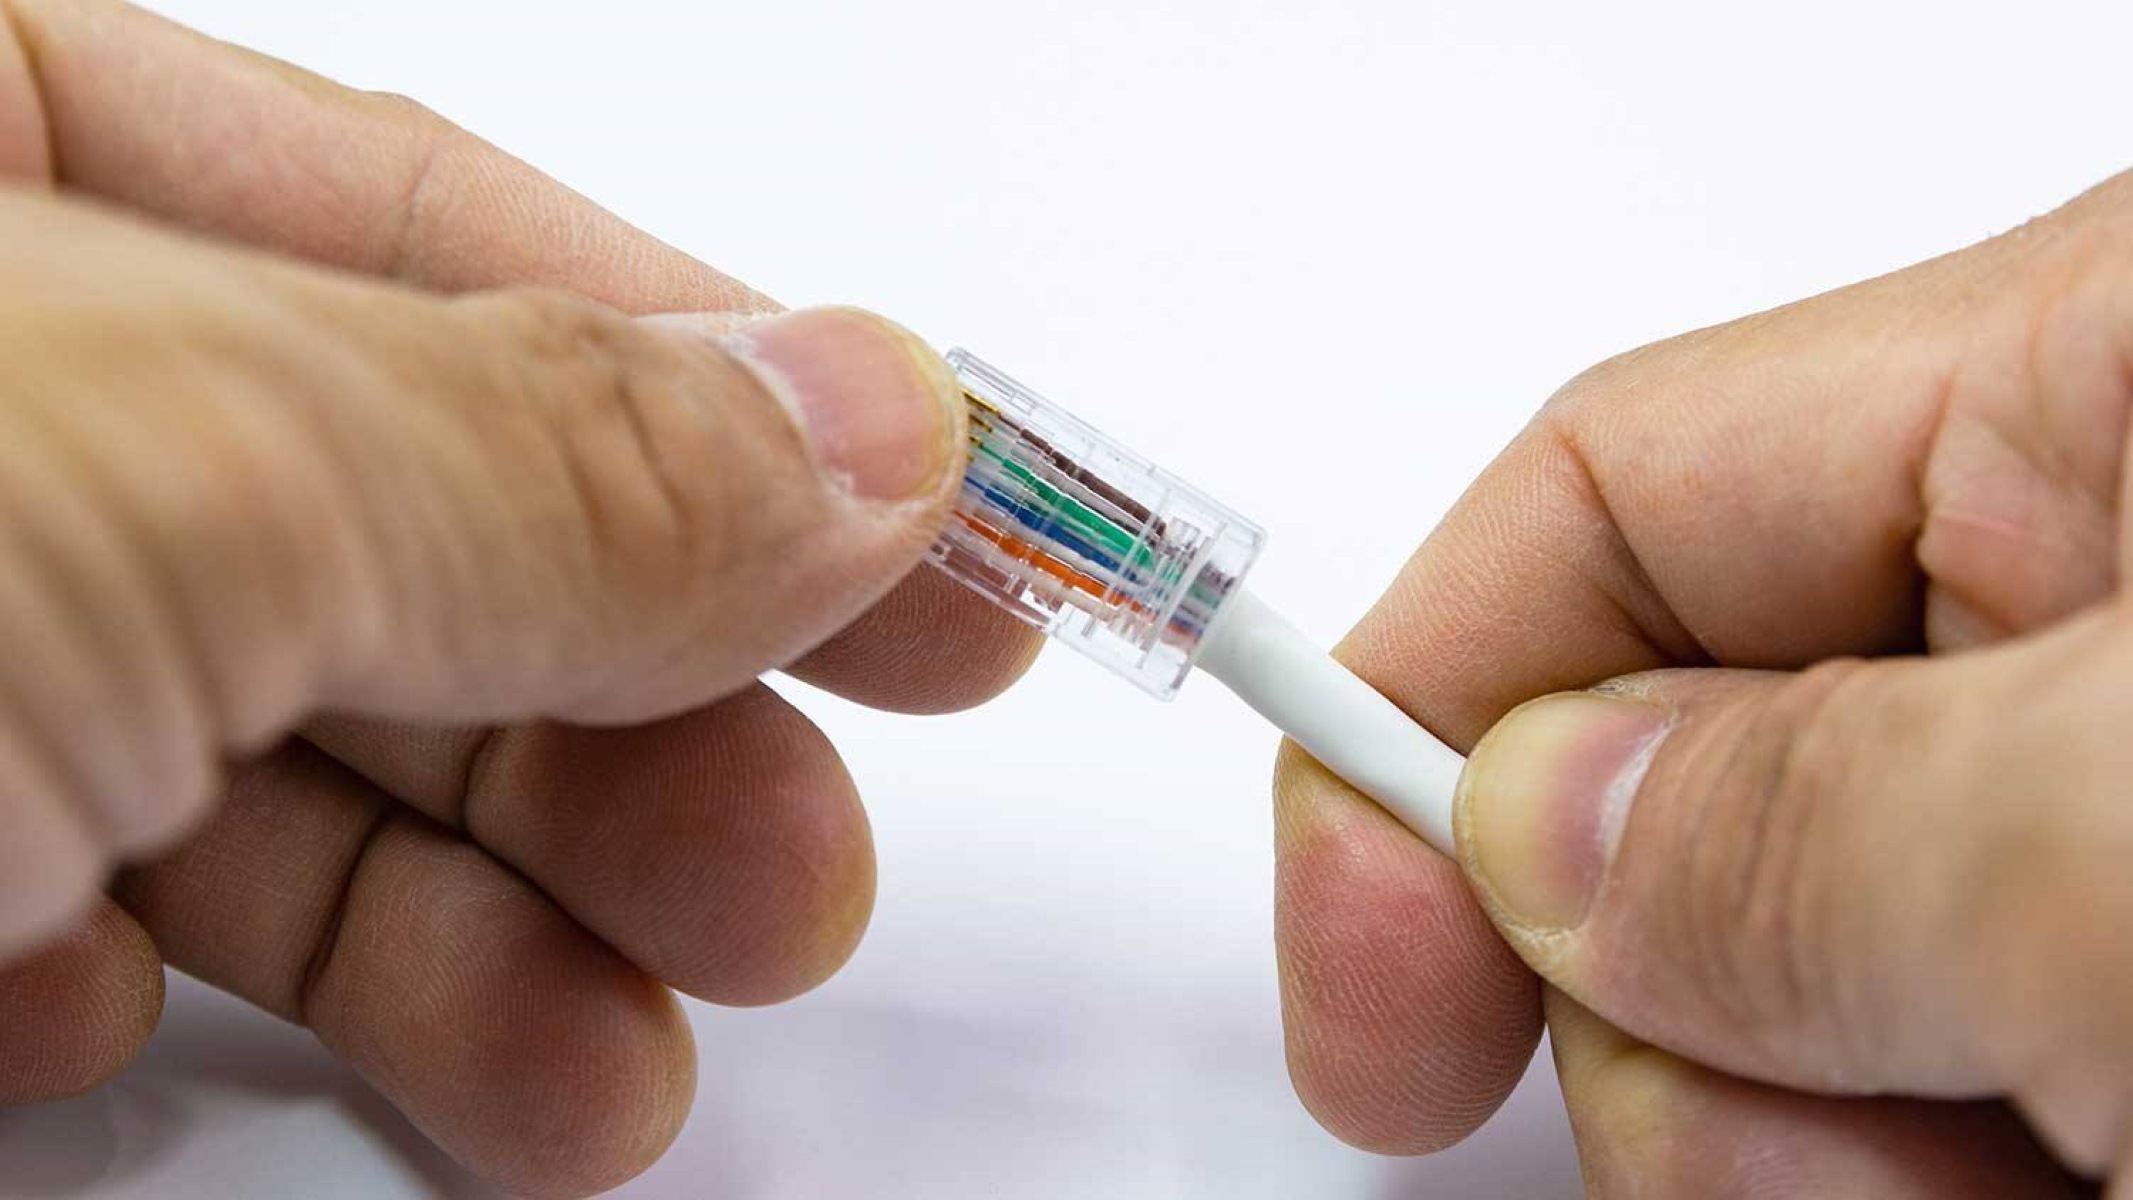
Terminating and Testing the Ethernet Connection
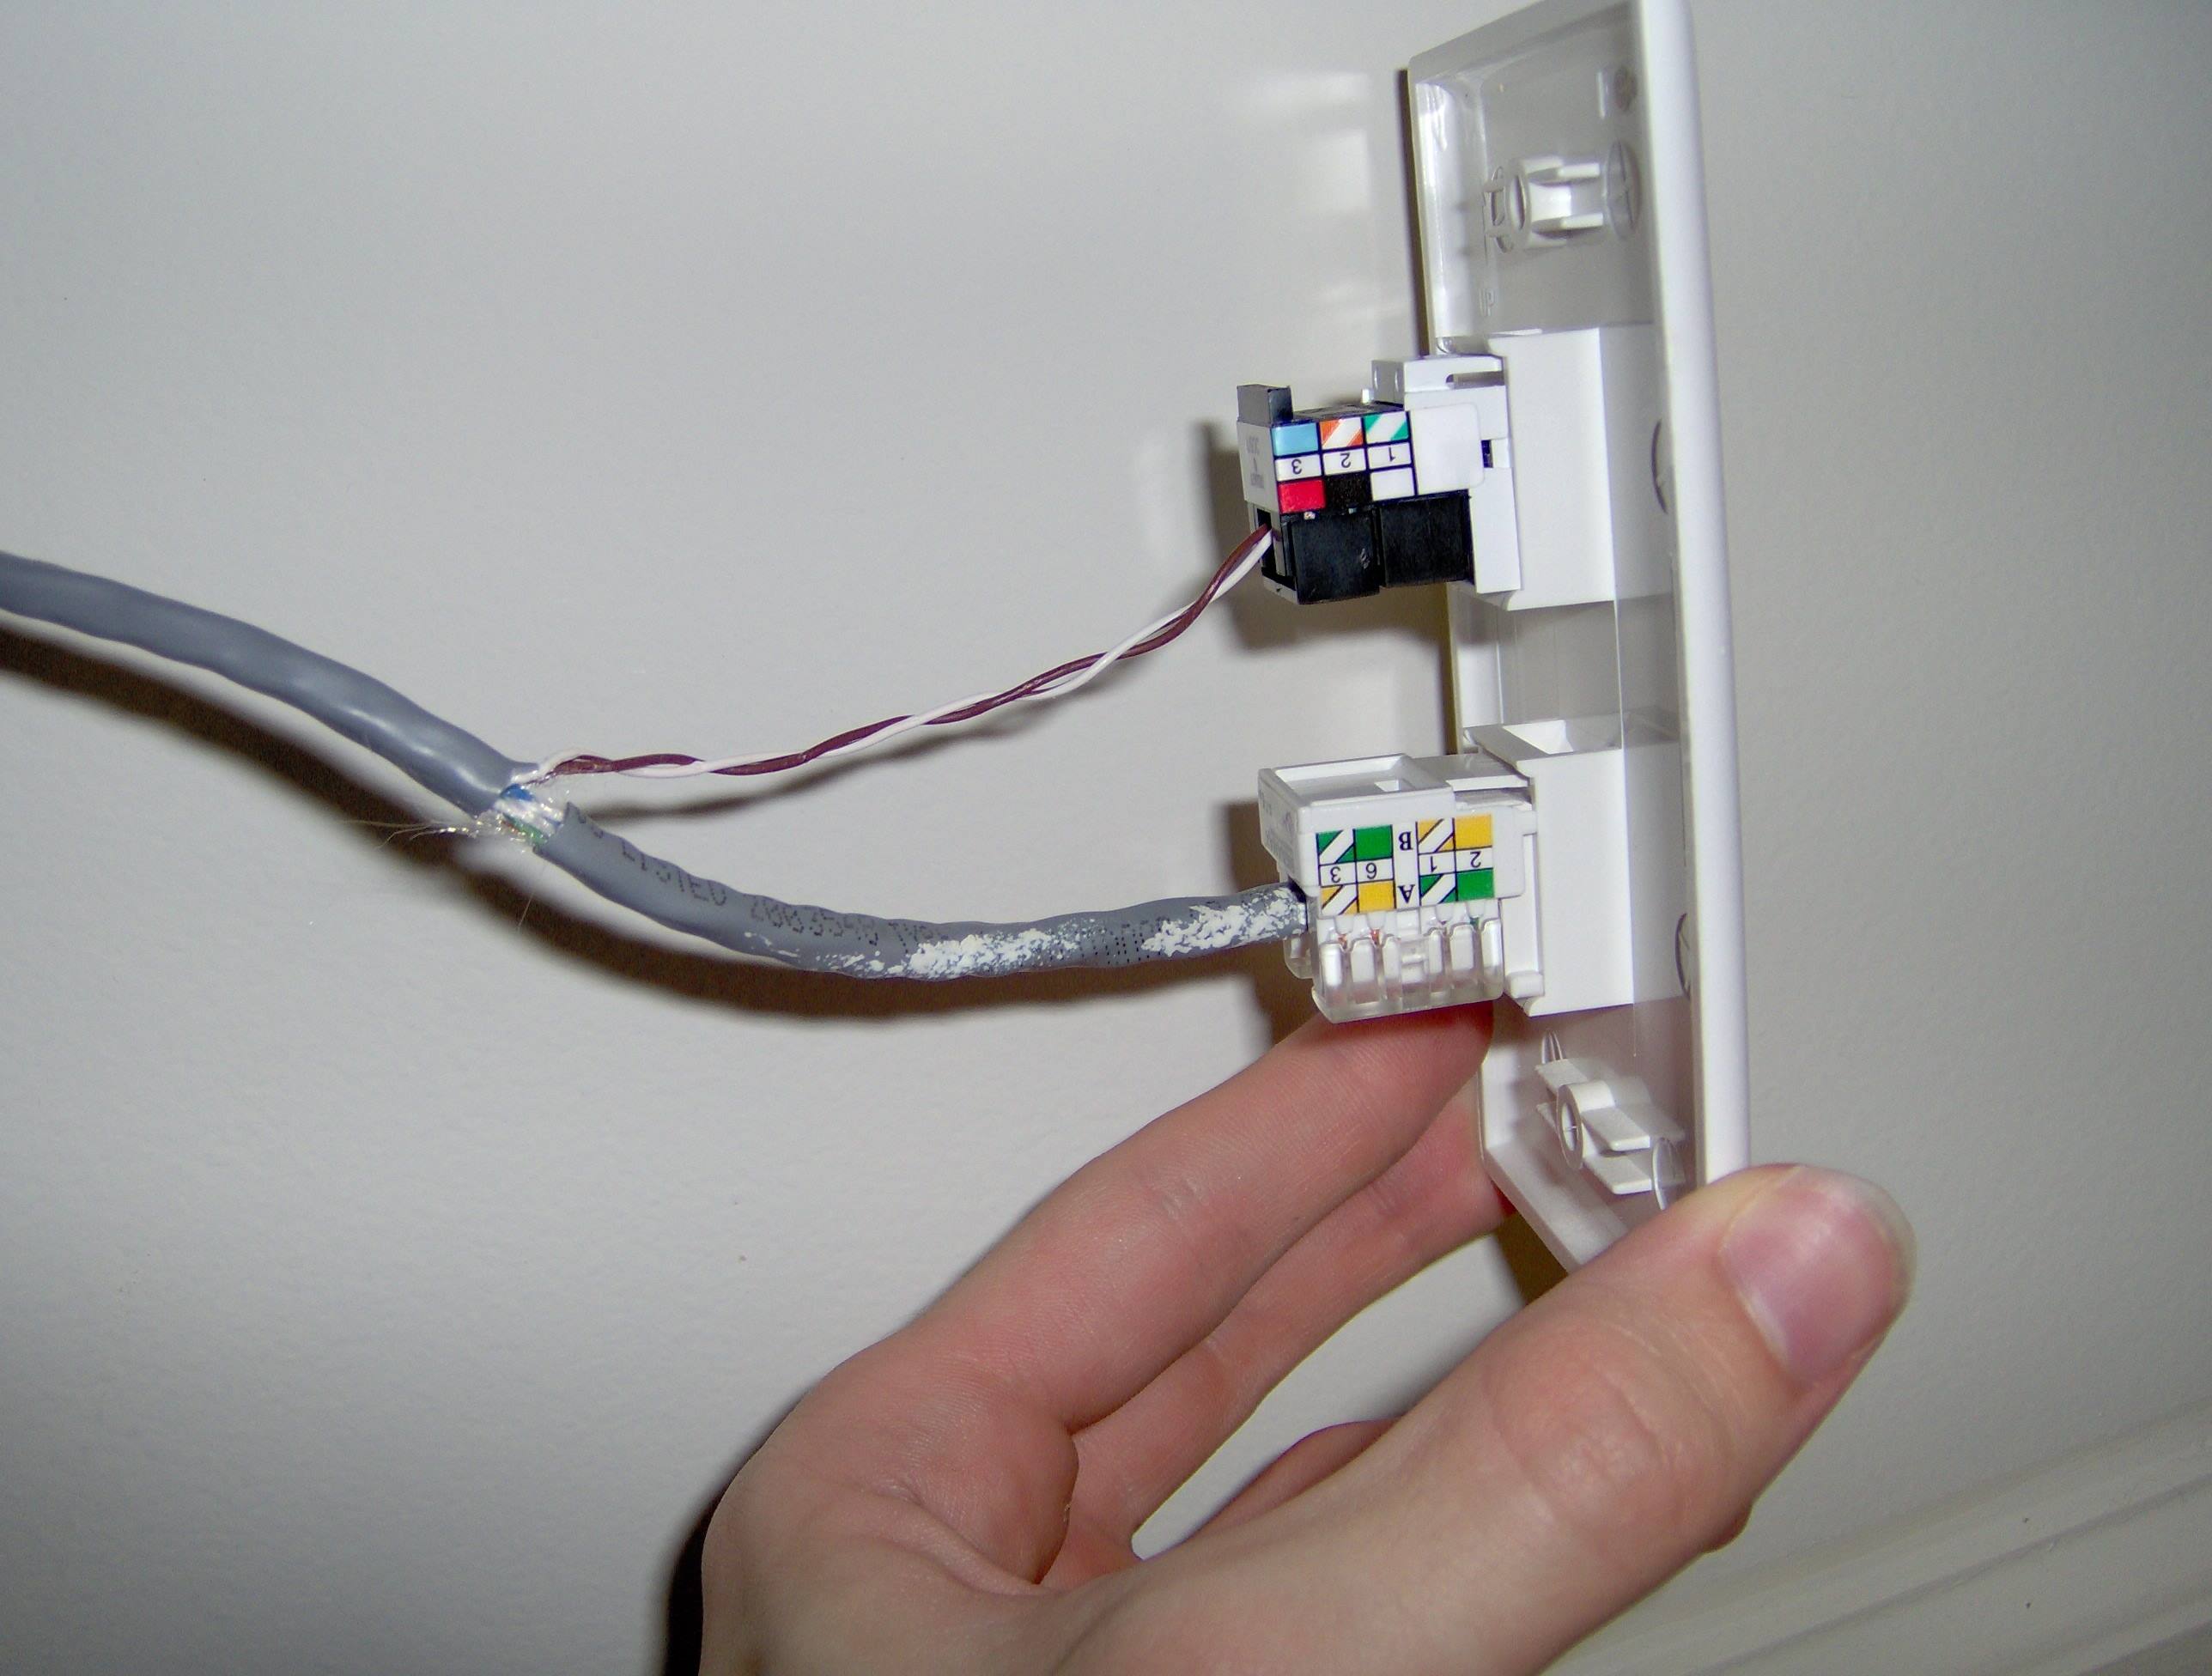
Once the Ethernet cable is correctly run to its destination, the next step is to terminate and test the connection. Follow these steps to properly terminate and test the Ethernet connection:
- Strip the cable ends: Using the wire strippers, carefully remove approximately 1.5 cm (about 0.6 inches) of the outer insulation from each end of the Ethernet cable. Make sure not to severe or damage the internal wires.
- Arrange the wires in the correct order: Arrange the internal wires of the Ethernet cable in the correct order according to the corresponding color scheme. The most common arrangement is: orange-white, orange, green-white, blue, blue-white, green, brown-white, brown.
- Trim and straighten the wires: Use wire cutters to trim any excess length of the wires, ensuring they are even and straight. This will help provide a clean and proper connection.
- Attach the RJ-45 connectors: Insert the arranged wires into the RJ-45 connectors, making sure that the wires are pushed all the way to the end of the connectors. Use a crimping tool to securely attach the connectors to the cable ends.
- Repeat for each cable end: Repeat the termination process for the other end of the Ethernet cable, ensuring that both ends are terminated correctly.
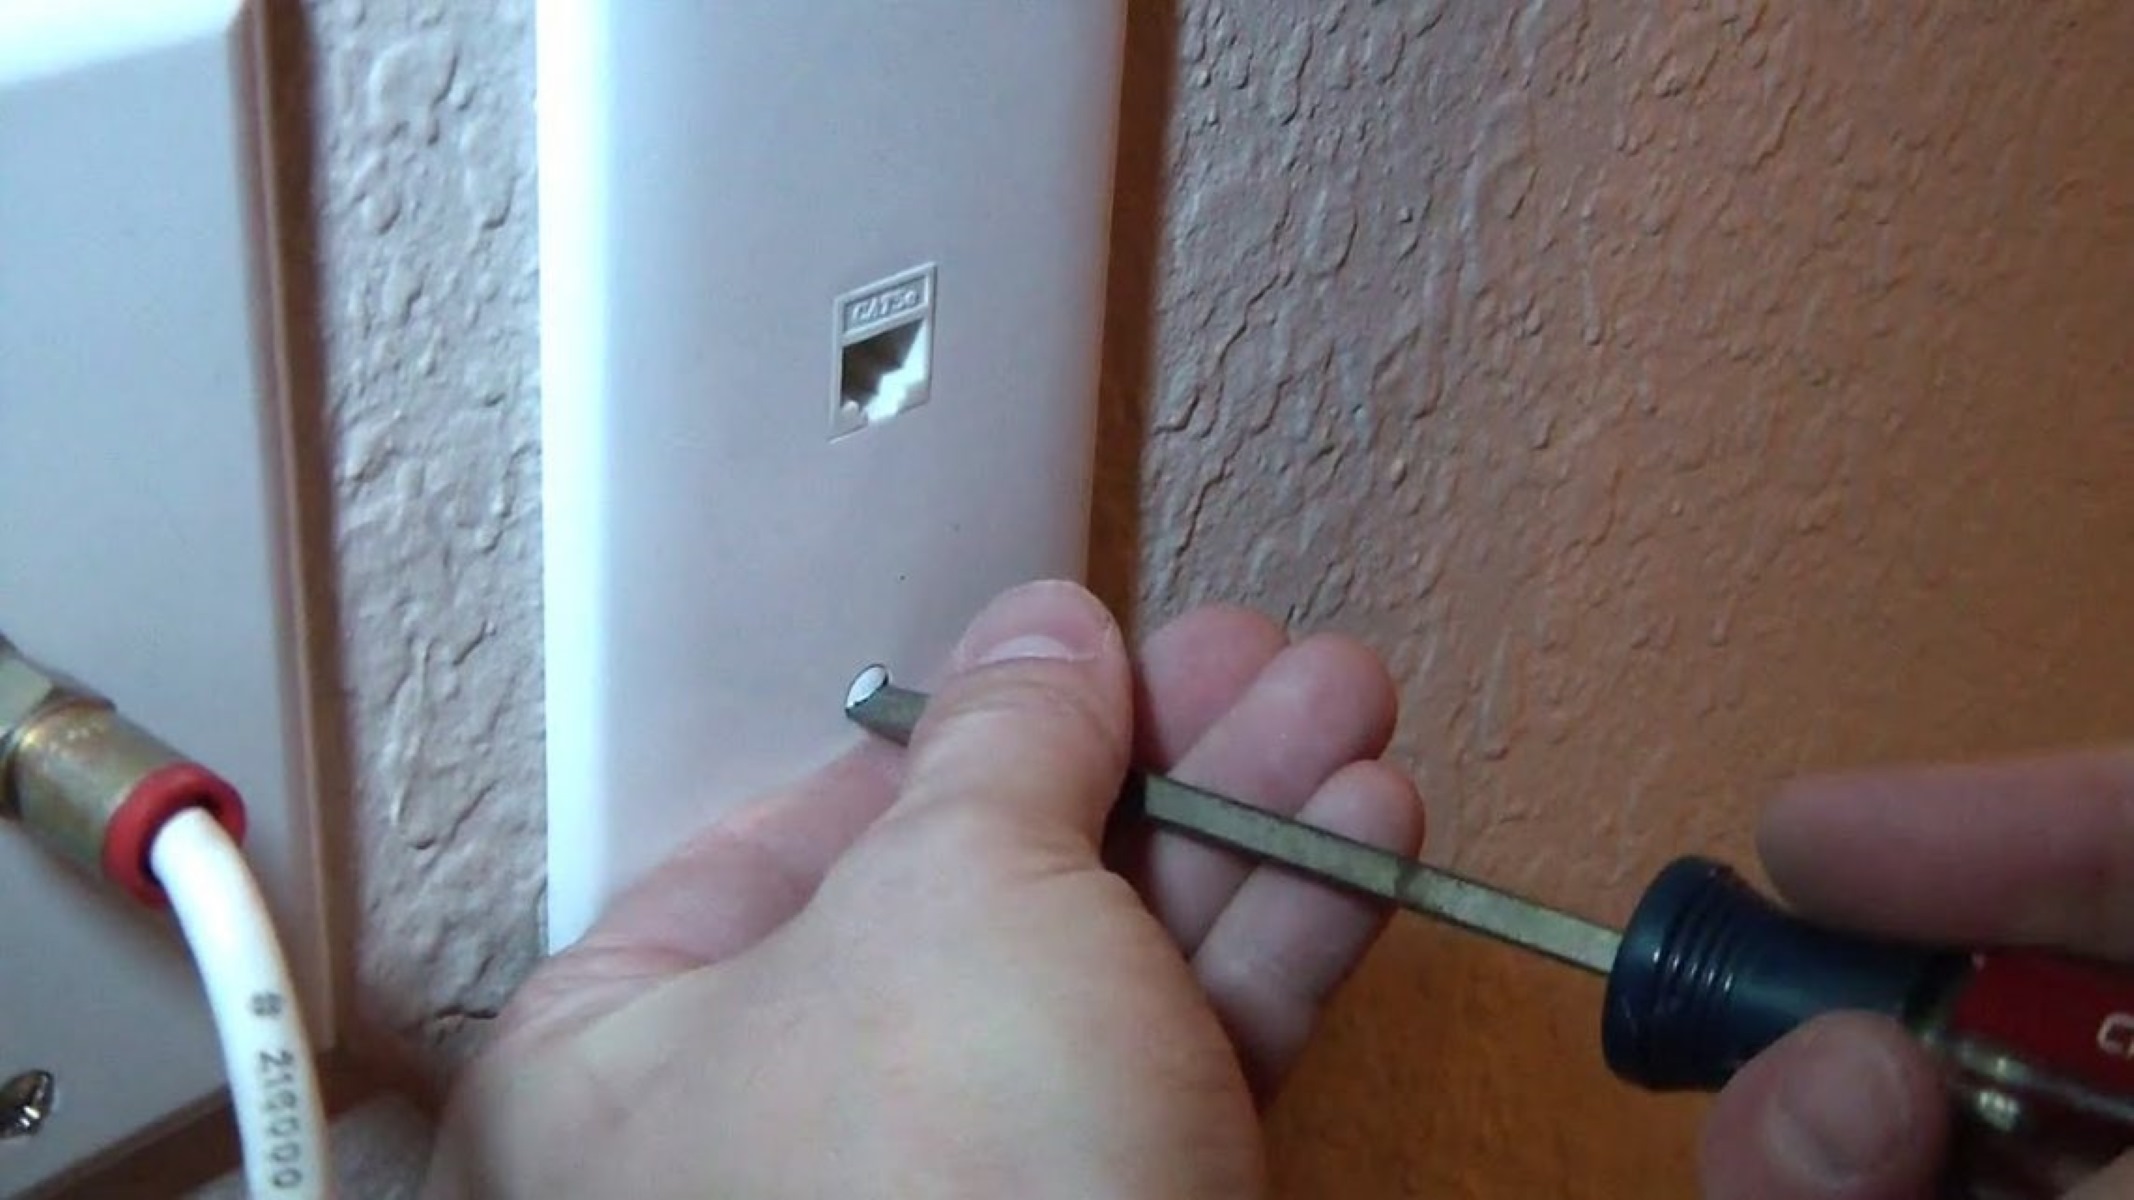
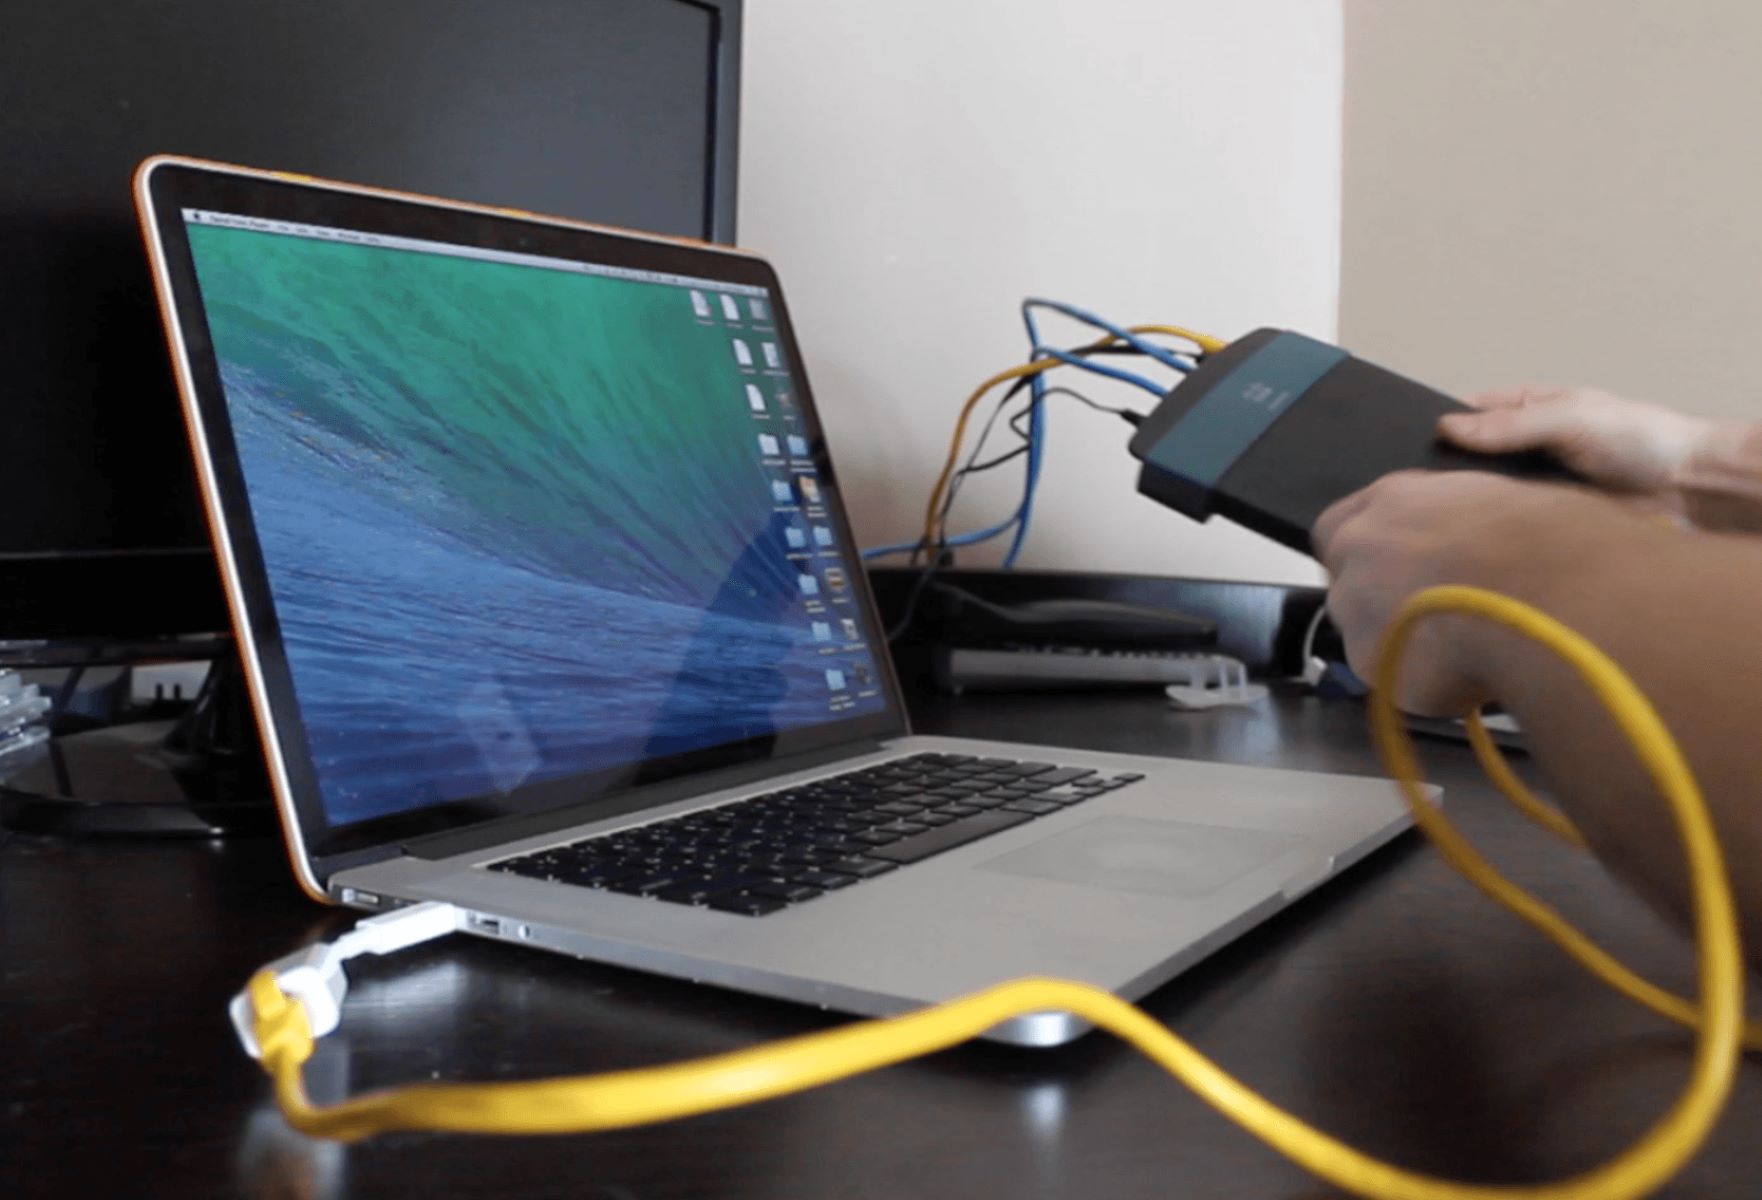
- Test the connection: Use a cable tester or a network testing device to check the connectivity and integrity of the Ethernet cable. Plug one end of the cable into the testing device and the other end into the intended device or port. The tester will indicate if there are any issues, such as faulty connections or shorts in the cable.
- Ensure proper network settings: Once the connection is tested and confirmed, ensure that the network settings of the connected devices are configured correctly. Assign the appropriate IP addresses and ensure that the devices are set to use the Ethernet connection.
Terminating and testing the Ethernet connection is a crucial step to ensure a reliable and functioning network. By properly terminating the cables and conducting thorough testing, you can identify and resolve any issues before the final deployment of your Ethernet network.
Troubleshooting Ethernet Issues
Despite careful planning and execution, Ethernet connectivity issues can still arise. It’s important to be prepared to troubleshoot and resolve these issues to ensure a reliable network connection. Here are some common troubleshooting steps for Ethernet issues:
- Check physical connections: Verify that all Ethernet cables are securely plugged into their respective ports. Ensure that the connectors are fully inserted and properly seated. Sometimes a loose connection can cause intermittent or no connectivity.
- Test with a different cable: If you suspect a problem with a specific Ethernet cable, try replacing it with a known working cable. This will help determine if the cable itself is faulty or if there are other underlying issues.
- Restart network equipment: Power cycle your network equipment, including the router, switches, and any other devices involved in the network connection. This can clear any temporary glitches and restore proper connectivity.
- Check for IP conflicts: Ensure that there are no IP address conflicts on your network. Two devices with the same IP address can cause a disruption in the Ethernet connection. Use network diagnostics tools to check and resolve any conflicts.
- Update drivers and firmware: Make sure that the network drivers on your devices are up to date. Outdated or incompatible drivers can lead to Ethernet connectivity issues. Additionally, check for firmware updates for your network equipment and install them if available.
- Disable firewalls or security software: In some cases, overzealous firewall or security settings can interfere with network connections. Temporarily disable any firewalls or security software and check if the Ethernet connection works properly.
- Reset network settings: Resetting network settings on your devices can help resolve any configuration issues that may be causing Ethernet connectivity problems. Resetting network settings will revert them back to default and can often fix network-related issues.
- Consult technical support: If you have tried all the above steps and are still experiencing Ethernet connectivity issues, it may be time to consult technical support. Reach out to your internet service provider or network equipment manufacturer for assistance in troubleshooting and resolving the issue.
By following these troubleshooting steps, you can identify and resolve Ethernet issues effectively. Remember to be patient and methodical in your approach, as sometimes the solution may be simpler than expected. With persistence and proper troubleshooting techniques, you can ensure a stable and reliable Ethernet connection for your network.
Conclusion
Running Ethernet cables is a practical and effective way to establish a reliable and high-speed network connection. By following the steps outlined in this guide, you can successfully set up an Ethernet network in your home or office. From choosing the right Ethernet cable to terminating and testing the connection, each step plays a crucial role in ensuring a smooth and efficient installation.
Careful planning and preparation, such as selecting the appropriate Ethernet cable and gathering the necessary tools, are essential for a successful installation. It’s important to consider factors such as the network layout, potential obstacles, and safety precautions while running the Ethernet cables along the designated path.
Terminating the Ethernet cables correctly and testing the connection using cable testers or network testing devices is crucial to ensure a reliable and stable network connection. Troubleshooting Ethernet issues may be necessary at times, but with proper troubleshooting techniques and patience, you can quickly identify and resolve connectivity problems.
By implementing these steps and taking the time to set up your Ethernet network properly, you’ll enjoy the benefits of a fast, secure, and stable network connection for your devices. Whether for gaming, streaming, or office work, Ethernet provides a solid foundation for all your network needs. So, get started today and enjoy a seamless and high-performance network experience.