Importance of Proper Ethernet Cable Installation
Properly installing an Ethernet cable in your home or office is essential for establishing a reliable network connection. Whether you are setting up a new network or upgrading an existing one, taking the time to install the cable correctly can save you from future connectivity issues and ensure optimal performance. Here are a few reasons why proper Ethernet cable installation is crucial:
- Stable and Reliable Connection: A well-installed Ethernet cable provides a stable and reliable connection compared to a wireless network. This is especially important for high-bandwidth applications like online gaming, streaming, or large file transfers.
- Maximum Data Transfer Rates: Ethernet cables are capable of transmitting data at higher speeds than Wi-Fi connections. By following proper installation techniques, you can ensure that the cable delivers the maximum data transfer rates supported by your network.
- Reduced Interference: Properly installing Ethernet cables helps minimize external interference, such as electromagnetic interference (EMI) or radio frequency interference (RFI). This interference can degrade the network signal quality, leading to reduced network speed and performance.
- Future-Proofing Your Network: By installing Ethernet cables according to industry standards, you can future-proof your network infrastructure. This allows for easy scalability and adaptability to new technologies, ensuring your network remains efficient and compatible with evolving networking standards.
- Improved Security: Wired networks offer better security compared to wireless networks, as they are not susceptible to unauthorized access or signal interception. Proper Ethernet cable installation ensures that your network transmissions are secure and protected from potential hackers.
- Lower Latency: Ethernet cables provide lower latency compared to wireless connections, making them ideal for real-time applications such as online gaming and video conferencing. Proper installation helps maintain consistent and minimal latency for a seamless user experience.
By understanding the importance of proper Ethernet cable installation, you can ensure a reliable and high-performance network that meets your requirements. Next, we will discuss the tools and materials you will need for this installation process.
Tools and Materials You Will Need
Before you start the Ethernet cable installation process, it’s important to gather the necessary tools and materials. Having everything prepared will make the installation smoother and more efficient. Here is a list of the tools and materials you will need:
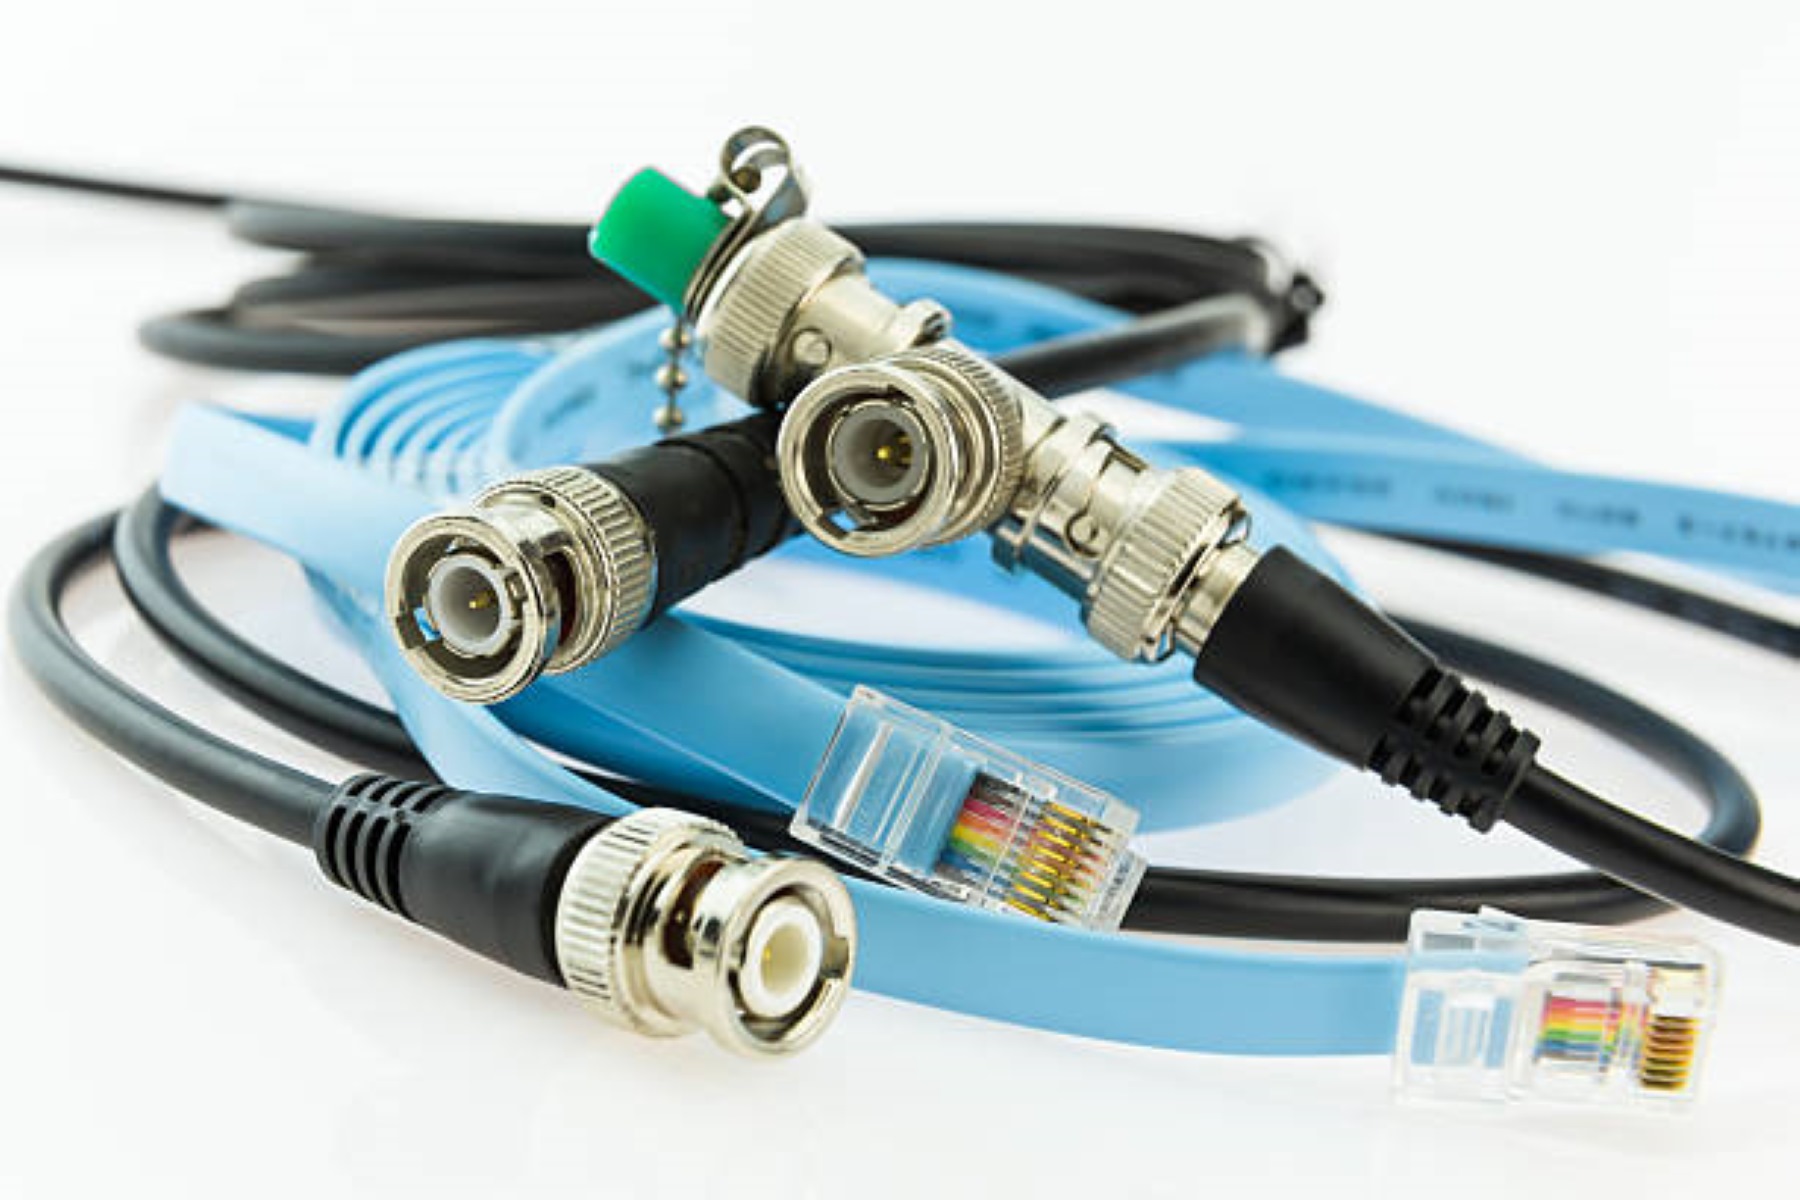
- Ethernet Cable: Choose a high-quality Ethernet cable that matches the speed requirements of your network, such as Cat5e, Cat6, or Cat6a.
- Measuring Tape or Ruler: Use a measuring tape or ruler to accurately measure the distance between the devices you want to connect with the Ethernet cable.
- Painter’s Tape: Painter’s tape will be useful for marking the wall and guiding the cable installation process.
- Stud Finder: A stud finder can help you locate the wooden studs behind the wall, which will provide stability and support when attaching the Ethernet cable.
- Power Drill: You’ll need a power drill to create the necessary holes in the wall for the cable installation.
- Drill Bits: Use appropriate drill bits for the type of wall you are working on, such as wood, drywall, or brick.
- Fish Tape or Wire Coat Hanger: A fish tape or wire coat hanger can be used to guide the Ethernet cable through the drilled holes in the wall.
- Cable Clips or Cable Staples: These clips or staples will help secure the Ethernet cable along the desired path, keeping it neatly organized and protected.
- Cable Tester: A cable tester is optional but can be helpful for checking the integrity and connectivity of the Ethernet cable once it’s installed.
- Label Maker or Labels: Use a label maker or adhesive labels to identify the cables and make troubleshooting easier in the future.
- Screwdriver or Screwdriver Bit: Depending on the type of fasteners or wall plates you use, you may need a screwdriver or screwdriver bit for installation.
By gathering these tools and materials beforehand, you’ll be well-prepared for a successful Ethernet cable installation. Next, we will discuss the step-by-step process of planning and marking the wall before drilling the holes.
Step 1: Planning and Marking the Wall
Before you start drilling holes for your Ethernet cable, it’s important to plan and mark the wall to ensure a smooth installation process. Here’s a step-by-step guide:
1. Determine the Path: Decide on the path the Ethernet cable will take from the source device to the destination device. Consider the shortest and most direct route, avoiding obstacles and potential hazards.
2. Measure the Cable Length: Measure the distance between the source and destination devices to determine the required length of the Ethernet cable. It’s always a good idea to add a few extra feet to account for any unexpected twists or turns.
3. Locate the Studs: Use a stud finder to locate the wooden studs in the wall along the chosen path. Mark the stud locations using painter’s tape. This step is crucial for securing the Ethernet cable later on.
4. Plan for Wall Plates: If you plan to use wall plates to conceal the cable connections, determine the desired locations for the plates. Mark these locations on the wall using painter’s tape for easy reference.
5. Plan for Electrical Outlets and Other Obstacles: Take note of any electrical outlets, light switches, or other obstacles along the path. Adjust the cable route accordingly to avoid interference or potential damage to the cable.
6. Confirm Clearance: Ensure that there is enough clearance behind the wall to accommodate the cable and any necessary connectors or wall plates. Check for any obstructions such as insulation or wiring that may impede the cable installation.
7. Double-Check and Adjust: Before proceeding with the drilling, double-check your markings and ensure that the planned cable path is feasible and meets your requirements. Make any necessary adjustments before moving forward.
Properly planning and marking the wall before drilling the holes will help streamline the installation process and minimize errors or complications. Once you’re confident in your markings, you’re ready to move on to the next step: drilling the holes for the Ethernet cable.
Step 2: Drilling Holes for the Cable
Once you have planned and marked the wall for your Ethernet cable installation, the next step is to drill the necessary holes. Properly drilling the holes ensures a clean and organized cable path. Here’s how to do it:
1. Gather the Required Tools: Make sure you have your power drill and the appropriate drill bit for the type of wall you are working on. For drywall, a standard drill bit will suffice, while masonry walls may require a masonry drill bit.
2. Put on Safety Gear: Wear safety goggles to protect your eyes from any debris that may be generated during the drilling process. Additionally, if you are working on a particularly dusty wall, consider wearing a dust mask.
3. Start Drilling: Position the drill bit on the first marked spot for the hole. Apply gentle pressure and begin drilling. Remember to keep the drill perpendicular to the wall for a straight hole. Drill at a slow, steady pace to avoid damaging the wall or causing excessive vibrations.
4. Check Depth and Wall Material: Periodically check the depth of the hole as you drill to ensure that it accommodates the cable and any connectors or wall plates. If you encounter any resistance, it may indicate a different wall material or an obstruction that requires adjusting the drilling technique or location.
5. Repeat the Process: Continue drilling holes at the marked locations along the planned cable path. Take care to maintain consistent spacing between the holes, ensuring a neat and organized appearance. Check the depth of each hole as you go to ensure uniformity.
6. Clean Up Debris: Once you have drilled all the necessary holes, clean up any debris or dust from the drilling process. Use a vacuum cleaner or a soft brush to remove any loose particles.
7. Inspect the Holes: After cleaning, inspect the drilled holes to ensure they are free from any obstructions or excess debris. This will make it easier to feed the Ethernet cable through the wall during the installation process.
By following these steps, you’ll be well on your way to drilling clean and precise holes for your Ethernet cable installation. In the next step, we will discuss how to properly prepare the Ethernet cable for attachment to the wall.
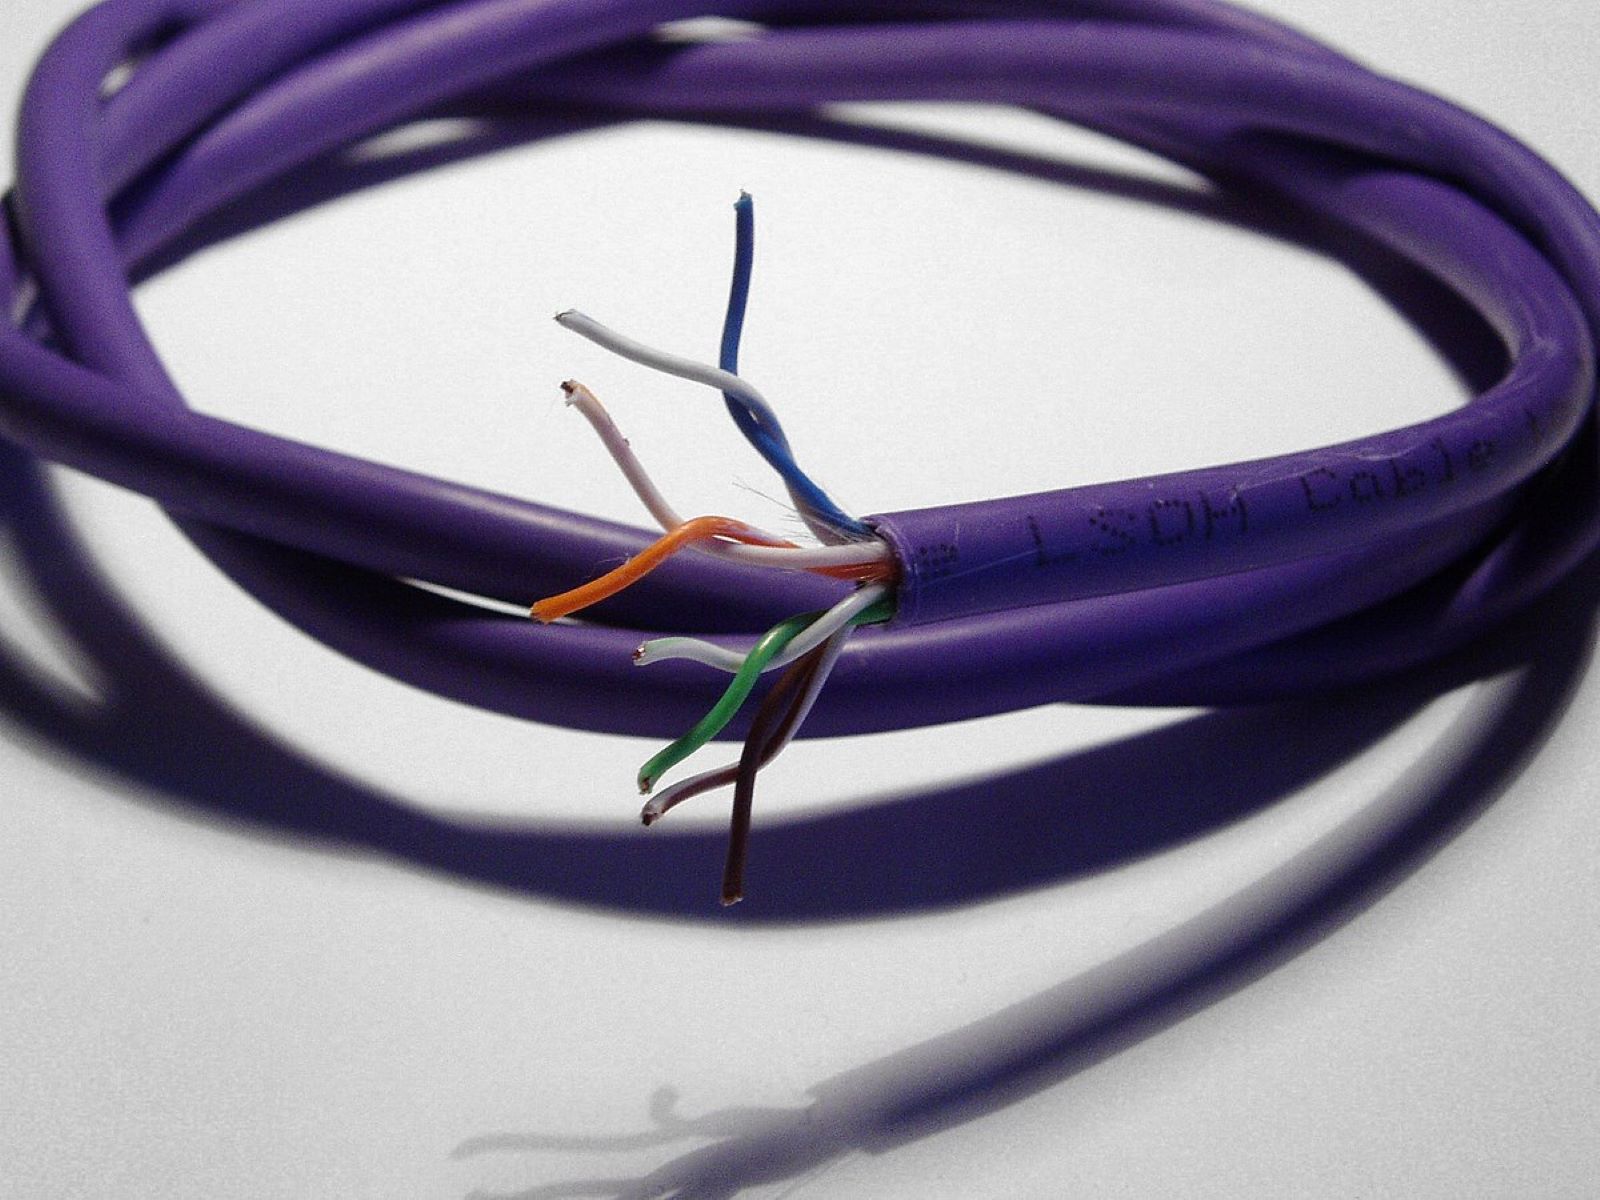
Step 3: Preparing the Ethernet Cable
After drilling the necessary holes in the wall for your Ethernet cable installation, the next step is to prepare the cable itself. Properly preparing the Ethernet cable ensures a secure and reliable connection. Here’s how to do it:
1. Gather the Required Tools: Before starting, ensure you have the necessary tools such as wire cutters/strippers and RJ45 connectors. These tools will help you trim and properly terminate the Ethernet cable.
2. Measure and Cut the Cable: Measure the length of cable that you need, ensuring a little extra for flexibility. Use wire cutters to cut the cable at the measured length. Be careful not to cut the individual wires inside the cable.
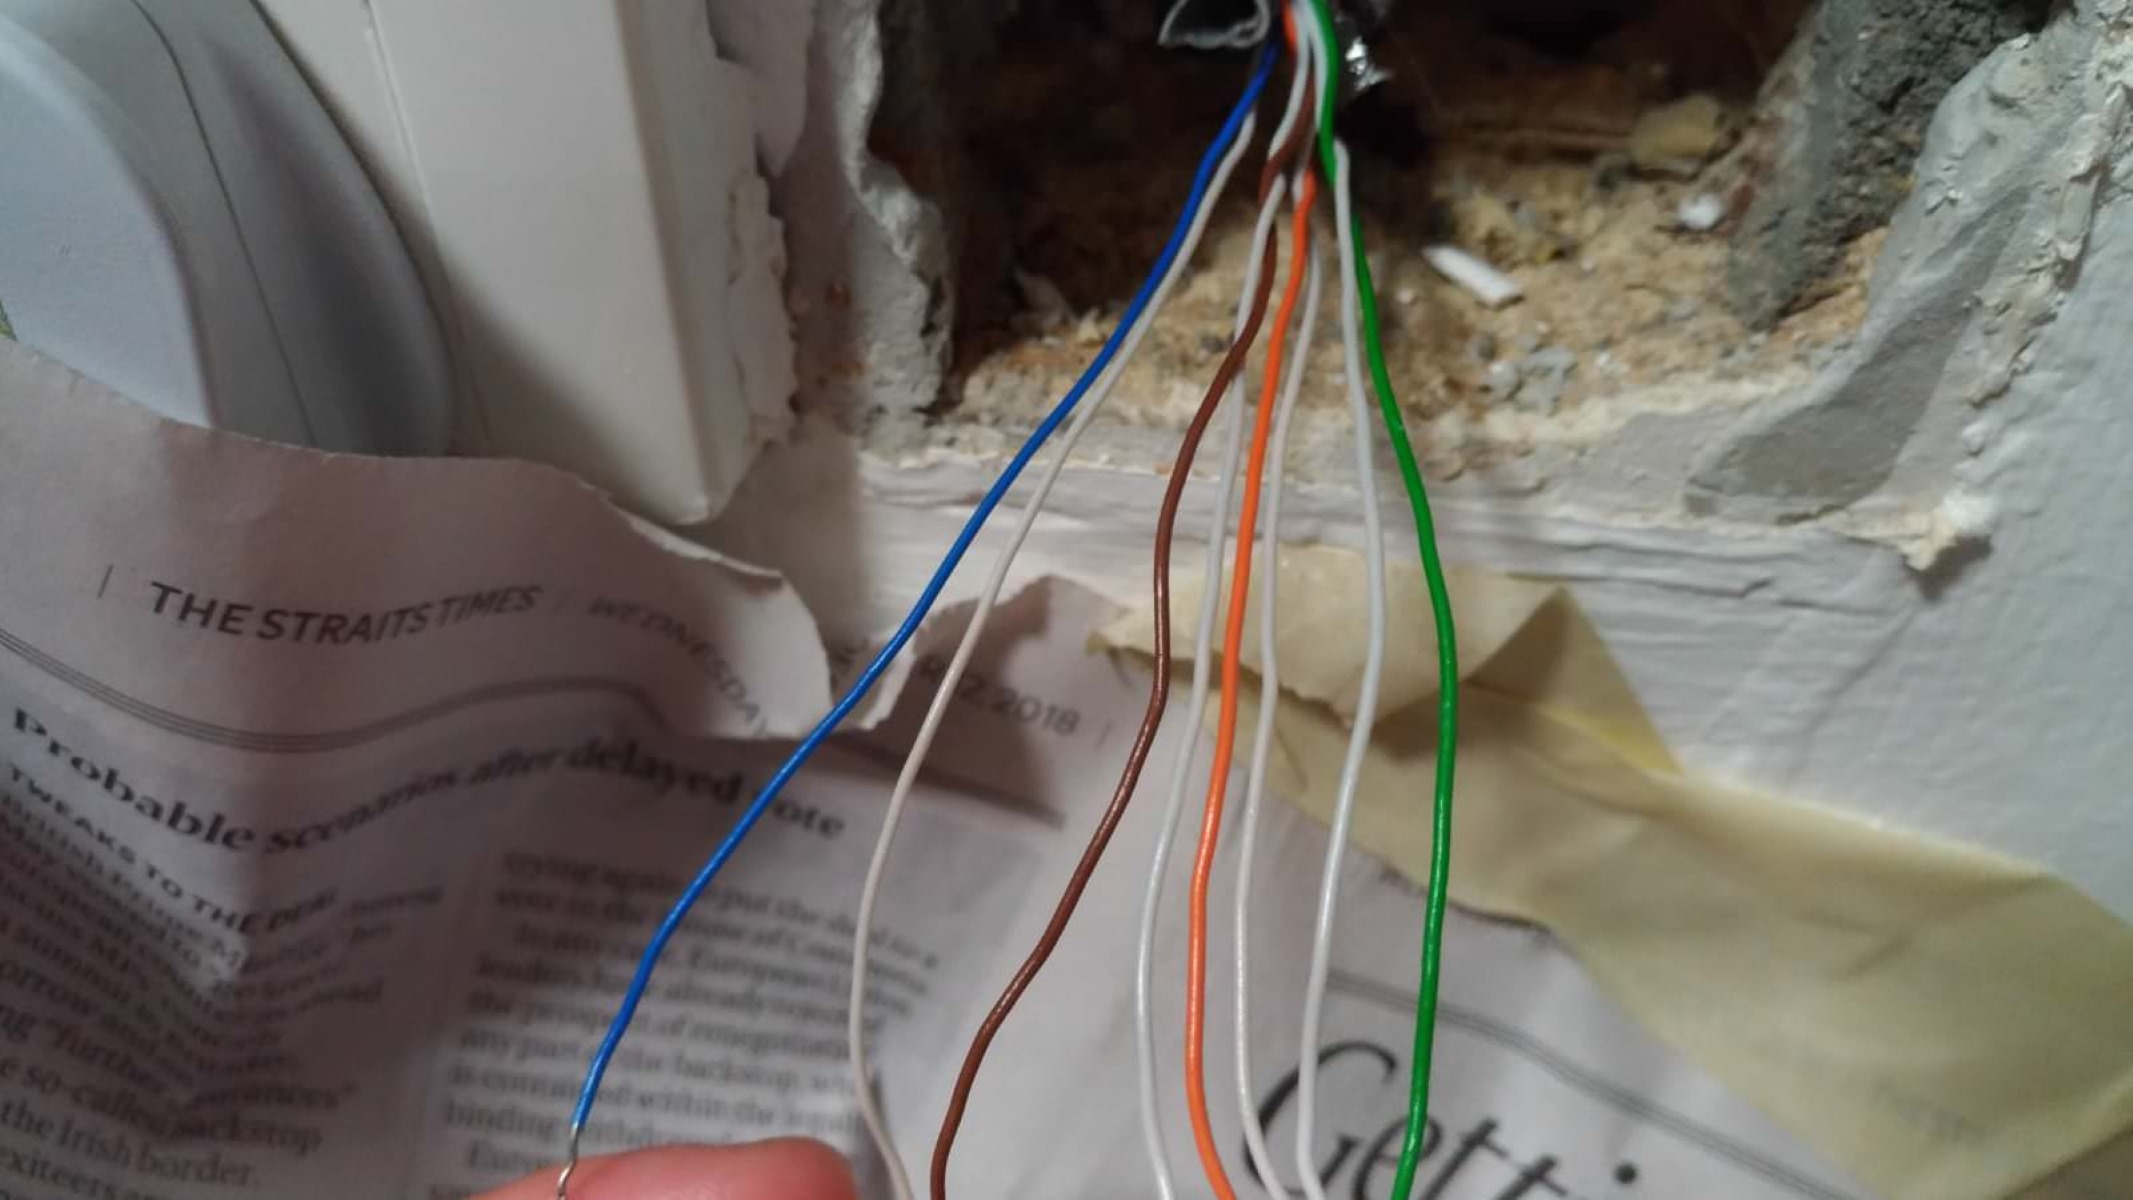
3. Strip the Cable Sheath: Use wire strippers to carefully strip about 1-2 inches of the outer sheath from the cut end of the cable. Take care not to strip too much, as it may expose the individual wires inside.
4. Untwist and Arrange the Pairs: Within the stripped section, you’ll find four twisted pairs of wires. Untwist each pair and straighten the wires to prepare for termination. Keep the pairs separate from each other to maintain signal integrity.
5. Trim the Wires: Using wire cutters, trim the individual wires to a uniform length, leaving about half an inch of exposed copper. This will ensure a proper connection when attaching the connectors.
6. Arrange the Wires in the Correct Order: Refer to the T568B or T568A wiring standard, depending on the configuration you are using. Arrange the wires in the correct order: orange-white, orange, green-white, blue, blue-white, green, brown-white, and brown.
7. Insert the Wires into the Connector: Carefully insert the trimmed and arranged wires into the RJ45 connector, ensuring they reach the end of the connector. Check that each wire is in the correct pin slot, following the wiring standard.
8. Crimp the Connector: Use a specialized crimping tool to firmly press and secure the connector onto the cable. Make sure the connector is properly seated and that the wires are firmly held in place.
9. Repeat for the Other End: Repeat the above steps to prepare and terminate the other end of the Ethernet cable, ensuring consistency in wiring and connector attachment.
10. Inspect the Terminations: Once both ends of the cable are terminated, visually inspect them to ensure the wires are fully inserted and properly seated in the connectors. This will ensure a reliable connection.
By properly preparing the Ethernet cable, you’ll be ready to attach it to the wall in the next step. Taking the time to prepare the cable ensures a secure and efficient network connection.
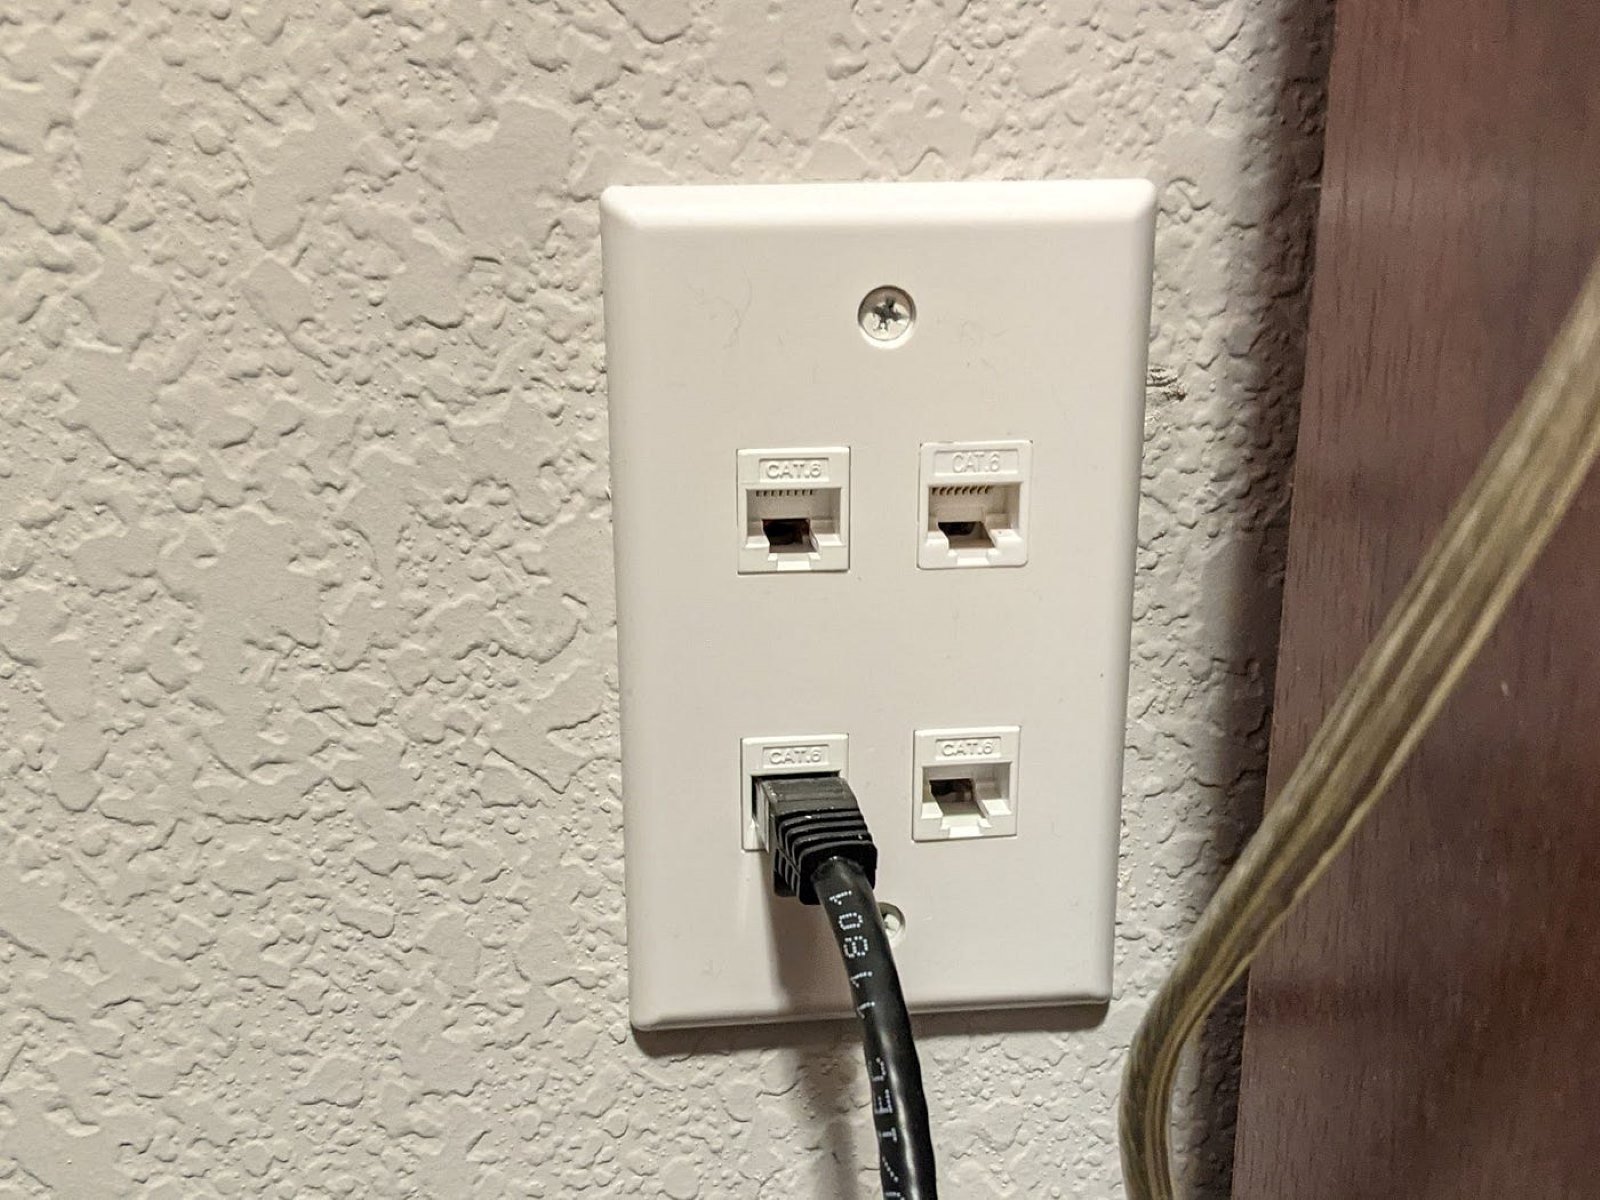
Step 4: Attaching the Ethernet Cable to the Wall
With the Ethernet cable prepared, it’s time to attach it to the wall. Properly attaching the cable ensures a neat and secure installation while maintaining maximum signal integrity. Follow these steps:
1. Start at the Source Device: Begin at the source device where your network connection originates. Insert one end of the Ethernet cable into the Ethernet port of the source device, such as a modem, router, or switch. Ensure a secure connection.
2. Feed the Cable through the Holes: Starting from the source device, gently and carefully feed the Ethernet cable through the pre-drilled holes in the wall. Use a fish tape or a wire coat hanger to guide the cable through the holes, especially if they are long or awkwardly positioned.
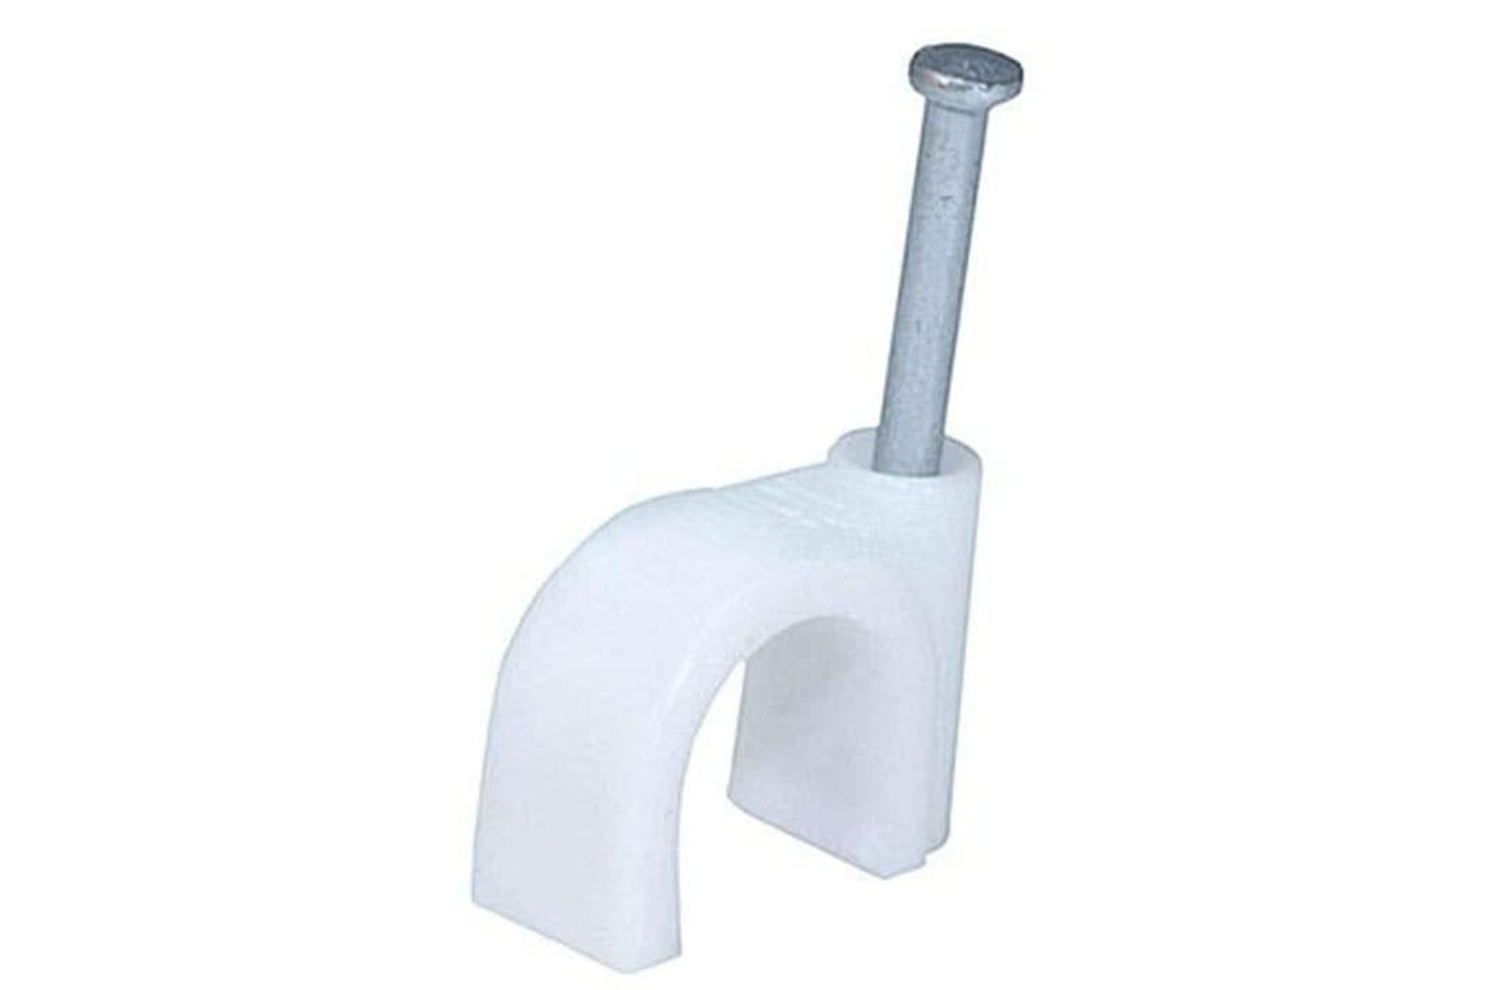
3. Secure the Cable with Cable Clips or Staples: Along the cable path, use cable clips or staples to secure the Ethernet cable to the wall surface. This will help keep the cable neatly organized and protected from accidental damage. Ensure the clips or staples are appropriately spaced to maintain cable tension without excessive strain.
4. Account for Vertical Movement: If the cable needs to cross different levels of the wall, such as from one floor to another, ensure you provide enough slack for vertical movement. This will prevent any undue stress on the cable when the wall expands or contracts.
5. Keep Cable Away from Electrical Wires and Sources of Interference: Make sure to route the Ethernet cable away from any electrical wires, power sources, or other potential sources of interference. This will help minimize any signal degradation or interference that could affect network performance.
6. Secure the Cable at Regular Intervals: As you continue along the cable path, periodically secure the Ethernet cable to the wall using additional cable clips or staples. This will help maintain a clean and organized appearance, as well as provide extra support and stability to the cable.
7. Reach the Destination Device: Continue feeding and securing the cable until you reach the destination device where you want to establish the network connection. Insert the other end of the Ethernet cable into the Ethernet port of the device, ensuring a firm and secure connection.
8. Test the Connection: Once the cable is securely attached at both ends, test the network connection to verify that it is working properly. Use a network testing tool or connect a device to the network to ensure a stable and reliable connection.
By following these steps, you’ll be able to attach the Ethernet cable to the wall in a way that ensures a secure and organized installation. Be mindful of cable routing and take necessary precautions to maintain maximum signal integrity.
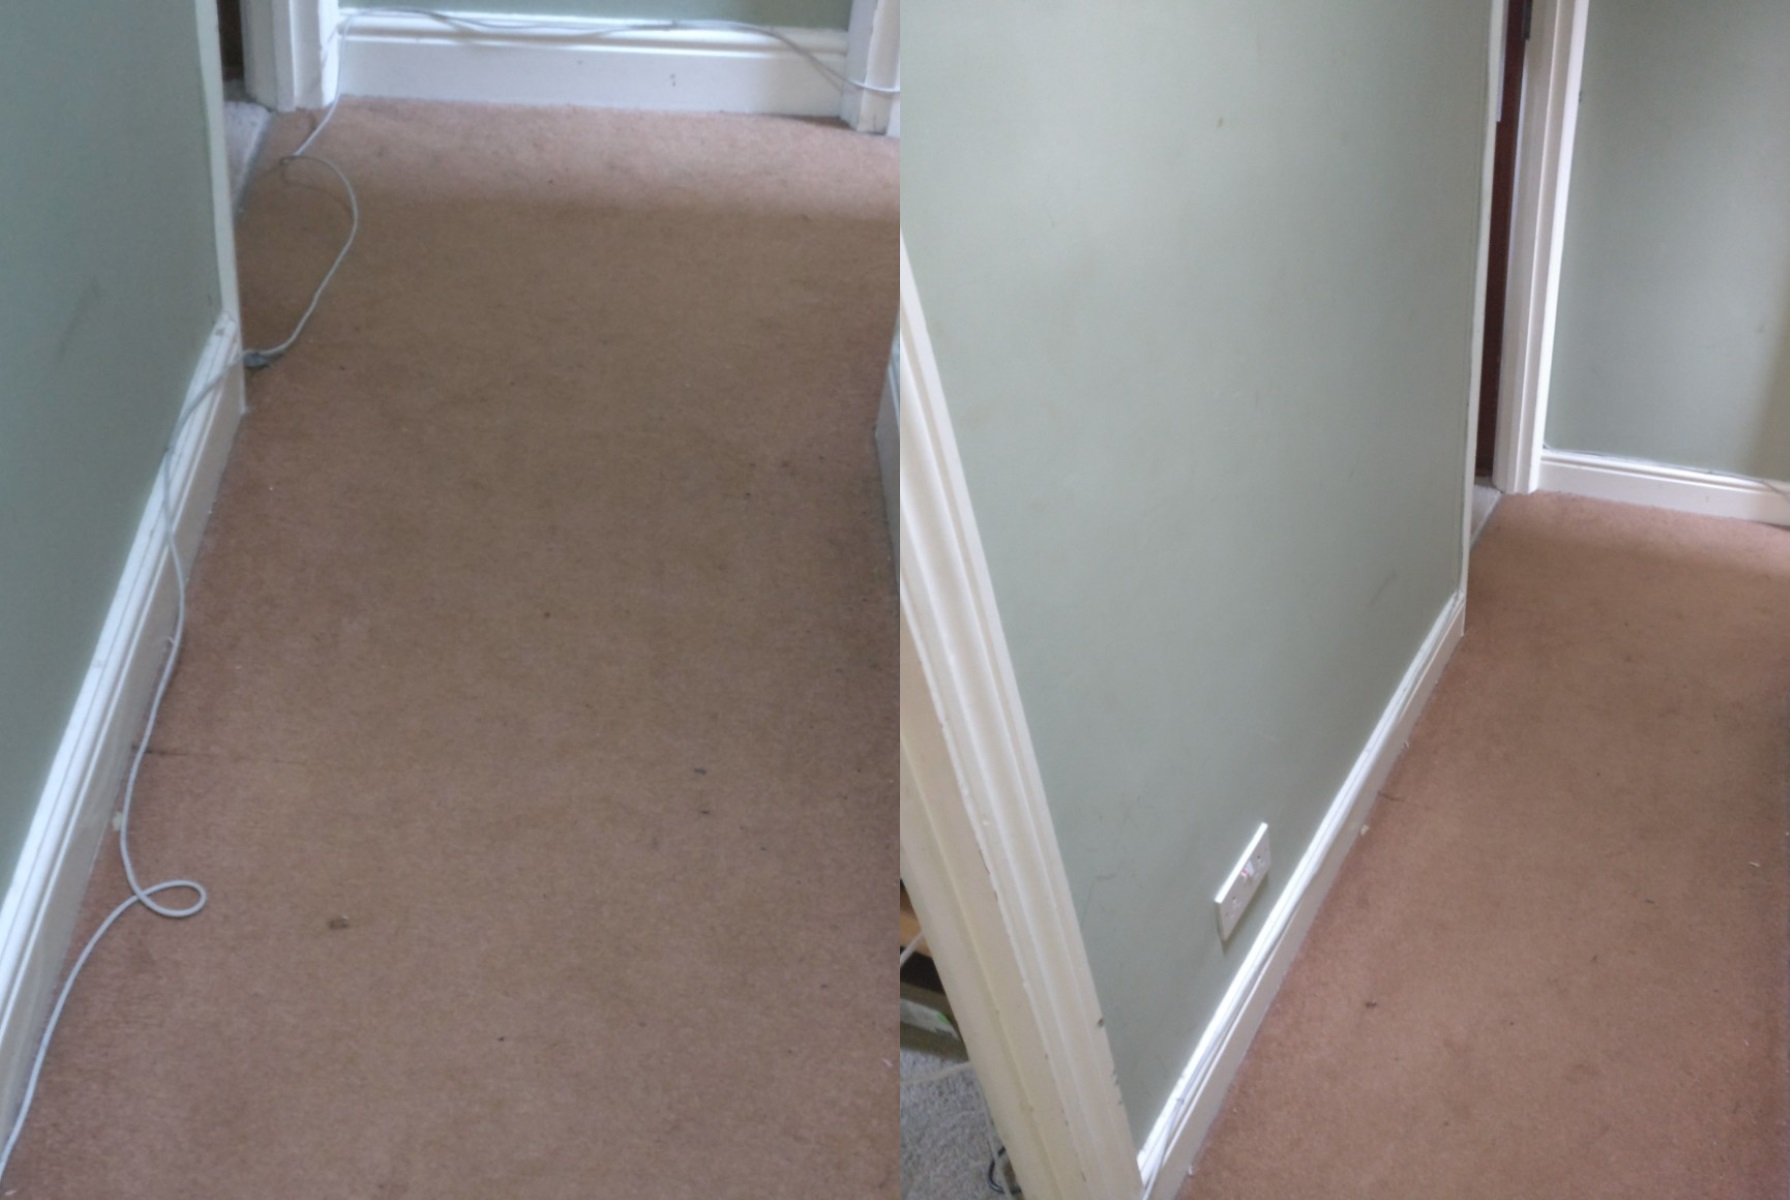
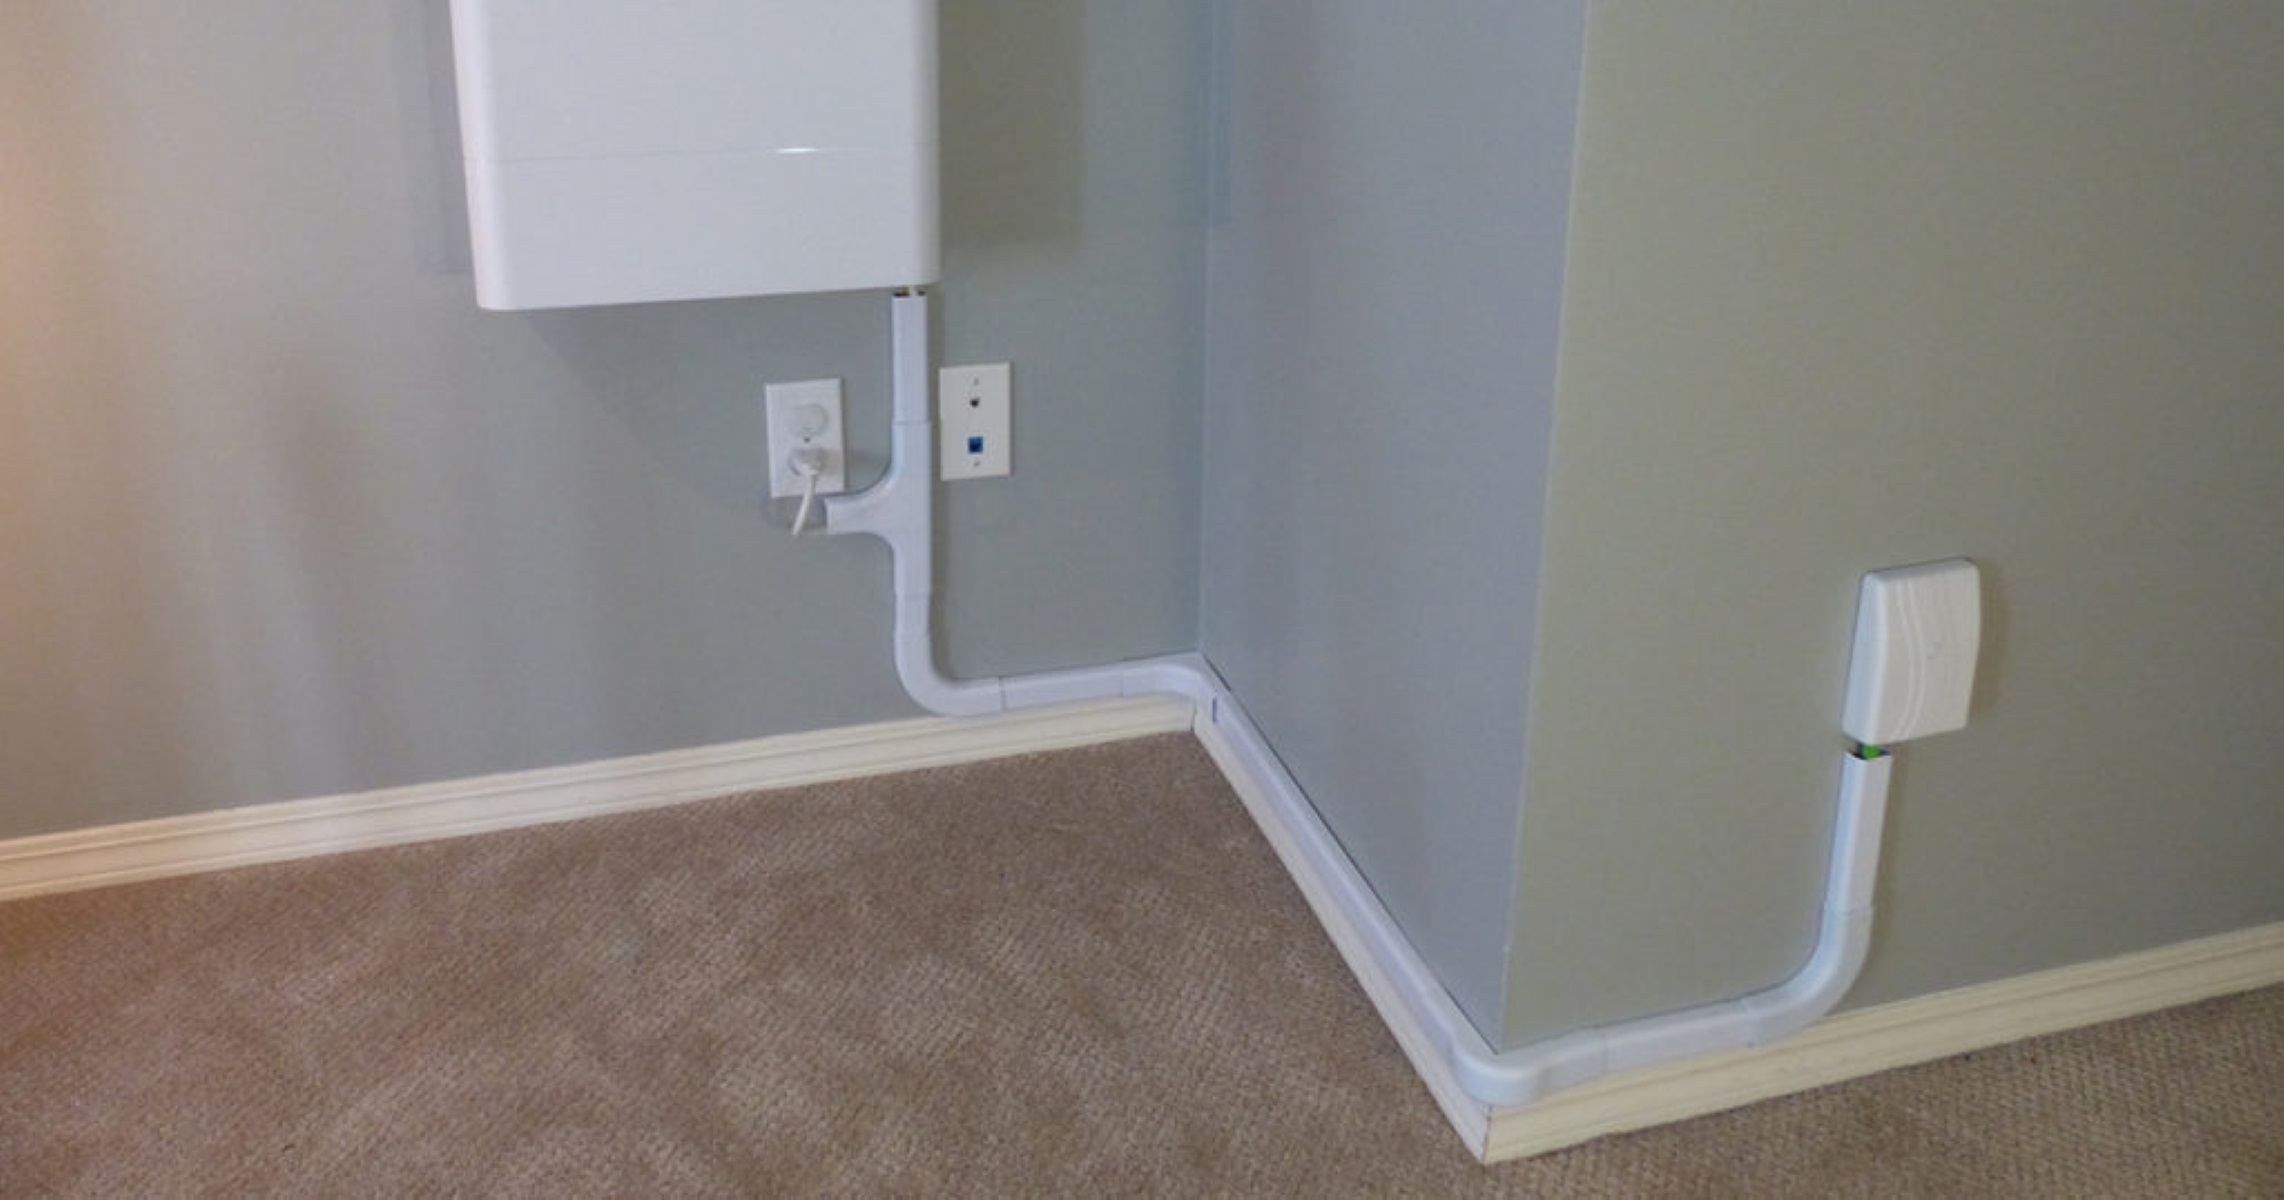
Step 5: Securing and Concealing the Cable
Once you have attached the Ethernet cable to the wall, the next step is to secure and conceal the cable for a clean and professional-looking installation. Properly securing and concealing the cable not only improves the aesthetics of your space but also protects the cable from accidental damage. Follow these steps:
1. Use Cable Management Tools: Utilize cable management tools such as cable raceways, wire moldings, or cable covers to neatly organize and protect the Ethernet cable. These tools are available in a variety of sizes and designs to suit your specific needs.
2. Select Appropriate Cable Routing: Determine the most suitable cable routing options based on the layout and design of your space. Consider running the cable along baseboards, within wall channels, or behind furniture to keep it out of sight and minimize tripping hazards.
3. Secure the Cable with Adhesive Hooks or Clips: Use adhesive hooks or clips to secure the Ethernet cable along the chosen cable routing path. Ensure the hooks or clips are firmly attached to the wall or furniture surface to prevent the cable from slipping or becoming loose.
4. Conceal the Cable with Paintable Cable Covers: If you prefer a more polished look, consider using paintable cable covers. These covers can be easily installed on the wall or baseboards, and they can be painted to match the color of your surroundings, blending seamlessly with your space.
5. Utilize Wall Channels: Wall channels are an excellent option for hiding and protecting Ethernet cables. These channels can be recessed into the wall and painted to match the surrounding surface. They provide a clean and concealed pathway for the cable, offering a professional and discreet installation.
6. Secure Cables Behind Furniture: If possible, route the Ethernet cable behind furniture or along the edge of a desk or entertainment unit. This helps keep cables tidy and prevents them from being accidentally pulled or tripped over.
7. Label Cables: To make future troubleshooting and maintenance easier, label each cable with identifying tags or markers. This will help you quickly identify which cable is connected to specific devices, saving time and minimizing confusion.
8. Regularly Inspect and Adjust: Periodically inspect the cable installation, ensuring that it remains secure and properly concealed. Adjust any loose cables or clips as needed to maintain a clean and organized appearance.
By following these steps, you can ensure that your Ethernet cable is securely and neatly secured, providing both a professional and functional installation. Taking the time to properly secure and conceal the cable adds the finishing touch to your network setup.
Step 6: Testing the Connection
After installing and securing the Ethernet cable, it is essential to test the connection to ensure that everything is working as expected. Testing the connection will help identify any potential issues and allow you to make necessary adjustments for optimal performance. Follow these steps to test the Ethernet connection:
1. Check Device Connectivity: Verify that both the source device (e.g., modem, router) and the destination device (e.g., computer, gaming console) are properly connected to the Ethernet cable.
2. Power On the Devices: Turn on the devices that are connected to the Ethernet cable, ensuring they are receiving power and are in an operational state.
3. Check Link Lights: On network devices, such as routers or switches, look for LED indicator lights that indicate a successful connection. Typically, there will be a link light that illuminates or blinks when the Ethernet cable is properly connected.
4. Check Network Status: On computers or other devices connected to the Ethernet cable, check the network status. Look for indications that the network connection is active and properly configured.
5. Perform a Speed Test: Use an online speed testing tool to measure the speed and stability of your Internet connection. This will confirm that the Ethernet cable is delivering the expected network performance.
6. Test Data Transfer: Transfer files or stream media between devices connected via the Ethernet cable to assess the data transfer speed and reliability. This will give you a practical evaluation of the network connection’s performance.
7. Check for Dropouts or Instability: Monitor the network connection for any sudden dropouts, disconnections, or intermittent performance issues. These can be signs of potential cable or connectivity problems that require further investigation.
8. Repeat Tests or Troubleshoot: If you encounter any issues during the testing process, repeat the tests or troubleshoot the network connection as necessary. This may involve checking cable connections, adjusting settings on network devices, or seeking assistance from a network professional if needed.
By thoroughly testing the Ethernet connection, you can identify and address any potential issues that may impact network performance. Regular testing and maintenance will ensure a reliable and efficient network for your home or office.
Additional Tips and Considerations
When installing an Ethernet cable, there are some additional tips and considerations that can help you achieve the best results. These tips cover various aspects of the installation process and can enhance the performance and reliability of your network. Here are some important ones to keep in mind:
- Choose High-Quality Cables: Invest in high-quality Ethernet cables that meet or exceed the required specifications for your network. This ensures better signal integrity and reduces the risk of signal loss or degradation.
- Proper Cable Length: Measure and cut the cable to the appropriate length, avoiding excessive cable slack or tension. This will reduce signal loss and maintain optimum network performance.
- Use Cable Labels: Labeling your cables not only helps with organization but also simplifies future troubleshooting. Label each cable end with a unique identifier for easy identification and management.
- Keep Cables Away from Heat Sources: Ensure that Ethernet cables are not routed near heat sources, such as radiators or heating vents. Excessive heat can negatively affect cable performance and lead to potential damage.
- Perform Regular Cable Maintenance: Periodically inspect and maintain the Ethernet cables to ensure they are in good condition. Check for any signs of wear, such as frayed or damaged cables, and replace them if necessary.
- Consider Cable Management Accessories: Cable management accessories, such as cable ties, Velcro straps, or wire looms, can help keep the cables organized and reduce clutter. They also make it easier to trace and replace cables when needed.
- Secure Outdoor Cables Properly: If you are installing Ethernet cables outdoors, ensure that they are properly rated for outdoor use and protect them from the elements. Use outdoor-rated conduit or burial-grade cable to safeguard the cables from moisture and other environmental factors.
- Adhere to Local Building Codes and Regulations: When performing any cable installation, be aware of and adhere to local building codes and regulations. This ensures compliance with safety standards and avoids any potential legal or safety issues.
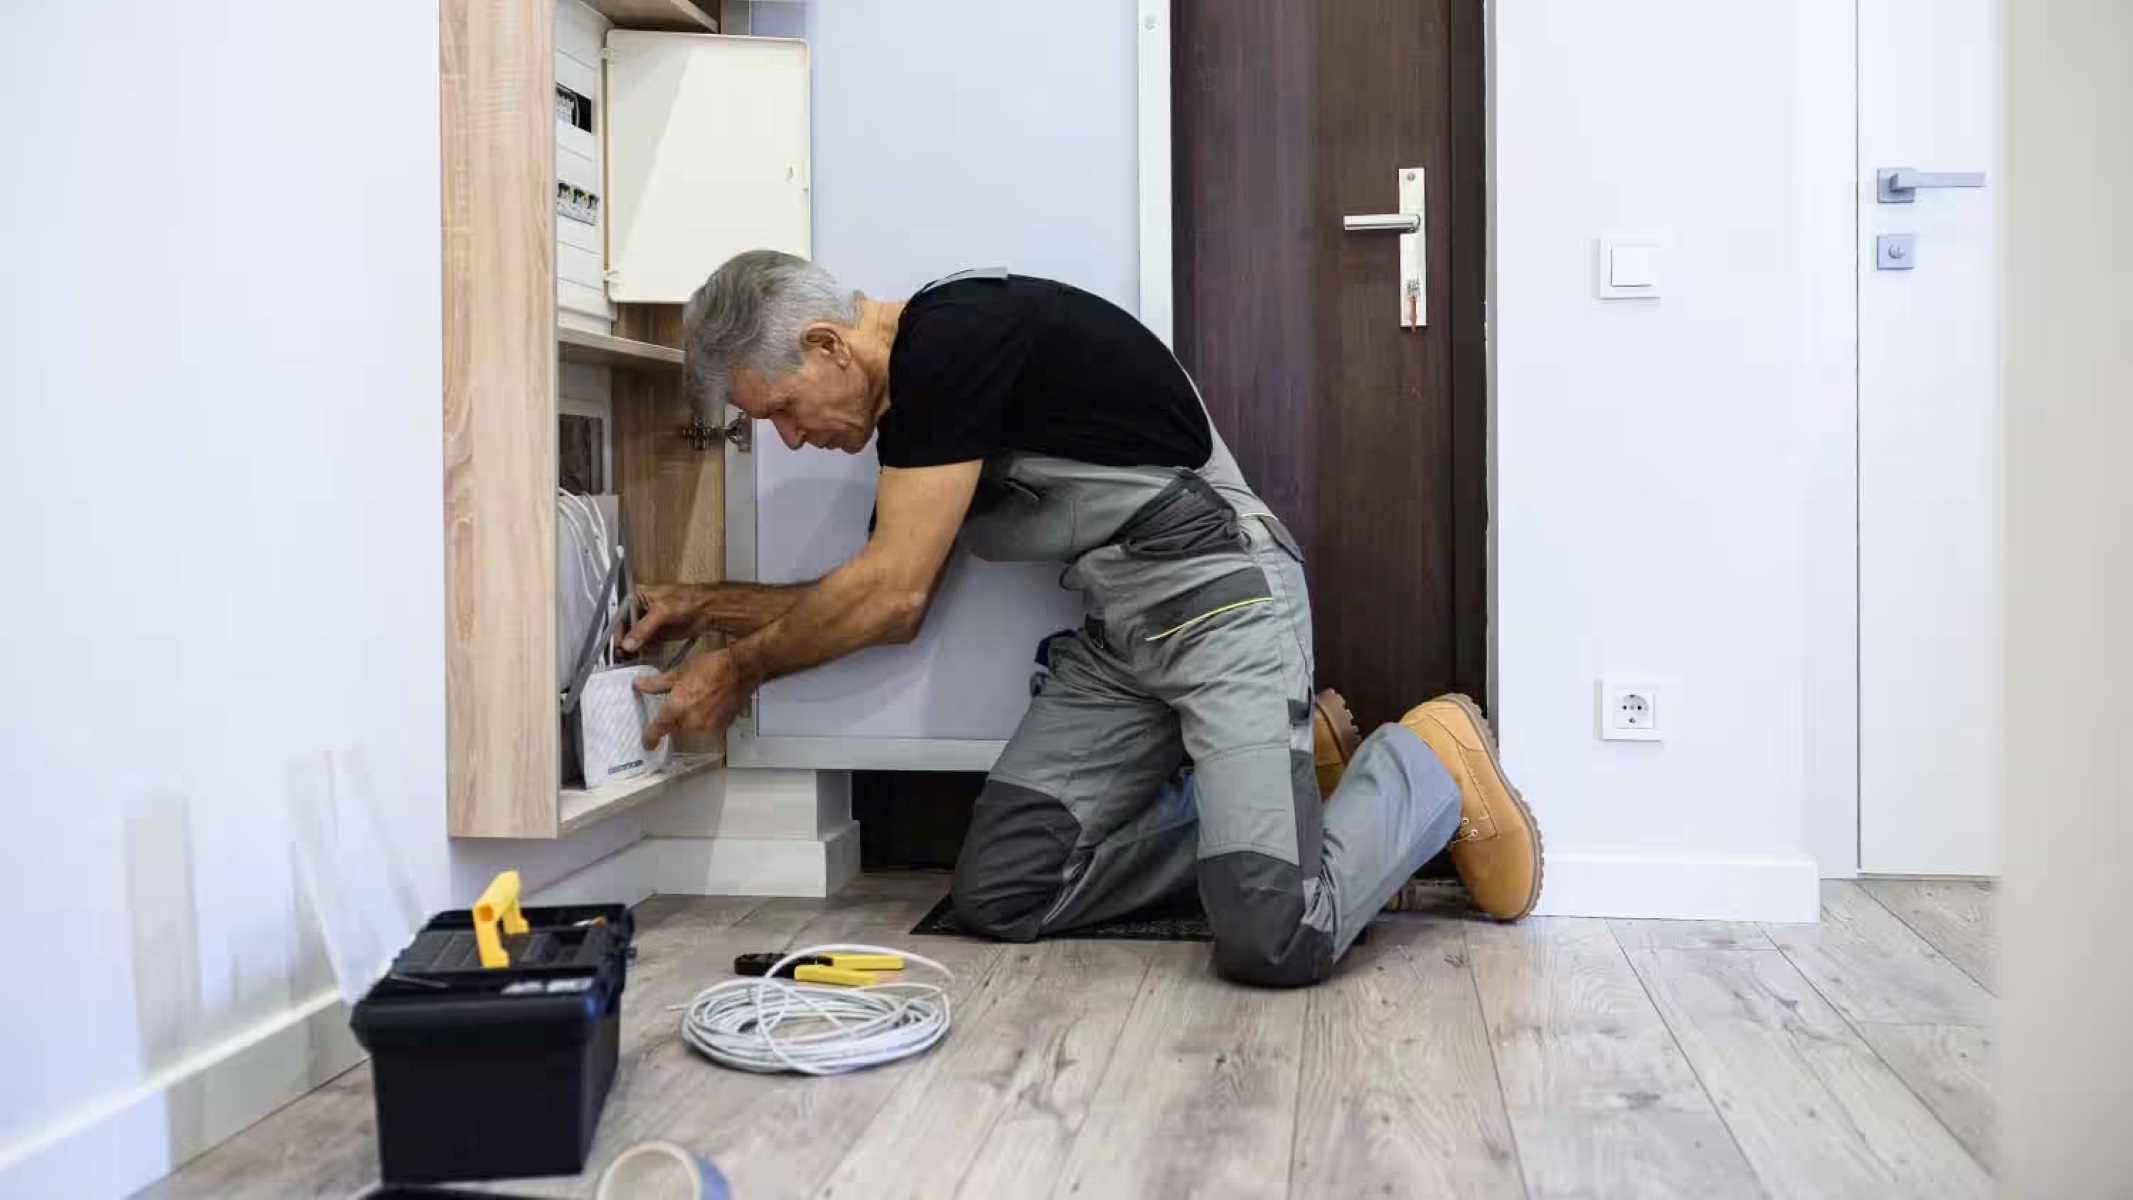
- Consider Professional Installation: If you are not familiar with cable installation or if it involves complex wiring, consider hiring a professional to ensure a proper and compliant installation.
By following these additional tips and considerations, you can optimize the installation process and create a reliable and efficient network infrastructure. Be mindful of the details and take the necessary steps to achieve the best results.
Conclusion
Properly attaching an Ethernet cable to the wall is crucial for establishing a reliable and high-speed network connection. By following the steps outlined in this guide, you can ensure a successful installation that provides stable connectivity and optimal performance for your devices.
Starting with planning and marking the wall, drilling holes, and preparing the Ethernet cable, each step is essential to create a secure and efficient network setup. Securing and concealing the cable not only improves the aesthetics of your space but also protects the cable from accidental damage.
Testing the connection is a crucial step to confirm that the Ethernet cable installation is working correctly. By performing speed tests, data transfers, and checking for stability, you can assess the network’s performance and make any necessary adjustments or troubleshooting.
Keep in mind the additional tips and considerations mentioned throughout the guide to enhance the installation process. Choosing high-quality cables, properly maintaining them, and adhering to relevant building codes are essential for a successful installation.
By following these guidelines and considering the specific needs of your network setup, you can achieve a reliable and efficient Ethernet cable installation. Enjoy a stable and high-speed network connection that meets your requirements and enhances your digital experience.