Introduction
Welcome to this guide on how to set up Ethernet wall ports! In today’s fast-paced and connected world, having a reliable and fast internet connection is essential. While Wi-Fi is convenient, it may not always provide the best performance, especially in larger homes or offices. That’s where Ethernet wall ports come in.
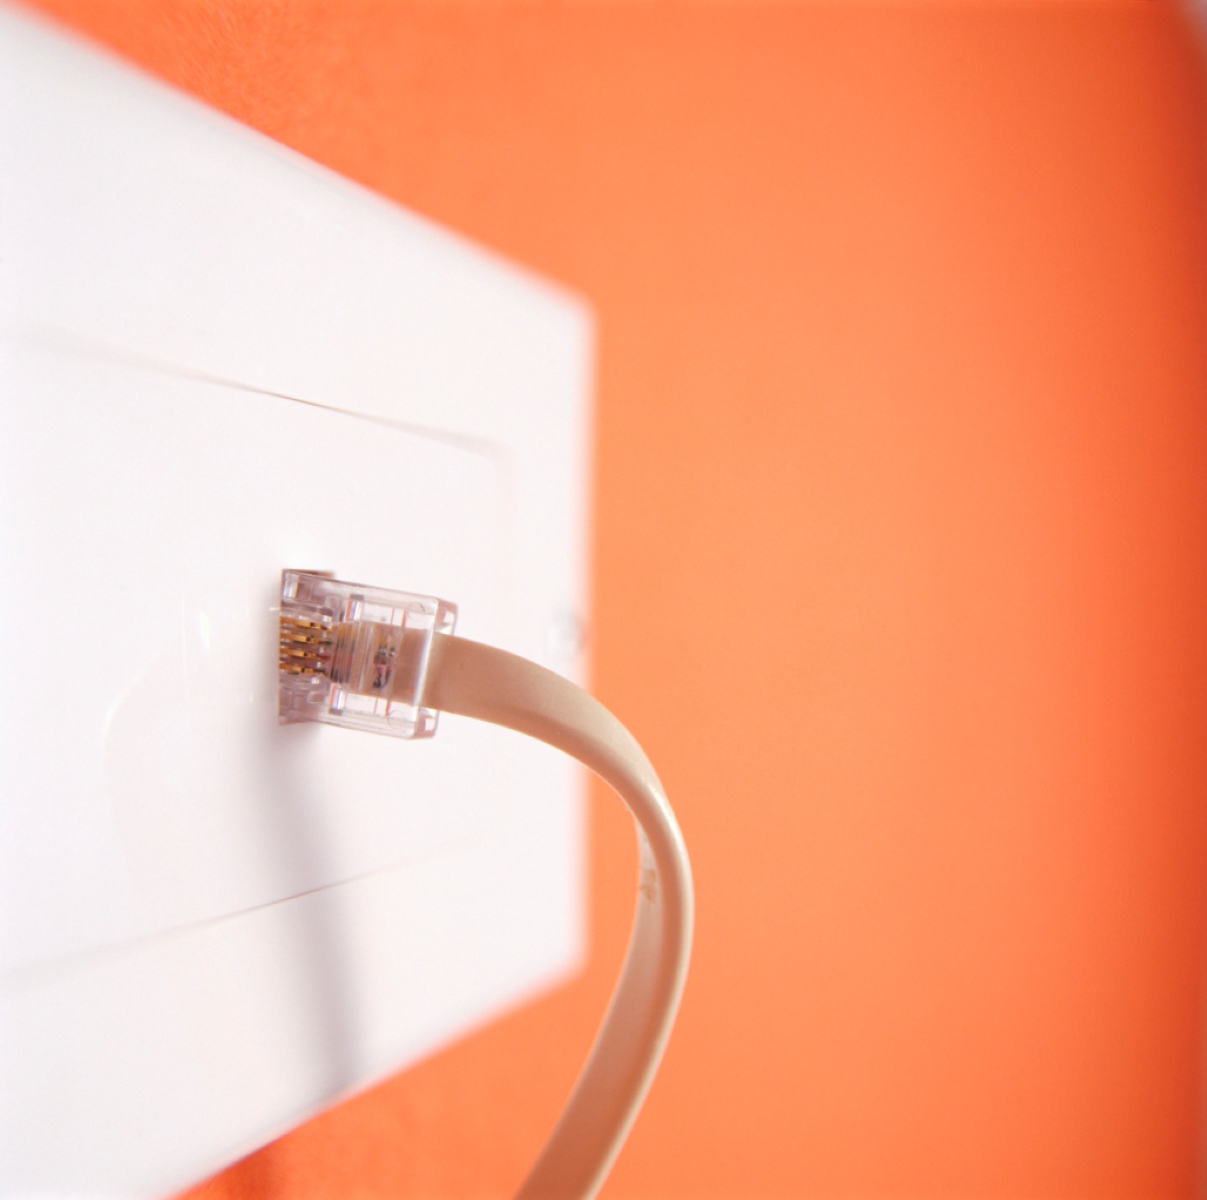
Ethernet wall ports, also known as Ethernet jacks or wall plates, allow you to directly connect your devices to your network using an Ethernet cable. This hardwired connection offers a more stable and faster internet connection, making it ideal for activities that require high bandwidth, such as online gaming or streaming.
In this guide, we’ll walk you through the process of setting up Ethernet wall ports in your home or office. Whether you’re looking to improve your internet connection for work or leisure, this guide will provide you with the necessary steps and information to get started.
Before we dive into the details, it’s important to note that this guide assumes you have existing Ethernet cables already installed in your walls. If you don’t have Ethernet cables in place, you may need to consider running new cables or seeking professional assistance.
Now that we’ve covered the basics, let’s move on to the planning and preparation phase to ensure a successful setup of your Ethernet wall ports.
Planning and Preparation
Setting up Ethernet wall ports requires some planning and preparation to ensure a smooth installation process. Before you start, take the time to assess your needs and consider the following factors:
- Location: Determine where you want to place your Ethernet wall ports. Ideally, choose convenient locations near your devices, such as desks or entertainment centers.
- Number of Ports: Decide how many ports you’ll need based on the number of devices you plan to connect. It’s always a good idea to have a few extra ports for future expansion.
- Cable Length: Measure the distance between the desired locations for your wall ports and your network equipment, such as your router or switch. Ensure that you have enough Ethernet cable to reach each location.
- Cable Pathway: Determine the best route for running the Ethernet cables from your network equipment to the wall ports. Consider existing wall openings, cable conduits, or other paths that minimize visible cable runs.
Once you have a clear idea of your requirements, here are the materials and tools you’ll need to set up your Ethernet wall ports:
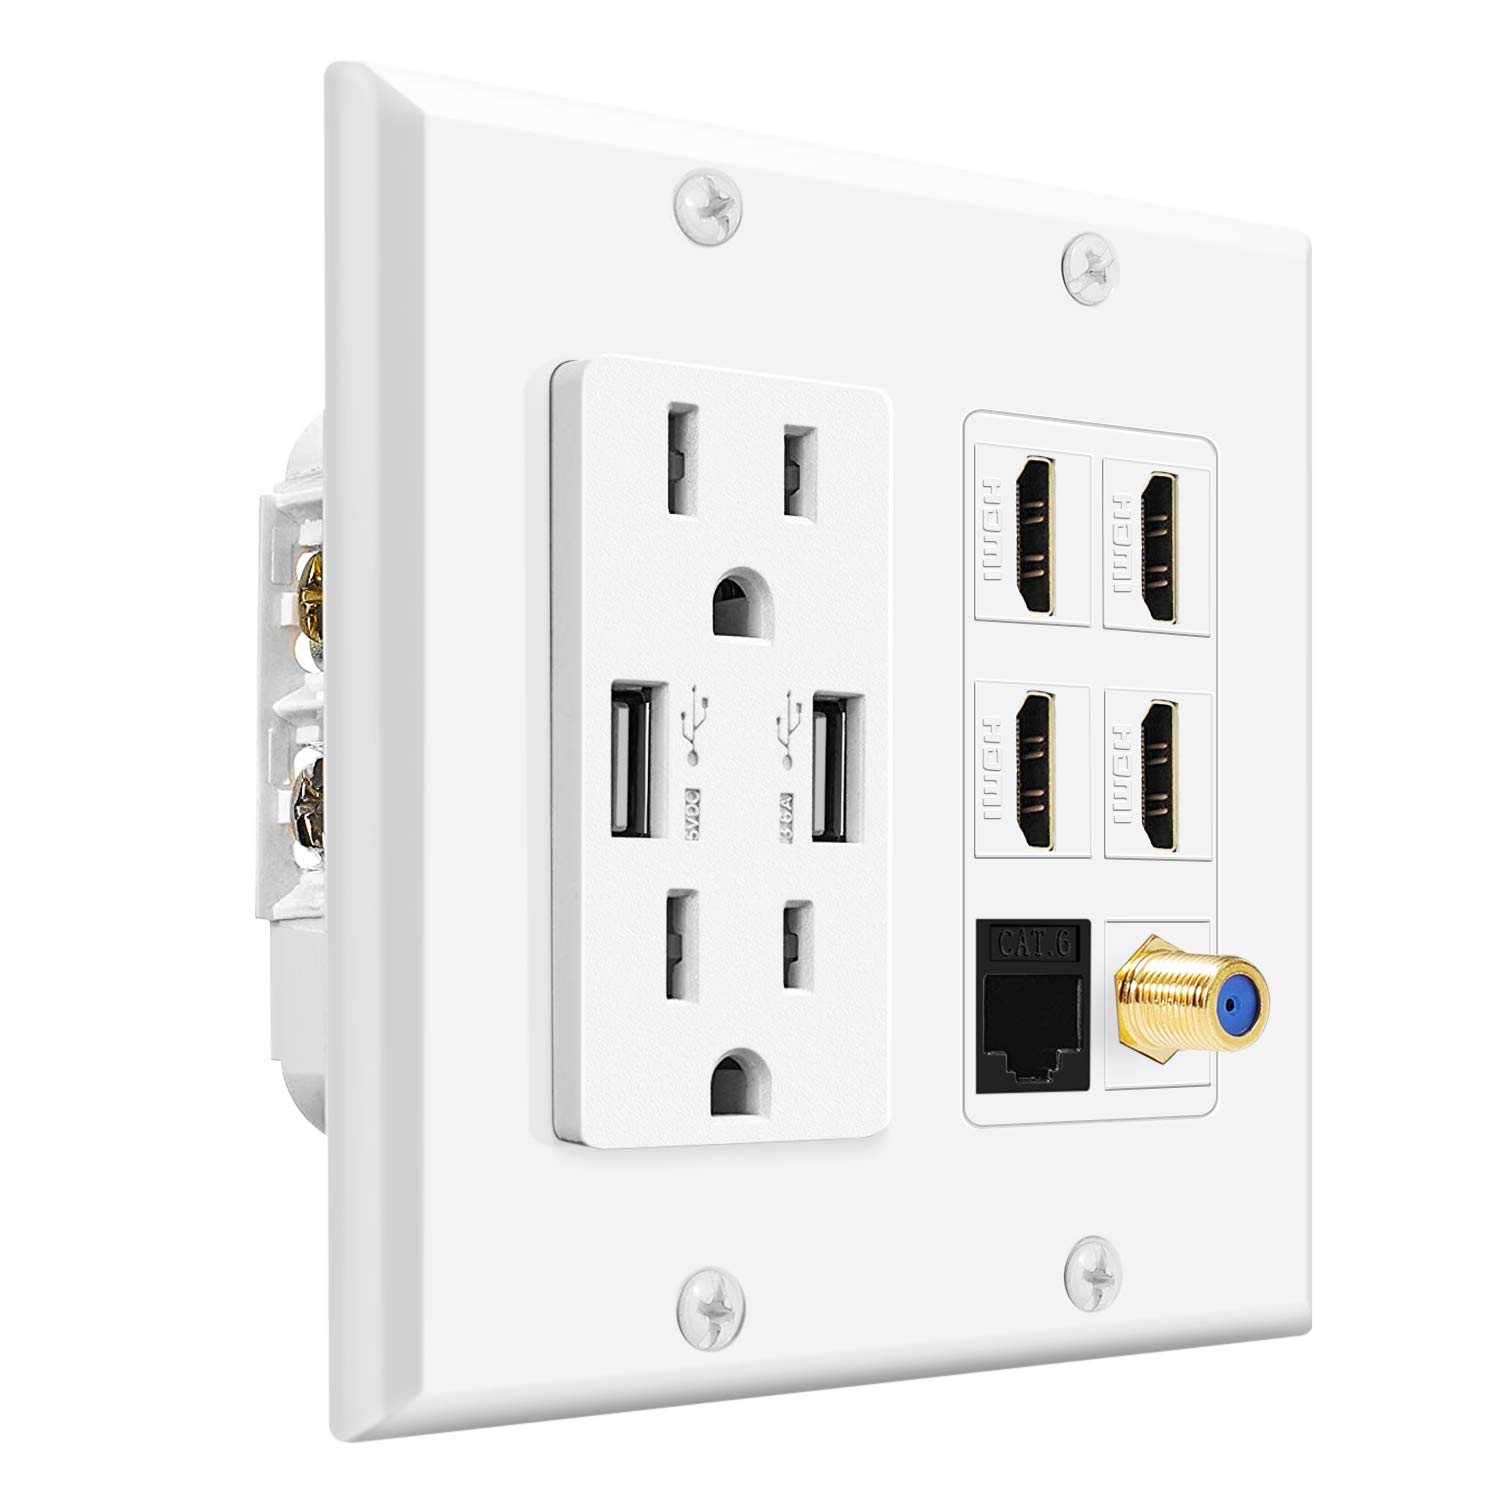
- Ethernet Wall Plates: These are the wall-mounted plates that hold the Ethernet jacks.
- Ethernet Jacks: The actual ports where you plug in your Ethernet cables.
- Ethernet Cables: Select high-quality Ethernet cables of appropriate length to connect your devices to the wall ports.
- Wall Cutout Tool: Depending on your wall plates, you may need a tool for cutting out the openings for the wall plates.
- Screwdriver or Drill: To secure the wall plates to the wall.
- Cable Tester: This tool allows you to test the connectivity of your Ethernet cables once they’re installed.
With the planning and preparation steps complete and the necessary tools and materials at hand, you’re now ready to move on to the next step: locating the existing Ethernet cables in your home or office.
Tools and Materials Needed
Before you begin setting up Ethernet wall ports, make sure you have the following tools and materials ready:
- Ethernet Wall Plates: These are the plates that will hold the Ethernet jacks.
- Ethernet Jacks: These are the ports where you will plug in your Ethernet cables.
- Ethernet Cables: Make sure you have high-quality Ethernet cables of appropriate length to connect your devices to the wall ports.
- Wall Cutout Tool: Depending on your wall plates, you may need a tool for cutting out the openings in the wall.
- Screwdriver or Drill: You will need either a screwdriver or a drill to secure the wall plates to the wall.
- Cable Tester: This tool allows you to test the connectivity of your Ethernet cables once they are installed.
It’s important to use quality materials for a reliable and long-lasting setup. Look for Ethernet wall plates and jacks that are compatible with the standard Ethernet cables you have. The Ethernet cables should be rated for the desired speed and length you require.
The wall cutout tool will depend on the type of wall plates you have chosen. If you’re using standard wall plates, a utility knife or a drywall saw may suffice. However, if you have more intricate or specialized wall plates, you may need a specific tool for cutting out the openings.
A screwdriver or a drill will be necessary to secure the wall plates to the wall. The type of screws or mounting hardware required may vary depending on the wall plates and the surface you are mounting them on. Be sure to have the appropriate tools and hardware on hand.
Lastly, a cable tester is crucial for ensuring the proper functionality of your Ethernet cables once they are installed. This tool allows you to check for any faults or connectivity issues, ensuring a reliable network connection.
With all the necessary tools and materials gathered, you are now ready to move on to the next step: locating the existing Ethernet cables in your home or office.
Step 1: Locate the Existing Ethernet Cables
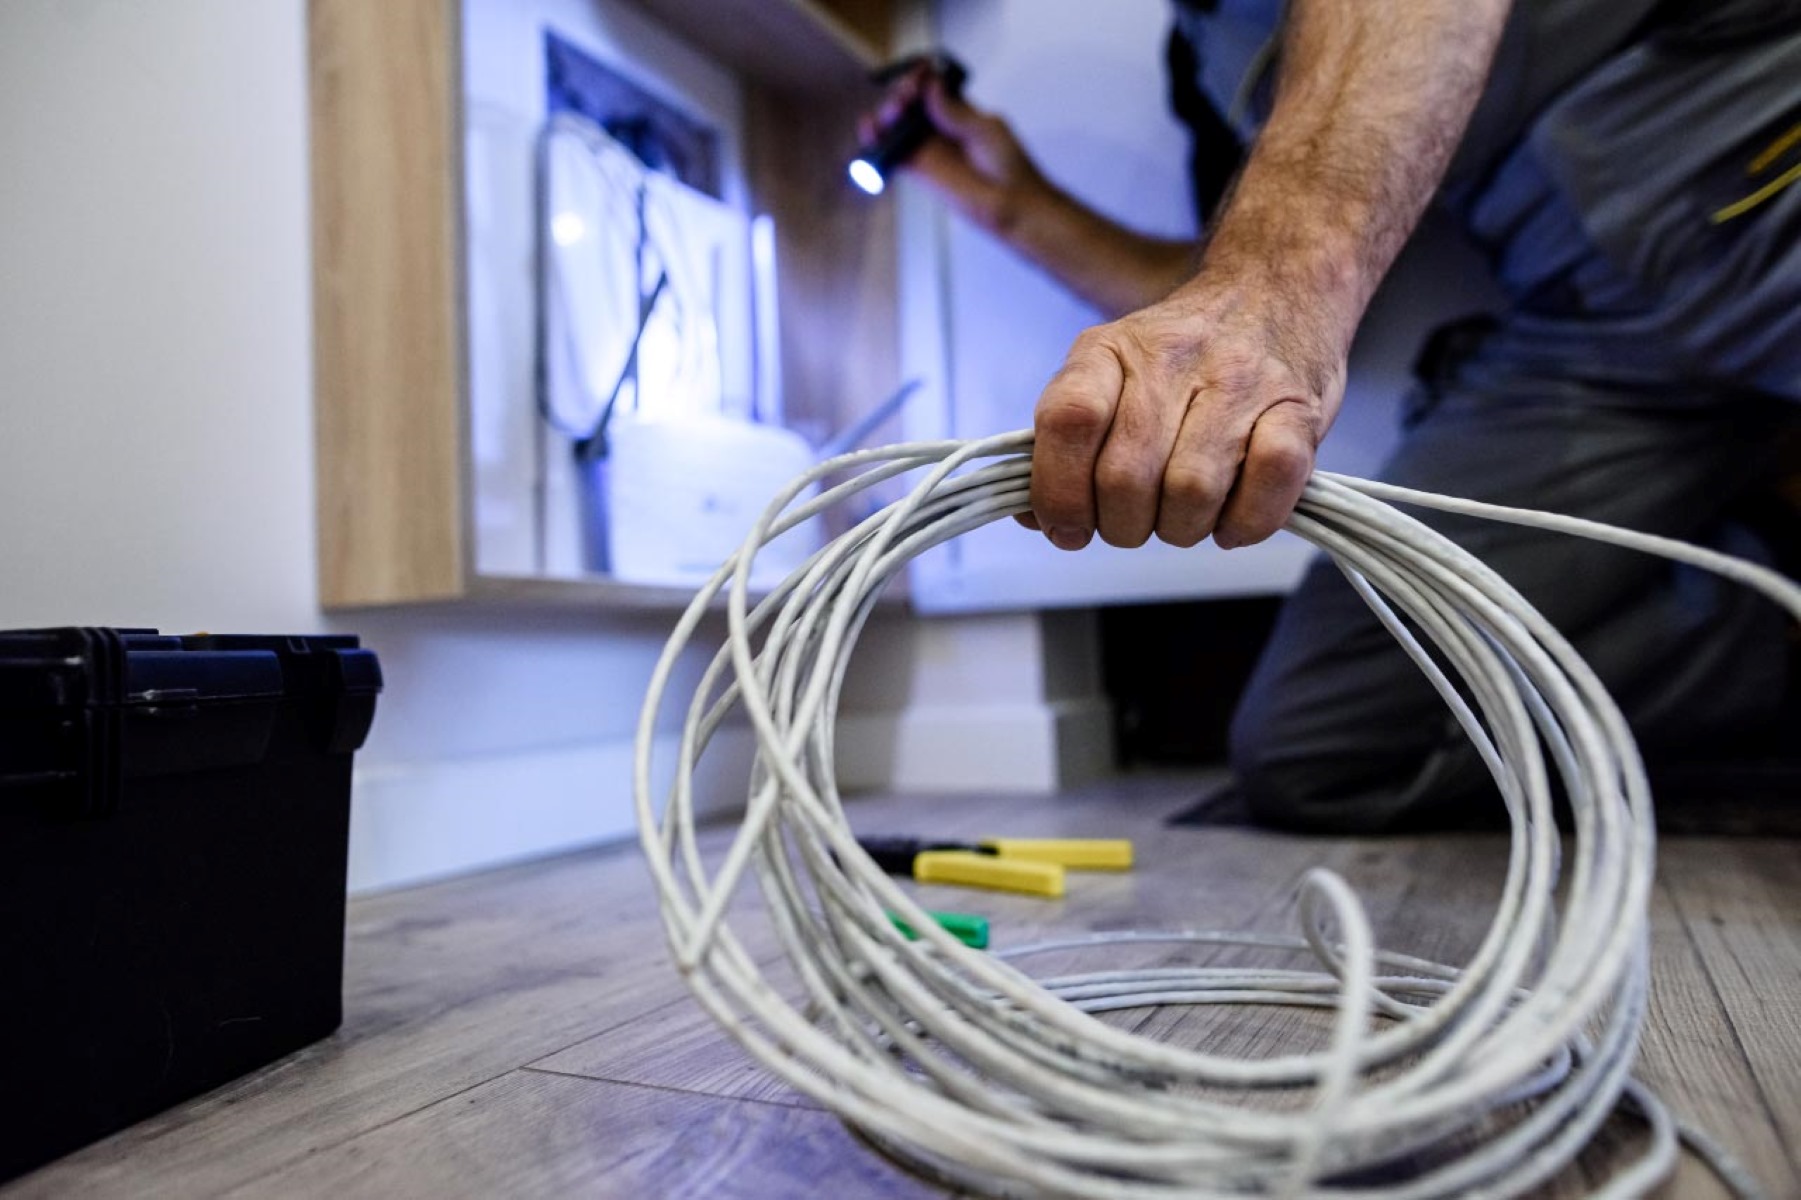
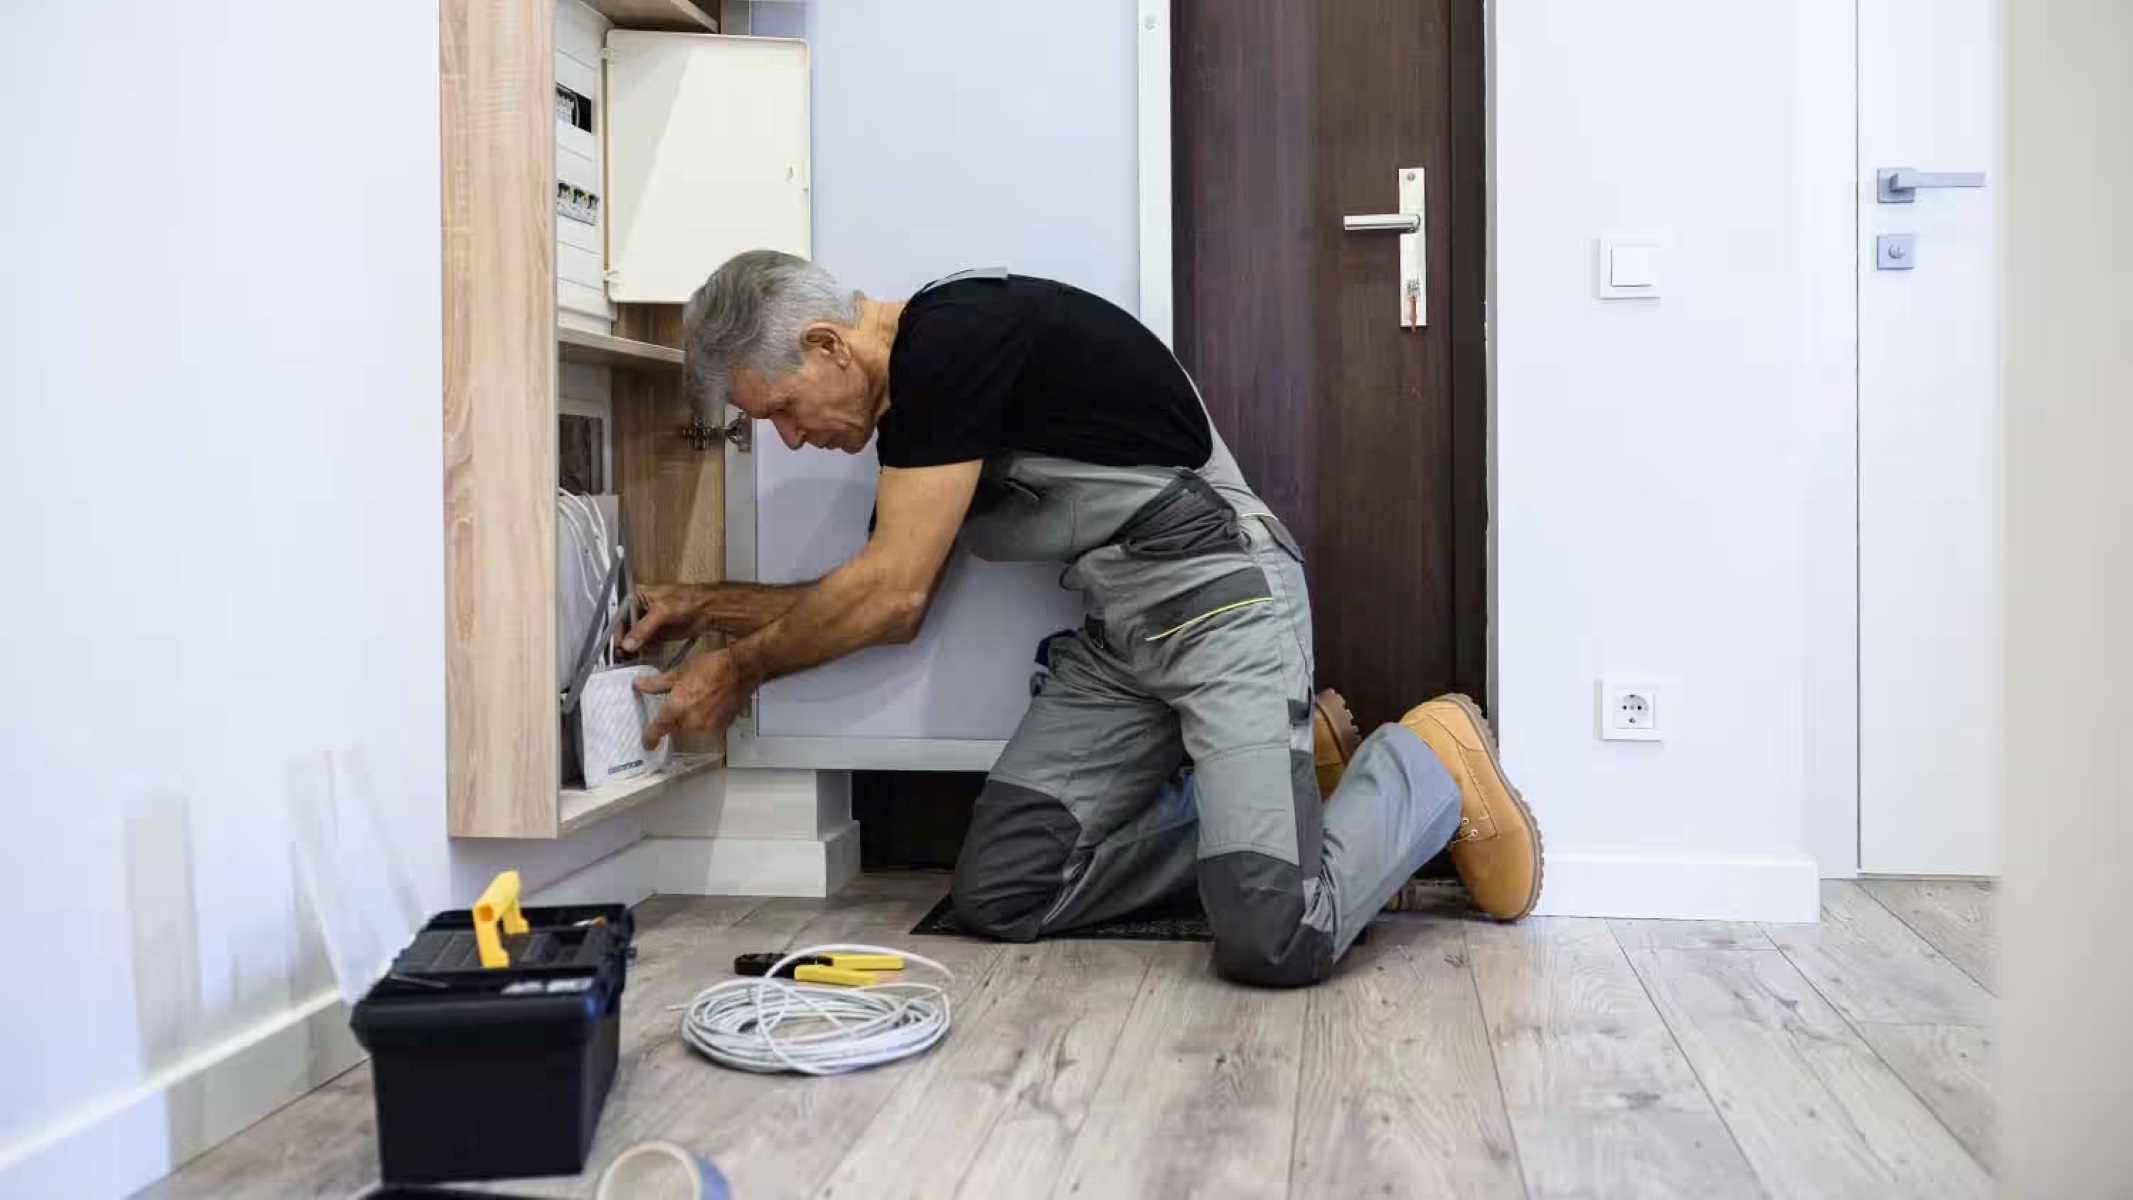
Before you can set up Ethernet wall ports, you need to locate the existing Ethernet cables in your home or office. If you’re lucky, you may already have Ethernet cables installed in the walls, making the setup process much easier. Here’s how to locate the cables:
- Check the Network Equipment: Begin by examining your network equipment, such as your router or switch. Look for any Ethernet cables connected to the ports on these devices.
- Trace the Cables: Follow the path of the existing Ethernet cables from the network equipment to the wall. In some cases, the cables may be visible and easily traceable. However, they could also be hidden within walls or conduit. Use a cable tracer or wire tracker tool, if necessary, to locate and map out the cables’ route.
- Identify the Wall Plates: Look for any wall plates or outlets where the Ethernet cables terminate. These may be located in different rooms or areas of your home or office. Take note of the number of cables connected to each wall plate.
- Label the Cables: To make the installation process easier, label each cable with a unique identifier. This will help identify which cable connects to which device or location.
Locating the existing Ethernet cables is a vital first step as it will determine the locations where you can install your Ethernet wall ports. Once you have identified and labeled the cables, you can move on to the next step: preparing the Ethernet wall ports for installation.
Step 2: Prepare the Ethernet Wall Ports
Now that you have located the existing Ethernet cables, it’s time to prepare the Ethernet wall ports for installation. Follow these steps to get them ready:
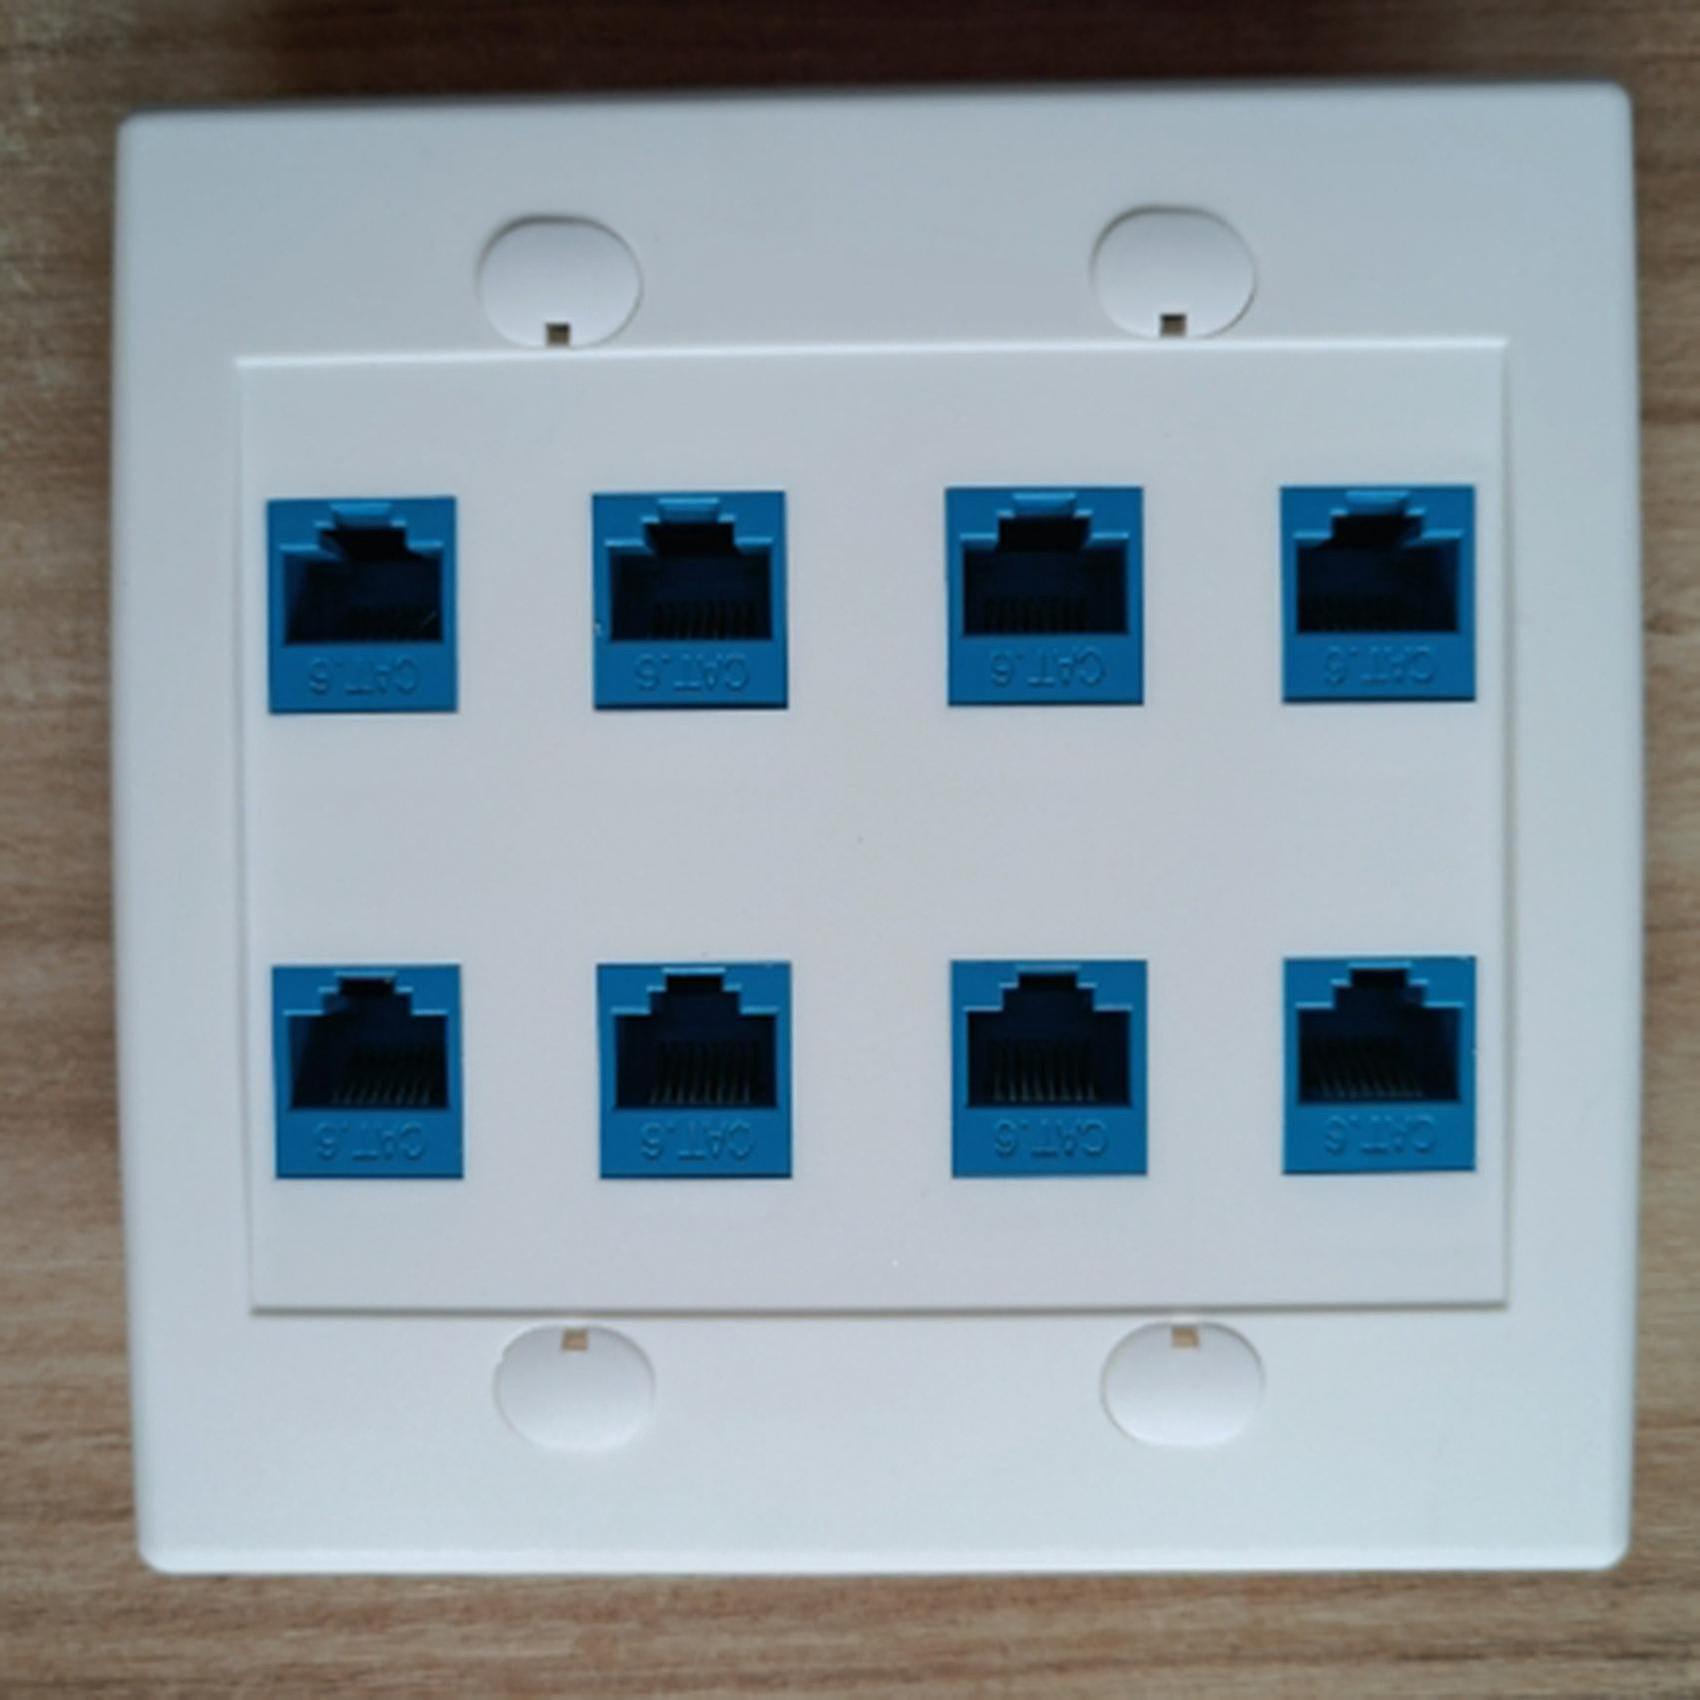
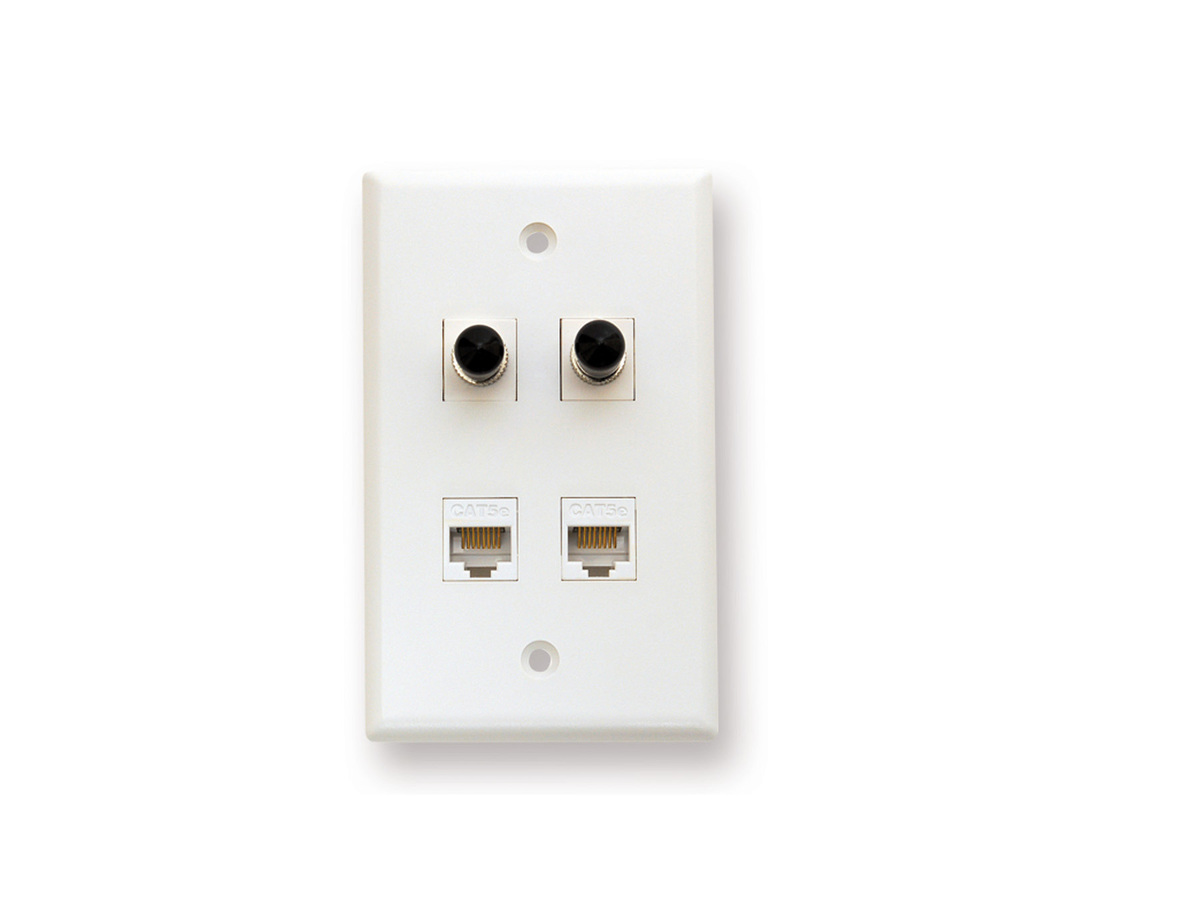
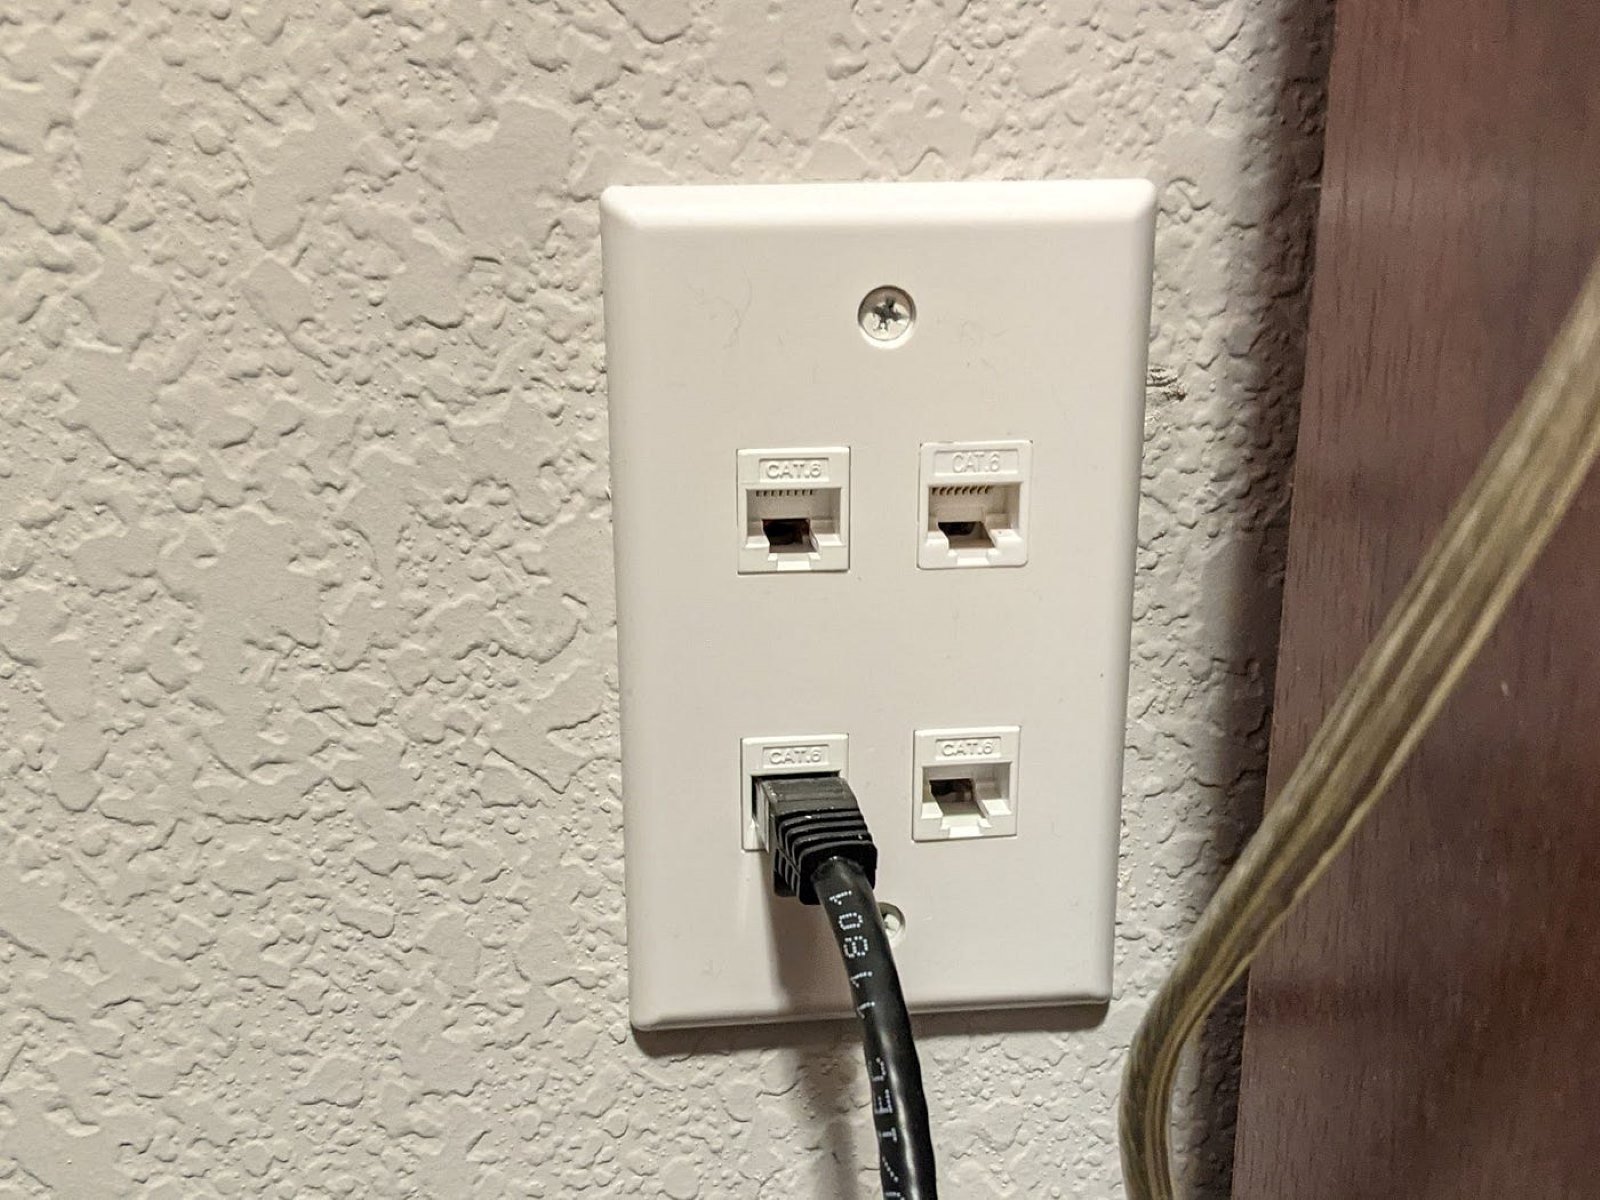
- Choose the Wall Plate Style: Select the type of wall plate that suits your needs and matches the décor of your space. There are various styles available, including single port, double port, or even multiple port wall plates. Ensure that the wall plate has the appropriate number of ports to accommodate your devices.
- Prepare the Wall Cutouts: Depending on the selected wall plate, you may need to create cutouts in the wall to accommodate the ports. Use a wall cutout tool, such as a utility knife or a drywall saw, to carefully cut out the openings according to the size and shape of the wall plate. Take caution to avoid damaging any existing wiring or pipes behind the walls.
- Secure the Wall Plate: Once the cutouts are created, position the wall plate over the openings and align it properly. Use screws or mounting hardware included with the wall plate to secure it firmly to the wall. Ensure that the wall plate sits flush against the wall surface.
- Connect the Ethernet Jacks: After securing the wall plates, it’s time to connect the Ethernet jacks. Insert the Ethernet jacks into the corresponding ports on the back of the wall plates. Make sure they are firmly attached and seated properly. Depending on the specific jacks and wall plates you’re using, you may need to follow specific manufacturer instructions for installation.
- Double-Check the Setup: Before proceeding to the next step, double-check that the wall plates and Ethernet jacks are securely installed and properly aligned. This will help prevent any issues during the cable connection process.
By preparing the Ethernet wall ports correctly, you’ll ensure a neat and professional-looking setup. With the wall plates and jacks in place, you’re now ready for the next step: connecting the Ethernet cables to the wall ports.
Step 3: Connect the Ethernet Cables to the Wall Ports
With the Ethernet wall ports prepared, it’s time to connect the Ethernet cables to these ports. Follow these steps to ensure a proper and secure connection:
- Prepare the Ethernet Cables: Ensure that the Ethernet cables you are using are of the appropriate length and meet the required specifications for your desired network setup. If necessary, trim the cables to the desired length while leaving some extra slack for flexibility.
- Strip the Cable Ends: Use a cable stripper to remove approximately one inch of the outer insulation from the end of each Ethernet cable. This will expose the individual twisted pairs of wires inside.
- Untwist and Arrange the Wires: Once the cables’ ends are stripped, carefully untwist the pairs of wires and arrange them according to the T568A or T568B wiring standard. Ensure that the wires are straight and aligned in the correct order.
- Terminate the Ethernet Jacks: Insert the individual wires into the appropriate slots or terminals on the Ethernet jacks. Refer to the wiring diagram provided with the jacks or use the T568A or T568B standard to ensure consistent connectivity across all the jacks.
- Secure the Cable Connectors: After inserting the wires, use a punch-down tool or a crimping tool to secure the cable connectors in place. Make sure the connections are snug and well-terminated to ensure reliable network performance.
- Repeat the Process: Repeat the above steps for each Ethernet cable and wall port combination. Double-check that the wires are correctly terminated and firmly secured.
As you connect the Ethernet cables to the wall ports, it’s crucial to maintain proper wire order and terminate the connections correctly. This will ensure consistent and reliable network connectivity throughout your setup. With the cables successfully connected, it’s time to move on to the final step: testing the connectivity.
Step 4: Test the Connectivity
After connecting the Ethernet cables to the wall ports, it’s essential to test the connectivity to ensure that everything is functioning correctly. Follow these steps to test the network connectivity:
- Plug in Devices: Connect your devices, such as computers, gaming consoles, or smart TVs, to the Ethernet wall ports using Ethernet cables. Make sure the cables are securely plugged into both the wall ports and the devices.
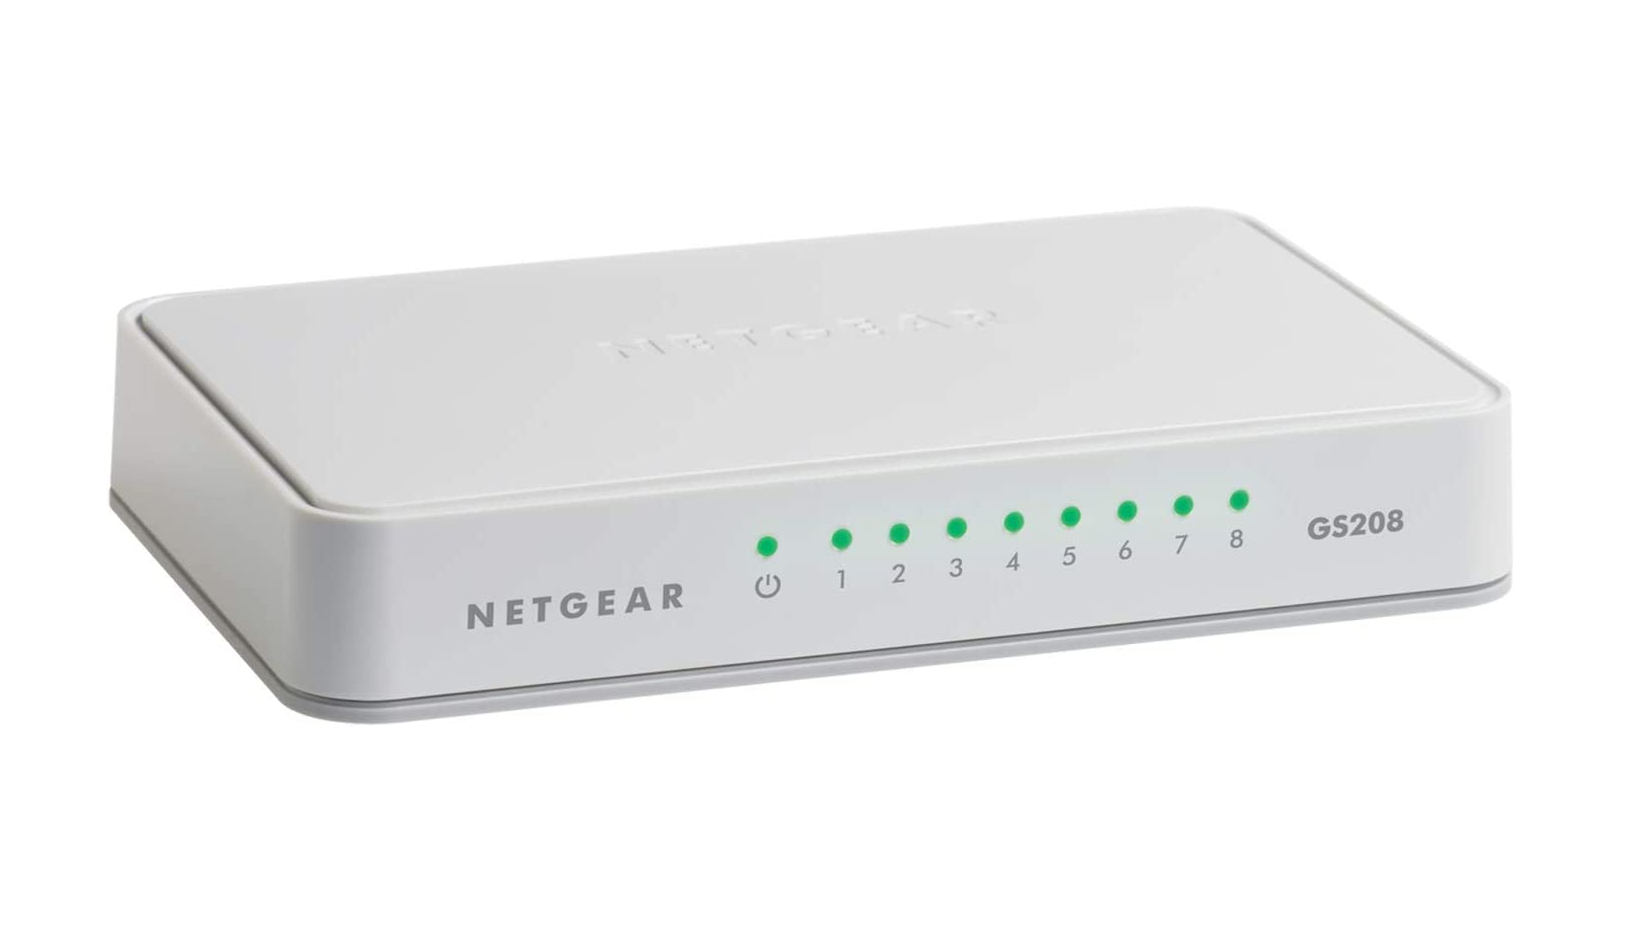
- Power On Network Equipment: Ensure that your network equipment, such as your router or switch, is powered on and functioning correctly. Check for any error indicators or connectivity issues with the network devices.
- Check Link Lights: Look for link lights on the wall ports and the connected devices. These lights indicate a successful connection and data transmission. If the link lights are not illuminated, it may indicate a connectivity problem.
- Test Network Connectivity: Open a web browser or any network-dependent application on your connected devices. Check if you have a stable and reliable internet connection. Visit various websites or perform network-intensive tasks to verify the performance of your network.
- Use a Cable Tester: If you encounter any issues or suspect a faulty connection, use a cable tester to verify the continuity and integrity of the Ethernet cables. This tool will help identify any wiring faults or connectivity problems that may affect the network performance.
- Make Necessary Adjustments: If any issues arise during the testing process, double-check the cable terminations and connections. Ensure that the Ethernet cables are securely plugged in and that the wires are properly terminated.
Testing the connectivity is a crucial step to ensure a reliable and high-speed network connection. By verifying the link lights and performing network tests, you can identify and address any potential issues that may affect your network performance.
Congratulations! You have successfully set up Ethernet wall ports in your home or office. Enjoy the benefits of a stable and fast internet connection for your devices.
Conclusion
Setting up Ethernet wall ports can greatly improve your internet connectivity, providing a stable and fast connection for your devices. By following the steps outlined in this guide, you can successfully install and configure Ethernet wall ports in your home or office.
Through proper planning and preparation, you can determine the ideal locations for your wall ports and ensure you have the necessary tools and materials at hand. Locating the existing Ethernet cables allows you to leverage the existing infrastructure and make the most efficient use of your network setup.
Preparing the Ethernet wall ports involves selecting the appropriate wall plates, creating the necessary cutouts in the walls, securing the wall plates, and connecting the Ethernet jacks. This process ensures a professional and functional installation that seamlessly integrates with your surroundings.
Connecting the Ethernet cables to the newly installed wall ports requires careful wire termination and testing. Follow the proper wiring standards and use the correct tools to ensure consistent connectivity and reliable performance.
Finally, testing the connectivity ensures that the Ethernet wall ports are functioning as intended. By checking for link lights, testing network connectivity, and using a cable tester, you can identify and resolve any connectivity issues that may arise.
Congratulations! You have successfully set up Ethernet wall ports, enhancing your internet experience with faster and more reliable connections. Enjoy the benefits of a solid network infrastructure for all your devices, making activities like gaming, streaming, and remote work smoother and more enjoyable.