Introduction
Are you tired of dealing with slow and unreliable Wi-Fi in certain parts of your house? Do you want a more stable and secure internet connection in another room? If so, then you’ve come to the right place. In this article, we will discuss various methods to get Ethernet in another room, giving you the flexibility to connect your devices directly to the internet for faster speeds and more reliable connectivity.
Having Ethernet in multiple rooms can be beneficial in several scenarios. It allows you to set up a home office, gaming area, or media room without worrying about Wi-Fi dead zones or interference. With a direct Ethernet connection, you can enjoy seamless streaming, lag-free online gaming, and faster file transfers.
Assessing your specific situation will be the first step in determining the most suitable solution. Factors such as the distance between the rooms, the layout of your house, and the existing infrastructure will play a crucial role in deciding the best approach. Fortunately, there are several options available to achieve this goal, each with its own pros and cons. Let’s explore them in detail to find the one that fits your needs.
Assessing the Situation
Before delving into the various methods of getting Ethernet in another room, it’s essential to assess your specific situation. Understanding the layout and infrastructure of your home will help determine the most effective solution. Here are a few key factors to consider:
Distance: The distance between the room where your router is located and the room where you want Ethernet connectivity plays a crucial role. The longer the distance, the more challenging it can be to establish a direct connection. It’s important to consider the length limitations of Ethernet cables and the potential loss of signal strength over longer distances.
Walls and Obstructions: Take note of the number of walls and other obstacles between your router and the desired room. Thick walls, metal structures, and other interference sources can attenuate the signal, making it difficult to achieve a reliable Ethernet connection. Understanding the layout of your home will help identify any potential hurdles.
Existing Wiring Infrastructure: It’s worth investigating if your home has any existing Ethernet or coaxial cable wiring. Many modern homes are already equipped with Ethernet cables running through the walls, which can make the installation process much simpler. Similarly, coaxial cables, typically used for cable TV, can be repurposed for Ethernet connectivity using the appropriate adapters.
Preferred Location: Identify the specific room or area within the room where you want Ethernet connectivity. This will help determine the most suitable method for routing the Ethernet cable or establishing a connection without the need for extensive wiring. Consider the layout and placement of devices in that room to ensure optimal positioning.
Taking these factors into account will enable you to make an informed decision when selecting the most suitable method to get Ethernet in another room. Whether it’s running cables through walls, using powerline adapters, or exploring wireless alternatives, understanding your situation will be key to achieving a successful Ethernet connection.
Planning the Ethernet Connection
Once you have assessed the situation and determined the desired location for Ethernet connectivity in another room, it’s time to plan the implementation. This involves selecting the appropriate method and determining the necessary equipment. Let’s explore some of the common options:
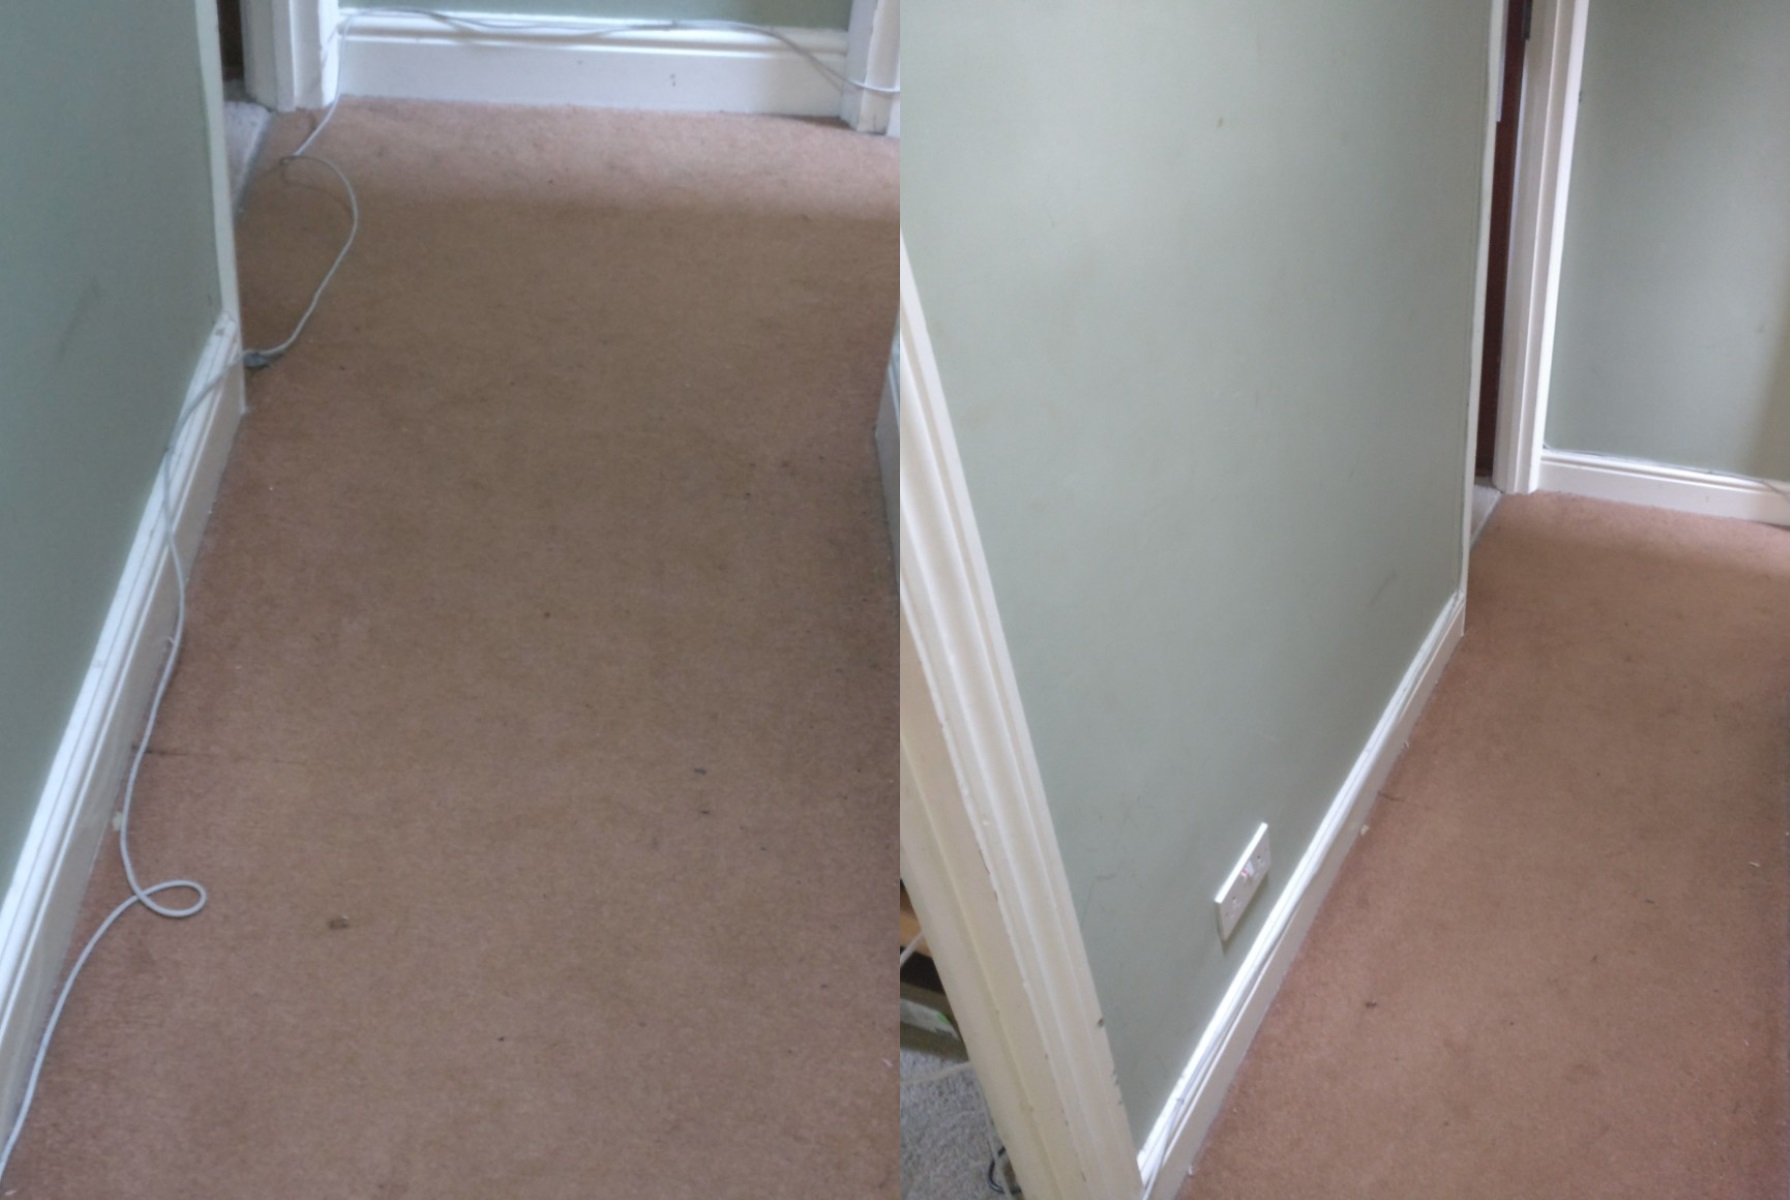
Option 1: Running Ethernet Cable Through Walls: This is the most traditional and reliable method of getting Ethernet in another room. It involves running Ethernet cables through the walls and connecting them directly to your router. This option requires drilling holes, routing cables, and potentially patching walls afterward. However, it offers the highest performance and reliability.
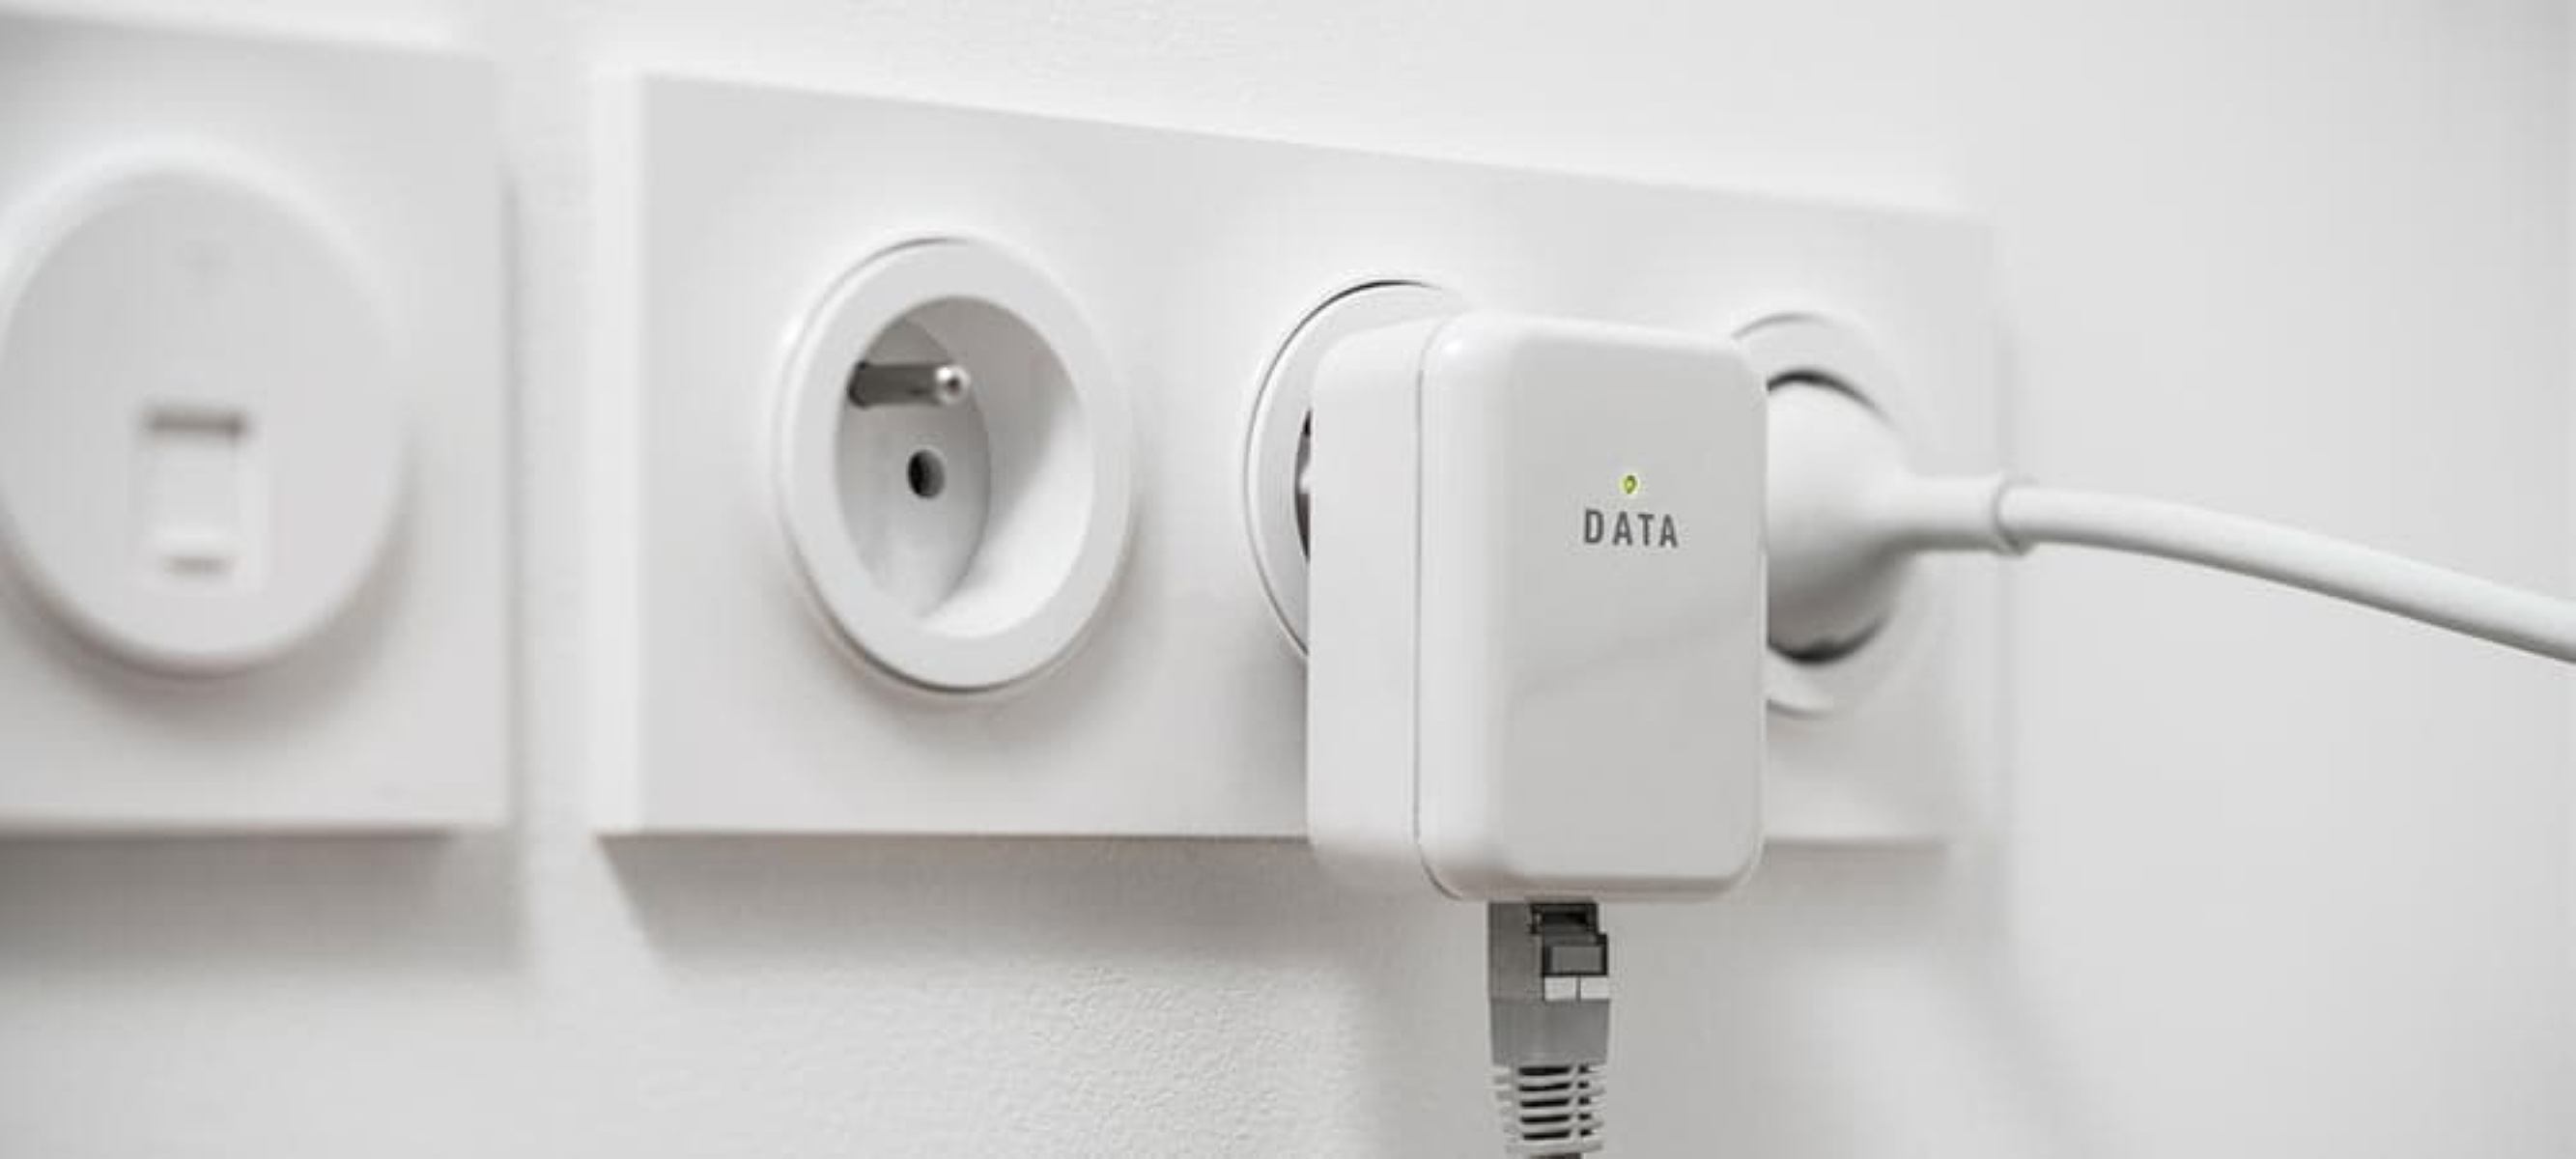
Option 2: Using Powerline Adapters: Powerline adapters utilize your home’s existing electrical wiring to transmit the Ethernet signal from one room to another. This eliminates the need for running cables through walls and can be a convenient solution. Simply plug one adapter into an outlet near your router and connect it via Ethernet, then plug another adapter into an outlet in the desired room and connect your device. However, powerline performance can vary depending on the quality of your electrical wiring.
Option 3: Using MoCA Adapters: If your home has existing coaxial cable wiring, using MoCA (Multimedia over Coax Alliance) adapters can be a viable option. Similar to powerline adapters, MoCA adapters utilize the existing coaxial cables to transmit the Ethernet signal. One adapter connects to your router using Ethernet, while another adapter is placed in the desired room to provide Ethernet connectivity. This option offers reliable and high-speed performance.
Option 4: Using a Wireless Bridge: If running cables or using adapters is not feasible, a wireless bridge can be a practical solution. A wireless bridge connects to your router wirelessly and then sends the Ethernet signal to the desired room through a wired connection. This method requires a wireless bridge device and an Ethernet cable to connect to your device in the other room. While it may not offer the same performance as a wired connection, it provides more flexibility and convenience.
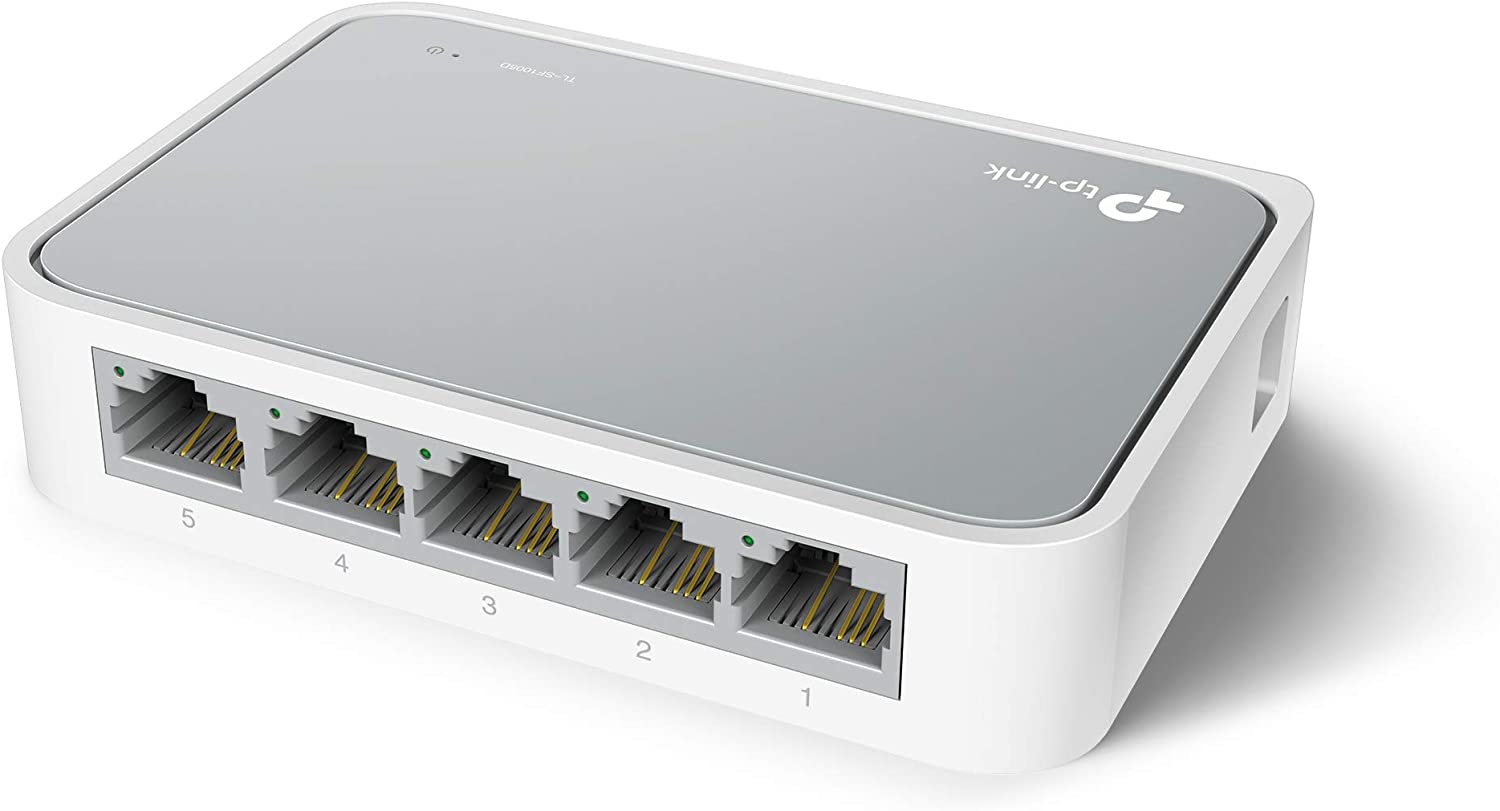
Option 5: Extending Ethernet with a Switch: If you already have Ethernet connectivity in one room, you can extend it to another room using an Ethernet switch. Simply connect an Ethernet cable from the existing Ethernet port to the switch, and then connect additional devices in the new room to the switch. This option eliminates the need for running additional cables or using adapters, but it requires an existing Ethernet connection nearby.
By carefully planning and selecting the most suitable method for your specific situation, you can successfully establish a reliable Ethernet connection in another room. Consider factors such as performance, ease of installation, and cost when making your decision. With a well-executed plan, you’ll soon enjoy fast and dependable internet connectivity wherever you need it in your home.
Option 1: Running Ethernet Cable Through Walls
Running Ethernet cables through walls is a traditional and reliable method for getting Ethernet in another room. While it may require more effort and planning compared to other options, it offers the highest performance and stability. Here’s a step-by-step guide on how to implement this method:
Step 1: Decide on the Route: Determine the most efficient path for running the Ethernet cable from your router to the desired room. Consider factors such as distance, existing obstacles, and the aesthetics of your home. Take note of any potential challenges such as firebreaks or insulation that may require special tools or techniques.
Step 2: Gather the Necessary Tools and Materials: You will need a few key tools and materials to successfully run Ethernet cables through walls. These include a stud finder, a drill with a long flexible drill bit or fish tape, wall plates, patch cables, and of course, Ethernet cables. Ensure you have everything on hand before starting the installation process.
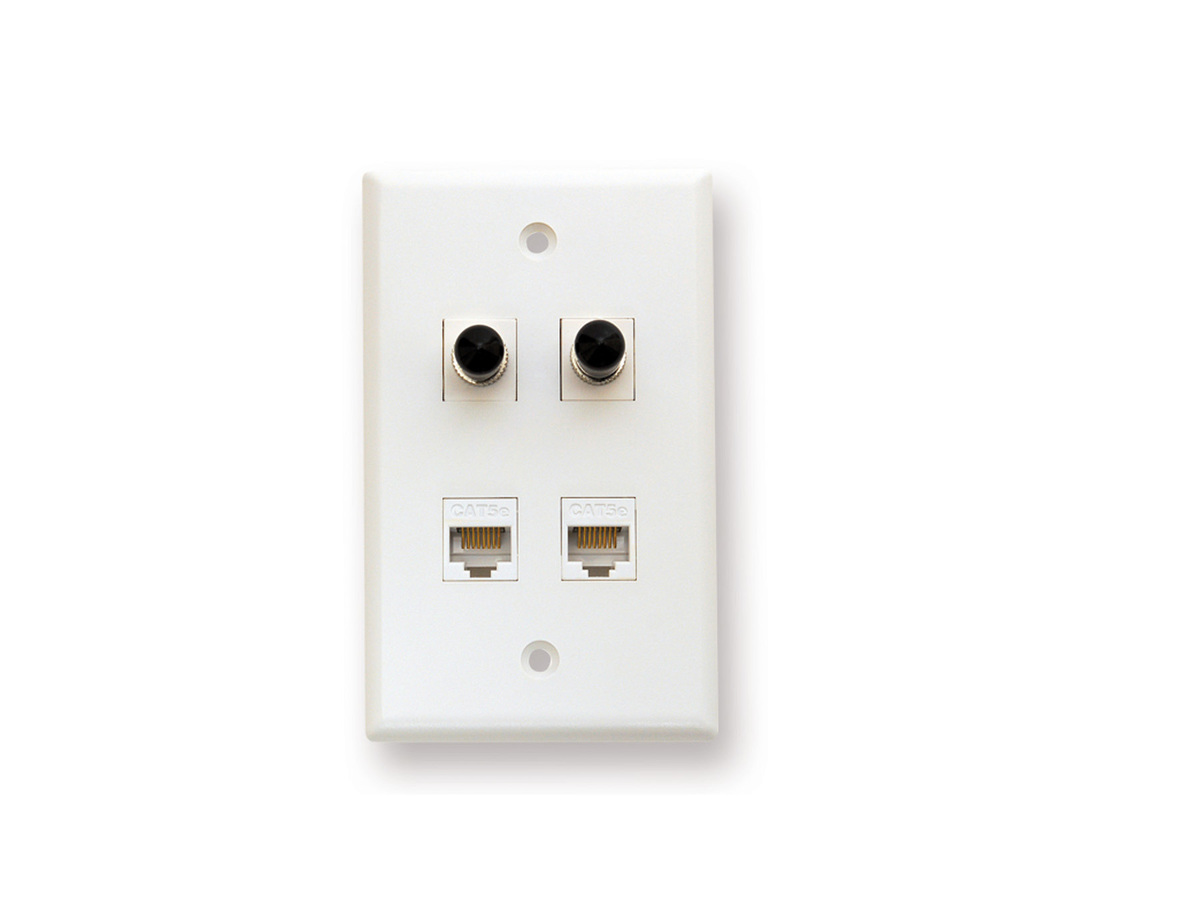
Step 3: Prepare the Router and Wall Plates: Connect one end of the Ethernet cable to an available LAN port on your router and secure it in place. Install wall plates in both the router room and the desired room to provide a clean and professional-looking finish. Ensure the wall plates are properly labeled and have the necessary ports for the Ethernet connection.
Step 4: Identify and Drill Holes: Use a stud finder to locate the studs in the walls along the planned path. Mark the locations where you will drill the holes for the Ethernet cable. It’s important to avoid electrical wiring, water pipes, and other potential hazards. Drill a hole at each marked location, ensuring it is wide enough to accommodate the Ethernet cable.
Step 5: Run the Ethernet Cable: Starting from the router room, feed the Ethernet cable through the first hole and route it through the walls, following the designated path. Use a long flexible drill bit or fish tape to help guide the cable through any tight spaces or corners. Be careful not to damage the cable or the walls during this process.
Step 6: Connect the Ethernet Cable: Once the Ethernet cable reaches the desired room, pull it out through the corresponding hole. Trim the cable length to the appropriate size and connect it to the wall plate in that room. Ensure a secure connection by properly crimping or using a suitable connector. Test the connection by plugging a device into the wall plate and ensuring it is receiving a stable Ethernet connection.
By following these steps, you can successfully run Ethernet cables through walls and establish a direct and reliable connection in another room. While this method requires some planning and effort, it offers the best performance and stability, making it ideal for situations where a wired connection is essential.
Option 2: Using Powerline Adapters
If running Ethernet cables through walls is not a feasible option, powerline adapters can provide a convenient alternative for getting Ethernet in another room. Powerline adapters utilize your home’s existing electrical wiring to transmit the Ethernet signal from one room to another. Here’s how to set up powerline adapters:
Step 1: Purchase the Necessary Equipment: Start by purchasing a pair of powerline adapters. This typically includes two adapters, with one connecting to your router and the other in the room where you want Ethernet connectivity. Make sure the powerline adapters are compatible with your home’s electrical system and have the desired Ethernet speeds and features.
Step 2: Plug in the Adapters: Begin by plugging one powerline adapter into a power outlet near your router. Connect the adapter to your router using an Ethernet cable. The adapter should have a designated LAN port for this connection. Ensure a stable and secure connection between the adapter and the router.
Step 3: Pair the Adapters: Take the second powerline adapter and plug it into an outlet in the room where you want Ethernet connectivity. Again, make sure the adapter is securely connected to the outlet. The two powerline adapters need to be paired to establish a connection. This is typically done by pressing a pair or sync button on both adapters within a certain timeframe. Refer to the manufacturer’s instructions for the specific pairing process.
Step 4: Connect Devices: Once the powerline adapters are paired, you can connect your device in the desired room to the adapter using an Ethernet cable. Plug one end of the cable into the Ethernet port on the powerline adapter and the other end into the Ethernet port of your device. Ensure a secure and stable connection by confirming that the cables are properly inserted and connected.
Step 5: Test the Connection: Verify that the Ethernet connection is established by checking the network settings on your device. You should see a reliable connection with high-speed data transfer. Test the connection by performing tasks such as streaming videos, online gaming, or transferring files to ensure the stability and performance of the Ethernet connection.
Powerline adapters offer a convenient solution for extending Ethernet connectivity to another room without the need for extensive wiring or drilling. Keep in mind that the performance of powerline adapters can vary depending on the quality of your electrical wiring and the distance between the powerline adapters. Conducting thorough testing and ensuring compatibility with your home’s electrical setup will help maximize the effectiveness of powerline adapters in providing Ethernet connectivity.
Option 3: Using MoCA Adapters
If your home has existing coaxial cable wiring, using MoCA (Multimedia over Coax Alliance) adapters can provide a reliable and high-speed solution for getting Ethernet in another room. MoCA adapters utilize the existing coaxial cables to transmit the Ethernet signal, making it a convenient option. Here’s how to set up MoCA adapters:
Step 1: Verify Coaxial Cable Connectivity: Ensure that you have functional coaxial cable wiring in your home. Identify the coaxial cable outlets in both the room where your router is located and the room where you want Ethernet connectivity. It’s important to confirm that these outlets are properly connected and not being used for other purposes such as cable TV or satellite TV.
Step 2: Purchase MoCA Adapters: Purchase a pair of MoCA adapters that are compatible with your home’s coaxial cable system and deliver the desired Ethernet speeds. Look for adapters that support the MoCA 2.0 or higher standard to ensure optimal performance. Consider factors such as encryption capabilities and additional features based on your specific requirements.
Step 3: Connect the MoCA Adapter to Your Router: Begin by connecting one MoCA adapter to your router. Use an Ethernet cable to connect one end of the adapter to an available LAN port on your router. Ensure a secure and stable connection between the adapter and the router. The MoCA adapter may also require a power connection, so make sure it is plugged into an outlet or power strip.
Step 4: Connect the MoCA Adapter in the Desired Room: Take the second MoCA adapter and connect it to a coaxial cable outlet in the room where you want Ethernet connectivity. Use an Ethernet cable to connect one end of the adapter to your device, such as a computer, gaming console, or smart TV. Ensure a secure and stable connection by properly inserting the Ethernet cable into the adapter and the device.
Step 5: Check for MoCA Connectivity: Verify that the MoCA adapters have established a connection by checking the indicator lights on each device. They should show a successful connection between the two adapters. If the lights indicate any issues, refer to the manufacturer’s instructions or troubleshooting guides to resolve connectivity problems.
Step 6: Test the Connection: Test the Ethernet connection by performing various tasks, such as streaming videos, online gaming, or transferring files. Ensure that the connection is stable and provides the desired speed and performance. If necessary, adjust the placement of the MoCA adapters or consider using additional adapters to improve signal strength and coverage.
Using MoCA adapters can be an effective way to get Ethernet in another room if you have existing coaxial cable wiring in your home. It provides reliable and high-speed connectivity without the need for extensive wiring or drilling. By following these steps and conducting thorough testing, you can enjoy a robust and secure Ethernet connection in any room with a coaxial cable outlet.
Option 4: Using a Wireless Bridge
If running cables or using adapters is not feasible for getting Ethernet in another room, a wireless bridge can be a practical solution. A wireless bridge connects to your router wirelessly and then sends the Ethernet signal to the desired room through a wired connection. Here’s how to set up a wireless bridge:
Step 1: Select a Compatible Wireless Bridge: Ensure that the wireless bridge you choose is compatible with your router and supports the desired Ethernet speeds. Look for a bridge that offers a strong and stable wireless connection with reliable performance. Consider additional features such as encryption and ease of setup based on your specific requirements.
Step 2: Configure the Wireless Bridge: Follow the manufacturer’s instructions to configure the wireless bridge. This typically involves connecting the bridge to your router’s wireless network. Use the provided software or web interface to establish the wireless connection. Ensure that the bridge is securely connected to the router’s wireless network for smooth and uninterrupted data transmission.
Step 3: Connect the Ethernet Cable: Once the wireless bridge is configured and connected to the router wirelessly, use an Ethernet cable to establish a wired connection between the bridge and the device in the desired room. Connect one end of the Ethernet cable to the bridge’s Ethernet port and the other end to the Ethernet port on your device, such as a computer or gaming console. Ensure a secure and stable connection by properly inserting the Ethernet cable into the ports.
Step 4: Test the Connection: Verify that the wireless bridge has successfully established a connection by testing the Ethernet connection on your device. Check the network settings to ensure that it is receiving a stable and reliable connection. Perform tasks such as streaming, online gaming, or file transfers to ensure the stability and performance of the Ethernet connection.
Step 5: Adjust Placement, if Necessary: If the wireless bridge does not provide the desired signal strength or performance, consider adjusting its placement. Move the bridge closer to your router to improve the wireless connection. Experiment with different locations to find the optimal placement that ensures a strong and stable connection between the bridge, router, and the device in the other room.
Using a wireless bridge offers flexibility and convenience for getting Ethernet in another room without the need for running cables or using adapters. While it may not provide the same performance as a wired connection, it can still offer reliable speeds and connectivity. By following these steps and performing thorough testing, you can enjoy a stable Ethernet connection in any room using a wireless bridge.
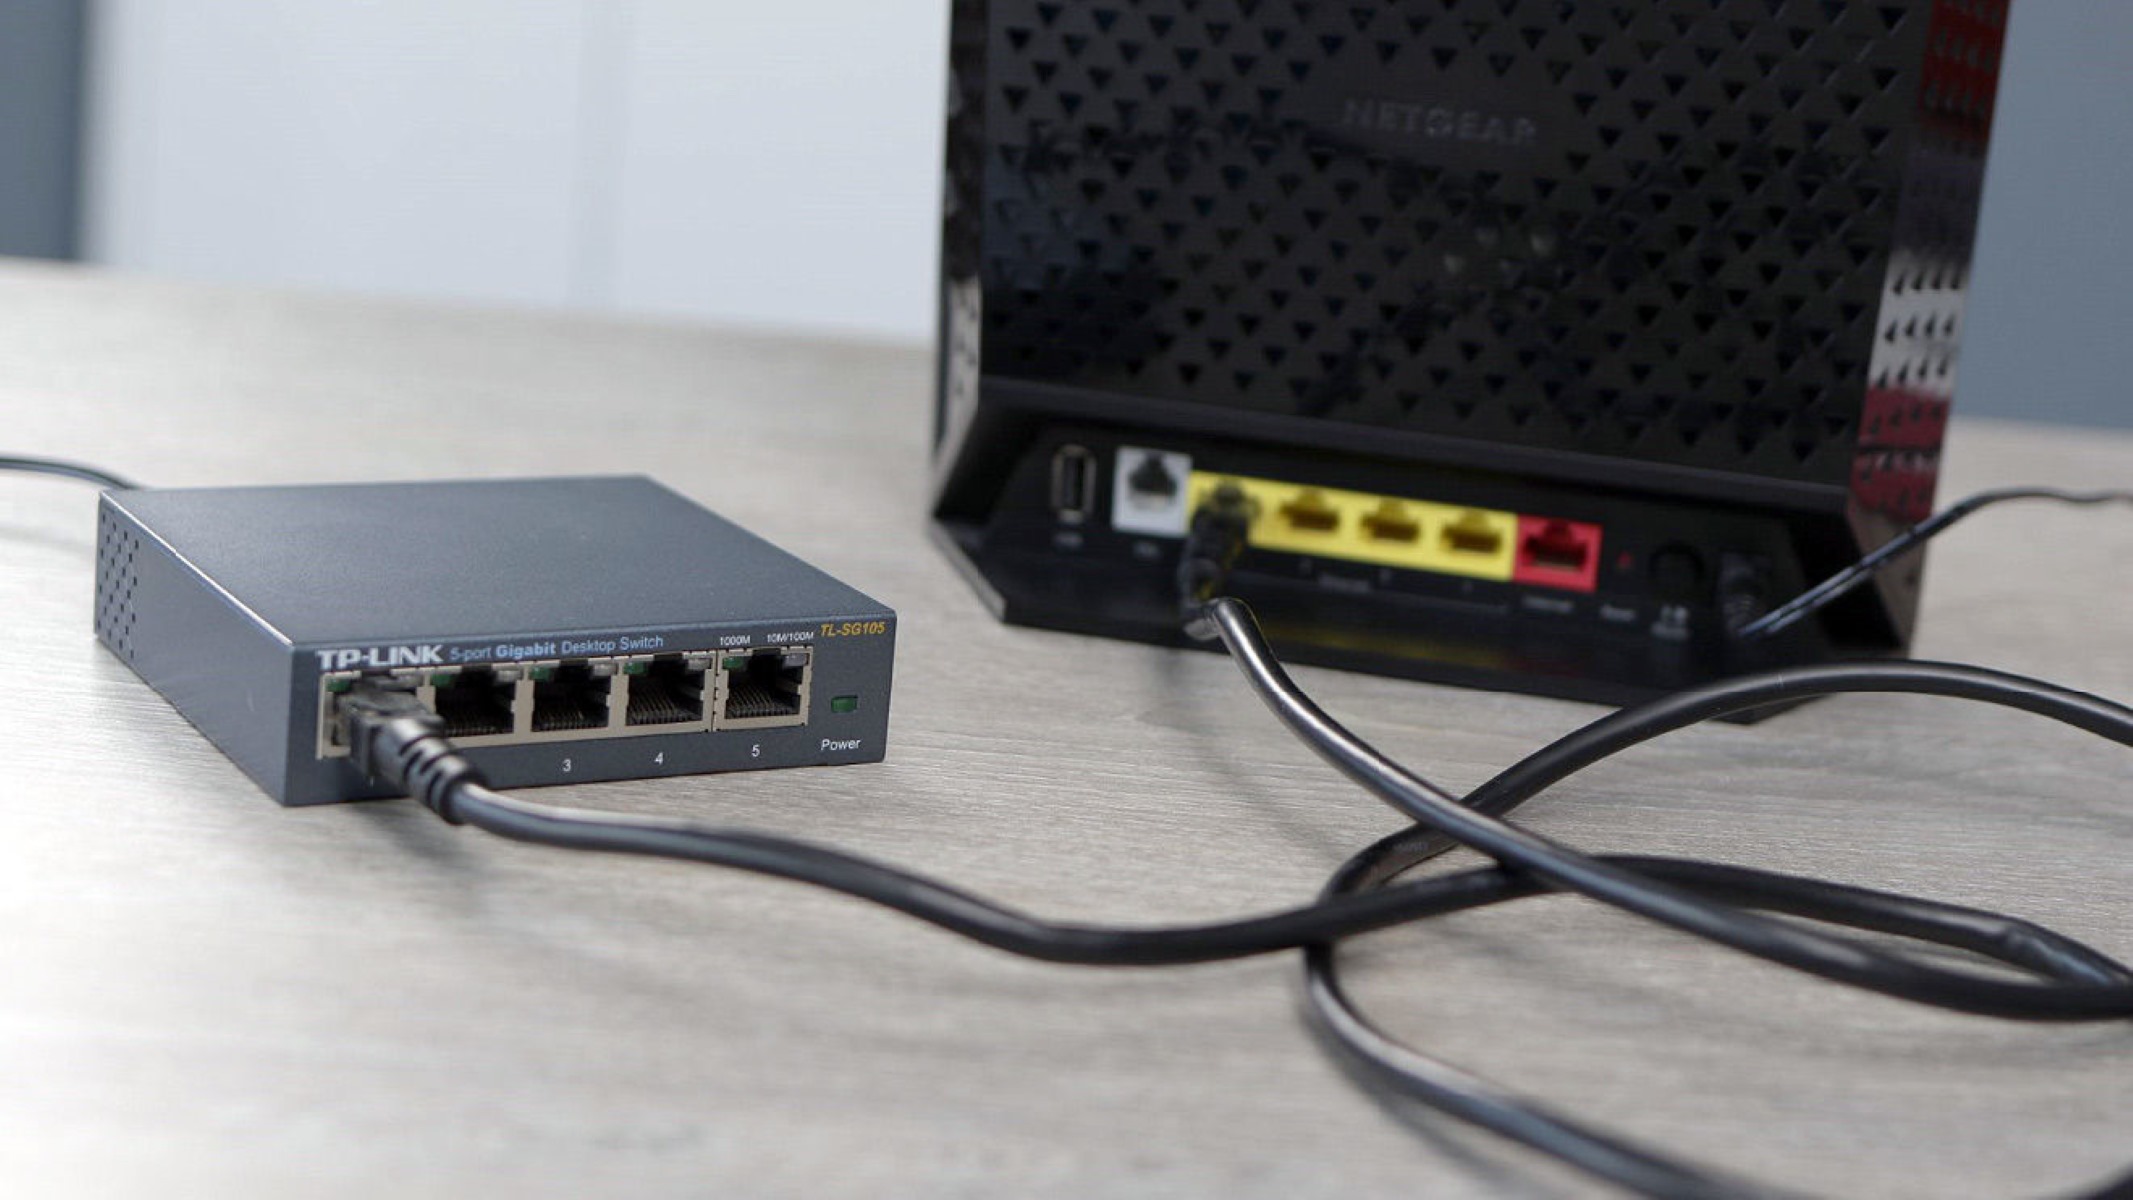
Option 5: Extending Ethernet with a Switch
If you already have Ethernet connectivity in one room, extending it to another room using an Ethernet switch can be a simple and effective solution. An Ethernet switch allows you to expand the number of available Ethernet ports and connect multiple devices in the desired room. Here’s how to set up Ethernet extension using a switch:
Step 1: Determine the Location of the Existing Ethernet Connection: Identify the room where you currently have Ethernet connectivity. This is typically the room where your router is located. Take note of the Ethernet port that you will be using to connect the switch.
Step 2: Purchase an Ethernet Switch: Select an Ethernet switch that suits your needs in terms of the number of available ports and desired speed. Consider factors such as the size and design of the switch to ensure it fits your setup. It is recommended to choose a switch with Gigabit Ethernet ports for optimal performance.
Step 3: Connect the Ethernet Switch: Connect one end of an Ethernet cable to the Ethernet port in the existing room, where you have the Ethernet connectivity. Connect the other end of the cable to one of the ports on the Ethernet switch. Ensure a secure and stable connection by properly inserting the Ethernet cable into the ports.
Step 4: Connect Devices in the Desired Room: In the room where you want Ethernet connectivity, connect the devices to the available ports on the Ethernet switch. Use Ethernet cables to establish a wired connection between the devices and the switch. Ensure a secure and stable connection by properly inserting the Ethernet cables into the ports of both the switch and the devices.
Step 5: Test the Connection: Verify that the Ethernet connection is successfully extended to the desired room by testing the devices connected to the switch. Check the network settings on the devices to ensure they are receiving a stable and reliable connection. Perform tasks such as streaming, online gaming, or file transfers to confirm the stability and performance of the Ethernet connection.
Using an Ethernet switch provides a straightforward way to extend Ethernet connectivity from one room to another. This option eliminates the need for running additional cables or using adapters, as long as you have an existing Ethernet connection nearby. By following these steps and conducting thorough testing, you can enjoy reliable and high-speed Ethernet connectivity in any room using an Ethernet switch.
Setting up the Ethernet Connection
Setting up the Ethernet connection involves configuring the devices and ensuring a secure and stable connection between them. Here’s a general guide on how to set up the Ethernet connection in another room:
Step 1: Configure Your Device: Start by configuring the device in the room where you want Ethernet connectivity. This could be a computer, gaming console, smart TV, or any other device that supports Ethernet connectivity. Access the network settings of the device and ensure that it is set to use Ethernet as the primary connection method. Enable any necessary settings for automatic IP address assignment or manual configuration based on your network setup.
Step 2: Connect the Ethernet Cable: Take an Ethernet cable and plug one end into the Ethernet port of the device. Ensure a secure and stable connection by properly inserting the cable into the port. Then, plug the other end of the cable into the corresponding port on the switch, powerline adapter, or MoCA adapter that you’re using to extend the Ethernet connection.
Step 3: Power On the Devices: Make sure all the devices involved in the Ethernet connection, such as the router, switches, and adapters, are powered on. Check the indicator lights on each device to confirm that they are operational and functioning correctly.
Step 4: Test the Connection: Test the Ethernet connection to ensure that it is working properly. Open a web browser on your device and navigate to a website to check internet connectivity. Perform various tasks such as streaming, online gaming, or file transfers to determine the stability and performance of the Ethernet connection. If you experience any issues, double-check the connections, restart the devices if necessary, and consult the manufacturer’s instructions or support resources for troubleshooting steps.
Step 5: Secure Your Ethernet Connection: To ensure the security of your Ethernet connection, enable encryption and set strong passwords for your router and any connected devices. It’s also a good practice to regularly update the firmware on your networking devices to benefit from the latest security enhancements and bug fixes.
By following these steps and conducting thorough testing, you can successfully set up an Ethernet connection in another room. Whether you’re using cables, adapters, or switches, ensuring secure and stable connections will maximize the performance and reliability of your Ethernet connection.
Testing and Troubleshooting
Testing and troubleshooting the Ethernet connection in another room is crucial to ensure optimal performance and address any potential issues. Here are some steps you can take to test and troubleshoot your Ethernet setup:
Step 1: Check for Proper Connection: Verify that all the devices involved in the Ethernet connection are properly connected. Double-check the Ethernet cables, ensuring they are securely and correctly plugged into the ports of the devices and any adapters or switches being used. Confirm that the indicator lights on the devices indicate a successful connection.
Step 2: Test Internet Connectivity: Open a web browser on your device in the room where you want Ethernet connectivity and check if you have internet access. Load a few different websites to ensure consistent connectivity. If you encounter any issues, try restarting your router and devices, or consulting your internet service provider for assistance.
Step 3: Measure Speed and Performance: Use a speed testing tool to measure the speed and performance of your Ethernet connection. Several online speed testing websites are available that can provide accurate results. Ensure that the speeds meet your expectations, and if not, consider troubleshooting your setup or contacting your internet service provider.
Step 4: Address Potential Interference: If you encounter connection drops or intermittent issues, check for potential sources of interference. Wireless devices, neighboring networks, electronic appliances, and even physical obstructions can disrupt the Ethernet signal. Try relocating devices or using shielding materials to reduce interference and improve signal quality.
Step 5: Update Firmware and Drivers: Ensure that the firmware or software for your router, switches, and adapters are up to date. Outdated firmware can sometimes cause connectivity issues. Visit the manufacturers’ websites and download the latest updates for your devices. Additionally, check for driver updates for your network adapters on your devices to ensure optimal performance.
Step 6: Reach Out for Support: If you encounter persistent issues or are unsure how to proceed with troubleshooting, don’t hesitate to reach out for technical support. Contact the manufacturers of your devices or consult support forums and communities dedicated to networking. They can provide guidance, troubleshooting steps, and potential solutions to address any issues you may be facing.
By thoroughly testing and troubleshooting your Ethernet connection, you can resolve any issues and ensure a stable and reliable connection in the desired room. By addressing potential problems and following these steps, you can enjoy high-speed internet access without interruptions.
Conclusion
In conclusion, there are various methods to get Ethernet in another room, offering different levels of convenience, performance, and ease of installation. By assessing your specific situation, considering factors such as distance, walls, existing wiring, and preferred location, you can determine the most suitable option for your needs. Whether it’s running Ethernet cables through walls, using powerline or MoCA adapters, setting up a wireless bridge, or extending Ethernet with a switch, each method has its own benefits and considerations.
Running Ethernet cables through walls is the most reliable and high-performance option but requires drilling, routing cables, and patching walls. Powerline adapters utilize your home’s electrical wiring, while MoCA adapters use existing coaxial cables to transmit the Ethernet signal. These options eliminate the need for extensive wiring but may be affected by the quality of electrical or coaxial wiring in your home. A wireless bridge provides flexibility and convenience but may not offer the same performance as a wired connection. Extending Ethernet with a switch is a simple and straightforward solution if you have an existing Ethernet connection nearby.
Once you have set up the Ethernet connection, it’s important to test the connection, measure speeds, and troubleshoot any potential issues. Double-checking the connection, testing internet connectivity, addressing interference, and updating firmware and drivers will help ensure a stable and reliable Ethernet connection.
By following the steps outlined in this guide, you can successfully bring Ethernet connectivity to another room in your home, improving network performance, and providing a robust connection for your devices. Enjoy fast and reliable internet access wherever you need it, whether for work, gaming, or streaming, and take full advantage of the benefits that Ethernet connectivity offers.