Introduction
Crimping an Ethernet cable is a crucial skill for anyone working with computer networks or setting up their own home network. Whether you’re a professional network technician or a DIY enthusiast, understanding how to crimp an Ethernet cable can enable you to create custom-length cables, make repairs, or connect devices with ease. In this article, we will discuss the importance of crimping an Ethernet cable and provide a step-by-step guide on how to accomplish this task.
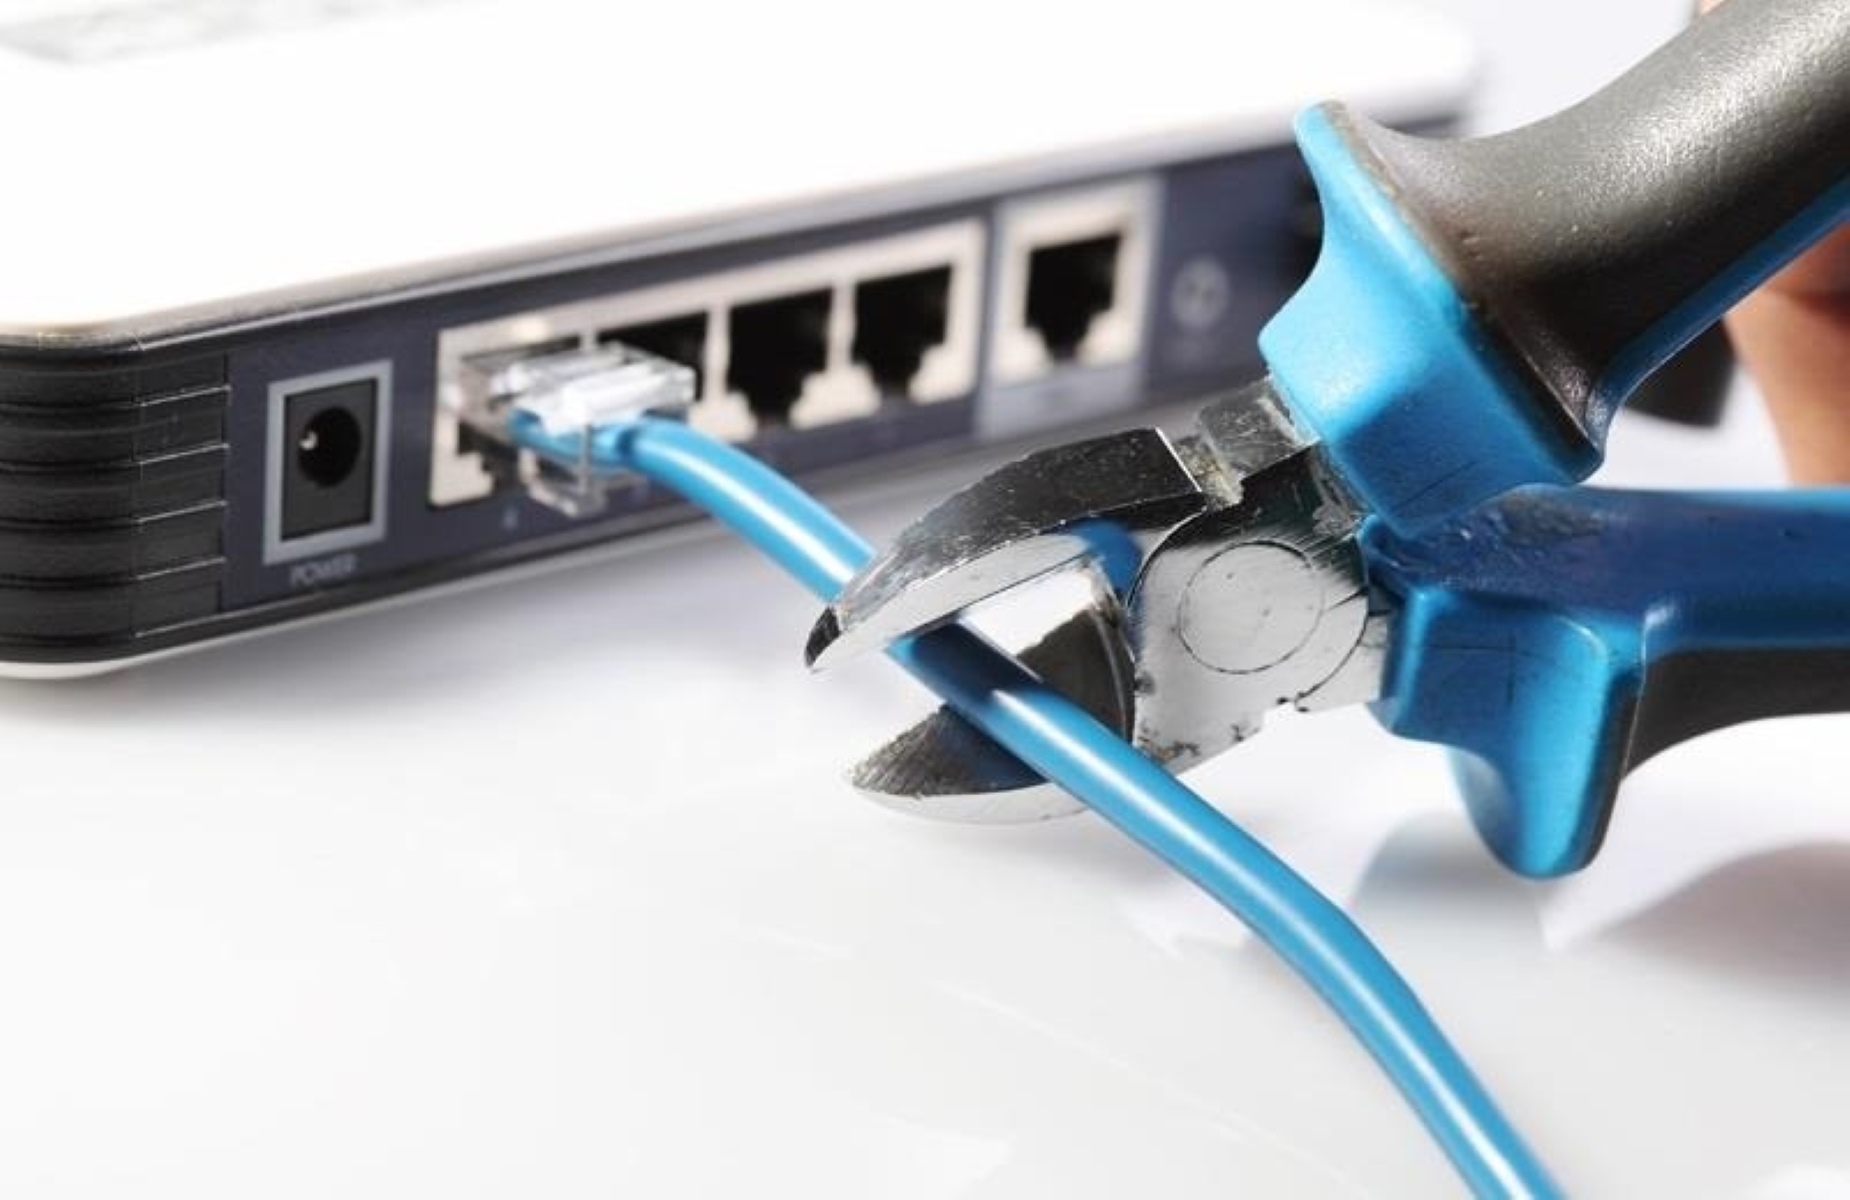
Ethernet cables are commonly used to establish wired connections between devices such as computers, routers, switches, and even network-enabled devices like printers and gaming consoles. These cables transmit data signals in the form of electrical impulses, allowing devices to communicate with each other. Properly crimped Ethernet cables ensure a stable and reliable connection, minimizing data transmission errors and maximizing network performance.
Without a properly crimped Ethernet cable, you may experience a range of network issues, including intermittent connectivity, slow data transfer speeds, dropped connections, and data packet loss. These problems can be frustrating, especially when they hinder your productivity or prevent you from enjoying a smooth online experience. By learning how to crimp your own Ethernet cables, you can have full control over the quality and length of the cables you use, avoiding the limitations of pre-made cables.
To crimp an Ethernet cable, you will need a few essential tools and materials, including Ethernet cable connectors (known as RJ45 connectors), an Ethernet cable stripper, a cable crimper, and a cable tester. These tools are readily available and relatively inexpensive, making it practical for both professionals and home users to invest in them. The process itself involves carefully stripping the outer jacket of the cable, arranging the individual wires in the correct order according to an industry-standard wiring scheme, inserting the wires into the connector, and finally crimping the connector to secure the wires in place.
In the following sections, we will provide a detailed step-by-step guide on how to crimp an Ethernet cable. We will also cover how to test the crimped cable for proper connectivity and address common troubleshooting issues that may arise during the process. So, if you’re ready to enhance your networking skills and enjoy the benefits of custom-made Ethernet cables, let’s dive into the world of crimping!
What is crimping an Ethernet cable?
Crimping an Ethernet cable refers to the process of attaching an RJ45 connector to the end of a cable, creating a secure and reliable connection for transmitting data signals. The term “crimping” comes from the action of using a specialized tool called a cable crimper to press the connector onto the cable, effectively terminating the wires inside. This ensures proper alignment and tight contact between the wires and connector pins, enabling efficient data transfer without any signal loss or interference.
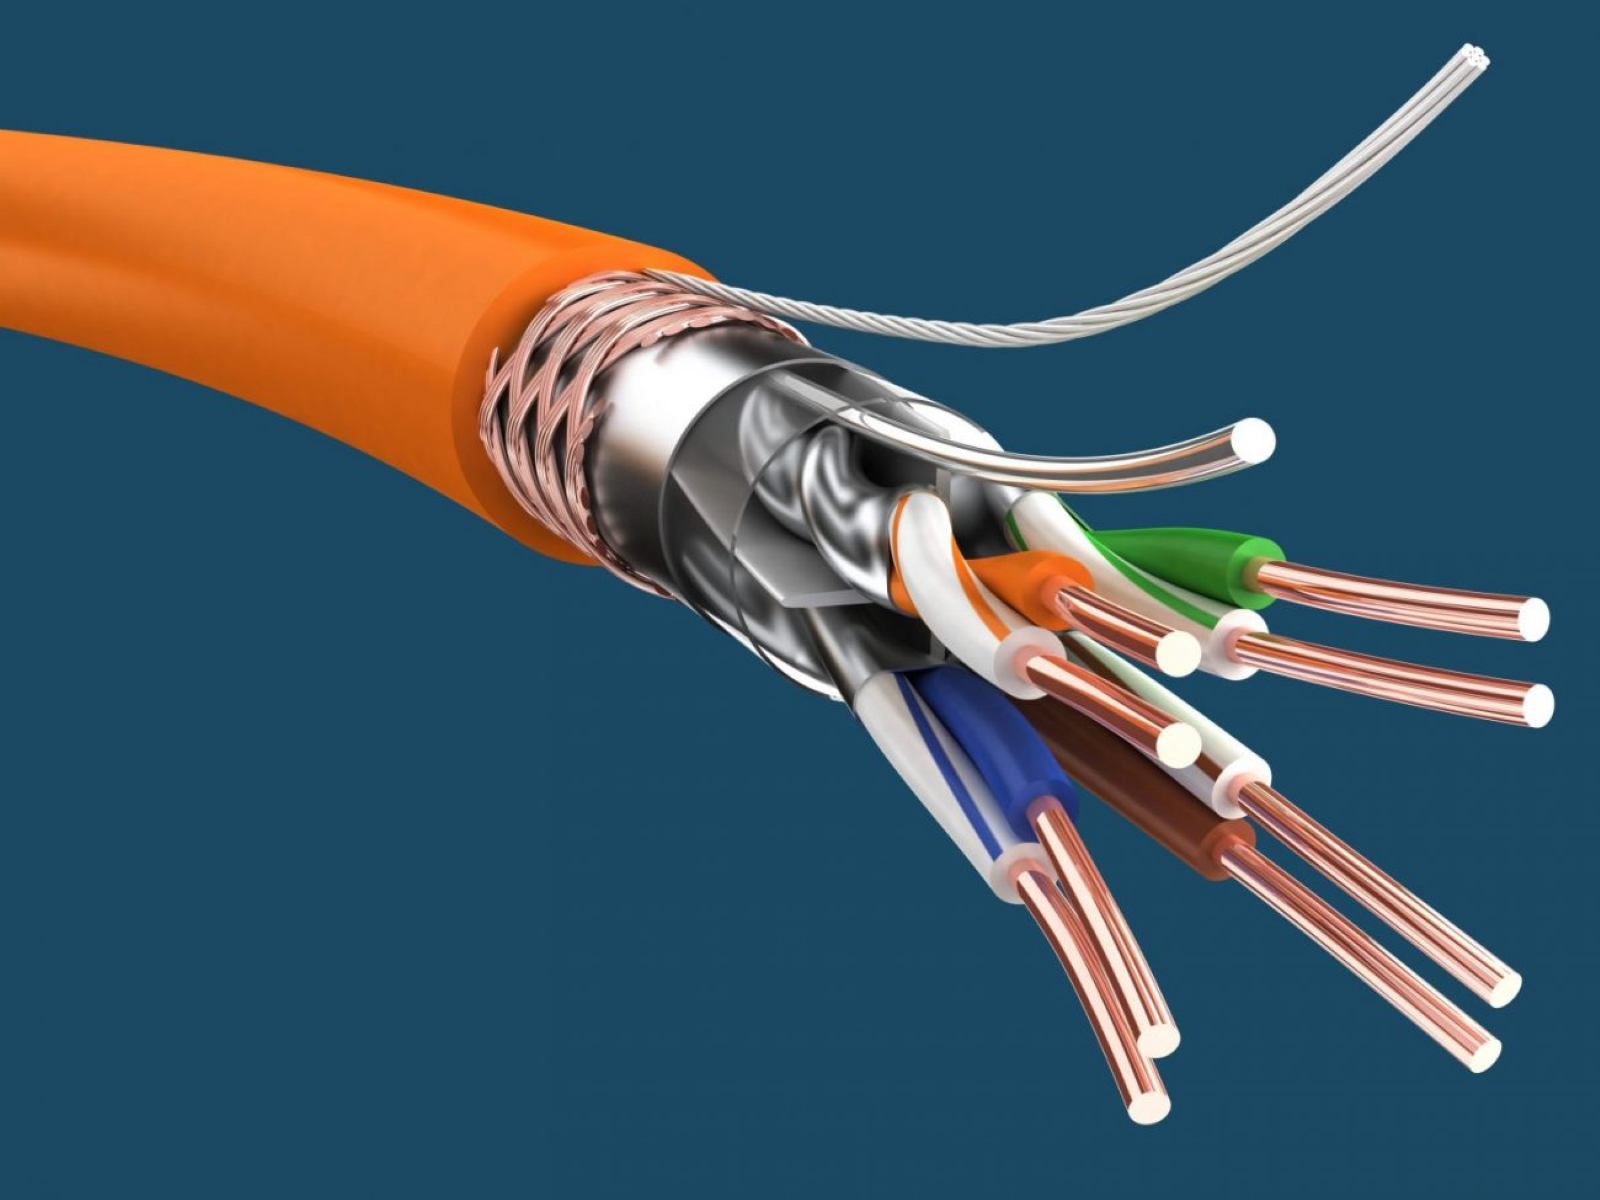
Ethernet cables consist of four pairs of twisted copper wires that are color-coded for easy identification. Each wire serves a specific purpose in the transmission process, carrying data in a structured manner. Crimping an Ethernet cable involves correctly aligning and securing these wires inside the connector, ensuring they make proper contact with the corresponding metal pins in the connector.
The primary purpose of crimping an Ethernet cable is to establish a reliable and stable connection between devices within a network. Whether you’re connecting your computer to a router, linking multiple devices together, or installing network infrastructure, a well-crimped Ethernet cable ensures that data is transmitted accurately and efficiently.
Moreover, crimping an Ethernet cable allows you to customize cable lengths to fit specific requirements. By creating cables of the exact length needed, you can eliminate extra cable clutter and minimize signal loss caused by unnecessary cable length. Custom cables also provide flexibility in network setup, allowing you to create neat and organized connections without compromising on performance.
In professional network installations, crimping Ethernet cables is essential for maintaining industry standards and ensuring consistent performance. With well-crimped cables, network technicians can confidently deploy and manage networks that support high-speed data transfer, video streaming, online gaming, and other demanding applications.
In summary, crimping an Ethernet cable is the process of attaching an RJ45 connector to the end of the cable, creating a reliable connection for data transmission. It provides a secure and efficient means of connecting devices within a network, while also allowing for customization and adherence to industry standards. By mastering the skill of crimping, you can enjoy a well-structured network that meets your specific needs and provides optimal performance.
Why crimping an Ethernet cable is important
Crimping an Ethernet cable is not a task to be overlooked or taken lightly. It plays a crucial role in ensuring a reliable and efficient network connection. Here are several reasons why crimping an Ethernet cable is important:
1. Stable and Reliable Connection: Crimping an Ethernet cable properly ensures a secure and stable connection between devices. By securely attaching the RJ45 connector to the cable, you create a solid and reliable link that minimizes the chances of data loss, transmission errors, or signal interference. This is especially important in environments where network reliability is critical, such as offices, data centers, and industrial settings.
2. Maximizes Network Performance: A well-crimped Ethernet cable optimizes network performance by maintaining proper signal integrity. The proper alignment and contact between the wires and connector pins enable efficient data transmission and minimize the risk of data corruption or loss. With a stable connection, you can achieve faster data transfer speeds, reduced latency, and a seamless network experience.
3. Custom Cable Lengths: Crimping Ethernet cables allows you to create custom cable lengths tailored to your specific needs. This eliminates the need for excessively long cables that can introduce signal degradation and clutter. Custom-length cables provide a neat and organized network setup, minimizing the chances of cable tangles and facilitating efficient cable management.
4. Cost Savings: Crimping your own Ethernet cables can result in significant cost savings over purchasing pre-made cables. Bulk Ethernet cable and connectors are relatively inexpensive, and by crimping your own cables, you can avoid the markup and additional costs associated with pre-assembled cables. This is particularly beneficial for large-scale network installations or when frequently making cable changes or repairs.
5. Flexibility and Scalability: When you know how to crimp Ethernet cables, you gain the ability to quickly adapt to changes in your network setup. Whether you need to connect a new device, rearrange connections, or expand your network, crimping your own cables allows for easy customization and scalability. You can create cables of the exact length needed, ensuring a clean and efficient network layout.
In summary, crimping an Ethernet cable is important as it provides a stable and reliable connection, maximizes network performance, allows for customization and cost savings, and offers flexibility and scalability. By investing time in learning how to properly crimp Ethernet cables, you can ensure a robust and efficient network that meets your specific requirements.
Tools and materials needed
Before you can start crimping Ethernet cables, it’s important to gather the necessary tools and materials. Here is a list of the essential items you’ll need for the crimping process:
1. Ethernet Cable: Begin by obtaining the appropriate Ethernet cable for your intended use. Ethernet cables come in different categories (such as Cat 5e, Cat 6, Cat 6a) with varying speeds and capabilities. Choose a cable that meets the requirements of your network setup.
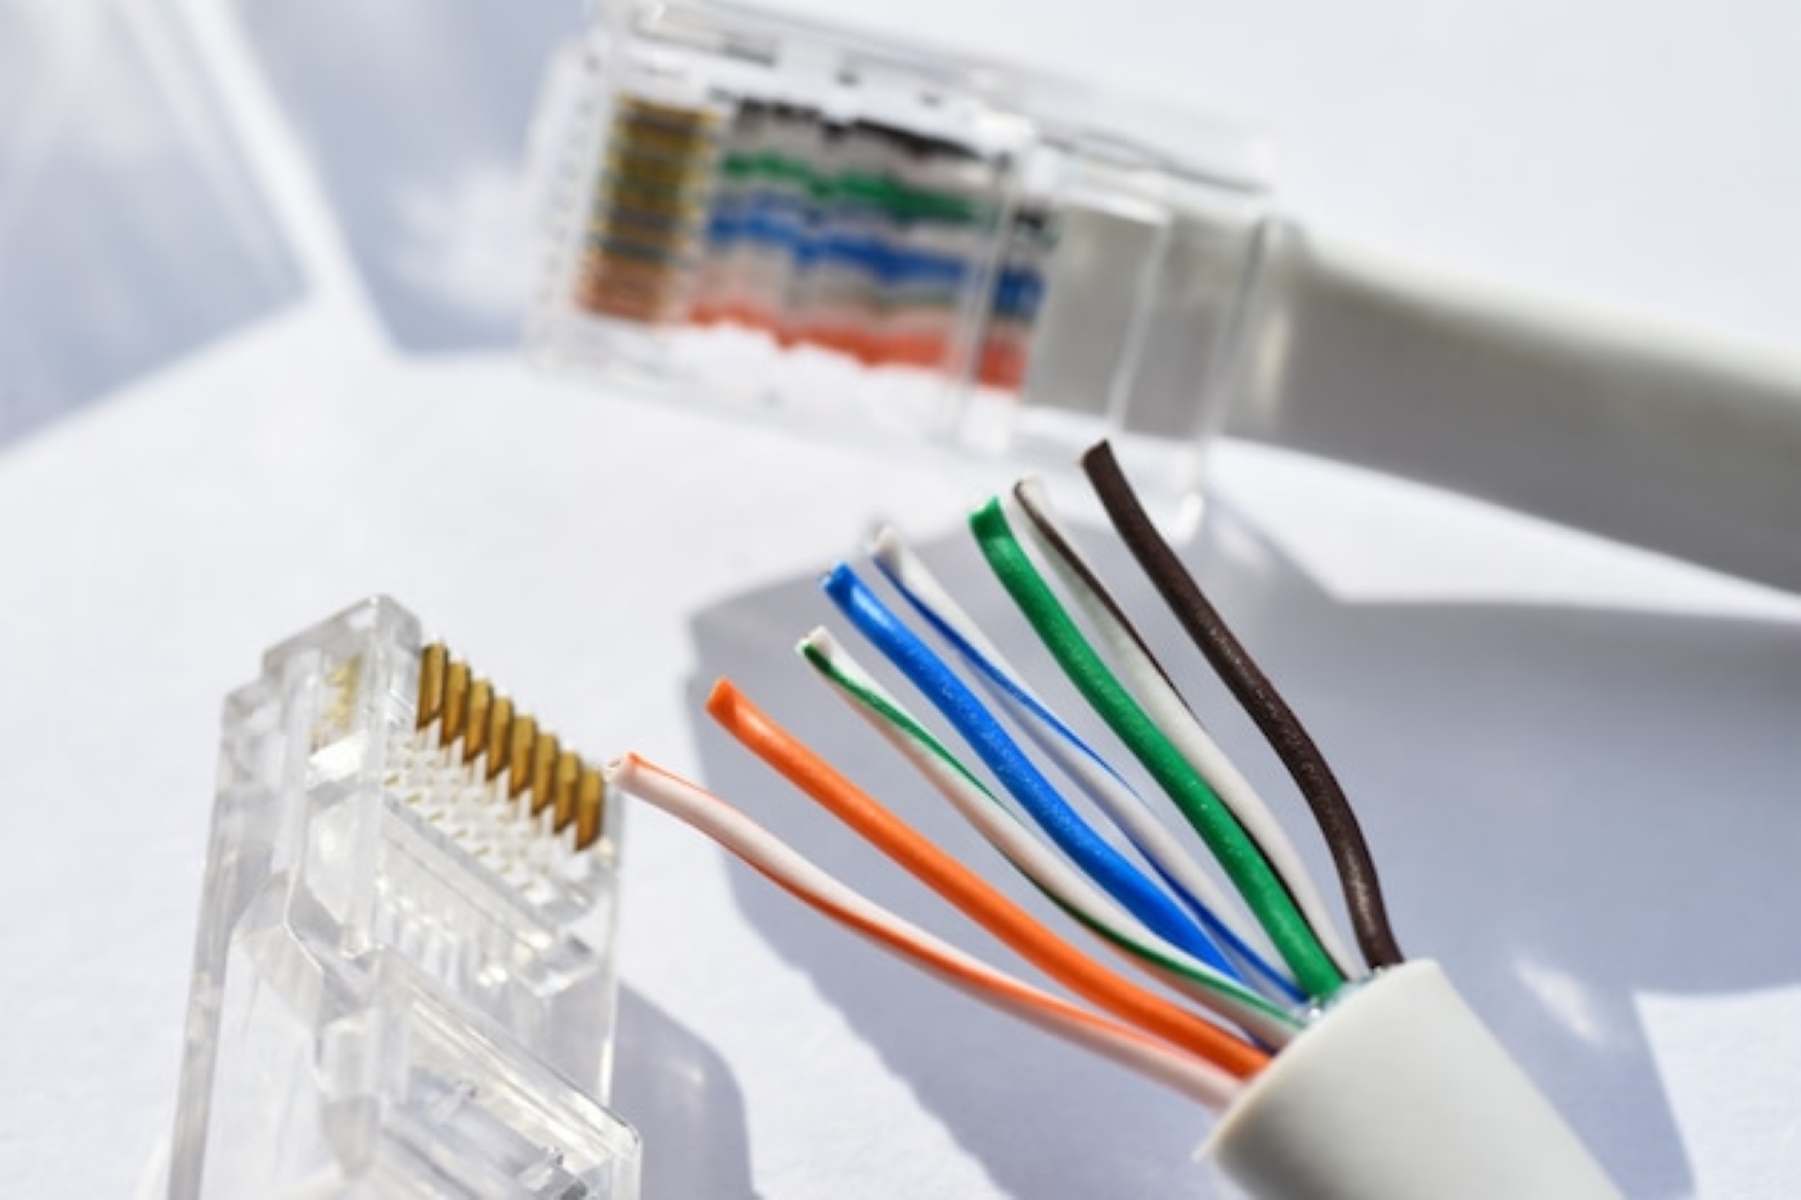
2. Ethernet Cable Connectors (RJ45 Connectors): These connectors are specifically designed to fit the end of an Ethernet cable. RJ45 connectors have gold-plated metal pins that make contact with the individual wires inside the cable, ensuring a reliable connection. Purchase connectors that are compatible with your cable category (e.g., Cat 5e connectors for Cat 5e cables).
3. Cable Stripping Tool: A cable stripping tool is necessary to remove the outer jacket of the Ethernet cable. This tool safely and accurately cuts through the protective sheath, exposing the individual wire pairs inside. Choose a stripping tool that is suitable for the diameter of your cable.
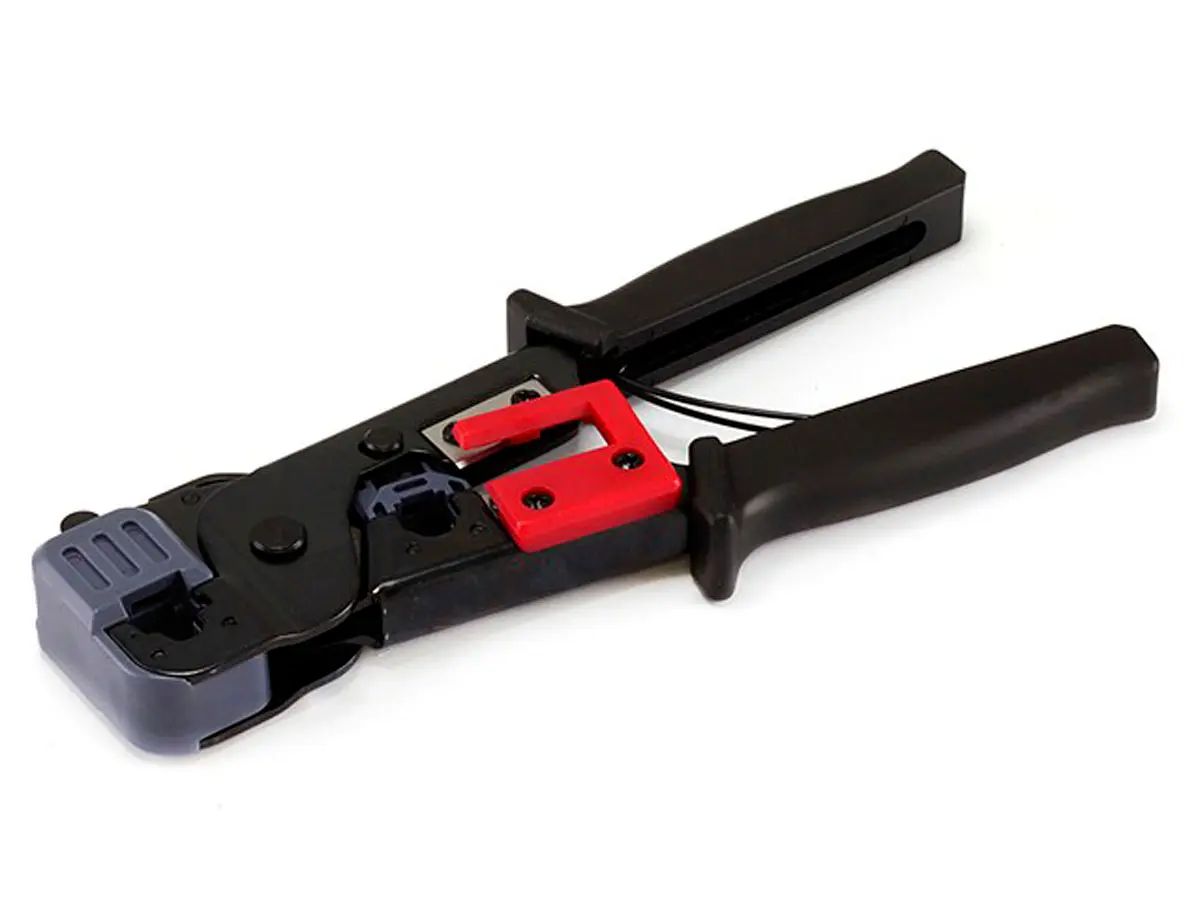
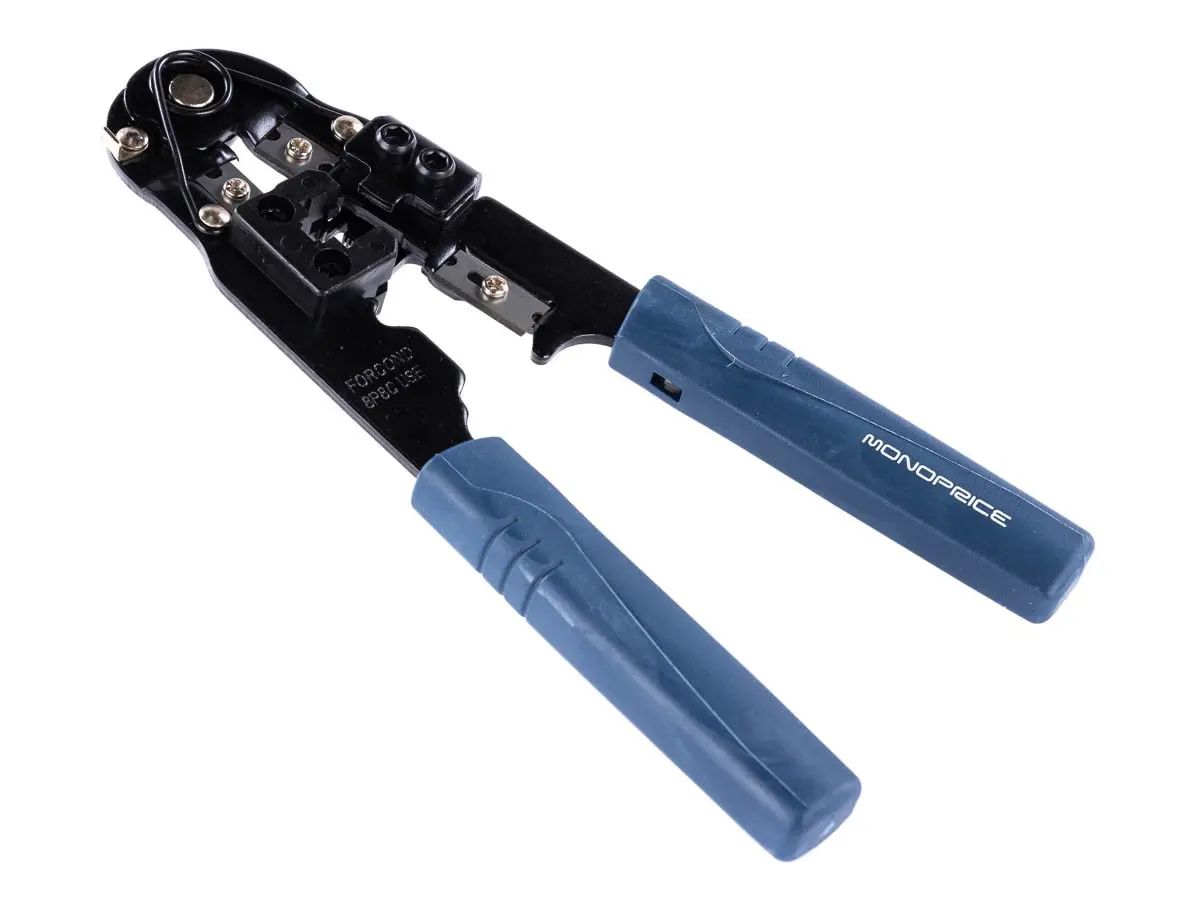
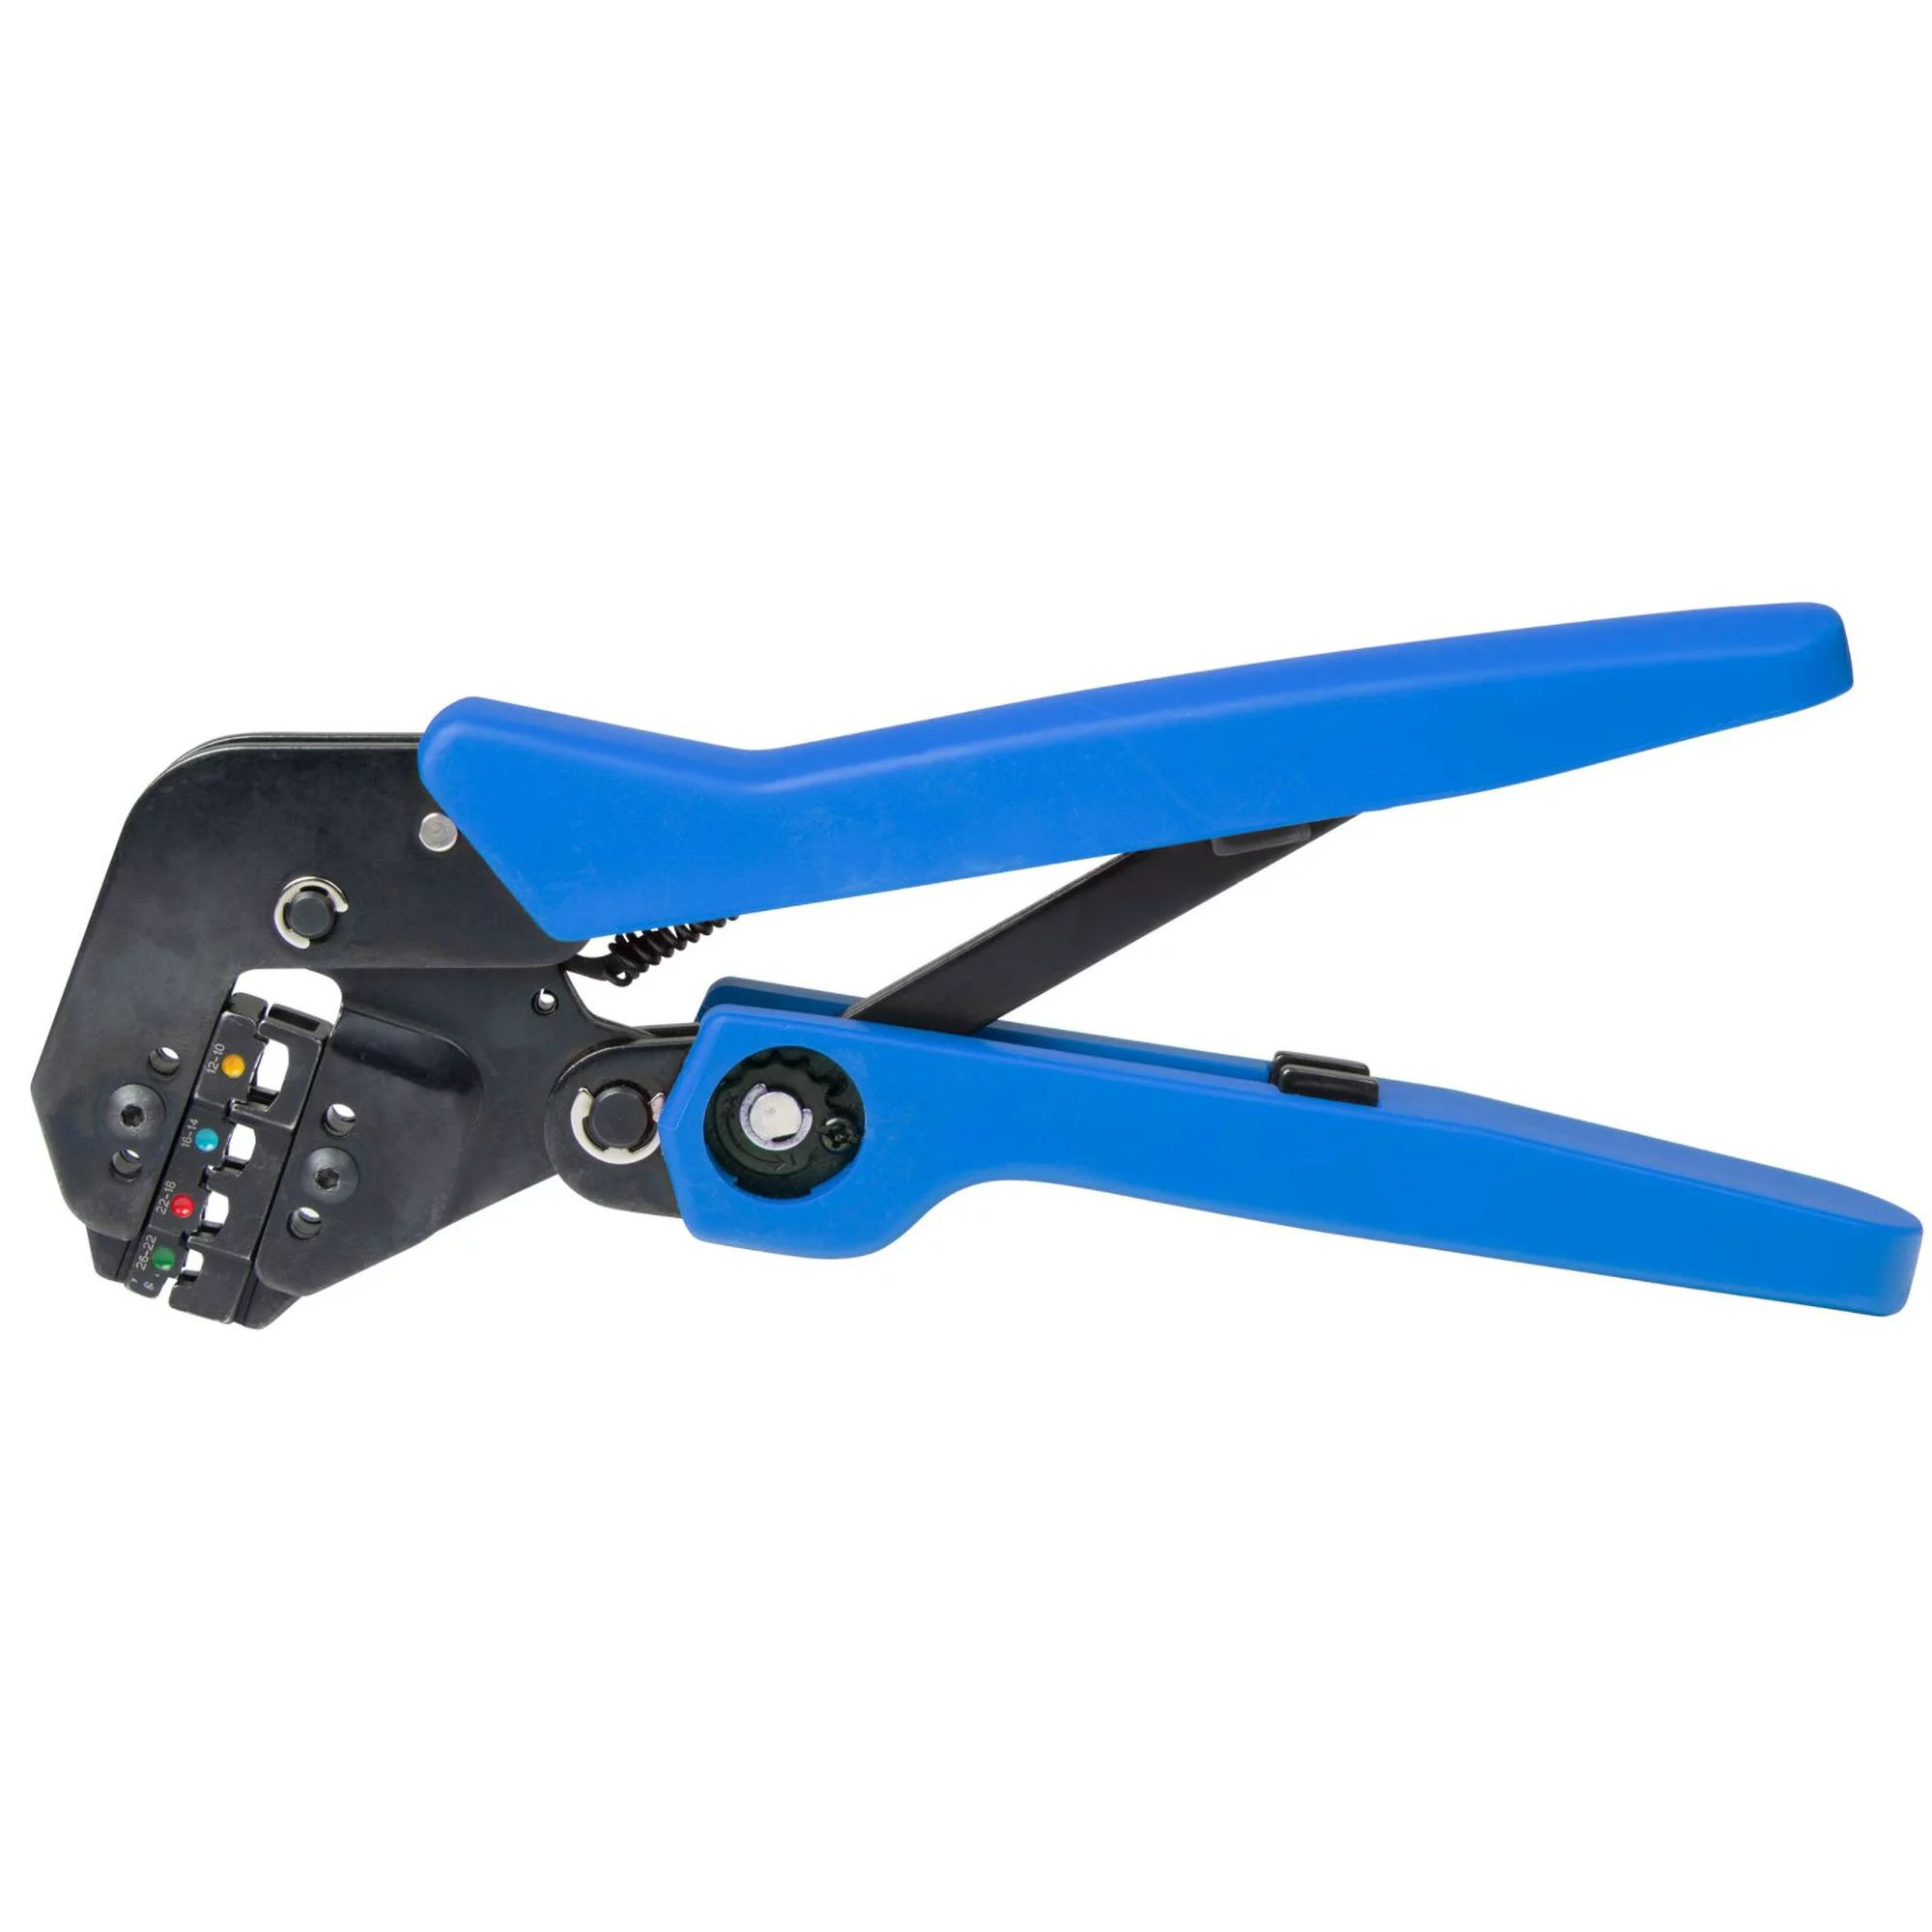
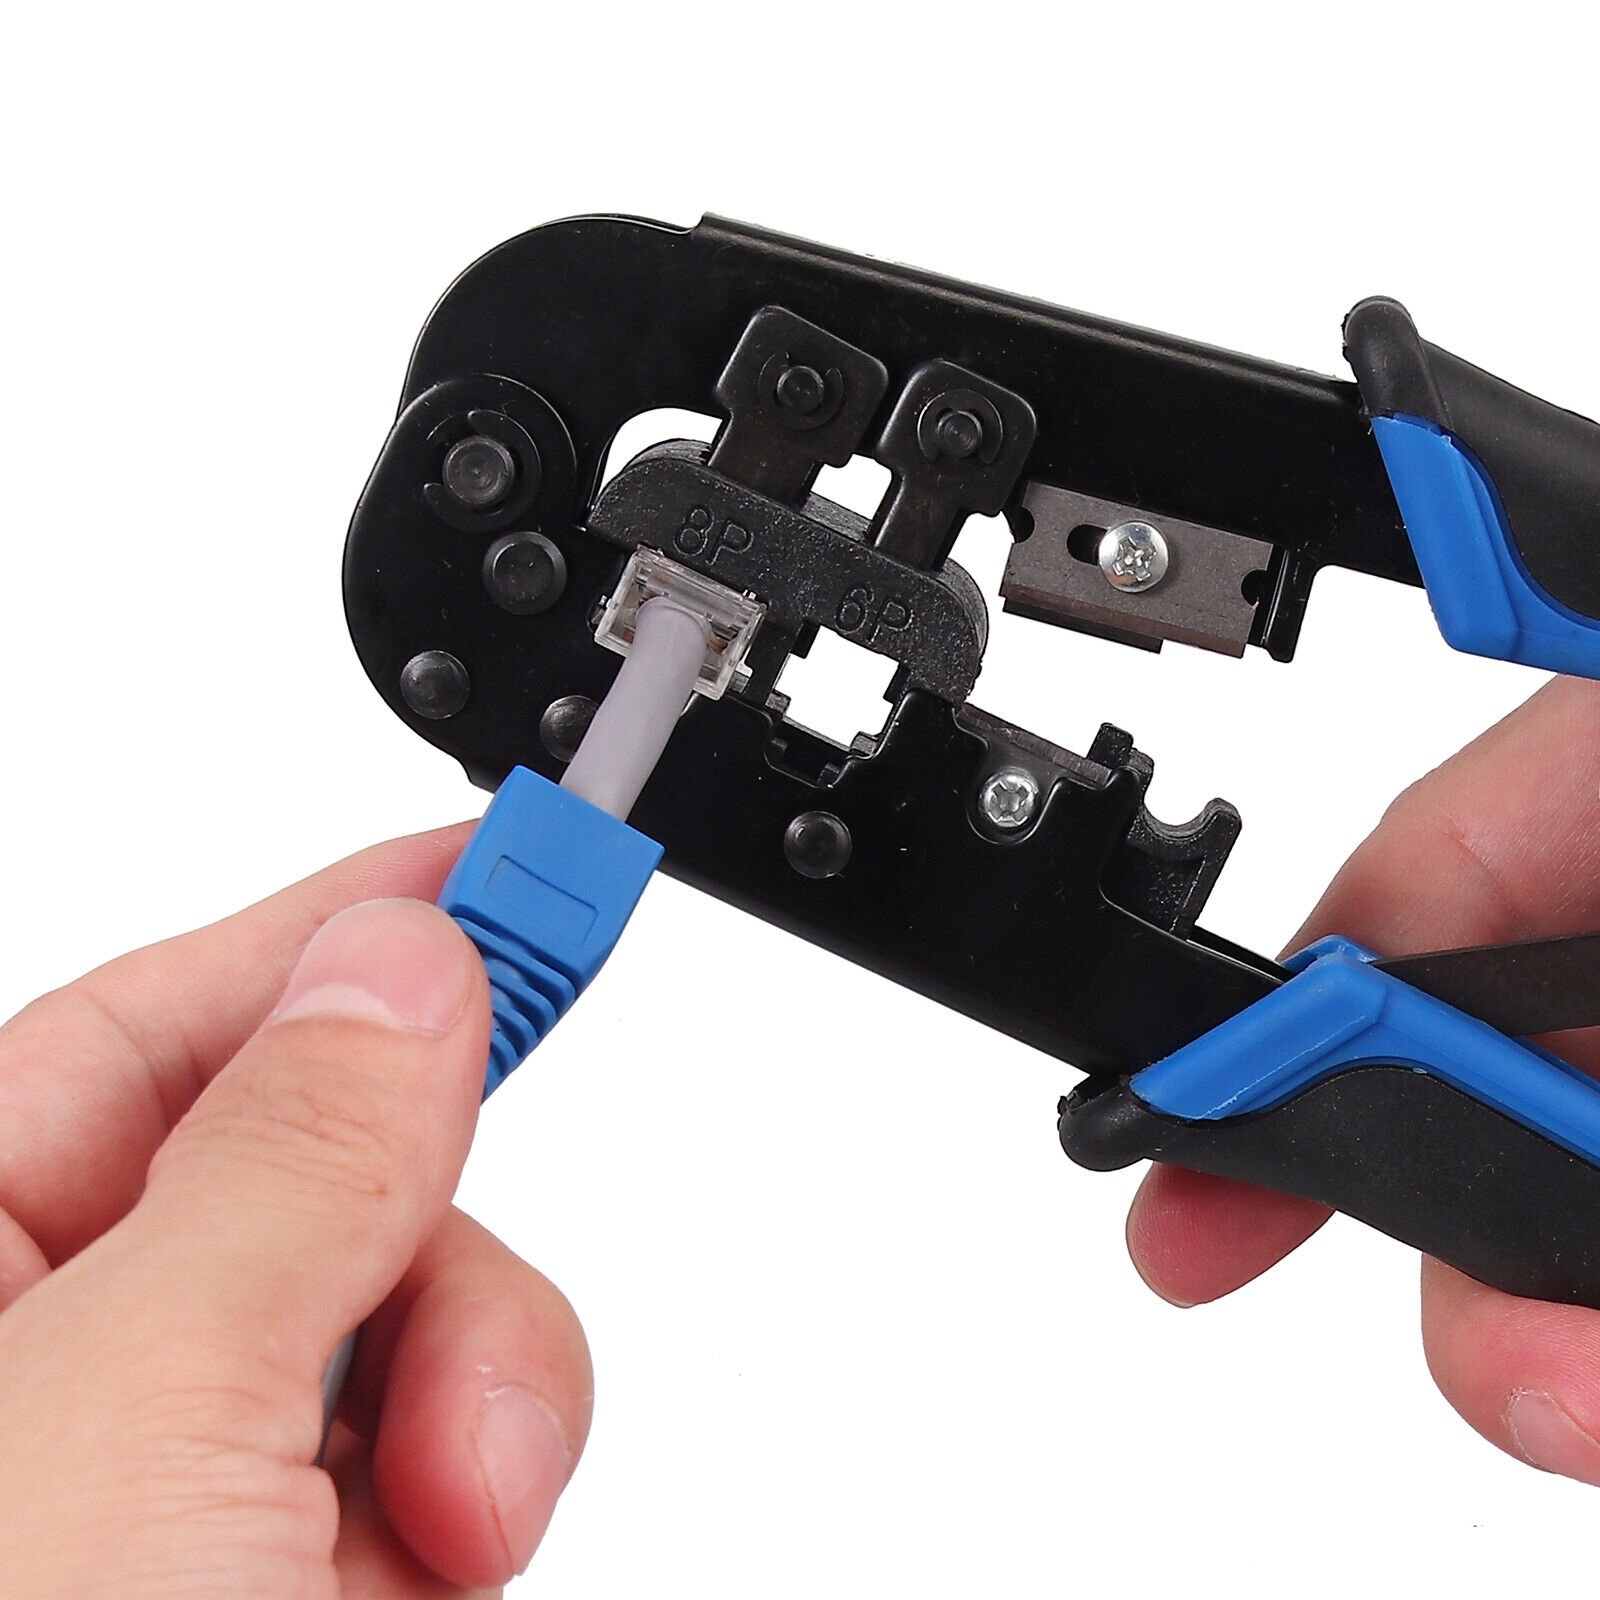
4. Cable Crimper (Crimping Tool): The cable crimper is the key tool used to attach the RJ45 connector to the cable. It firmly presses the connector onto the wires, ensuring a secure and reliable connection. Invest in a high-quality crimper that is specifically designed for Ethernet cables.
5. Cable Tester: A cable tester is a helpful tool for verifying the integrity of the crimped cable. It allows you to check for continuity, wiring errors, and proper pin configurations. A cable tester can save time and frustration by identifying any faulty connections before you install the cable.
6. Optional: Wire Cutters/Strippers: Although not essential, wire cutters or strippers can be handy for trimming off excess wire length or removing damaged sections of the cable. These tools offer precision cutting and stripping capabilities, ensuring clean and accurate cable preparation.
7. Optional: Cable Ties or Velcro Straps: Cable ties or Velcro straps can be useful for securing and organizing cables when setting up your network. These accessories help to minimize cable clutter and maintain a tidy and professional network installation.
By gathering these tools and materials, you’ll be well-prepared to successfully crimp an Ethernet cable. Having the right tools ensures a smooth and efficient crimping process, resulting in reliable network connections and minimal data transmission issues.
Step-by-step guide to crimping an Ethernet cable
Crimping an Ethernet cable may seem daunting at first, but with the right tools and following these step-by-step instructions, you’ll be able to successfully crimp your own cables in no time. Here’s a guide to help you through the process:
Step 1: Prepare the cable: Begin by cutting the Ethernet cable to your desired length using wire cutters. Once you have the desired length, use a cable stripper to carefully remove approximately 1.5 inches (3.8 cm) of the outer jacket, exposing the wires inside. Be cautious not to damage or cut the individual wire pairs while stripping the jacket.
Step 2: Untwist and arrange the wires: Untwist the cable pairs and arrange the wires according to the T568A or T568B wiring scheme. Both schemes are widely used, so ensure you are using the correct one for your network. Arrange the wires in the following order from left to right: white-green, green, white-orange, blue, white-blue, orange, white-brown, and brown.
Step 3: Trim the wires: Trim any excess wire length, leaving approximately 0.5 inches (1.3 cm) of the wires exposed. This will ensure the wires are properly inserted into the RJ45 connector without being too long or too short.
Step 4: Insert the wires into the connector: Carefully insert the wires into the RJ45 connector, ensuring that each wire reaches the end of the connector and makes full contact with the metal pins. Double-check the order and alignment to ensure accuracy.
Step 5: Check the wiring sequence: Verify that the wires are in the correct order and seated properly within the connector. All wires should be fully inserted and visible through the clear portion of the connector.
Step 6: Crimp the connector: Place the connector into the appropriate slot of the cable crimper tool and squeeze the handles firmly to crimp the connector onto the cable. Apply enough pressure to ensure a secure and tight connection.
Step 7: Repeat the process: Repeat the above steps to crimp the connector onto the other end of the cable, if required. Keep in mind that one end of the cable should be connected to a device (e.g., a computer or a router), and the other end should be connected to complete the network connection.
Step 8: Test the cable: Finally, use a cable tester to check the integrity of the crimped cable. Connect one end of the cable to the tester and the other end to a compatible device or connector. The cable tester will verify if the connections are correct, ensuring proper continuity and pin configuration.
By following these step-by-step instructions, you can confidently crimp your own Ethernet cables and create reliable connections tailored to your specific network needs. Remember to use caution and precision during the process for optimal results.
Testing the crimped Ethernet cable
Once you have successfully crimped an Ethernet cable, it is important to test the cable to ensure that it is properly connected and functioning correctly. Testing the crimped cable will help identify any wiring errors or connectivity issues before you deploy it in your network. Here is a step-by-step guide to testing a crimped Ethernet cable:
Step 1: Connect the cable tester: Plug one end of the crimped Ethernet cable into the appropriate slot or port on the cable tester. Ensure that the cable is securely inserted for accurate testing.
Step 2: Power on the cable tester: Turn on the cable tester and allow it to complete its startup process. Most cable testers will have an indicator or LCD display that shows the test results.
Step 3: Run the cable test: Select the appropriate test mode on the cable tester. This will depend on the capabilities of your tester, but it should include basic functions like continuity testing and pin configuration verification.
Step 4: Verify test results: The cable tester will display the test results, indicating whether the crimped cable has passed or failed the test. Look for indications such as “PASS” or “OK” to determine if the cable is functioning correctly.
Step 5: Troubleshoot if necessary: If the cable tester indicates a failed test result, it means there may be a wiring error or connectivity issue in the crimped cable. In this case, carefully inspect both ends of the cable to ensure the wires are properly aligned and fully inserted into the RJ45 connectors. Double-check the wiring sequence and perform any necessary re-crimping or wire adjustment to fix the issue.
Step 6: Retest the cable: After making any necessary corrections, retest the cable using the cable tester. Continue this process of troubleshooting and retesting until the cable passes the test and is deemed functional.
Step 7: Label and document: Once the cable has passed the test, label it appropriately to identify its purpose or destination. Document the cable’s location and any other relevant information for future reference. This will help with network maintenance and troubleshooting in the future.
Testing the crimped Ethernet cable ensures that it is properly connected and functioning as expected. By conducting thorough tests, you can identify and address any issues early on, ensuring a reliable and efficient network connection.
Troubleshooting common crimping issues
While crimping an Ethernet cable, you may encounter some common issues that could affect the functionality and performance of the cable. Here are several troubleshooting tips to help you overcome these problems:
1. Wiring errors: If the cable does not pass the test or fails to establish a network connection, check for wiring errors. Ensure that the wires are arranged in the correct order according to the T568A or T568B wiring scheme. Double-check the alignment and seating of the wires inside the RJ45 connectors.
2. Insufficient wire exposure: If the crimped cable fails to establish a proper connection or passes the test with errors, check the length of exposed wires. The wires should be inserted fully into the connectors, making full contact with the metal pins. Trim any excess wire and ensure that approximately 0.5 inches (1.3 cm) of the wires are exposed.
3. Incomplete crimping: Improper crimping can result in a weak or unstable connection. If the cable does not pass the test or intermittently loses connectivity, check that the connectors are fully crimped onto the cable and that they have a firm and secure grip. Apply enough pressure with the cable crimper to ensure a reliable connection.
4. Damaged or bent connector pins: Examine the RJ45 connectors for any bent or damaged pins. If the cable fails the test or experiences intermittent connectivity, inspect the connectors closely. Straighten any bent pins using a needle or small tool. If the pins are severely damaged, or if the connector is faulty, replace it with a new one.
5. Cable length exceeding specifications: Ethernet cables have maximum length specifications depending on their category. If you experience signal loss, slow data transfer speeds, or connectivity issues over longer distances, ensure that the cable used meets the specifications for the desired length. Consider using a signal booster or repeater for longer cable runs.
6. Inadequate cable management: Poor cable management can lead to signal interference and cable damage. Ensure that the crimped cable is properly routed and organized, avoiding sharp bends or excessive tension. Use cable ties or Velcro straps to secure and protect the cable, preventing any damage from accidental pulling or bending.
7. Faulty cable tester: If the crimped cable consistently fails the test, consider the possibility of a faulty or inaccurate cable tester. Verify the functionality of the cable tester by testing known working cables. If other cables pass the test, it may indicate an issue with the crimped cable or RJ45 connectors.
By troubleshooting these common issues, you can resolve connectivity problems and ensure that your crimped Ethernet cables are functioning optimally. With patience and attention to detail, you can overcome these challenges and create reliable network connections.
Conclusion
Crimping an Ethernet cable is a valuable skill that empowers you to create custom network connections that are reliable, efficient, and tailored to your specific needs. By following the step-by-step guide and using the necessary tools and materials, you can successfully crimp Ethernet cables with precision and accuracy.
Properly crimped Ethernet cables ensure stable and reliable network connections, maximizing data transfer speeds and minimizing errors. Custom cable lengths allow for organized and clutter-free network setups, reducing signal loss and improving cable management.
When crimping Ethernet cables, it is important to troubleshoot common issues such as wiring errors, incomplete crimps, and damaged connectors. By addressing these issues promptly, you can ensure that your crimped cables are functioning optimally and that your network connections are reliable.
Remember to test each crimped cable using a cable tester to verify its connectivity and ensure proper pin configuration. Testing helps identify any wiring errors or connectivity issues that may affect the overall performance of the cable.
By mastering the skill of crimping Ethernet cables, you gain the ability to create reliable network connections tailored to your specific requirements. Whether you are a professional network technician or a DIY enthusiast, this skill allows you to have control over your network infrastructure and maintain optimal performance.
So, grab your tools, learn the wiring schemes, and start crimping your own Ethernet cables. With practice, you will become proficient in this essential skill, and you’ll be able to create custom network connections that meet your exact needs. Enjoy the benefits of a well-crimped Ethernet cable, from stable connections and high-speed data transfers to the satisfaction of building your own network infrastructure.