Introduction
Tracing an Ethernet cable is a crucial process for network administrators and individuals who work with networking equipment. Whether you are troubleshooting connectivity issues, upgrading your network, or organizing your cables, being able to trace an Ethernet cable can save you time and effort.
An Ethernet cable serves as the backbone of a network, connecting devices such as computers, routers, switches, and modems. When there are multiple cables running through walls, ceilings, or under the floor, it can become challenging to identify the specific cable you are looking for. This is where tracing an Ethernet cable becomes essential in locating, labeling, and securing the right cable.
This article will guide you through the process of tracing an Ethernet cable effectively. We will explore the tools needed, step-by-step instructions, and the importance of ensuring cable continuity. By following these guidelines, you will be able to identify the path of your Ethernet cable and simplify future network maintenance tasks.
Tracing an Ethernet cable requires a structured approach, attention to detail, and the right tools. By investing a little time and effort in tracing your cables, you can improve the efficiency, organization, and reliability of your network. Whether you are setting up a new network or managing an existing one, mastering the art of tracing Ethernet cables will prove to be a valuable skill. So, let’s dive in and discover the techniques and tools required to trace an Ethernet cable successfully.
Why Trace an Ethernet Cable?
Tracing an Ethernet cable may seem like a daunting task, but it offers several benefits for both individuals and network administrators. Let’s explore why tracing an Ethernet cable is important:
- Troubleshooting Connectivity Issues: One of the main reasons to trace an Ethernet cable is to troubleshoot connectivity problems. By identifying the specific cable causing the issue, you can quickly pinpoint and resolve the problem, saving time and frustration.
- Network Configuration and Upgrades: When upgrading or reconfiguring a network, tracing Ethernet cables becomes crucial. It allows you to identify cables that need to be replaced or moved, ensuring a smooth transition without disrupting network operations.
- Cable Management: Tracing Ethernet cables helps with cable management. By knowing the path and destination of each cable, you can neatly organize and label them, reducing cable clutter and making future maintenance tasks easier.
- Security and Compliance: In environments where network security is paramount, tracing Ethernet cables ensures that there are no unauthorized or rogue connections. It helps prevent unauthorized access and ensures compliance with security protocols.
- Documentation and Inventory: Tracing Ethernet cables creates a reliable network documentation and inventory. By accurately cataloging the cables and their locations, you can easily reference and update your network documentation, saving time during future troubleshooting or expansion.
Tracing an Ethernet cable is not just a one-time activity, but an ongoing process for maintaining a well-organized and efficient network infrastructure. Whether you are a networking professional or a home user, understanding why you should trace Ethernet cables empowers you to overcome connectivity issues, upgrade your network effectively, and maintain a secure and well-documented network.
Tools Needed for Tracing an Ethernet Cable
Tracing an Ethernet cable requires a few essential tools that will help you identify and follow the cable’s path. These tools are relatively inexpensive and readily available. Here are the tools you will need:
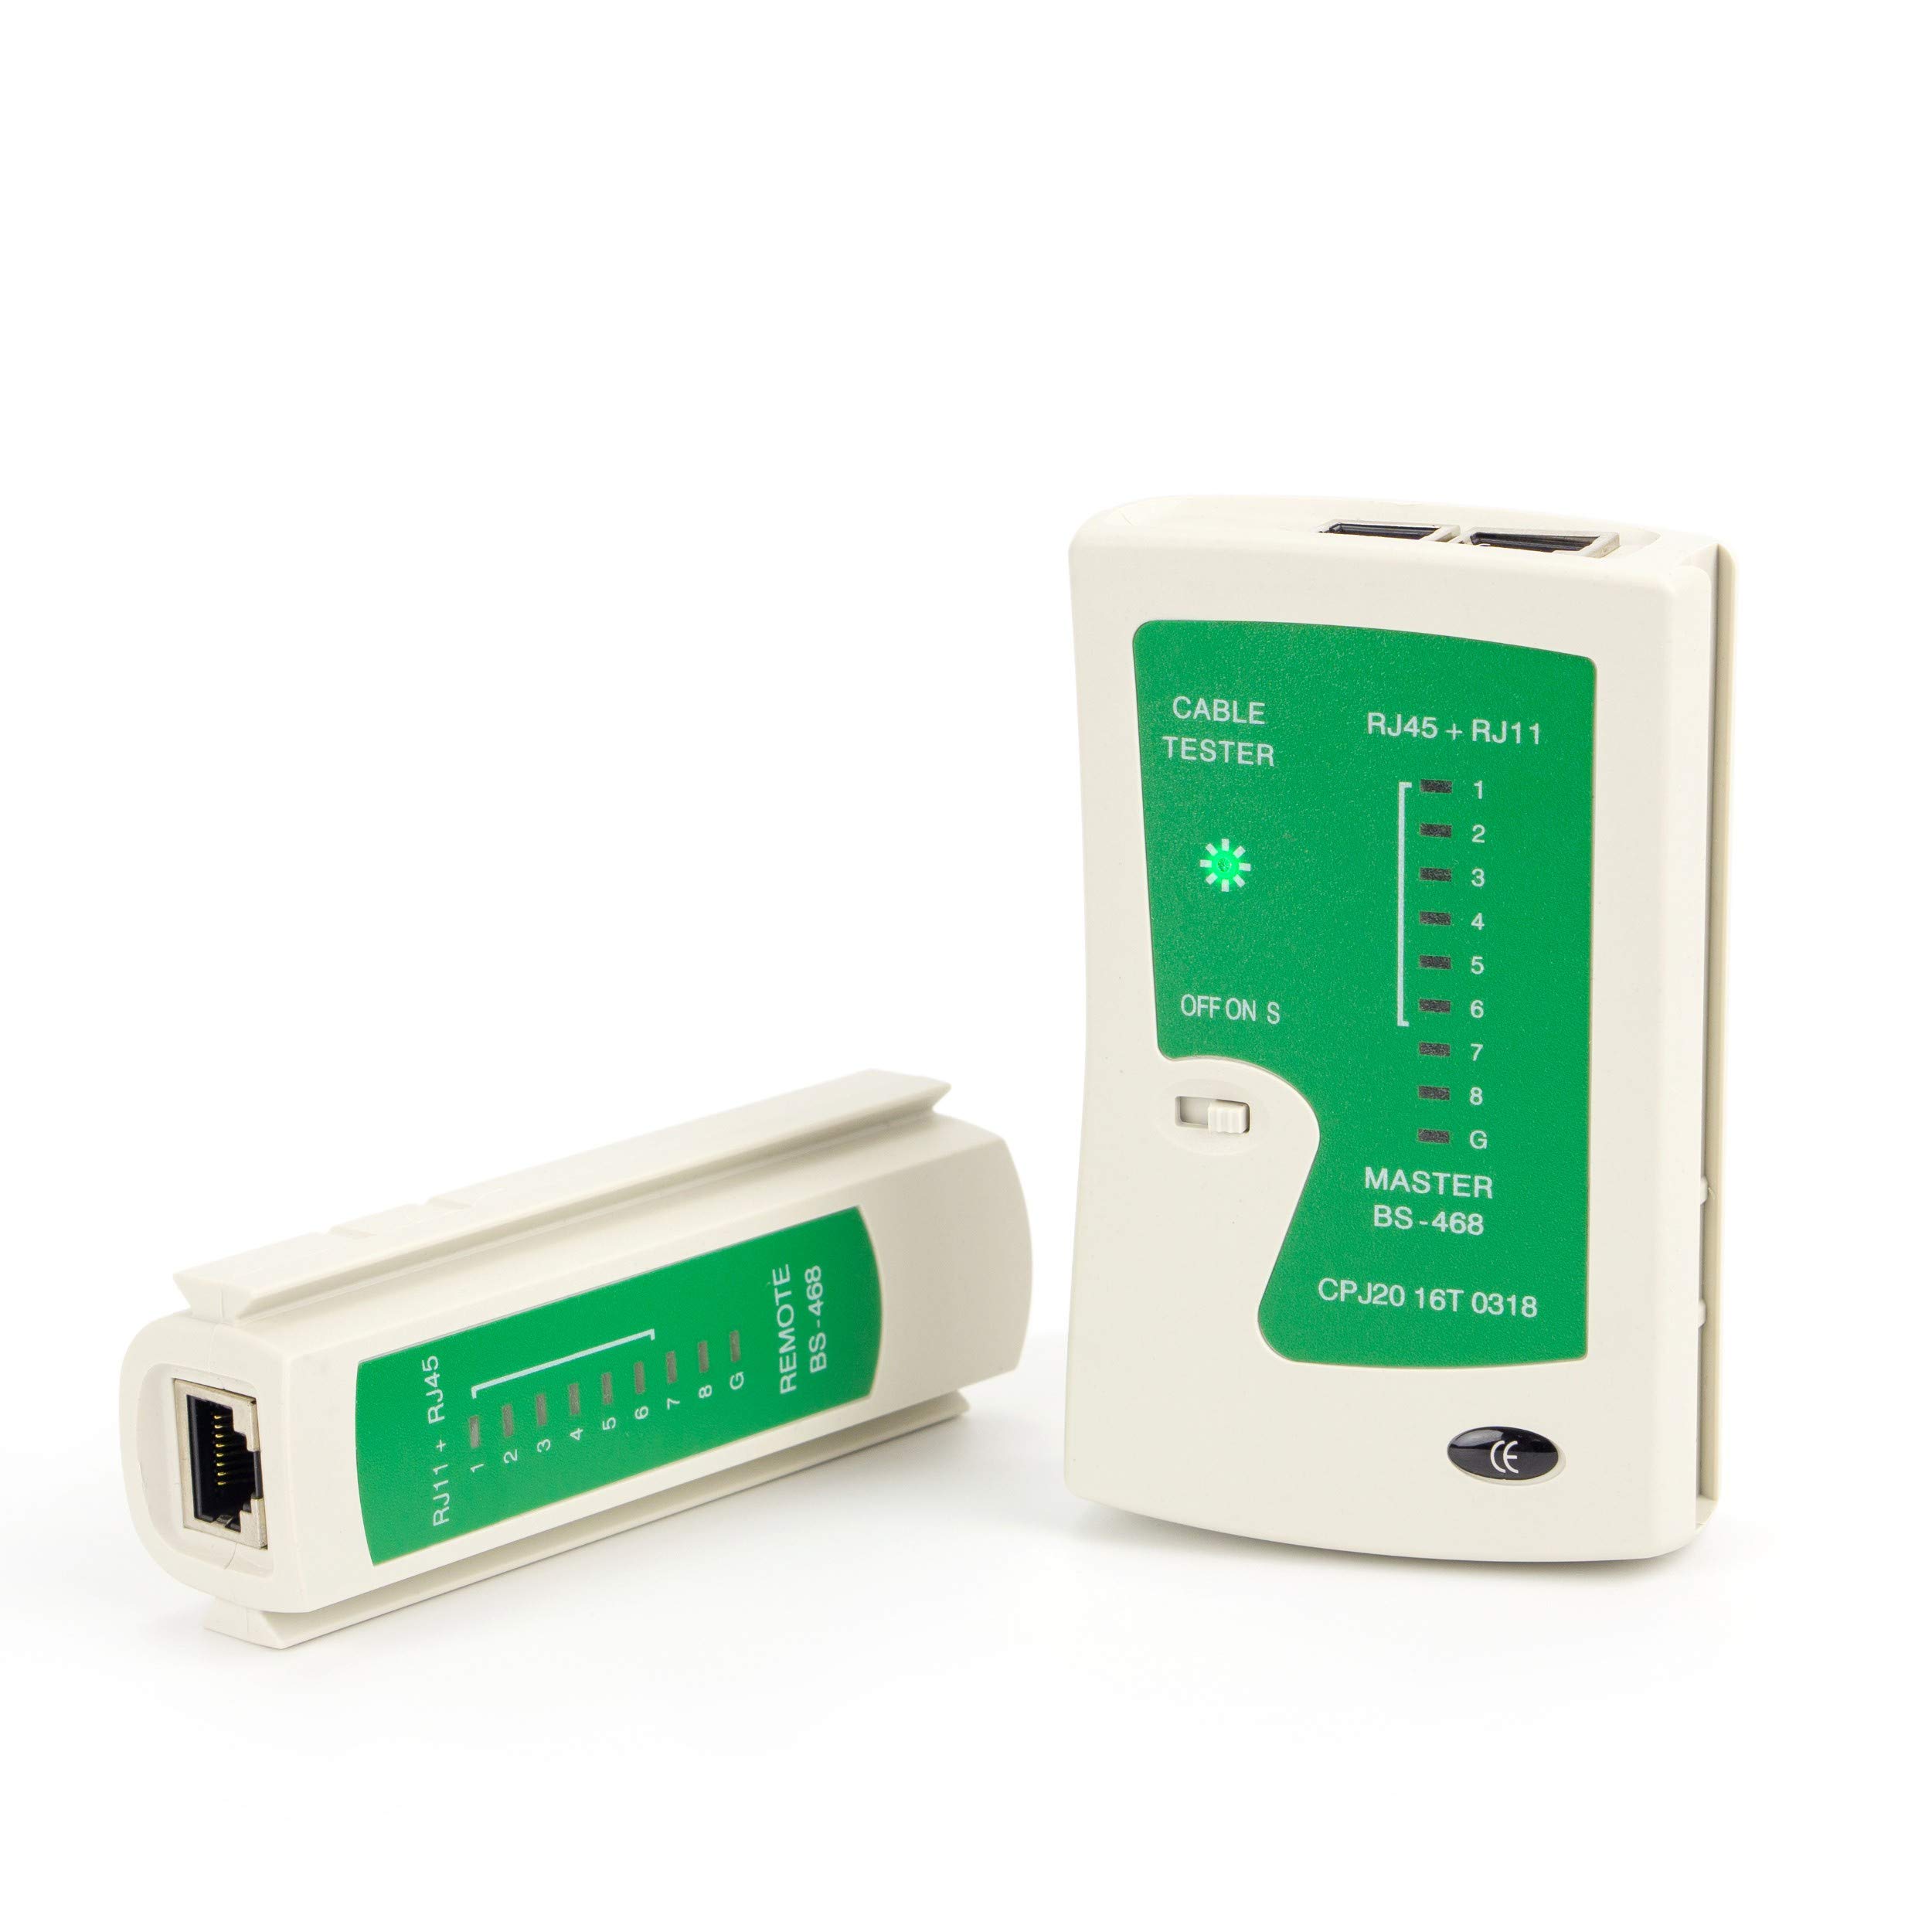
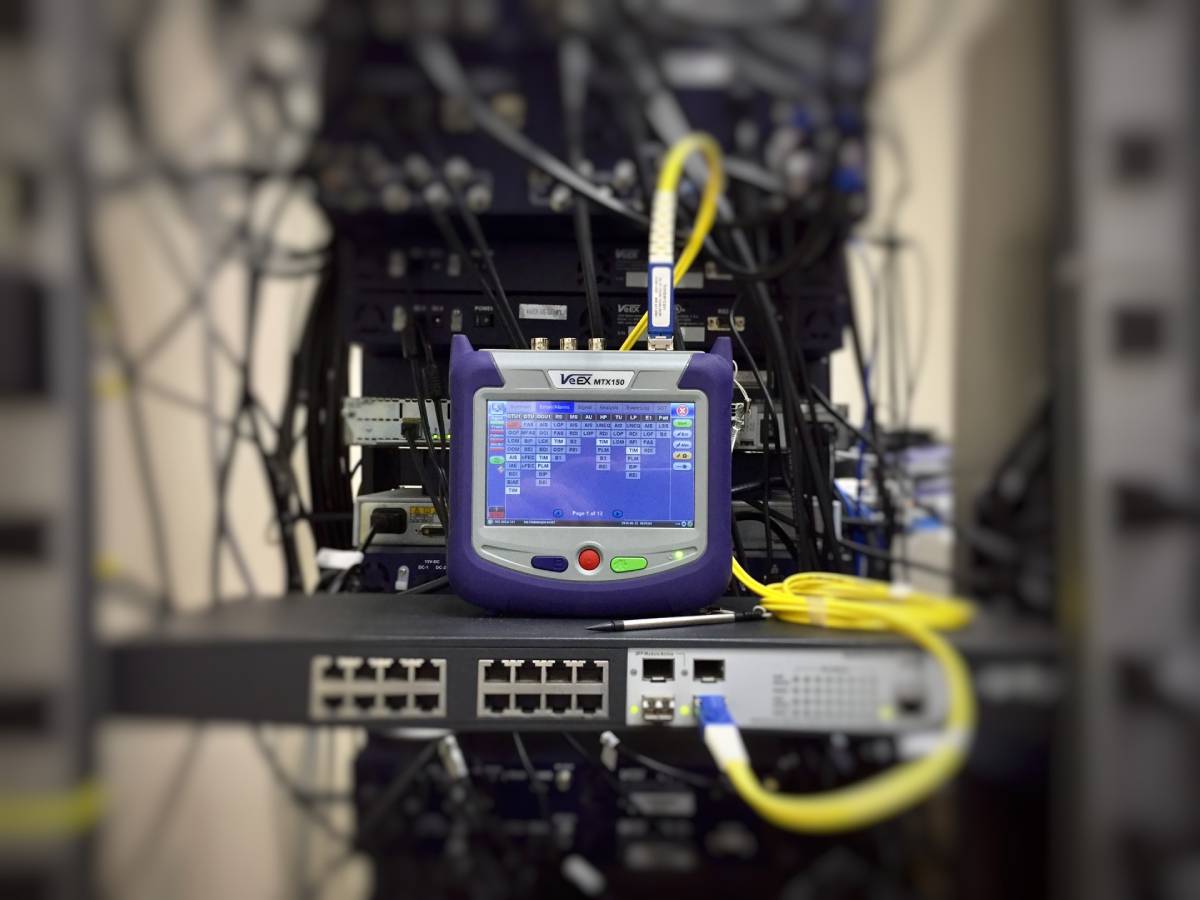
- Ethernet Cable Tester: An Ethernet cable tester is a crucial tool for tracing Ethernet cables. It allows you to check cable continuity, detect faults, and identify the specific cable you are tracing. Make sure to choose a tester that is compatible with the type of Ethernet cables you are working with, such as Cat5e, Cat6, or Cat6a.
- Labeling Materials: Labeling the traced Ethernet cables is essential for future reference and ease of maintenance. You can use adhesive labels, cable ties, or cable markers to label the cables at both ends. This will help you quickly identify the purpose or destination of the cable.
- Flashlight: A flashlight will come in handy when tracing Ethernet cables in low-light areas such as server rooms or tight spaces. It will help you locate and inspect cables that may be hidden or obstructed.
- Tape or Cable Ties: Tape or cable ties can be used to secure the Ethernet cables in place once you have traced and labeled them. This will prevent accidental disconnections and maintain a tidy cable management system.
- Notebook and Pen: Keeping a notebook and pen handy is essential for jotting down notes, cable locations, and any observations during the tracing process. It will serve as a reference for future network maintenance or troubleshooting tasks.
With these tools at your disposal, you will be well-equipped to trace Ethernet cables effectively. Remember to ensure the compatibility of the Ethernet cable tester with the type of cables you are working with and to label and secure the traced cables for easy identification and management.
Step 1: Identify One End of the Ethernet Cable
Before you start tracing an Ethernet cable, you need to identify one end of the cable. This will serve as your starting point for the tracing process. Here’s how you can identify one end of the Ethernet cable:
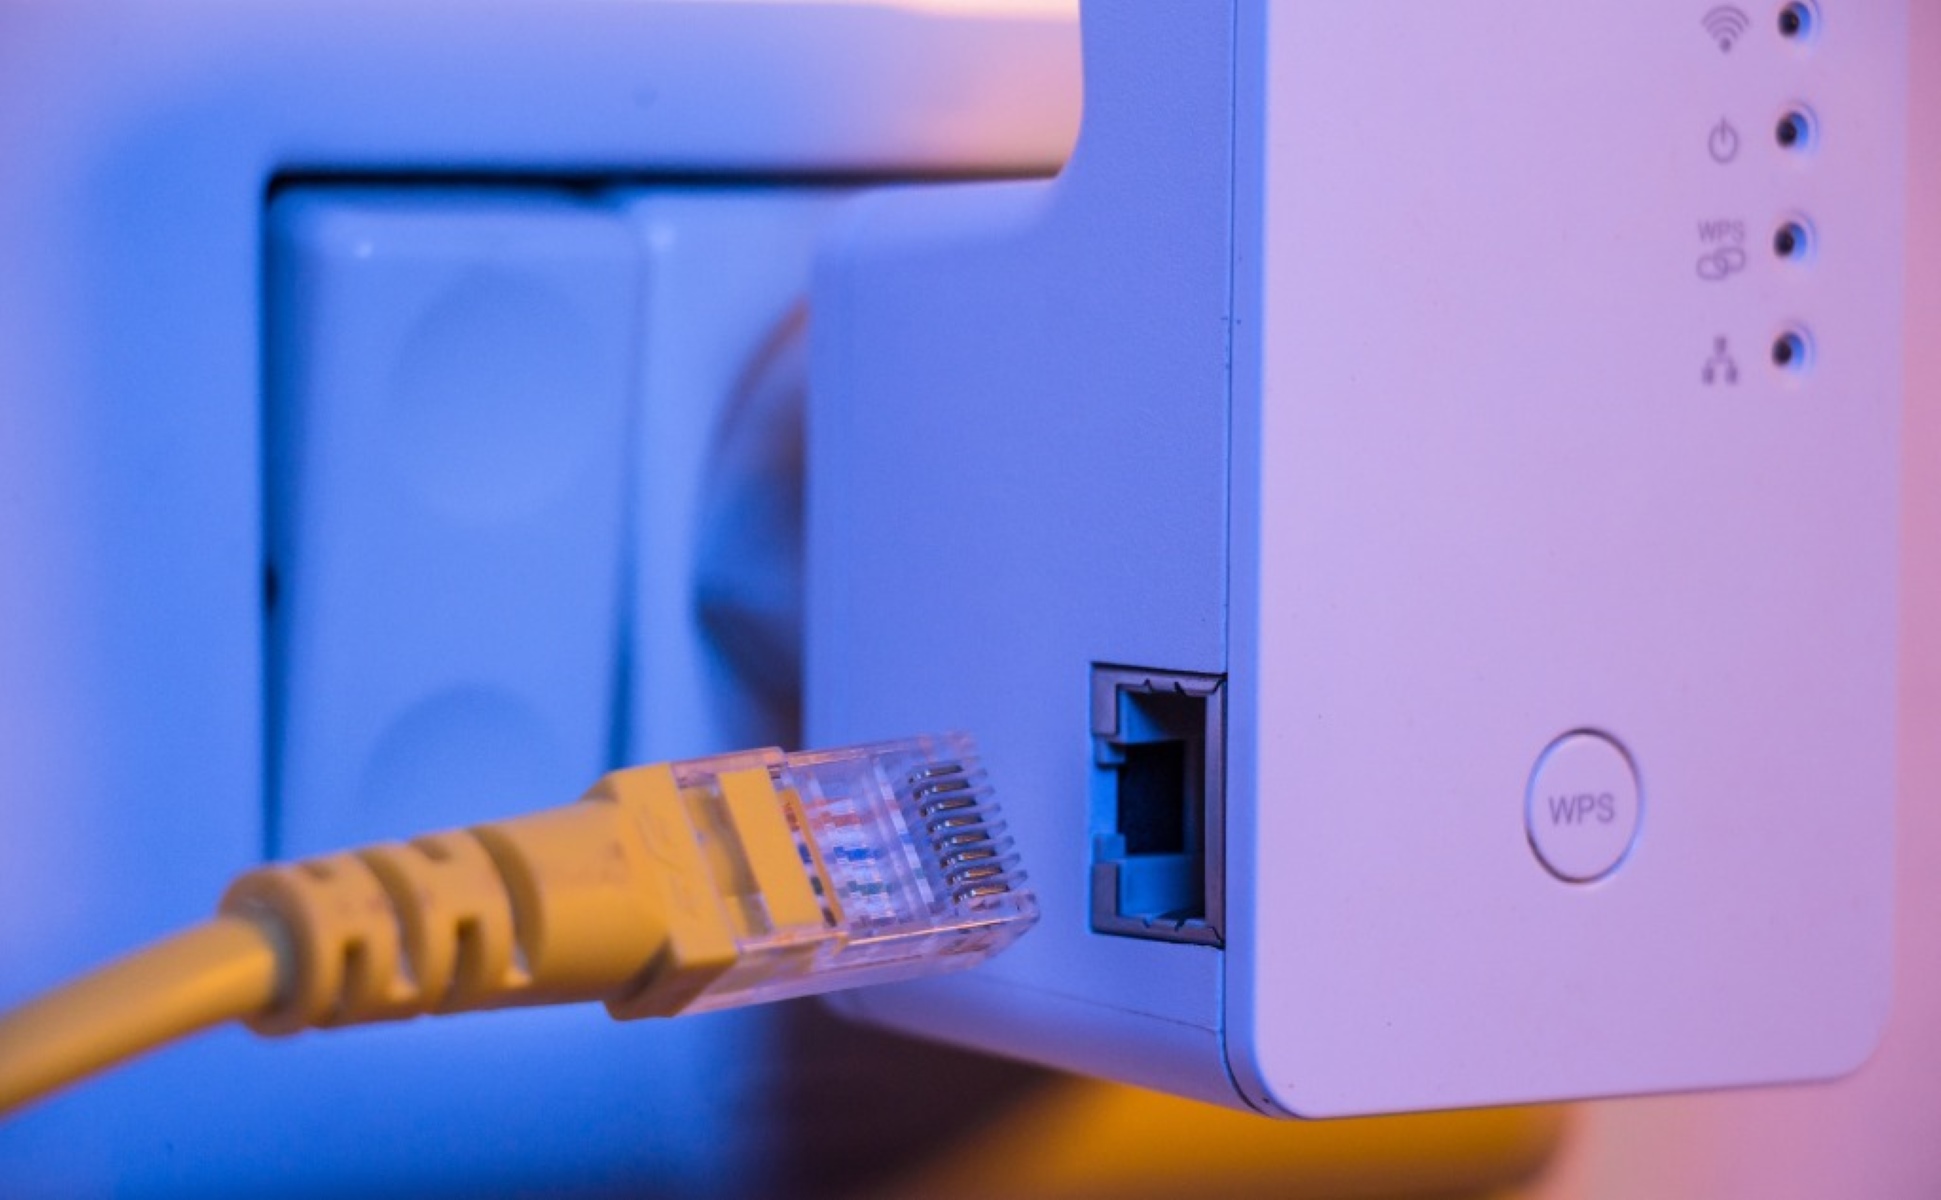
- Locate the cable endpoints: Look for the devices or equipment that the Ethernet cable is connected to. This could be a computer, router, switch, or modem. Identify the device that is at the beginning or source of the cable.
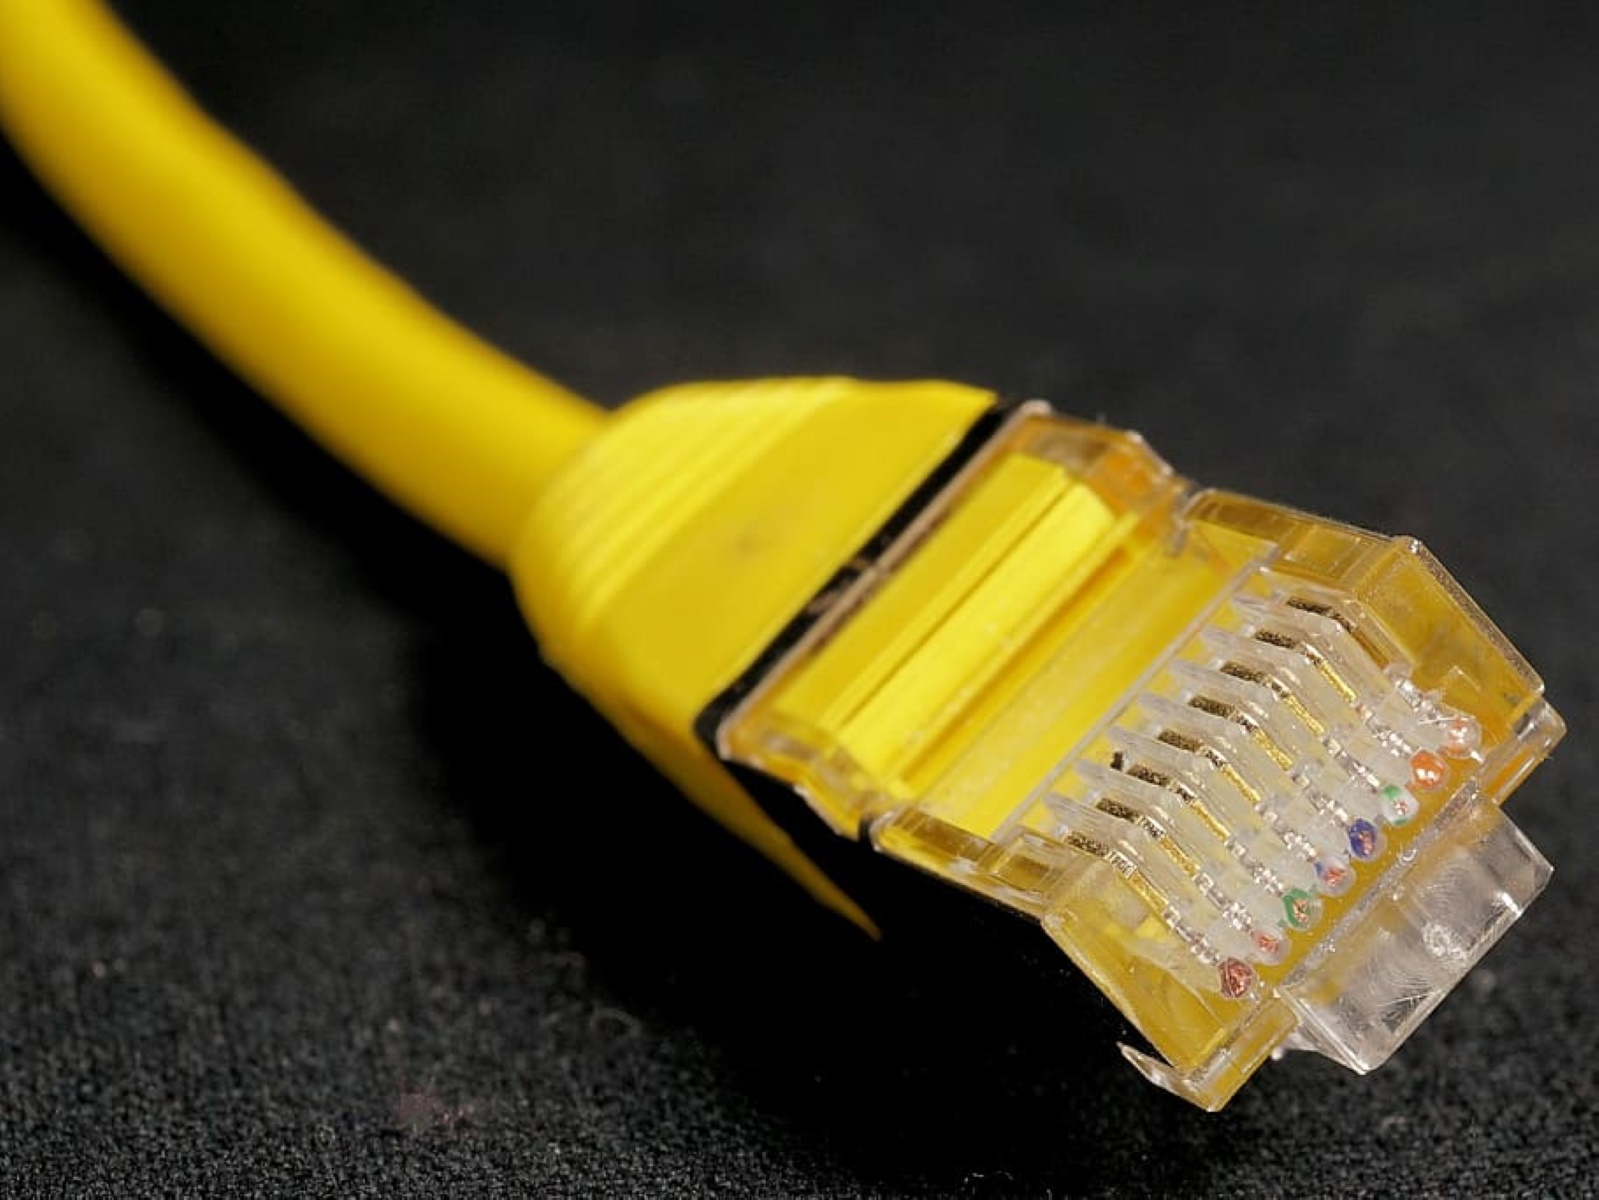
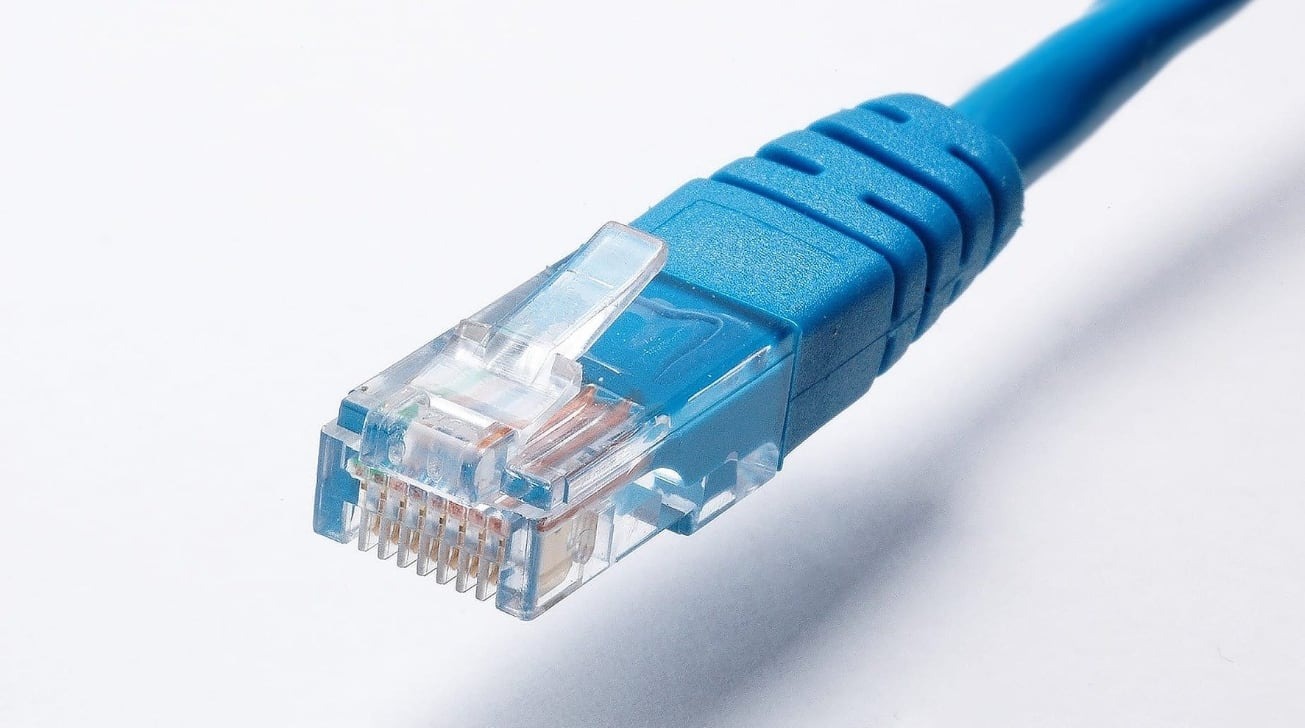
- Follow the cable visually: Trace the cable visually from its connection point to determine if there are any visible markers, labels, or indications that can help you identify one end. Sometimes, cables may have color-coded connectors, labels, or other distinguishing features that can help with identification.
- Check documentation: If the network has documentation or labeling system in place, refer to it to find the corresponding label or tag for the cable you are tracing. This documentation can provide valuable information, such as the purpose or location of the cable.
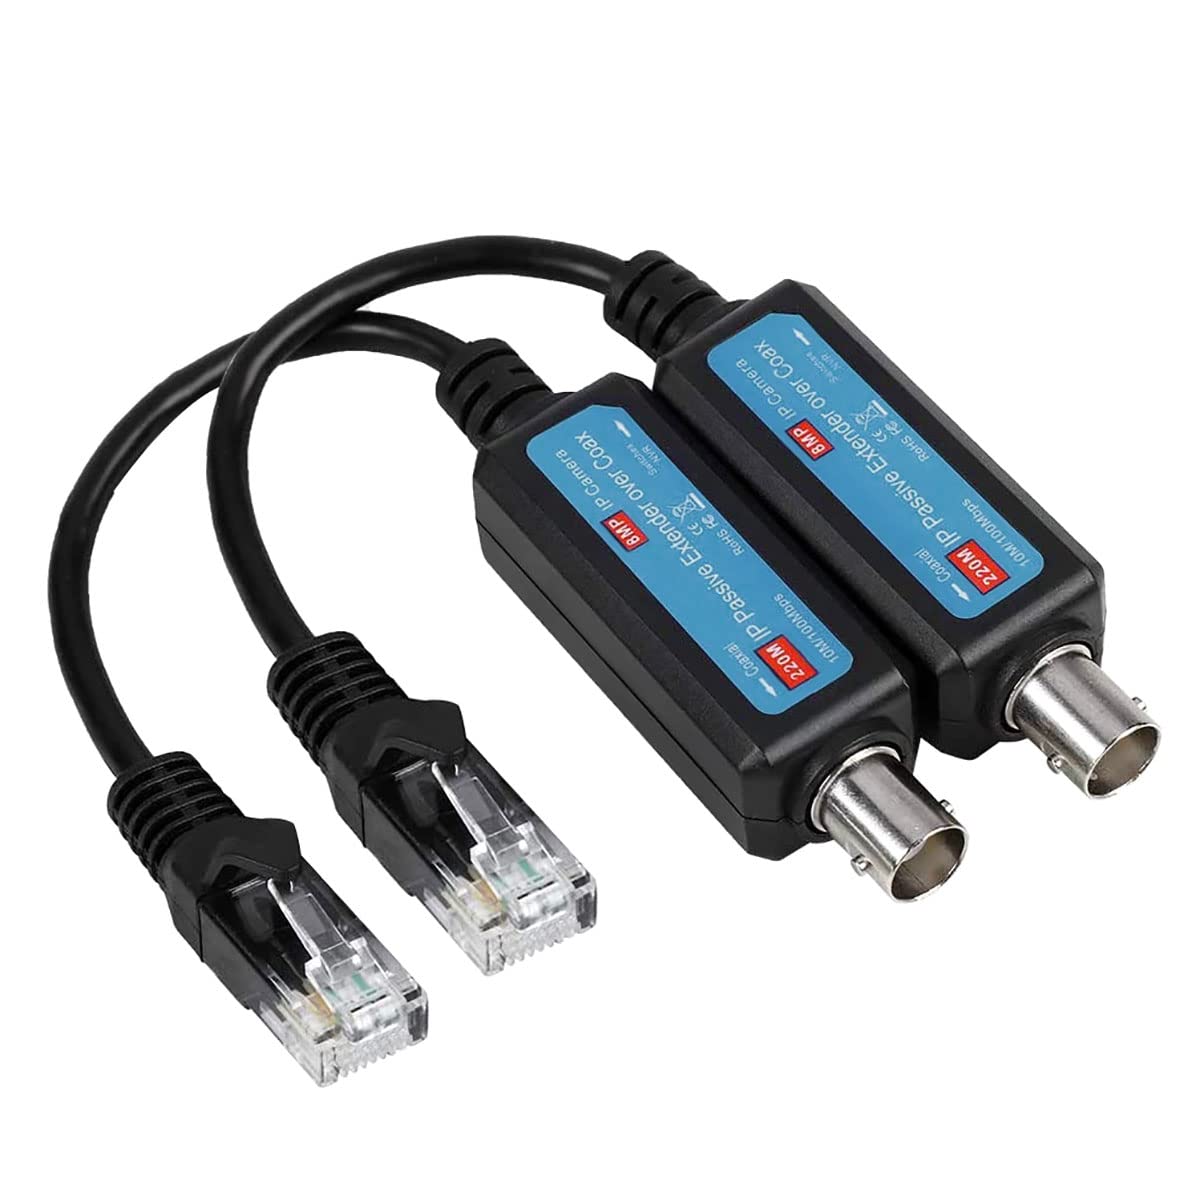
- Use a tone generator: In some cases, the cables may be hidden or difficult to trace visually. In such scenarios, you can use a tone generator, which is a small handheld device that emits a tone on the specific cable when connected. This tone can help you identify the cable you are tracing by using a tone probe or receiver.
Once you have successfully identified one end of the Ethernet cable, you can proceed to the next step of the tracing process. Remember to take notes or mark the identified end for future reference as you continue to trace the cable to its destination.
Step 2: Connect the Ethernet Cable Tester
Now that you have identified one end of the Ethernet cable, it’s time to connect the Ethernet cable tester. This will allow you to check the cable’s continuity and prepare it for the tracing process. Follow these steps to connect the Ethernet cable tester:
- Prepare the Ethernet cable tester: Ensure that the Ethernet cable tester is in working condition and properly powered. Read the manufacturer’s instructions for any specific setup requirements or considerations.
- Connect the tester to one end of the Ethernet cable: Take the Ethernet cable and plug one end of it into the Ethernet port on the tester. Ensure a secure and snug connection to get accurate results.
- Power on the Ethernet cable tester: Turn on the Ethernet cable tester if it has a power switch or activate its power source according to the manufacturer’s instructions. This will provide the necessary power to the tester for it to function correctly.
- Check for proper connectivity: Once the tester is powered on, verify that it detects the connection and properly displays the status or continuity of the cable. Depending on the tester model, you may see LED lights, a digital display, or a screen indicating if the cable is functioning correctly.
By connecting the Ethernet cable tester, you ensure that the cable is ready for testing and tracing. This step helps you identify any faults or breaks in the cable’s continuity before proceeding to trace it. It is essential to use a reliable and compatible Ethernet cable tester to get accurate results and effectively trace the cable.
Step 3: Activate the Ethernet Cable Tester
After connecting the Ethernet cable tester to one end of the cable, it’s time to activate the tester to begin the tracing process. Activating the Ethernet cable tester helps you determine the cable’s continuity and identify any faults or breaks in the cable. Follow these steps to activate the Ethernet cable tester:
- Select the appropriate testing mode: Depending on the functionality of your Ethernet cable tester, choose the testing mode that suits your requirements. Common testing modes include cable continuity testing, cable length measurement, and error detection. Refer to the tester’s user manual for specific instructions on selecting the desired mode.
- Start the testing process: Once you have chosen the testing mode, initiate the test on the Ethernet cable using the tester’s controls or buttons. Allow the tester to analyze the cable and provide the necessary results. This may take a few moments depending on the complexity of the test.
- Interpret the test results: Once the testing process is complete, carefully review the test results displayed on the tester. Look for indications of cable continuity or any faults or breaks detected in the cable. The tester’s display or indicator lights will provide valuable information about the cable’s status.
- Record the test results: It’s essential to record the test results for future reference. Note down any faults or breaks detected in the cable, as well as the length measurement if applicable. This documentation will be useful for troubleshooting and maintenance purposes.
Activating the Ethernet cable tester is a crucial step in the tracing process as it allows you to verify the cable’s continuity and identify any potential issues. By carefully interpreting and recording the test results, you will have a better understanding of the cable’s status and can move forward with confidence in the tracing process.
Step 4: Follow the Cable Path
Once the Ethernet cable tester has confirmed the continuity and integrity of the cable, it’s time to follow the cable path to trace its route. Following the cable path involves visually inspecting and physically tracing the cable to identify its route and destination. Here are the steps to follow:
- Visually inspect the cable: Examine the cable closely, looking for any visible markers, labels, or indications that can help you determine its path. Note any unique features, such as color-coded connectors or identifiable cable ties.
- Physically trace the cable: Start at the end where the Ethernet cable tester is connected and visually trace the cable’s route along walls, ceilings, or under the floor. Pay attention to any twists, turns, or junction boxes that the cable passes through.
- Use a cable toner: If the cable path is not easily discernible, you can use a cable toner alongside your tester. A cable toner emits a tone that can help you identify the cable by using a tone probe or receiver. This tool is especially useful when cables are hidden or tangled.
- Document the cable path: As you go along, document the cable path, noting any obstacles or specific locations where the cable passes through. This documentation will be valuable for future reference and troubleshooting.
- Verify cable destinations: As you trace the cable, identify and confirm the destinations where the cable connects to devices such as computers, routers, or switches. This will help you accurately label the cable and ensure proper connectivity.
Following the cable path is a crucial step in the tracing process as it allows you to physically locate and understand the route the cable takes. By visually inspecting, physically tracing, and documenting the cable’s path, you gain a comprehensive understanding of its course, making future network maintenance tasks more efficient.
Step 5: Trace the Cable Continuity
Tracing the continuity of the cable is an essential step in the process of accurately identifying the path of an Ethernet cable. It involves verifying that the cable is connected at various points along its route and ensuring proper connectivity. Follow these steps to trace the cable continuity:
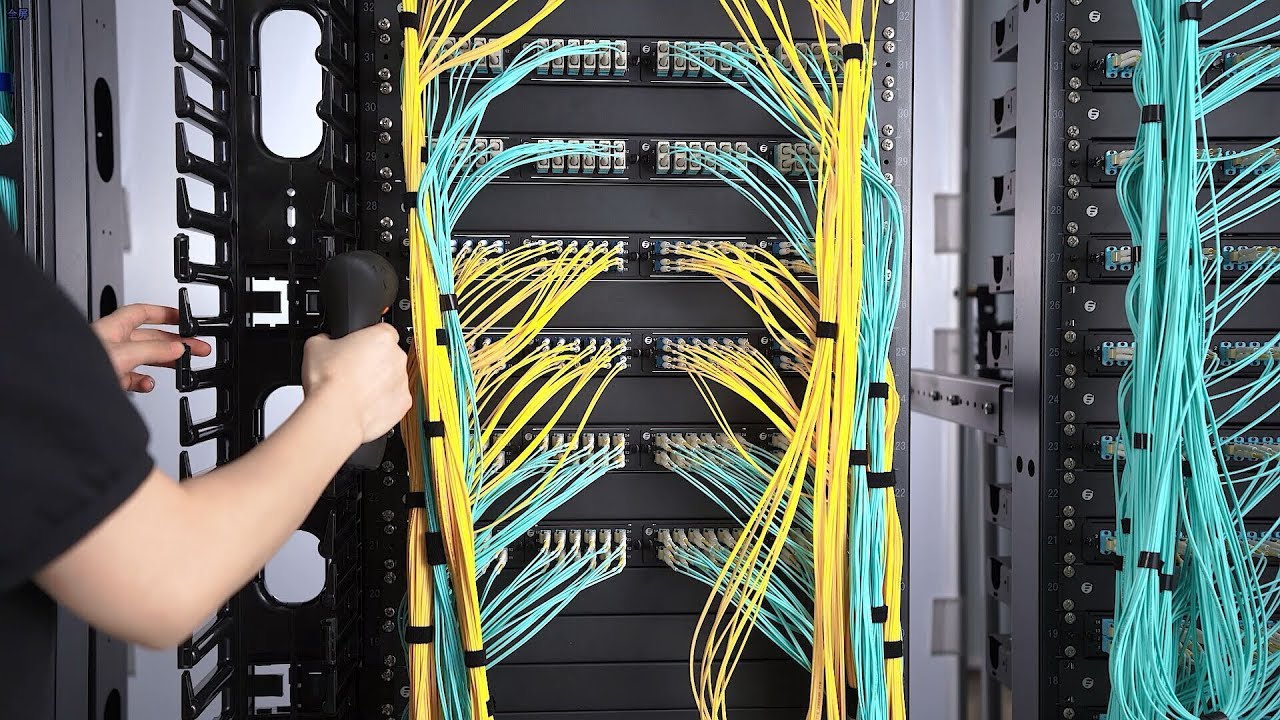
- Check for connection points: As you trace the cable, look for connection points such as wall jacks, patch panels, switches, or devices where the cable terminates. These connection points indicate that the cable is properly connected and provides continuity.
- Verify connections visually: Inspect the connectors at each connection point to ensure they are securely attached. Look for any loose or damaged connectors that may affect the cable’s continuity.
- Use a cable tester: To confirm the continuity of the Ethernet cable, use a cable tester at various connection points. Connect the tester to the cable and perform a continuity test. The tester will indicate whether the cable is properly connected and if there are any breaks or faults along the way.
- Record any connectivity issues: If the cable tester indicates breaks or faults, note the specific locations where connectivity issues were detected. This information will be crucial for troubleshooting and resolving any connectivity problems.
- Ensure correct termination: Confirm that the cable is terminated correctly at each connection point. Check that the cable is properly punched down, crimped, or inserted into jacks or plugs, following the appropriate wiring standards for Ethernet cables.
By tracing the continuity of the cable, you can ensure that it is properly connected and functioning along its entire path. Using a combination of visual inspection and cable testing tools, you can identify any connectivity issues and take necessary steps to address them. Verifying the cable’s continuity ensures reliable network performance and minimizes connectivity problems in the future.
Step 6: Label and Secure the Cable
After successfully tracing the Ethernet cable and ensuring its continuity, the final step is to label and secure the cable. Properly labeling and securing the cable is crucial for future maintenance, troubleshooting, and overall cable management. Follow these steps to label and secure the cable:
- Label both ends of the cable: Attach adhesive labels or use cable markers to label both ends of the cable. Clearly indicate the purpose, location, or destination of the cable to make it easy to identify and trace in the future.
- Use cable ties or clips: Secure the cable at various points along its route using cable ties or clips. This prevents the cable from being accidentally pulled or disconnected, maintaining a tidy and organized appearance.
- Document cable information: Update your network documentation with the newly identified cable information. Include details such as cable length, locations, and any notes regarding the cable’s route or connectivity. This documentation will aid in future troubleshooting and network maintenance.
- Consider cable management solutions: If you have multiple Ethernet cables in close proximity, consider using cable management solutions such as cable trays, raceways, or conduit. These solutions help keep the cables organized and protected from damage, facilitating future tracing and maintenance tasks.
- Perform regular cable maintenance: Make it a practice to periodically inspect and recheck the labeled and secured cables. Over time, cables may become loose or disconnected due to environmental factors or other changes. Regular maintenance ensures that the cables remain properly labeled, secured, and in good working condition.
Labeling and securing the cable not only ensures easy identification and traceability but also enhances the overall organization and appearance of your network infrastructure. By taking the time to label and secure cables properly, you can save valuable time and effort during future network maintenance or troubleshooting tasks.
Conclusion
Tracing an Ethernet cable is an essential skill for network administrators and individuals working with networking equipment. By following the steps outlined in this guide and using the necessary tools, you can successfully identify the path of an Ethernet cable, ensure its continuity, and maintain a well-organized network infrastructure.
Through the process of identifying one end of the cable, connecting and activating the Ethernet cable tester, and following the cable path, you can accurately trace the route of the cable. Verifying the cable’s continuity and ensuring proper termination at each connection point helps to ensure reliable network performance and minimize connectivity issues.
Labeling and securing the cable is the final step in the tracing process. By labeling both ends of the cable, using cable ties or clips, and documenting the cable information, you create a well-documented and organized network. Regular cable maintenance and consideration of cable management solutions further enhance the efficiency and reliability of your network.
Tracing an Ethernet cable not only simplifies troubleshooting and network upgrades, but it also improves cable management, security, and compliance. By taking the time to master the art of tracing Ethernet cables, you empower yourself to effectively manage and maintain your network infrastructure.
Remember to continually update your network documentation, perform regular cable maintenance, and stay updated on the latest industry standards and best practices. By doing so, you can ensure a reliable and efficient network that meets your connectivity needs.