Introduction
Welcome to this step-by-step guide on how to connect two computers using an Ethernet cable. Whether you need to share files, transfer data, or simply establish a direct network connection between two computers, Ethernet is a reliable and efficient solution. Setting up an Ethernet connection allows for faster data transfer speeds and a more stable connection compared to other methods like wireless networking.
In this guide, we will walk you through the process of connecting two computers using an Ethernet cable. You don’t need to be a tech expert to follow these steps, as we will explain everything in a straightforward manner. By the end, you will have a seamless network connection between your computers, allowing you to transfer files, share resources, or engage in multiplayer gaming sessions.
Before we start, it’s important to note that this guide assumes you have access to an Ethernet cable of appropriate length. So, let’s get started with the first step: gathering the necessary equipment.
Step 1: Gather the necessary equipment
To connect two computers using an Ethernet cable, you will need the following equipment:
- Two computers: Ensure that you have two computers that you want to connect. They can be desktops, laptops, or any other devices with Ethernet ports.
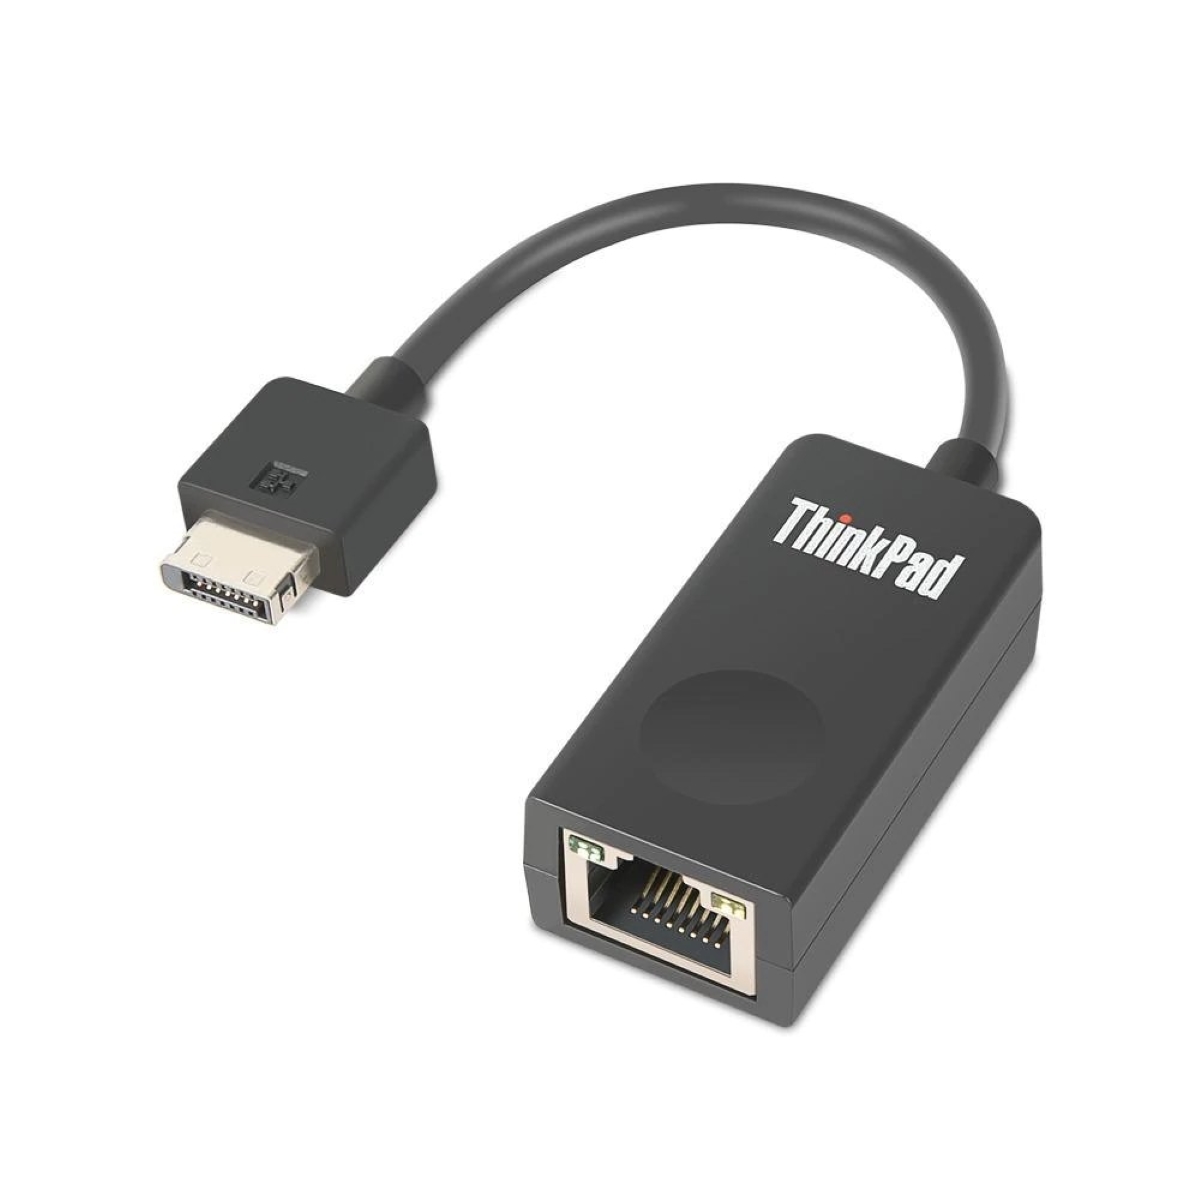
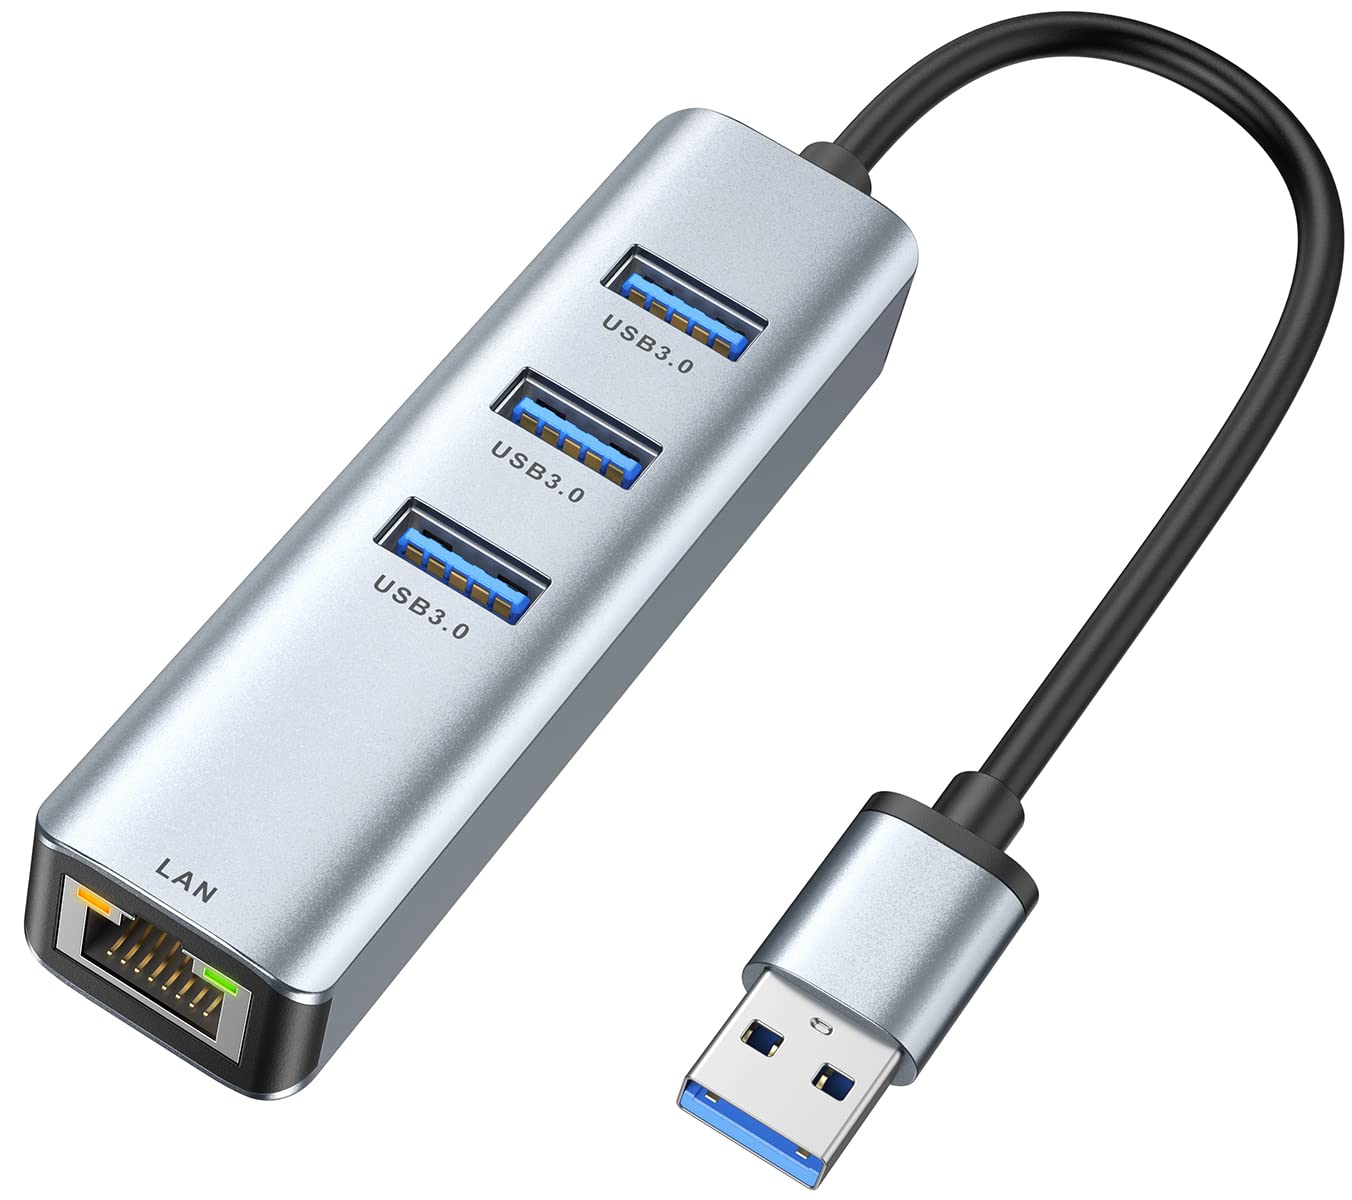
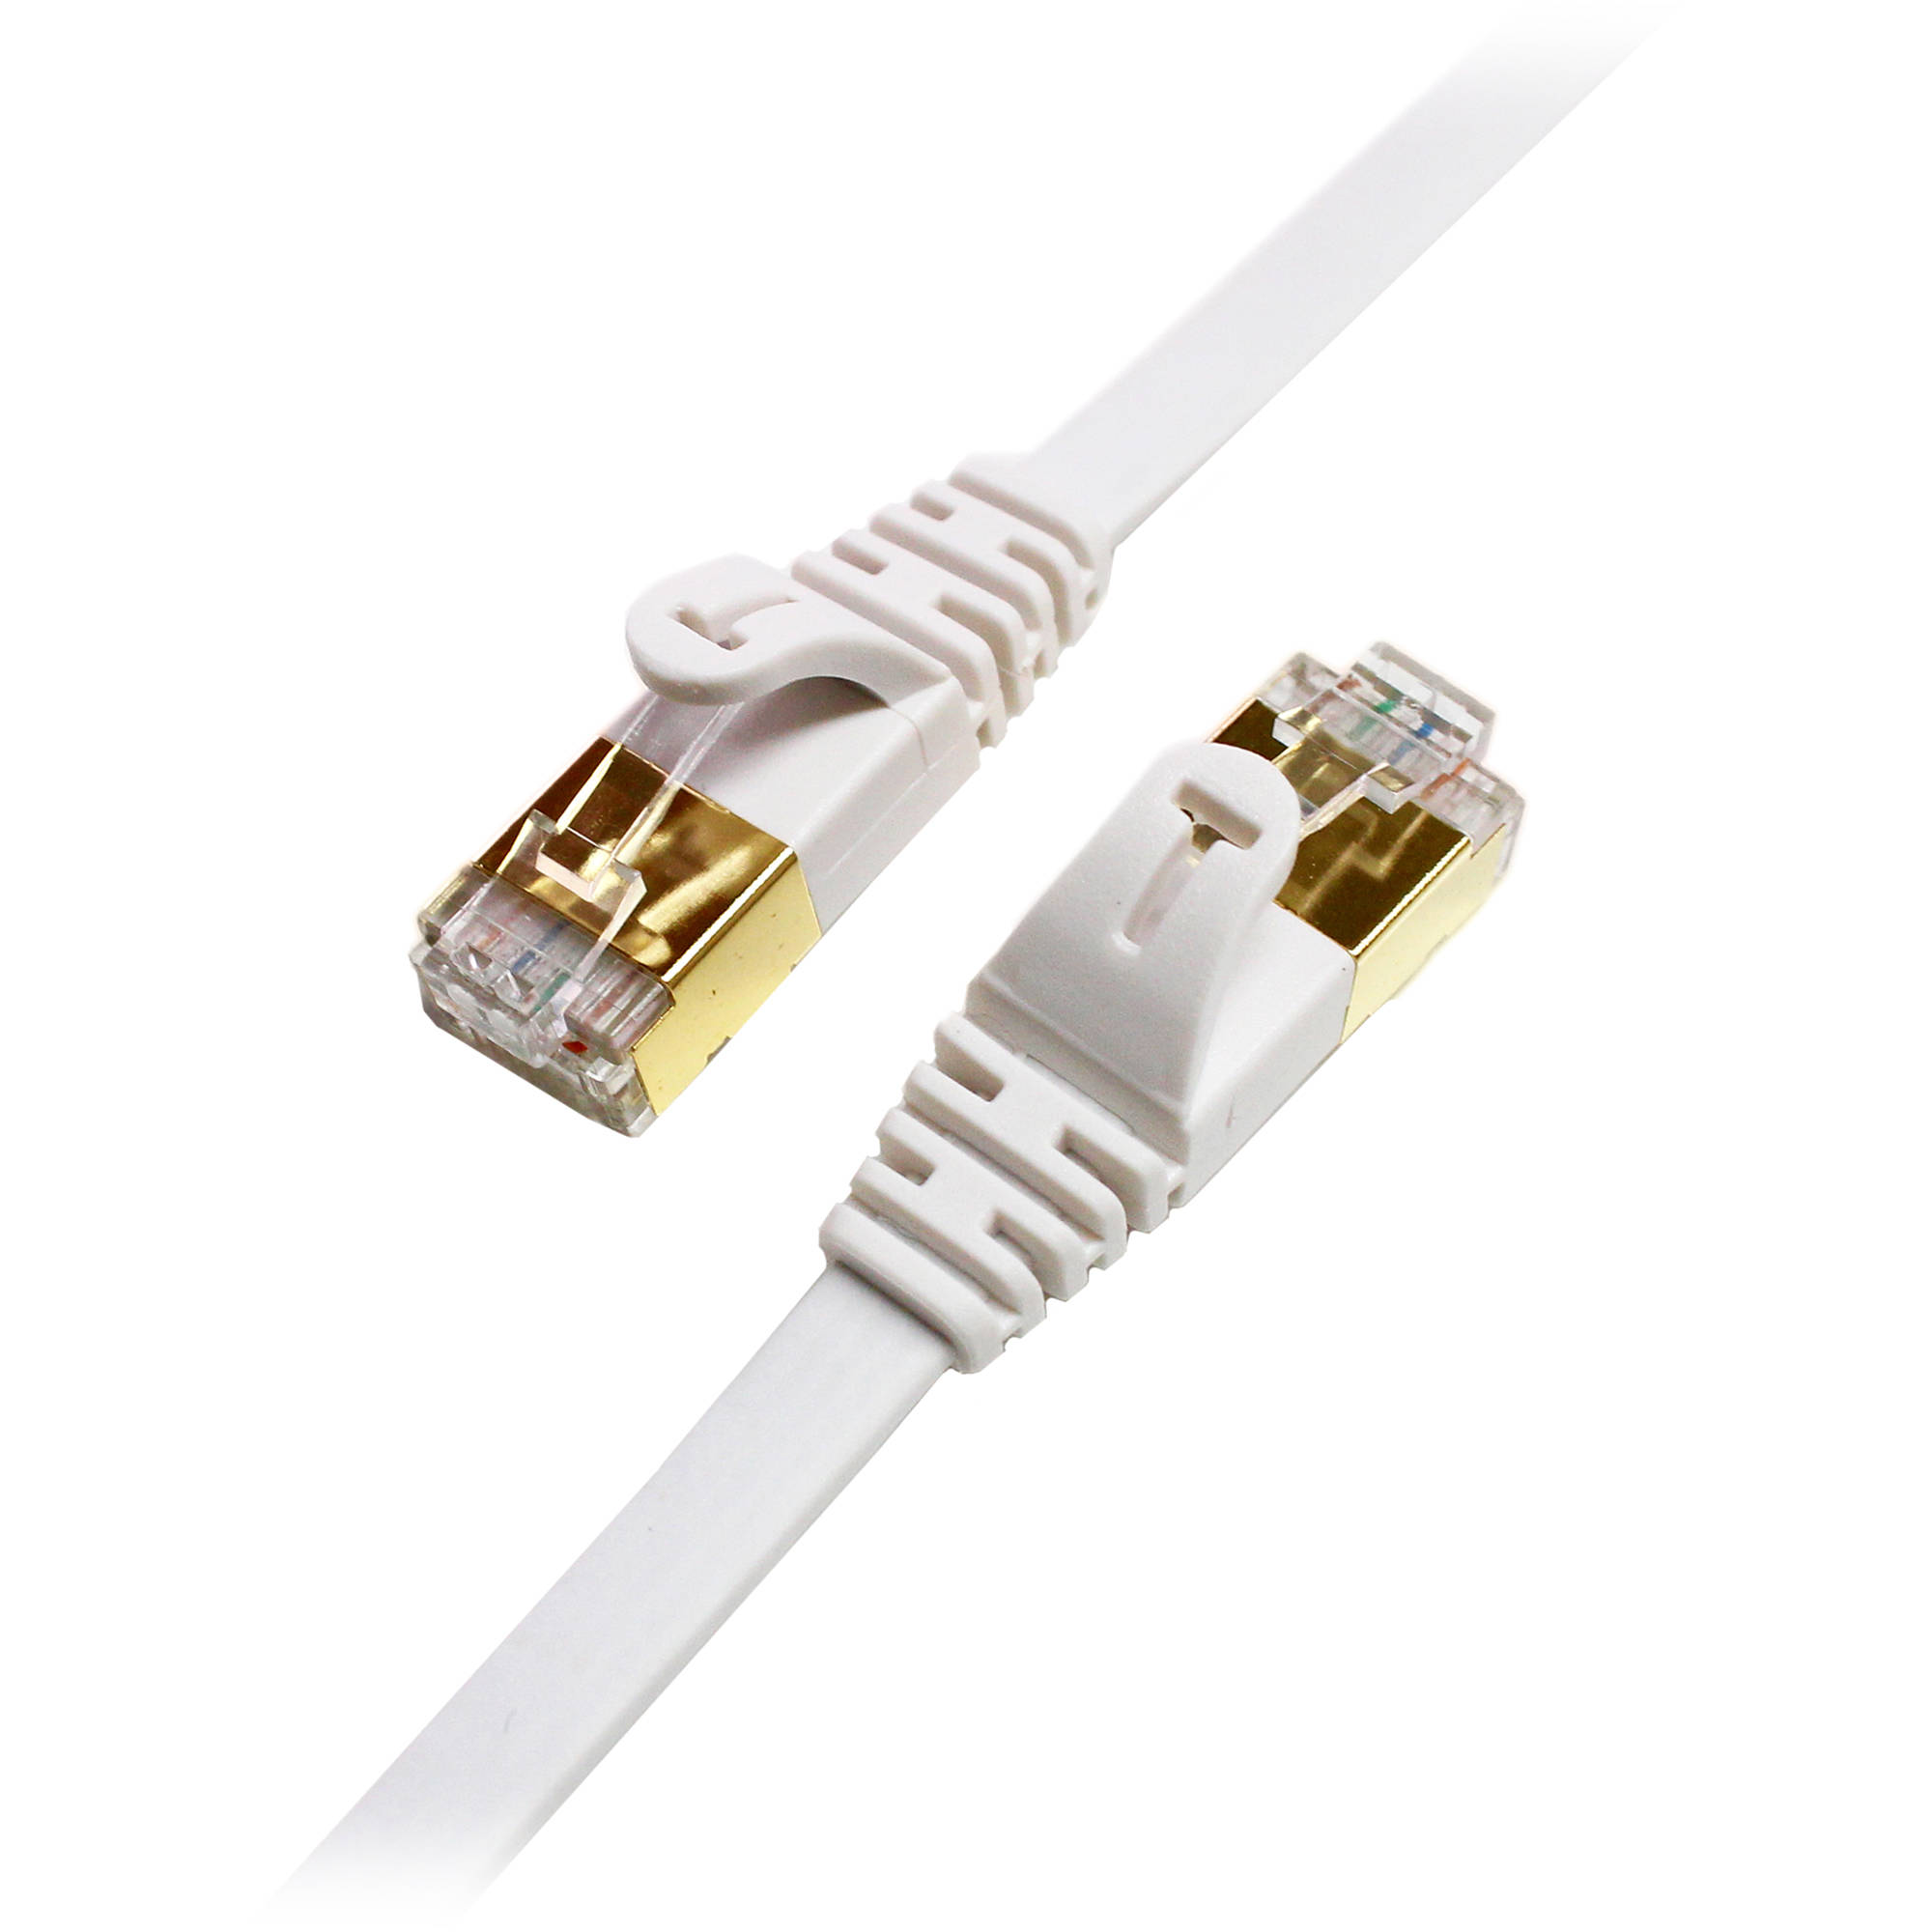
- Ethernet cable: Obtain an Ethernet cable of sufficient length to connect the two computers. The length will depend on the distance between the computers.
- Router (optional): If you already have a router that you use for your internet connection, it can be handy to include it in the setup. However, it is not mandatory for a direct Ethernet connection between two computers.
Make sure you have all these items before proceeding to the next step. Additionally, ensure that the Ethernet cable is in good condition, without any signs of damage or wear. A faulty cable can affect the quality of the connection.
Now that you have gathered the necessary equipment, it’s time to move on to the next step: verifying that the computers have Ethernet ports.
Step 2: Verify that the computers have Ethernet ports
The next step in connecting two computers using an Ethernet cable is to ensure that both computers have Ethernet ports. Ethernet ports are usually located on the back or side of the computer, and they look similar to telephone ports but larger in size.
To verify if your computers have Ethernet ports, follow these steps:
- Locate the ports: Look for rectangular-shaped ports on the back or side of your computers. These ports typically have an icon that resembles stacked horizontal lines or the word “Ethernet” next to them.
- Inspect the ports: Once you have located the ports, examine them closely to ensure they are not damaged or blocked. Sometimes, dust or debris can accumulate in the ports, affecting the connectivity.
- Check the specifications: If you are unsure whether your computer has an Ethernet port, you can check the specifications of your computer model. This information is usually available on the manufacturer’s website or in the computer’s documentation.
If both computers have Ethernet ports and they are in good condition, you are ready to proceed to the next step: connecting the Ethernet cable to each computer.
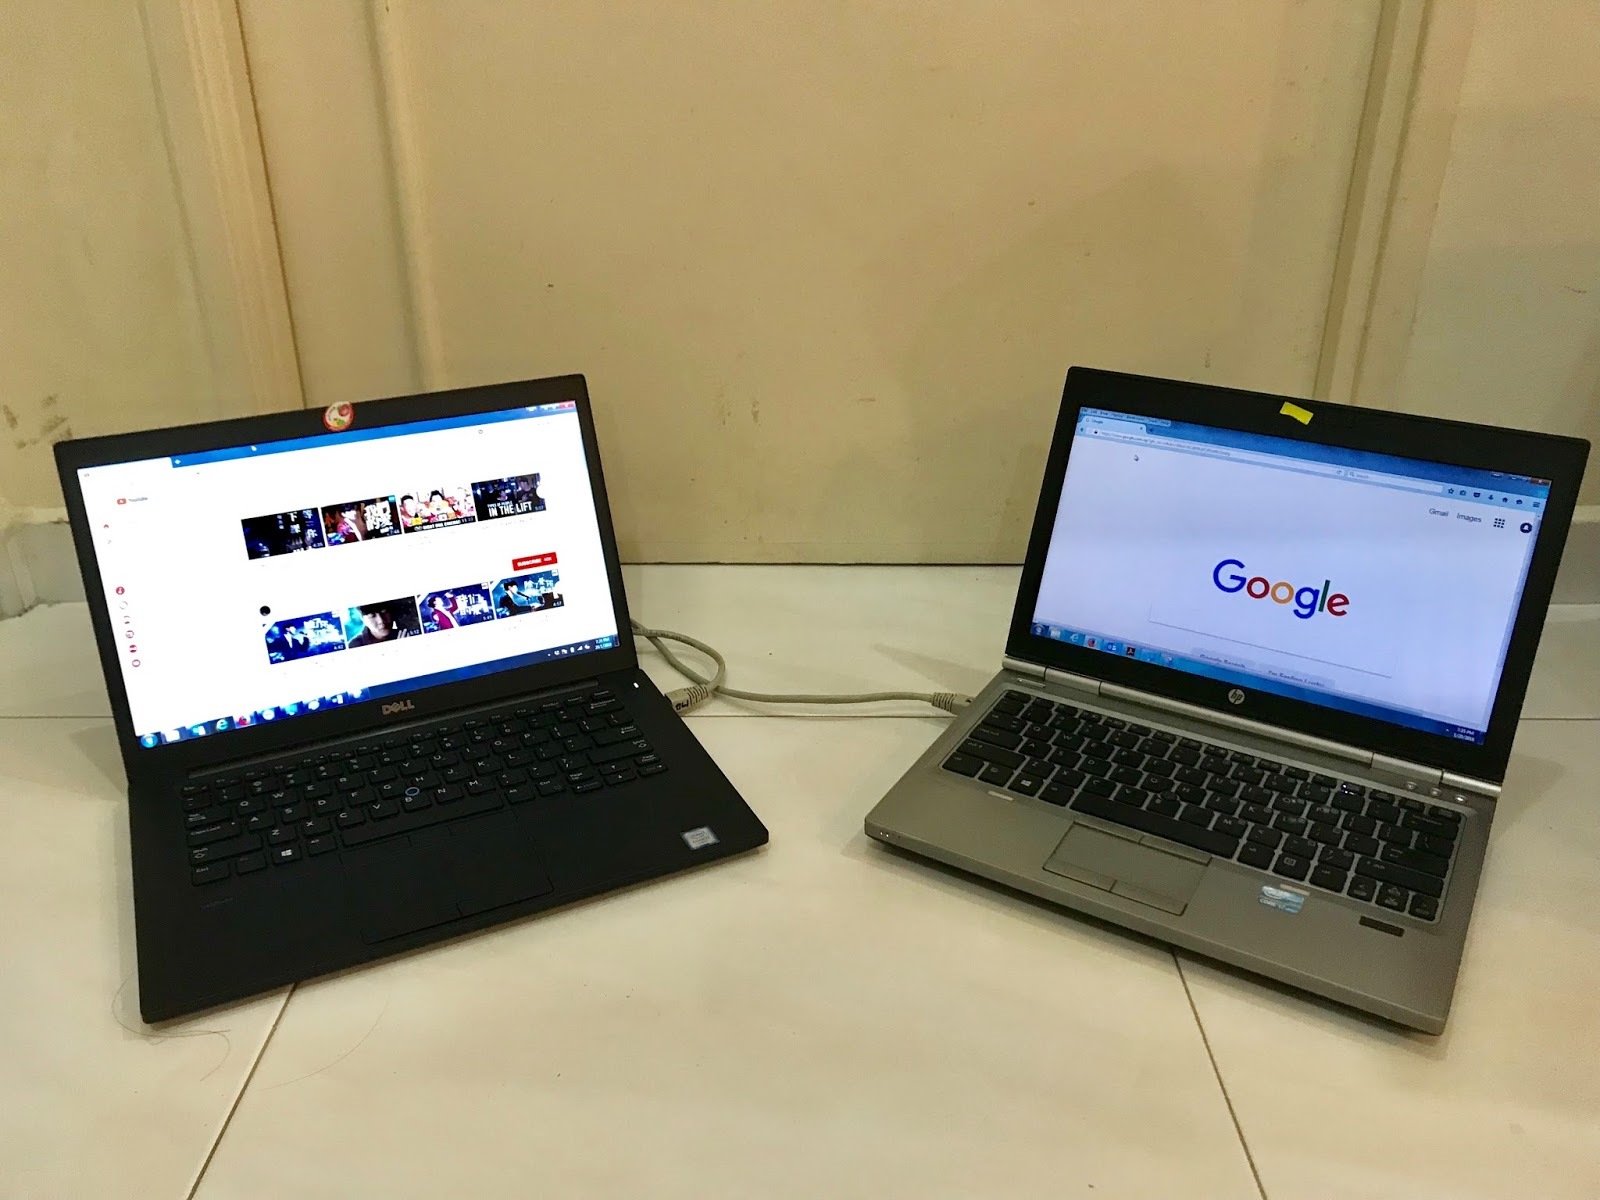
Step 3: Connect the Ethernet cable to each computer
Now that you have verified that both computers have Ethernet ports, it’s time to connect the Ethernet cable to each computer. Follow these steps to establish a physical connection:
- Power off both computers: Before connecting the Ethernet cable, make sure to turn off both computers. This precaution is necessary to prevent any damage to the devices or disruption to the network connection.
- Locate the Ethernet ports: Find the Ethernet ports on both computers. These ports are rectangular in shape and usually have the word “Ethernet” or an icon depicting stacked horizontal lines next to them.
- Insert one end of the cable: Take one end of the Ethernet cable and insert it firmly into the Ethernet port on the first computer. Ensure that the connection is secure and snug.
- Insert the other end of the cable: Take the other end of the Ethernet cable and insert it into the Ethernet port on the second computer, following the same process as before.
- Power on the computers: Once the cable is securely connected to both computers, power on the devices. Allow them to boot up completely.
Now that the Ethernet cable is connected to each computer, you have established a physical link between them. The next step is to configure the network settings on each computer to ensure they can communicate with each other. This will be covered in the next step.
Step 4: Configure the network settings on each computer
With the Ethernet cable connected to both computers, it’s time to configure the network settings to enable communication between them. Follow these steps to set up the network settings:
- Open Network Settings: On each computer, navigate to the Network Settings menu. This can usually be found in the Control Panel or Settings menu, depending on the operating system.
- Select ‘Ethernet’ as the network connection: In the Network Settings menu, locate the option to choose the network connection type. Select ‘Ethernet’ as the preferred connection type on both computers.
- Set IP addresses: In the Network Settings menu, you will find an option to set IP addresses. Assign a unique IP address to each computer within the same subnet. For example, you can set one computer’s IP address as 192.168.0.1 and the other computer’s IP address as 192.168.0.2.
- Configure subnet mask: Set the subnet mask on both computers to 255.255.255.0. This will ensure that the computers recognize each other within the same network.
- Set default gateway: If you are using a router, enter the IP address of the router as the default gateway on both computers. This will allow them to access the internet through the router if needed.
- Apply the changes: Once you have entered the appropriate network settings, save and apply the changes on both computers. This will update the network configurations and make them effective.
By configuring the network settings on each computer, you have established a local network connection between them. This will enable file sharing, resource access, and other forms of communication. Now, it’s time to test the connection in the next step.
Step 5: Test the connection
After setting up the network settings on both computers, it’s important to test the connection to ensure that the Ethernet connection is working properly. Follow these steps to test the connection:
- Open a web browser or any other network-dependent application on one of the computers.
- Enter the IP address of the other computer in the address bar of the web browser. For example, if the IP address of the other computer is 192.168.0.2, enter that into the address bar.
- If everything is set up correctly and the connection is working, you should be able to access the shared files, resources, or any other network services on the other computer.
- Test the connection in both directions by performing the same steps on the other computer. This will ensure that the connection is bidirectional.
- If you encounter any issues or cannot establish a connection, double-check the network settings on both computers and ensure they are correct.
- If necessary, restart the computers and test the connection again to see if the issue persists.
By testing the connection, you can verify that the Ethernet setup is functioning correctly, allowing for seamless communication between the two computers. If the connection is successful, you can now start transferring files, sharing resources, or engaging in any activities that require a network connection between the computers.
Conclusion
Congratulations! You have successfully connected two computers using an Ethernet cable. By following the steps outlined in this guide, you have established a direct network connection between the computers, allowing for faster data transfer and a more stable connection. This setup can be incredibly useful for various purposes, including file sharing, resource access, collaborative work, or gaming sessions.
Throughout the process, you have gathered the necessary equipment, verified the presence of Ethernet ports on both computers, connected the Ethernet cable securely, configured the network settings, and tested the connection to ensure its functionality.
Remember, Ethernet connections offer several advantages over other networking methods. They provide faster data transfer speeds and increased reliability, making them ideal for scenarios where a stable and efficient connection is required.
If you encounter any issues during the setup process or experience difficulties in establishing the connection, double-check the steps and ensure that the network settings are correctly configured. If the problem persists, consider seeking assistance from a tech-savvy individual or consulting the manufacturer’s support resources.
Now that you have successfully connected your computers through Ethernet, take advantage of this direct network connection to enhance collaboration and streamline your workflow. Enjoy the benefits of seamless file sharing, resource accessibility, and efficient communication between the connected computers.
Thank you for following this guide, and we hope it has been helpful in achieving your goal of connecting two computers using Ethernet!