Introduction
Welcome to the world of Ethernet cable testing! In this digital age, a reliable and efficient network connection is essential for both personal and professional use. Whether you’re setting up a home network or managing an enterprise-level infrastructure, ensuring your Ethernet cables are properly installed and functioning is crucial. That’s where an Ethernet cable tester comes into play.
An Ethernet cable tester is a specialized tool specifically designed to test and diagnose the functionality of Ethernet cables. It helps identify any common issues like open circuits, short circuits, miswires, and reversals, allowing you to troubleshoot and fix connectivity problems effectively. By using an Ethernet cable tester, you can save time, effort, and frustration by quickly pinpointing any faults in your network cables.
So, why should you use an Ethernet cable tester? The answer is simple: reliability and performance. A network connection is only as good as the cables it relies on. By ensuring that your cables are properly installed and free from any defects, you can guarantee a stable and speedy network connection.
In this article, we will dive into the world of Ethernet cable testers, exploring their different types and understanding how to use them. Whether you’re a beginner or an experienced network technician, this guide will provide you with the knowledge and insights to effectively test your Ethernet cables.
What is an Ethernet Cable Tester?
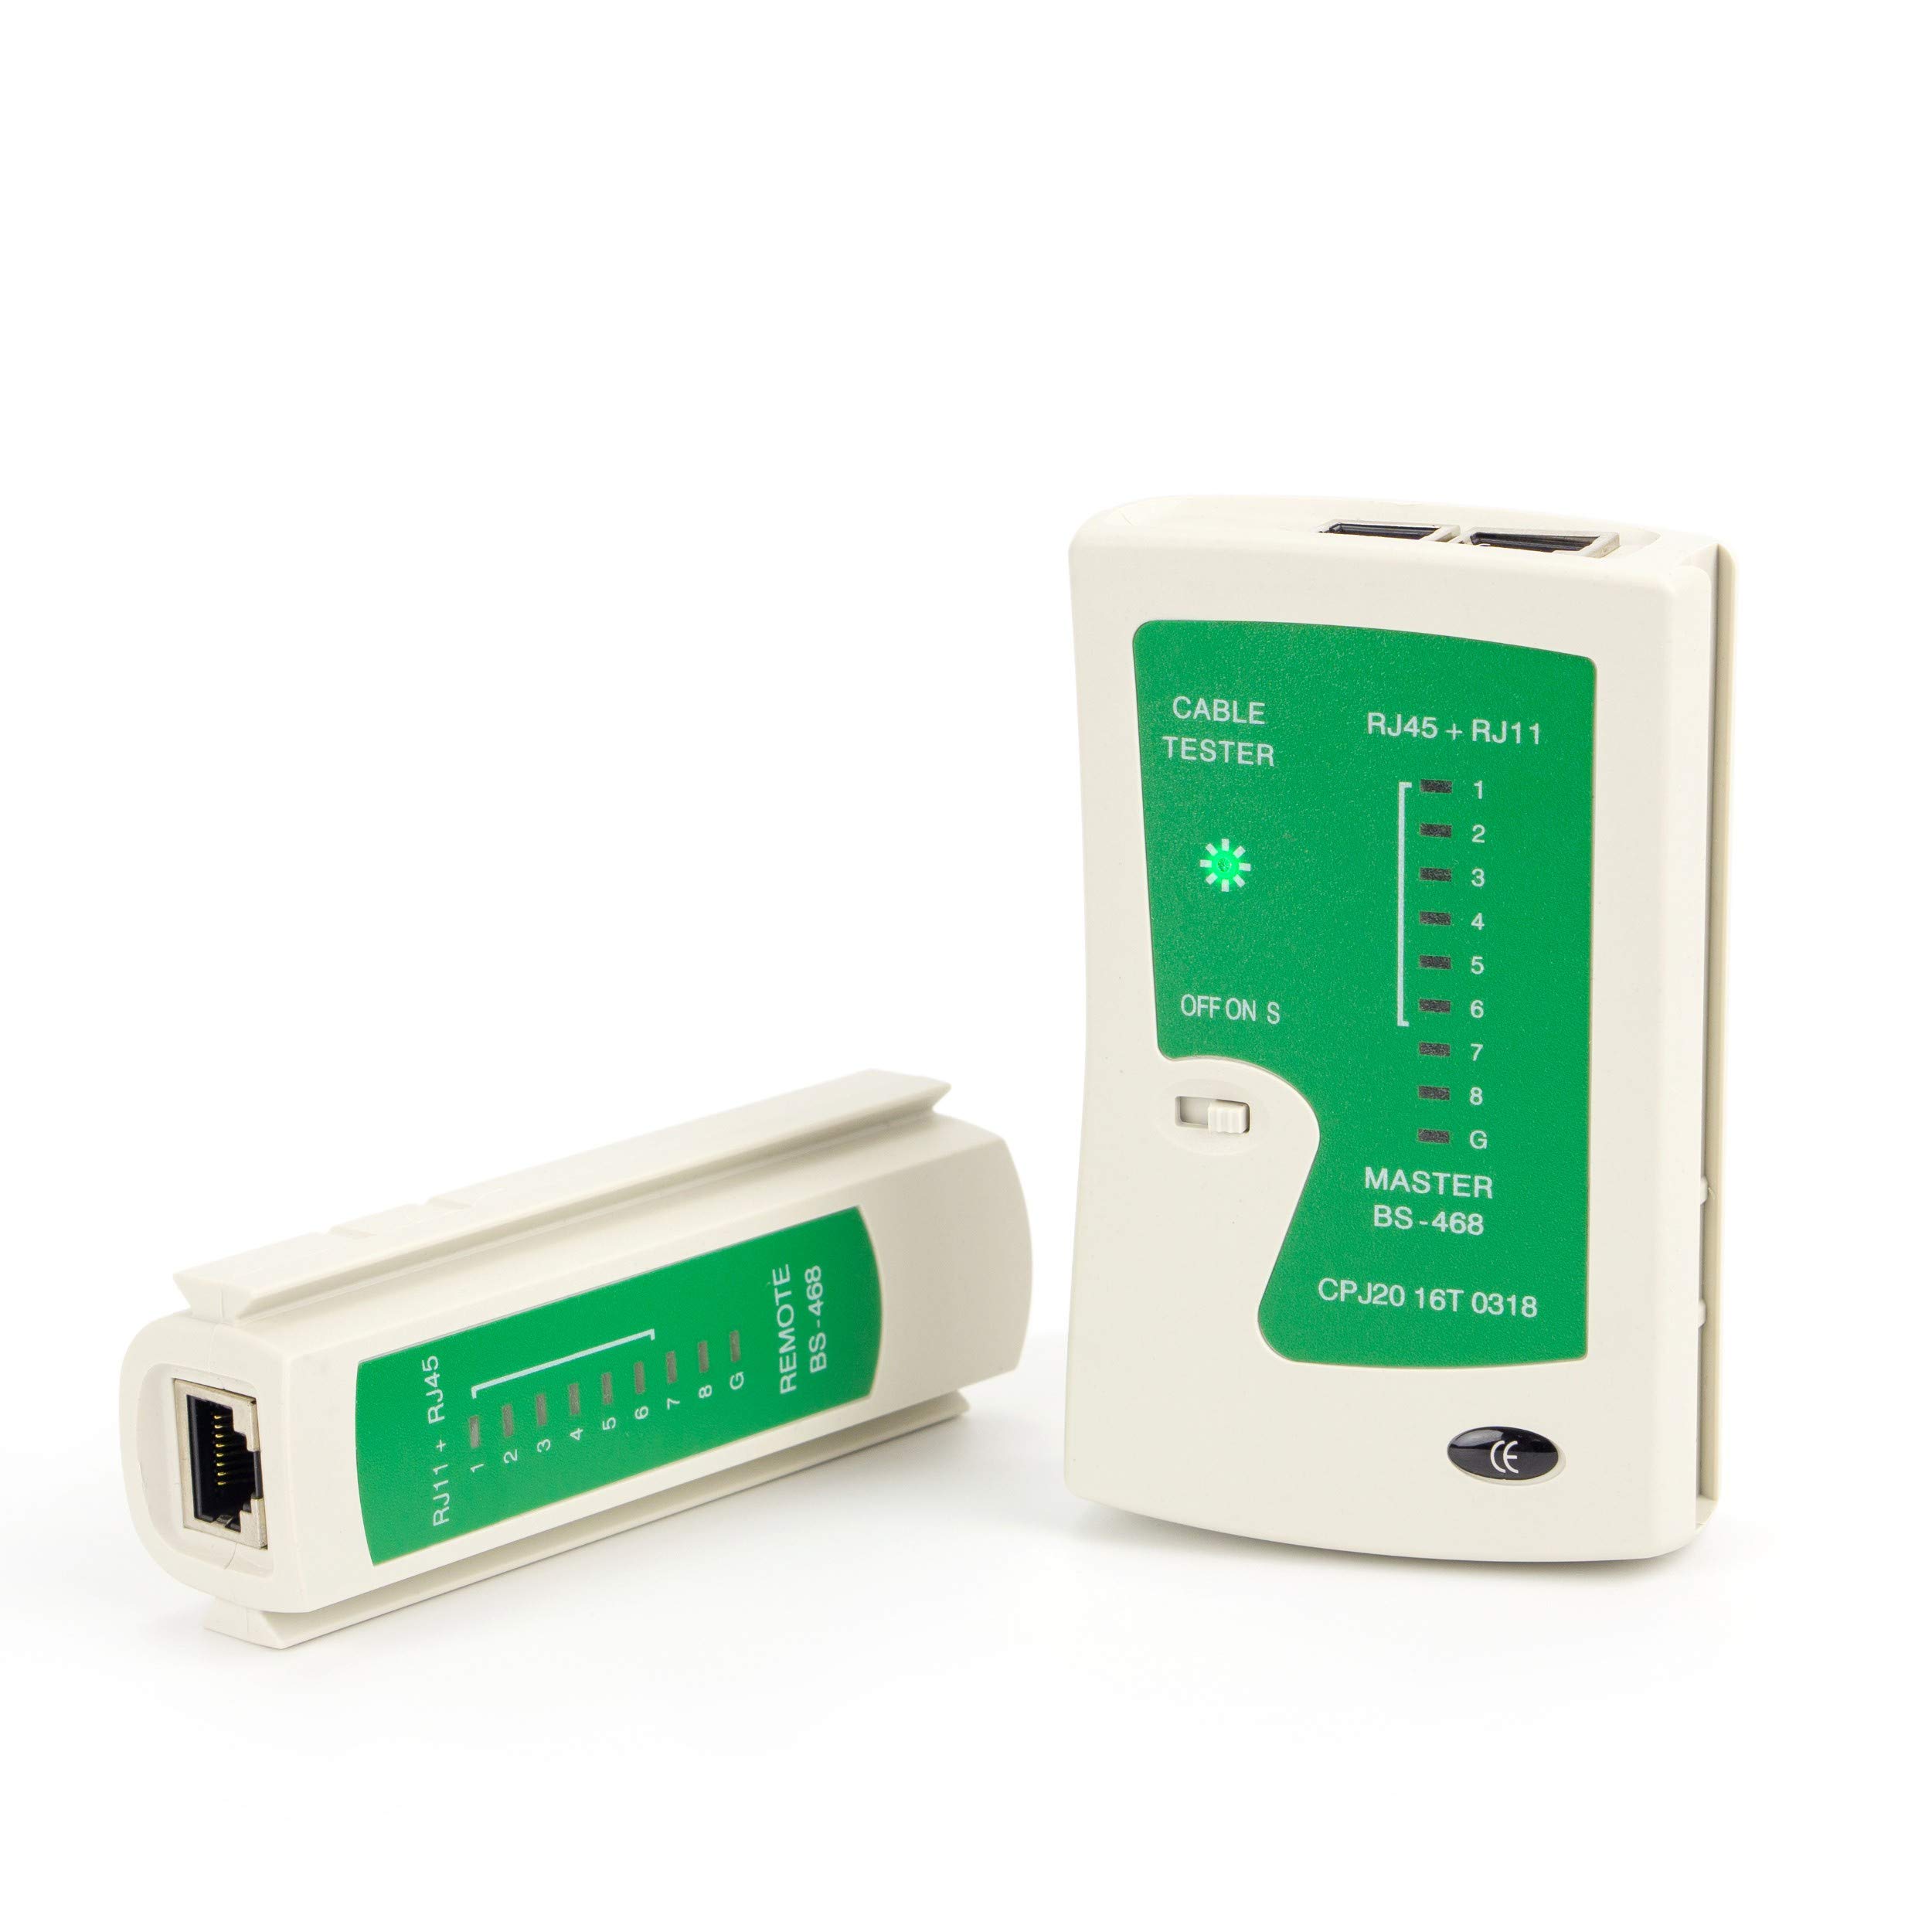
An Ethernet cable tester is a vital tool used to determine the integrity and functionality of Ethernet cables. It is commonly used by network technicians, IT professionals, and even individuals setting up their own home networks. The main purpose of an Ethernet cable tester is to diagnose and identify any issues or faults in the cables, ensuring optimal network performance.
At its core, an Ethernet cable tester consists of two main components: a transmitter and a receiver. The transmitter is connected to one end of the cable being tested, while the receiver is connected to the other end. The tester then sends specific signals or patterns through the cable, and the receiver analyzes the received signals to detect any abnormalities.
By using an Ethernet cable tester, you can determine various factors related to cable performance. Some common tests conducted by cable testers include:
- Continuity testing: This test checks if all the wires in the cable are properly connected and if there are any breaks or interruptions in the electrical current. It helps detect open circuits or short circuits.
- Wiring configuration testing: Ethernet cables follow specific wiring standards, such as T568A or T568B. Cable testers can verify if the cables are correctly wired according to these standards.
- Length measurement: Ethernet cable testers can also provide an estimate of the cable length, which is useful for planning network installations and troubleshooting cable routing issues.
- Signal quality testing: Advanced cable testers can analyze the quality of the signals transmitted through the cable, checking for issues like crosstalk, impedance, and signal loss.
With the information provided by an Ethernet cable tester, you can quickly identify any faults or misconfigurations in your network cables. This allows you to rectify the problems and ensure a reliable and high-performing network connection.
Now that we understand the purpose and capabilities of an Ethernet cable tester, let’s explore why using one is essential for maintaining a seamless network infrastructure.
Why Use an Ethernet Cable Tester?
Using an Ethernet cable tester offers numerous benefits and advantages when it comes to maintaining a reliable network infrastructure. Let’s explore why it is crucial to incorporate the use of an Ethernet cable tester in your network setup:
1. Ensures Proper Installation:
By using an Ethernet cable tester, you can verify that the cables are correctly installed according to the proper wiring standards. This ensures that each wire is in the correct position, minimizing the risk of connectivity issues and data transmission errors.
2. Saves Time and Effort:
An Ethernet cable tester helps save time and effort in troubleshooting network problems. Instead of manually checking each cable, the tester can quickly identify fault points and provide accurate diagnostics, allowing for prompt repairs or replacements. This significantly reduces the time and effort needed to resolve connectivity issues.
3. Prevents Costly Downtime:
Network downtime can be a costly affair for businesses. Using an Ethernet cable tester allows you to proactively identify potential cable failures before they cause significant disruptions to your network. By addressing these issues early on, you can prevent costly downtime and ensure uninterrupted network operations.
4. Increases Reliability:
An Ethernet cable tester helps ensure that your network cables are in top-notch condition, which translates to a more reliable network connection. By verifying the cable’s integrity and detecting any faults, you can enjoy a stable and consistent data transmission, minimizing the chances of dropped connections or slow network speeds.
5. Facilitates Network Expansion:
When expanding your network, an Ethernet cable tester becomes an indispensable tool. It allows you to test new cables before installation, ensuring that they meet the required specifications and are free from defects. This guarantees a smooth integration of new network components and prevents any issues that may arise due to faulty cabling.
The benefits highlighted above illustrate why incorporating the use of an Ethernet cable tester is essential in maintaining a robust and efficient network infrastructure. From ensuring proper installation to preventing costly downtime, an Ethernet cable tester is a valuable tool for any network technician or enthusiast.
Now that we’ve explored the importance of an Ethernet cable tester, let’s delve into the different types of testers available on the market.
Different Types of Ethernet Cable Testers
There are several types of Ethernet cable testers available on the market, each with its own features and functionalities. Let’s take a look at some of the most common types:
1. Simple Wire Map Testers:
Simple wire map testers are basic and affordable cable testers, suitable for basic continuity testing. They can determine if all wires in the cable are properly connected, ensuring correct pinout and wiring configurations. These testers are ideal for home users or small network installations.
2. Tone Generators and Probe Testers:
Tone generators and probe testers are used to locate and trace cables in a network infrastructure. The tone generator injects a tone signal into one end of the cable, while the probe tester detects and traces the signal along the cable’s path. This type of tester is useful in large-scale network installations where cable tracking and identification are necessary.
3. Qualification Testers:
Qualification testers go beyond simple continuity testing. They provide a comprehensive analysis of the cable’s performance, including the ability to measure parameters like cable length, signal quality, crosstalk, and noise. These testers are commonly used by professional network technicians to ensure cables meet the required standards for high-speed data transmission.
4. Certification Testers:
Certification testers are the most advanced and comprehensive cable testing tools available. They perform extensive testing to validate the cable’s performance and compliance with industry standards. Certification testers offer detailed reports and documentation, ensuring that the network infrastructure meets the required specifications. These testers are typically used in large-scale network deployments, data centers, and enterprise-level installations.
It’s important to choose the right type of Ethernet cable tester based on your specific needs and budget. While simple wire map testers may be sufficient for basic home network setups, more advanced cable testers like qualification or certification testers are recommended for professional or critical network installations.
Now that we’re familiar with the different types of Ethernet cable testers, let’s proceed to the next section and learn how to use them effectively.
How to Use an Ethernet Cable Tester
Using an Ethernet cable tester is a straightforward process that allows you to identify and troubleshoot any issues with your network cables. Here are the steps to effectively use an Ethernet cable tester:
Step 1: Gather the necessary tools and materials
Before you begin testing, ensure you have the following items:
- An Ethernet cable tester (the specific model depending on your needs)
- The Ethernet cables to be tested
- A power source (if required for your tester model)
Step 2: Connect the Ethernet cable to the tester
Connect one end of the Ethernet cable to the transmitter port on the tester, ensuring a secure connection. Then connect the other end of the cable to the receiver port on the tester. Make sure both connections are properly secured to avoid any false results.
Step 3: Begin testing the cable
Once the cable is connected, initiate the testing process according to your Ethernet cable tester’s instructions. This may involve pressing a button, selecting a specific test mode, or following on-screen prompts. The tester will send signals or patterns through the cable for analysis.
Step 4: Analyze the test results
Once the test is completed, the tester will provide you with a test report or display the results on its screen. Carefully analyze the results to identify any faults or issues with the cable. Common test result indicators may include pass, fail, open circuit, short circuit, or miswiring. Take note of any specific areas where the cable may be failing.
Step 5: Troubleshooting common issues
If the test results indicate a problem with the cable, you can proceed with troubleshooting. This may involve replacing the cable, reterminating the connectors, or repairing any damaged portions. Consult your Ethernet cable tester’s user manual or seek professional assistance if needed.
Repeat these steps for each Ethernet cable you want to test. Remember to label your cables after testing to keep track of their status and prevent confusion in the future.
By following these steps, you can effectively use an Ethernet cable tester to diagnose and resolve any issues with your network cables. Regularly testing your cables helps ensure a reliable and optimum network performance.
Now that we’ve learned how to use an Ethernet cable tester, let’s conclude our guide with a brief summary.
Step 1: Gather the necessary tools and materials
Before you can begin testing your Ethernet cables, it is essential to gather all the necessary tools and materials. Having everything prepared beforehand will ensure a smooth and efficient testing process. Here are the items you will need:
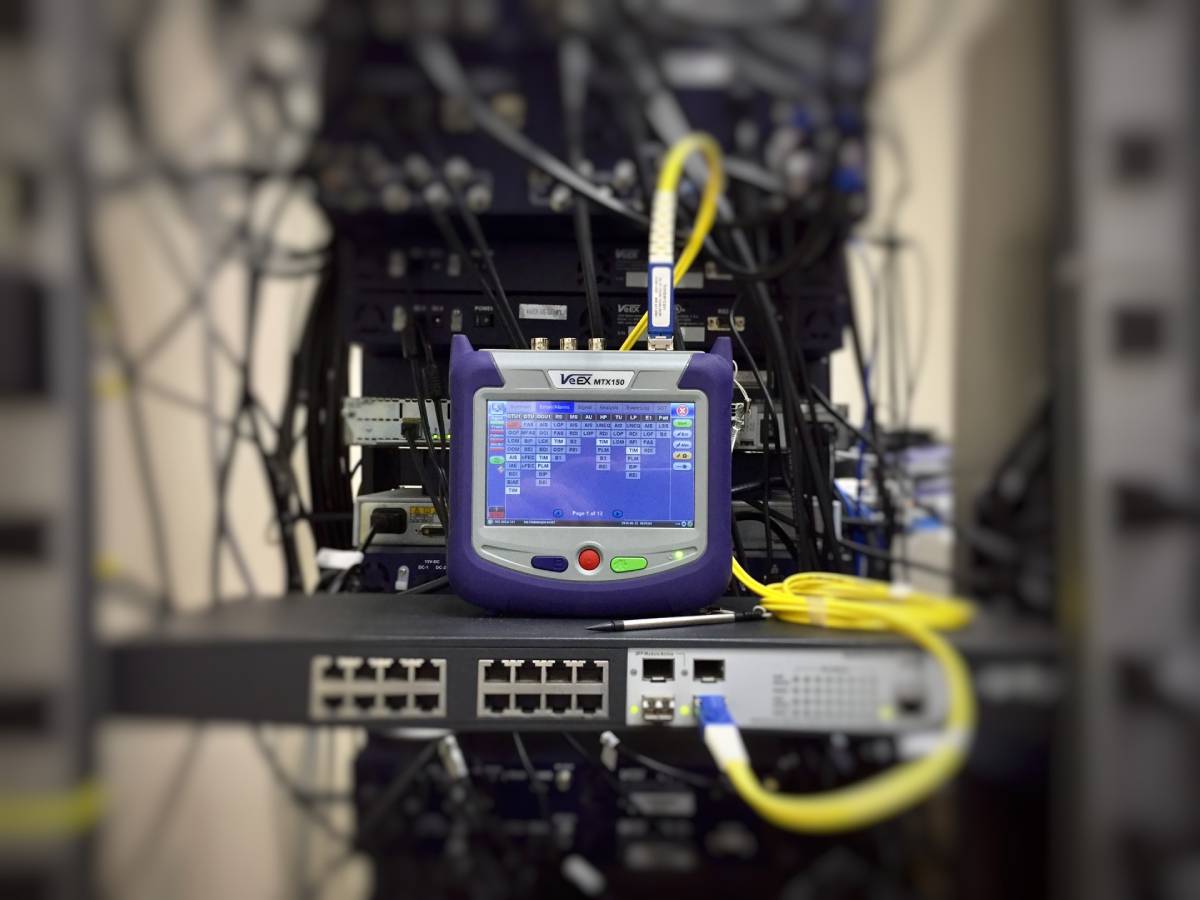
Ethernet Cable Tester:
First and foremost, you will need an Ethernet cable tester. There are various models available, ranging from basic wire map testers to advanced certification testers. Choose a tester that suits your specific needs and requirements. Consider factors such as the types of tests you want to perform and the level of accuracy you require.
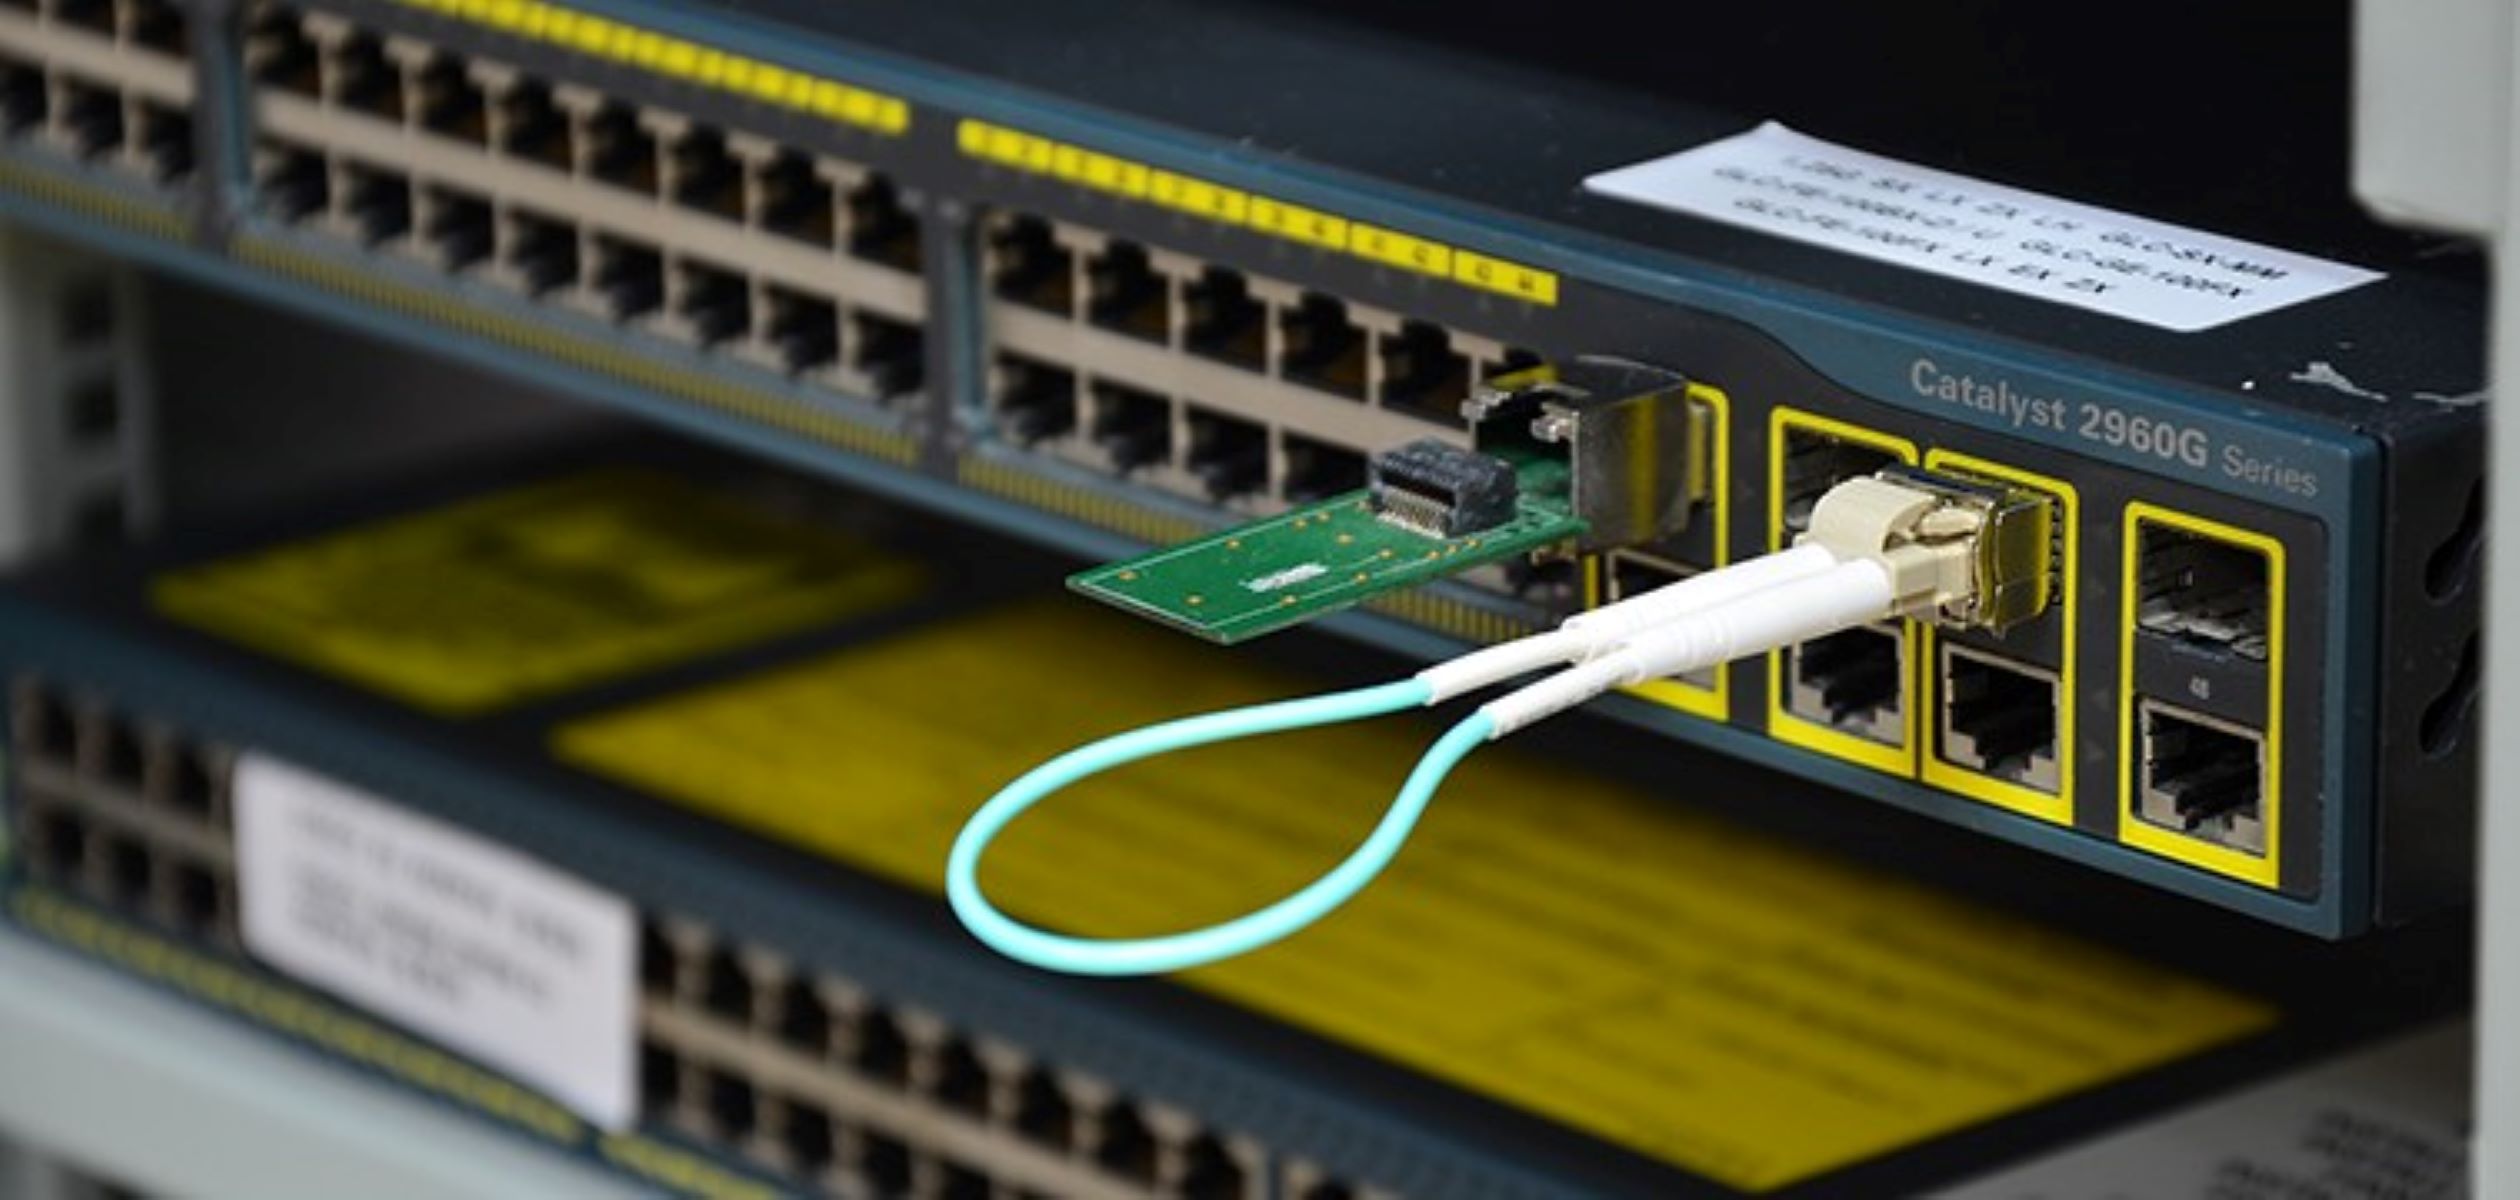
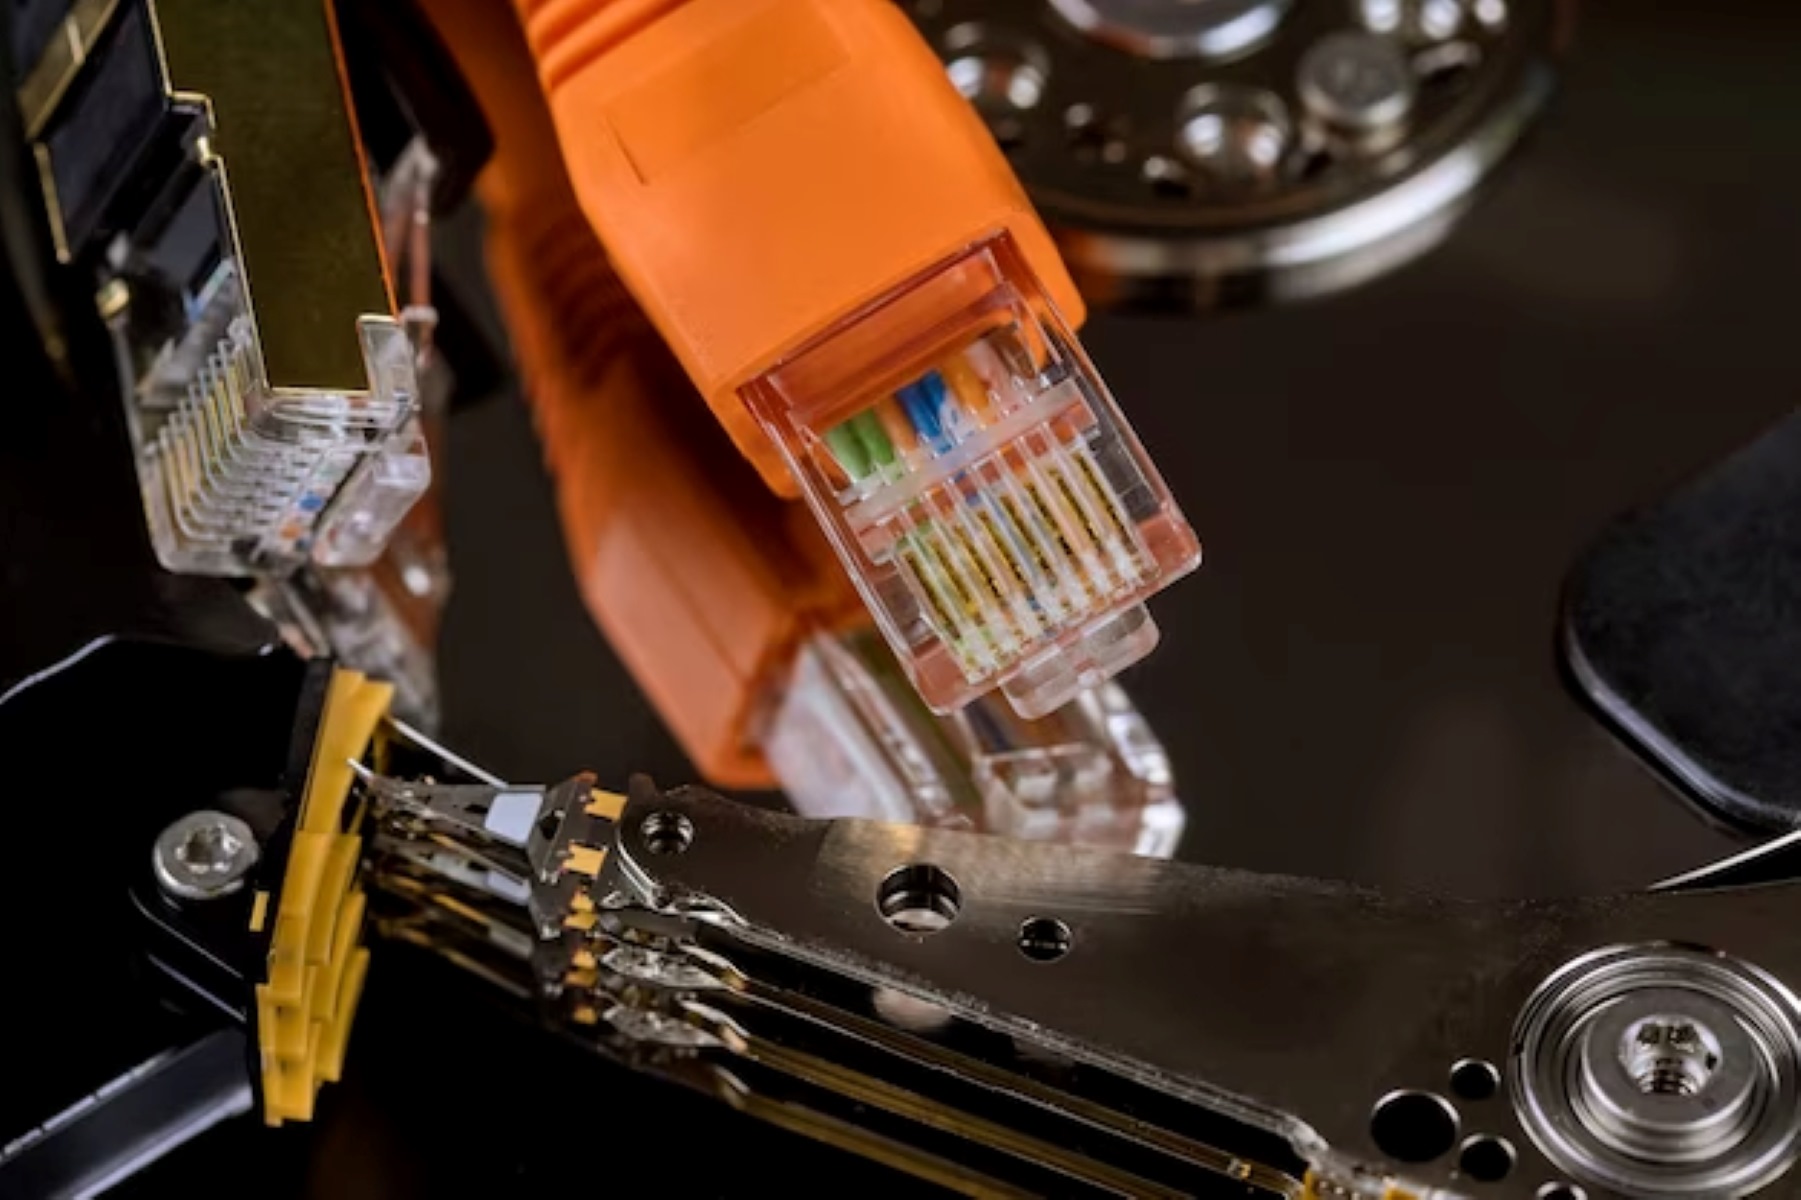
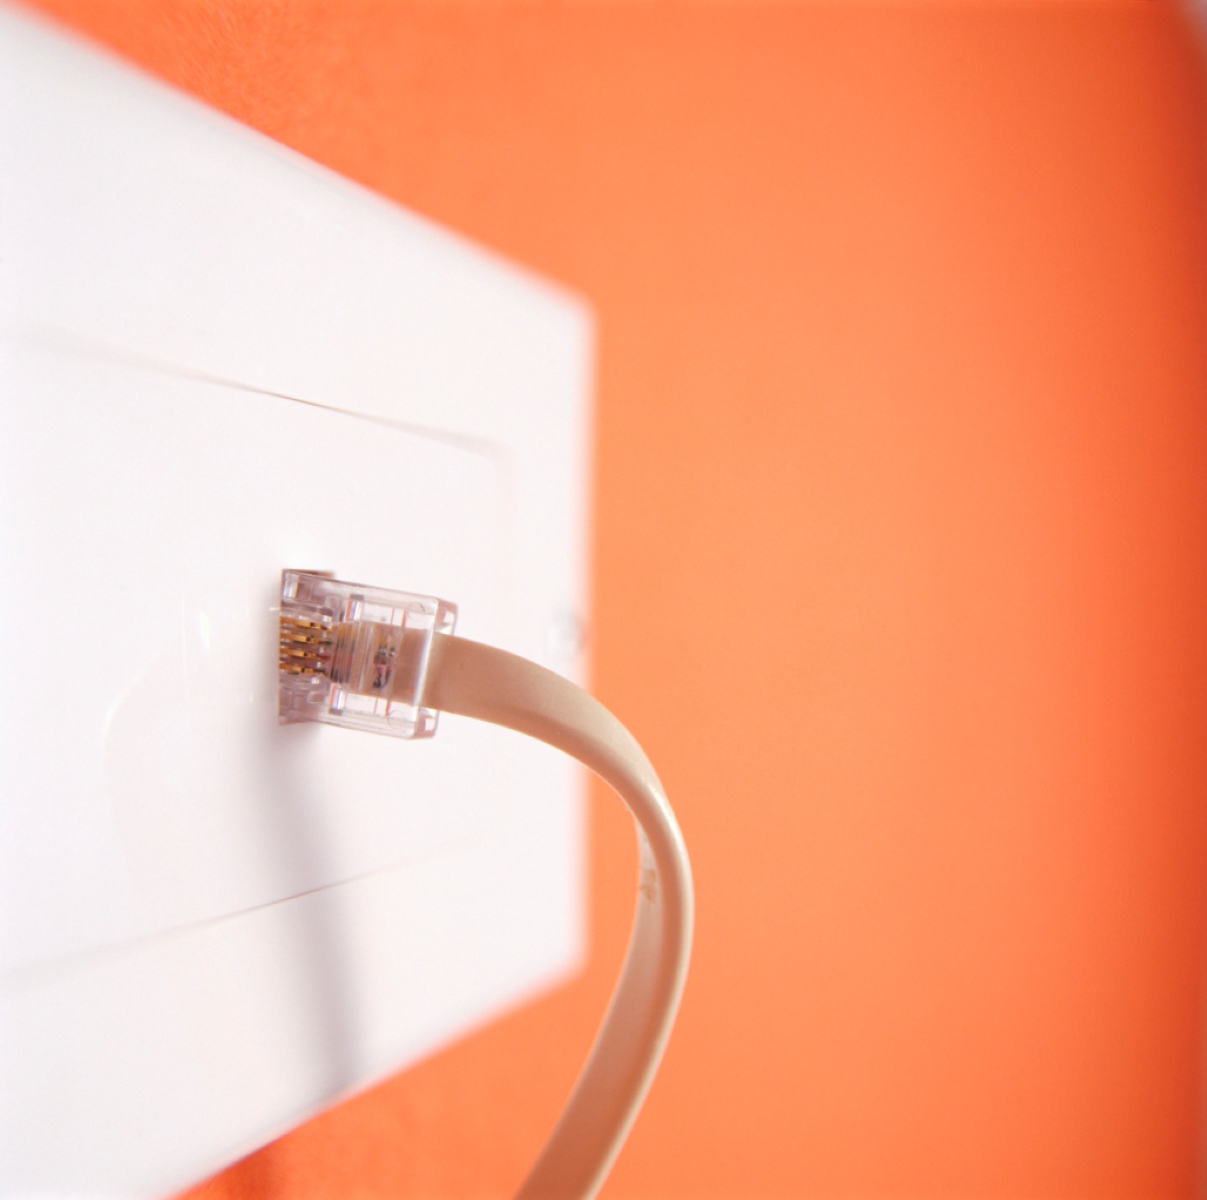
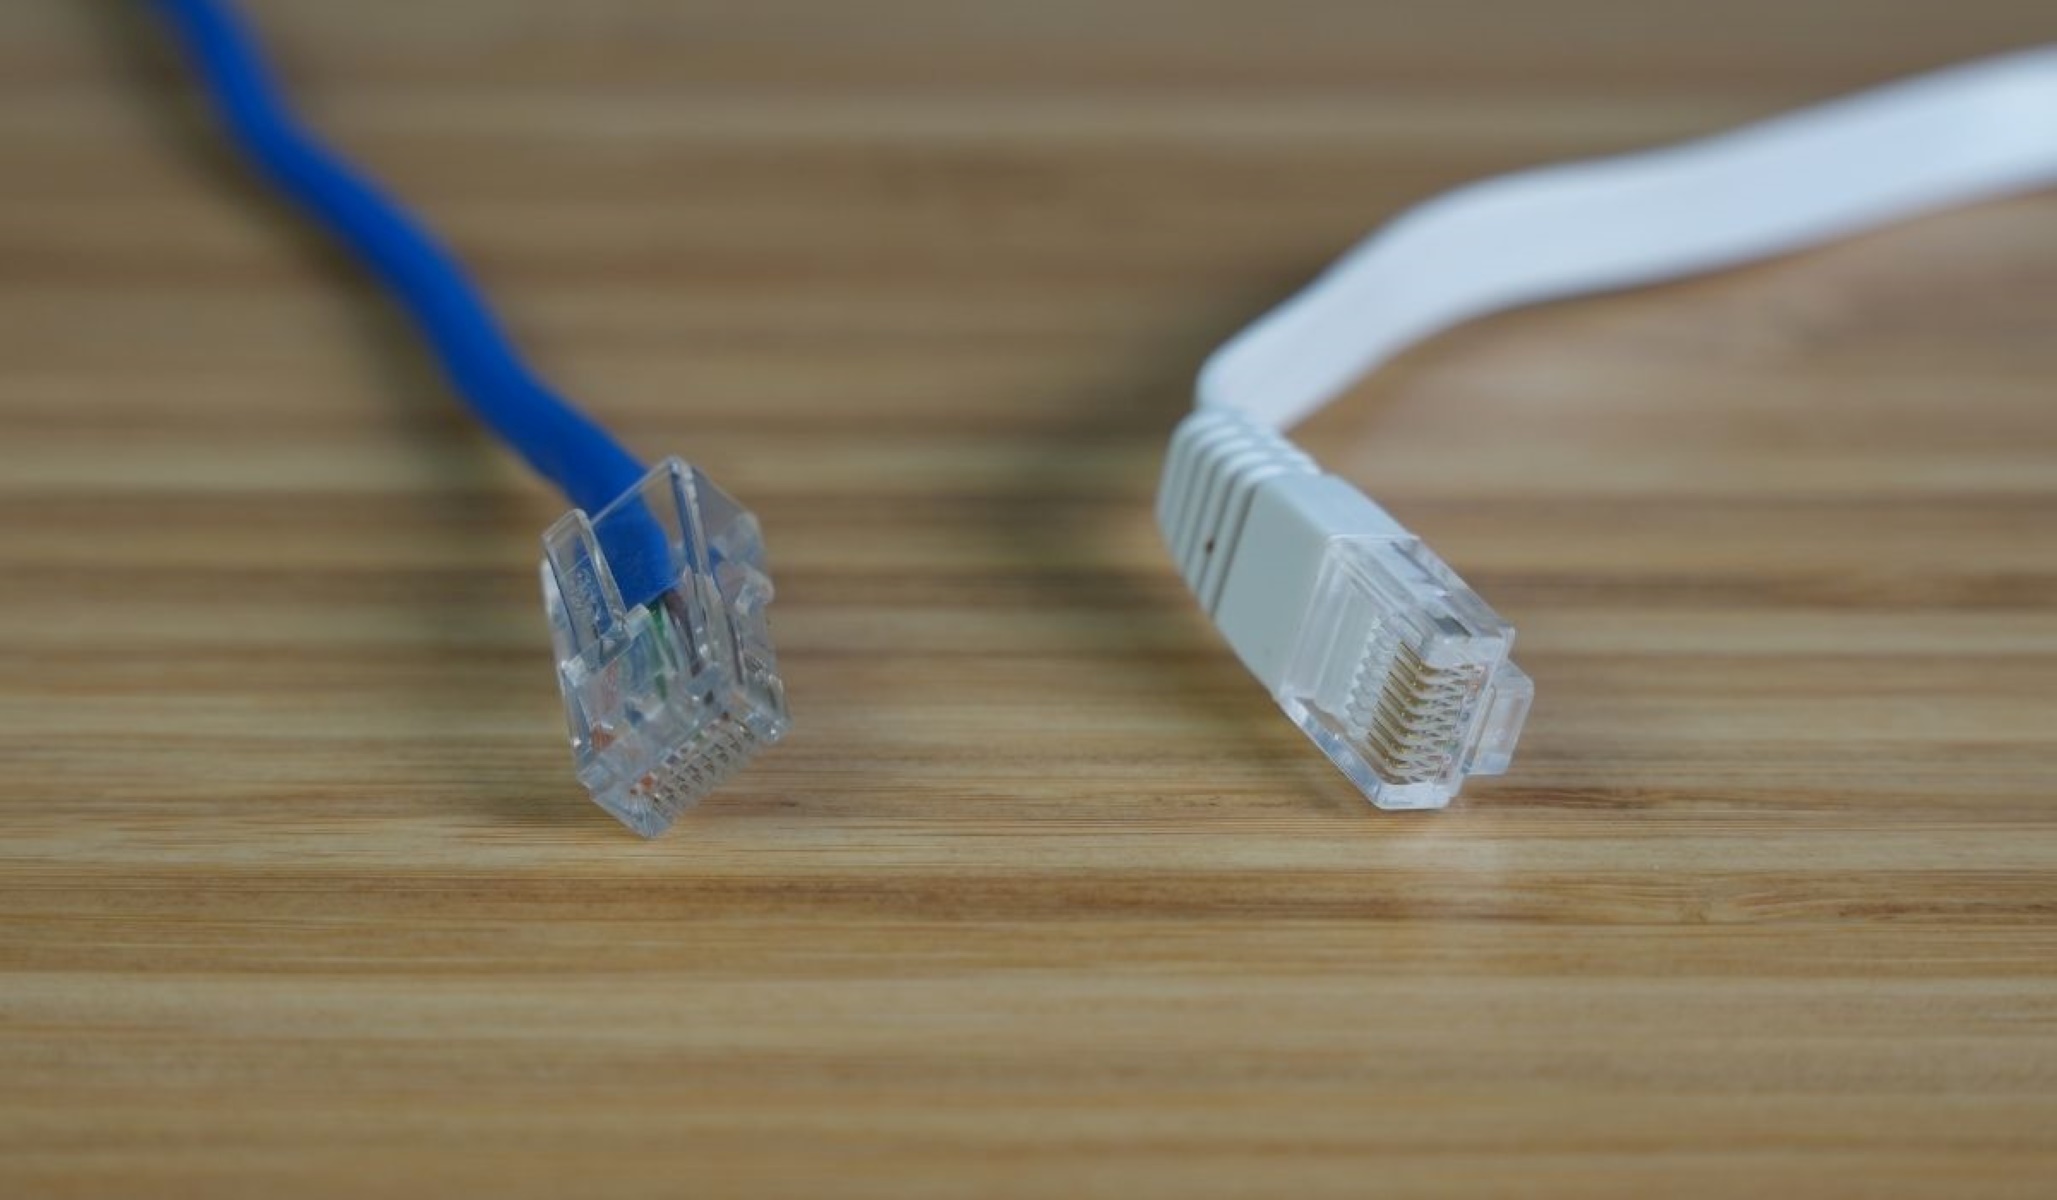
Ethernet Cables:
You will need the Ethernet cables that you want to test. These can be existing cables already installed in your network or new cables that you plan to use. Make sure you have an adequate number of cables on hand for the testing process.
Power Source:
Depending on the model of your Ethernet cable tester, you may need a power source to operate it. This can be in the form of batteries or an AC power adapter. Ensure that you have the necessary power source and that it is fully charged or plugged in before you begin testing.
Once you have gathered these essential tools and materials, you are ready to move on to the next step of the testing process. Having everything prepared ahead of time will enable you to proceed smoothly and avoid unnecessary delays.
Now that you are equipped with the necessary tools and materials, let’s move on to step two, which involves connecting the Ethernet cable to the tester.
Step 2: Connect the Ethernet cable to the tester
Once you have gathered the necessary tools and materials, the next step in using an Ethernet cable tester is to connect the Ethernet cable to the tester. Follow these simple instructions to ensure a proper connection:
1. Identify the transmitter and receiver ports:
Look closely at your Ethernet cable tester and locate the transmitter and receiver ports. These ports may be labeled on the tester or identified in the user manual. Familiarize yourself with the specific ports to ensure correct connections.
2. Connect the Ethernet cable to the transmitter port:
Take one end of the Ethernet cable you want to test and firmly plug it into the transmitter port on the tester. Ensure that the connector is fully inserted and securely connected. A loose or incomplete connection can lead to inaccurate test results.
3. Connect the Ethernet cable to the receiver port:
Next, take the other end of the Ethernet cable and connect it to the receiver port on the tester. Like before, make sure the connector is securely connected to the port. Again, double-check for a proper and secure connection to ensure accurate testing.
By connecting the Ethernet cable to both the transmitter and receiver ports of the tester, you establish the required connection to conduct proper cable testing. This setup allows the tester to send signals or patterns through the cable for analysis and provide you with accurate test results.
Once you have successfully connected the Ethernet cable to the tester, you are ready to move on to step three, which involves starting the testing process. Stay tuned for the upcoming section, where we will guide you through the process of testing the cable using your Ethernet cable tester.
Step 3: Begin testing the cable
With the Ethernet cable connected to the transmitter and receiver ports of your cable tester, you are ready to start the testing process. Follow these steps to initiate the cable test:
1. Familiarize yourself with the tester’s controls:
Take a moment to review the controls and display of your Ethernet cable tester. Different models may have varying features and user interfaces. Look for buttons, switches, or touchscreen controls that are used to initiate the test. Also, be aware of any specific test modes or options available on your tester.
2. Set the desired test parameters (if applicable):
If your Ethernet cable tester allows you to set specific test parameters, such as cable type, test duration, or test mode, make sure to configure them accordingly. Consult the user manual of your tester for guidance on how to adjust these settings appropriately.
3. Start the test:
Once you are familiar with the controls and have set the desired parameters, it’s time to start the test. Press the appropriate button, switch, or select the start option on the tester. This will initiate the test signal transmission from the transmitter through the connected cable.
4. Allow the test to complete:
Depending on the complexity and capabilities of your Ethernet cable tester, the test may take a few seconds to a few minutes to complete. During this time, the tester will send specific signals or patterns through the cable, which will be received and analyzed by the tester’s receiver. Be patient and allow the test to run its course without interrupting the process.
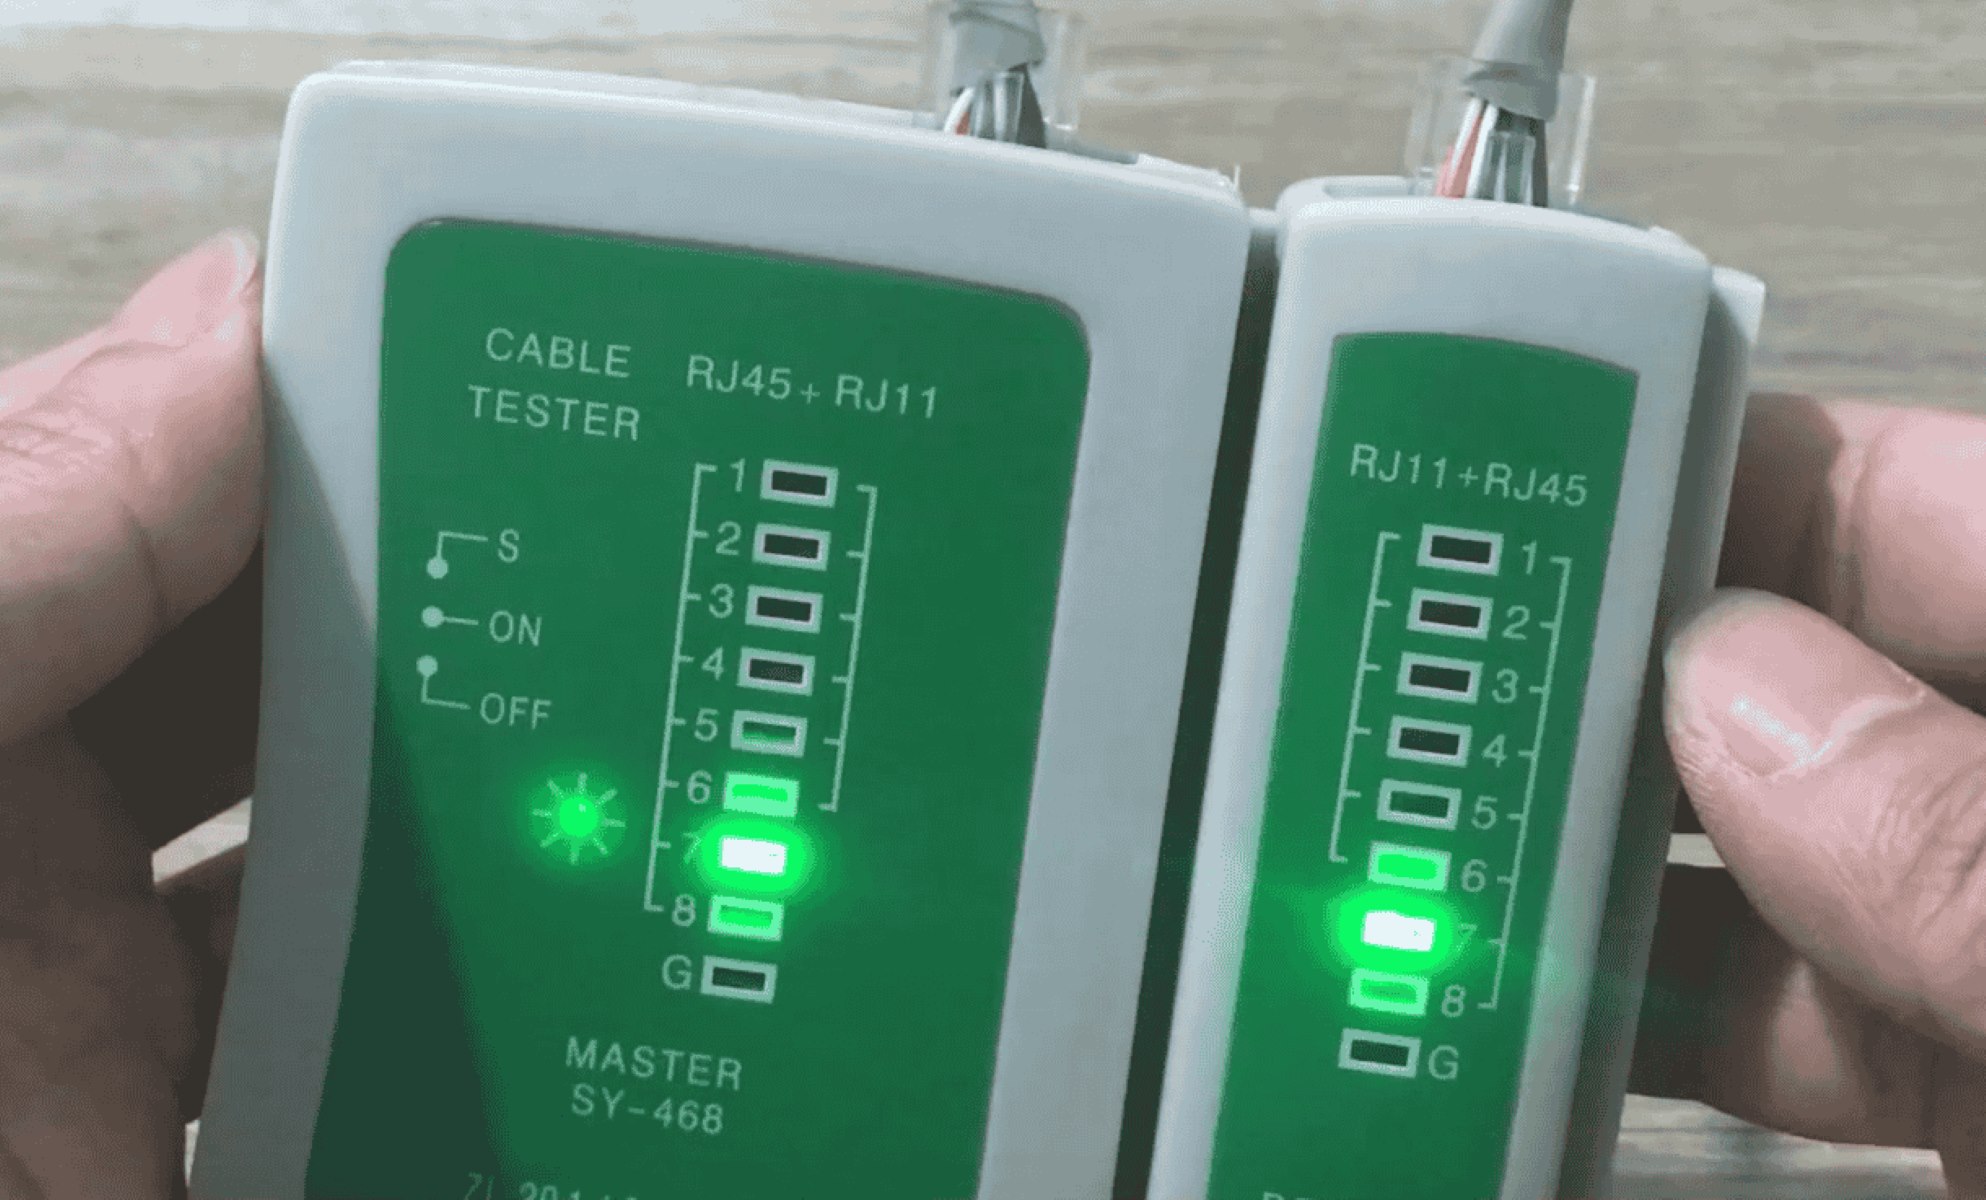
5. Review the test results:
Once the test is complete, your Ethernet cable tester will provide you with the test results. This can be displayed on the tester’s screen, communicated through indicator lights or displayed as a report. Pay close attention to the results, as they will indicate whether the cable passed or failed the test. Common test result indicators may include pass, fail, open circuit, short circuit, or miswiring.
With the completion of the cable test, you now have valuable information about the integrity and functionality of the tested Ethernet cable. Proceed to the next step, where we will guide you through the process of analyzing the test results and troubleshooting any issues that may arise.
Step 4: Analyze the test results
After completing the cable test using your Ethernet cable tester, it’s time to analyze the test results. Carefully reviewing the results will provide valuable insights into the condition of your Ethernet cable. Follow these steps to effectively analyze the test results:
1. Understand the test result indicators:
Refer to the user manual or instructions provided with your Ethernet cable tester to understand the specific test result indicators used by your tester. Common indicators include pass (indicating that the cable is functioning correctly), fail (indicating a problem with the cable), open circuit (indicating a break in the cable), short circuit (indicating a connection between wires where there shouldn’t be), or miswiring (indicating incorrect wiring configuration).
2. Interpret the test result readings:
Examine the detailed readings provided by the tester for each tested parameter. For example, if the tester measures signal quality, look for values that indicate the level of crosstalk, signal loss, or noise. A low signal quality reading may suggest issues that need to be addressed. Similarly, for cable length measurements, compare the measured length with the expected length of the cable.
3. Take note of any specific faults or failures:
If the test results indicate any failures or faults, make a note of the specific areas where the cable may be failing. This information will be crucial for the troubleshooting process and will help you identify the necessary steps to resolve the issues.
4. Consult the user manual or seek professional assistance:
If you are unsure of how to interpret the test results or if the results indicate complex issues, consult the user manual or seek guidance from a professional technician with expertise in Ethernet cable testing. They can provide you with further insights and recommendations for troubleshooting and resolving the identified problems.
By carefully analyzing the test results, you will be equipped with the necessary information to take appropriate action. Whether it involves replacing faulty cables, reterminating connectors, or addressing specific wiring issues, this analysis stage will guide you towards effective troubleshooting and resolution.
Next, we will move on to step five, where we will explore common troubleshooting techniques for addressing issues identified during the testing process.
Step 5: Troubleshooting common issues
After analyzing the test results from your Ethernet cable tester, you may have identified certain issues or faults with your cable. The next step is to troubleshoot and address these problems. Follow these common troubleshooting techniques to resolve the identified issues:
1. Replace the cable:
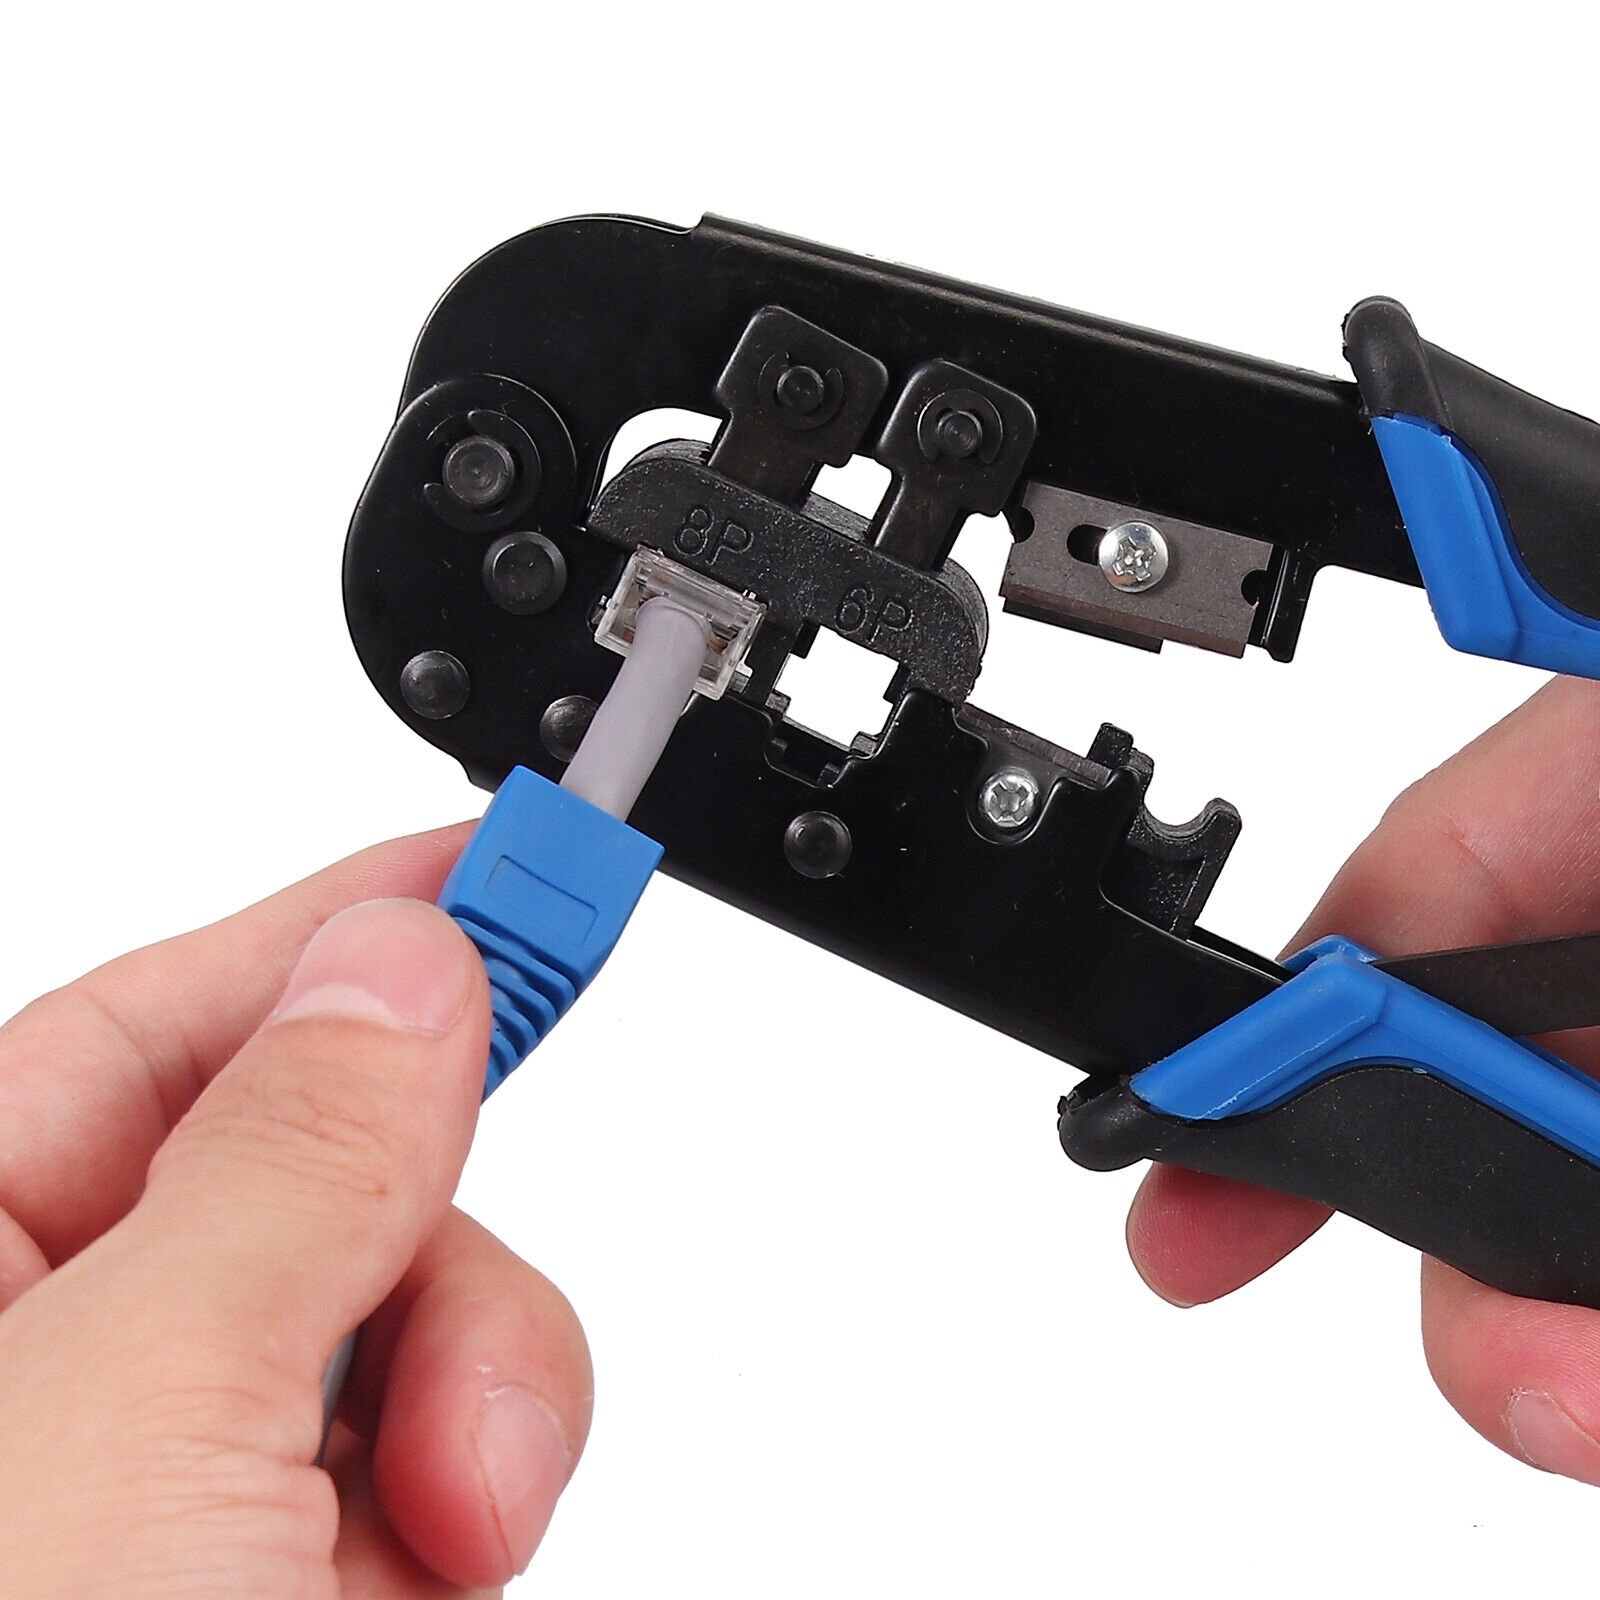
If the test results indicate that the cable has failed or has an open circuit, it may be necessary to replace the cable entirely. Ensure that you have a spare cable on hand and follow proper installation procedures to ensure a secure and reliable connection. Test the new cable using your Ethernet cable tester to verify that the issue has been resolved.
2. Re-terminate the connectors:
If the test results indicate a miswiring or poor connection between the cable and the connectors, you may need to re-terminate the connectors. Use appropriate tools and techniques to carefully remove the existing connectors and re-attach them in the correct wiring configuration. Test the cable again after re-termination to ensure proper functionality.
3. Check for physical damage:
Inspect the cable for any physical damage, such as cuts, breaks, or pinches. If you notice any visible damage, it may be necessary to replace the affected portion of the cable or the entire cable, depending on the severity of the damage.
4. Verify connection points:
Ensure that all connection points, such as jacks, plugs, and punch-down blocks, are secure and properly seated. Loose connections can cause connectivity issues and affect the overall performance of the cable. Re-seat any loose connections and test the cable again to confirm proper functionality.
5. Address environmental factors:
Consider environmental factors that may be affecting the cable’s performance, such as interference from nearby electrical sources or excessive bending or stretching of the cable. Minimize or eliminate these factors to improve the cable’s signal quality and functionality.
If troubleshooting with these techniques does not resolve the issues, consider seeking assistance from a professional network technician. They can provide in-depth analysis and help diagnose more complex problems that may require specialized equipment or expertise.
By following these troubleshooting techniques, you can effectively address the common issues identified during the cable testing process, ensuring an optimal network connection.
With the troubleshooting process complete, you have successfully tested, analyzed, and resolved any issues with your Ethernet cable. Now you can enjoy a reliable and efficient network connection.
Conclusion
Using an Ethernet cable tester is an essential step in ensuring the integrity and functionality of your network cables. By following the steps outlined in this guide, you can effectively test and diagnose any issues with your Ethernet cables, allowing for prompt troubleshooting and resolution.
An Ethernet cable tester provides valuable insights into the condition of your cables, helping you identify faults such as open circuits, short circuits, miswiring, or poor signal quality. By conducting regular cable tests, you can proactively maintain a reliable and efficient network infrastructure.
Remember to gather all necessary tools and materials before starting the testing process. Connect the Ethernet cable securely to the transmitter and receiver ports of the tester, initiate the test, and analyze the results. Based on the test results, troubleshoot any identified issues by replacing cables, re-terminating connectors, checking for physical damage, verifying connection points, or addressing environmental factors.
By effectively using an Ethernet cable tester and troubleshooting common issues, you can ensure that your network cables are in optimal condition, providing a stable and high-performing network connection.
Whether you are setting up a home network or managing a complex enterprise infrastructure, incorporating the use of an Ethernet cable tester is crucial. It saves time, prevents costly downtime, and increases the reliability and performance of your network.
Remember to consult the user manual of your Ethernet cable tester for specific instructions and recommendations. Consider seeking professional assistance for complex issues or if you require further guidance.
Now that you are equipped with the knowledge and tools to effectively use an Ethernet cable tester, put it to use and ensure a seamless and reliable network connection.