Introduction
Welcome to the world of Ethernet, where fast and reliable internet connectivity is essential for our daily lives. Whether you’re streaming your favorite show, gaming online, or conducting important work tasks, having a stable and speedy Ethernet connection can make all the difference.
But how do you know if your Ethernet connection is up to par? In this guide, we’ll explore various methods to test your Ethernet speed and ensure that you’re getting the most out of your internet connection.
Your Ethernet speed can be affected by a number of factors, such as the quality of your Ethernet cable, the condition of your Ethernet port, and even the performance of your network adapter driver. By taking the time to test and optimize your Ethernet connection, you can potentially improve your internet speed and overall online experience.
In the following sections, we’ll walk you through different ways to test your Ethernet speed, from simple checks to more advanced methods. We’ll also cover how to troubleshoot common issues, as well as recommend helpful tools to monitor your network performance.
Whether you’re a tech enthusiast or a casual internet user, this guide will provide you with the knowledge and tools you need to ensure a smooth and fast Ethernet connection. So let’s get started and dive into the world of Ethernet speed testing!
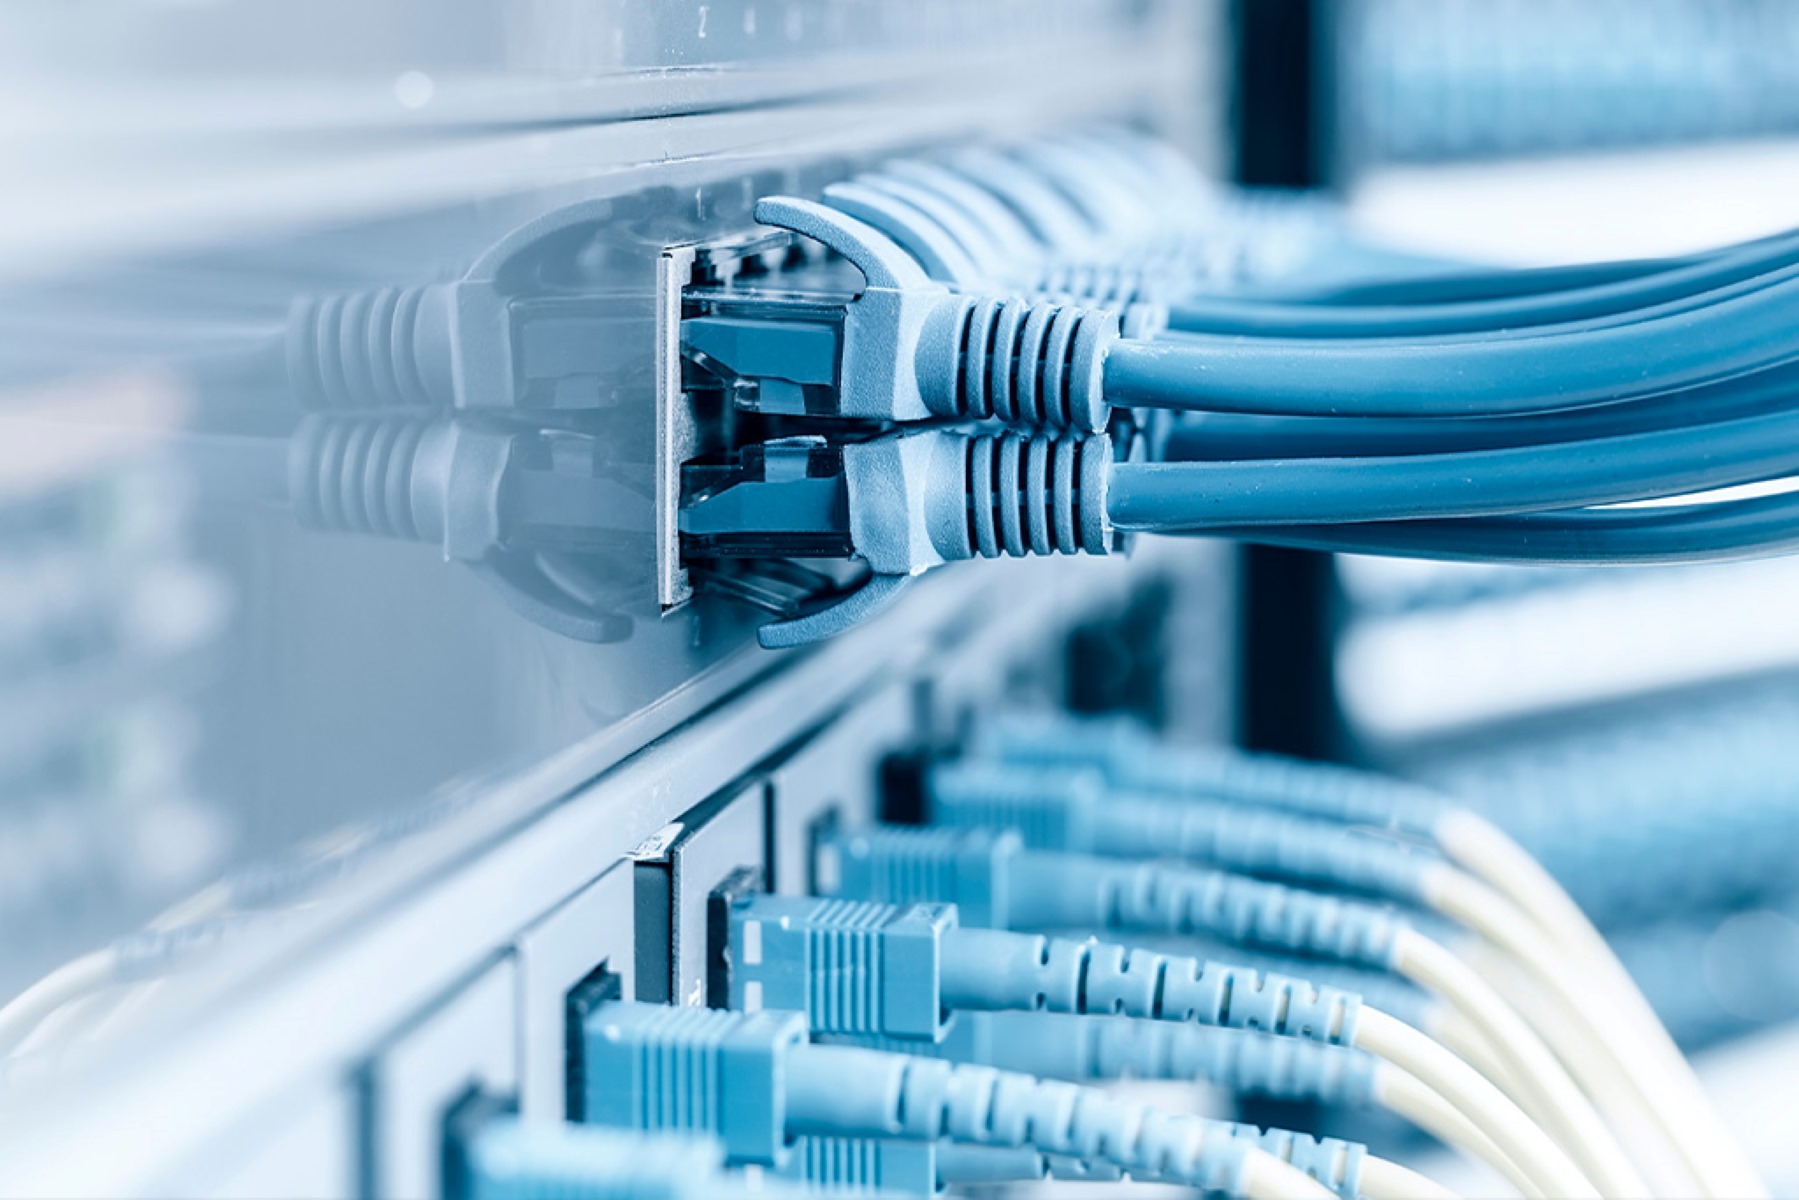
Check Your Ethernet Cable
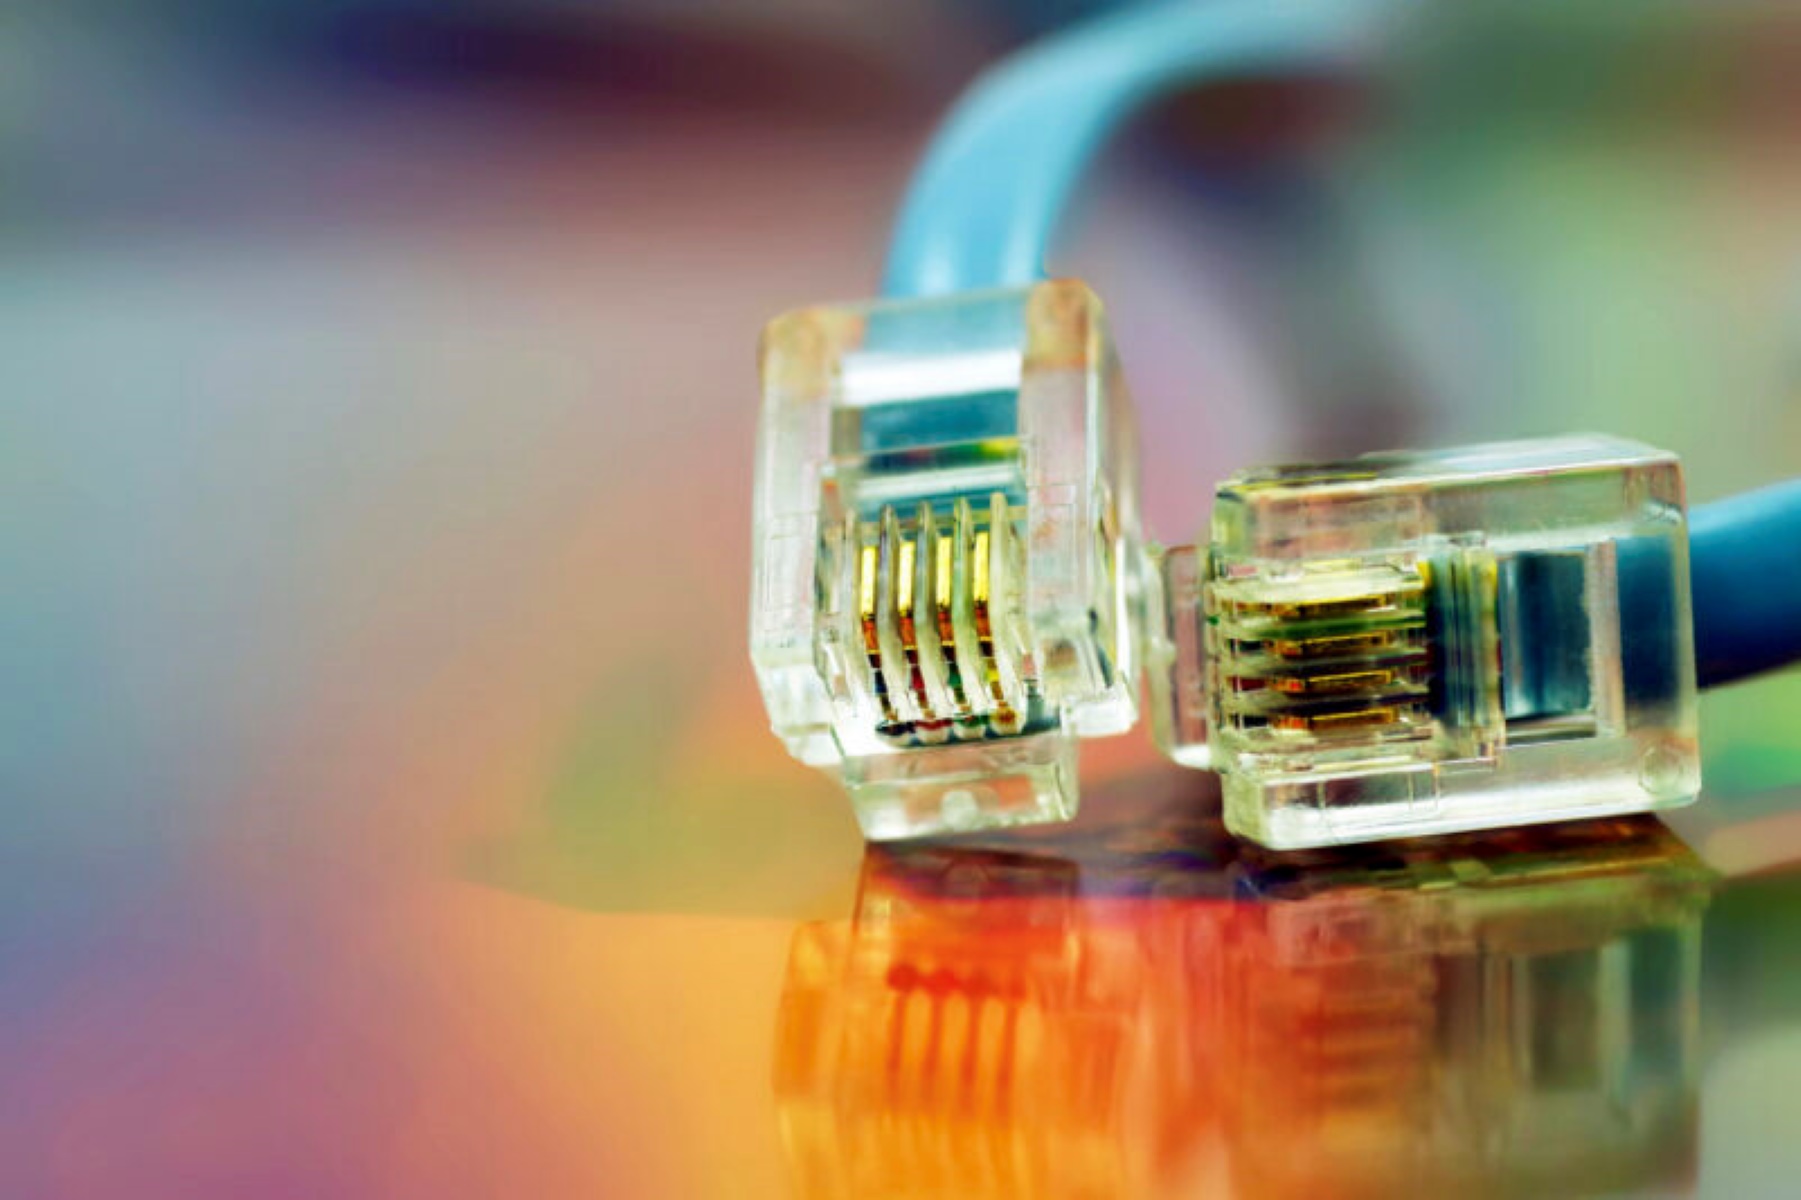
One of the first steps in testing your Ethernet speed is to check the quality of your Ethernet cable. A damaged or faulty cable can significantly impact your internet performance. Here’s how to determine if your Ethernet cable is the culprit:
- Visually inspect the cable: Look for any visible signs of damage, such as frayed or bent connectors, kinks, or cuts in the cable. These can cause signal loss and affect your connection speed.
- Try a different cable: If you suspect that your current Ethernet cable might be faulty, try replacing it with a known working cable. This will help determine if the cable itself is causing the issue.
It’s important to note that not all Ethernet cables are created equal. Different categories, such as Cat5e, Cat6, and Cat7, offer varying speeds and capabilities. If you’re using an older Cat5 cable, it may not support the highest speeds available today. Consider upgrading to a higher category cable if needed.
Moreover, the length of the Ethernet cable can also affect the signal strength and speed. In general, shorter cables tend to provide better performance. If you’re using an excessively long cable, try using a shorter one to see if it improves your Ethernet speed.
In some cases, you may have a faulty Ethernet cable even if it appears to be in good condition. If you have access to another Ethernet cable, test it out to see if it improves your speed. Alternatively, you can try connecting your device directly to the router using a shorter Ethernet cable to eliminate any potential issues with your current cable setup.
By checking and ensuring the quality of your Ethernet cable, you can eliminate one potential cause of slow speed or connectivity issues. Remember, a strong and reliable cable is the foundation of a fast Ethernet connection.
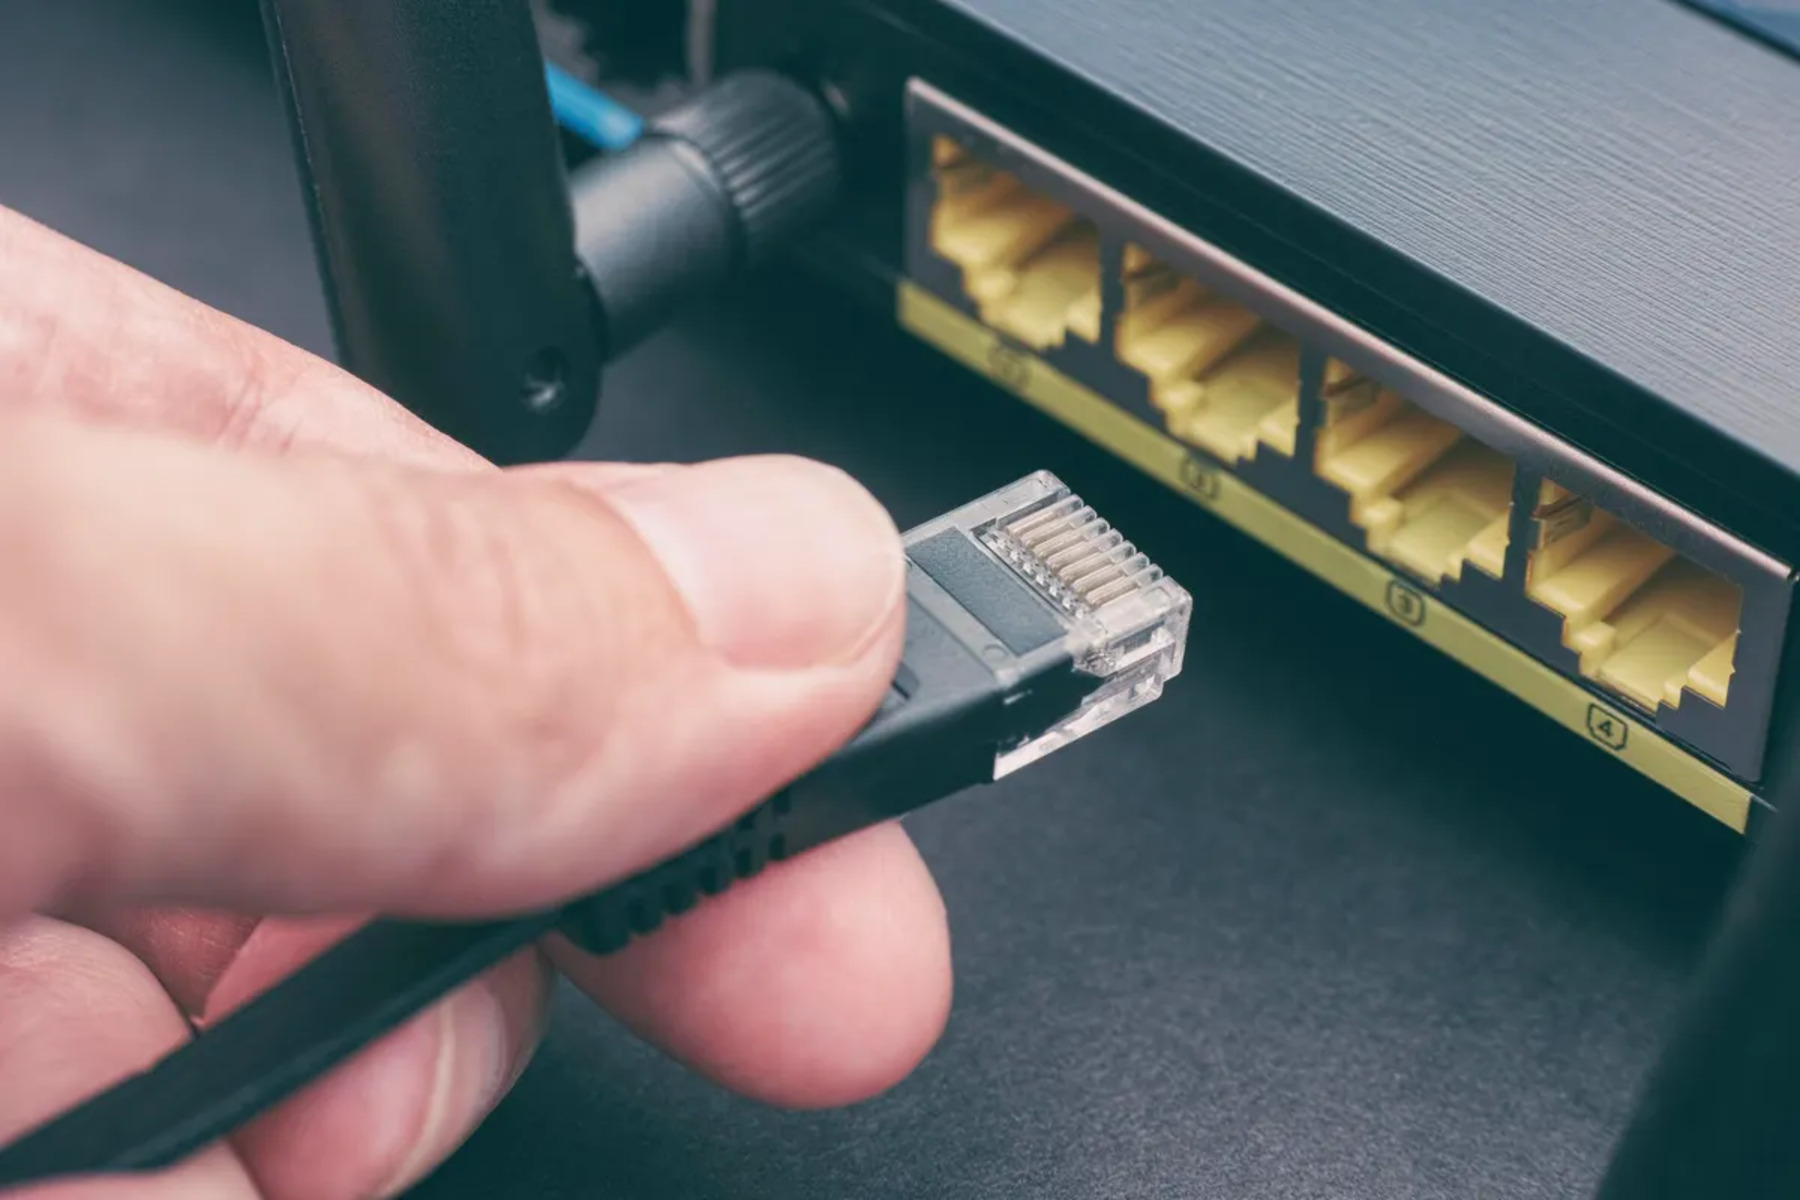
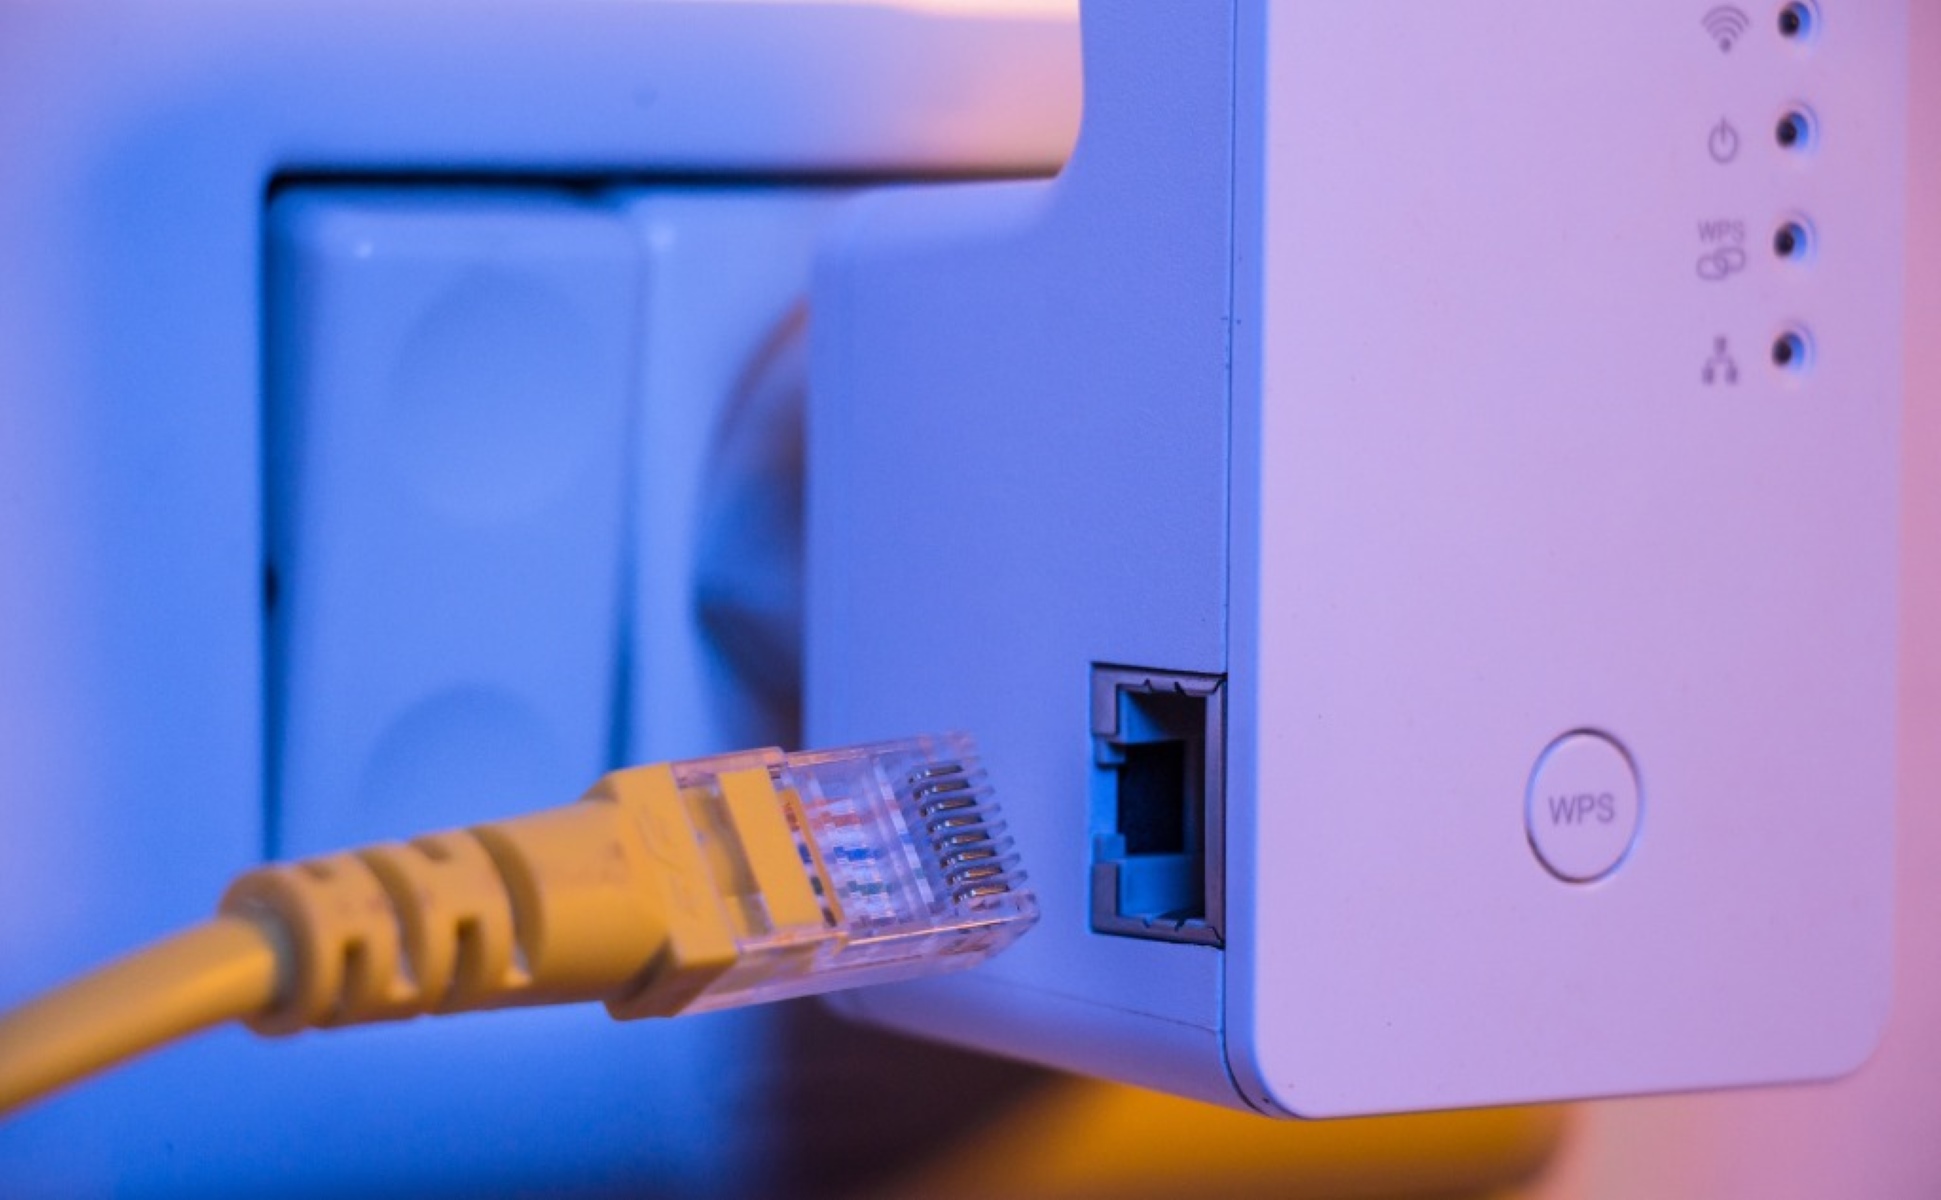
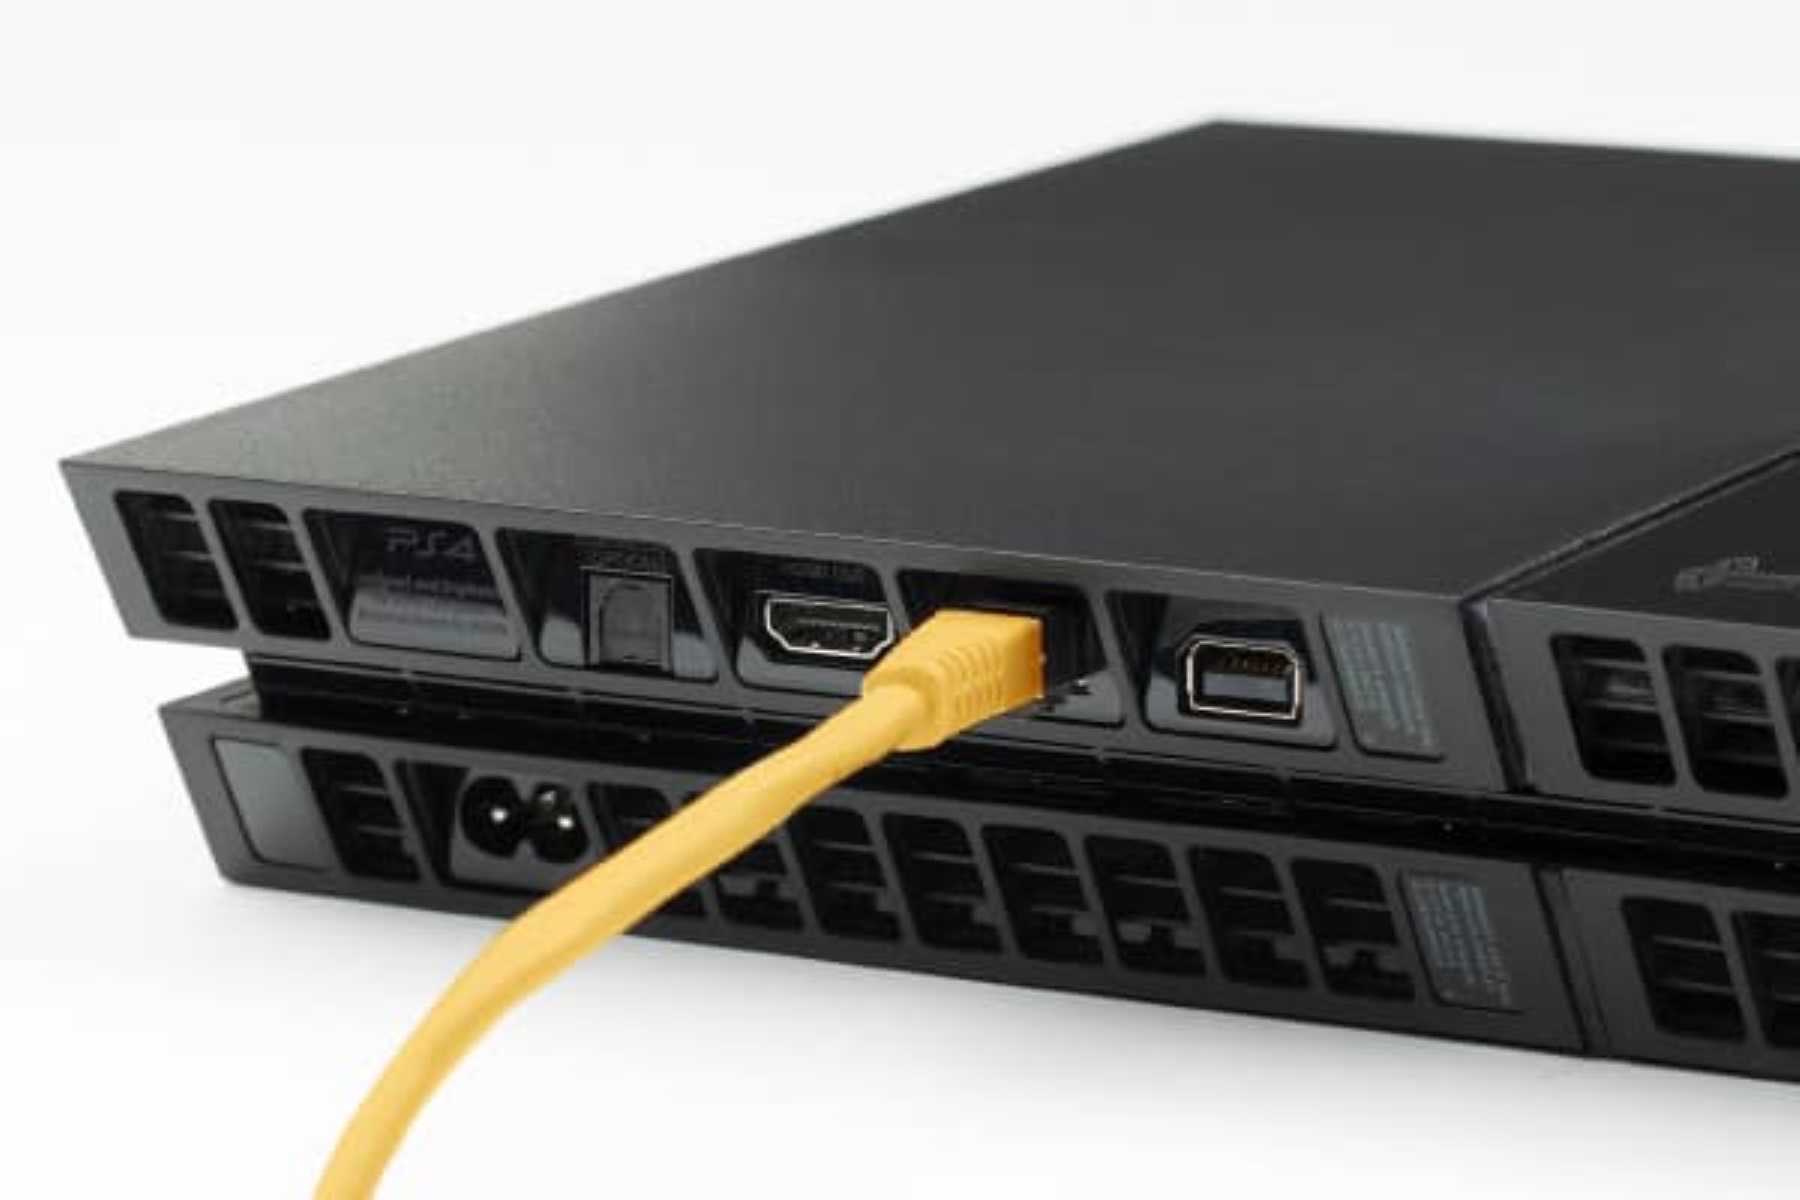
Check Your Ethernet Port
Another factor that can affect your Ethernet speed is the condition of your Ethernet port. Over time, ports can become dirty or damaged, leading to poor connectivity and slower speeds. Here’s how to check and troubleshoot your Ethernet port:
- Inspect the port: Take a close look at your Ethernet port to see if there are any visible signs of damage, such as bent or broken pins. If you notice any issues, you may need to replace the port or consult a professional.
- Clean the port: Dust, debris, or dirt can accumulate inside the Ethernet port, hindering the connection speed. Gently use compressed air or a small brush to remove any contaminants. Be cautious not to damage the port while cleaning.
- Switch ports: If your device has multiple Ethernet ports, try connecting the Ethernet cable to a different port to see if it improves your speed. Sometimes, a specific port may be causing the issue.
It’s worth mentioning that some devices have different types of Ethernet ports, such as Gigabit Ethernet or Fast Ethernet ports. Gigabit Ethernet ports offer faster speeds compared to Fast Ethernet ports, so ensure that you’re connecting to the appropriate port for optimal performance.
If you’re using a laptop, desktop, or other devices with a built-in Ethernet port, make sure that the port is enabled and functioning correctly in the device’s network settings. Sometimes, a disabled or improperly configured port can limit your Ethernet speed.
In cases where the Ethernet port on your device is damaged beyond repair, you can consider using a USB to Ethernet adapter. This small device allows you to connect an Ethernet cable to a USB port, providing an alternative connection option without relying on the built-in Ethernet port.
By thoroughly checking and troubleshooting your Ethernet port, you can ensure that it’s in optimal condition for fast and reliable internet connectivity. Remember, a clean and properly functioning port is essential for maximizing your Ethernet speed.
Update Your Network Adapter Driver
Your network adapter driver plays a crucial role in determining the performance of your Ethernet connection. Outdated or incompatible drivers can lead to slow speeds and connection issues. Follow these steps to update your network adapter driver:
- Identify your network adapter model: Open Device Manager on Windows or System Information on macOS to find the name and model of your network adapter. This information will help you locate the correct driver.
- Visit the manufacturer’s website: Go to the website of your network adapter’s manufacturer and navigate to the support or drivers section. Look for the latest driver version available for your specific model.
- Download and install the driver: Download the appropriate driver for your operating system and install it according to the manufacturer’s instructions. Make sure to choose the driver version that matches your adapter model and operating system.
- Restart your computer: After installing the new driver, restart your computer to apply the changes and ensure the updated driver is functioning properly.
Alternatively, you can also use driver update software to automatically find and install the latest drivers for your network adapter. These tools scan your system, identify outdated drivers, and download and install the updates for you, saving you time and effort.
Updating your network adapter driver can resolve compatibility issues, fix bugs, and improve the performance of your Ethernet connection. It’s recommended to keep your drivers up to date to ensure optimal speed and stability.
If you’ve already updated your network adapter driver and are still experiencing slow Ethernet speeds, try rolling back to a previous driver version or reinstalling the current driver. Sometimes, new driver versions may introduce unexpected issues that can affect performance.
Remember, a well-maintained and up-to-date network adapter driver is essential for achieving fast and reliable Ethernet speeds. Take the time to regularly check for driver updates to ensure optimal performance.
Disable Wireless Connection
If you’re using both a wired Ethernet connection and a wireless connection simultaneously, it’s possible that your device is defaulting to the wireless connection, which could negatively impact your Ethernet speed. Disabling the wireless connection can help ensure that your device prioritizes the Ethernet connection for faster speeds. Here’s how to disable your wireless connection:
- On Windows:
1. Open the Control Panel and navigate to the Network and Internet settings.
2. Click on Network and Sharing Center.
3. In the left-hand pane, click on Change adapter settings.
4. Right-click on your wireless connection and select Disable.
5. Confirm the action if prompted.
- On macOS:
1. Click on the Wi-Fi icon in the menu bar.
2. Select Turn Wi-Fi Off.
By disabling the wireless connection, you ensure that your device won’t attempt to switch between the Ethernet and wireless connections, potentially causing stability issues or slower speeds. This can be particularly helpful if your wireless network is experiencing interference or congestion.
After disabling the wireless connection, make sure that your device is still connected to the Ethernet network. You can verify this by checking the network status in the settings or through the network icon in the system tray on Windows.
Keep in mind that disabling the wireless connection is a temporary solution for testing your Ethernet speed. If you rely on the wireless connection for other devices or situations, be sure to re-enable it when no longer testing or troubleshooting your Ethernet speed.
Remember, by disabling your wireless connection and solely relying on Ethernet, you can eliminate any potential interference or conflicts, allowing you to fully maximize your Ethernet speed.
Check Speed using Online Speed Test
An easy and convenient way to test your Ethernet speed is by using online speed test tools. These tools provide a quick and accurate measurement of your download and upload speeds. Here’s how to check your Ethernet speed using an online speed test:
- Choose a reputable speed test website: There are several popular speed test websites available, such as Ookla’s Speedtest.net, Fast.com by Netflix, or Google’s Speed Test. Pick one that you trust and feel comfortable using.
- Connect your device directly to the Ethernet cable: Make sure your device is connected directly to the Ethernet cable and not using Wi-Fi. This ensures that you’re accurately measuring the speed of your Ethernet connection.
- Close unnecessary applications and downloads: Close any applications, programs, or downloads that might be using your network bandwidth. This provides a more accurate measurement of your actual Ethernet speed.
- Click on the “Start” or “Go” button: On the speed test website, click on the button to start the test. The tool will then run a series of tests to measure your download and upload speeds.
- Review your results: Once the speed test is complete, the website will display your download and upload speeds. These results are usually shown in megabits per second (Mbps).
It’s important to note that your Ethernet speed can vary based on various factors, such as network congestion, server location, and the quality of your internet service provider. Running multiple speed tests at different times can provide a more accurate average speed measurement.
If you’re consistently experiencing slow speeds, it may be worth contacting your internet service provider to discuss the issue further. They can help troubleshoot and determine if there are any underlying problems affecting your Ethernet speed.
By regularly checking your Ethernet speed using online speed tests, you can monitor your connection’s performance and ensure that you’re getting the speeds you’re paying for. This information is helpful for troubleshooting and optimizing your Ethernet setup, ensuring a fast and reliable internet experience.
Check Speed using Command Line
If you prefer a more technical approach, you can also check your Ethernet speed using the command line on your computer. This method allows you to get real-time information about your network performance. Here’s how to check your Ethernet speed using the command line:
- Open the command prompt or terminal: On Windows, press the Windows key + R, type “cmd,” and press Enter. On macOS, open the Terminal from the Applications folder or by using Spotlight search.
- Enter the appropriate command: Depending on your operating system, use one of the following commands:
– On Windows: Type “ping -t www.google.com” and press Enter. This will continuously send packets to Google’s server and display the round-trip time (ping) in milliseconds (ms).
– On macOS: Type “ping -t 1 www.google.com” and press Enter. This command will send one packet to Google’s server and display the response time in milliseconds (ms).
The response time obtained from the command will give you an idea of the latency or delay of your Ethernet connection, which indirectly affects your speed. Lower response times are generally better.
You can also use the “tracert” command followed by a website’s URL to trace the network path to that specific server. This command shows the response times at each hop along the way, helping you identify any potential bottlenecks or network issues.
It’s important to remember that these commands provide latency information rather than specific download or upload speeds. If you want more comprehensive speed measurements, it’s recommended to use online speed test tools as discussed in the previous section.
By checking your Ethernet speed using the command line, you can have a more technical insight into your network performance. This method can be particularly useful for troubleshooting and diagnosing network-related issues on your computer or network devices.
If you’re unsure how to interpret the results or need further assistance, don’t hesitate to consult online resources or reach out to your internet service provider for guidance.
Test Speed between Local Devices
In addition to checking your Ethernet speed through online tools and command line tests, you can also test the speed between local devices on your network. This method helps determine the actual speed you can achieve when transferring data between devices. Here’s how to test the speed between local devices:
- Select two devices: Choose two devices on your network that you want to test the speed between. This can be a computer and a laptop, a computer and a network-attached storage (NAS) device, or any combination of devices that are connected to the same network.
- Connect the devices via Ethernet: Ensure that both devices are connected to the network using Ethernet cables. This ensures a direct and stable connection, bypassing any possible interference from wireless signals.
- Copy a file between the devices: On one device, select a large file (such as a video or a large document) and copy it to the other device. Monitor the transfer speed during the process.
- Calculate the transfer speed: Once the file transfer is complete, calculate the transfer speed by dividing the file size by the transfer time. For example, if you transferred a 1GB file in 30 seconds, the speed would be approximately 33.3 megabytes per second (MBps).
It’s important to note that the transfer speed may be influenced by various factors, such as the speed capabilities of the devices, the quality of the Ethernet cables, and the overall network congestion. For accurate measurements, perform multiple tests and calculate the average speed to get a better understanding of the performance between local devices.
If the speed between local devices is significantly slower than the advertised Ethernet speeds, it’s worth investigating potential bottlenecks in your network setup. Check for outdated firmware on your devices, ensure that your router is capable of handling the desired speeds, and verify that all Ethernet cables are in good condition.
Testing the speed between local devices helps you gauge the real-world performance of your Ethernet network. This information is valuable for tasks like transferring large files or streaming media between devices, as it gives you a sense of how quickly data can be exchanged within your local network.
By regularly testing the speed between local devices, you can ensure that your Ethernet network is functioning optimally and that you’re achieving the desired speeds for your home or office network.
Use a Network Monitoring Tool
To gain deeper insights into the performance of your Ethernet network, you can utilize network monitoring tools. These tools provide real-time monitoring, analysis, and reporting of your network’s health, bandwidth usage, and speed. Here’s how you can benefit from using a network monitoring tool:
- Choose a network monitoring tool: There are various network monitoring tools available, both free and paid. Some popular options include PRTG Network Monitor, SolarWinds Network Performance Monitor, and Wireshark. Research and select a tool that fits your needs and budget.
- Install and configure the tool: Follow the provided instructions to install the network monitoring tool on a computer or server within your network. Configure it to monitor your Ethernet devices, network traffic, and performance metrics.
- Monitor and analyze your network: Once the tool is set up, it will continuously monitor your network, providing valuable information about bandwidth usage, packet loss, latency, and other important metrics. Use the tool’s dashboard or reporting features to track and analyze network performance over time.
- Identify bottlenecks and troubleshoot issues: With the help of a network monitoring tool, you can identify potential bottlenecks, such as heavy bandwidth usage or network congestion. This information allows you to take proactive measures, such as optimizing network configurations or upgrading devices, to improve speed and overall network performance.
- Set alerts and notifications: Network monitoring tools allow you to set alerts and notifications for specific events or thresholds. This feature ensures that you’ll be immediately notified if there are any significant network issues or drops in speed, enabling you to address them promptly.
Network monitoring tools provide invaluable insights into the performance of your Ethernet network. They assist in optimizing network resources, troubleshooting issues, and ensuring a smooth and fast network experience for all connected devices.
Keep in mind that network monitoring tools require some technical expertise to set up and configure correctly. If you’re unsure, consult with an IT professional or refer to the tool’s documentation and online resources for guidance.
By utilizing a network monitoring tool, you can proactively monitor, analyze, and manage your Ethernet network’s performance. This proactive approach improves the overall speed, reliability, and efficiency of your network, providing a better internet experience for all users.
Conclusion
Testing and optimizing your Ethernet speed is essential for ensuring a fast, stable, and reliable internet connection. Throughout this guide, we explored various methods to test and improve your Ethernet speed. From checking the quality of your Ethernet cable and port to updating your network adapter driver, each step plays a crucial role in maximizing your internet performance.
By disabling your wireless connection, you eliminate potential conflicts and interference, allowing your device to prioritize the Ethernet connection. Furthermore, using online speed test tools and command line tests give you real-time measurements of your download and upload speeds.
Testing the speed between local devices helps you understand the actual transfer speeds within your network, while employing network monitoring tools offers comprehensive insights into your Ethernet network’s performance and allows for proactive management and troubleshooting.
Remember to regularly evaluate and optimize your Ethernet setup to address any issues and maintain optimal speed and stability. If you encounter persistent speed problems, it may be worth consulting with your internet service provider or a professional network technician for further assistance.
Now that you have a comprehensive understanding of how to test and improve your Ethernet speed, you can confidently optimize your network setup and enjoy a seamless online experience. Stay proactive, stay connected, and enjoy the benefits of a fast and reliable Ethernet connection.