Introduction
Welcome to the world of wireless technology! Connecting your Ethernet cable to a wireless router is a simple and convenient way to enjoy the benefits of a wired connection while also having the flexibility of a wireless network. By using an Ethernet cable, you can establish a stable and reliable connection between your device and the router, ensuring fast and consistent internet access.
In this guide, we will walk you through the step-by-step process of connecting an Ethernet cable to a wireless router. Whether you are setting up a new router or looking to upgrade your existing setup, this guide will provide you with the necessary steps to get you up and running.
Before we dive into the details, it’s important to understand the advantages of using an Ethernet connection. While wireless connections are convenient, they can sometimes be susceptible to interference and signal drop-offs, resulting in slower speeds and less reliable performance. By connecting via an Ethernet cable, you can bypass these potential issues and enjoy a more stable and consistent internet connection.
So, let’s get started. In the following sections, we will discuss the materials you will need, the steps to connect the cable, how to configure your router settings, and finally, how to test the connection. Whether you are a tech-savvy individual or a beginner in the world of networking, this guide is designed to be easy to follow, enabling you to connect your Ethernet cable to your wireless router with confidence.
Step 1: Gather the necessary materials
Before you begin connecting your Ethernet cable to your wireless router, it’s important to gather all the necessary materials. Having everything in one place will make the process smoother and more efficient. Here’s a list of what you’ll need:
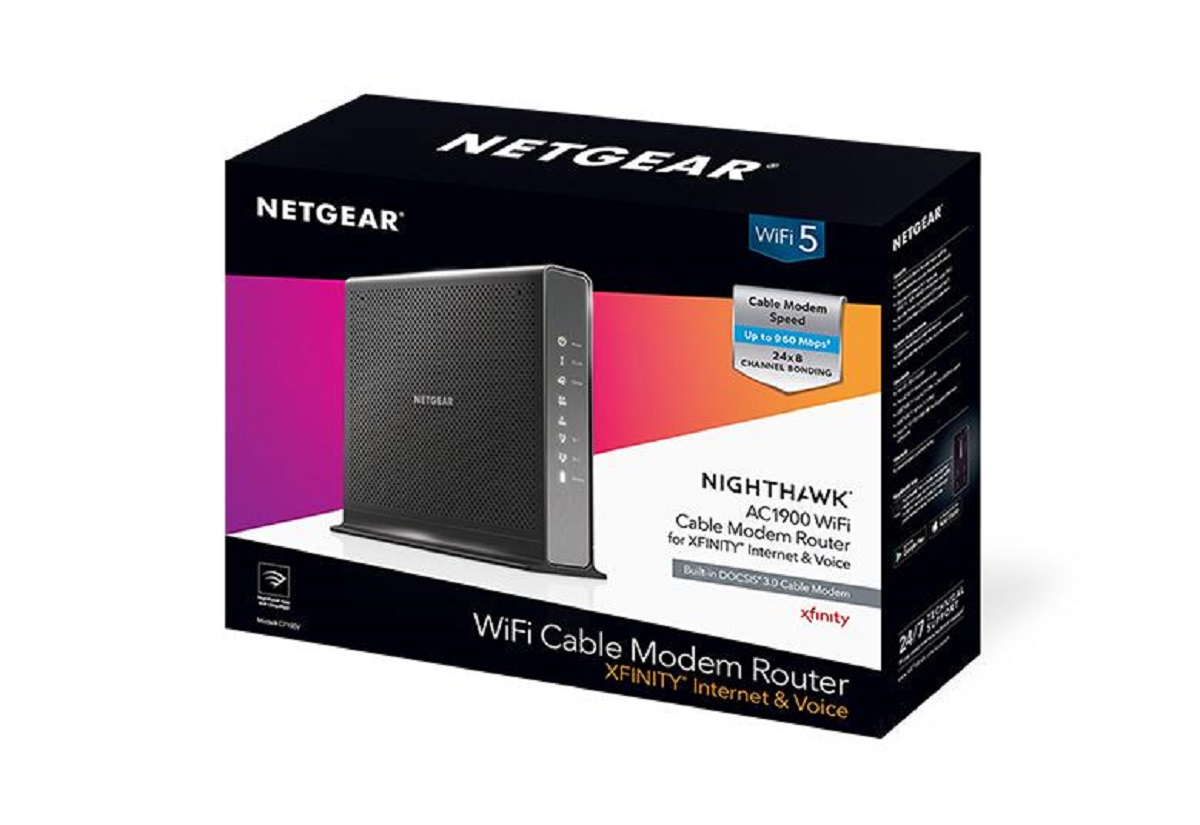
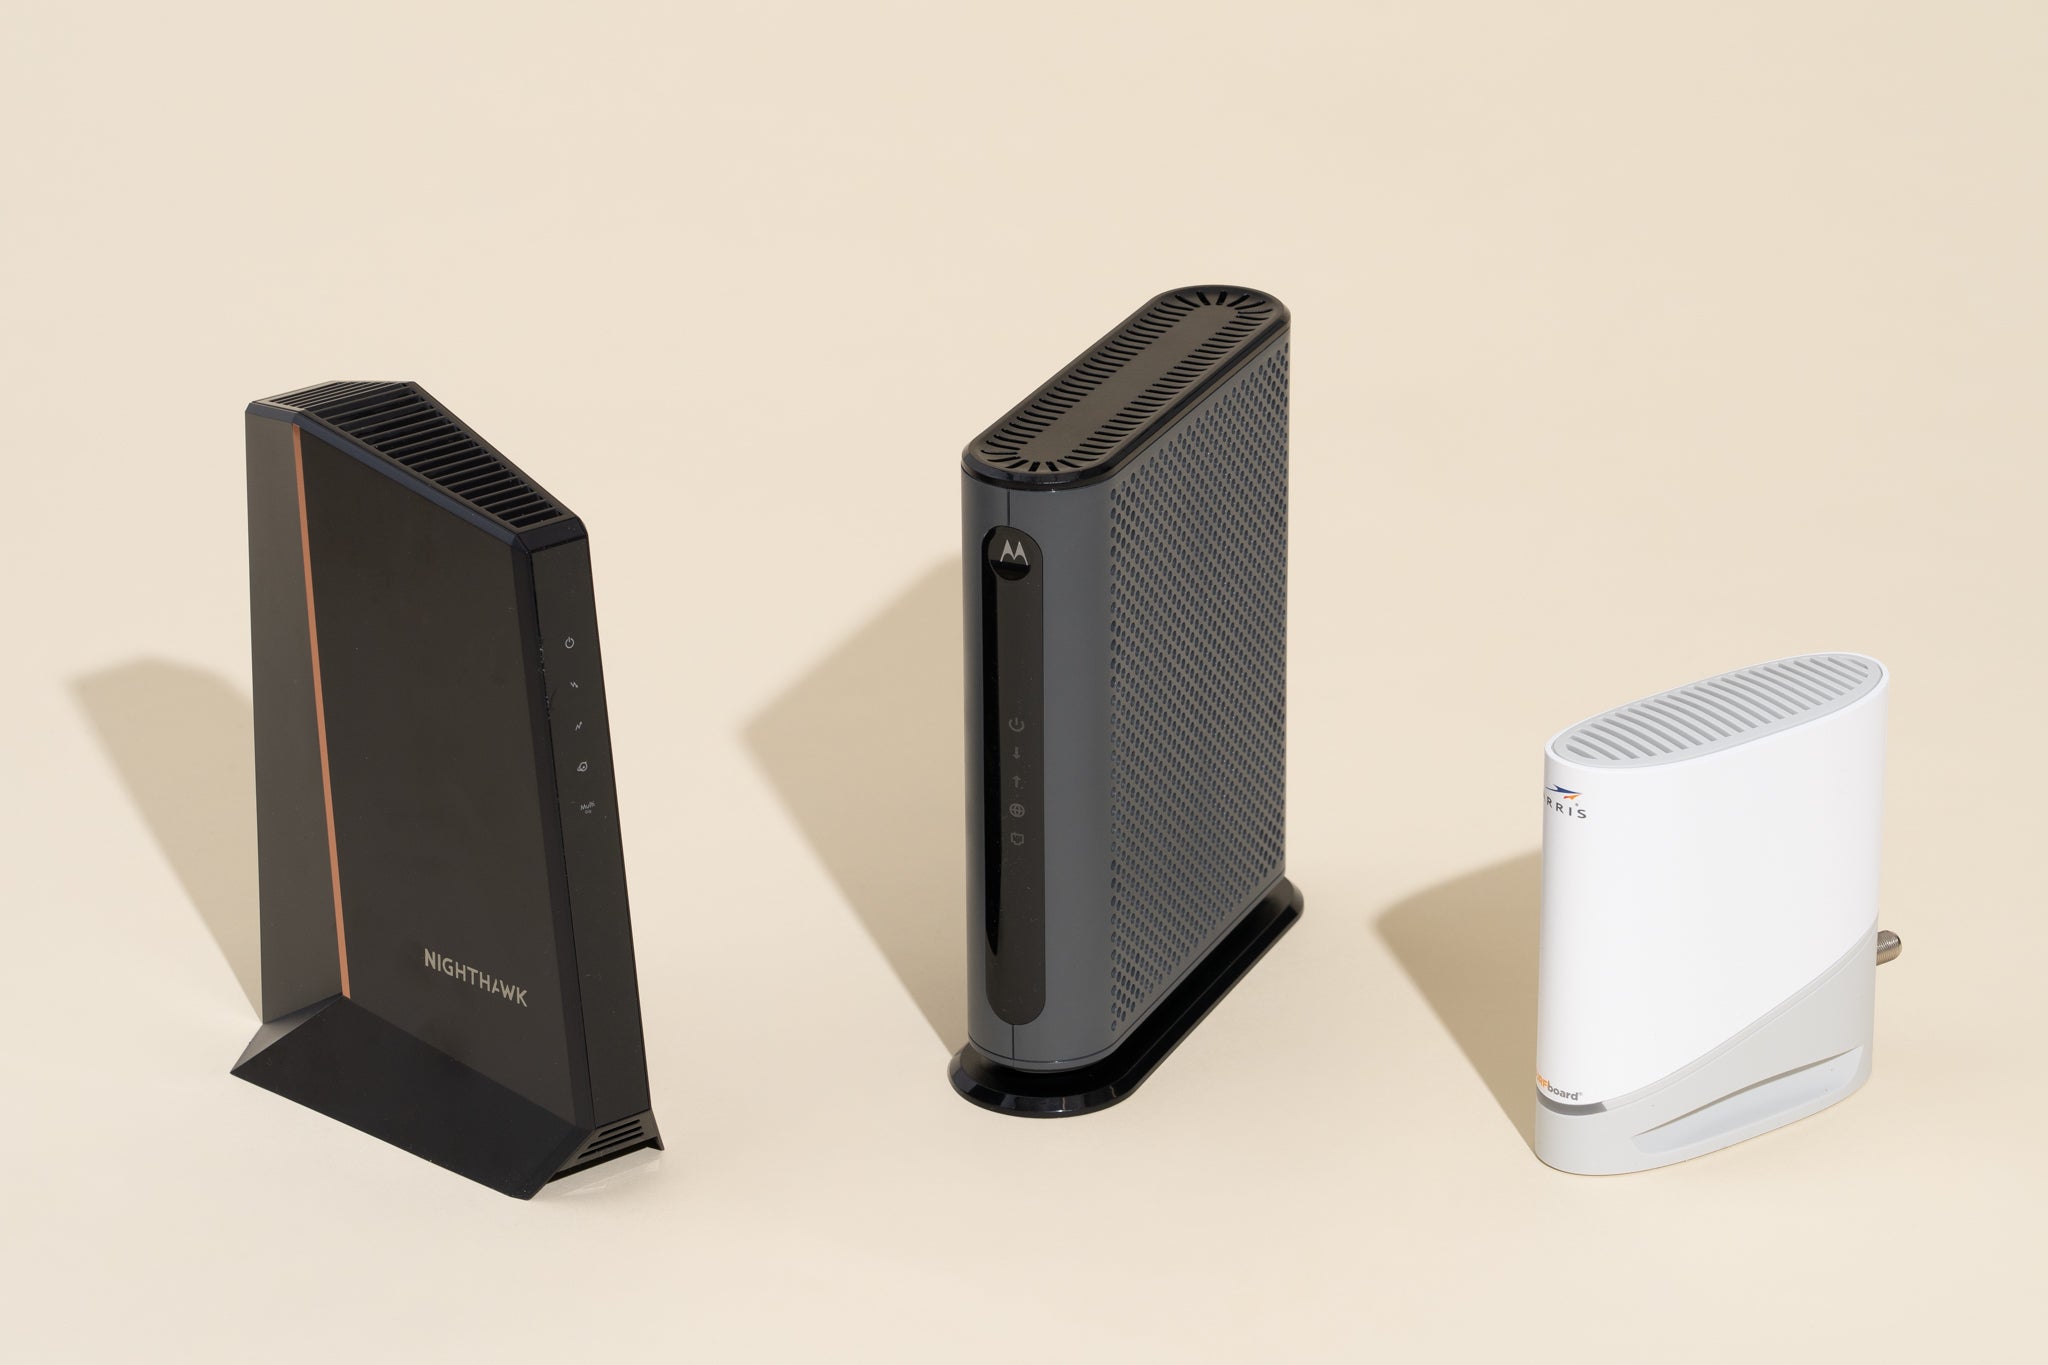
- A wireless router: This is the central device that will handle your internet connection and transmit it wirelessly to your devices. Make sure you have a router that supports Ethernet connections.
- An Ethernet cable: You’ll need a high-quality Ethernet cable to establish a wired connection between your device and the router. There are different types of Ethernet cables, such as Cat 5, Cat 6, or Cat 7. Choose one that suits your needs.
- A computer or device: You’ll need a computer, laptop, or other devices that can connect to the router via an Ethernet cable. Ensure that your device has an Ethernet port.
- An internet service provider (ISP): To have an internet connection, you’ll need an active internet subscription from an ISP. Ensure that your internet service is up and running.
Once you have gathered all the necessary materials, you’ll be ready to move on to the next step. It’s always a good idea to double-check that you have everything before proceeding, as it will save you time and ensure a smooth setup process.
Now that you have all the materials ready, let’s move on to the next step: connecting one end of the Ethernet cable to your router.
Step 2: Connect one end of the Ethernet cable to your router
Now that you have gathered all the necessary materials, it’s time to start connecting your Ethernet cable to your wireless router. Follow these simple steps:
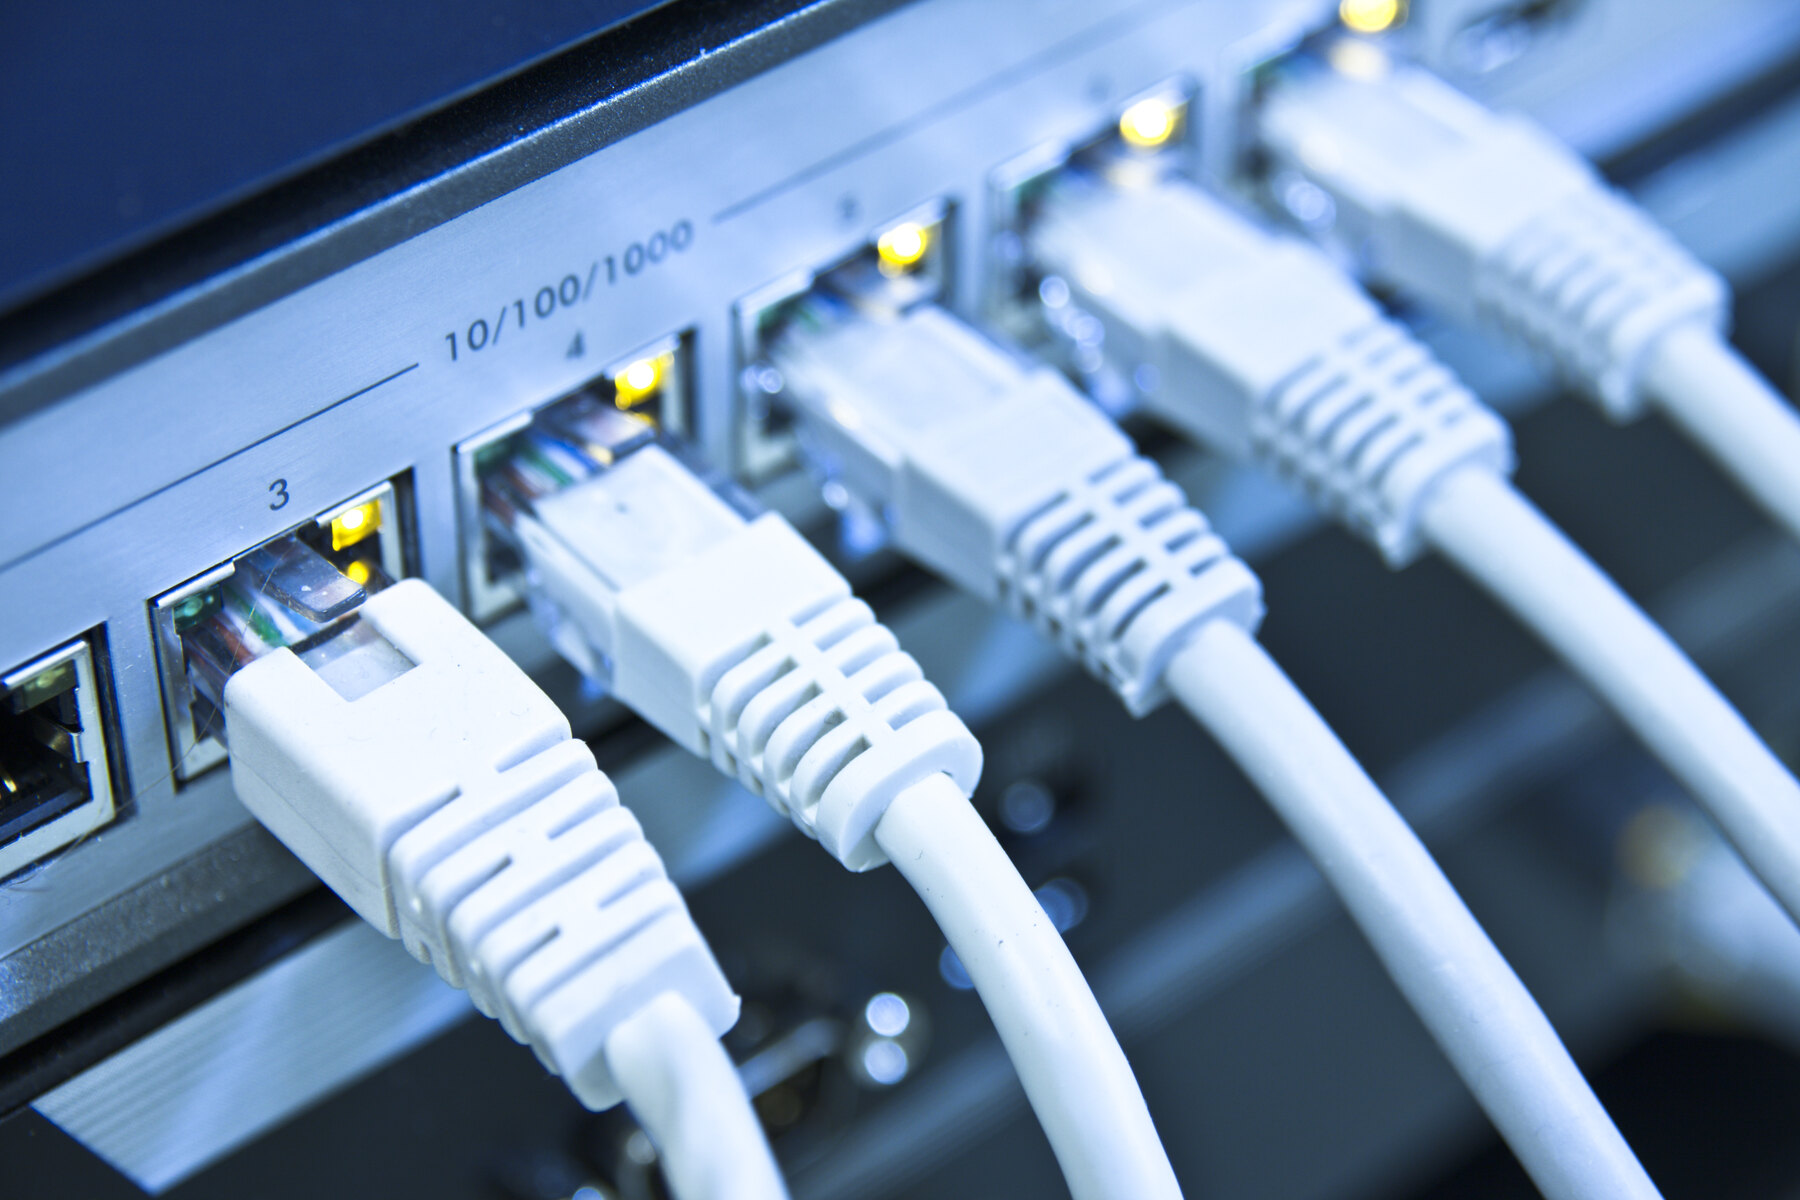
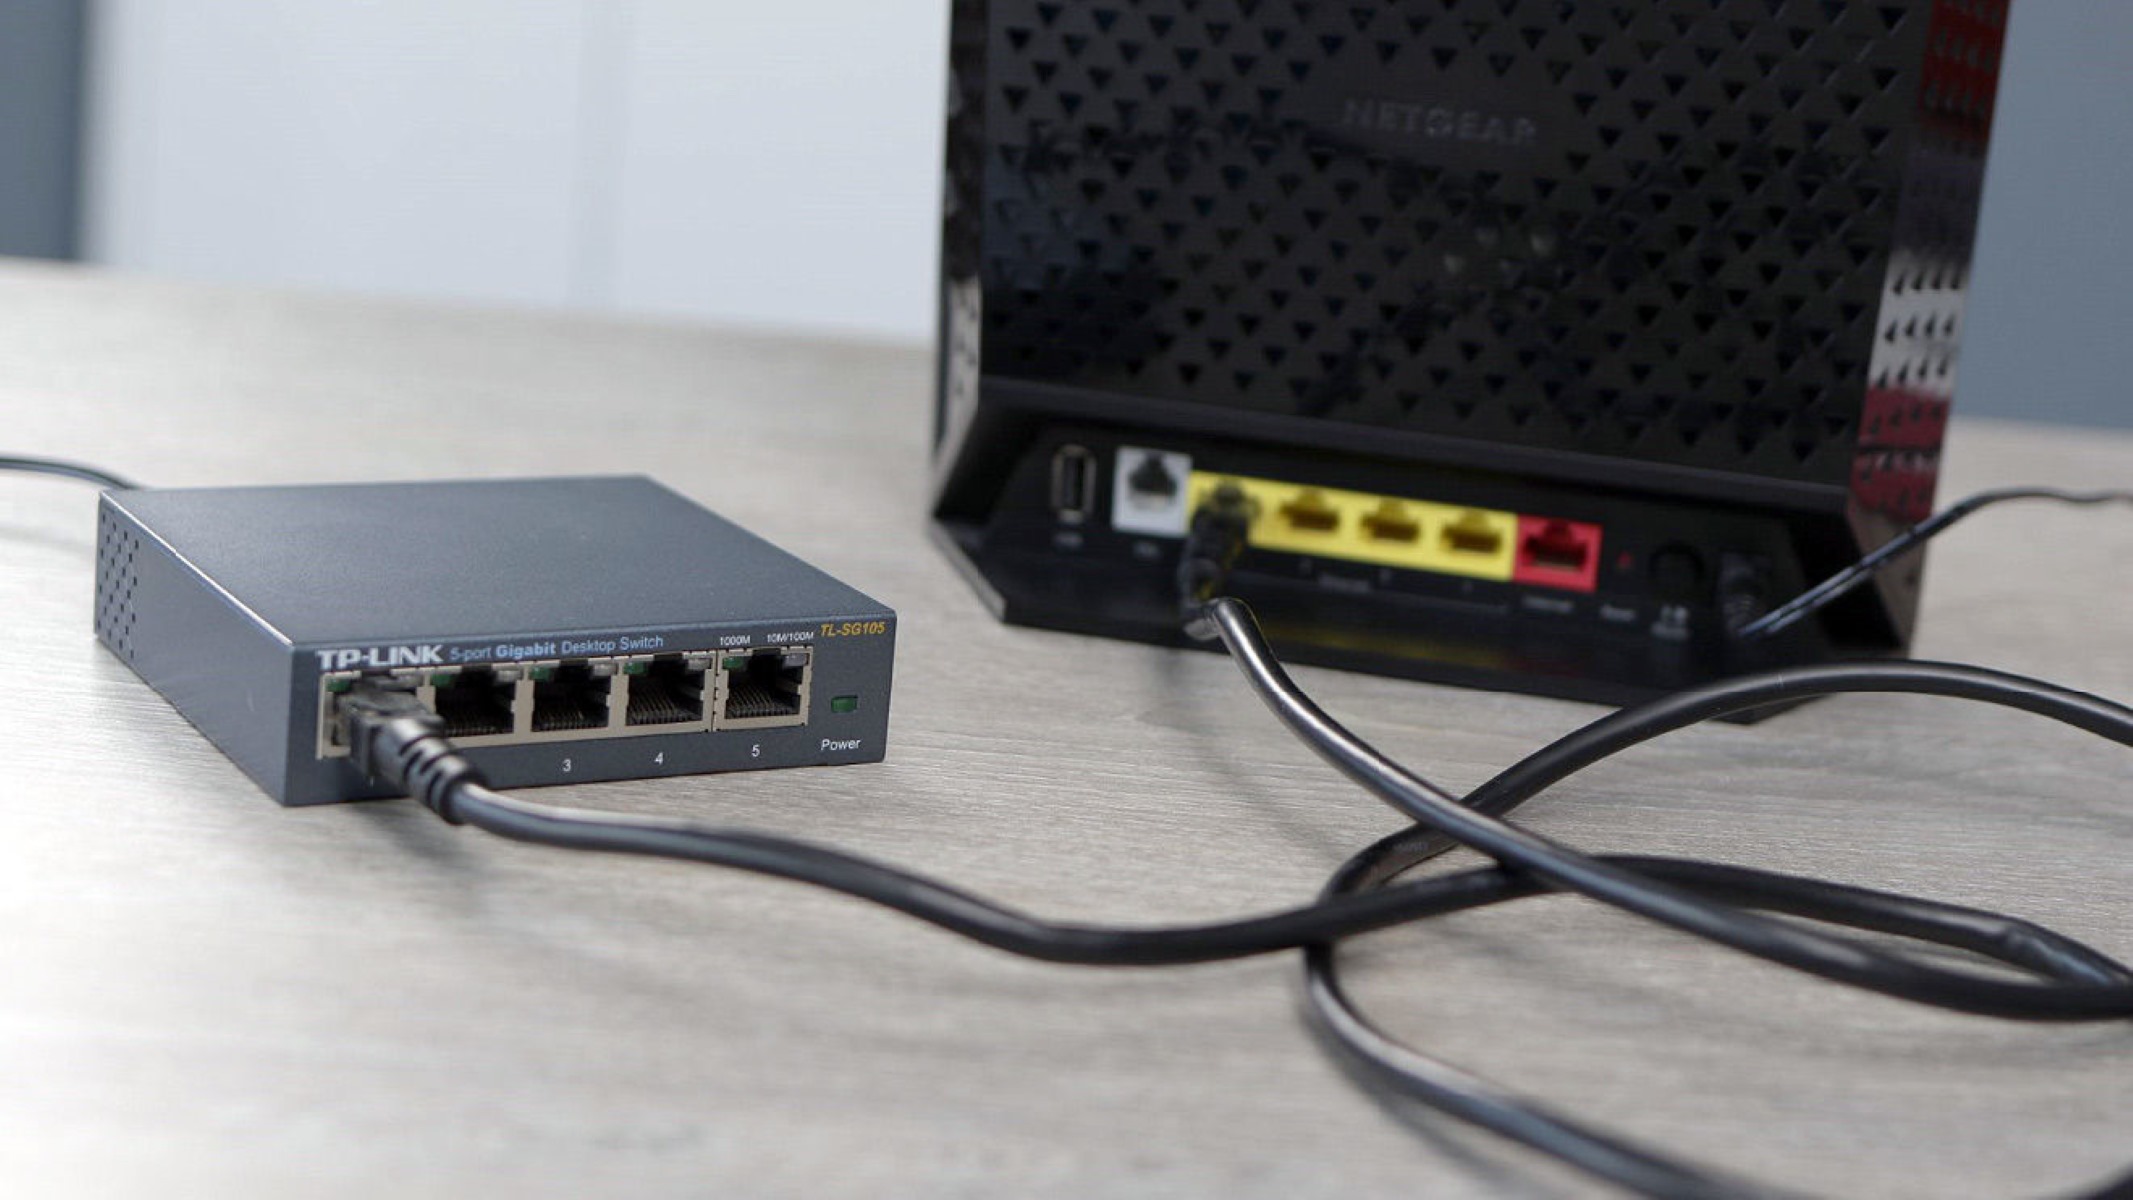
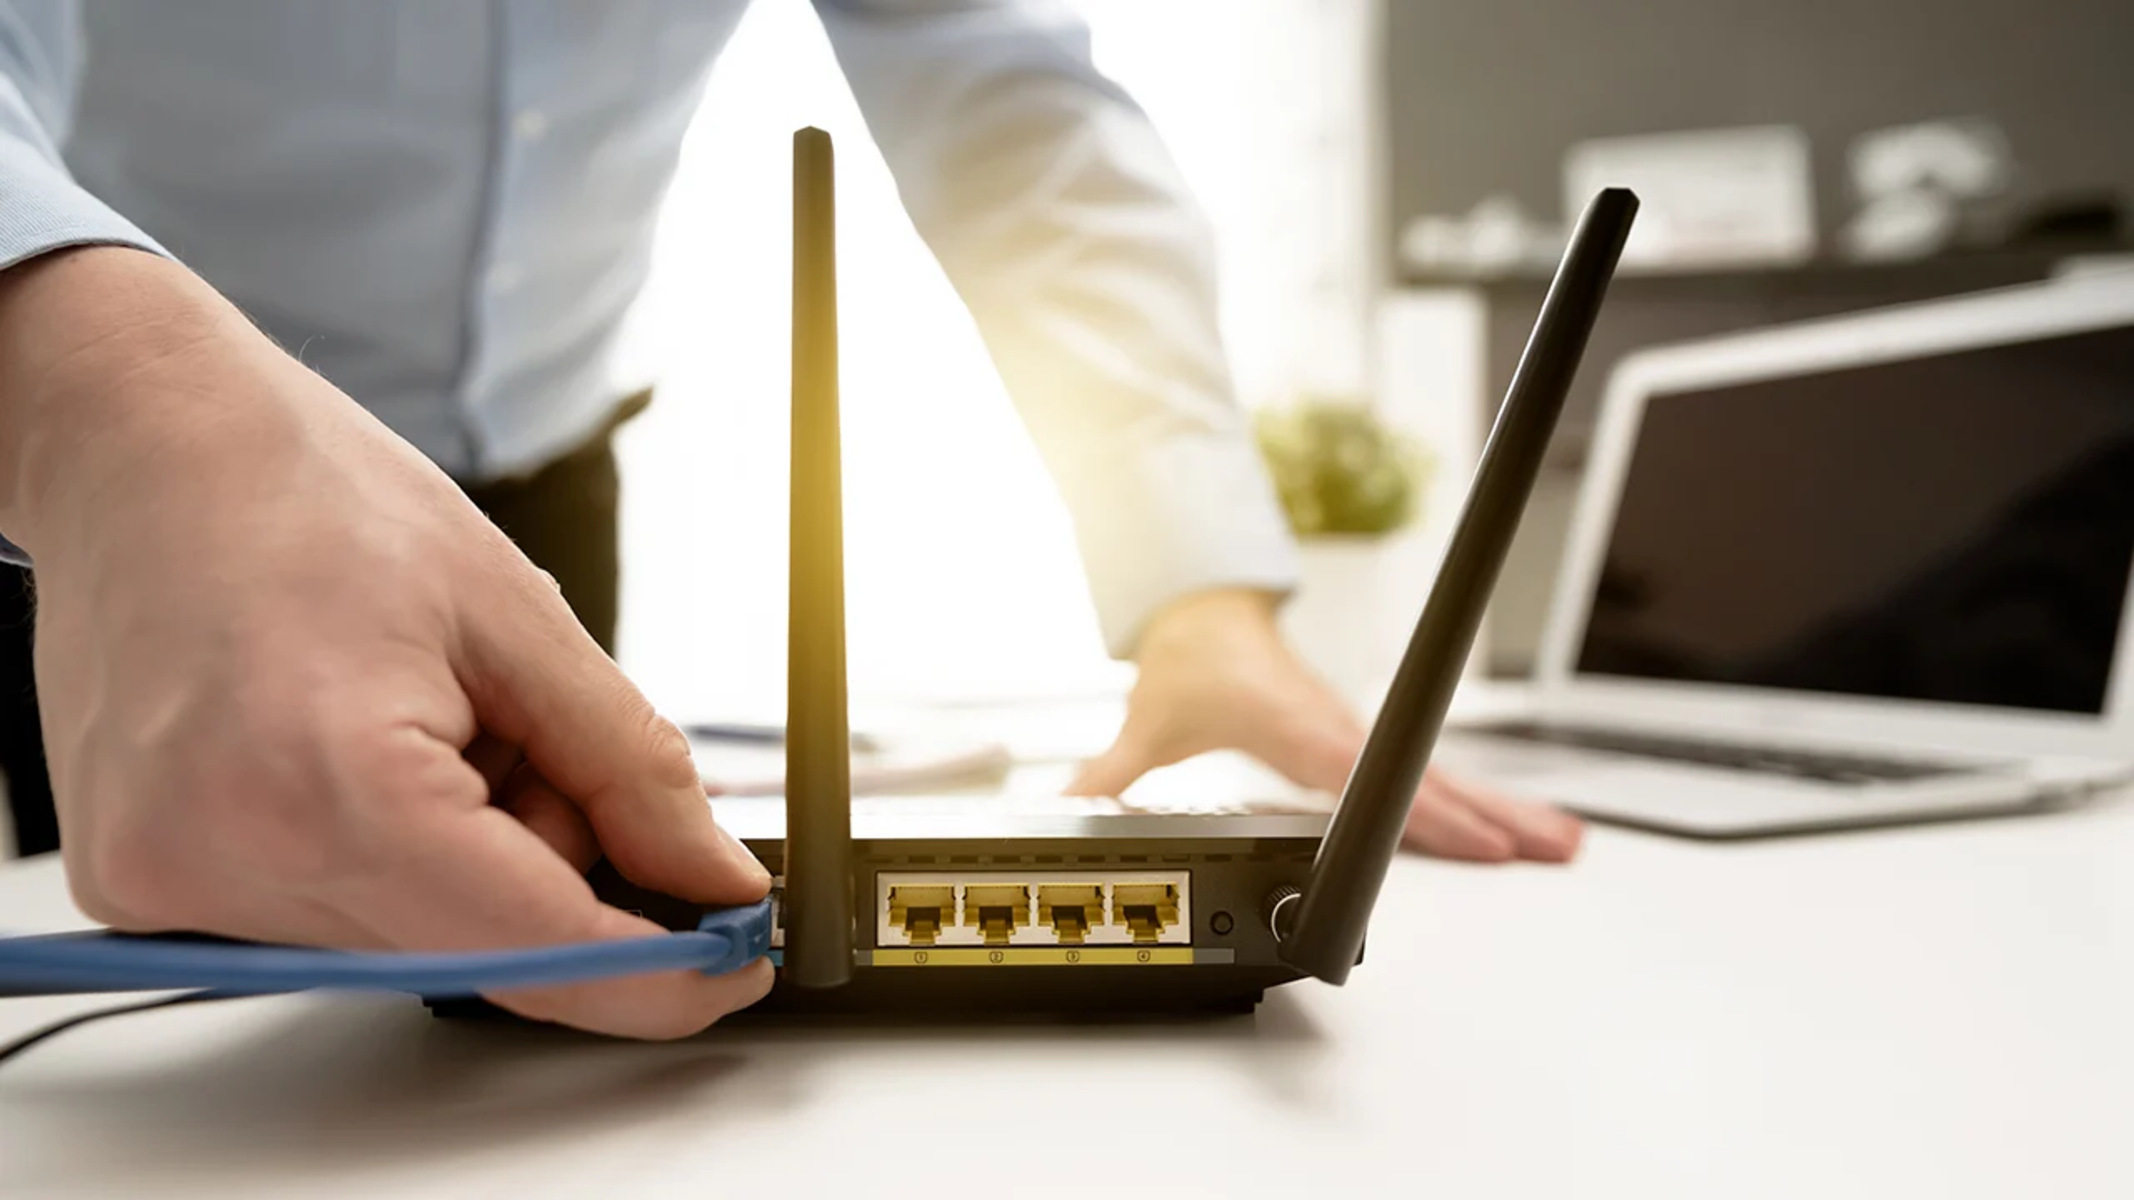
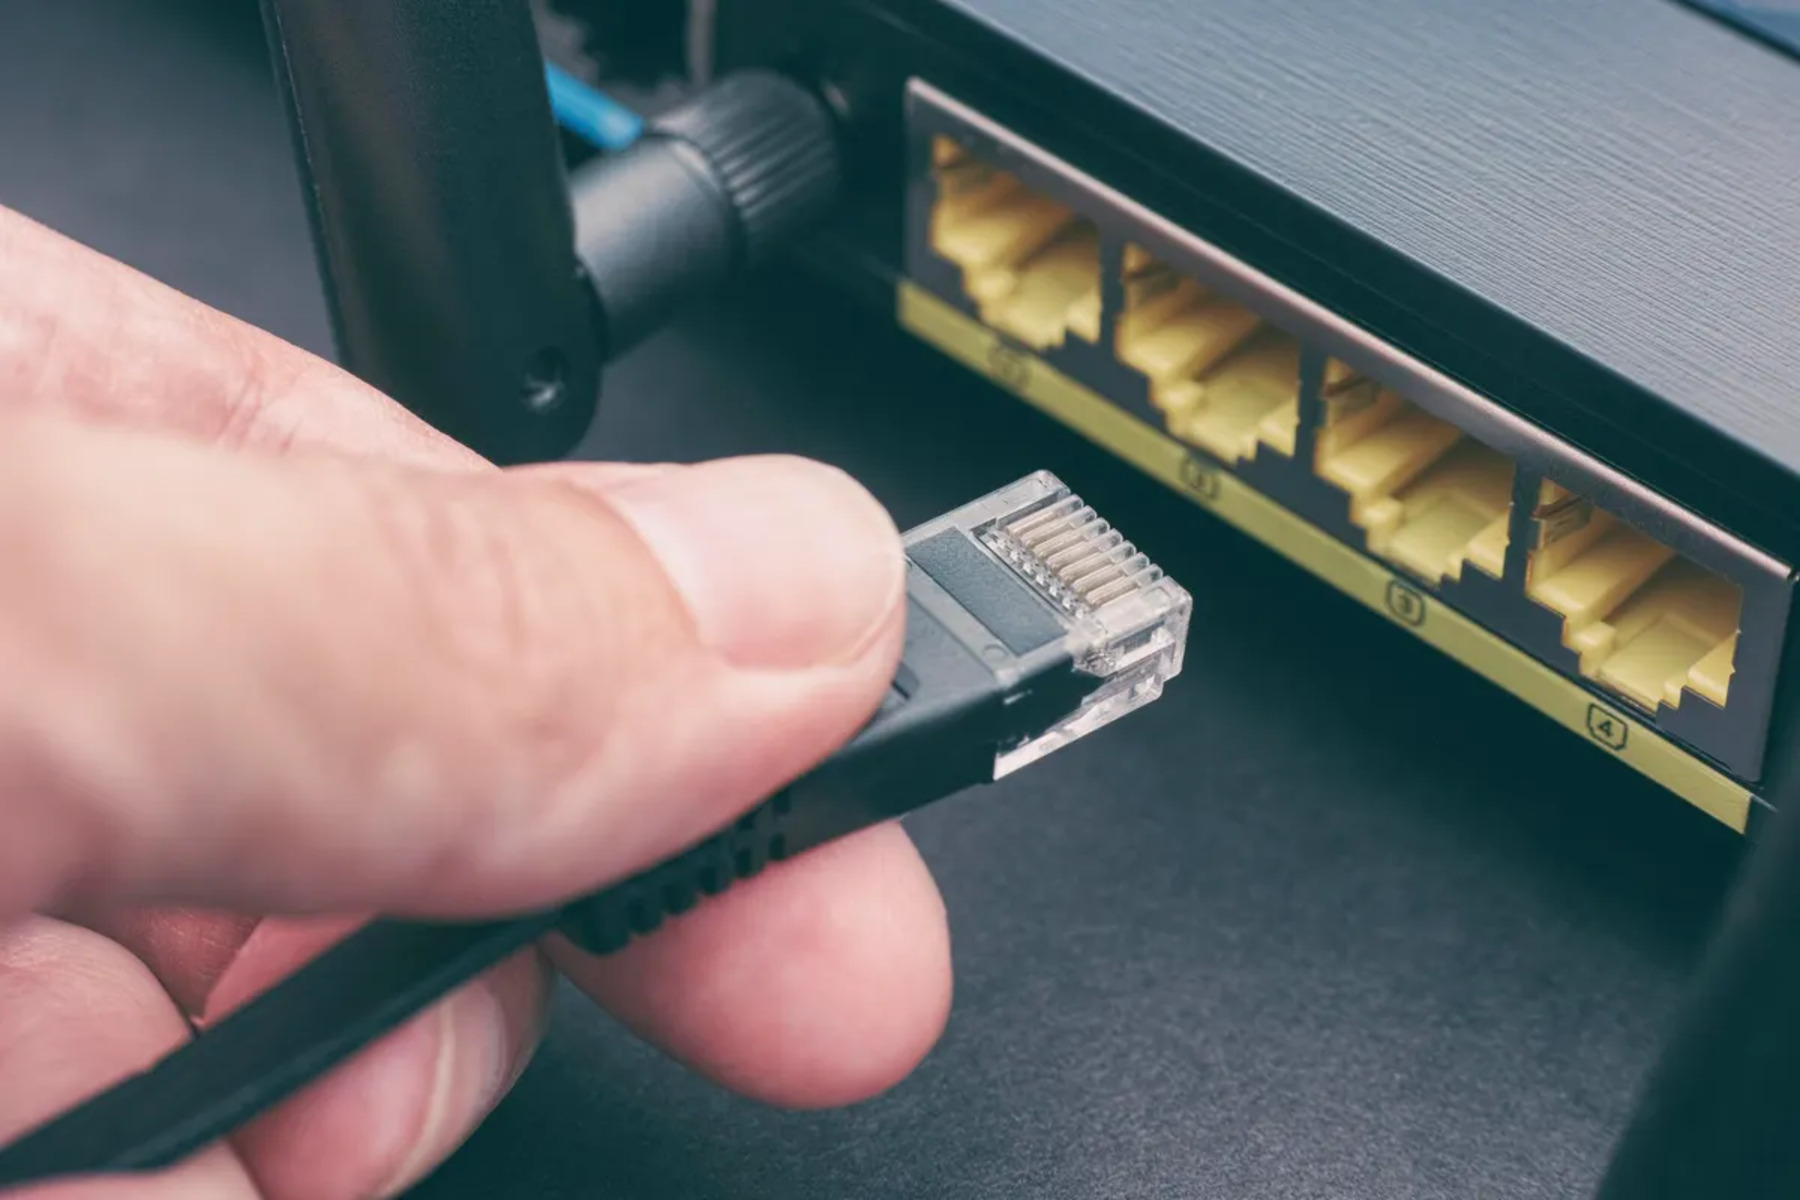
- Locate the Ethernet port on your router: Look for a port labeled “WAN,” “Internet,” or “Ethernet.” It is usually located at the back of the router.
- Insert one end of the Ethernet cable into the port: Take one end of the Ethernet cable and firmly insert it into the Ethernet port on the router. Make sure to push it in until it clicks into place. This ensures a secure connection.
- Check for a solid indicator light: Once the cable is connected, check the indicator lights on the router. There should be a solid light indicating that the Ethernet connection is established and active. If the light is blinking or not present, double-check the connection and ensure the cable is securely plugged in.
By connecting one end of the Ethernet cable to your router, you have established the foundation for a wired connection. Now, it’s time to move on to the next step: connecting the other end of the Ethernet cable to your device.
Step 3: Connect the other end of the Ethernet cable to your device
With one end of the Ethernet cable securely connected to your router, it’s now time to connect the other end to your device. Follow these steps to complete the connection:
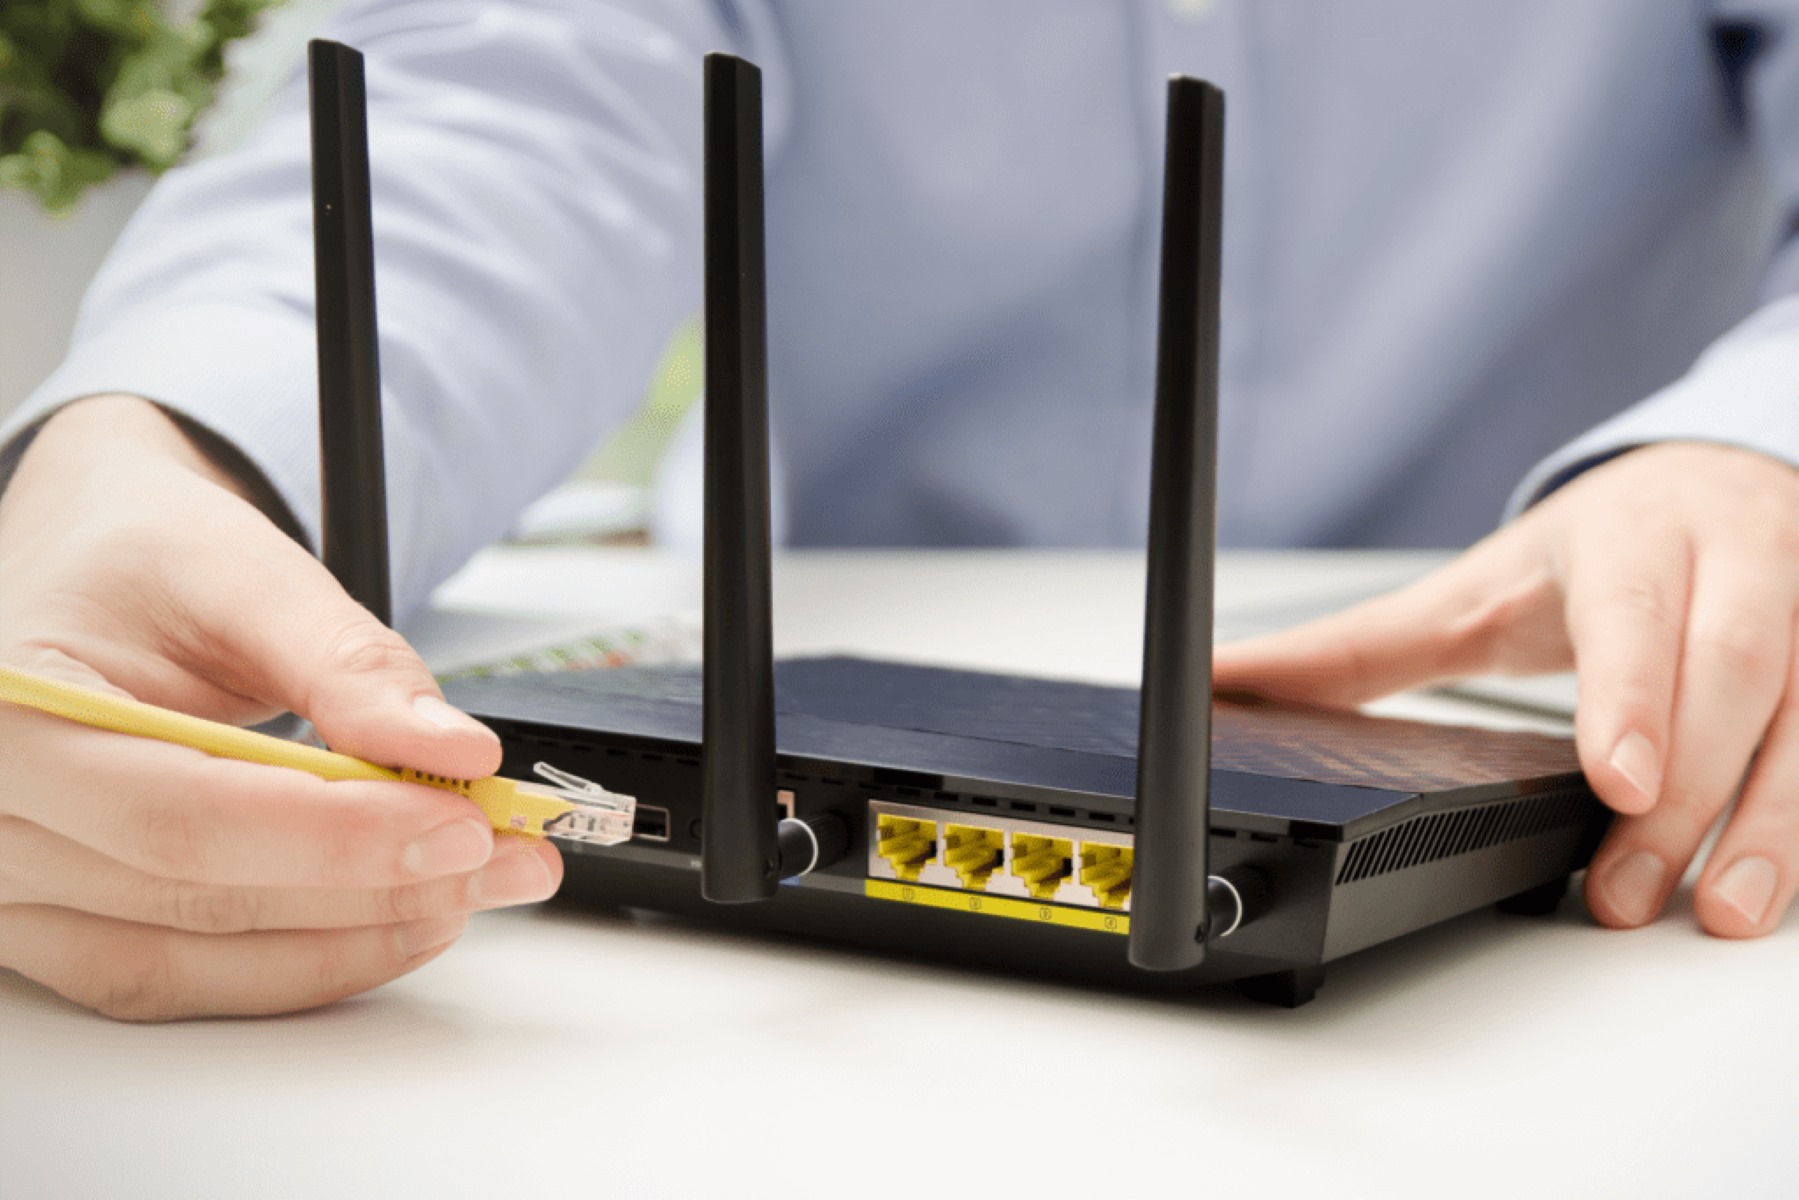
- Locate the Ethernet port on your device: Look for a port labeled “LAN,” “Ethernet,” or a similar designation. The location of the port will depend on the type of device you are connecting (e.g., computer, laptop, gaming console).
- Insert the other end of the Ethernet cable into the port: Take the other end of the Ethernet cable and insert it firmly into the Ethernet port on your device. Ensure that it is fully inserted and securely connected.
- Check for a solid indicator light: Similar to the router, check for a solid indicator light near the Ethernet port on your device. This indicates that the connection has been successful. If the light is not present or blinking, double-check the connection and make sure the cable is firmly connected.
Once you have connected the other end of the Ethernet cable to your device, you have established a direct and secure wired connection. This connection will provide a fast and reliable internet connection, free from potential wireless interferences.
Now that the physical connection is complete, it’s time to move on to configuring your wireless router settings in the next step.
Step 4: Configure your wireless router settings
Now that you have established the wired connection between your device and the router, it’s important to configure your wireless router settings to ensure a seamless internet experience. Here’s how you can do it:
- Open your web browser: Launch your preferred web browser on the device that is connected to the router via the Ethernet cable.
- Type in your router’s IP address: In the address bar of your web browser, enter the IP address specific to your router. Common default IP addresses include 192.168.1.1 or 192.168.0.1. Refer to your router’s manual or check the manufacturer’s website for the correct address.
- Enter your router’s login credentials: On the login page that appears, enter your router’s username and password. This information is typically provided in the router’s documentation. If you haven’t changed the default login credentials, they can often be found on the router itself.
- Access the router’s settings: Once logged in, you will have access to the router’s settings interface. The layout and options may vary depending on your router model, but common settings include wireless network name (SSID), password, encryption type, and channel selection.
- Customize your wireless settings: Take this opportunity to customize your wireless network settings to meet your preferences. Choose a unique and secure network name (SSID) and set a strong password to protect your network from unauthorized access. You can also select the appropriate encryption type (e.g., WPA2) for enhanced security.
- Save and apply the changes: Once you have made the desired changes, be sure to save and apply the settings. The router will then restart, applying the new configurations.
Configuring your wireless router settings ensures that your network is secure and optimized for your specific needs. It also allows you to customize various aspects of your network, such as selecting the most appropriate channel for wireless communication to minimize interference.
With the settings configured and applied, you’re almost ready to enjoy the benefits of your wired and wireless connection. However, before you start browsing, it’s important to test the connection, which we’ll cover in the next step.
Step 5: Test the connection
Now that you have connected the Ethernet cable, configured your router settings, and customized your network preferences, it’s time to test the connection to ensure everything is working smoothly. Follow these steps to test your connection:
- Disconnect any other devices: If you have other devices connected to the router, temporarily disconnect them. This will allow you to solely focus on testing the connection of the device connected via the Ethernet cable.
- Open your web browser: Launch your web browser on the device connected via Ethernet and try visiting a website, such as www.google.com.
- Check for internet connectivity: If the webpage loads successfully and you are able to browse the internet without any issues, it means the connection is working properly.
- Verify connection speed: To further validate the connection, you can perform an internet speed test using online speed testing tools. These tools provide insights into your internet speed, including download and upload speeds. Make note of the results for future reference.
- Test on other devices (optional): If you have other devices available, you can also test the wireless connection on those devices to ensure they are working correctly. This will confirm that both your wired and wireless connections are functioning as intended.
If the test results indicate that the connection is working smoothly, congratulations! You have successfully connected your Ethernet cable to your wireless router, configured the settings, and tested the connection. You can now enjoy fast and reliable internet access on your device.
If you encounter any issues during the testing process, double-check the connections and settings to ensure everything is properly configured. You may also consider contacting your internet service provider or referring to the router’s support documentation for further troubleshooting steps.
Remember, having a wired connection offers a stable and reliable internet connection, while wireless connectivity provides flexibility and convenience. By combining the two, you can enjoy the best of both worlds.
Conclusion
Connecting your Ethernet cable to a wireless router provides the perfect blend of stability and flexibility in your internet connection. By following the steps outlined in this guide, you have learned how to establish a wired connection between your device and the router, configure the router settings, and test the connection.
Starting with gathering the necessary materials, you ensured that you had all the required components for the setup. Then, you connected one end of the Ethernet cable to your router and the other end to your device. This physical connection laid the foundation for a fast and reliable wired connection.
Next, you configured your wireless router settings by accessing the router’s settings interface. By customizing your network name, password, and encryption type, you enhanced the security and optimized the performance of your wireless network.
Finally, you tested the connection and verified that the wired and wireless connectivity was working seamlessly. By performing a web browsing test and checking the internet speed, you ensured that everything was functioning as expected.
With your Ethernet cable connected to your wireless router, you can now enjoy a stable and fast internet connection. Whether you are streaming movies, working from home, or gaming online, you can rely on the reliability and performance of your connected setup.
Remember, if you encounter any issues during setup or usage, consult your router’s documentation or reach out to your internet service provider for assistance. With a little patience and troubleshooting, you’ll be able to resolve any hiccups along the way.
Thank you for following this guide and best of luck with your newly connected Ethernet cable and wireless router setup!