Introduction
Welcome to our guide on how to connect a wireless router to an Ethernet switch. This article will provide you with step-by-step instructions to help you successfully set up a wireless network using an Ethernet switch and a wireless router. Whether you are expanding your existing network or setting up a new one, this guide will walk you through the process.
Connecting a wireless router to an Ethernet switch allows you to create a wireless network that can connect multiple devices to the internet without the need for individual Ethernet connections. This is especially useful in situations where running Ethernet cables to each device is not feasible or practical.
Before we proceed with the setup process, it is important to have a basic understanding of what an Ethernet switch and a wireless router are:
- Ethernet switch: An Ethernet switch is a networking device that allows multiple Ethernet devices, such as computers, printers, and game consoles, to connect to each other and share resources within a local area network (LAN). It allows for fast and reliable data transmission between devices.
- Wireless router: A wireless router combines the functions of a traditional router and a wireless access point. It connects to your internet service provider (ISP) and allows multiple devices to connect to the internet wirelessly using Wi-Fi technology. It also provides routing capabilities, allowing devices on the network to communicate with each other and access the internet.
Now that we have a clear understanding of the components involved, let’s move on to the step-by-step process of connecting a wireless router to an Ethernet switch. Follow the instructions carefully to ensure a successful setup. Let’s get started!
Step 1: Gather the Necessary Equipment
Before you begin connecting your wireless router to an Ethernet switch, it is important to gather all the necessary equipment. Here’s a list of items you’ll need:
- Wireless router: Ensure that you have a wireless router capable of connecting to an Ethernet switch. Most modern routers support this feature, but it’s always a good idea to double-check the specifications of your router before proceeding.
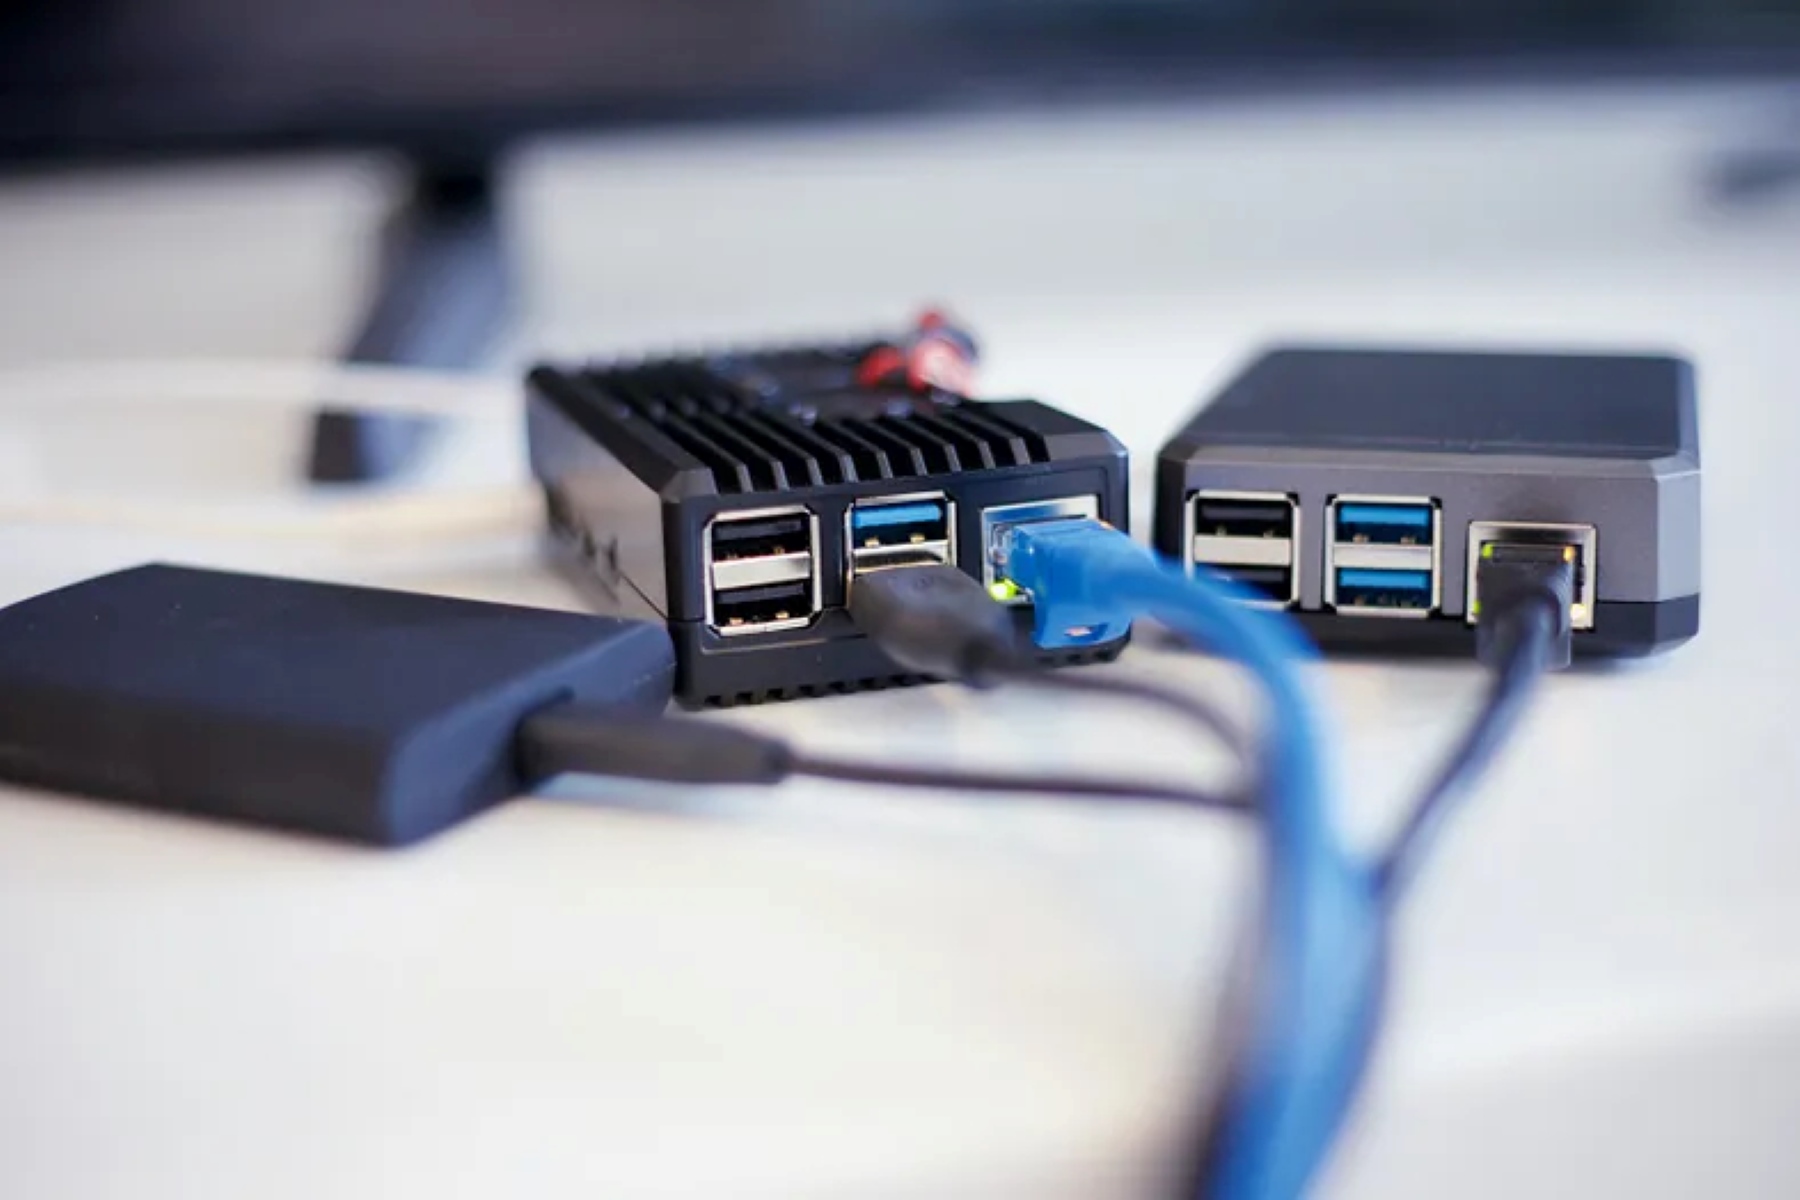
- Ethernet switch: You’ll need an Ethernet switch with enough ports to accommodate the devices you plan to connect to your network. Consider the number of devices you have and choose an Ethernet switch with an appropriate number of ports.
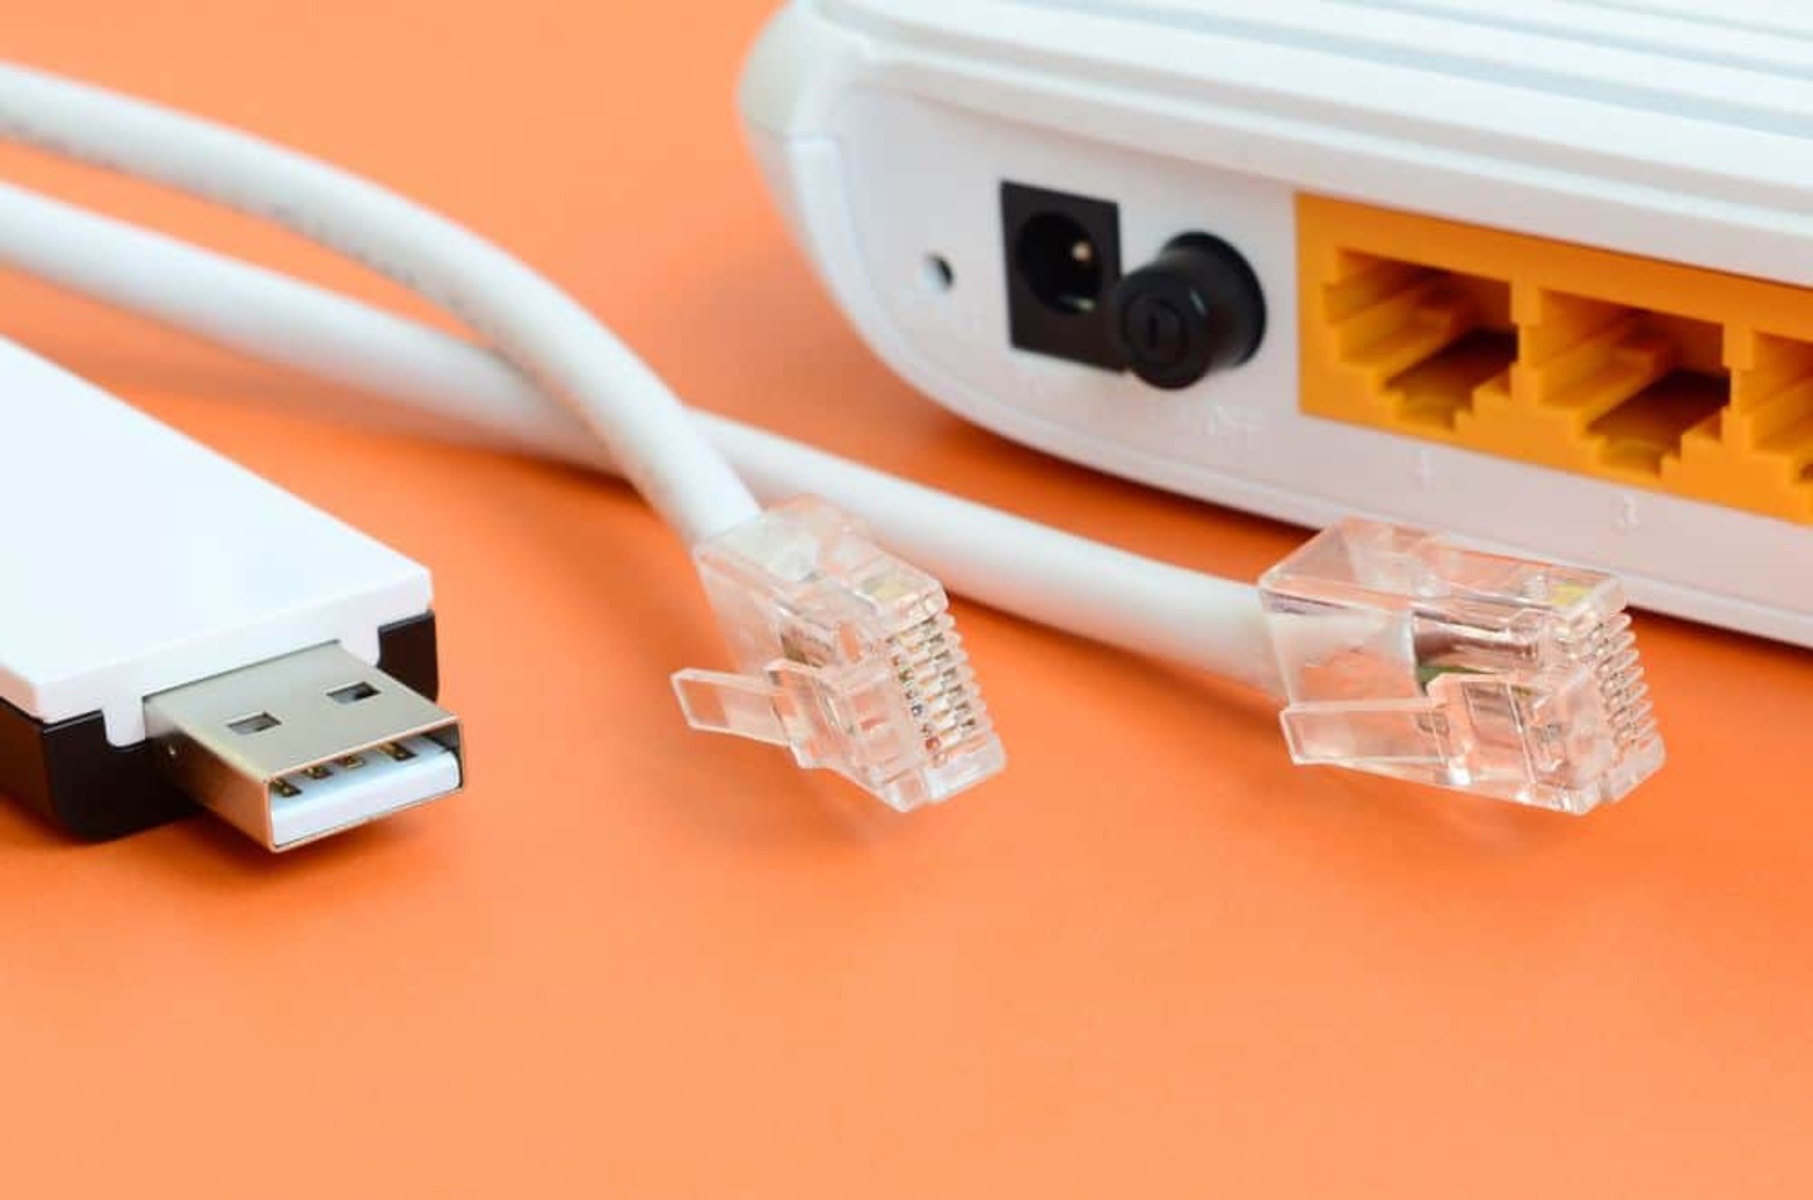
- Ethernet cables: You’ll need Ethernet cables to connect the router and the switch, as well as any devices you plan to connect to the switch. Ensure you have enough cables of sufficient length to reach all the necessary connections.
- Power adapters: Make sure you have the necessary power adapters for both the wireless router and the Ethernet switch. These adapters will provide power to the devices.
- Internet connection: Ensure that you have an active internet connection from your internet service provider (ISP). This can be a DSL, cable, or fiber connection.
- Devices to connect: Identify the devices you want to connect to the wireless network. These can include laptops, smartphones, tablets, smart TVs, gaming consoles, and more.
With all these items gathered and verified, you are now ready to proceed with the setup process. Having everything you need at hand will ensure a smooth and efficient installation.
Step 2: Power on the Router and Switch
Now that you have gathered all the necessary equipment, it’s time to power on the wireless router and the Ethernet switch. Follow these steps:
- Locate a power outlet near where you plan to set up your network. Ensure that it is easily accessible.
- Connect the power adapter to the wireless router and the Ethernet switch. Make sure the power cables are securely plugged in.
- Plug the other end of the power adapter into the power outlet.
- Locate the power switch on the router and the switch. Turn them both on by flipping the power switches to the “On” position.
- Wait for a few moments as the devices power up. You may notice blinking lights on the router and switch, which indicate that they are starting up.
It is important to note that each wireless router and switch may have different power indicators and startup behaviors. Refer to the user manuals of your specific devices for more information about their power-up process.
Once the devices have powered on successfully, we can proceed to the next step of connecting the router and the switch. Ensure that all the power connections are secure, and all the necessary lights on the devices are illuminated. This indicates that they are ready for the next step.
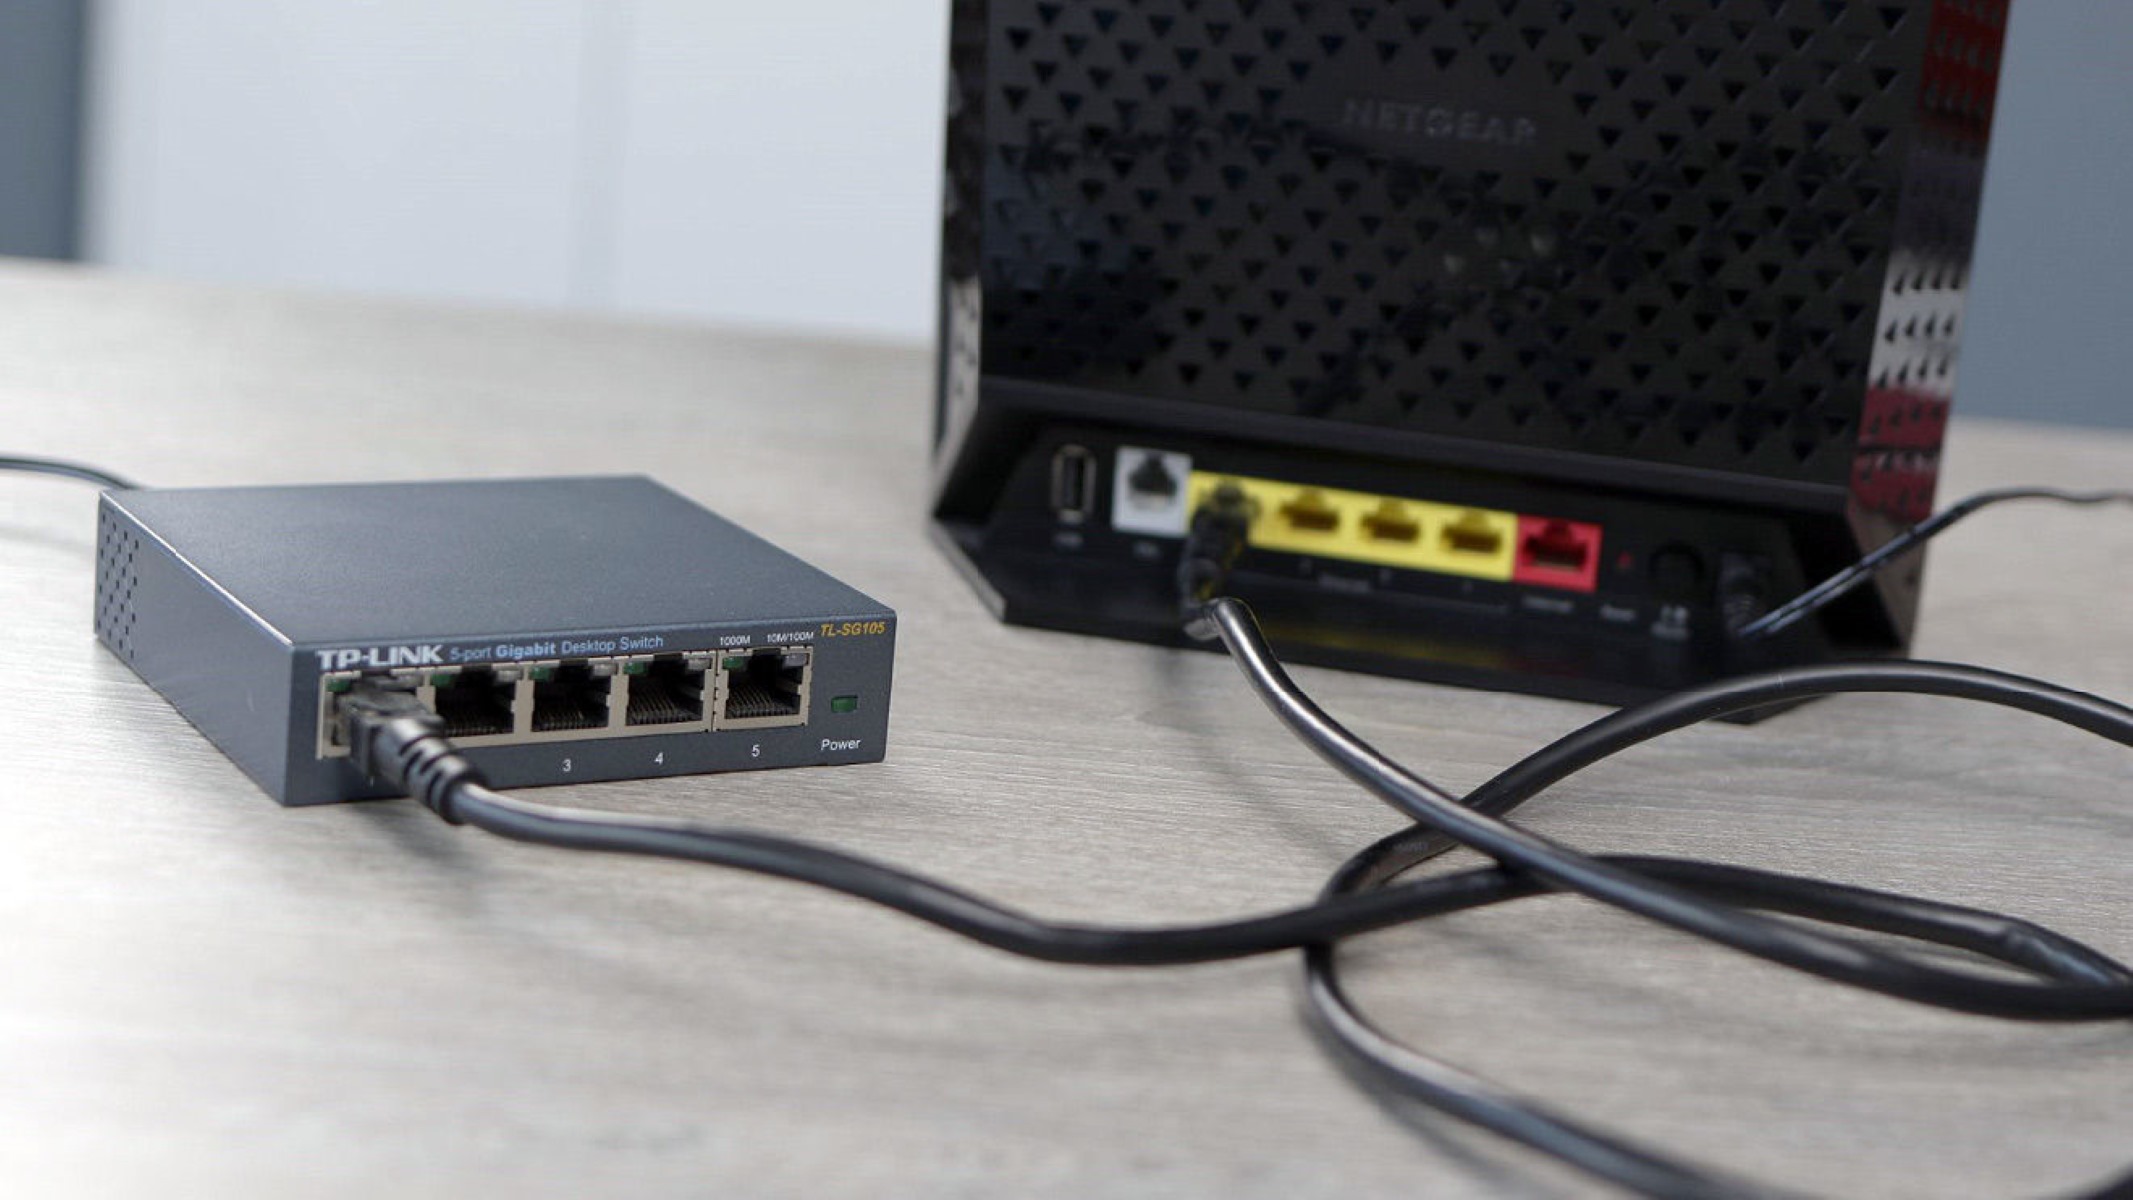
Step 3: Connect the Ethernet Cable from the Router to the Switch
With the router and switch powered on, it’s time to establish the physical connection between the two devices. Follow these steps to connect the Ethernet cable:
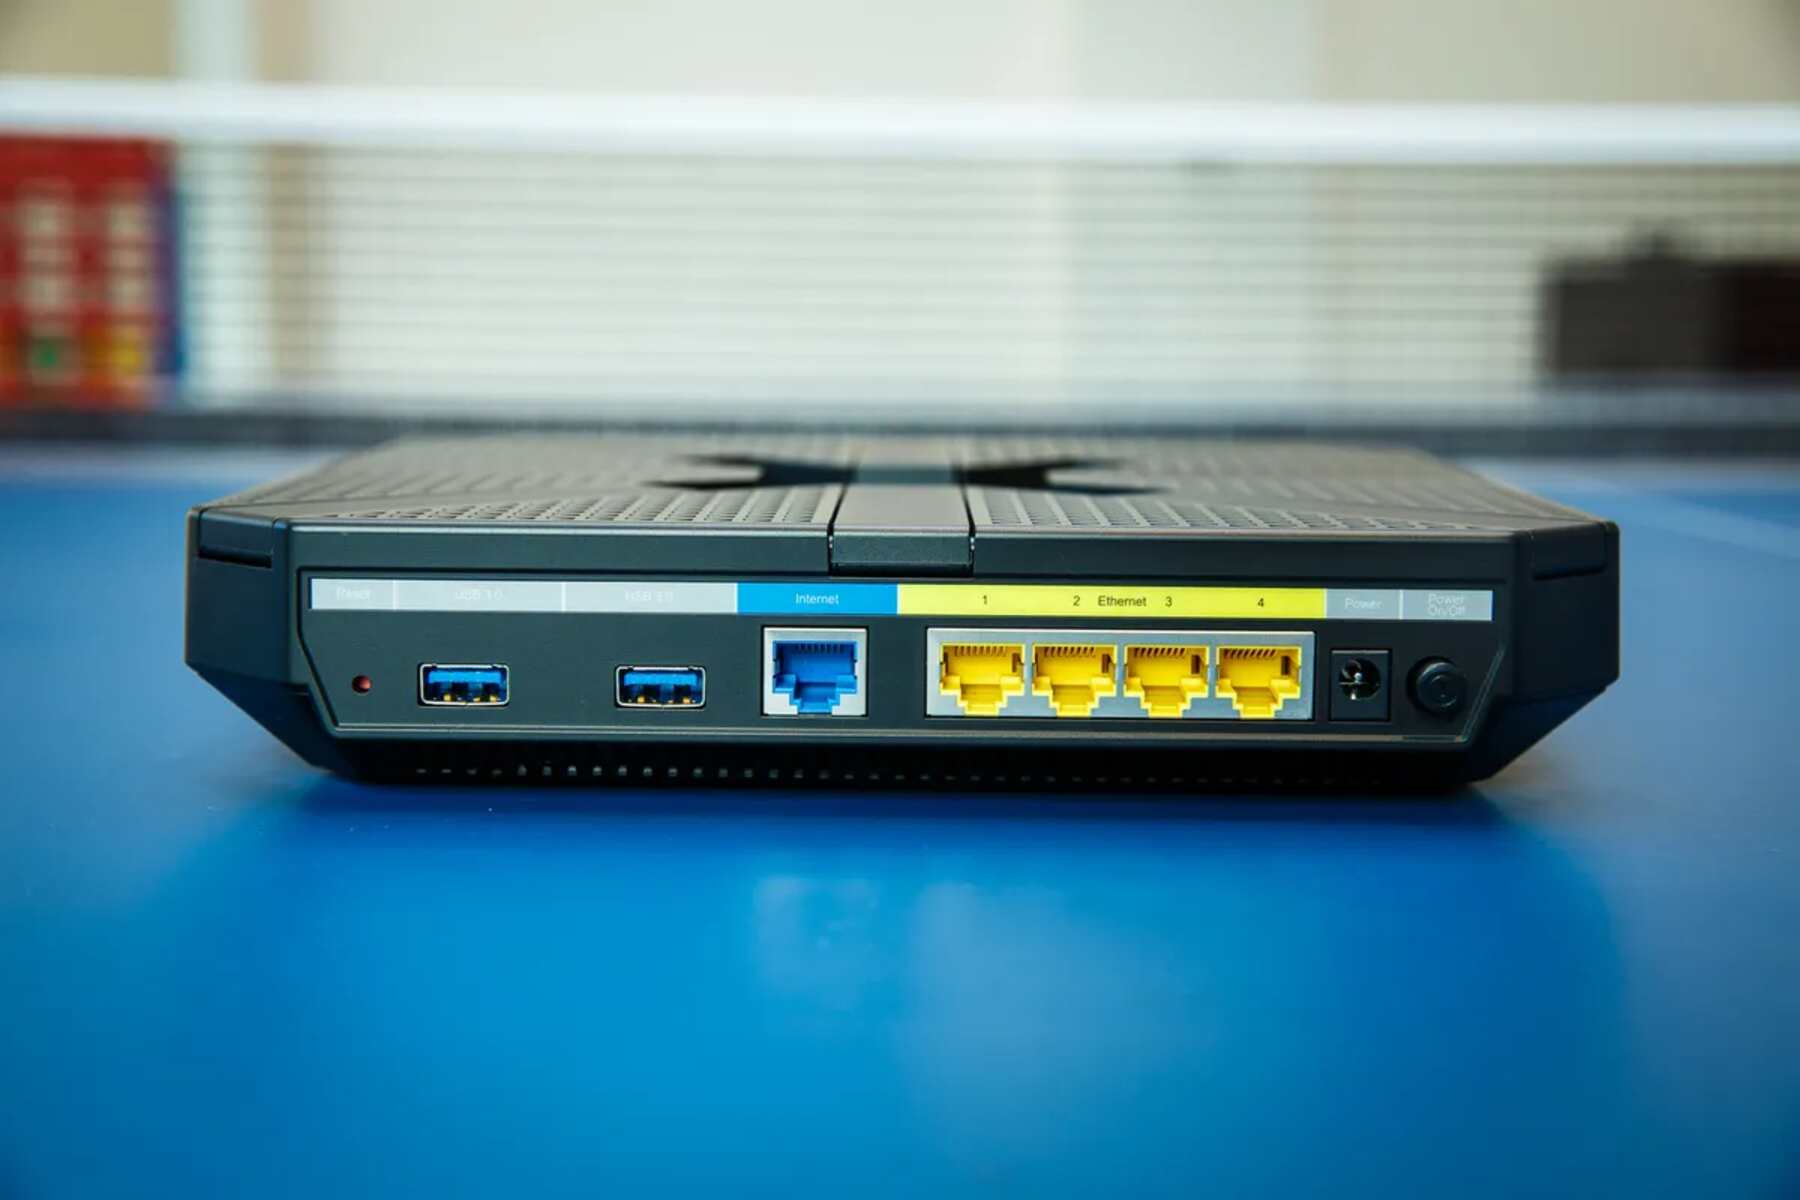
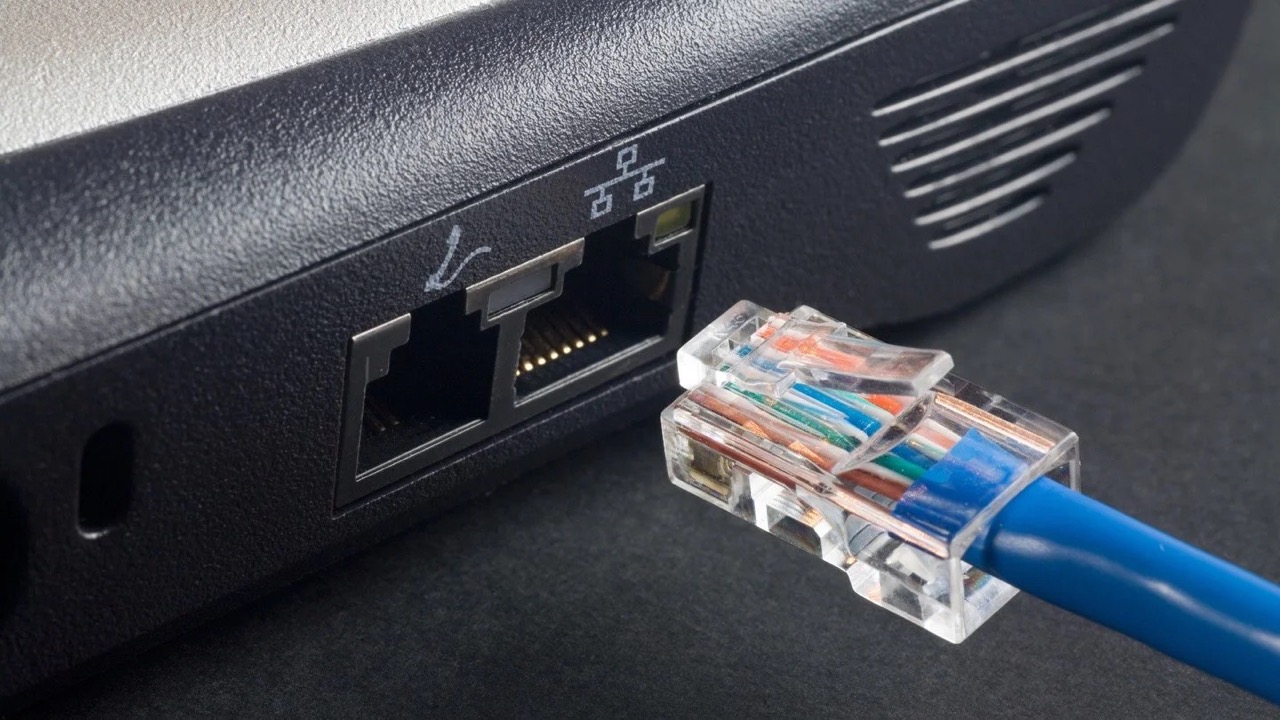
- Locate the Ethernet port on the back of the wireless router. It is usually labeled as “WAN,” “Internet,” or “Ethernet.”
- Take one end of the Ethernet cable and insert it into the Ethernet port on the back of the wireless router. Ensure that it is securely inserted.
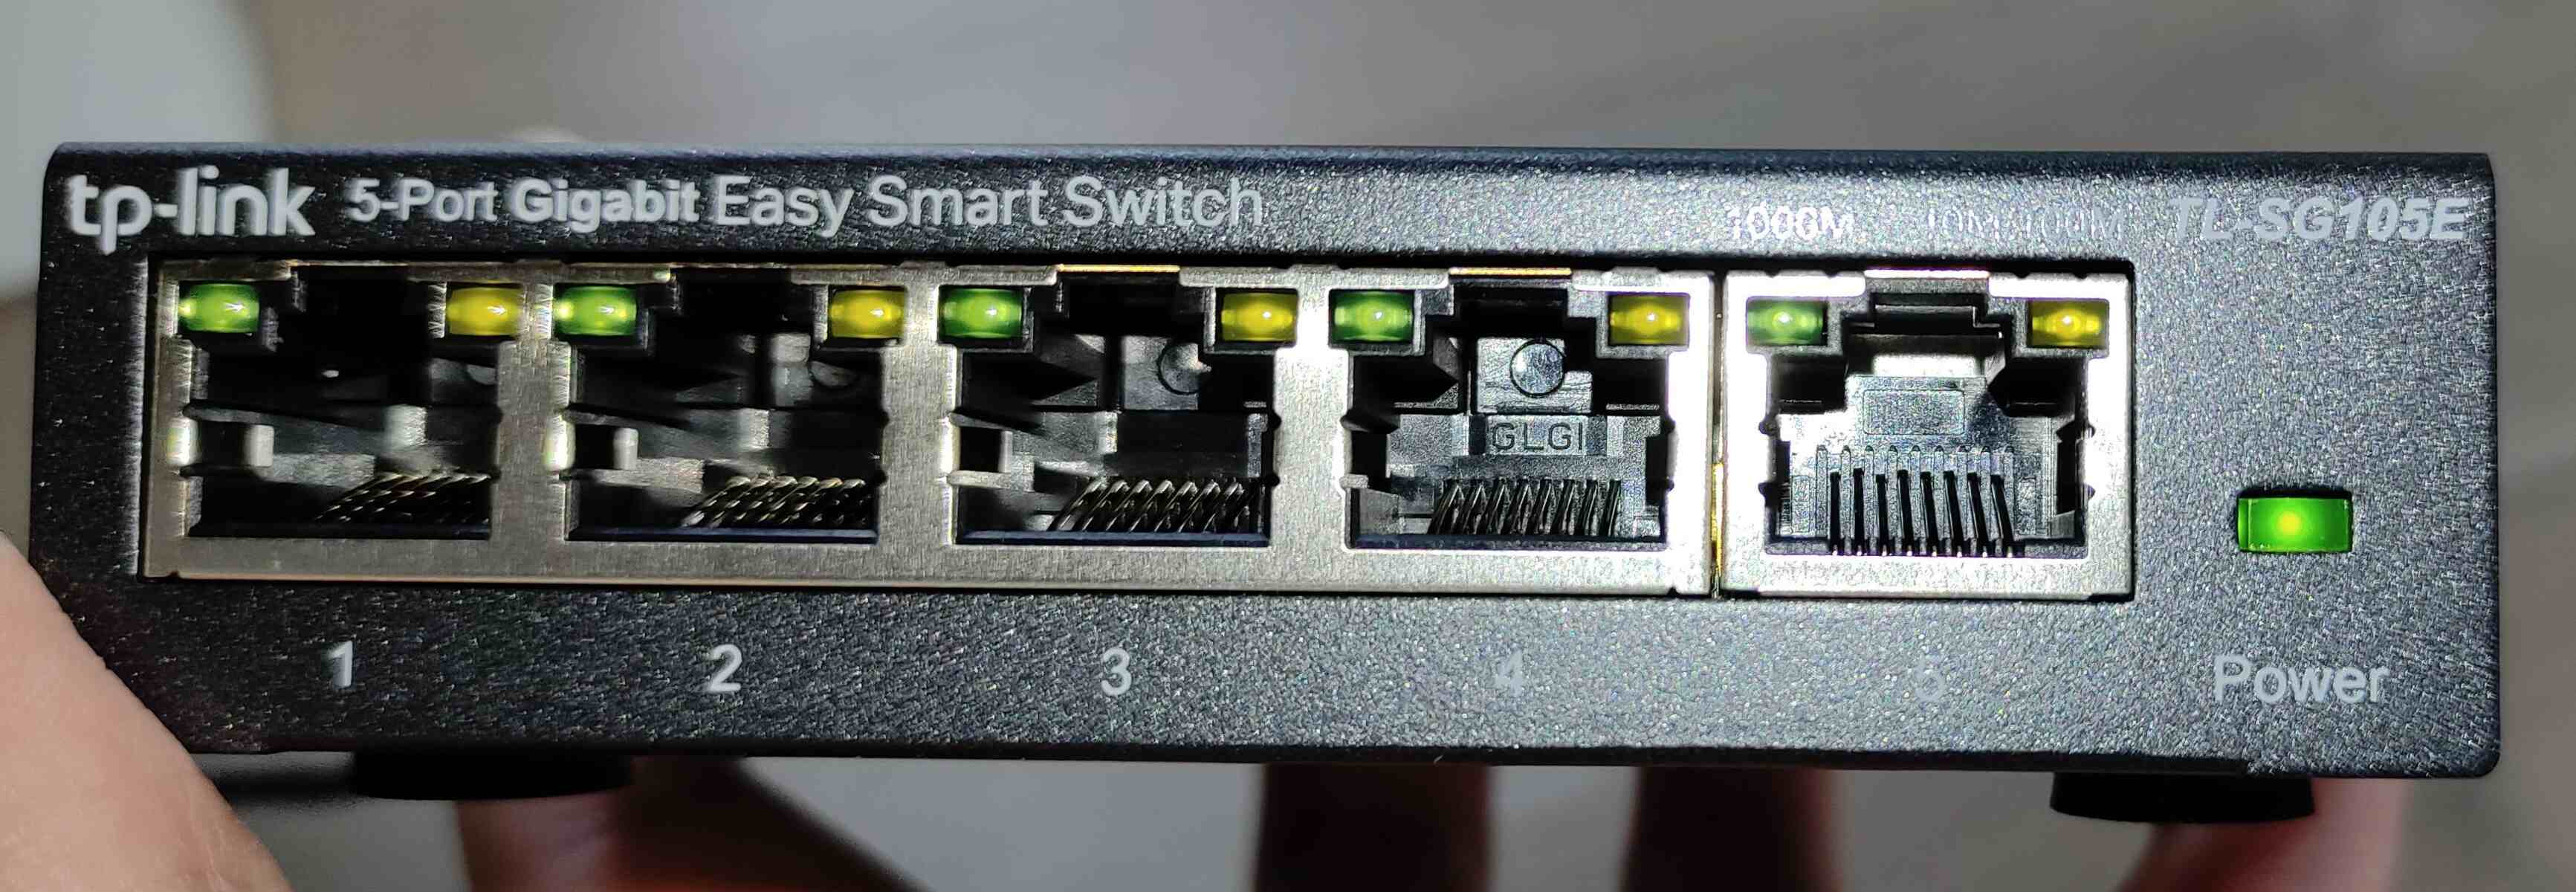
- Now, locate an available Ethernet port on the back of the Ethernet switch. These ports are typically labeled numerically or with the letter “LAN.”
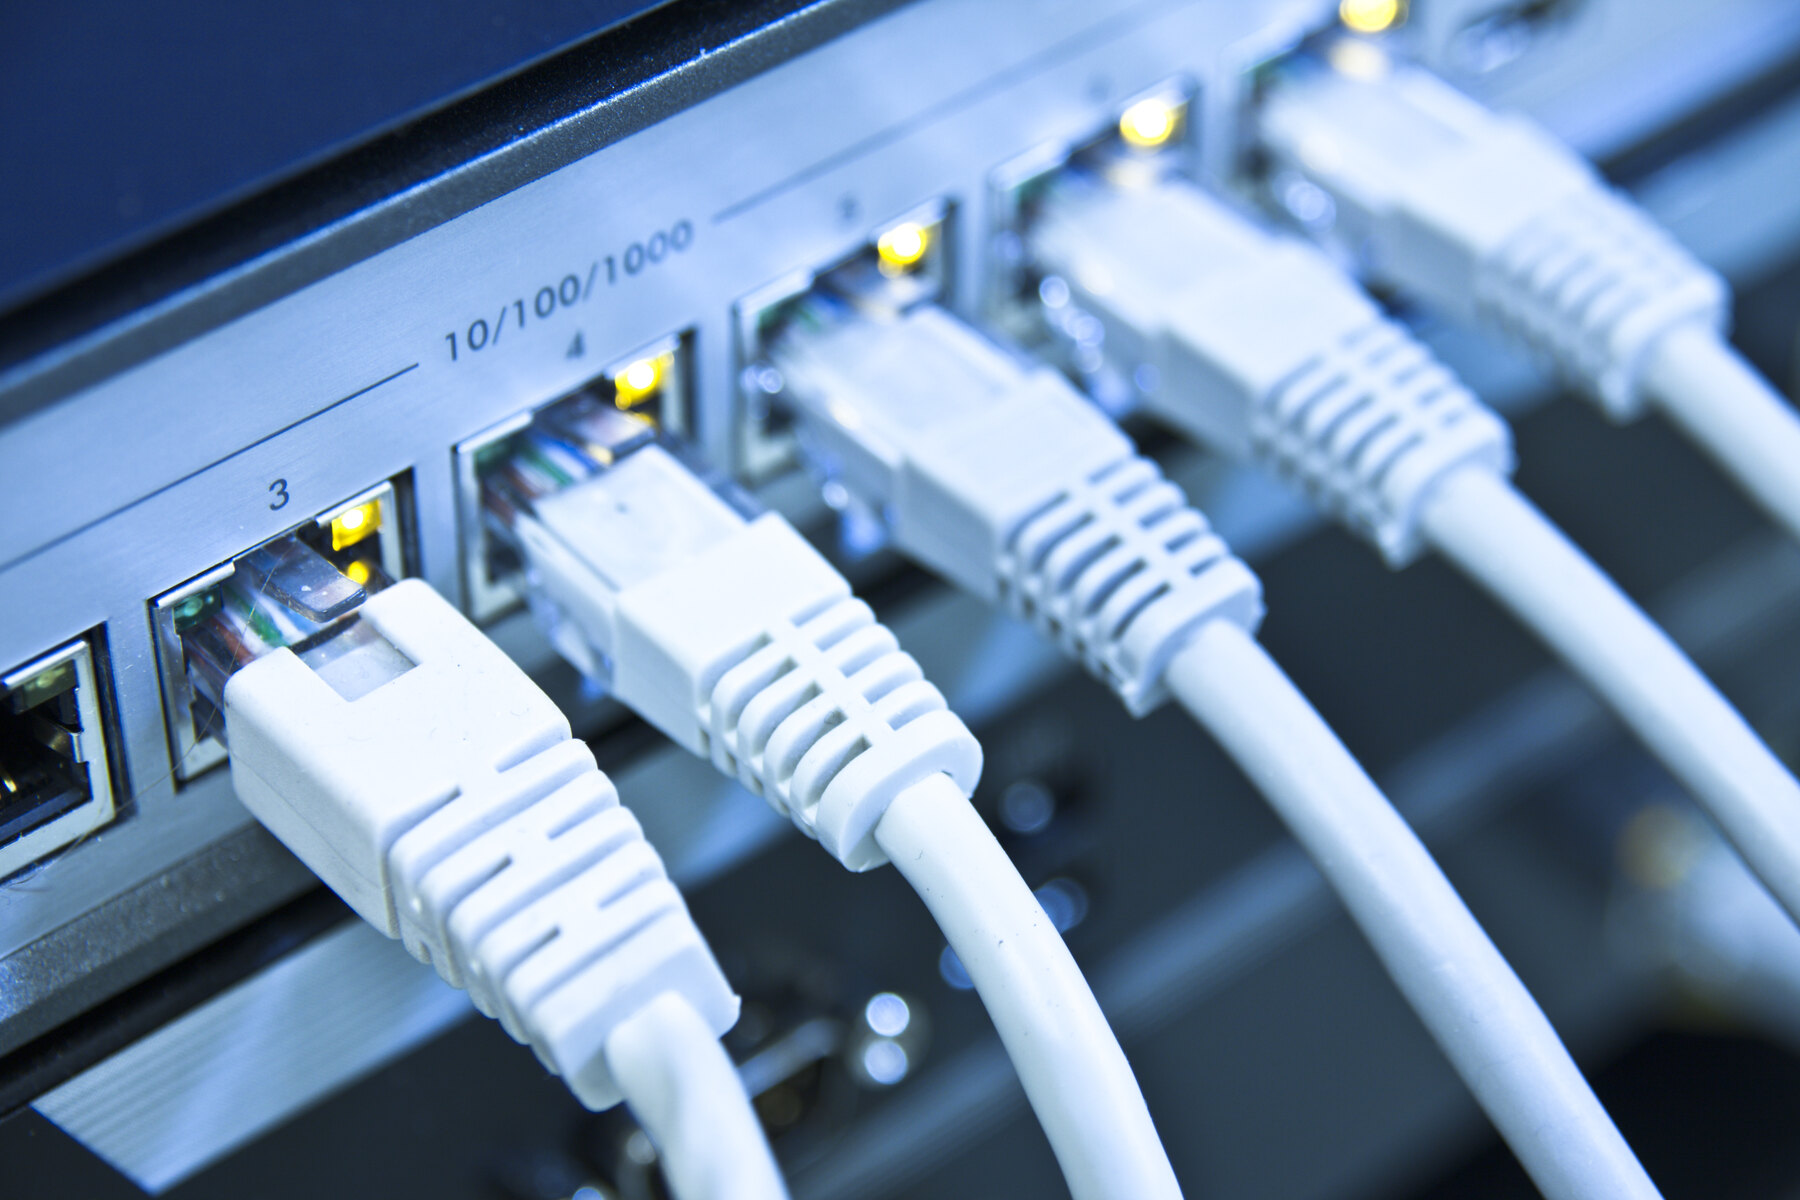
- Take the other end of the Ethernet cable and insert it into the available Ethernet port on the Ethernet switch. Again, ensure that it is securely inserted.
- Double-check both ends of the cable to make sure they are firmly connected. A loose connection can cause connectivity issues.
Once the Ethernet cable is securely connected between the router and the switch, the devices will begin the process of establishing a connection. This connection will allow the switch to extend the network created by the wireless router, enabling devices connected to the switch to access the internet wirelessly.
You may notice some lights on the router and switch indicating a successful connection. These lights may vary depending on your specific devices, so refer to the user manuals for more information on their status indicators.
With the physical connection established between the router and the switch, we can move on to configuring the wireless router’s settings to finalize the network setup.
Step 4: Configure the Wireless Router’s Settings
After connecting the router to the switch physically, you need to configure the wireless router’s settings to ensure the proper functioning of your network. Follow these steps to configure the settings:
- Open a web browser on a device connected to the switch or the wireless network.
- Type the IP address of the wireless router into the address bar of the web browser. The IP address is usually provided in the router’s user manual or can be found on the sticker on the router itself.
- Press Enter, and you will be directed to the login page of the router’s web interface.
- Enter the username and password for the router’s web interface. If you haven’t changed them, the default login credentials can also be found in the router’s user manual or on the router itself.
- Navigate to the wireless settings section of the router’s web interface.
- Configure the wireless network name (SSID) and password (passphrase) for your network. Choose a unique and secure SSID and create a strong password to ensure the security of your network.
- Adjust any additional settings, such as the wireless channel, encryption type, and security settings, based on your preferences and the capabilities of your devices.
- Once you have made the necessary changes, save the settings and wait for the router to reboot.
- If prompted, reconnect to the newly configured wireless network using the updated SSID and password.
After completing these configuration steps, your wireless router will be set up and ready to provide wireless connectivity to your devices. Any devices connected to the Ethernet switch will now be able to access the internet wirelessly through the router.
It’s important to note that the steps and options detailed here may vary depending on the specific brand and model of your wireless router. Refer to the router’s user manual or consult the manufacturer’s support website for detailed instructions specific to your device.
With the wireless router’s settings configured, we can now move on to the final step of connecting devices to the wireless network.
Step 5: Connect Devices to the Wireless Network
Now that you have set up and configured your wireless network, it’s time to connect your devices to the network. Follow these steps to connect devices to the wireless network:
- On the device you want to connect, navigate to the Wi-Fi settings or network settings.
- Look for available wireless networks and find the SSID (network name) that you configured during the router setup process.
- Select the SSID of your wireless network from the list of available networks.
- If prompted, enter the password (passphrase) that you set during the router configuration. Make sure to enter it correctly, as passwords are case-sensitive.
- Wait for the device to connect to the wireless network. Once connected, you should see a confirmation message or an icon indicating a successful connection.
- Repeat these steps for each device you want to connect to the wireless network.
After connecting devices to the wireless network, they will be able to access the internet wirelessly through the router and the Ethernet switch. This allows for seamless browsing, streaming, and other online activities.
It’s important to ensure that devices are within range of the wireless network for optimal connectivity. If you experience any connectivity issues, try moving closer to the router or switch, or adjusting the antenna position on the router for better signal reception.
Additionally, remember to secure your wireless network by regularly updating the router’s firmware and changing the Wi-Fi password. This will help protect your network from unauthorized access.
With devices successfully connected to the wireless network, you have completed the process of connecting a wireless router to an Ethernet switch. Enjoy the convenience and flexibility of a wireless network!
Conclusion
Setting up a wireless network using an Ethernet switch and a wireless router is a straightforward process that allows you to connect multiple devices to the internet without the need for individual Ethernet connections. By following the steps outlined in this guide, you can easily establish a wireless network in your home or office.
Throughout this guide, we covered everything you need to know, from gathering the necessary equipment to configuring the wireless router’s settings and connecting devices to the network. By carefully following these steps, you can ensure a seamless and efficient setup process.
Remember to double-check all physical connections, such as the Ethernet cable between the router and the switch, to guarantee a stable network connection. Additionally, take the time to configure the wireless router’s settings, including the network name (SSID) and password, to enhance security and personalize your network.
Connecting a wireless router to an Ethernet switch offers numerous benefits, including the convenience of wireless connectivity and the ability to connect multiple devices to the internet simultaneously. Whether you are expanding your existing network or setting up a new one, this method provides a flexible solution for your networking needs.
Once your network is up and running, you can enjoy the freedom of wireless connectivity, allowing you to browse the internet, stream content, and connect your devices from anywhere within range. Don’t forget to periodically update your router’s firmware and change your Wi-Fi password to maintain a secure network environment.
Now that you have successfully connected your wireless router to an Ethernet switch, you are ready to take full advantage of a reliable and efficient wireless network. Enjoy the benefits of seamless connectivity and explore the limitless possibilities of the digital world!