Introduction
Connecting a wireless router to a network switch can expand the capacity and flexibility of your network, allowing for seamless connectivity across multiple devices. This process is particularly useful in environments where a single wireless router may not provide sufficient coverage, such as large homes or office spaces. By integrating a network switch, you can effectively extend the reach of your network and accommodate additional wired devices.
In this guide, we will walk through the step-by-step process of connecting a wireless router to a network switch. Whether you are looking to enhance the connectivity options in your home or optimize the network infrastructure in your workplace, this tutorial will provide you with the essential knowledge to successfully integrate these devices.
By following these instructions, you can ensure that your network operates efficiently, allowing for smooth data transmission and seamless connectivity. With the right equipment and a clear understanding of the setup process, you can easily expand your network's capabilities and enjoy a more robust and versatile networking environment. Let's dive into the details of how to connect a wireless router to a network switch.
Step 1: Gather the Necessary Equipment
Before embarking on the process of connecting a wireless router to a network switch, it is essential to gather all the necessary equipment. Ensuring that you have the required devices and accessories will streamline the setup process and minimize potential disruptions. Here’s a list of the essential equipment you will need:
- Wireless Router: Select a high-quality wireless router that meets the specific requirements of your network. Consider factors such as coverage area, data transfer speeds, and the number of available Ethernet ports.
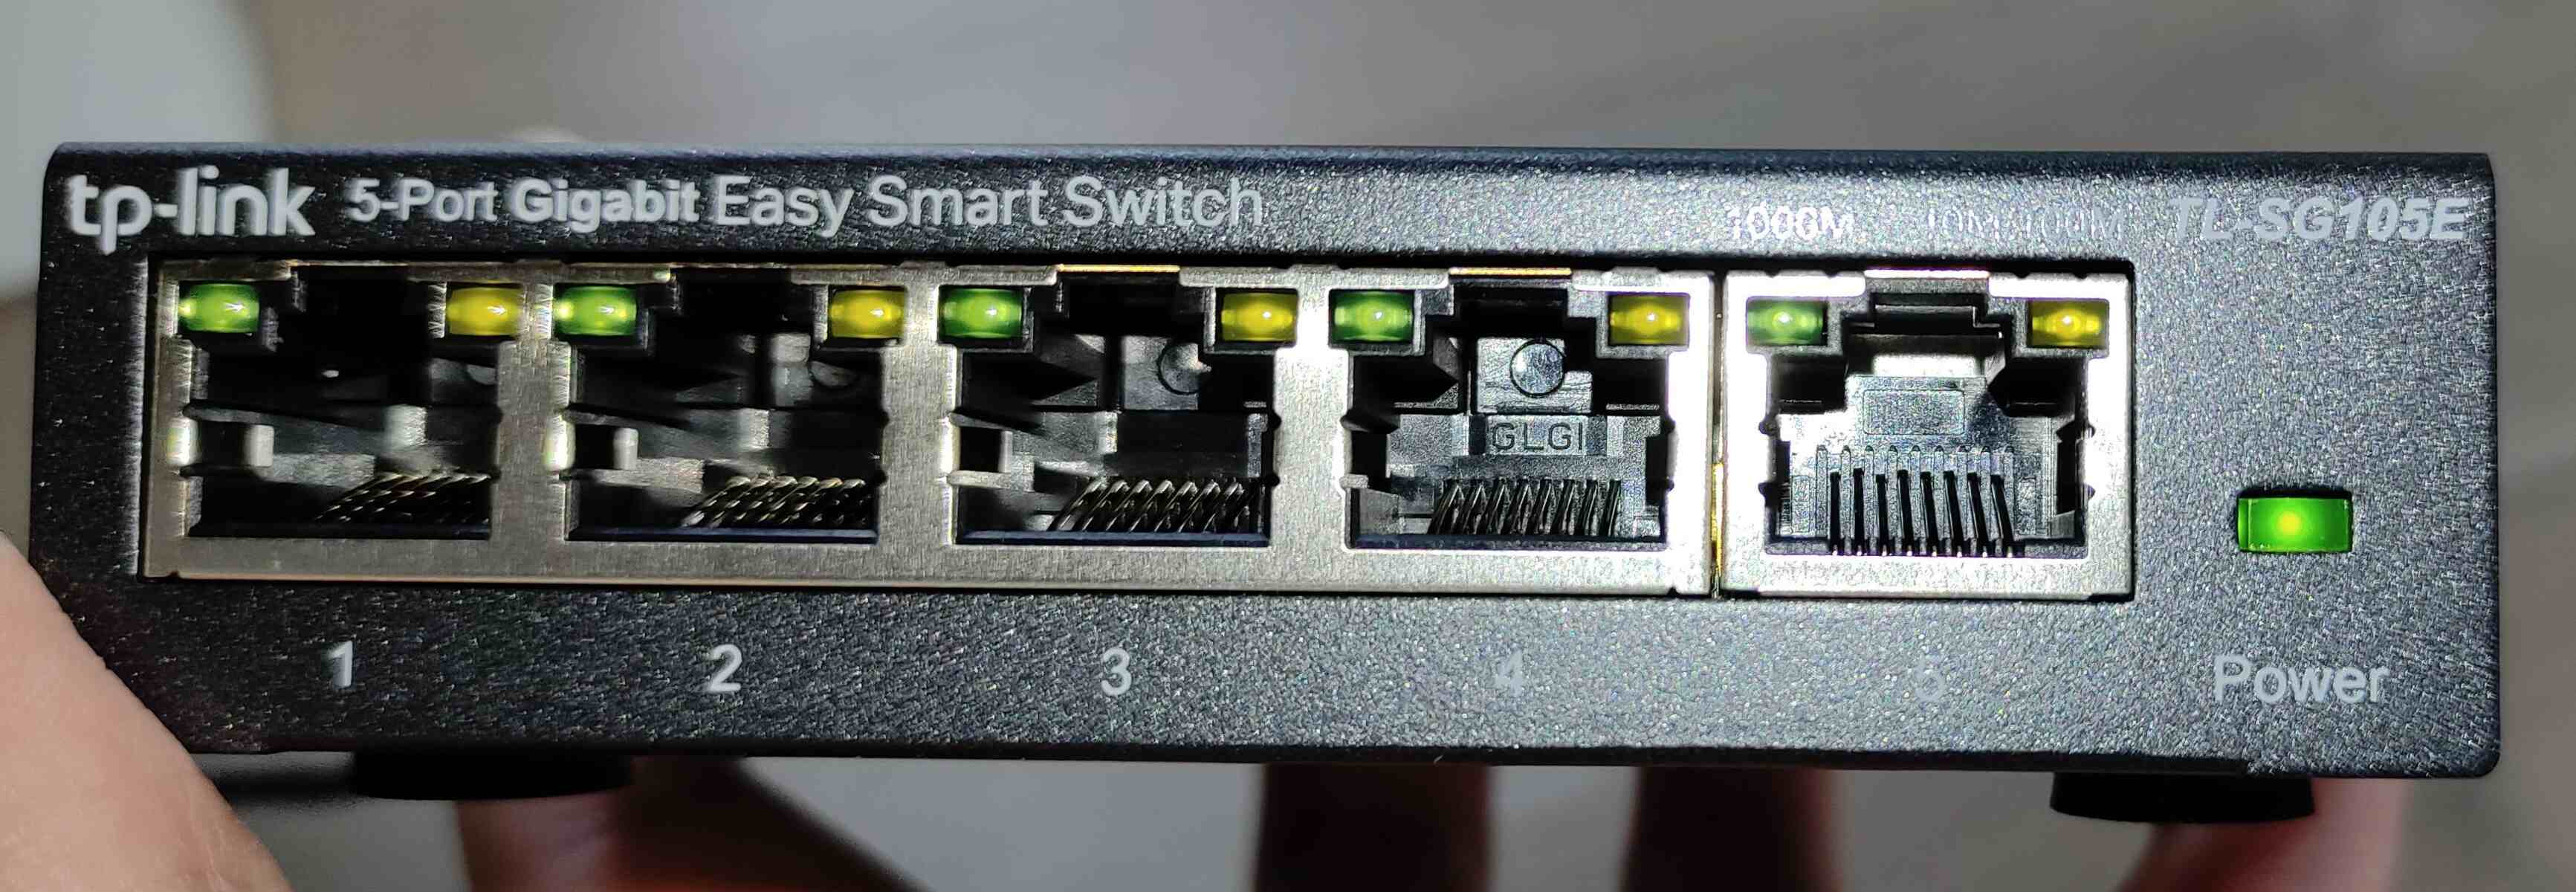
- Network Switch: Choose a reliable network switch with an adequate number of ports to accommodate the wired devices you intend to connect. The switch should support the desired network speed, such as Gigabit Ethernet, to ensure optimal performance.
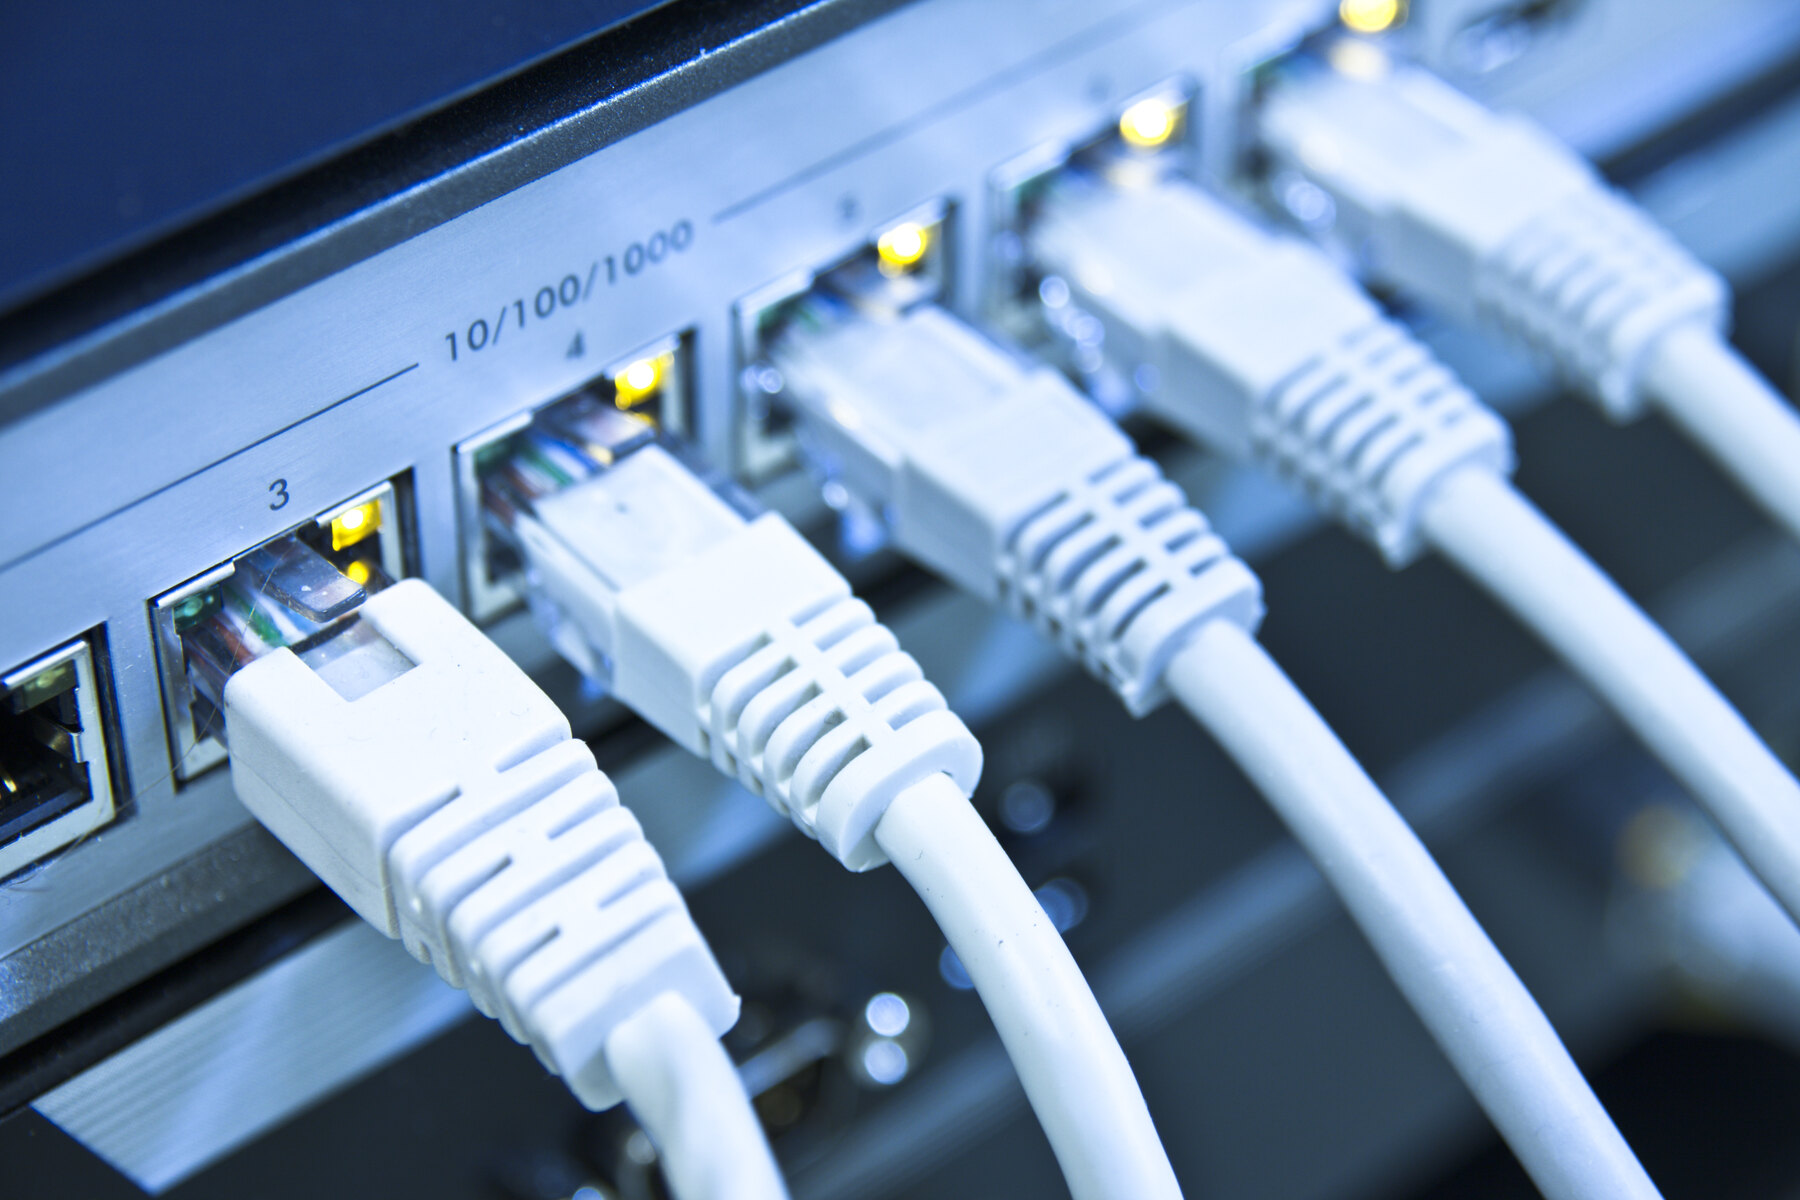
- Ethernet Cables: Procure Ethernet cables of sufficient length to establish connections between the wireless router, network switch, and any additional devices. It is advisable to have cables of varying lengths to accommodate different distances between devices.
- Power Cables: Ensure that you have power cables for both the wireless router and the network switch. Additionally, have access to power outlets in close proximity to the intended installation locations.
- Computer or Mobile Device: Prepare a computer or mobile device with Wi-Fi capabilities, as you will need to access the wireless router’s settings to configure the network after the physical connections are established.
- Optional Accessories: Depending on the specific requirements of your network, you may need additional accessories such as cable ties, cable management tools, or a surge protector to safeguard the connected devices.
By ensuring that you have all the necessary equipment readily available, you can proceed with confidence, knowing that you are fully prepared to initiate the connection process. Once you have gathered the required devices and accessories, you can move on to the next step of connecting the network switch to the wireless router.
Step 2: Connect the Network Switch to the Wireless Router
Once you have assembled all the necessary equipment, the next step is to establish the physical connections between the network switch and the wireless router. Properly connecting these devices is crucial to ensure seamless data transmission and network functionality. Follow these steps to connect the network switch to the wireless router:
- Power Off Devices: Before making any connections, ensure that both the wireless router and the network switch are powered off. This precautionary measure helps prevent potential electrical surges or disruptions during the setup process.
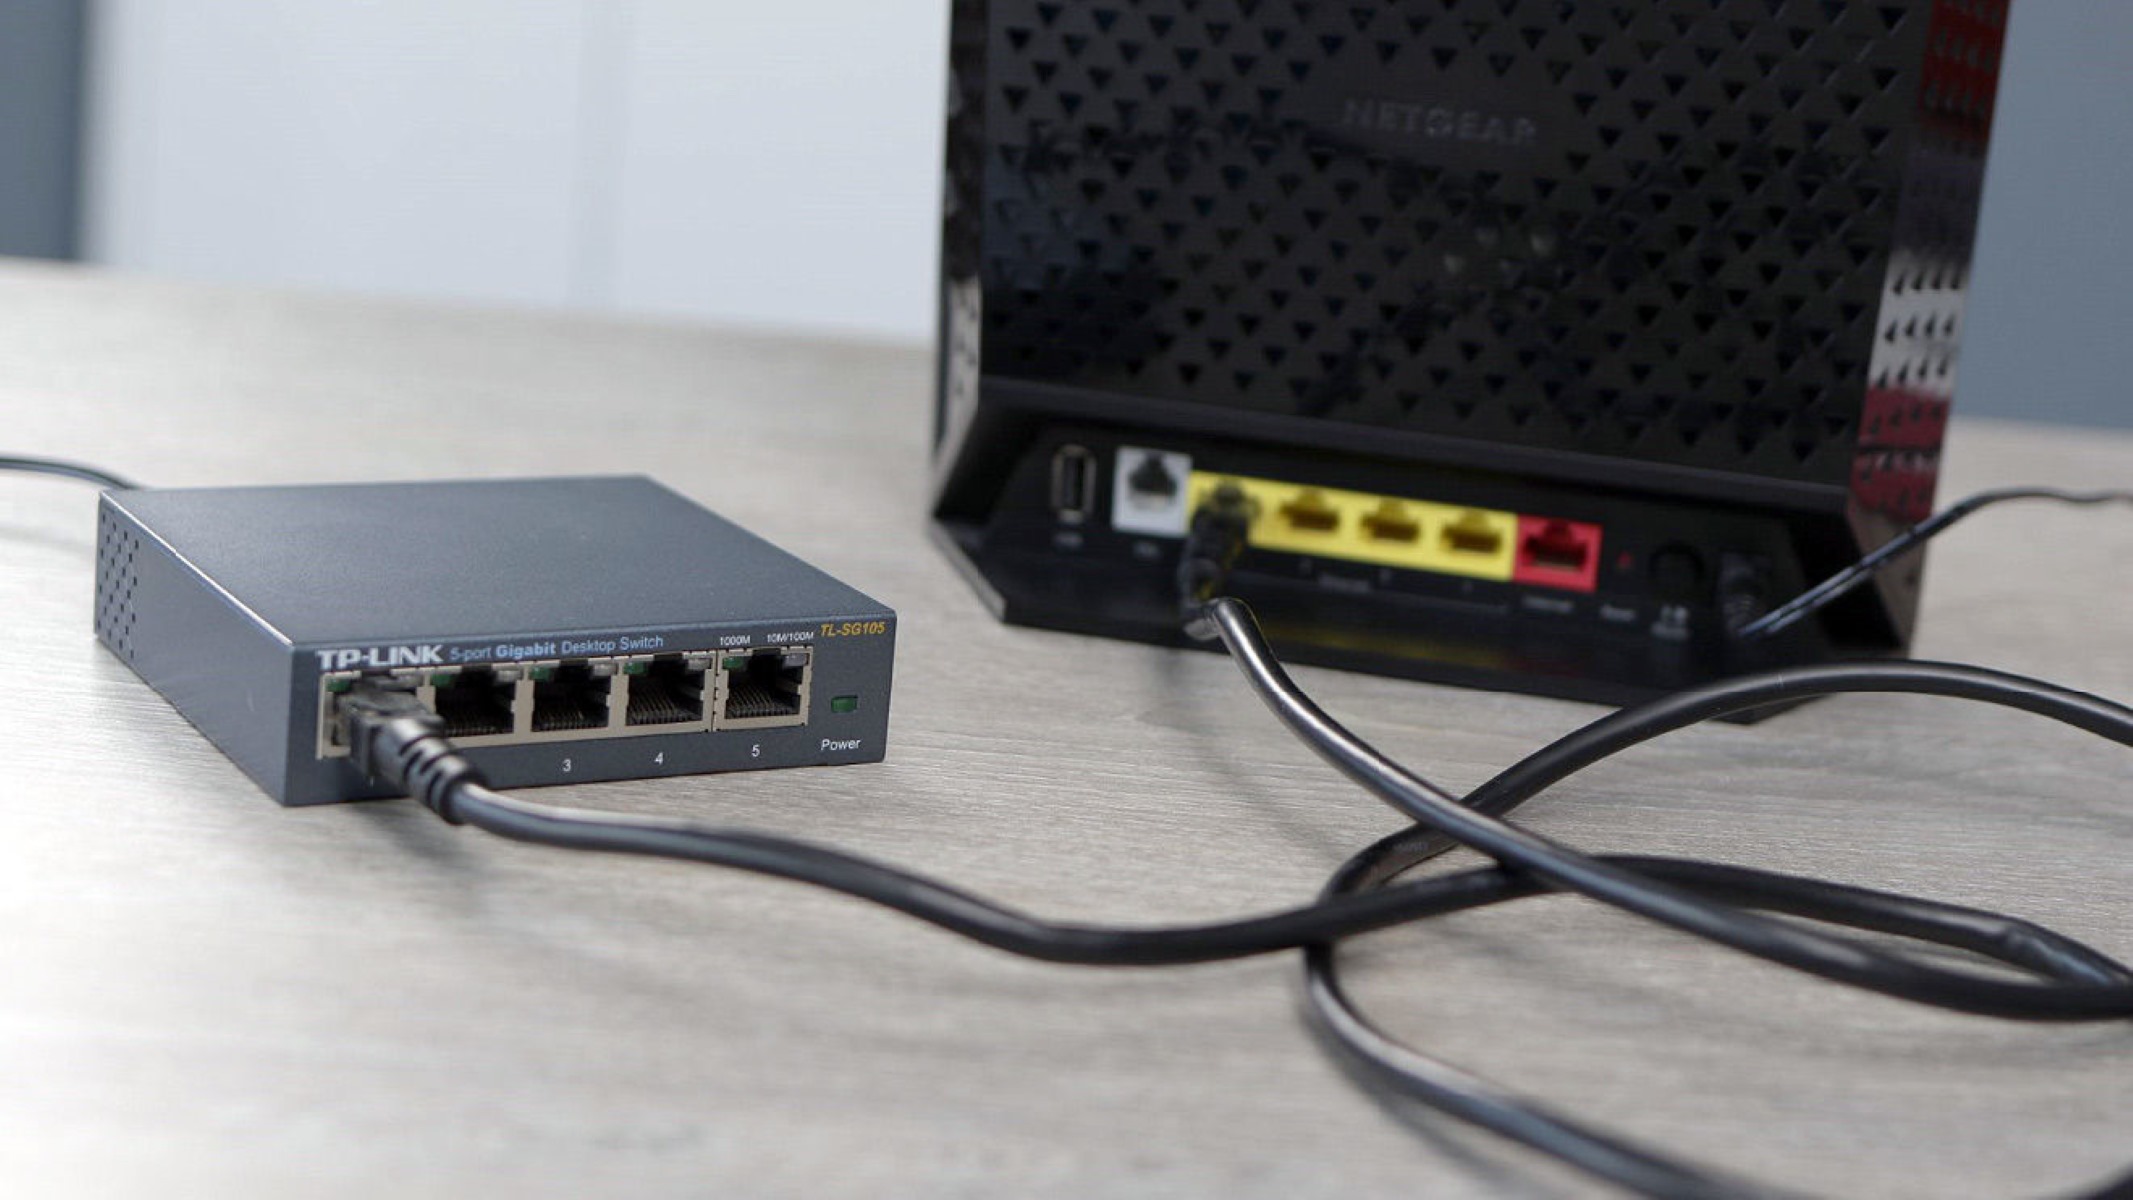
- Position the Devices: Choose suitable locations for the wireless router and the network switch. Place them in close proximity to each other to facilitate the physical connections and minimize the length of Ethernet cables required.
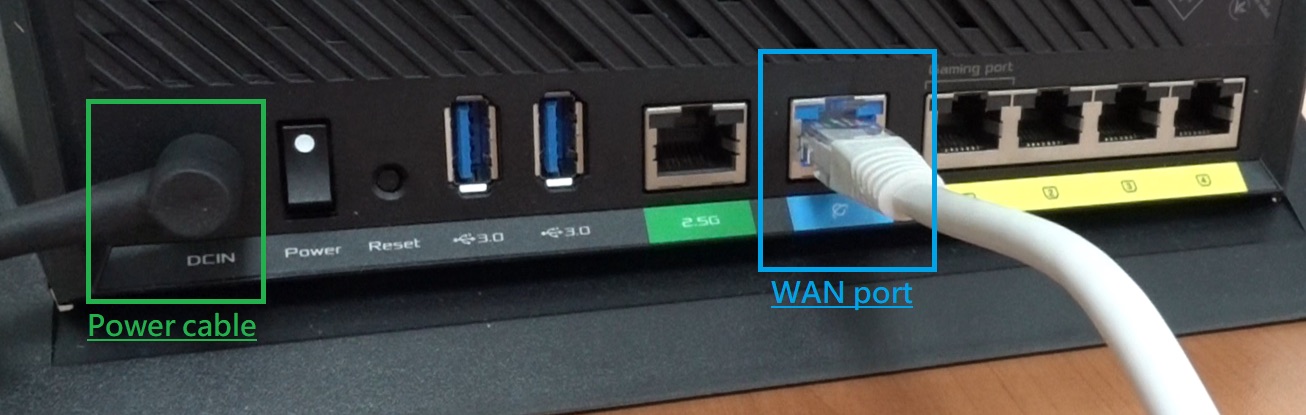
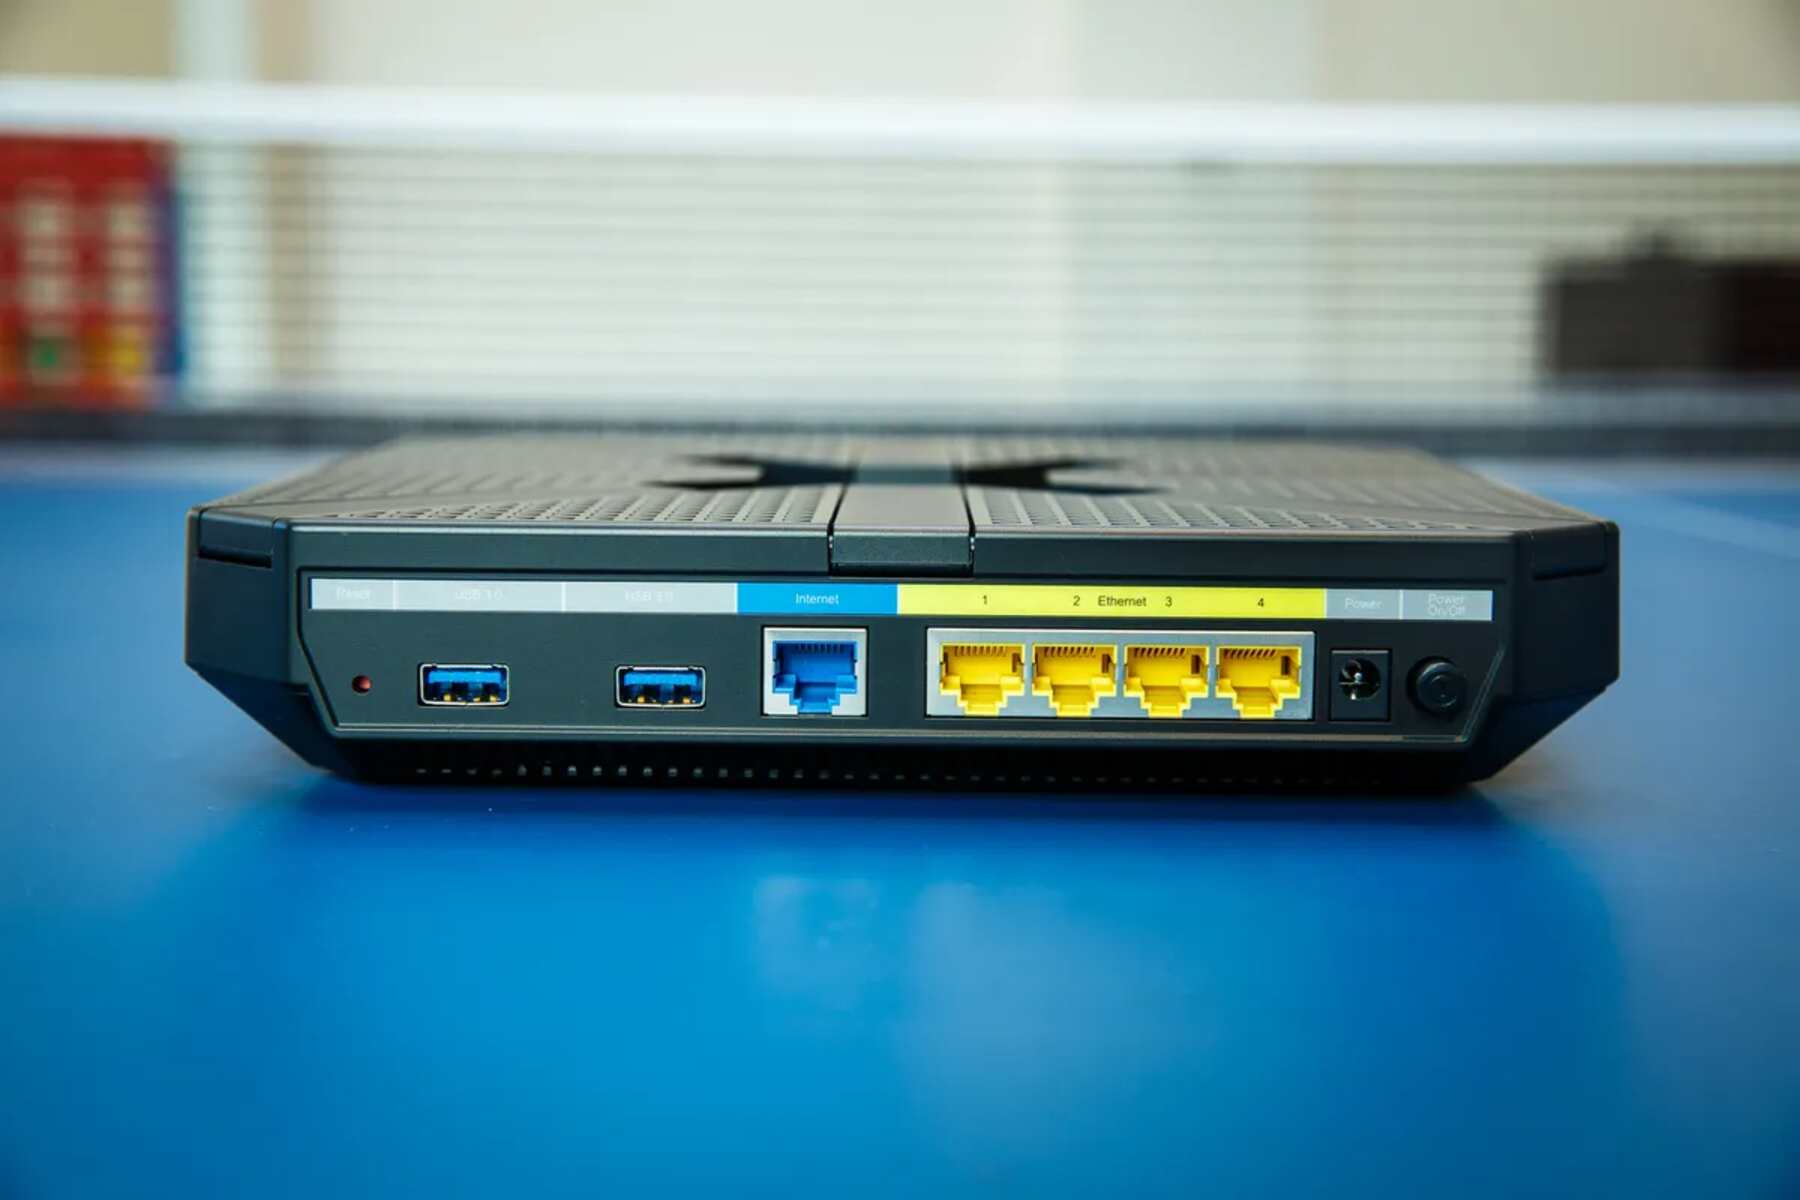
- Connect Ethernet Cable: Using an Ethernet cable, establish a connection between one of the LAN ports on the wireless router and any available port on the network switch. Ensure that the cable is securely inserted into the Ethernet ports on both devices.
- Multiple Connections (Optional): If you intend to connect multiple wired devices to the network switch, use additional Ethernet cables to establish these connections. Each device should be connected to an available port on the network switch.
- Verify Connections: Double-check all the physical connections to ensure that the Ethernet cables are securely connected to the appropriate ports on the wireless router and the network switch. This verification helps prevent connectivity issues that may arise from loose or improperly connected cables.
- Power On Devices: Once all the physical connections are in place and verified, power on the wireless router and the network switch. Allow sufficient time for the devices to initialize and establish network connectivity.
By following these steps, you can effectively connect the network switch to the wireless router, laying the foundation for an integrated and versatile network infrastructure. With the physical connections established, you are now ready to proceed to the next step of configuring the wireless router settings to accommodate the newly integrated network switch.
Step 3: Power on the Devices
After connecting the network switch to the wireless router, the next crucial step is to power on the devices and ensure that they initialize properly. Properly powering on the devices is essential to establish network connectivity and enable the configuration of the wireless router settings. Follow these steps to power on the devices effectively:
- Sequential Power On: Start by powering on the wireless router first. Allow the router to complete its boot-up process, during which it establishes its connection to the network and prepares to provide wireless and wired connectivity.
- Network Switch Initialization: Once the wireless router has completed its boot-up process, proceed to power on the network switch. The switch will initialize and establish connections with the devices connected to its ports, including the wireless router and any additional wired devices.
- Indicator Lights: Pay attention to the indicator lights on both the wireless router and the network switch. These lights provide valuable information about the status of the devices, including power, network connectivity, and activity on the Ethernet ports.
- Network Stability Check: After powering on the devices, ensure that the network stability is maintained. Verify that the wireless router and the network switch remain powered on and that the indicator lights indicate stable network connections.
- Wireless Network Availability: Once the devices have powered on and established network connectivity, check the availability of the wireless network. Use a Wi-Fi-enabled device to confirm that the wireless router is broadcasting the network’s SSID and that wireless devices can connect to it.
By following these steps, you can effectively power on the wireless router and the network switch, ensuring that they initialize and establish stable network connections. This prepares the groundwork for the subsequent step of configuring the wireless router settings to accommodate the integrated network switch and ensure seamless connectivity across wired and wireless devices.
Step 4: Configure the Wireless Router Settings
After successfully connecting the network switch to the wireless router and powering on the devices, the next critical step is to configure the wireless router settings. This process involves accessing the router’s administrative interface to accommodate the integrated network switch and optimize network functionality. Follow these steps to configure the wireless router settings effectively:
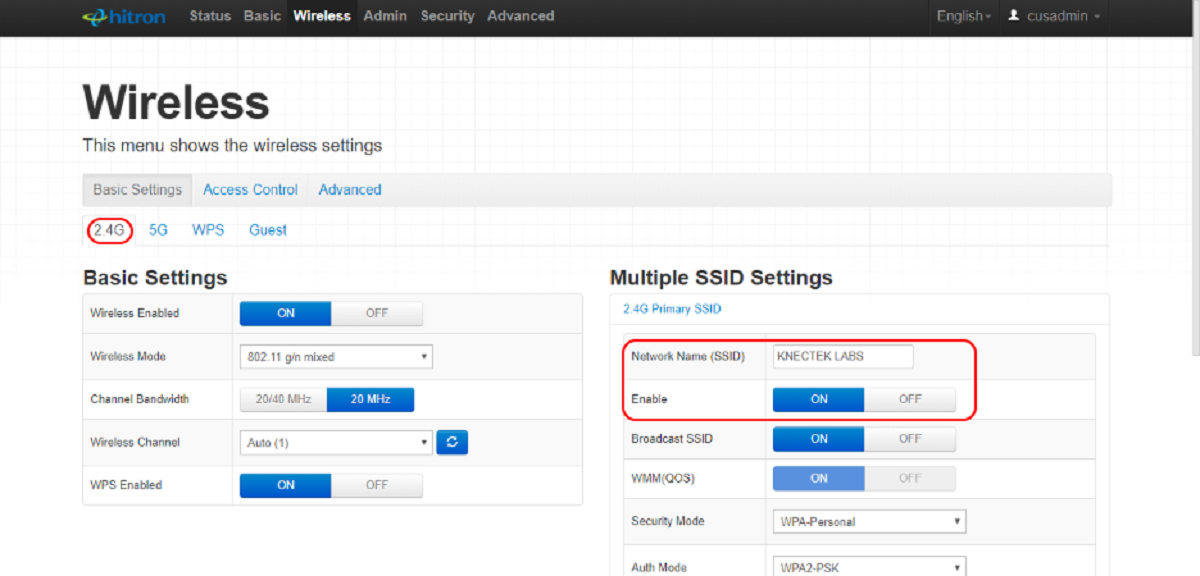
- Access the Router Interface: Using a computer or mobile device connected to the wireless network, access the administrative interface of the wireless router. This typically involves entering the router’s IP address in a web browser and providing the necessary login credentials.
- Network Switch Recognition: Once logged into the router’s interface, navigate to the settings related to LAN or Ethernet connections. Ensure that the router recognizes the network switch and assigns it an appropriate IP address within the network’s subnet.
- Port Configuration: If the network switch supports advanced features such as VLANs or port-based settings, configure these options as per the specific requirements of your network. This may involve segregating network traffic or prioritizing certain types of data transmission.
- Quality of Service (QoS): If your wireless router supports QoS settings, consider configuring these to prioritize certain types of network traffic, such as VoIP or video streaming, over other data types. This can enhance the overall network performance and user experience.
- Wireless Network Optimization: In addition to the wired network settings, review and optimize the wireless network configurations. This may include adjusting the wireless channel, enabling security features such as WPA2 encryption, and customizing the SSID and password for the wireless network.
- Save and Apply Changes: After making the necessary configurations, ensure to save and apply the changes within the router’s administrative interface. This finalizes the settings and ensures that the wireless router accommodates the integrated network switch and operates optimally.
By following these steps, you can effectively configure the wireless router settings to integrate the network switch and optimize network functionality. This ensures that the wired and wireless components of the network work harmoniously, providing seamless connectivity and efficient data transmission. With the router settings appropriately configured, you are now ready to proceed to the final step of testing the connection to validate the network’s functionality.
Step 5: Test the Connection
Once the wireless router settings have been configured to accommodate the network switch, it is essential to test the connection to ensure that the integrated network functions as intended. Testing the connection involves validating network connectivity, data transmission, and the seamless operation of both wired and wireless devices. Follow these steps to effectively test the connection:
- Wired Device Connectivity: Connect a wired device, such as a computer or network printer, to the network switch using an Ethernet cable. Verify that the device successfully establishes a network connection and can access resources such as shared files or networked applications.
- Wireless Device Connectivity: Using a Wi-Fi-enabled device, such as a smartphone or laptop, connect to the wireless network broadcasted by the router. Confirm that the device can establish a stable wireless connection and access the internet or other network resources without issues.
- Data Transfer Speeds: Perform speed tests on both wired and wireless devices to evaluate the data transfer speeds within the network. This helps identify any potential bottlenecks or performance issues that may need to be addressed through further configuration adjustments.
- Network Stability: Monitor the network for stability and reliability by conducting continuous data transfers and assessing the responsiveness of connected devices. Ensure that the integrated network operates consistently without unexpected interruptions or connectivity issues.
- Device Roaming (Wireless Networks): If the wireless network supports device roaming, test the seamless transition of wireless devices between access points to ensure uninterrupted connectivity as devices move within the network’s coverage area.
By following these steps, you can effectively test the connection to validate the functionality of the integrated network. This ensures that both wired and wireless devices can connect to the network, communicate with each other, and access shared resources with optimal performance and reliability. Upon successful completion of the testing phase, you can be confident that the wireless router and network switch are seamlessly integrated, providing a robust and versatile network environment.
Conclusion
Connecting a wireless router to a network switch is a valuable endeavor that expands the capabilities of your network, enabling seamless connectivity for both wired and wireless devices. By following the step-by-step process outlined in this guide, you have successfully integrated these devices, laying the foundation for a versatile and efficient network infrastructure.
Throughout the setup process, you gathered the necessary equipment, including a high-quality wireless router, a reliable network switch, Ethernet cables, and power cables. By ensuring that all essential components were readily available, you streamlined the setup process and minimized potential disruptions.
Subsequently, you connected the network switch to the wireless router, establishing the physical links necessary for seamless data transmission and network functionality. By following the recommended steps to power on the devices and configure the wireless router settings, you ensured that the integrated network operates optimally, providing stable connectivity and efficient data transmission.
Finally, you tested the connection to validate the functionality of the integrated network, confirming that both wired and wireless devices can seamlessly access shared resources and communicate with each other. This testing phase allowed you to identify and address any potential performance issues, ensuring that the network operates consistently and reliably.
By successfully completing these steps, you have expanded the capacity and flexibility of your network, creating a robust and versatile environment that meets the connectivity needs of modern homes and workplaces. The integration of a network switch with a wireless router enhances the network’s capabilities, accommodating a diverse range of devices and providing seamless connectivity across the entire network infrastructure.
With the knowledge and skills gained from this guide, you are well-equipped to maintain and expand your network infrastructure, ensuring that it continues to meet the evolving demands of connected environments. By integrating a network switch with a wireless router, you have taken a significant step toward creating a resilient and efficient network that supports your digital lifestyle or business operations.