Introduction
Connecting a network switch to an ASUS wireless router can significantly expand your network's capabilities, allowing you to connect more devices and improve overall network performance. By integrating a network switch, you can overcome the limitations of the router's built-in ports and create a more robust and efficient network infrastructure. This article will guide you through the process of connecting a network switch to an ASUS wireless router, providing step-by-step instructions to ensure a seamless setup.
Whether you are a tech enthusiast, a small business owner, or a home network user, understanding how to integrate a network switch with your ASUS wireless router can elevate your networking experience. This integration enables you to connect multiple devices, such as computers, printers, smart home devices, and gaming consoles, while maintaining optimal network speeds and stability.
By following the steps outlined in this guide, you can effectively expand your network's capacity and enhance its functionality. Additionally, you will gain insights into configuring the network switch and ASUS wireless router to ensure they work harmoniously, maximizing their combined potential. Let's delve into the intricacies of network switches and ASUS wireless routers, and explore the seamless process of integrating these essential networking components.
Understanding Network Switches and ASUS Wireless Routers
Before delving into the process of connecting a network switch to an ASUS wireless router, it is essential to grasp the fundamental roles and functionalities of these two networking devices.
- Network Switch: A network switch serves as a central hub for connecting devices within a local area network (LAN). It efficiently manages the flow of data by directing network traffic to its intended destination. With multiple ports, a network switch can accommodate numerous devices, enabling seamless communication and data exchange among connected devices.
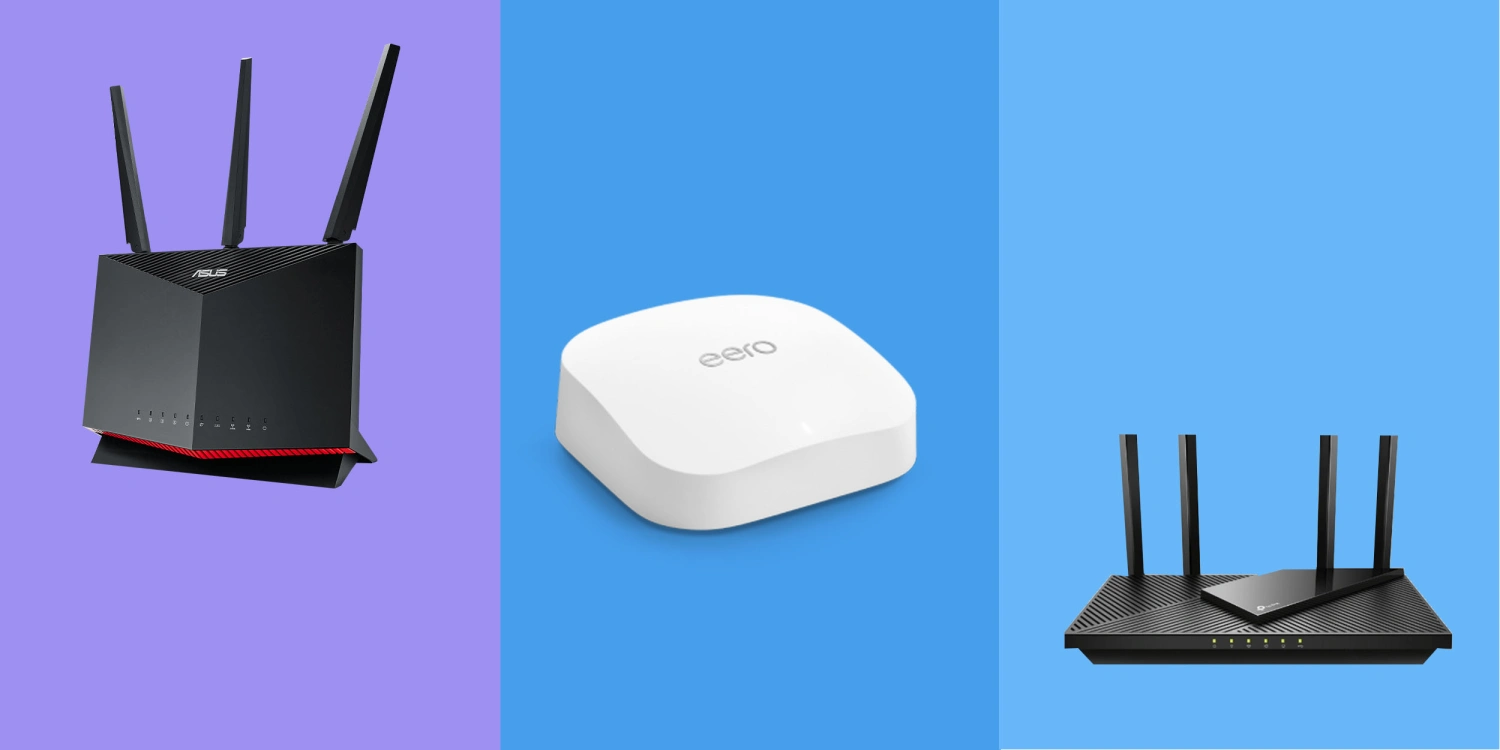
- ASUS Wireless Router: An ASUS wireless router functions as the gateway to the internet for all devices within a network. It wirelessly connects devices to the internet and facilitates communication between devices within the network. Additionally, ASUS routers often feature multiple LAN ports, allowing wired devices to connect to the network.
When integrating a network switch with an ASUS wireless router, you are essentially expanding the router’s capacity to accommodate more wired devices. This integration is particularly beneficial in scenarios where the router’s built-in LAN ports are insufficient to support the growing number of wired connections.
By connecting a network switch to an ASUS wireless router, you can effectively overcome the limitations of the router’s built-in ports, thereby enhancing the network’s scalability and flexibility. This setup empowers you to connect additional devices via the network switch, optimizing the utilization of both wired and wireless connections within the network.
Understanding the distinct functions of network switches and ASUS wireless routers is crucial for seamlessly integrating these components. With this foundational knowledge, you can proceed to the next steps of physically connecting the network switch to the ASUS wireless router and configuring their settings to ensure seamless operation.
Steps to Connect a Network Switch to an ASUS Wireless Router
Connecting a network switch to an ASUS wireless router involves a straightforward process that can significantly enhance your network’s capabilities. Follow these steps to seamlessly integrate the network switch with the ASUS wireless router:
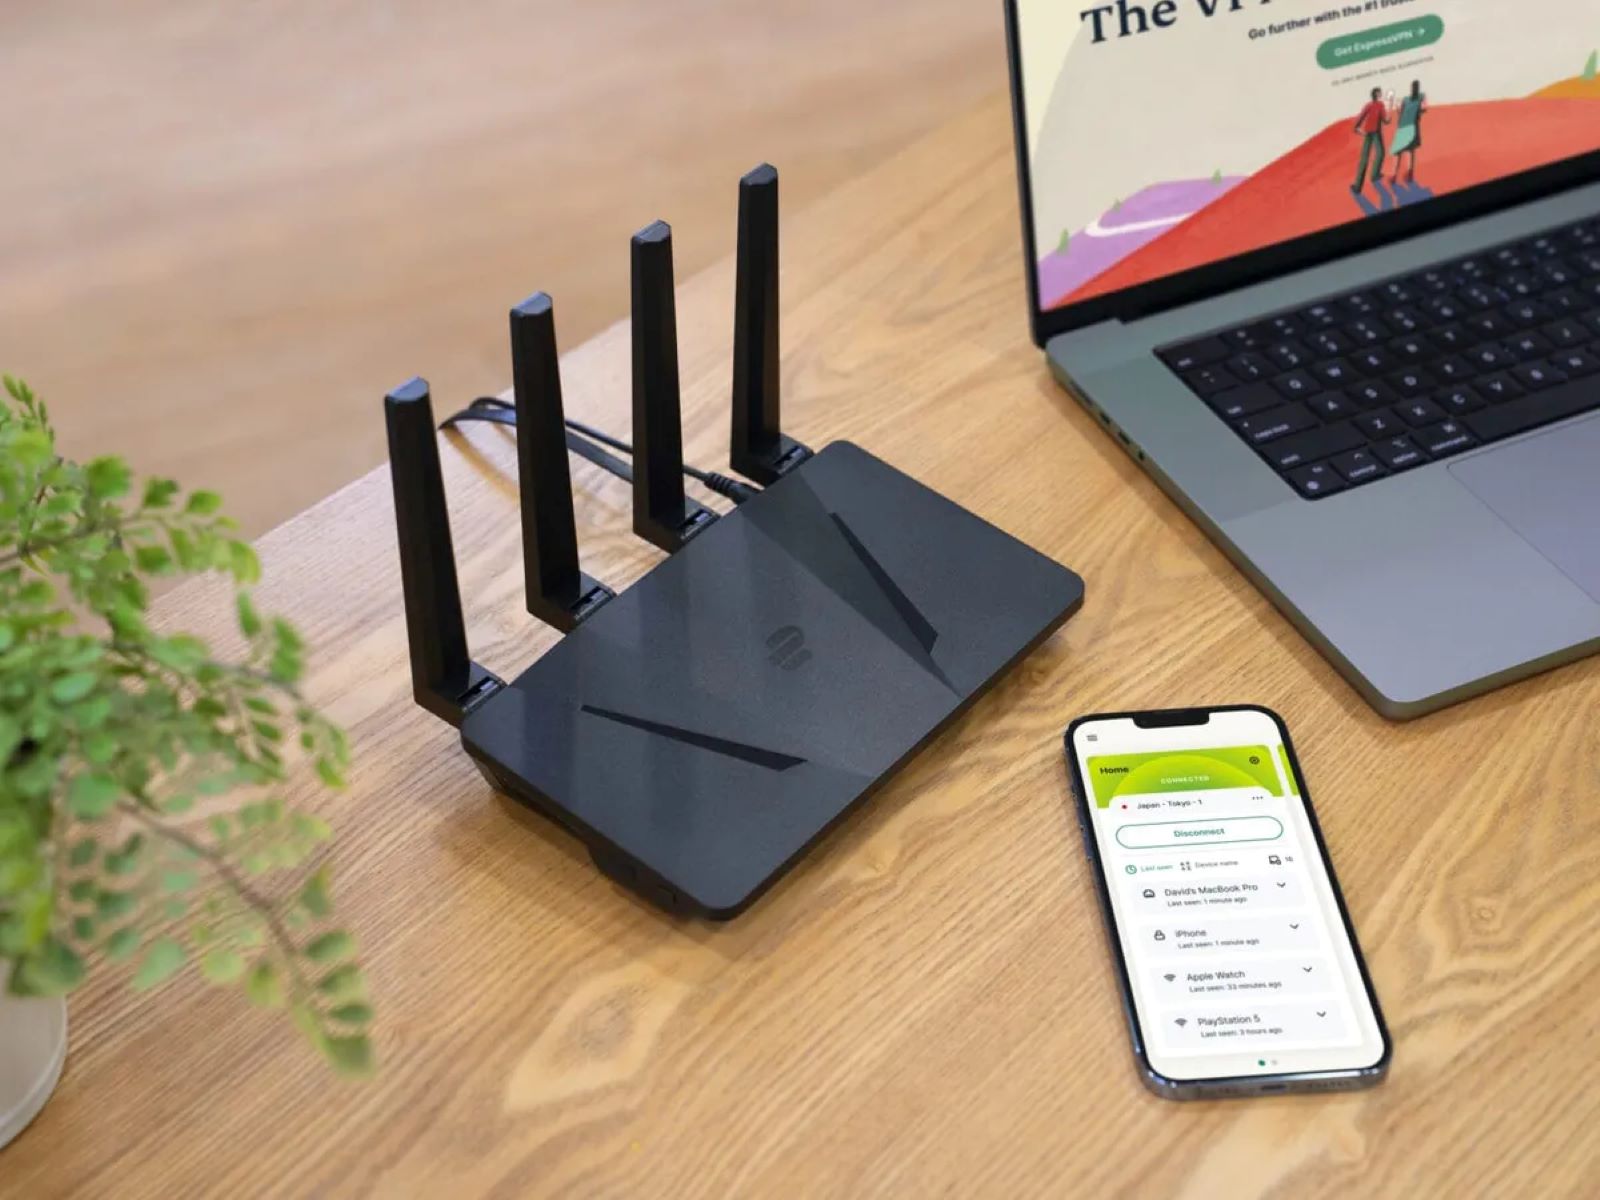
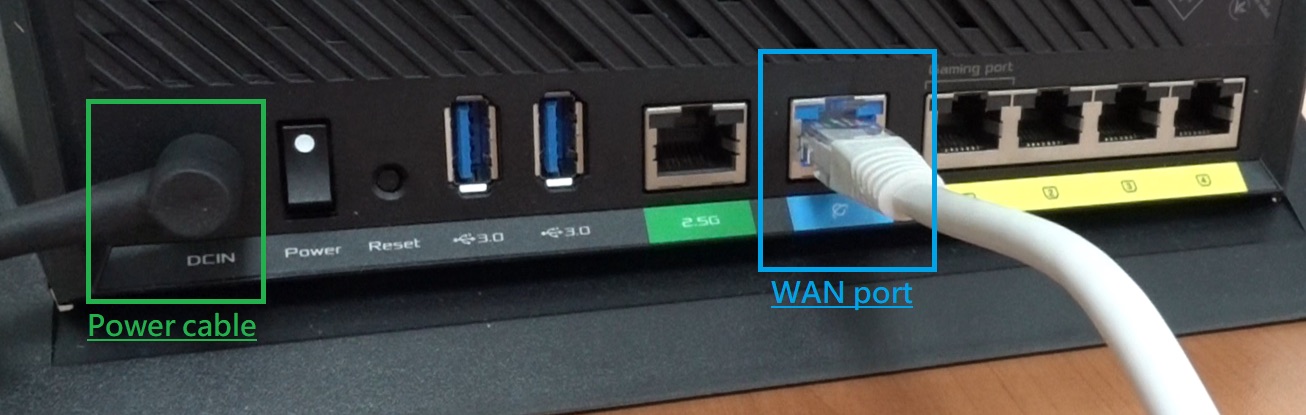
- Gather the Necessary Equipment: Ensure you have the required components, including the network switch, an Ethernet cable, and an available LAN port on the ASUS wireless router.
- Power Off Devices: Before making any connections, power off the network switch and the ASUS wireless router to prevent any electrical mishaps.
- Connect the Network Switch to the Router: Use an Ethernet cable to connect one end to an available LAN port on the ASUS wireless router and the other end to an open port on the network switch. Ensure a secure connection to avoid disconnections or data transfer issues.
- Power On the Devices: After securely connecting the network switch to the router, power on both devices. Allow them to initialize and establish connections.
- Verify Connectivity: Once the devices are powered on, verify the connection by checking the network switch’s indicator lights. If the lights corresponding to the connected port are illuminated, it indicates a successful connection to the ASUS wireless router.
By following these steps, you can effectively establish a physical connection between the network switch and the ASUS wireless router, laying the groundwork for an expanded and robust network infrastructure.
Configuring the Network Switch and ASUS Wireless Router
After physically connecting the network switch to the ASUS wireless router, it is essential to configure both devices to ensure seamless operation and optimal network performance. The following steps outline the configuration process:
- Access the ASUS Router’s Web Interface: Open a web browser on a connected device and enter the router’s IP address in the address bar. Log in to the router’s web interface using the administrator credentials.
- Configure LAN Settings: Within the router’s web interface, navigate to the LAN settings. Verify that the LAN IP address range does not conflict with the network switch’s IP address range. Make any necessary adjustments to avoid IP address conflicts.
- Assign IP Addresses to the Network Switch: If the network switch supports IP address assignment, configure the switch to obtain an IP address from the ASUS router via DHCP. Alternatively, assign a static IP address to the network switch within the same IP address range as the router’s LAN.
- Create VLANs (if applicable): If your network requires the use of Virtual LANs (VLANs) for segmenting traffic, configure the VLAN settings on both the network switch and the ASUS router to ensure proper communication and segregation of network traffic.
- Enable Quality of Service (QoS): To prioritize network traffic and optimize performance, enable Quality of Service (QoS) settings on the ASUS router. This feature allows you to allocate bandwidth based on specific devices or applications, ensuring a seamless user experience.
- Verify Network Switch Configuration: If the network switch features advanced configuration options, such as link aggregation or port mirroring, ensure that these settings align with the network’s requirements and are compatible with the ASUS router’s capabilities.
By meticulously configuring the network switch and ASUS wireless router, you can establish a harmonious network environment that promotes efficient data transfer, seamless communication, and optimized network performance. These configurations lay the foundation for a robust and scalable network infrastructure, accommodating the diverse connectivity needs of modern devices and applications.
Testing the Connection
Upon completing the physical connection and configuration of the network switch and ASUS wireless router, it is crucial to conduct comprehensive testing to ensure the seamless integration and functionality of the expanded network infrastructure. The following steps outline the testing process:
- Device Connectivity: Connect various devices, such as computers, printers, and other network-enabled devices, to the network switch. Verify that these devices can establish a stable connection and communicate with each other and the internet through the ASUS router.
- Data Transfer: Initiate data transfers between devices connected to the network switch and those connected directly to the ASUS router. Monitor the data transfer speeds and ensure that they align with the network’s expected performance metrics.
- Network Stability: Over an extended testing period, observe the stability of the network connections. Verify that devices remain consistently connected and experience minimal disruptions in communication and data transfer.
- VLAN Segmentation (if applicable): If VLANs were configured, validate the segmentation of network traffic to ensure that devices within each VLAN can communicate with one another while remaining isolated from devices in other VLANs.
- QoS Functionality: Test the Quality of Service (QoS) settings by prioritizing specific types of network traffic, such as video streaming or online gaming. Confirm that the allocated bandwidth meets the requirements of prioritized applications and devices.
- Advanced Features: If the network switch and ASUS router support advanced features such as link aggregation or port mirroring, verify the proper functionality of these features and their impact on network performance and management.
Thoroughly testing the connection between the network switch and ASUS wireless router enables you to identify and address any potential issues, ensuring a reliable and optimized network environment. By validating the expanded network’s connectivity, performance, and stability, you can confidently leverage the enhanced capabilities of the integrated network switch and ASUS router, catering to the diverse networking needs of connected devices and applications.
Conclusion
Integrating a network switch with an ASUS wireless router presents an opportunity to expand and optimize your network infrastructure, accommodating the increasing demands for wired connectivity and seamless data transfer. By following the comprehensive steps outlined in this guide, you can effectively connect, configure, and test the integration, ensuring a robust and scalable network environment.
Understanding the distinct roles of network switches and ASUS wireless routers is paramount in harnessing the combined potential of these networking components. The integration of a network switch with the ASUS router empowers you to connect numerous devices, prioritize network traffic, and segment data effectively, fostering an efficient and responsive network ecosystem.
Upon successfully connecting the network switch to the ASUS wireless router, meticulous configuration and testing are essential to validate the seamless operation and performance of the expanded network infrastructure. Configuring LAN settings, assigning IP addresses, and enabling advanced features such as VLANs and Quality of Service (QoS) contribute to a well-optimized network environment that caters to diverse connectivity needs.
Thoroughly testing the connection between the network switch and ASUS router ensures the stability, performance, and functionality of the integrated network components. By validating device connectivity, data transfer speeds, network stability, and the functionality of advanced features, you can confidently leverage the enhanced capabilities of the integrated network switch and ASUS router.
Ultimately, the integration of a network switch with an ASUS wireless router equips you with a resilient and adaptable network infrastructure, capable of meeting the evolving connectivity requirements of modern devices and applications. This seamless integration paves the way for a responsive and efficient network ecosystem, empowering you to harness the full potential of your network while accommodating the diverse connectivity needs of your digital environment.