Introduction
Welcome to the world of wireless networking! If you’re looking to connect a wireless router to a cable modem, you’re in the right place. This step-by-step guide will walk you through the process, helping you set up a reliable and secure wireless network in no time.
With the ever-growing advancements in technology, a wireless connection has become an essential part of our daily lives. Whether it’s for streaming movies, working remotely, online gaming, or simply browsing the internet, a wireless network provides the convenience and flexibility we crave.
Before diving into the setup process, it’s essential to gather the necessary equipment. You’ll need a wireless router, a cable modem, Ethernet cables, and a computer or mobile device to configure the router settings. Make sure you have all the components ready before proceeding.
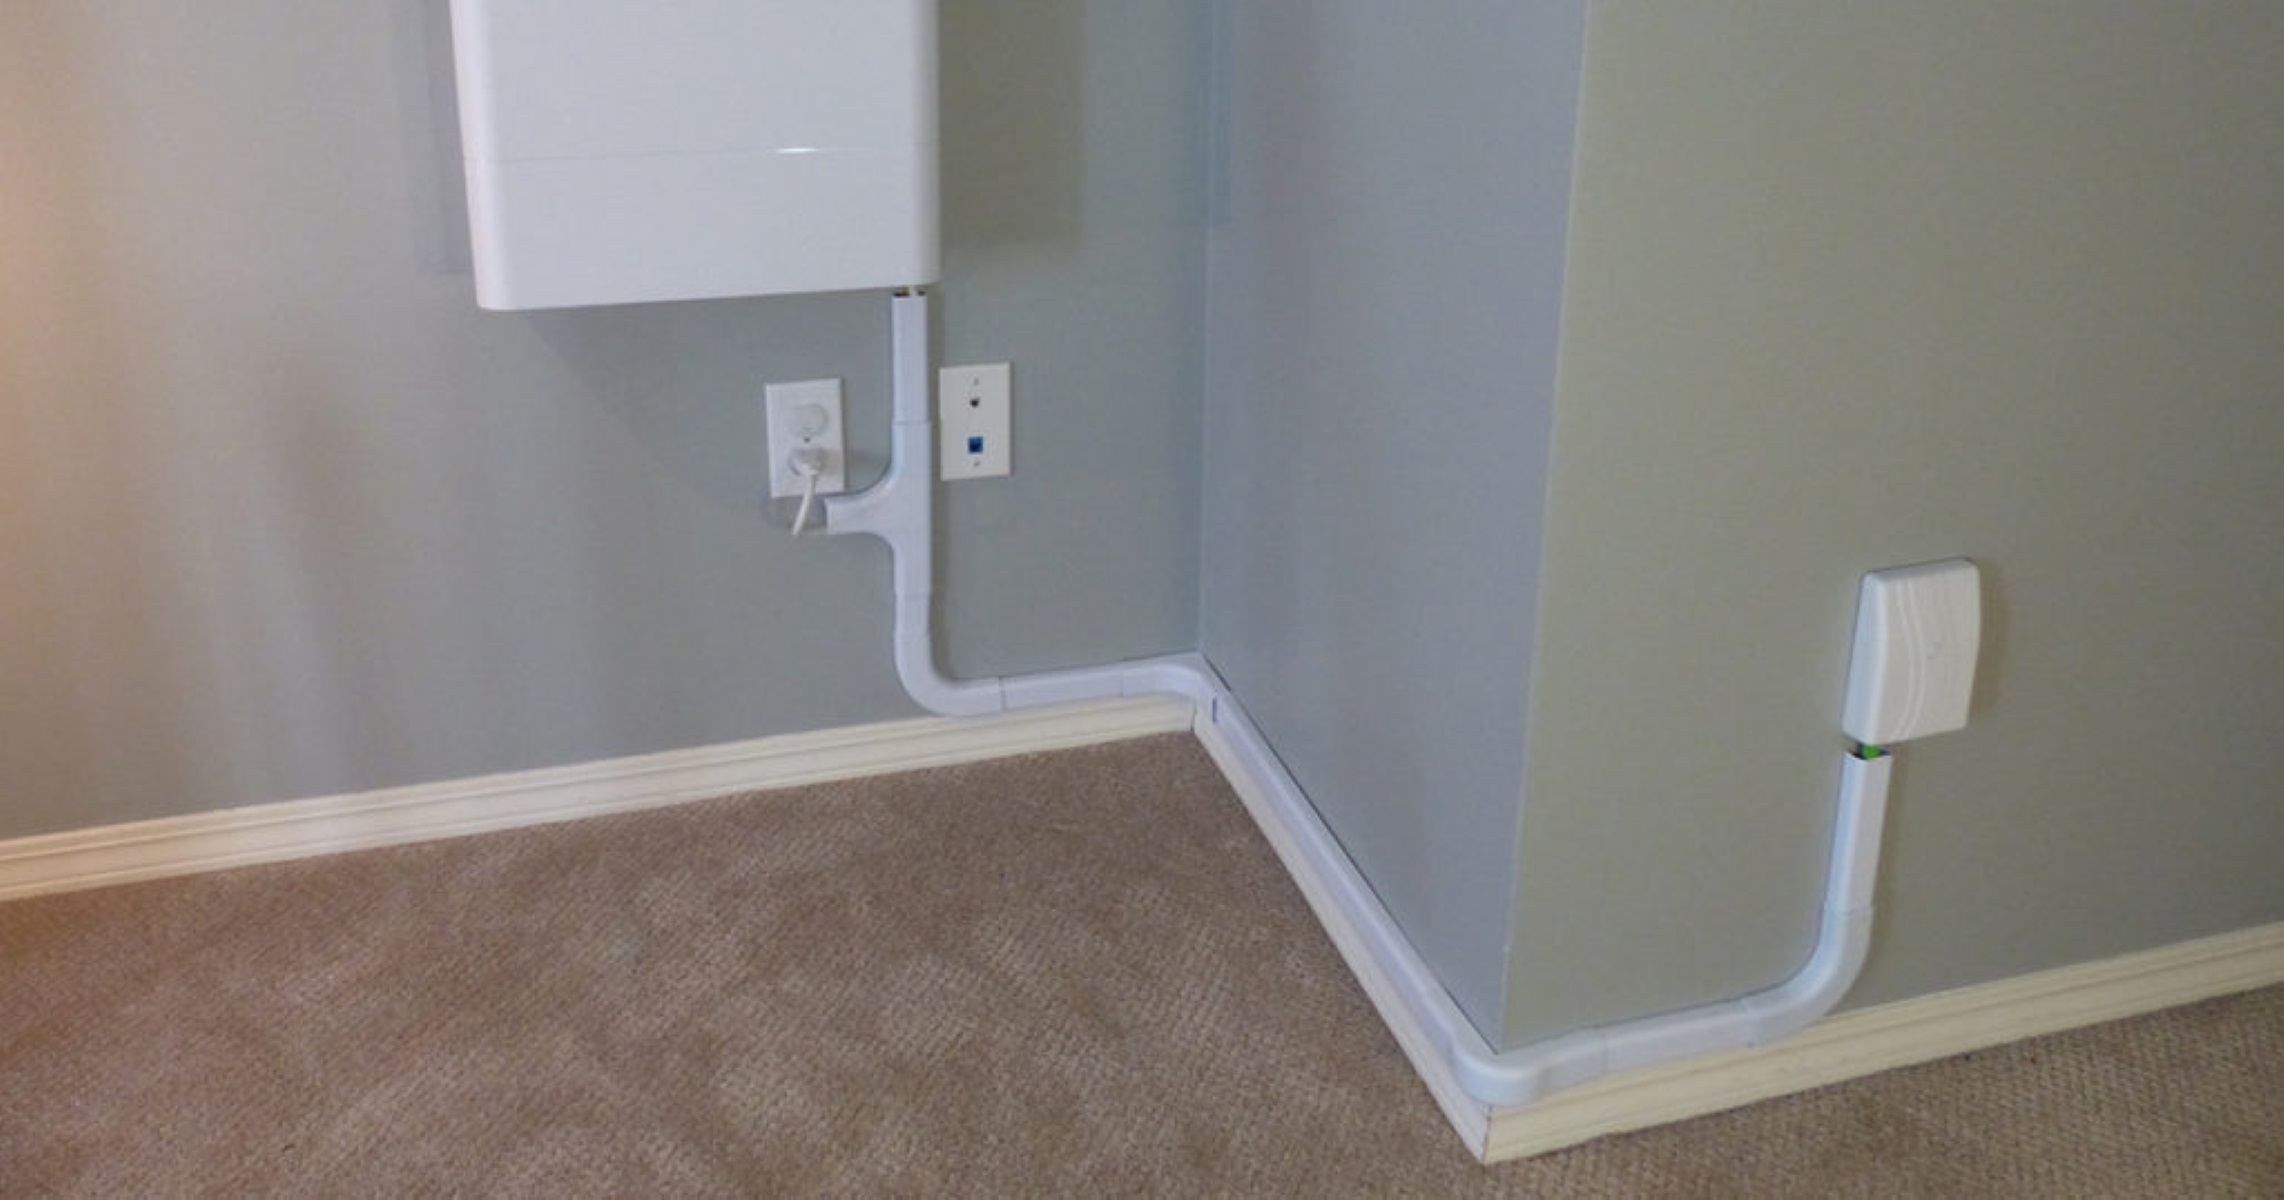
Positioning also plays a crucial role in optimizing performance. Find an ideal location for your router and modem, preferably in a central area of your home or office. Avoid placing them near metal objects or other electronic devices that might interfere with the signal.
Once you have everything set up, it’s time to establish a connection between the router and modem. This involves physically connecting the devices using Ethernet cables. Don’t worry; it’s a straightforward process, and we’ll guide you through it step by step.
After the physical connection is established, you’ll need to power up both the modem and router. Wait for them to fully boot up and establish a stable connection. Once they’re ready, it’s time to configure the router settings.
In this guide, we’ll cover the basic configuration steps for a wireless router. These steps may vary slightly depending on the brand and model of your router. Nonetheless, the general process remains the same, and we’ll provide you with the necessary guidance.
Finally, we’ll show you how to connect your devices to the wireless network. Whether it’s a laptop, smartphone, tablet, or any other Wi-Fi enabled device, connecting them to your newly set up wireless network is a breeze.
So, without further ado, let’s dive into the step-by-step process of connecting a wireless router to a cable modem. By the end of this guide, you’ll have a fully functioning wireless network that will meet your connectivity needs.
Step 1: Gather the necessary equipment
Before you can start setting up your wireless router, make sure you have all the necessary equipment ready. Here’s a checklist to ensure you have everything you need:
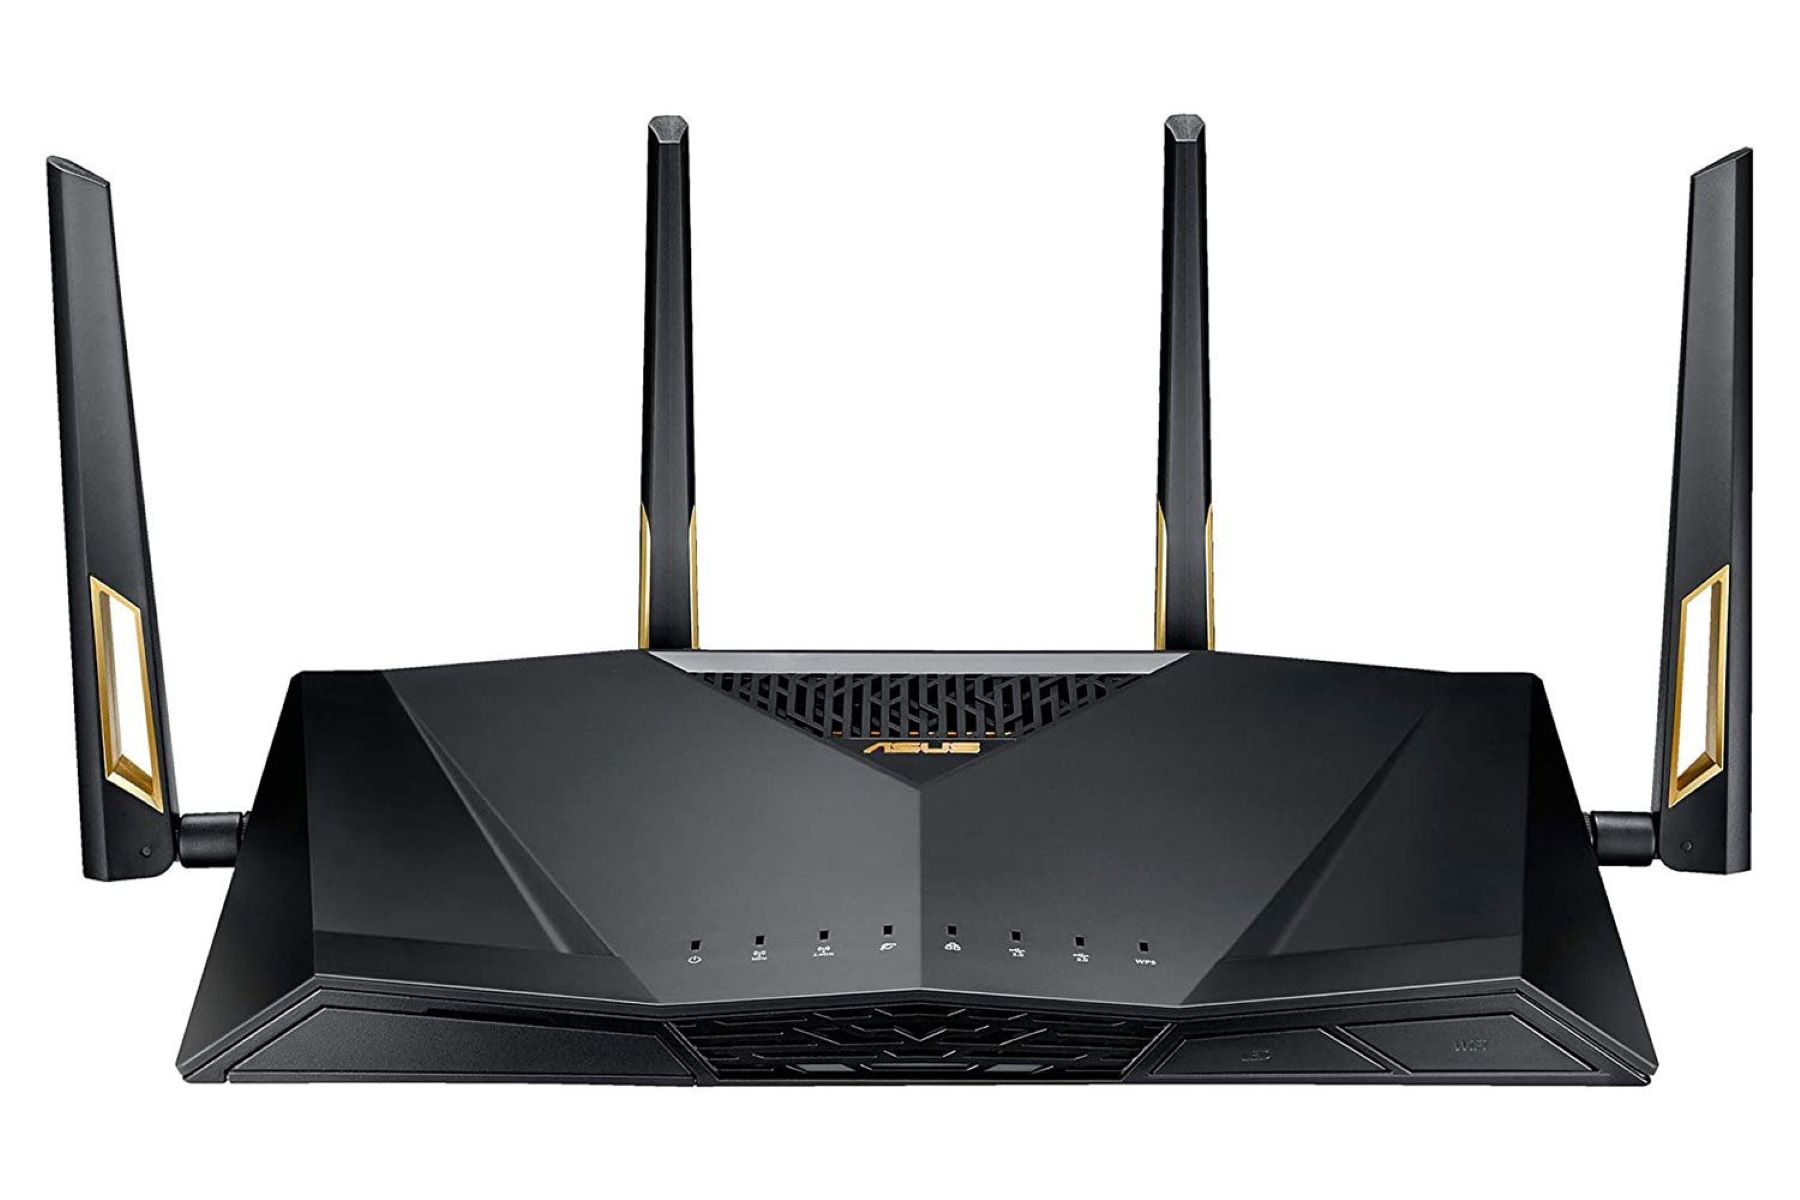
- Wireless router: Choose a router that suits your needs and budget. Look for features such as dual-band capability, high-speed connectivity, and advanced security options.
- Cable modem: Ensure you have a compatible cable modem that works with your internet service provider (ISP). Check with your ISP or refer to their website for a list of approved modems.
- Ethernet cables: You’ll need Ethernet cables to establish a physical connection between the router and modem. Make sure you have enough cables of appropriate length.
- Computer or mobile device: You’ll need a computer or mobile device to configure the router settings. Ensure it is connected to the internet and has a web browser installed.
- Power adapter: Most routers come with a power adapter. Ensure you have the adapter that matches your router’s power requirements.
- Documentation: Keep the instruction manuals and documentation for both the router and modem handy. You may need to refer to them during the setup process.
Once you have gathered all the necessary equipment, double-check to make sure everything is in working condition. It’s always a good idea to inspect the cables for any physical damage that might affect the connectivity.
Preparing the equipment in advance will save you time and frustration during the setup process. It ensures a smooth and hassle-free experience, ensuring you have everything you need at your fingertips.
Now that you have all the necessary equipment ready, it’s time to move on to the next step: positioning the router and modem. This step is crucial to ensure optimal signal strength and coverage throughout your space.
Step 2: Position the router and modem
Properly positioning your router and modem is key to ensuring optimal performance and coverage for your wireless network. Follow these guidelines to find the ideal location for these devices:
- Central location: Place the router and modem in a central area of your home or office. This helps to evenly distribute the Wi-Fi signal throughout the space, minimizing dead zones and maximizing coverage.
- Avoid obstructions: Keep the router and modem away from obstructions such as walls, furniture, or large electronic devices. These can block or weaken the Wi-Fi signal, resulting in poor performance.
- Distance from interference: Ensure the router and modem are positioned away from potential sources of interference, such as microwave ovens, cordless phones, baby monitors, and other wireless devices. These can interfere with the Wi-Fi signal, causing drops in connectivity or slower speeds.
- Avoid metal objects: Metal objects can also interfere with the Wi-Fi signal. Avoid placing the router or modem near metal surfaces, such as filing cabinets or metal shelves.
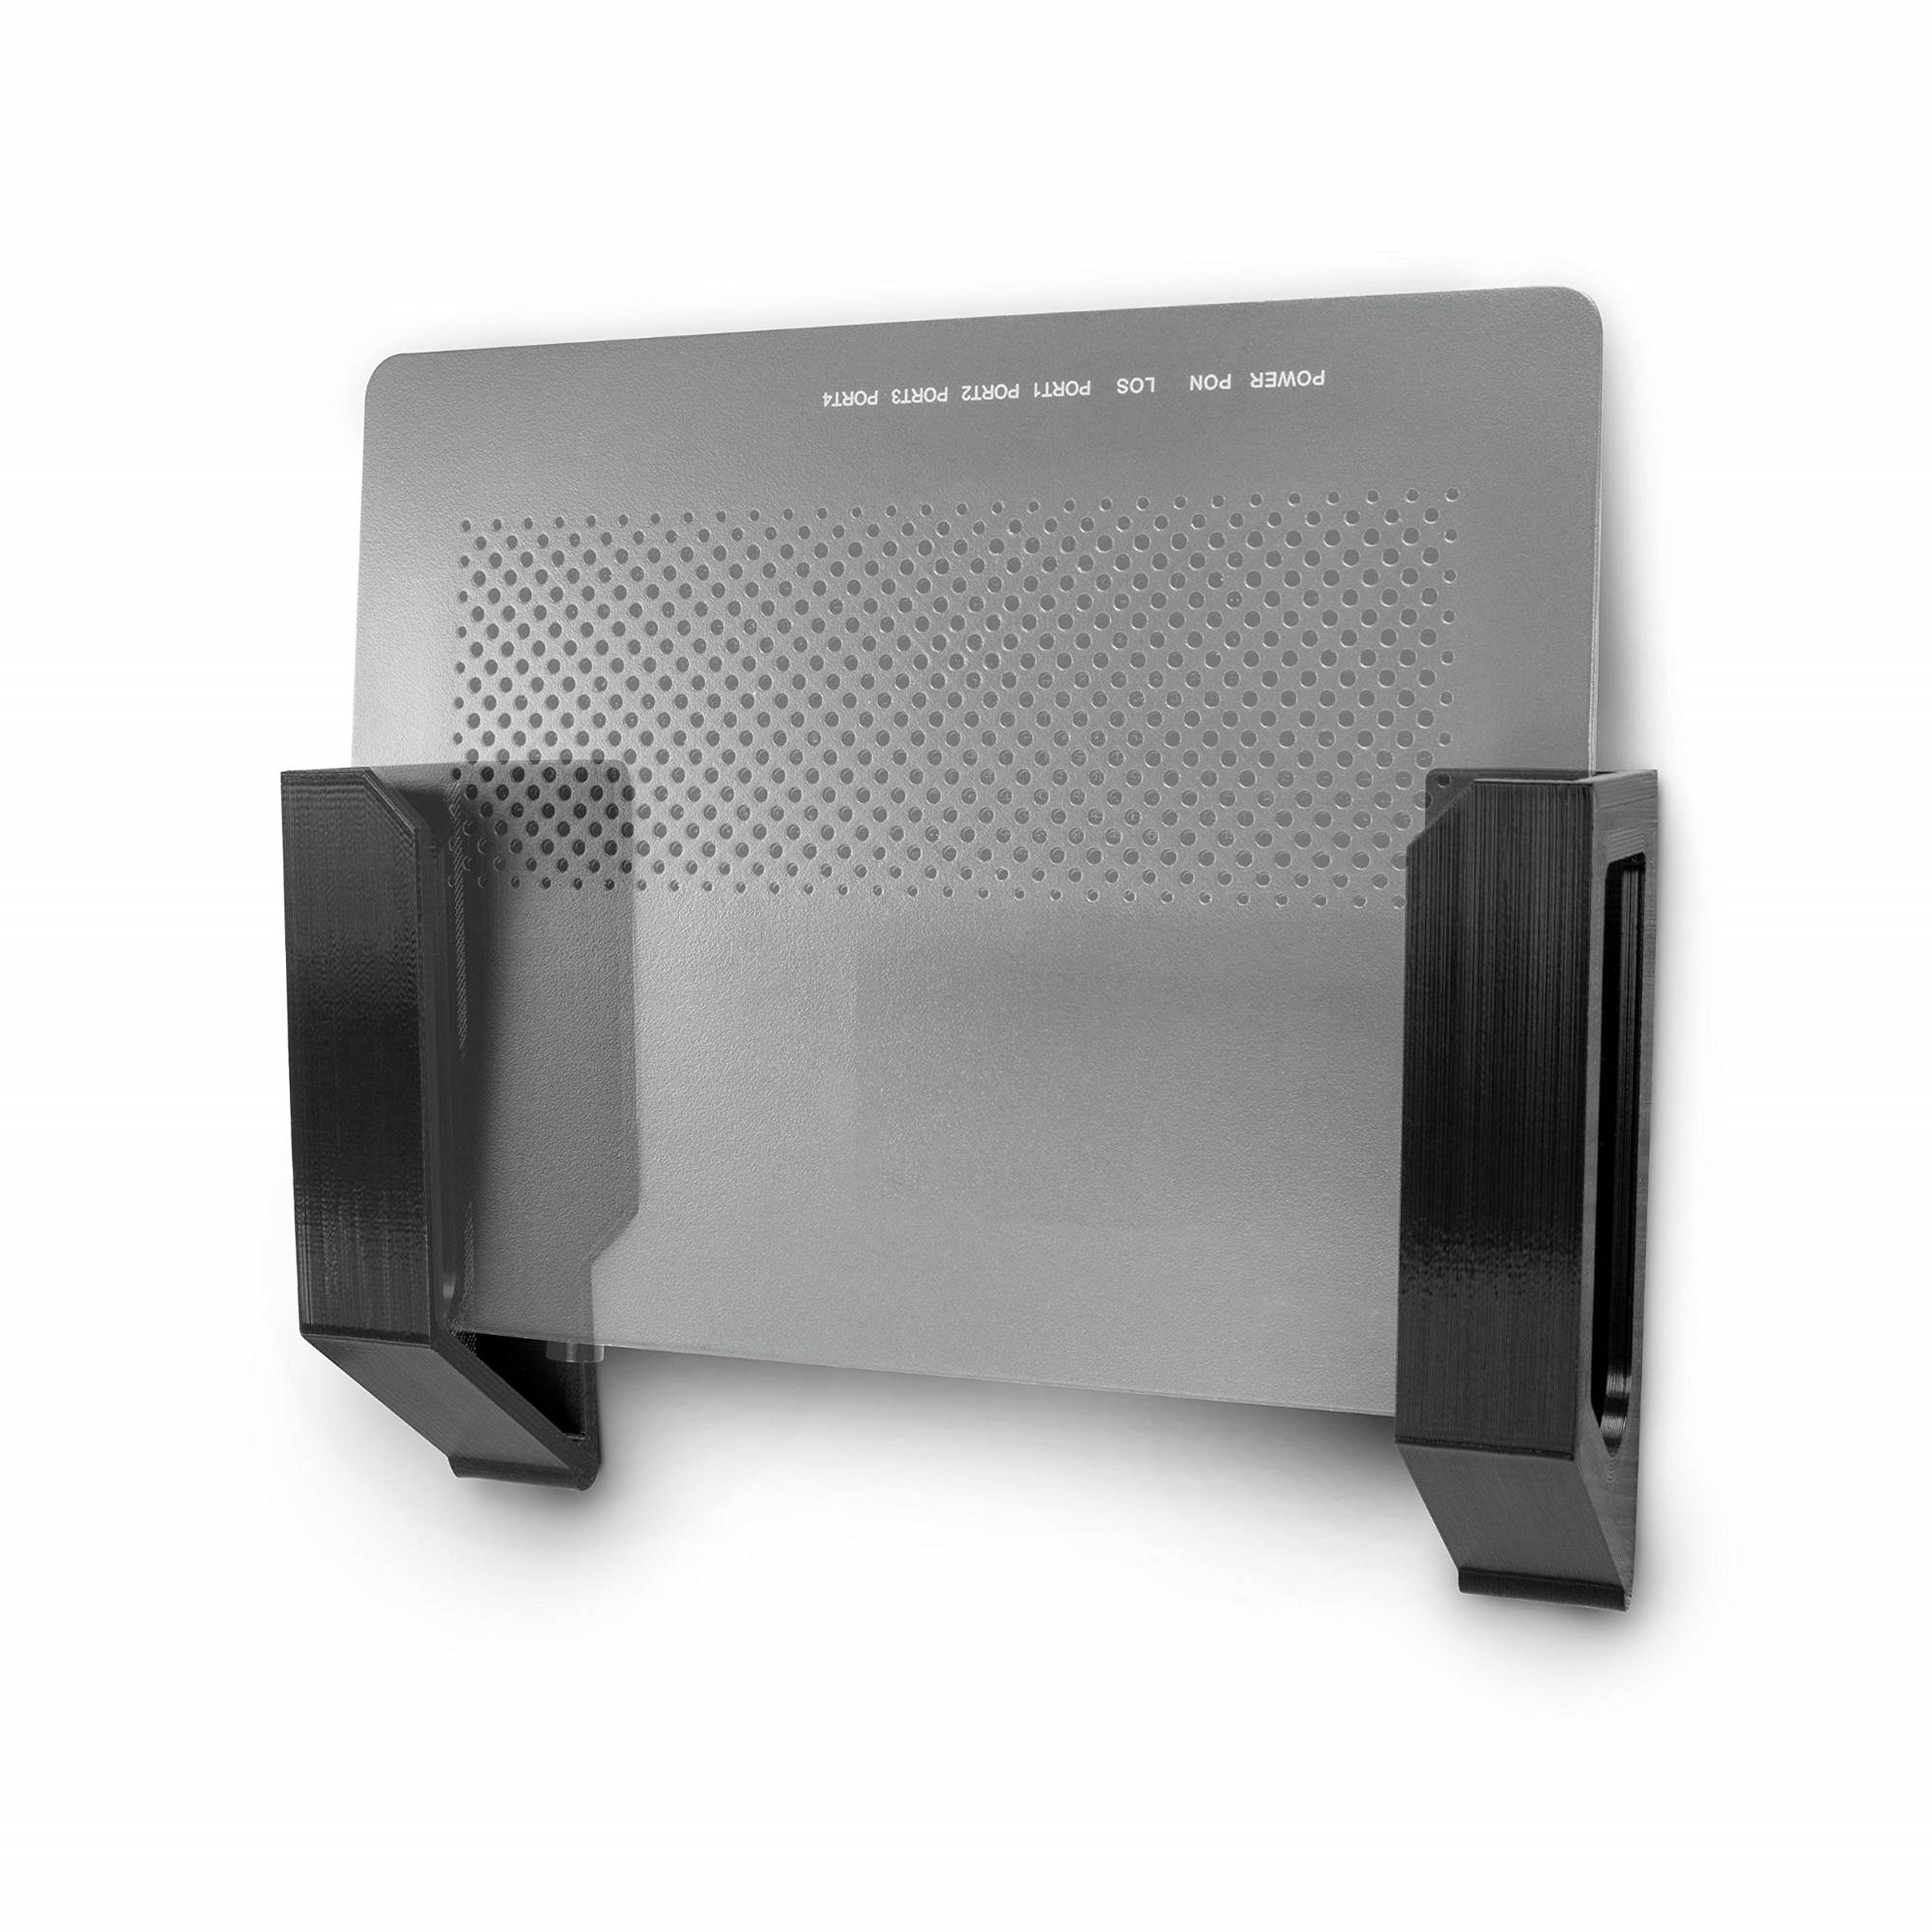
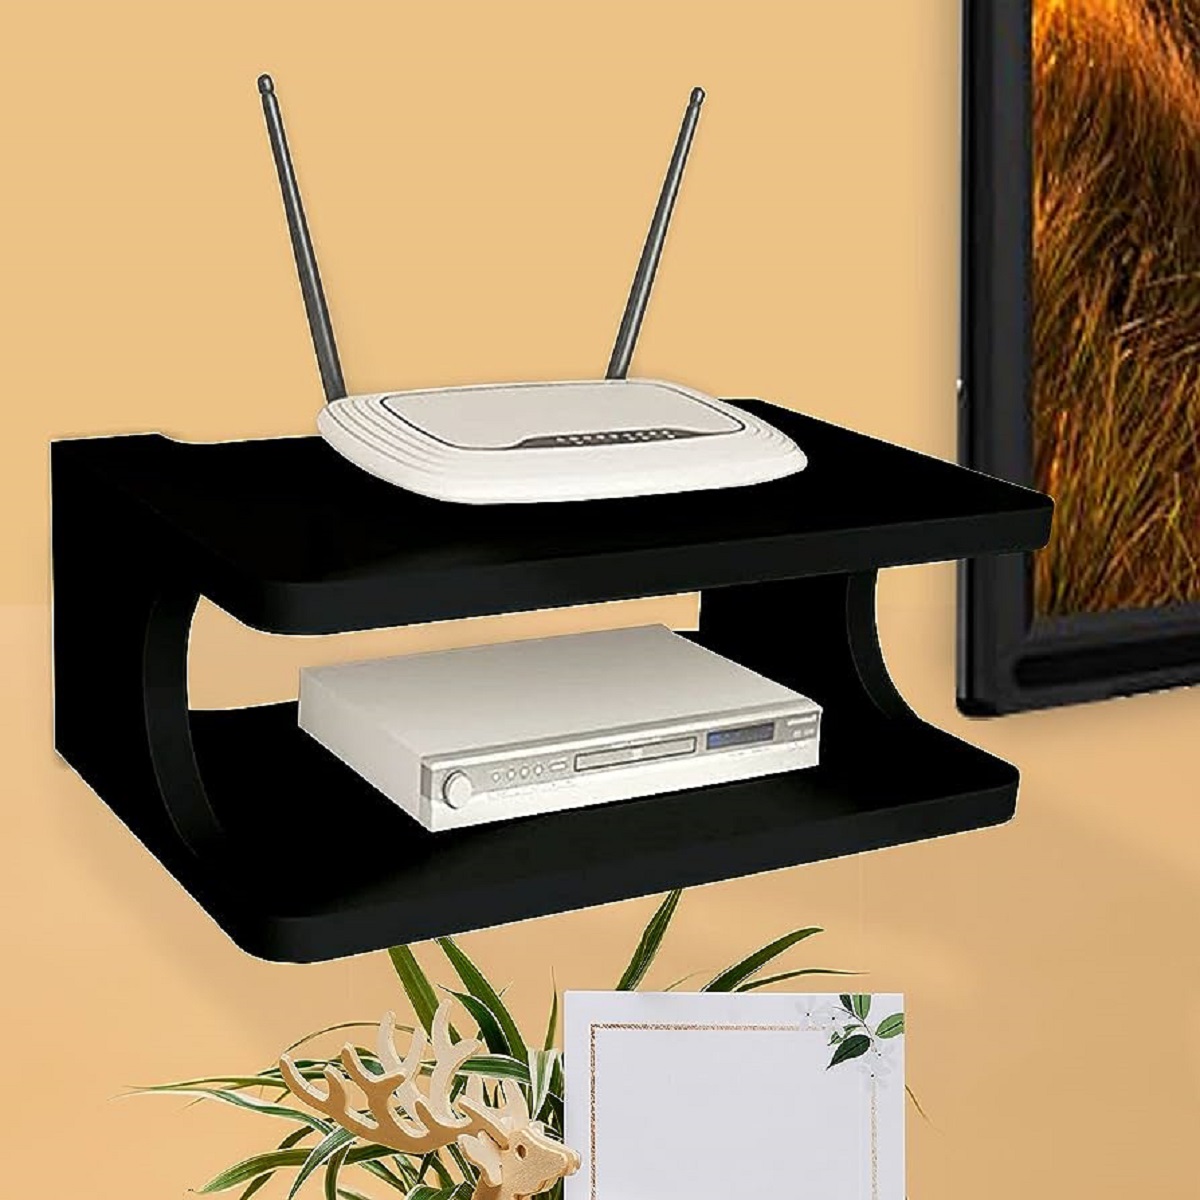
- Elevated position: If possible, position the router and modem at a higher elevation, such as on a shelf or wall mount. This can help improve the Wi-Fi coverage by allowing the signal to travel further.
Take a moment to assess your environment and find the best possible location based on these guidelines. Keep in mind that the specific configuration may vary depending on the layout and size of your space.
Once you have found the ideal location, make sure to position the router and modem securely. Avoid placing them on unstable surfaces or near potential hazards, such as liquids or heat sources.
With the router and modem positioned optimally, you are now ready to move on to the next step: connecting the router to the modem. This step involves establishing a physical connection between the two devices using Ethernet cables.
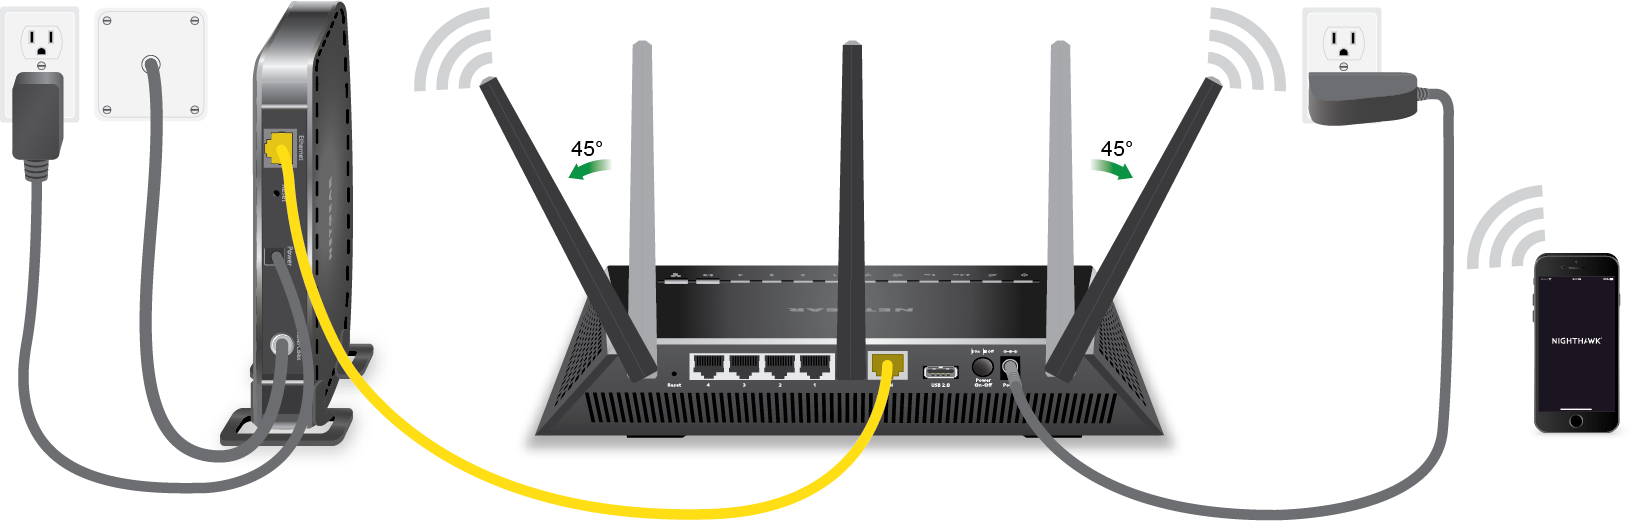
Step 3: Connect the router to the modem
Now that you have positioned your wireless router and modem, it’s time to establish a connection between the two devices. Follow these steps to connect the router to the modem:
- Power off: Before making any connections, power off both the router and the modem. Unplug them from the electrical outlets.
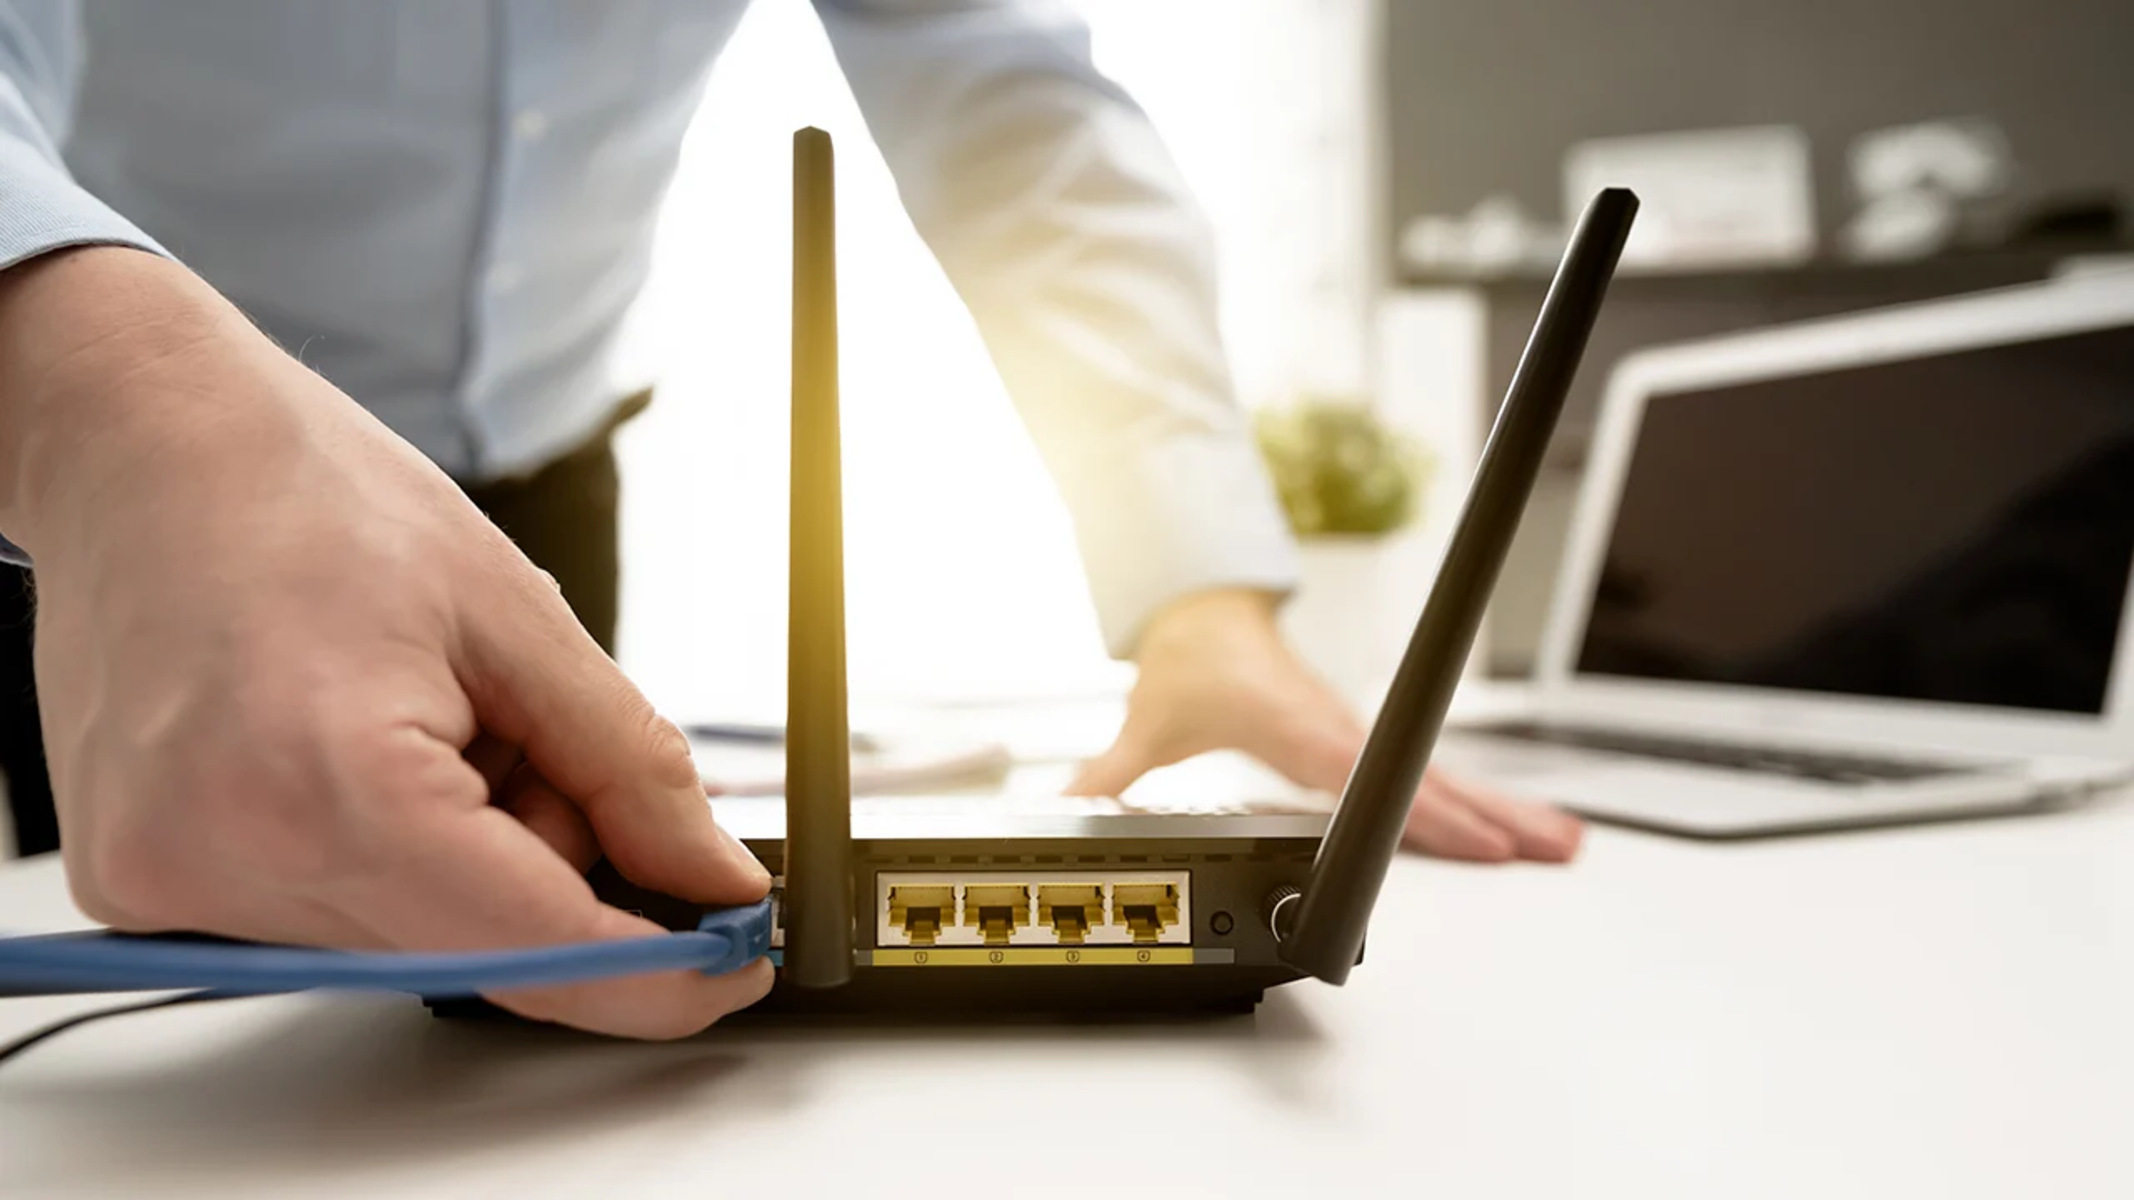
- Locate the Ethernet ports: Look for the Ethernet ports on both the router and the modem. These ports are usually labeled as “LAN,” “Ethernet,” or with a computer icon.
- Connect the Ethernet cable: Take one end of the Ethernet cable and plug it into the Ethernet port on the modem. Make sure it’s securely connected.
- Connect the other end: Take the other end of the Ethernet cable and plug it into the Ethernet port labeled “WAN,” “Internet,” or with a globe icon on the router.
- Power on: Once the Ethernet cable is securely connected, plug the modem back into the power source and wait for it to fully power on.
- Power on the router: After the modem has powered on, plug the router back into the power source and wait for it to fully boot up.
Both the router and the modem should now be powered on and connected to each other. This establishes a physical connection that allows the router to communicate with the modem and access the internet.
It’s important to ensure that the Ethernet cables are securely connected to avoid any disruptions in the connection. Give the cables a gentle tug to ensure they are properly plugged in.
Now that the router is connected to the modem, it’s time to move on to the next step: powering up both devices and configuring the router settings.
Step 4: Power up the modem and router
With the router physically connected to the modem, it’s time to power up both devices. Follow these steps to ensure a successful boot-up:
- Power on the modem: Plug the modem back into the power source and wait for it to fully power on. This may take a few minutes, so be patient.
- Check for internet connectivity: Once the modem is powered on, check for internet connectivity by connecting a computer or mobile device directly to the modem using an Ethernet cable. Open a web browser and try accessing a website to confirm that you have internet access.
- Power on the router: After confirming internet connectivity, plug the router back into the power source and wait for it to fully boot up. This may take a couple of minutes, as the router goes through its initialization process.
- Verify router status: Look at the status lights on the router to ensure that it has established a connection with the modem. Refer to the router’s documentation or manufacturer’s website to understand the meaning of the different status lights.
- Confirm internet connectivity: Once the router is fully powered on and connected to the modem, check for internet connectivity on a device connected to the wireless network. Open a web browser and try accessing a website to confirm that you have a solid internet connection.
It’s important to follow the sequence of powering on the modem first and then the router. This allows the router to establish a connection with the modem and properly configure itself for internet access.
If you experience any issues with internet connectivity, double-check all the connections and power cycles. Ensure that the Ethernet cables are securely plugged in and that the modem and router are properly powered on.
Once both the modem and router are fully powered up and internet connectivity is established, it’s time to move on to the next step: configuring the router settings to customize your wireless network.
Step 5: Configure the router settings
Now that your modem and router are powered up, it’s time to configure the settings on your router. Follow these steps to customize your wireless network:
- Access the router’s admin panel: Open a web browser on your computer or mobile device that is connected to the router’s network. Enter the router’s default IP address in the address bar. If you’re unsure of the IP address, refer to the router’s documentation or check the manufacturer’s website.
- Log in to the router: You will be prompted to enter a username and password to access the router’s admin panel. If you haven’t changed the default credentials, refer to the router’s documentation or check the manufacturer’s website for the default username and password. It’s essential to change the default credentials for security reasons.
- Configure basic wireless settings: Once logged in, you can customize the basic wireless settings, such as the network name (SSID) and password. Choose a unique and secure network name and password that you can easily remember.
- Enable wireless security: To protect your wireless network from unauthorized access, enable wireless security. Choose a security protocol such as WPA2-PSK (recommended) and set a strong password. This ensures that only authorized devices can connect to your network.
- Configure advanced settings: Explore the router’s settings to configure additional features and options, such as parental controls, guest networks, Quality of Service (QoS) settings, and port forwarding. Customize these settings based on your specific needs and preferences.
- Save and apply changes: After configuring the desired settings, don’t forget to save and apply the changes. This ensures that the settings take effect and are applied to your wireless network.
Take your time to explore the router’s admin panel and familiarize yourself with the different settings and options available. It’s recommended to refer to the router’s documentation or manufacturer’s website for detailed information on each setting.
Remember to periodically check for firmware updates for your router. Firmware updates often include bug fixes, performance improvements, and security patches. Check the manufacturer’s website for firmware updates and instructions on how to install them.
With the router settings configured and customized to your preferences, you are now ready to connect devices to your wireless network. Move on to the next step to learn how to connect laptops, smartphones, tablets, and other Wi-Fi enabled devices.
Step 6: Connect devices to the wireless network
Now that your router is configured and your wireless network is up and running, it’s time to connect your devices. Follow these steps to connect laptops, smartphones, tablets, and other Wi-Fi enabled devices to your wireless network:
- On your device, locate the Wi-Fi settings: Open the settings menu on your device and navigate to the Wi-Fi settings. This may be labeled as “Wireless,” “Network,” or “Wi-Fi.”
- Scan for available networks: Your device will automatically scan for available networks in the vicinity. It should display a list of available networks, including yours.
- Select your wireless network: Locate your network name (SSID) in the list and select it. If you customized the network name during the router configuration, choose the name you set.
- Enter the network password: If you have enabled wireless security, you will be prompted to enter the network password. Enter the password you set during the router configuration process. Make sure to enter it correctly, as passwords are case-sensitive.
- Connect to the network: After entering the correct password, your device will attempt to connect to the wireless network. It may take a few seconds to establish a connection.
- Confirm connection: Once your device is connected to the wireless network, you should see the Wi-Fi icon displayed on your device’s screen, indicating a successful connection.
Repeat these steps for each device you wish to connect to the wireless network. Remember that the network password is case-sensitive, so ensure that you enter it correctly on each device.
If you experience any issues with connecting to the network, double-check the entered password and make sure that your device is within range of the router. If necessary, restart your device or power cycle the router to troubleshoot any connection problems.
With all your devices successfully connected to the wireless network, you can now enjoy the benefits of a reliable and secure wireless connection. Stream, browse, work, and play to your heart’s content with the freedom and flexibility that a wireless network provides.
Congratulations! You have successfully connected a wireless router to a cable modem. Enjoy your newly set up wireless network!
Conclusion
Congratulations on successfully connecting your wireless router to a cable modem! You’ve now created a reliable and secure wireless network that can support all your connectivity needs. By following the step-by-step guide and configuring your router settings, you’ve set yourself up for seamless internet access and improved convenience.
A wireless network offers the flexibility to connect multiple devices simultaneously, allowing you to enjoy uninterrupted internet connectivity throughout your home or office. Whether you’re streaming your favorite movies, working remotely, online gaming, or simply browsing the web, a well-configured wireless network ensures a smooth and enjoyable experience.
Remember to position your router and modem strategically to ensure optimal signal strength and coverage. Keep them away from obstructions and potential sources of interference for the best performance. Additionally, periodically check for firmware updates for your router to ensure that you have the latest features, bug fixes, and security enhancements.
As technology continues to advance, maintaining a secure wireless network is of utmost importance. Be sure to regularly review your wireless network’s security settings, including changing the default password and enabling advanced security protocols. This will safeguard your network against unauthorized access and protect your personal information.
Lastly, keep exploring and learning about your wireless router’s features and settings. Familiarize yourself with the various options available, such as parental controls, guest networks, and Quality of Service (QoS) settings, to enhance your network’s functionality and personalize it to your specific needs.
Thank you for following this guide, and we hope it has been helpful in setting up your wireless network. Enjoy the freedom, flexibility, and convenience that a well-configured wireless network brings to your digital lifestyle!