Introduction
Welcome to the guide on how to hook up a WiFi router! In the digital age, a reliable internet connection is essential for both work and leisure. A WiFi router allows you to connect multiple devices wirelessly and enjoy the convenience of internet access from anywhere within its range. Whether you are setting up a new router or upgrading your current one, this step-by-step guide will walk you through the process.
Before we dive into the steps, it’s important to note that different routers may have slightly different setup procedures. However, the basic principles remain the same. By following the instructions in this guide, you will be able to connect and configure your WiFi router with ease.
In this guide, we will cover everything from gathering the necessary equipment to troubleshooting common issues. By the end of this tutorial, you will have your WiFi router up and running, providing seamless internet connectivity to all your devices.
So, let’s get started with the first step: gathering the necessary equipment.
Step 1: Gather the necessary equipment
Before you can hook up your WiFi router, you will need to gather the necessary equipment. Here are the items you will need:
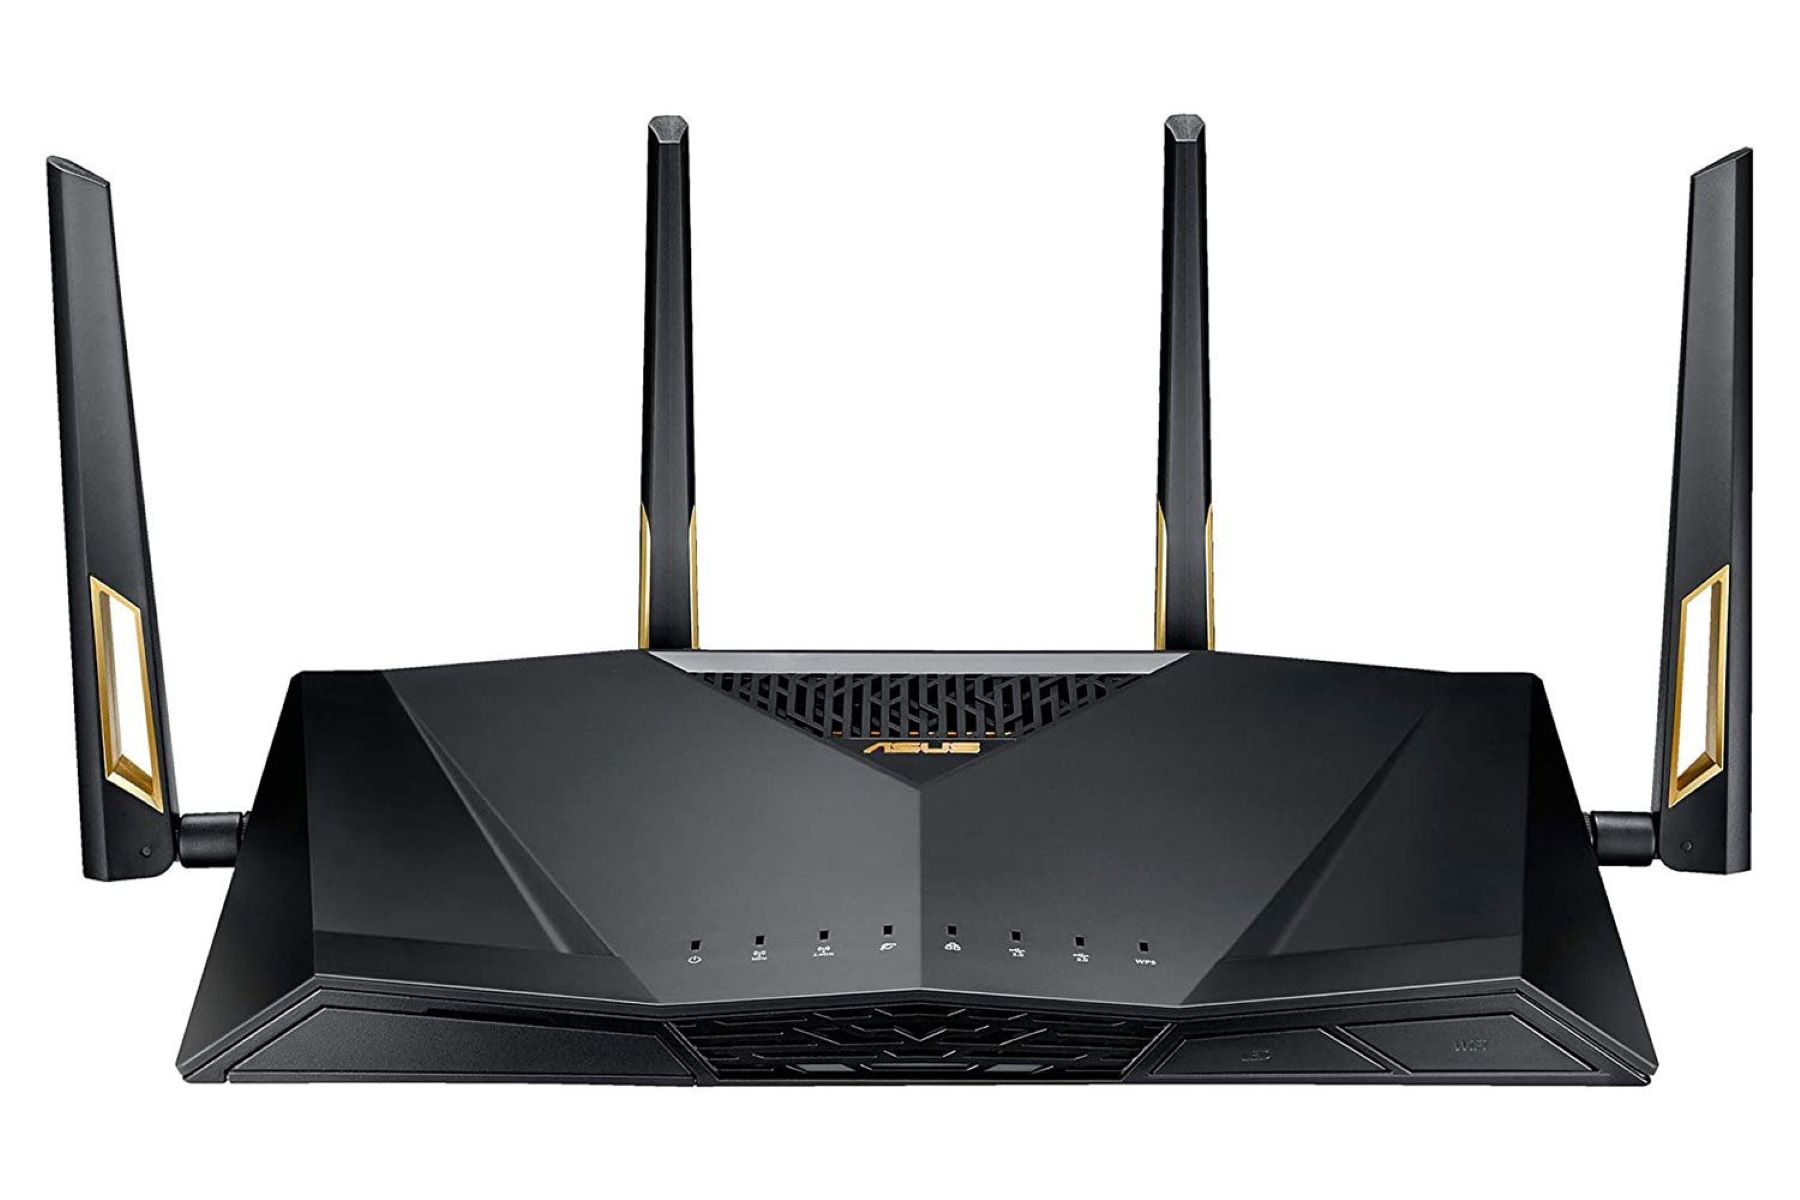
- WiFi Router: This is the main device that will transmit the wireless signal and connect your devices to the internet. Make sure you have a router that is suitable for your specific needs.
- Modem: The modem connects your router to your Internet Service Provider (ISP) network. Ensure that your modem is compatible with your router and has the necessary ports and cables.
- Internet Service Provider (ISP) Information: Keep handy your ISP account details, such as the username and password. You may need to enter this information during the router setup process.
- Ethernet Cables: These cables are used to connect the router to the modem and the router to other devices, if needed. Ensure you have enough Ethernet cables of the appropriate length.
- Power Adapter: Most routers come with a power adapter to supply electricity. Make sure you have the correct power adapter for your router.
- Computer or Mobile Device: You will need a device, such as a laptop, desktop computer, or smartphone, to access the router’s settings and perform the initial setup.
Once you have gathered all the necessary equipment, you can proceed to the next step: choosing the optimal placement for your router.
Step 2: Choose the optimal placement for your router
The placement of your WiFi router plays a crucial role in ensuring a strong and stable wireless signal throughout your home or office. Here are some factors to consider when choosing the optimal placement:
- Central Location: Position your router in a central location within your home or office to ensure that the WiFi signal can reach all areas evenly. Avoid placing it near thick walls or obstacles that can obstruct the signal.
- Avoid Interference: Keep your router away from other electronic devices that may cause interference, such as cordless phones, microwave ovens, baby monitors, and Bluetooth devices. These can degrade the WiFi signal and affect its range.
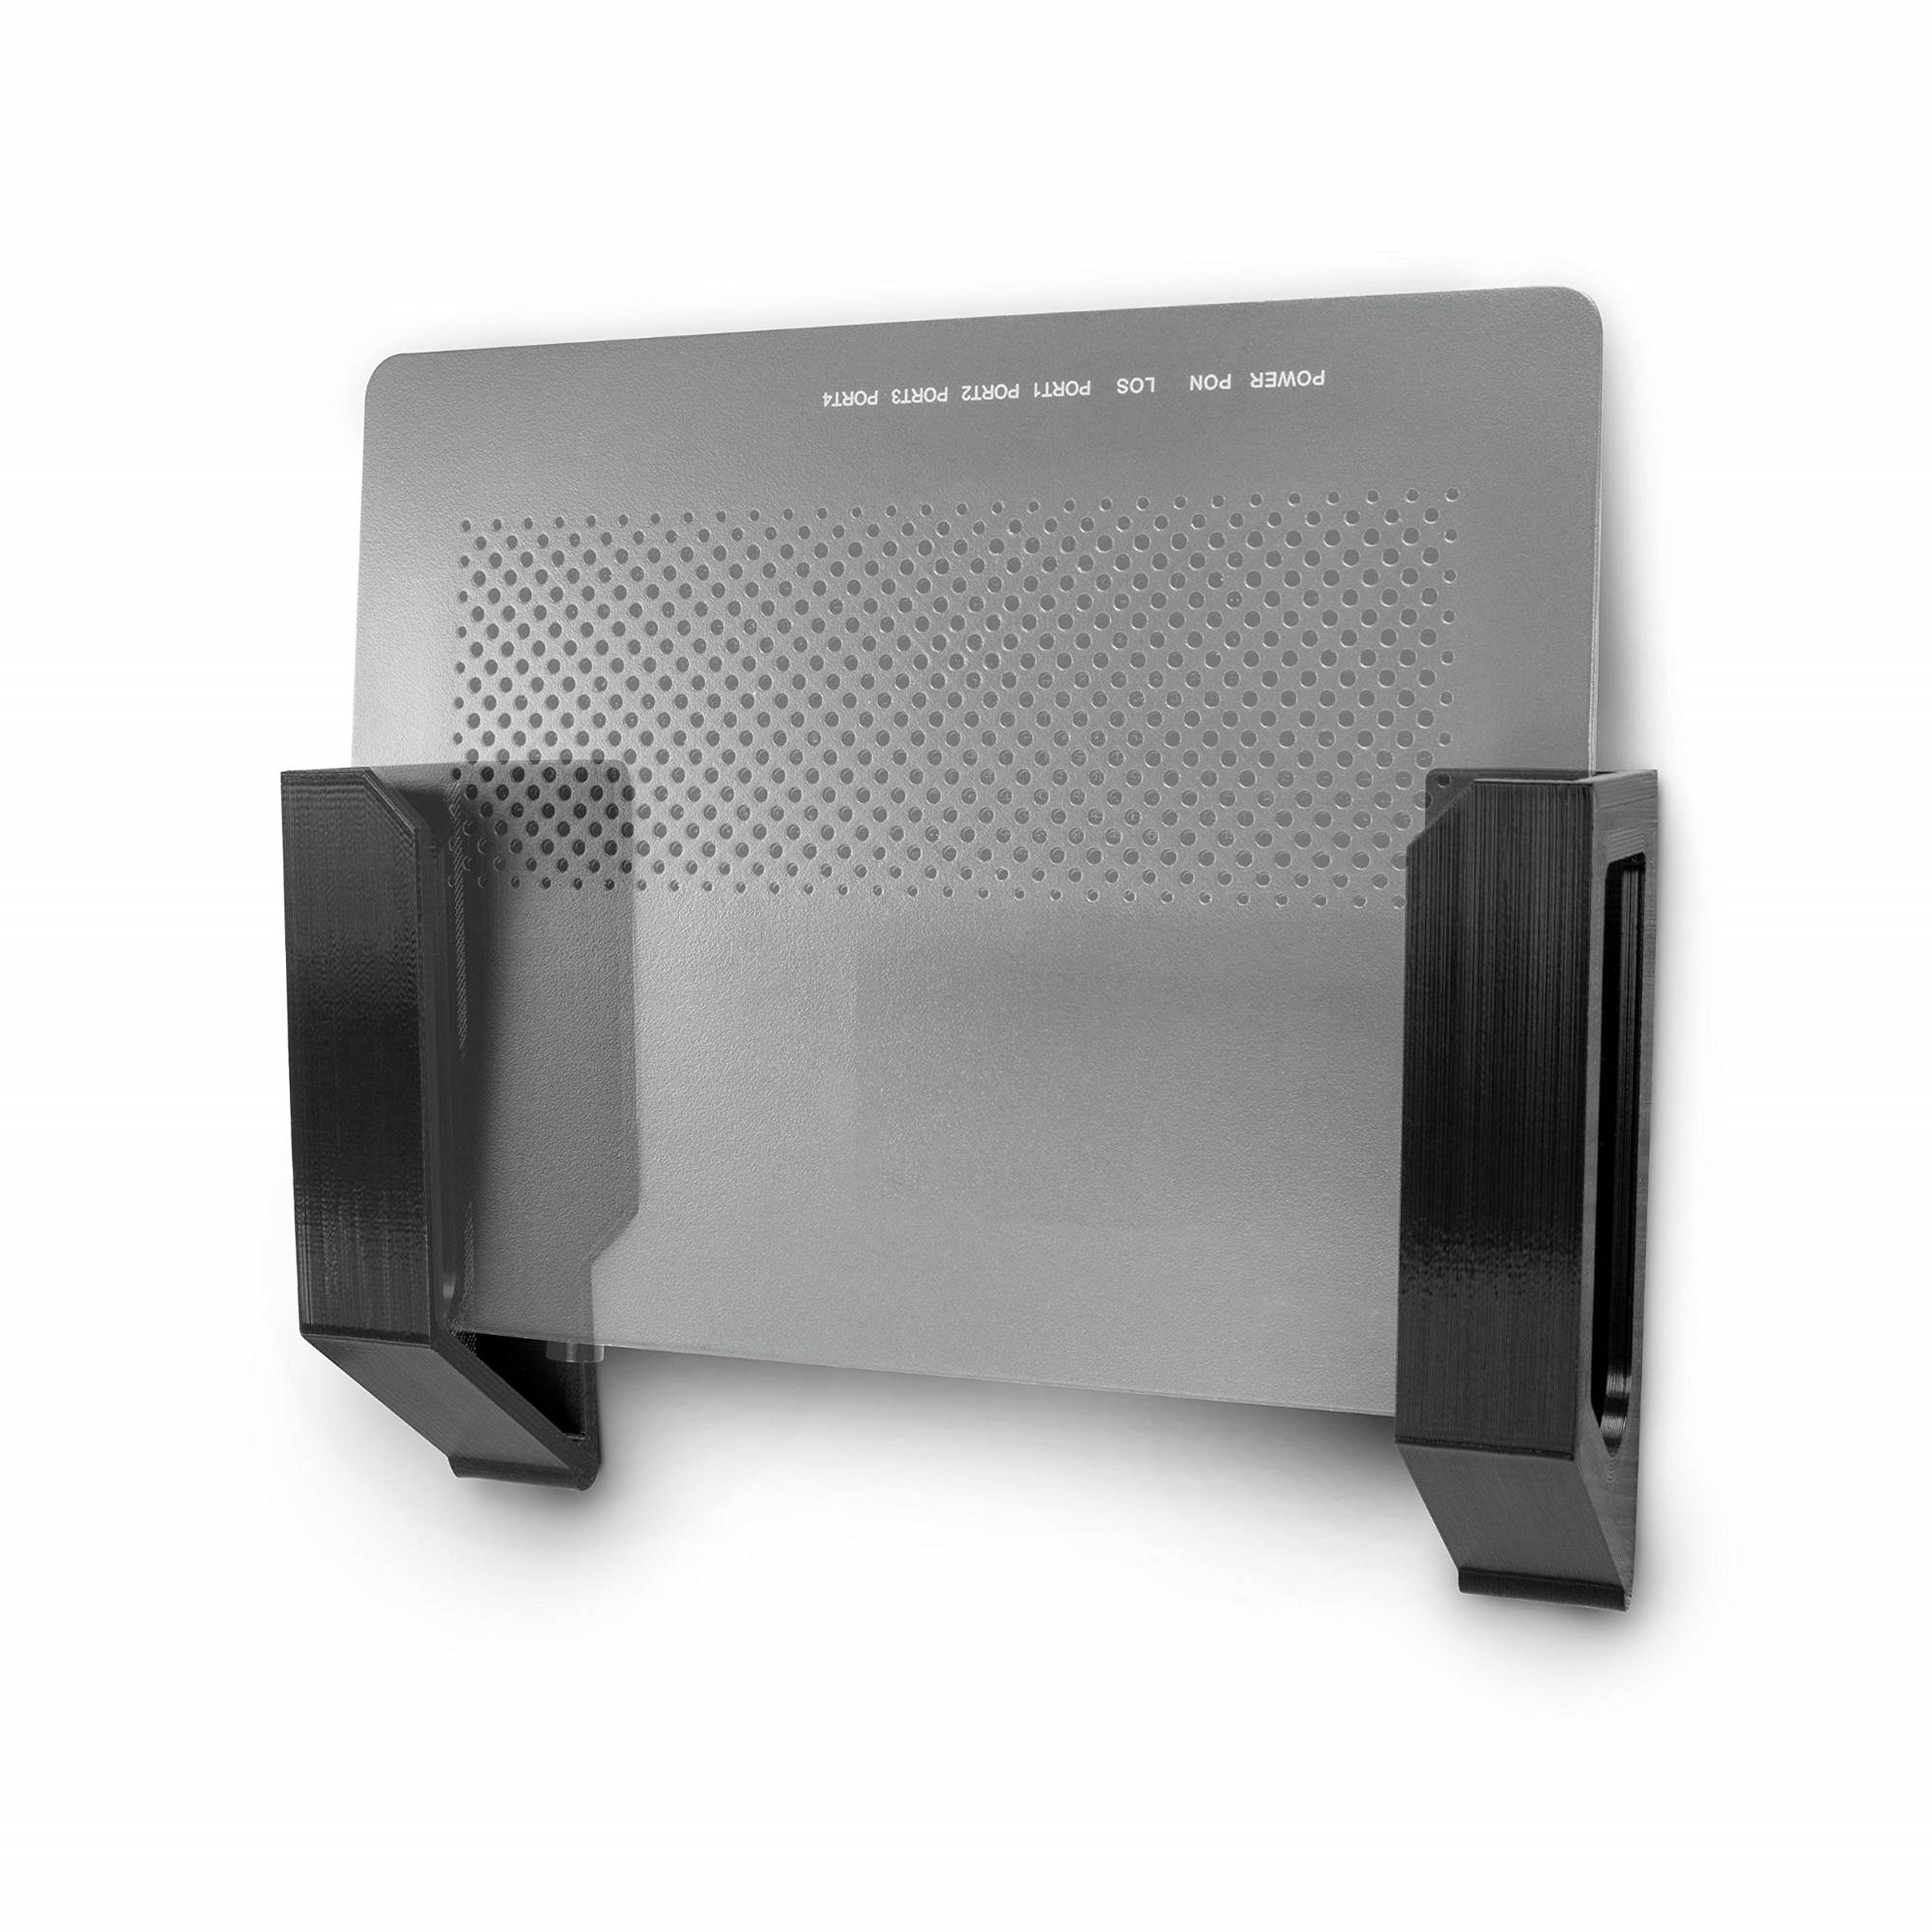
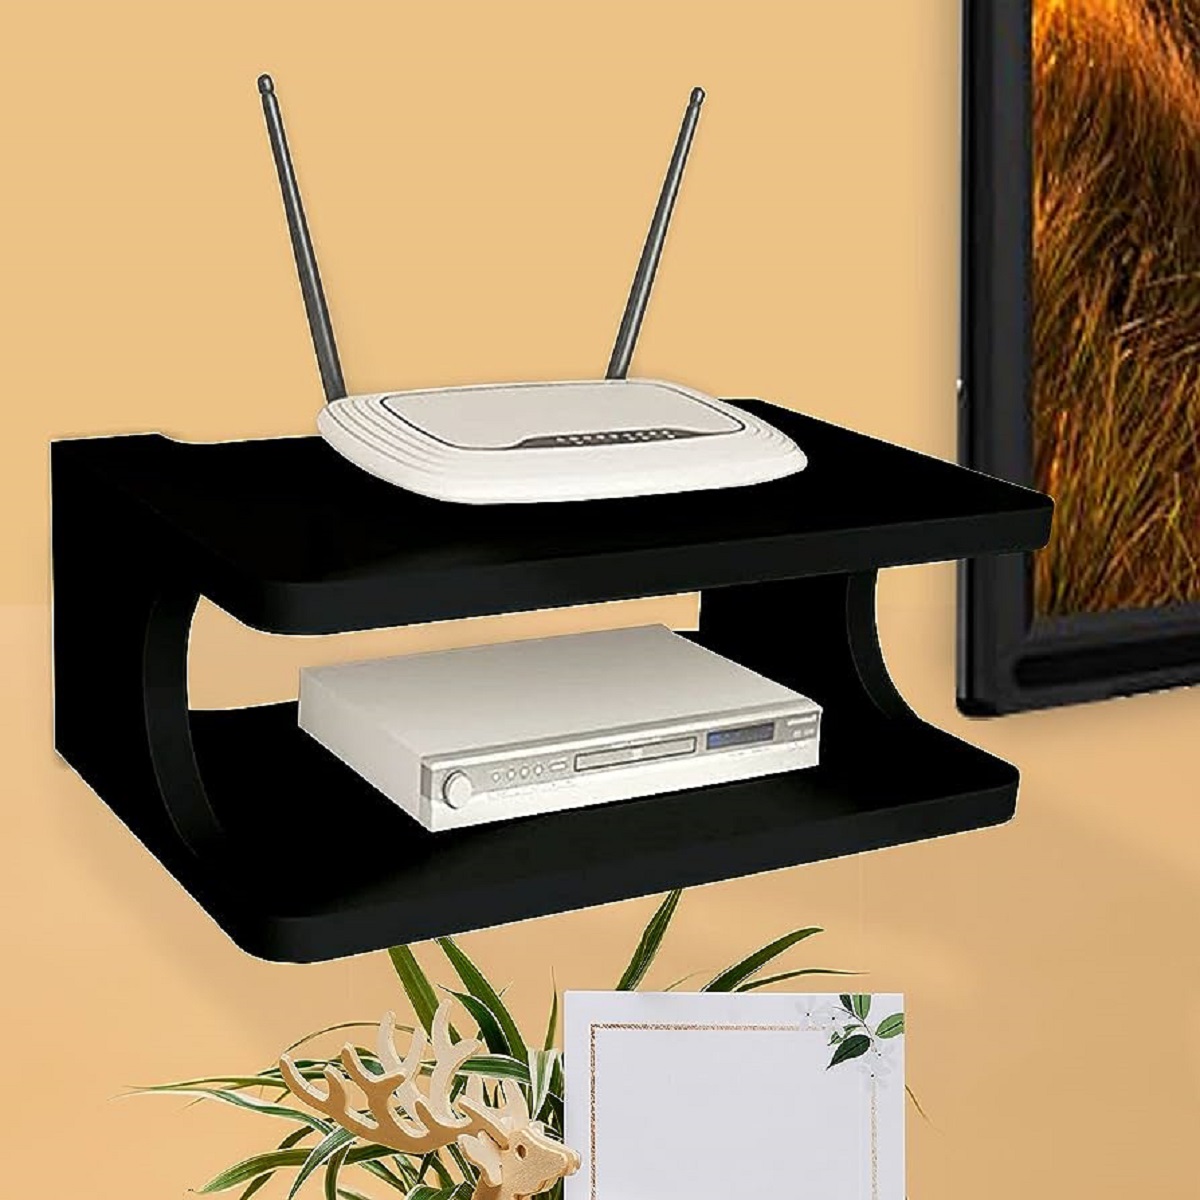
- Elevate the Router: Place your router on a higher shelf or mount it on the wall for better coverage. This helps to minimize signal obstructions and increase the range of your WiFi network.
- Keep it Cool: Avoid placing your router near heat sources, as excessive heat can affect its performance. Find a well-ventilated area to ensure optimal operation.
- No Obstructions: Make sure that there are no large objects obstructing the router’s antennas. Keeping the antennas clear and in an upright position allows for the best signal distribution.
Remember, the goal is to achieve the widest coverage and the strongest signal strength possible. By considering these factors and choosing an optimal location, you can maximize the performance of your WiFi network.
Once you have chosen the ideal placement for your router, you can proceed to the next step: connecting the router to the modem.
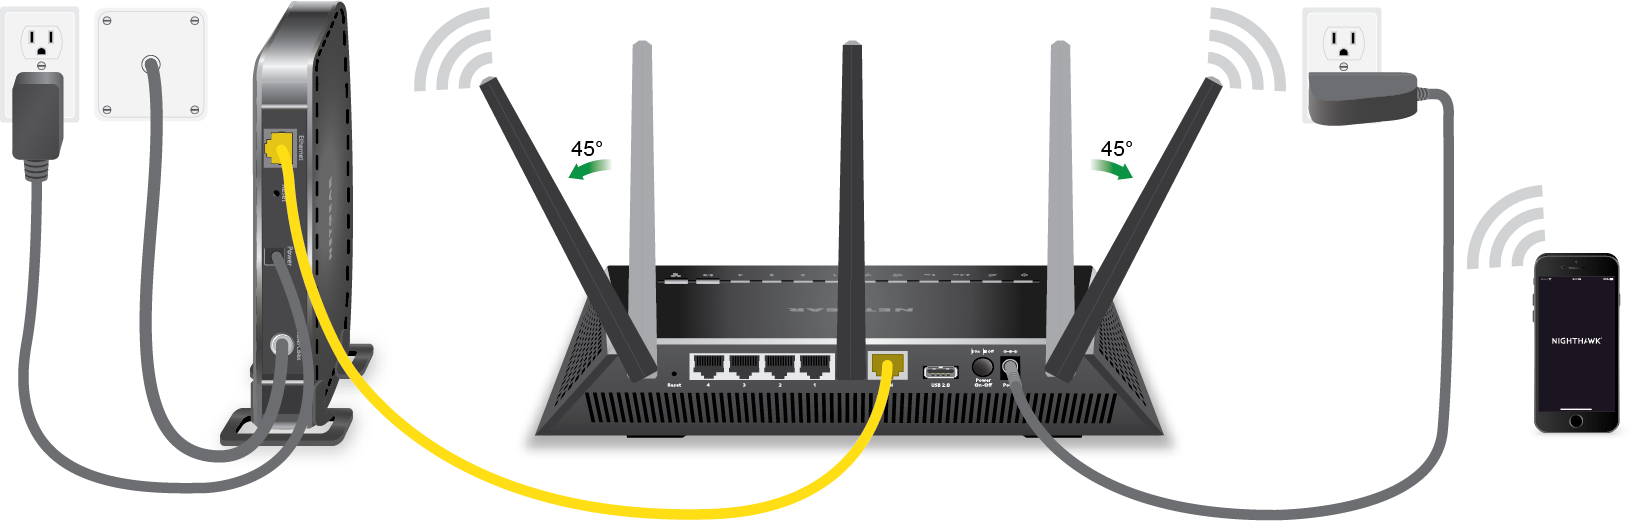
Step 3: Connect the router to the modem
Now that you have chosen the ideal location for your WiFi router, it’s time to connect it to the modem. This step is essential for establishing an internet connection. Follow these steps to connect the router to the modem:
- Power off your modem: Before making any connections, ensure that your modem is powered off to avoid any potential issues.
- Locate the Ethernet ports: Identify the Ethernet port on your modem. It is usually labeled as “Internet”, “WAN”, or “Ethernet”. Connect one end of an Ethernet cable to this port.
- Connect the other end to the router: Locate the corresponding Ethernet port on your router and connect the other end of the cable to it.
- Power on your modem: Turn on your modem and wait for it to establish a stable connection. This may take a few moments.
- Power on your router: Once the modem’s connection is established, power on your WiFi router. Give it a few moments to boot up and establish a connection with the modem.
After connecting the router to the modem and powering them both on, they will establish a connection, allowing your router to transmit the internet signal to your devices through the WiFi network. This connection is essential for accessing the internet and configuring your router’s settings.
With the router and modem connected, you are now ready to move on to the next step: powering on the router.
Step 4: Power on the router
Now that your router is connected to the modem, it’s time to power it on. Follow these simple steps to power on your WiFi router:
- Locate the power adapter: Find the power adapter that came with your router. It is usually a small black box with a power cord attached to it.
- Connect the power adapter: Plug one end of the power adapter into the router’s power input port. Make sure it is securely inserted.
- Connect the power cord: Plug the other end of the power adapter into an electrical outlet. Ensure that the outlet is easily accessible and switched on.
- Power on the router: Locate the power button on your router and press it to turn it on. Wait for the router’s lights to start blinking, indicating that it is booting up.
Once the router is successfully powered on, it will start initializing and establishing a connection with the modem. This process may take a few minutes, so be patient.
It’s important to note that some routers may require additional setup steps after powering on. These steps are typically mentioned in the router’s user manual or setup guide. Make sure to read and follow the manufacturer’s instructions to ensure a smooth setup process.
Now that your router is powered on and ready for operation, we can move on to the next step: accessing the router’s settings.
Step 5: Access the router’s settings
After powering on your WiFi router, the next step is to access its settings. This will allow you to configure and customize various options according to your preferences. To access the router’s settings, follow these steps:
- Open a web browser: On your computer or mobile device, open a web browser such as Google Chrome, Mozilla Firefox, or Safari.
- Enter the router’s IP address: In the address bar of the web browser, type the router’s IP address. The default IP address for most routers is “192.168.0.1” or “192.168.1.1”. Check your router’s user manual or manufacturer’s website for the specific IP address.
- Press Enter: After entering the IP address, press Enter on your keyboard. This will prompt the browser to access the router’s web interface.
- Enter login credentials: You will be redirected to a login page. Enter the default username and password for your router. If you are unsure, refer to the router’s documentation or try common default credentials like “admin” for both username and password.
Once you have successfully logged in, you will have access to the router’s settings and configuration options. The interface may vary depending on the router brand and model. From here, you can perform various tasks such as changing the network name (SSID), setting up a password, configuring security settings, managing connected devices, and much more.
It’s important to note that changing any settings in the router’s interface should be approached with caution. Make sure to refer to the router’s user manual or consult the manufacturer’s website for instructions and guidelines. Improperly configuring settings can disrupt your internet connection or compromise network security.
Now that you have accessed the router’s settings, you can proceed to the next step: configuring the router’s network name (SSID).
Step 6: Configure the router’s network name (SSID)
Configuring the network name, also known as the Service Set Identifier (SSID), is an important step in setting up your WiFi router. The SSID is the name that will appear when you search for available WiFi networks. To configure the SSID, follow these steps:
- Access the router’s settings: Refer back to the previous step on how to access the router’s settings using a web browser.
- Navigate to the wireless settings: Within the router’s interface, locate and navigate to the wireless settings or wireless setup section.
- Find the SSID field: Look for the field that displays the current network name or SSID. You may find it labeled as “Network Name,” “SSID,” or something similar.
- Enter a new SSID: In the SSID field, enter a unique and easily identifiable name for your WiFi network. You can get creative with your network name, but it’s best to avoid including personal information or sensitive data.
- Save the changes: Once you have entered the new SSID, locate the option to save or apply the changes. Click on the save or apply button to confirm the new SSID setting.
After saving the changes, your WiFi network will now be broadcasting the new SSID. Keep in mind that devices connected to the network will need to reconnect using the updated network name. They will automatically search for the new SSID or prompt you to enter it when attempting to connect.
It’s worth noting that some routers may offer additional advanced options for SSID configuration. For example, you may have the option to enable or disable SSID broadcasting, which determines if your network will be visible to other devices. Additionally, you can set up multiple SSIDs if your router supports guest networks or VLANs.
With the network name (SSID) configured, you can move on to the next step: setting up a password for your Wi-Fi network.
Step 7: Set up a password for your Wi-Fi network
Securing your Wi-Fi network with a password is crucial to prevent unauthorized access and ensure the privacy of your internet connection. Follow these steps to set up a password for your Wi-Fi network:
- Access the router’s settings: Refer back to the previous step on how to access the router’s settings using a web browser.
- Navigate to the wireless security settings: Within the router’s interface, locate the wireless security settings or Wi-Fi security section.
- Select a security protocol: Choose a security protocol for your network. It is recommended to use the WPA2 (Wi-Fi Protected Access 2) encryption protocol as it provides the highest level of security. If WPA2 is not available, choose WPA or WEP (Wireless Equivalent Privacy) as an alternative.
- Enter a strong password: In the respective field, enter a strong and unique password for your Wi-Fi network. Aim for a combination of uppercase and lowercase letters, numbers, and special characters. Avoid using easily guessable passwords or common phrases.
- Save the changes: Once you have entered the password, find the option to save or apply the changes. Click on the save or apply button to confirm the new Wi-Fi password.
After saving the changes, your Wi-Fi network will now be protected by the password you set. Any devices attempting to connect to the network will be prompted to enter the password before gaining access.
It’s important to periodically change your Wi-Fi password to enhance security. Additionally, make sure to keep your password confidential and share it only with trusted individuals. Regularly check your router’s settings to ensure that the password remains secure and hasn’t been changed without your knowledge.
With a strong password in place, you can now move on to the next step: configuring the security settings for your network.
Step 8: Configure the security settings for your network
Configuring the security settings for your Wi-Fi network is an important step to protect your connection from unauthorized access and potential security threats. Follow these steps to configure the security settings for your network:
- Access the router’s settings: Refer back to the previous step on how to access the router’s settings using a web browser.
- Navigate to the wireless security settings: Within the router’s interface, locate the wireless security or Wi-Fi security section.
- Select the appropriate security mode: Choose the security mode that aligns with the security protocol you selected (e.g., WPA2). This ensures that the correct security measures are applied to your Wi-Fi network.
- Configure the encryption type: Select the encryption type that corresponds to your chosen security mode, such as AES (Advanced Encryption Standard). This encryption type will scramble the data transmitted over your network, making it difficult for unauthorized users to intercept and decipher.
- Enable other security features: Some routers provide additional security features, such as MAC address filtering, which allows you to specify which devices can connect to your network based on their unique MAC addresses. You can also enable firewall protection and disable remote management to further enhance network security.
- Save the changes: Once you have configured the security settings to your specifications, locate the option to save or apply the changes. Click on the save or apply button to confirm the new security settings.
Configuring the security settings for your network is essential to protect your data and maintain the privacy of your internet connection. It helps prevent unauthorized access, unauthorized device connections, and potential security breaches.
Remember to periodically review and update your security settings to stay ahead of emerging threats. Additionally, consider changing your network’s SSID to something unique to further deter potential hackers.
With the security settings configured, your Wi-Fi network is now well-protected. You can proceed to the next step: connecting your devices to the Wi-Fi network.
Step 9: Connect your devices to the Wi-Fi network
Now that you have set up and secured your Wi-Fi network, it’s time to connect your devices to enjoy wireless internet access. Follow these steps to connect your devices to the Wi-Fi network:
- Enable Wi-Fi on your device: On your device (such as a laptop, smartphone, or tablet), go to the settings and enable Wi-Fi. This will allow your device to detect available wireless networks.
- Locate your Wi-Fi network: In the list of available networks, locate the SSID (network name) of your Wi-Fi network. It should match the SSID you configured in the earlier steps.
- Select your Wi-Fi network: Tap or click on your Wi-Fi network to connect to it. Some devices may require you to enter the password you set up in the previous steps.
- Wait for the connection: Your device will attempt to establish a connection with the Wi-Fi network. Once connected, you will see a confirmation message or an icon indicating a successful connection.
Repeat these steps for each device you want to connect to your Wi-Fi network, including laptops, smartphones, tablets, smart TVs, gaming consoles, and any other Wi-Fi-enabled devices.
If you encounter any issues during the connection process, ensure that you have entered the correct SSID and password. Also, make sure that you are within the range of your Wi-Fi network and that there are no physical obstructions blocking the signal.
Once your devices are successfully connected to the Wi-Fi network, you can enjoy seamless internet access and take advantage of all the benefits of a wireless network.
Now that you have connected your devices to the Wi-Fi network, we can proceed to the final step: troubleshooting tips.
Step 10: Troubleshooting tips
While setting up a Wi-Fi network is generally a smooth process, you may encounter some issues along the way. Here are some troubleshooting tips to help you resolve common problems:
- Restart your router: If you experience connectivity issues, try restarting your router. Simply power it off, wait for a few seconds, and then power it back on. This can often fix minor glitches and restore proper functionality.
- Check your modem connection: Ensure that the modem is properly connected to your router and that all cables are securely plugged in. Loose connections can result in unstable internet connectivity.
- Update router firmware: Check if there are any firmware updates available for your router. Outdated firmware can cause performance issues or security vulnerabilities. Visit the manufacturer’s website for instructions on how to update the firmware.
- Modify Wi-Fi channel: If you are experiencing interference issues, try changing the Wi-Fi channel in the router’s settings. This can help reduce congestion and improve signal quality.
- Move closer to the router: If you are experiencing a weak signal or low connection speed, try moving closer to the router. Physical distance and obstacles can affect signal strength and performance.
- Check device compatibility: Verify if your device is compatible with the router’s wireless standards. Older devices may not support the latest Wi-Fi protocols, causing connectivity issues. Consider upgrading your device or adjusting the router’s settings accordingly.
- Reset the router: As a last resort, you can perform a factory reset on your router. This will restore it to its default settings and erase any custom configurations. Refer to the router’s user manual for instructions on how to perform a reset.
If you continue to experience difficulties, consult the router’s documentation or contact the manufacturer’s support team for further assistance. They can provide specialized guidance tailored to your specific router model and troubleshoot complex issues.
By following these troubleshooting tips, you can overcome common Wi-Fi network problems and ensure a smooth and reliable internet connection.
Conclusion
Congratulations! You have successfully learned how to hook up a WiFi router and set up a secure and functional wireless network. By following the step-by-step guide outlined in this article, you have acquired the knowledge and skills necessary to connect and configure your router with ease.
Remember, the process starts with gathering the necessary equipment, including a WiFi router, modem, and Ethernet cables. You must choose the optimal placement for your router to ensure maximum coverage and signal strength throughout your home or office. Connecting the router to the modem is the next crucial step, followed by powering on the devices.
Accessing the router’s settings allows you to configure various options, such as the network name (SSID) and password. Setting up a strong password and enabling security measures ensures the privacy and integrity of your Wi-Fi network. Additionally, configuring the security settings further fortifies your network against potential threats.
Once your network is set up, you can connect your devices to the Wi-Fi network and enjoy seamless, wireless internet access on all your devices.
If you encounter any issues along the way, the troubleshooting tips provided can help you resolve common problems and ensure smooth operation of your network.
Remember to periodically review and update your network’s settings, as well as change the Wi-Fi password to keep your network secure. Consider consulting the router’s documentation or contacting the manufacturer’s support team for further assistance.
With your WiFi router properly set up and functioning, you are now ready to enjoy the convenience and flexibility of wireless internet connectivity. So go ahead, connect your devices, stream your favorite content, work remotely, or simply stay connected with friends and family.
Wishing you a reliable and enjoyable Wi-Fi experience!