Introduction
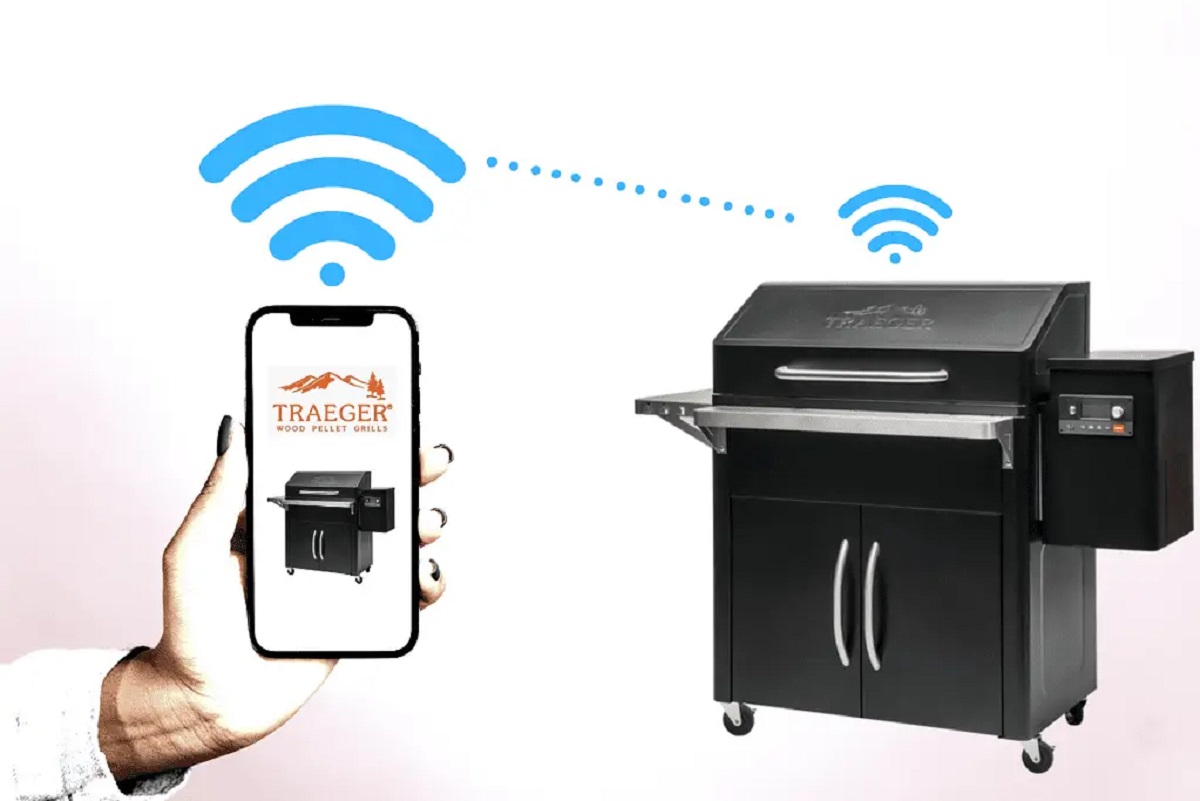
Welcome to the exciting world of Traeger grills! These innovative outdoor cooking appliances make it easy to achieve mouthwatering BBQ flavors in your own backyard. To fully leverage the features of your Traeger grill, it is important to connect it to your home WiFi network. This allows you to control and monitor your grill remotely through the Traeger app, ensuring that you can enjoy deliciously smoky meats and veggies without constantly tending to the grill.
However, connecting your Traeger to a new WiFi network can sometimes be a bit tricky. Whether you’re setting up your grill for the first time or switching to a different network, troubleshooting connectivity issues may arise. But fear not – we’re here to guide you through the process and help you get your Traeger up and running on the new WiFi network hassle-free.
In this article, we will address common connectivity issues, provide step-by-step instructions to connect your Traeger to a new WiFi network, and give you tips on improving WiFi signal strength for optimal Traeger performance. So, grab your apron and let’s dive in!
Troubleshooting common connectivity issues
Encountering connectivity issues when trying to connect your Traeger to a new WiFi network is not uncommon. However, with a few troubleshooting steps, you can overcome these hurdles and get your grill connected seamlessly. Let’s explore some common issues and their potential solutions:
- Weak WiFi signal: One of the most common issues is a weak WiFi signal. Ensure that your Traeger grill is within range of your router and that there are no obstructions, such as walls or other devices, blocking the signal. You may consider moving your router closer to the grill or using WiFi extenders to boost the signal strength.
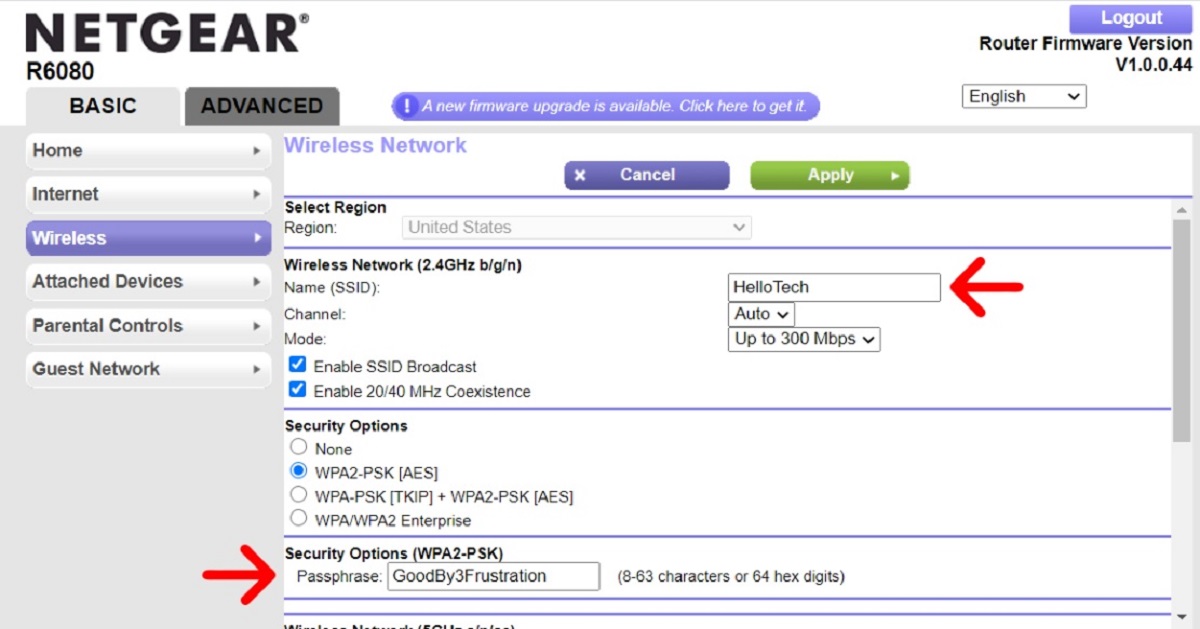
- Incorrect network credentials: Double-check that you are entering the correct WiFi network name (SSID) and password. It’s easy to mistype or confuse characters, so carefully verify the credentials before proceeding. If you’re not sure, you can find your WiFi network information on your router or contact your Internet service provider for assistance.
- Network compatibility: Traeger grills support 2.4GHz WiFi networks. If you have a dual-band router, make sure that you’re connecting to the 2.4GHz network, as the Traeger controller may not detect or connect to the 5GHz network.
- Firewall or security settings: Some routers have strict firewall or security settings that could interfere with the Traeger’s connection. Temporarily disable any firewalls or security software to see if it resolves the issue. If it does, adjust the settings accordingly or consult your router’s documentation for further guidance.
- Software updates: Ensure that both your Traeger grill and controller software are up to date. Outdated software can sometimes cause connectivity issues. Check for any available updates in the Traeger app or on the official Traeger website and follow the instructions to install them.
By addressing these common connectivity issues, you can significantly improve your chances of successfully connecting your Traeger to a new WiFi network. If you continue to experience difficulties, don’t hesitate to reach out to Traeger customer support for further assistance. Now that we’ve covered troubleshooting, let’s move on to the steps for connecting your Traeger grill to a new WiFi network.
Steps to connect your Traeger to a new WiFi network
Connecting your Traeger grill to a new WiFi network is a straightforward process. Follow these step-by-step instructions to ensure a successful connection:
- Prepare your Traeger grill: Ensure that your grill is powered on and in an idle state. Make sure the hopper is filled with pellets and that there are no active grilling or cooking processes.
- Access the grill’s control panel: Depending on your Traeger model, you’ll need to locate and access the grill’s control panel. This may be a physical control panel on the grill itself or a digital interface on the Traeger app.
- Enter the setup mode: Look for the WiFi setup option on the control panel or within the Traeger app. The exact steps may vary depending on your model, but it usually involves pressing specific buttons or navigating through the menu to access the WiFi setup mode.
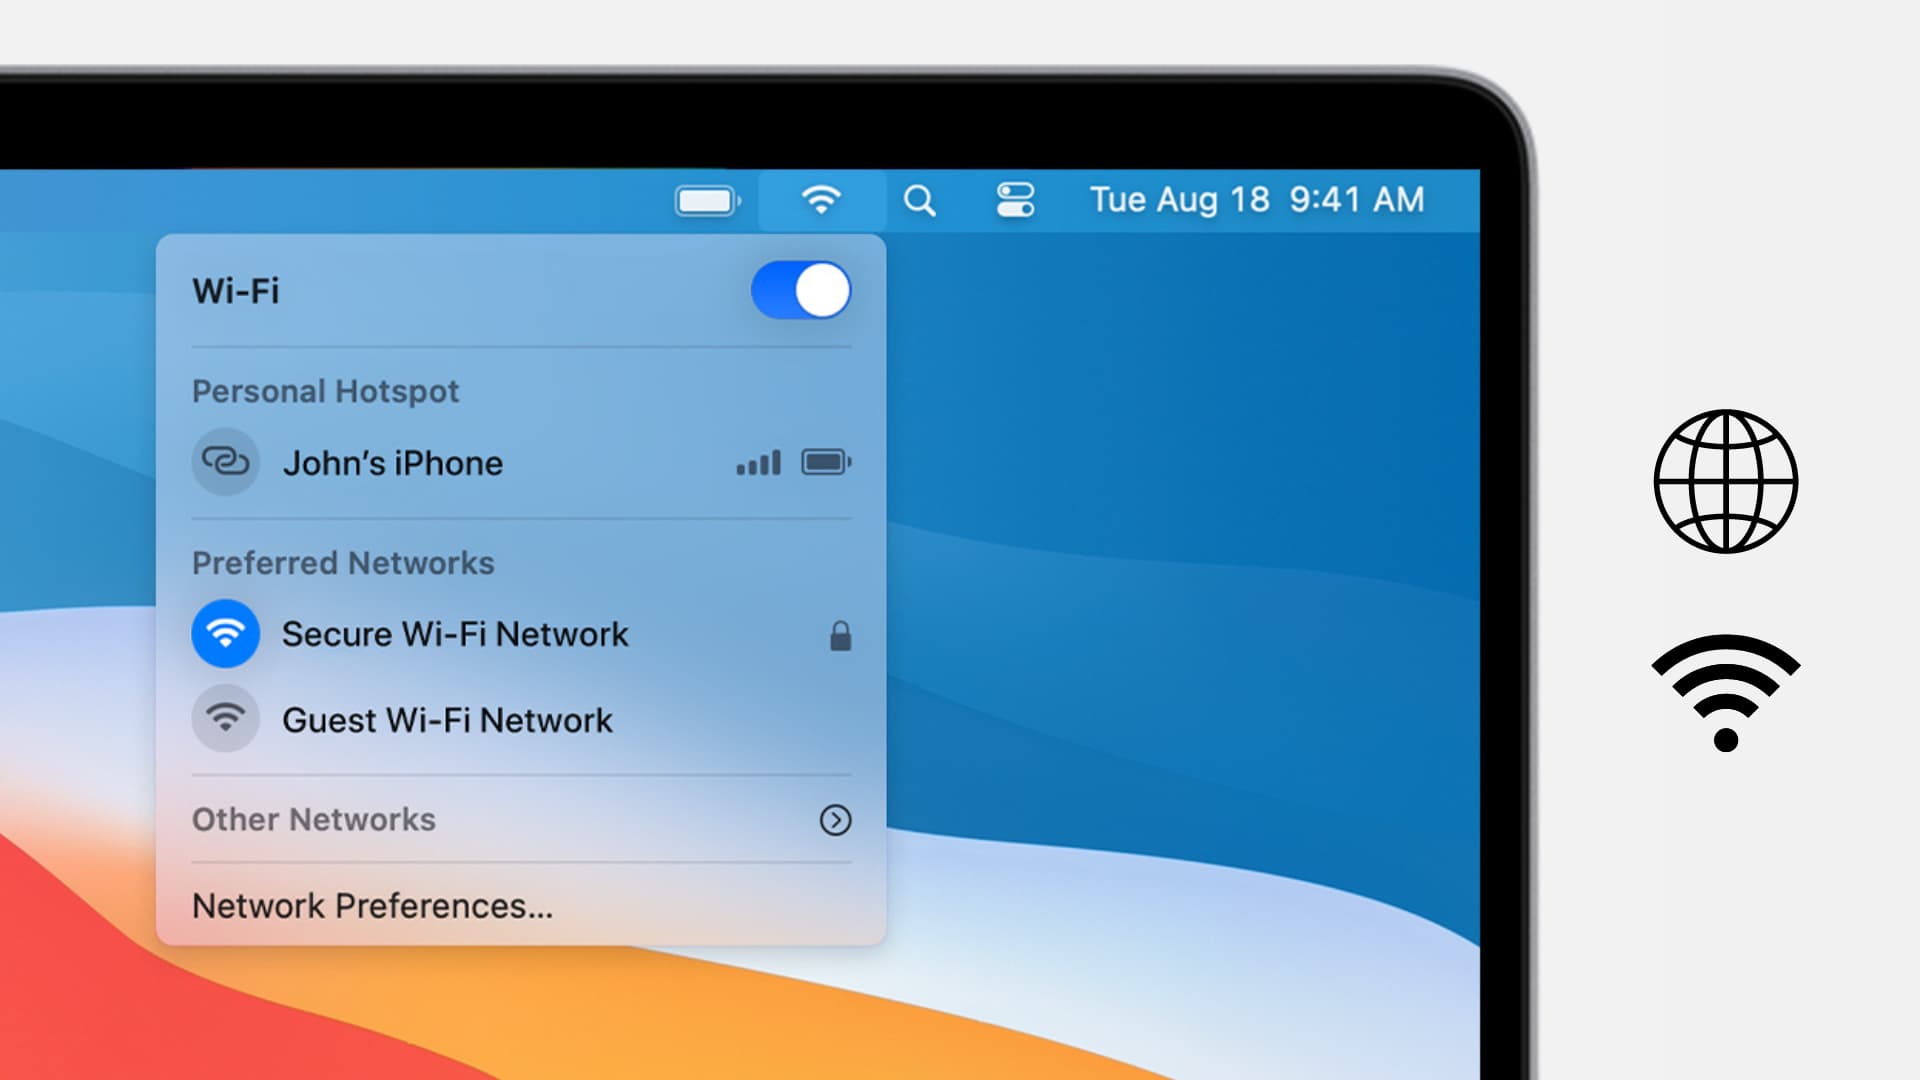
- Select the WiFi network: Once in the setup mode, you’ll be prompted to select the WiFi network you want to connect to. Choose the network from the available options. If your network doesn’t appear, make sure it is within range.
- Enter the network credentials: After selecting the WiFi network, you’ll be prompted to enter the network password (if applicable). Use the on-screen keyboard or the Traeger app to enter the password correctly. Double-check for any typos or mistakes before proceeding.
- Wait for the connection: Once you’ve entered the network credentials, your Traeger grill will attempt to connect to the selected WiFi network. It may take a few moments for the connection to establish. During this time, make sure the grill remains powered on and within range of the WiFi signal.
- Confirm the connection: Once the connection is established, the control panel or Traeger app will display a confirmation message indicating a successful connection to the new WiFi network. Take note of this confirmation to ensure that the connection is established correctly.
Voila! Your Traeger grill is now connected to the new WiFi network. You can now control and monitor your grill remotely through the Traeger app, allowing you to adjust temperature settings, check cook times, and even receive notifications right from your smartphone.
Keep in mind that the steps above may vary slightly depending on your Traeger model and software version. Always refer to the official Traeger documentation or consult the Traeger customer support team if you encounter any difficulties during the setup process. With your Traeger now connected, let’s move on to the next section, where we’ll explore how to reset your Traeger controller if needed.
How to reset your Traeger controller if needed
If you’re experiencing persistent connectivity issues or other technical difficulties with your Traeger grill, resetting the controller can often resolve the problem. Here are the steps to reset your Traeger controller:
- Power off the grill: Make sure the grill is turned off and unplugged from the power source.
- Locate the reset button: Look for a small reset button on the control panel of your Traeger grill. It is usually located on the back or side of the panel.
- Press and hold the reset button: Using a small pin or paperclip, press and hold the reset button for about 5 seconds. You may need to use some force to engage the button.
- Release the reset button: After holding the reset button for the specified time, release it. The controller will reset, and any previous settings or configurations will be erased.
- Power on the grill: Plug the grill back into the power source and turn on the power. Wait for the grill to start up and enter the initial setup mode.
- Reconnect to WiFi: Follow the steps outlined in the previous section to connect your Traeger grill to a new WiFi network.
Resetting the Traeger controller can help resolve many issues, such as connectivity problems, unresponsive controls, or erratic behavior. However, keep in mind that performing a reset will erase any existing settings or configurations that you may have customized previously.
If resetting the controller does not resolve your technical issues or if you require further assistance, don’t hesitate to reach out to Traeger customer support. Their knowledgeable team can provide additional troubleshooting steps and guide you through the process to ensure optimal performance of your Traeger grill.
Now that we’ve covered the steps for resetting your Traeger controller if needed, let’s move on to the next section, where we’ll explore tips for improving WiFi signal strength for better Traeger performance.
Tips for improving WiFi signal strength for better Traeger performance
A strong and stable WiFi signal is crucial for optimal performance when using your Traeger grill. To ensure a reliable connection and enhance your grilling experience, consider implementing these tips to improve your WiFi signal strength:
- Position your router correctly: Place your WiFi router in a central location within your home, away from walls or other obstructions. This will help maximize the signal coverage and reduce interference.
- Reduce interference: Keep your WiFi router away from other electronic devices, such as cordless phones, baby monitors, or microwave ovens. These devices can interfere with the WiFi signal and affect connectivity.
- Use a WiFi extender or mesh network: If your Traeger grill is located far away from your router, consider using a WiFi extender or a mesh network system. These devices can help boost the WiFi signal and extend its range to reach your grill more effectively.
- Upgrade your router: If you’ve had your router for a long time, it may be worth considering an upgrade to a more powerful and modern router. Newer routers often have improved signal strength and better coverage, resulting in enhanced performance for your Traeger grill.
- Optimize router settings: Access your router’s administration settings and ensure that it is set to operate on the 2.4GHz frequency band. Additionally, adjust the channel settings to avoid congestion from neighboring networks and minimize interference.
- Secure your WiFi network: Enable a strong password and encryption for your WiFi network. This will not only protect your network from unauthorized access but also improve its performance by reducing the chances of interference from nearby networks.
- Upgrade your internet plan: If you consistently experience slow or unreliable WiFi connection, it may be a sign that your internet plan doesn’t offer sufficient bandwidth. Consider upgrading to a higher-speed plan to ensure smooth and uninterrupted connectivity.
By implementing these tips, you can significantly enhance the WiFi signal strength and ensure a reliable and seamless connection between your Traeger grill and the Traeger app. This will allow you to effortlessly control and monitor your grill, enabling you to achieve perfect grilling results every time.
Remember, it’s essential to regularly check and maintain your WiFi network to ensure optimal performance. By following these tips, you can maximize your Traeger grill’s potential and enjoy the convenience and precision of remote operation.
Now that we’ve explored tips for improving WiFi signal strength let’s conclude this article.
Conclusion
Congratulations! You are now equipped with the knowledge and steps to successfully connect your Traeger grill to a new WiFi network. By troubleshooting common connectivity issues, following the setup process, and implementing tips to improve WiFi signal strength, you can ensure a seamless connection and enhance your Traeger grilling experience.
Remember to double-check your network credentials, verify your WiFi signal strength, and keep your Traeger controller and software up to date for optimal performance. If you encounter any difficulties along the way, don’t hesitate to reach out to Traeger customer support for assistance.
With your Traeger grill connected to WiFi, you can unlock the full potential of remote control and monitoring through the Traeger app. Adjust temperatures, check cook times, and receive notifications all from the convenience of your smartphone. Whether you’re grilling up a perfect steak or slow-cooking a rack of ribs, the Traeger and WiFi connectivity combine to make your grilling experience more effortless and enjoyable.
So, fire up your Traeger grill, connect it to your new WiFi network, and get ready to impress your friends and family with deliciously smoked and grilled masterpieces. Happy grilling!