Introduction
Welcome to this guide on how to change the Cox WiFi name. Your WiFi name, also known as the network name or SSID (Service Set Identifier), is the name that appears when you search for available wireless networks to connect to. Changing your WiFi name can help personalize your network and make it easier to identify among others.
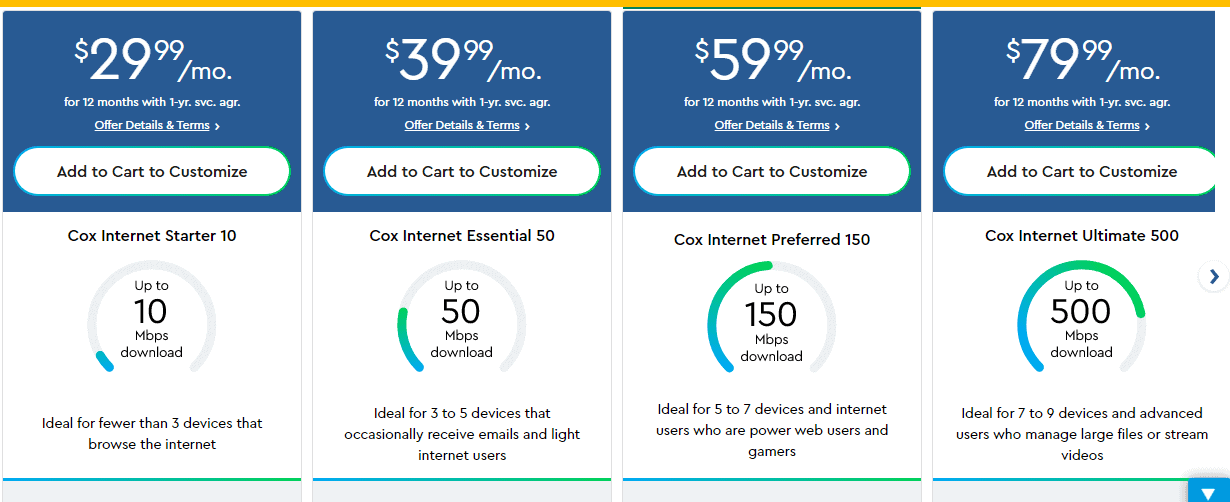
Cox Communications is a popular internet service provider that offers reliable and high-speed internet connections to homes and businesses. If you are a Cox subscriber and want to change your WiFi name, you have come to the right place. In this article, we will walk you through the step-by-step process of changing your Cox WiFi name.
Before we begin, it’s important to note that accessing your router settings and making changes to your WiFi network requires administrative access. Therefore, you need to ensure that you have the necessary credentials and permissions to modify the settings. Additionally, the steps provided in this guide may vary slightly depending on the specific router model you have. Nevertheless, the general process should remain consistent.
Changing your Cox WiFi name can be useful for several reasons. Firstly, it allows you to personalize your network and choose a name that reflects your personality or interests. Secondly, if you live in a densely populated area where multiple WiFi networks are present, having a unique and easily identifiable WiFi name can help you distinguish your network from others. Lastly, changing your WiFi name can improve security by making it more challenging for potential intruders to identify your network.
By the end of this guide, you will be equipped with the knowledge and confidence to change your Cox WiFi name. So let’s dive in and begin the process of customizing your network to suit your preferences.
Step 1: Accessing the Router Settings
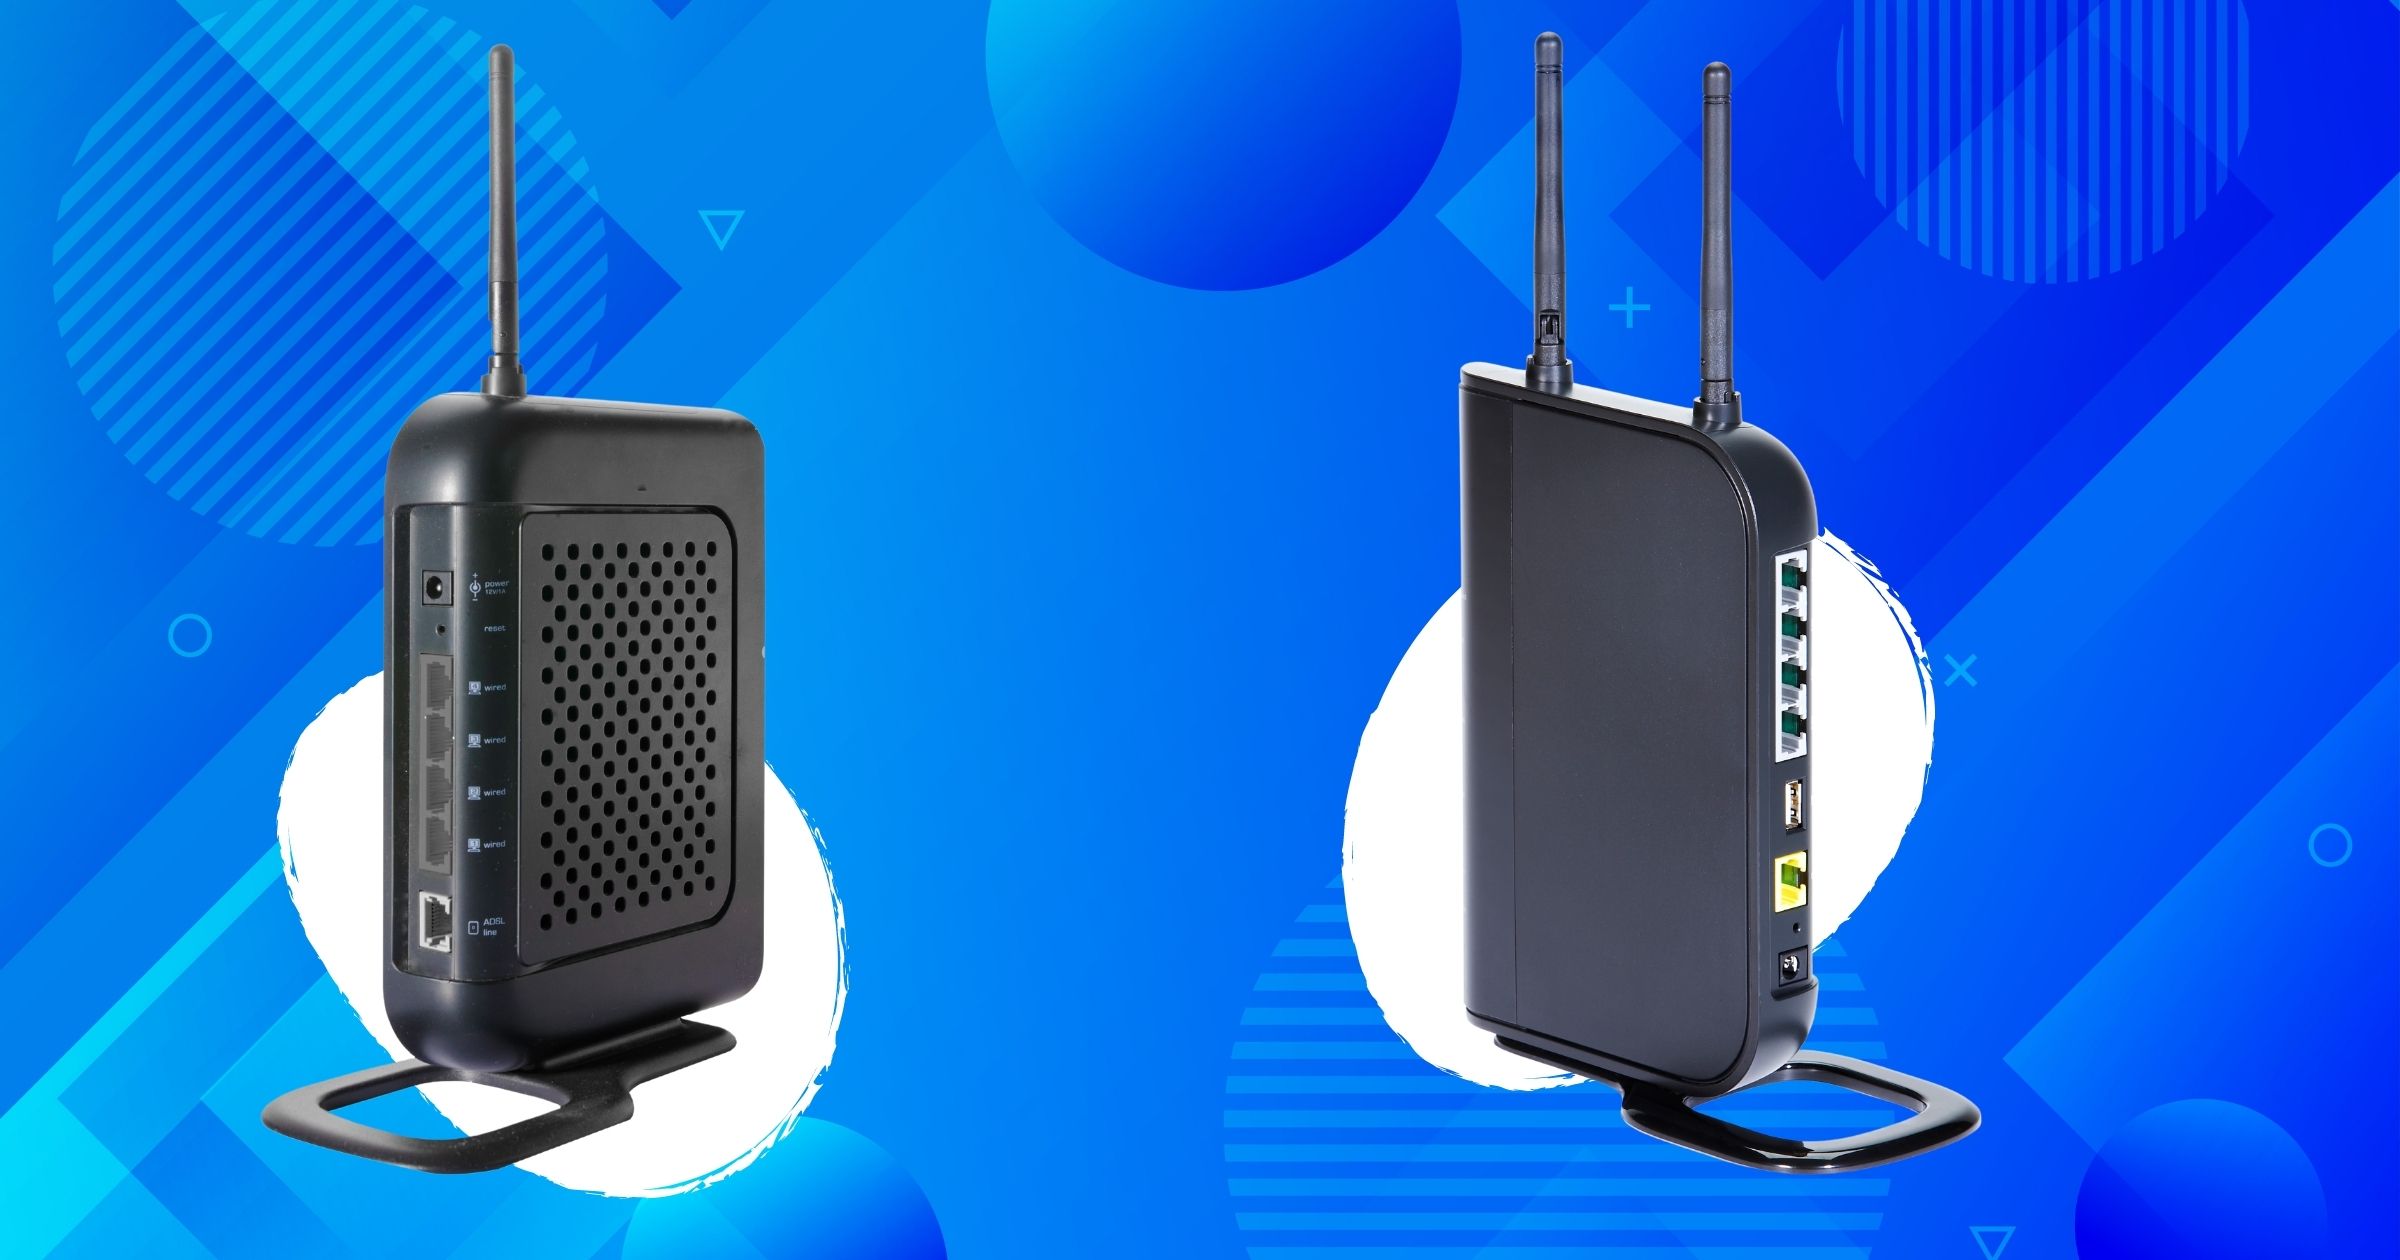
To change your Cox WiFi name, you need to access the router settings. The router is the device that connects your devices to the internet and manages your WiFi network. Here’s how you can access the router settings:
- Ensure that your computer or mobile device is connected to the Cox WiFi network. You can do this by selecting the Cox WiFi network from the list of available networks and entering the password if prompted.
- Open your preferred web browser on the connected device. It could be Google Chrome, Mozilla Firefox, Safari, or any other browser you use.
- In the address bar of the browser, type in the default IP address of the router. For most Cox routers, the default IP address is either “192.168.0.1” or “192.168.1.1”. Press Enter to proceed.
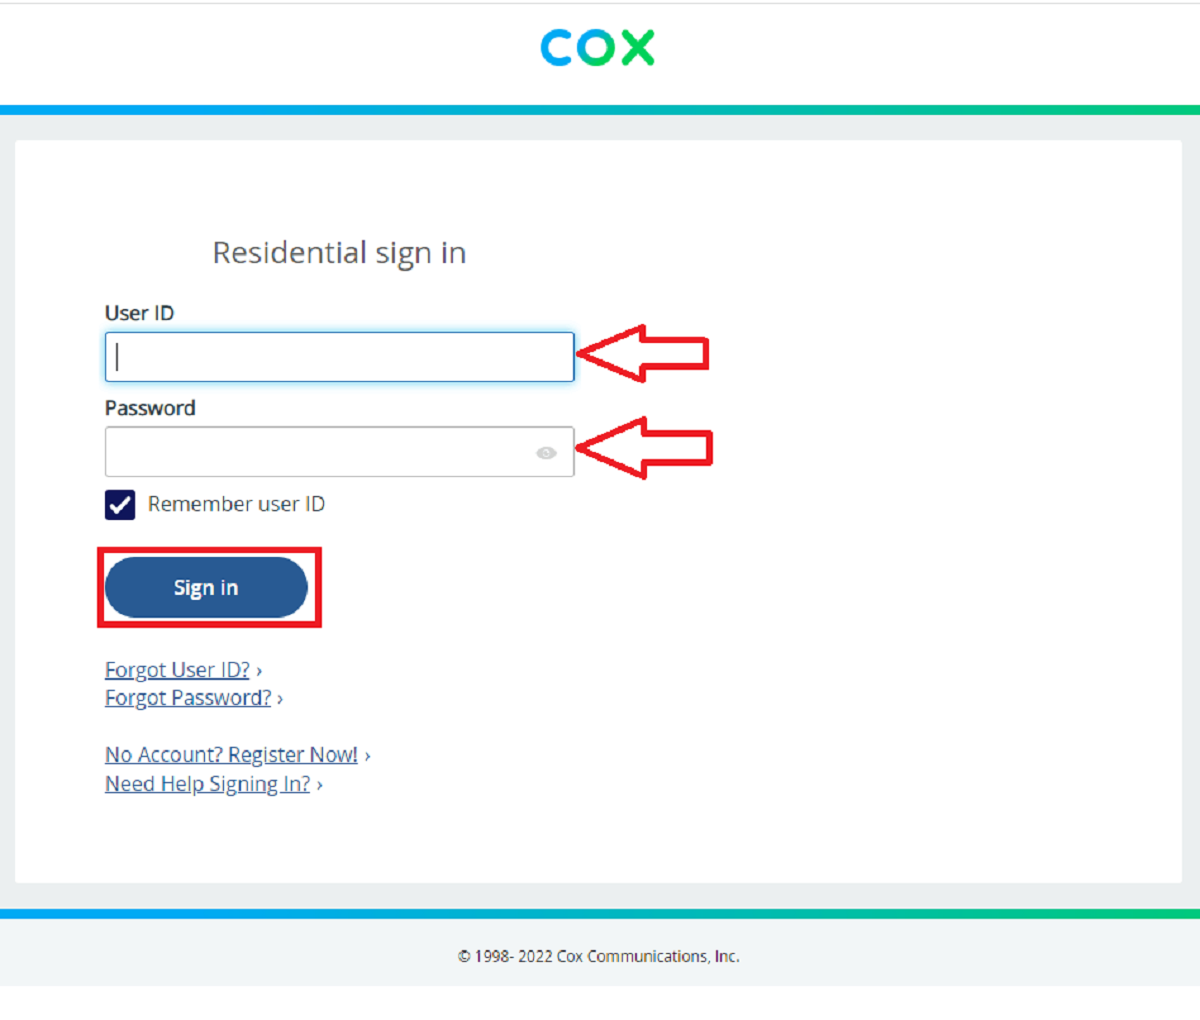
- A login page will appear, prompting you to enter the router’s username and password. If you haven’t changed these credentials before, you can find them on the sticker located on the router itself or in the documentation that came with it. Enter the username and password to log in.
- After successfully logging in, you will be directed to the router’s admin panel or settings page. This is where you can make changes to your WiFi network.
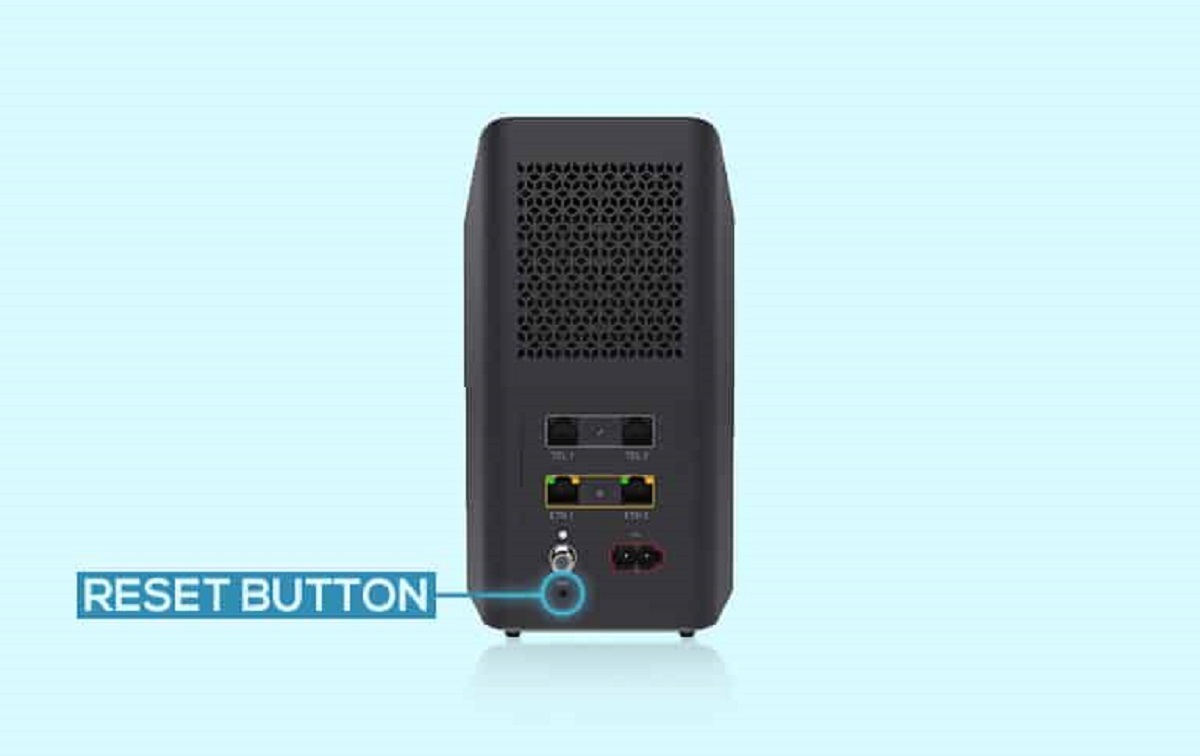
It’s important to note that if you have changed the default IP address, username, or password of your Cox router, you will need to use the updated credentials to log in. If you’re unable to locate or remember the credentials, you may need to reset the router to its factory settings by pressing the reset button on the router for a few seconds. However, be aware that resetting the router will erase any custom settings you have made.
Once you have successfully accessed the router settings, you are ready to proceed to the next step in the process: finding the wireless settings.
Step 2: Finding the Wireless Settings
After accessing the router settings, the next step is to locate the wireless settings section. This is where you can make changes to your Cox WiFi name. Follow these steps to find the wireless settings:
- Look for a tab or menu option labeled “Wireless” or “WiFi.” It may be located at the top or sidebar of the router settings page. Click on this tab to proceed.
- Once you’re on the wireless settings page, you should see various options related to your WiFi network. Look for a field or option that mentions “Network Name,” “SSID,” or something similar. This is where you can change your Cox WiFi name.
- Take note of the current WiFi name (SSID), as it will help you identify the network you are currently connected to.
Depending on your Cox router model and firmware version, the layout and labeling of the settings page may vary slightly. However, most routers have a clear and intuitive interface that makes it easy to find the wireless settings section. If you’re having trouble locating the wireless settings, you can refer to the router’s user manual or perform a quick online search using your specific router model as a keyword.
Now that you have found the wireless settings section, you are ready to proceed to the next step: changing the network name (SSID) of your Cox WiFi network.
Step 3: Changing the Network Name (SSID)
Once you have accessed the wireless settings section of your Cox router, you can proceed to change the network name, also known as the SSID. Follow these steps to change the SSID:
- Locate the field or option where you can edit the SSID. It may be labeled as “Network Name,” “SSID,” or something similar.
- Delete the existing SSID or network name and enter your desired new name. Keep in mind that the SSID can be up to 32 characters long and may contain letters, numbers, and certain special characters.
- It’s a good practice to choose a unique and easily identifiable name for your WiFi network. Consider using a combination of your name, address, or any other personalized element that will make it easier for you and your guests to recognize your network.
Changing the network name provides you with an opportunity to personalize your wireless network and make it stand out among others. Additionally, it can be helpful if you live in a crowded area with multiple WiFi networks, as it allows you to easily identify and connect to your own network.
While changing the SSID, refrain from using any personal or sensitive information as it may be visible to others within range. It’s always important to prioritize your security and privacy when setting up your WiFi network.
Once you have entered your desired new SSID, double-check the spelling and make sure there are no typos. It’s essential to be accurate to avoid any connectivity issues or confusion in the future.
Now that you’ve successfully changed the network name, it’s time to save the new settings, which will be covered in the next step.
Step 4: Saving the New Network Name
After changing the network name (SSID) of your Cox WiFi network, it’s important to save the new settings to ensure that the changes take effect. Follow these simple steps to save the new network name:
- Look for a “Save” or “Apply” button on the wireless settings page. This button is usually located at the bottom or side of the page.
- Click on the “Save” or “Apply” button to save the new network name and apply the changes. This often triggers the router to restart and apply the updated settings.
- Depending on your router model, it may take a few seconds or minutes for the changes to be implemented. During this time, you may experience a brief interruption in your WiFi connection. Don’t worry, this is normal.
Saving the new network name is a crucial step to ensure that the changes are applied and visible on all devices connecting to your Cox WiFi network. Make sure not to close or refresh the web browser during this process, as it may interrupt the saving process.
Once the changes are saved and the router has restarted, your Cox WiFi network will be broadcasting with the new network name (SSID). It’s important to note that all devices currently connected to the network will be disconnected and will need to reconnect to the updated network name.
Now that you have successfully saved the new network name, you can proceed to the final step: reconnecting your devices to the updated Cox WiFi network
Step 5: Reconnecting Devices to the New Network Name
After changing the network name (SSID) of your Cox WiFi network and saving the new settings, you will need to reconnect your devices to the updated network name. Follow these steps to ensure all your devices are connected to the new network name:
- On each device that was previously connected to your Cox WiFi network, navigate to the list of available WiFi networks.
- Locate your new network name (SSID) in the list. It should now be displayed with the updated name you chose.
- Select your new network name and click on the “Connect” or “Join” button. If prompted, enter the WiFi password for your network.
- Wait for the device to establish a connection to the network. This may take a few seconds or minutes, depending on the device and the strength of the signal.
- Repeat these steps for each device you want to connect to the new Cox WiFi network name. Ensure that you update the WiFi settings on all devices connected to your network, including smartphones, tablets, laptops, and smart home devices.
Reconnecting your devices to the new network name is crucial to ensure uninterrupted internet access and to enjoy all the benefits of your updated network name. It’s important to remember to update the WiFi settings on all devices that were previously connected to your Cox WiFi network to avoid any issues with connectivity.
Once all your devices are successfully reconnected to the new network name, you can start enjoying your personalized Cox WiFi network. You will now be able to easily identify your network among other nearby networks and enjoy a seamless internet browsing experience.
Congratulations! You have successfully changed your Cox WiFi name, saved the new settings, and reconnected your devices to the updated network name. By following these steps, you have personalized and customized your Cox WiFi network to fit your preferences. Enjoy your newly named network!
Conclusion
Changing your Cox WiFi name can be a simple yet effective way to personalize your network and make it easily identifiable. In this guide, we have provided a step-by-step process to help you change your Cox WiFi name successfully. Let’s recap the steps:
- Accessing the Router Settings: Log in to your router’s admin panel using the default or updated credentials.
- Finding the Wireless Settings: Locate the wireless settings section in the router settings page.
- Changing the Network Name (SSID): Enter a new, unique, and easily identifiable network name for your Cox WiFi network.
- Saving the New Network Name: Save the changes and allow the router to restart.
- Reconnecting Devices to the New Network Name: On each device, connect to the updated network name by selecting it from the list of available WiFi networks.
By following these steps, you have successfully customized your Cox WiFi network to your liking. You can now enjoy a more personalized, easily identifiable network that suits your preferences. Remember to update the WiFi settings on all devices connected to your network to ensure uninterrupted internet access.
If you encounter any issues during the process or have any additional questions, it’s always recommended to consult the Cox customer support or refer to the router’s user manual for further assistance. They will be able to provide you with specific guidance based on your router model and firmware version.
Thank you for choosing this guide to change your Cox WiFi name. We hope this information has been helpful, and you can now enjoy a more personalized and easily recognizable network. Happy browsing!