Introduction
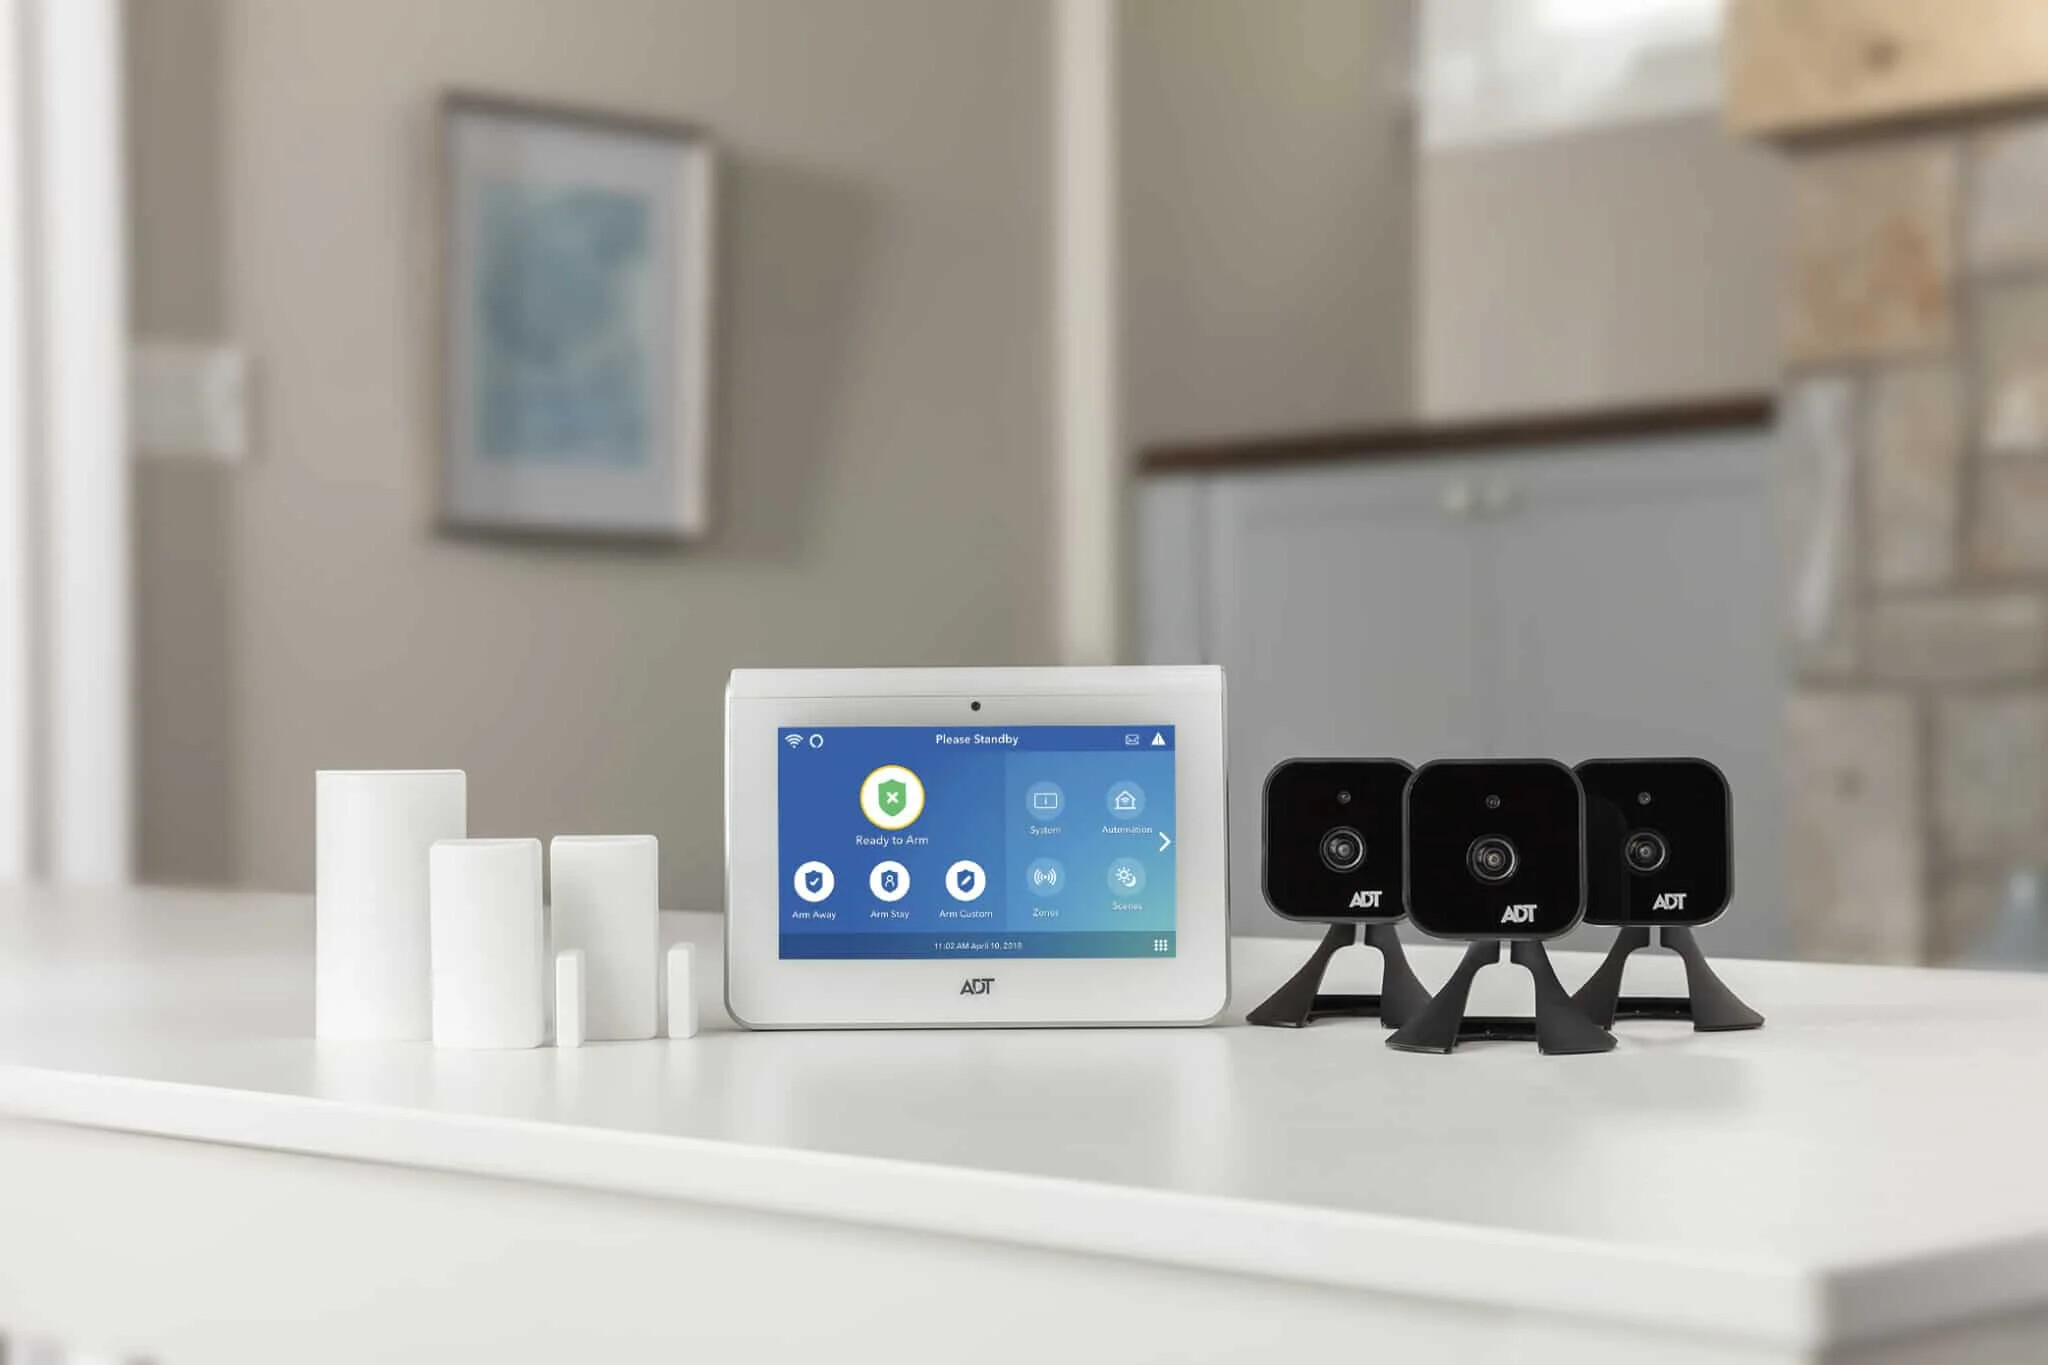
Welcome to the world of smart home security! ADT has been a trusted name in home security systems for decades, and now they offer a range of convenient features to help you stay connected to your home even when you’re away. One such feature is the ability to connect your ADT camera to your Wi-Fi network, allowing you to easily monitor your property from anywhere.
In this guide, we will walk you through the step-by-step process of connecting your ADT camera to Wi-Fi. Whether you’re a tech-savvy individual or just starting to explore the wonders of wireless connectivity, you’ll find this guide easy to follow and understand.
Before we dive into the steps, it’s important to ensure that you have all the necessary requirements. These include a compatible ADT camera, a reliable Wi-Fi network, and a smartphone or tablet with the ADT Pulse app installed. By having these essentials ready, you’ll be prepared to set up and enjoy the convenience of remote camera access.
Step 1: Check the Camera Requirements
Before you begin the setup process, it’s crucial to ensure that your ADT camera meets the necessary requirements for Wi-Fi connectivity. Checking these requirements will save you time and frustration later on. Here’s what you need to look for:
- Compatibility: Make sure that your ADT camera model supports Wi-Fi connectivity. Some older models may require additional hardware or firmware updates to enable this feature. Refer to the camera’s user manual or ADT’s official website for information on compatibility.
- Power Source: Most ADT cameras require a stable power source to function. Check if your camera needs to be plugged into an electrical outlet or if it is battery-powered. If it requires an outlet, ensure that you have a nearby power source available.
- Wi-Fi Network: To connect your camera to Wi-Fi, you’ll need to have a reliable wireless network available. Check if your Wi-Fi network meets the necessary specifications, including network name (SSID) and password requirements. If you haven’t already set up a Wi-Fi network, consult your internet service provider or router’s documentation to get started.
- Mobile Device: You’ll need a smartphone or tablet to download the ADT Pulse app and complete the camera setup process. Ensure that your device meets the minimum system requirements specified by ADT for their app.
By confirming these camera requirements, you’ll be ready to move on to the next steps of the setup process. If you’re unsure about any of the requirements or need further clarification, don’t hesitate to reach out to ADT’s customer support for assistance. Now that we’ve ensured your camera meets the necessary criteria, let’s move on to the next step: connecting the camera to power.
Step 2: Connect the Camera to Power
Now that you have confirmed the camera requirements, it’s time to connect your ADT camera to a power source. The method will depend on whether your camera requires an electrical outlet or if it is battery-powered. Here are the steps for both scenarios:
- Electrical Outlet: If your camera needs to be plugged into an electrical outlet, find a suitable location near the camera’s intended placement. Make sure the outlet is easily accessible and not obstructed by furniture or other objects. Insert the camera’s power adapter into the outlet and connect the other end to the camera. Ensure that the connection is secure and the camera’s power indicator light turns on, indicating that it is receiving power.
- Battery-Powered: For battery-powered cameras, check the camera’s user manual for specific instructions on installing or replacing the batteries. If the camera comes with rechargeable batteries, ensure that they are fully charged before proceeding with the setup process. Insert the batteries into the camera as directed, making sure to follow the correct polarity (+/-). Once the batteries are inserted, turn on the camera and check for any power indicators.
It’s important to note that if you’re using a battery-powered camera, regular maintenance will be required to ensure optimal performance. Keep an eye on the battery life and replace or recharge the batteries as needed.
By successfully connecting your ADT camera to power, you have taken the first step towards enjoying the benefits of remote monitoring. In the next step, we will discuss how to download the ADT Pulse app onto your mobile device. So let’s move forward and continue setting up your camera!
Step 3: Download the ADT Pulse App
With your ADT camera connected to power, it’s time to download the ADT Pulse app onto your smartphone or tablet. The ADT Pulse app allows you to easily control and manage your ADT camera and other smart home devices from one centralized location. Follow these steps to get started:
- Open the App Store: Depending on your mobile device, open either the App Store (for iOS devices) or the Google Play Store (for Android devices) from your home screen.
- Search for ADT Pulse: In the search bar within the app store, type in “ADT Pulse” and tap the search icon.
- Select the App: Locate the official ADT Pulse app from the search results and tap on it to access the app’s details and download page.
- Download and Install: On the app’s download page, tap the “Download” or “Install” button. The app will begin downloading and installing on your device.
- Open the App: Once the ADT Pulse app is installed, locate its icon on your device’s home screen or app drawer and tap to open it.
- Sign In or Create an Account: If you already have an ADT Pulse account, enter your login credentials (username and password). Otherwise, tap on the “Create Account” or “Sign Up” option to register a new account.
Upon successful login or account creation, you will have access to the ADT Pulse app’s features and functionalities. Next, we’ll dive into the process of creating an ADT Pulse account, which is necessary to connect your camera to Wi-Fi. So, let’s move on to the next step!
Step 4: Create an ADT Pulse Account
In order to connect your ADT camera to Wi-Fi and access its features through the ADT Pulse app, you will need to create an ADT Pulse account. Follow these steps to create your account:
- Open the ADT Pulse App: Launch the ADT Pulse app on your mobile device.
- Select “Create Account”: If you haven’t created an account yet, tap on the “Create Account” option on the app’s login screen. If you already have an account, simply enter your login credentials and proceed to the next step.
- Provide Your Information: Fill out the required fields, including your full name, email address, and a secure password. Ensure that you choose a password that meets the specified security requirements.
- Agree to the Terms and Conditions: Read through the terms and conditions, and if you agree, check the box indicating your acceptance.
- Verify Your Email (Optional): Some ADT Pulse accounts may require email verification. Check your email inbox for a verification email from ADT and follow the instructions provided to verify your email address.
- Complete the Account Setup: Once you’ve filled in your information and agreed to the terms, tap on the “Create Account” or “Sign Up” button to complete the account creation process.
After creating your ADT Pulse account, you will have access to the full range of features available through the app. Now, let’s move on to the next step, where we will delve into accessing the camera settings within the ADT Pulse app. So, let’s continue to the next step!
Step 5: Access the Camera Settings
Now that you have created your ADT Pulse account, it’s time to access the camera settings within the app. This will allow you to configure and connect your ADT camera to your Wi-Fi network. Follow these steps to access the camera settings:
- Launch the ADT Pulse App: Open the ADT Pulse app on your mobile device and log in to your account using your credentials.
- Navigate to Cameras: Once you’re logged in, locate and select the option for “Cameras” within the app’s main menu. This will take you to the camera settings section.
- Add a New Camera (if necessary): If you have not yet added your ADT camera to your account, tap on the “Add Camera” or “Add New Device” button. Follow the on-screen prompts to add your camera to the system.
- Select your Camera: After adding your camera or if it’s already added, select the specific camera you want to connect to Wi-Fi. This will take you to the camera settings page.
- Access Wi-Fi Settings: Within the camera settings page, look for the option to access the camera’s Wi-Fi settings. This option may be labeled as “Wi-Fi Settings,” “Network Settings,” or something similar.
- Choose Wi-Fi Network: Once you’re in the Wi-Fi settings, select your desired Wi-Fi network from the available options. If prompted, enter the network password to connect to the Wi-Fi network.
- Wait for the Connection: After selecting the network and entering the password, wait for the camera to establish a connection to the Wi-Fi network. This process may take a few moments.
- Confirmation: Once the camera is successfully connected to the Wi-Fi network, you will receive a confirmation message or indicator within the app.
Now that your ADT camera is connected to your Wi-Fi network, you’re one step closer to enjoying the benefits of remote monitoring and control. In the next step, we will discuss how to test the camera connection to ensure everything is working as intended. Let’s move on to the next step to proceed!
Step 6: Connect the Camera to Wi-Fi
With the camera settings accessed, it’s time to connect your ADT camera to your Wi-Fi network. This step is crucial as it establishes the wireless connection that allows you to remotely monitor and control your camera. Follow these steps to connect your camera to Wi-Fi:
- Access Camera Settings: Launch the ADT Pulse app on your mobile device and navigate to the camera settings section, as mentioned in the previous step.
- Select your Camera: Choose the specific ADT camera you want to connect to Wi-Fi from the available list of cameras.
- Enable Wi-Fi Mode: Within the camera settings, look for an option to enable Wi-Fi mode or connect to a wireless network. This option might be labeled as “Wi-Fi,” “Wireless Network,” or something similar.
- Scan for Wi-Fi Networks: Tap on the option to scan for available Wi-Fi networks. The app will search for nearby networks and display them in a list.
- Select your Wi-Fi Network: From the list of available networks, select your desired Wi-Fi network. If prompted, enter the network password to establish the connection.
- Wait for Connection: After selecting the network and entering the correct password, wait for the camera to establish a connection to the Wi-Fi network. This may take a few moments.
- Confirmation: Once the camera successfully connects to the Wi-Fi network, you will receive a confirmation message or indicator within the app.
Congratulations! Your ADT camera is now connected to your Wi-Fi network, allowing you to access and control it remotely through the ADT Pulse app. In the next step, we will discuss how to test the camera connection to ensure everything is working correctly. Let’s move on to the next step to proceed!
Step 7: Test the Camera Connection
Once you have connected your ADT camera to your Wi-Fi network, it’s important to test the camera connection to ensure that it’s working properly. By conducting this test, you can verify that you’re able to view the camera feed and control it remotely through the ADT Pulse app. Follow these steps to test the camera connection:
- Launch the ADT Pulse App: Open the ADT Pulse app on your mobile device and log in to your account if you’re not already logged in.
- Navigate to Cameras: From the app’s main menu, select the “Cameras” option to access your camera list.
- Select your Camera: Choose the specific ADT camera you want to test from the list of cameras.
- View the Camera Feed: Tap on the camera feed or the play button to view the live feed from the camera. Ensure that you can see a clear and real-time video stream.
- Test Remote Control: Try out the various controls available within the app, such as panning, tilting, zooming, or adjusting settings. Ensure that these controls are responding correctly and that you can manipulate the camera remotely.
- Check Notifications: If you have enabled motion detection or other alerts for your camera, test if you receive notifications correctly on your mobile device when the camera detects activity.
- Monitor Connectivity: Keep an eye on the camera’s connectivity status within the app. Ensure that the camera remains connected to the Wi-Fi network without any disconnection issues.
If at any point during the testing process you encounter any issues or the camera isn’t functioning as expected, consider referring to the camera’s user manual or contacting ADT customer support for further assistance. It’s important to have a reliable and stable camera connection to ensure the effectiveness of your home security system.
With the camera connection successfully tested, you’re now ready to position and mount your ADT camera in the desired location. In the next step, we will discuss the proper placement and mounting techniques for optimal camera coverage. Let’s move on to the next step to proceed!
Step 8: Position and Mount the Camera
Now that you have tested the camera connection and ensured its functionality, it’s time to position and mount your ADT camera in the optimal location. The proper placement and mounting of the camera play a crucial role in capturing the desired coverage area. Follow these steps to position and mount your camera:
- Select an Ideal Location: Identify the area you want to monitor and choose a suitable location for your camera. Consider factors such as visibility, angle, and coverage area to maximize the camera’s effectiveness.
- Mounting Options: Depending on the camera model and your preference, you can choose to mount the camera using screws, adhesive strips, or magnetic mounts. Follow the instructions specific to your camera model for the appropriate mounting method.
- Adjust Viewing Angle: Before permanently securing the camera, ensure that you adjust the viewing angle to capture the desired area. Tilt, pan, or rotate the camera as needed to achieve the best coverage.
- Screw or Attach the Camera: If using screws, carefully drill holes into the mounting surface as specified in the camera’s instructions. Align the mounting holes on the camera with the drilled holes and use screws to secure it in place. If using adhesive strips or a magnetic mount, follow the manufacturer’s instructions for a secure attachment.
- Final Positioning Check: Once the camera is mounted, check the camera’s field of view to ensure that it aligns with your desired coverage area. Make any necessary adjustments to the position or angle of the camera if needed.
- Secure the Wiring: If your camera requires any wiring or cables, ensure that they are neatly secured along the mounting surface. Use cable clips or tape to keep them in place and prevent any tangling or damage.
It’s important to consider privacy when positioning your camera. Avoid pointing the camera towards areas that may infringe on the privacy of others, such as neighboring properties or public spaces.
By properly positioning and mounting your ADT camera, you will maximize its effectiveness in capturing and monitoring the desired areas. Remember to regularly check the camera’s positioning and adjust if necessary to maintain optimal coverage. With the camera securely mounted, you’re one step closer to enjoying the benefits of a well-equipped home security system.
In the next step, we will provide troubleshooting tips to help you resolve any potential issues that may arise during the camera setup or usage. Let’s move on to the next step to proceed!
Step 9: Troubleshooting Tips
While setting up your ADT camera and using it, you may encounter some unforeseen issues or challenges. Don’t worry – troubleshooting is a normal part of the process. Here are some common troubleshooting tips to help you resolve any potential issues:
- Check Wi-Fi Signal Strength: Ensure that your camera is within the range of your Wi-Fi network. If the signal strength is weak, consider moving the camera closer to your router or consider using a Wi-Fi extender to improve coverage.
- Verify Network Credentials: Double-check that you have entered the correct Wi-Fi network name (SSID) and password when connecting the camera to Wi-Fi. The credentials are case-sensitive, so be mindful of any capitalization or special characters.
- Restart Camera and App: Sometimes, restarting the camera and/or the ADT Pulse app can resolve temporary connectivity issues. Power off the camera, wait a few seconds, and then power it back on. Likewise, close the app, relaunch it, and attempt to reconnect to the camera.
- Ensure Proper Power Supply: Make sure that a reliable power source is connected to your camera. Check the power outlet, power adapter, and any cables involved to ensure they are functioning correctly.
- Update Firmware: Check if there are any firmware updates available for your camera. Updating the firmware can improve performance and fix any known issues. Follow the manufacturer’s instructions for updating the camera’s firmware.
- Reset Camera: If all else fails, you can try resetting the camera to its factory settings. Consult the user manual or contact ADT customer support for instructions on how to reset your specific camera model.
- Contact ADT Support: If you have exhausted all troubleshooting options and are still experiencing issues, don’t hesitate to reach out to ADT’s customer support. They have dedicated professionals who can provide further assistance with technical problems.
Remember, troubleshooting can be a trial-and-error process, so be patient and persistent. Sometimes a simple step, such as resetting the camera or re-entering network credentials, can resolve the issue. With the right troubleshooting techniques, you can ensure that your ADT camera operates smoothly and provides you with the necessary security and peace of mind.
Congratulations! By following these steps and troubleshooting tips, you’ve successfully connected your ADT camera to your Wi-Fi network and positioned it for optimal coverage. Now you can enjoy the benefits of remote monitoring and control through the ADT Pulse app. We hope this guide has been helpful, and may your home security be always reliable and efficient.
Conclusion
Congratulations on successfully connecting your ADT camera to your Wi-Fi network! By following the step-by-step instructions in this guide, you have empowered yourself with the ability to monitor and control your camera remotely through the ADT Pulse app. With the convenience of remote access, you can now keep an eye on your home and loved ones, even when you’re away.
We started by checking the camera requirements, ensuring that you had the necessary equipment and a compatible Wi-Fi network. Then, we walked through the process of connecting the camera to power, downloading the ADT Pulse app, creating an ADT Pulse account, accessing the camera settings, connecting the camera to Wi-Fi, testing the camera connection, and positioning and mounting the camera. We also provided troubleshooting tips for any issues that may arise along the way.
Remember, the positioning and mounting of your ADT camera play a pivotal role in achieving the desired coverage and effectiveness. Take the time to carefully evaluate the optimal location and adjust the camera’s angle to capture the important areas of your home.
If you encounter any further challenges or have additional questions, don’t hesitate to reach out to ADT’s customer support. They have a dedicated team of professionals ready to assist you with any technical issues or concerns you may have.
We hope that this guide has been helpful in enabling you to connect your ADT camera to Wi-Fi and enhance the security of your home. Enjoy the peace of mind that comes with the remote monitoring capabilities offered by ADT. Stay vigilant and rest assured that your home is always monitored and protected.


