Introduction
In today’s digitally connected world, having a reliable Wi-Fi connection is essential. Whether you’re at home, in the office, or on the go, being able to connect to Wi-Fi on your Mac can greatly enhance your productivity and access to the internet. If you’re new to using a Mac or simply need a refresher, this article will guide you through the process of connecting to Wi-Fi on your Mac.
Connecting to Wi-Fi on a Mac is a straightforward process that can be accomplished in just a few simple steps. By following these steps, you’ll be able to browse the web, stream videos, download files, and more, all with the convenience and speed of a Wi-Fi connection.
Before we get started, make sure you have the necessary information on hand. This includes the name (SSID) and password of the Wi-Fi network you wish to connect to. Once you have these details ready, you’re all set to connect to Wi-Fi on your Mac.
In the following sections, we’ll walk you through the step-by-step process of connecting to Wi-Fi on a Mac. We’ll also provide troubleshooting tips for common Wi-Fi connection issues, so you can quickly resolve any problems that may arise. So, grab your Mac, let’s get started on connecting to Wi-Fi!
Step 1: Open the Wi-Fi settings
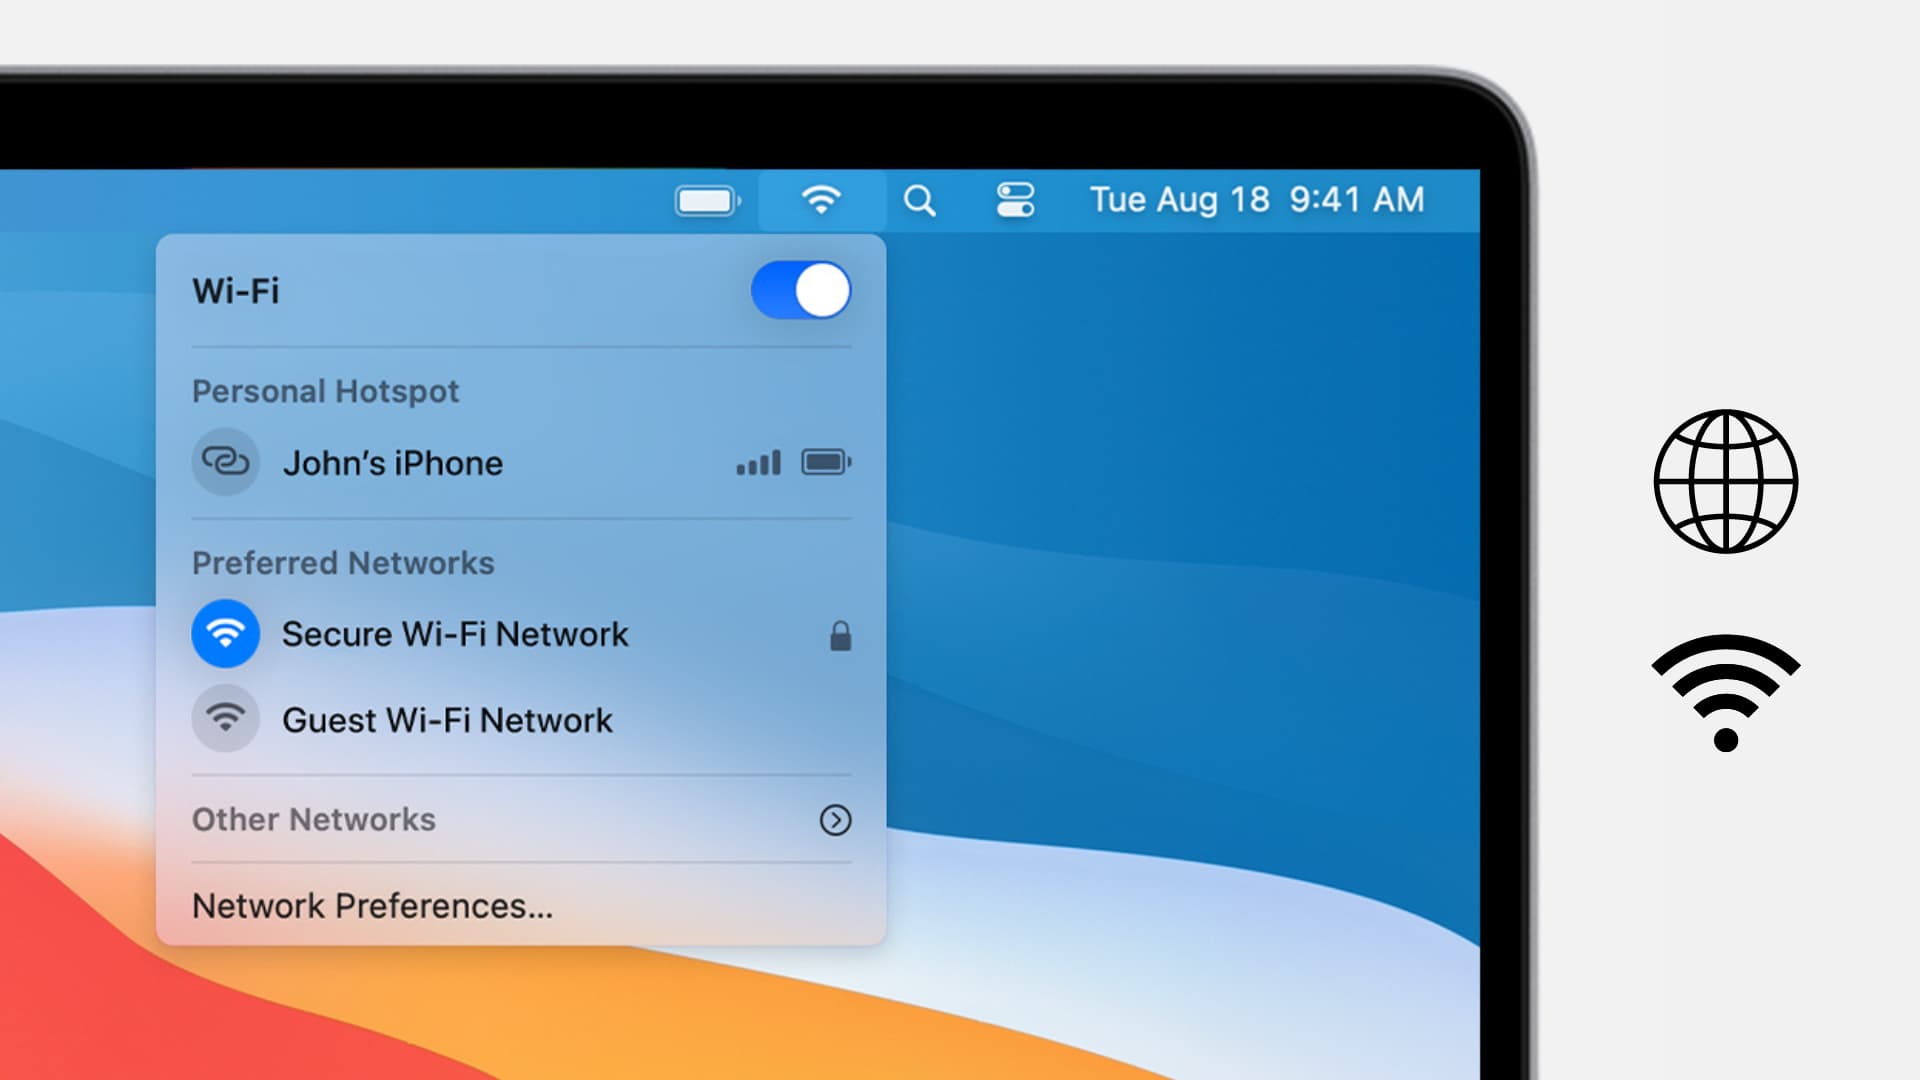
To connect to Wi-Fi on your Mac, the first step is to open the Wi-Fi settings. This will allow you to view and select available Wi-Fi networks in your vicinity. Follow these simple steps to access the Wi-Fi settings:
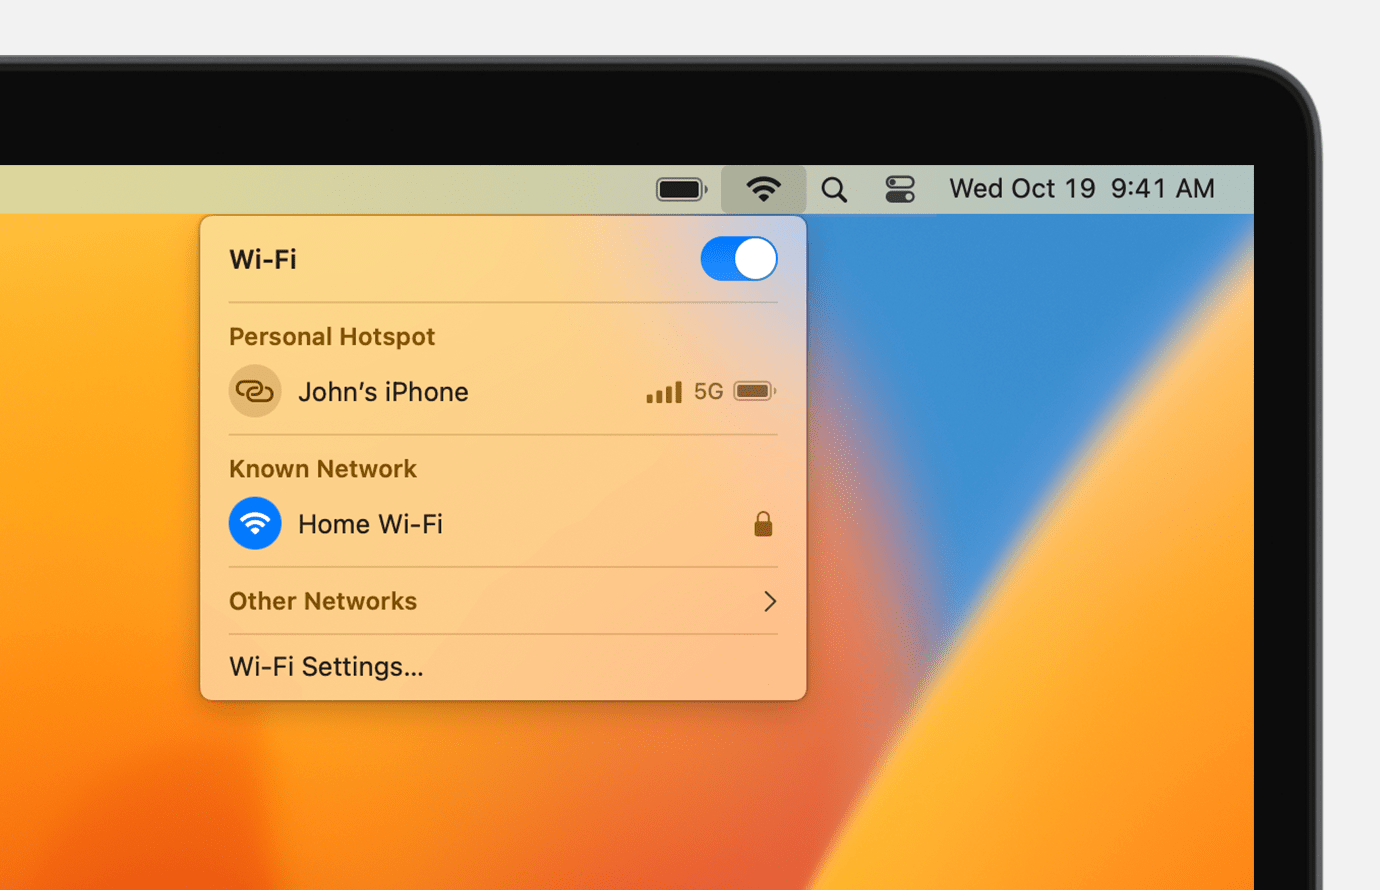
- Click on the Wi-Fi icon in the menu bar at the top right corner of your screen. The icon looks like a series of curved lines.
- A drop-down menu will appear, showing a list of available Wi-Fi networks.
Alternatively, you can open the Wi-Fi settings by navigating to the “System Preferences” menu. Here’s how:
- Click on the Apple menu in the top left corner of your screen.
- Select “System Preferences” from the drop-down menu.
- In the System Preferences window, locate and click on the “Network” icon.
- A new window will open, displaying several network connection options. Make sure the Wi-Fi tab is selected.
Once you have opened the Wi-Fi settings, you’re ready to move on to the next step: selecting the Wi-Fi network you want to connect to.
Step 2: Select the Wi-Fi network
After opening the Wi-Fi settings on your Mac, the next step is to select the Wi-Fi network that you want to connect to. Here’s how you can do it:
- In the list of available Wi-Fi networks, locate the name (SSID) of the network you want to connect to. The networks will be listed with their names and signal strength indicators.
- Click on the name of the Wi-Fi network you wish to connect to. It will be highlighted, indicating that it is selected.
Once you have selected the desired Wi-Fi network, your Mac will attempt to establish a connection to it. If the network is secured with a password, you will be prompted to enter the password in the next step. It’s important to ensure that you are connecting to a trusted Wi-Fi network. Public networks, such as those in cafes or airports, may require additional security measures to protect your data.
If the Wi-Fi network you want to connect to is not listed, make sure that you are within range and that the network is active and visible. You can also try refreshing the network list by clicking the “Refresh” or “Scan” button, depending on your Mac’s operating system version.
Now that you have selected the Wi-Fi network, let’s move on to the next step: entering the Wi-Fi password to establish the connection.
Step 3: Enter the Wi-Fi password
After selecting the Wi-Fi network you want to connect to, the next step is to enter the Wi-Fi password. This password is required to establish a secure connection with the network. Follow these steps to enter the password:
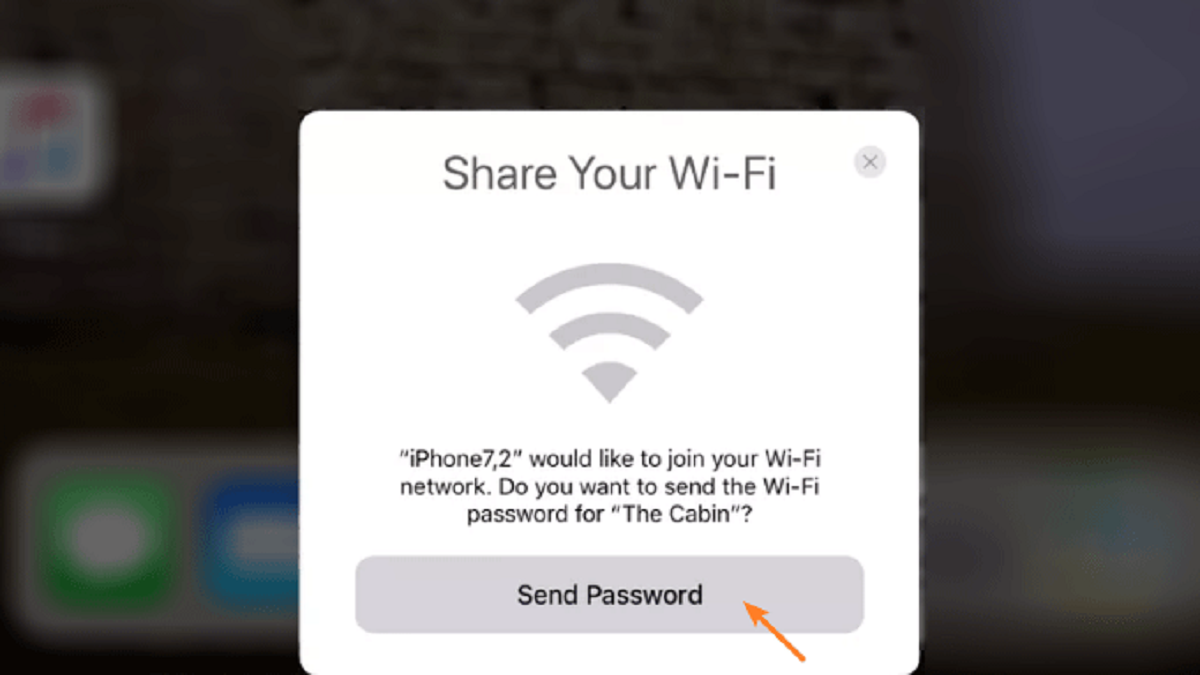
- If the selected Wi-Fi network is secured, a pop-up window will appear, prompting you to enter the network password. The window will display the name of the network and may include additional security details.
- Click on the text field within the pop-up window to activate it.
- Type in the password for the Wi-Fi network. Be careful to enter it correctly, as Wi-Fi passwords are case-sensitive. The password will typically be a combination of letters, numbers, and symbols.
- Once you have entered the password, click the “Join” or “Connect” button located within the pop-up window.
After clicking the “Join” or “Connect” button, your Mac will attempt to establish a connection to the selected Wi-Fi network using the entered password. If the password is correct, your Mac will successfully connect to the network, and the Wi-Fi icon in the menu bar will change to indicate a successful connection. However, if the password is incorrect, you will receive an error message, and you will need to re-enter the password.
Keep in mind that some Wi-Fi networks may have additional security measures, such as a secondary authentication method or a captive portal. In such cases, follow any on-screen instructions or contact the network administrator for further guidance.
Now that you have entered the Wi-Fi password, let’s move on to the next step: connecting to the network to start using the internet on your Mac.
Step 4: Connect to the network
After entering the Wi-Fi password, the next step is to connect to the Wi-Fi network on your Mac. Here’s how you can do it:
- Once you have entered the Wi-Fi password, click the “Join” or “Connect” button within the pop-up window.
- Your Mac will now attempt to connect to the selected Wi-Fi network using the provided password.
- During the connection process, you may see a spinning icon or progress bar indicating that your Mac is trying to establish a connection. The time it takes to connect can vary depending on the network and signal strength.
- Once the connection is established, your Mac will automatically connect to the Wi-Fi network and the Wi-Fi icon in the menu bar will change to indicate a successful connection.
- Congratulations! You are now connected to the Wi-Fi network on your Mac. You can start using the internet and enjoying all the benefits of being connected.
It’s worth noting that your Mac can automatically connect to known Wi-Fi networks that you have connected to in the past. This is a convenient feature that saves you the trouble of manually connecting each time. However, if you prefer to disable this feature or selectively connect to networks, you can adjust the Wi-Fi settings in the System Preferences menu.
If you encounter any issues during the connection process or if your Mac fails to connect to the Wi-Fi network, refer to the troubleshooting tips in the next section. These tips can help you resolve common Wi-Fi connection issues and get you back online.
Now that you have successfully connected to the Wi-Fi network, you can start enjoying a fast and reliable internet connection on your Mac!
Step 5: Troubleshooting common Wi-Fi connection issues
While connecting to Wi-Fi on your Mac is usually a seamless process, there can be instances where you may experience issues. Here are some common Wi-Fi connection issues and troubleshooting tips to help you resolve them:
- Weak Signal: If you’re experiencing a weak Wi-Fi signal, try moving closer to the Wi-Fi router or access point. Physical obstacles such as walls or other electronics can interfere with the signal strength, so repositioning your Mac may improve the connection.
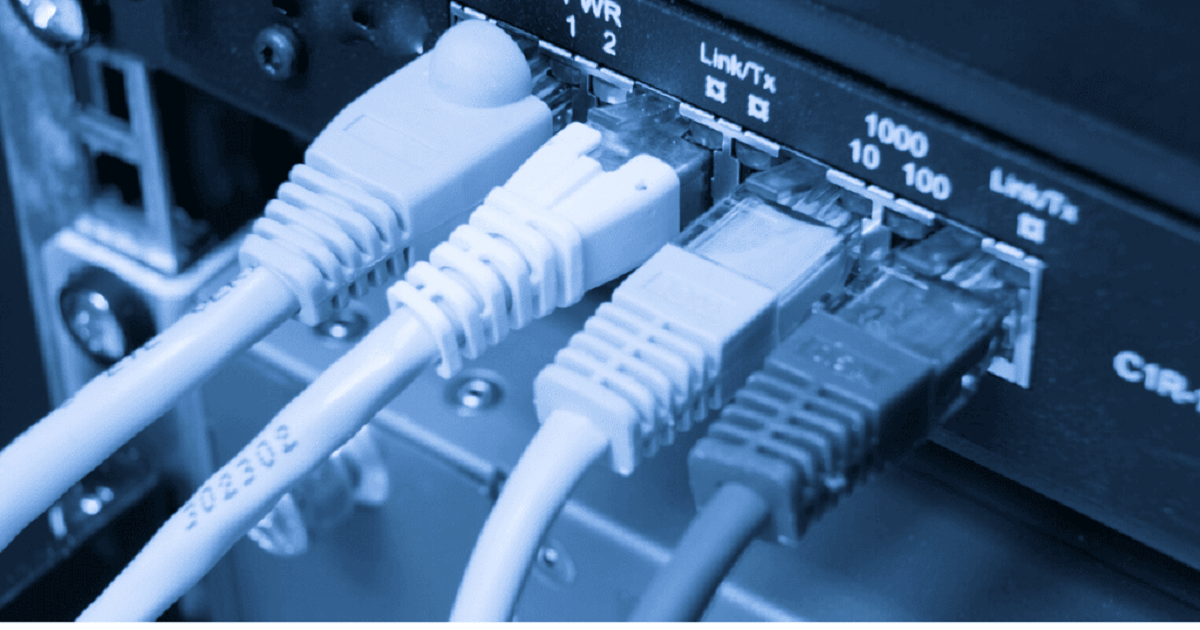
- Restart the Router: Sometimes, restarting your Wi-Fi router can resolve connectivity issues. Simply unplug the power cord, wait for a few seconds, then plug it back in. Allow the router to fully reboot before attempting to connect again.
- Check Wi-Fi Network Settings: Ensure that the Wi-Fi network settings on your Mac match those provided by the network administrator. Check the network name (SSID), security type, and password to make sure they are correct.
- Reset Network Settings: If you’re still encountering issues, you can try resetting the network settings on your Mac. Go to the “Network” section of the System Preferences and click on the “Advanced” button. From there, you can choose to reset the Wi-Fi settings or delete specific Wi-Fi network preferences.
- Update Software: Keeping your Mac’s operating system and network drivers up to date can help resolve compatibility issues. Check for software updates in the “Software Update” section of the System Preferences and download any available updates.
- Contact Your Internet Service Provider (ISP): If none of the above troubleshooting steps resolve the issue, consider contacting your ISP. They can help diagnose any network issues or provide guidance specific to your internet connection.
By following these troubleshooting tips, you can often resolve common Wi-Fi connection issues and regain access to a stable and reliable internet connection on your Mac.
Remember, each issue may have specific root causes and solutions. If you continue to experience issues with your Wi-Fi connection, it may be best to consult a professional or reach out to the manufacturer or service provider for further assistance.
Now that you are equipped with troubleshooting knowledge, you can confidently tackle any Wi-Fi connection issues that may arise and ensure uninterrupted connectivity on your Mac!
Conclusion
Connecting to Wi-Fi on your Mac is a simple and essential process that allows you to access the internet, stream media, download files, and more. By following the step-by-step guide provided in this article, you can easily connect to Wi-Fi on your Mac and enjoy a reliable internet connection.
We started by opening the Wi-Fi settings, where you can view and select available Wi-Fi networks. Then, we moved on to selecting the desired Wi-Fi network and entering the password to establish a secure connection. After that, we connected to the network, allowing us to start using the internet on our Mac.
In addition, we discussed troubleshooting common Wi-Fi connection issues. These troubleshooting tips can help you overcome issues such as weak signal, incorrect network settings, or software compatibility problems. By following these tips, you can resolve most Wi-Fi connection issues and get back online quickly.
Remember, staying connected to a secure Wi-Fi network is crucial for protecting your personal information and maintaining a reliable internet connection. Always ensure that you connect to trusted networks and enter passwords correctly to maintain privacy and security.
Now that you have the knowledge and tools to connect to Wi-Fi on your Mac and troubleshoot common issues, you can enjoy seamless and uninterrupted internet access. So, grab your Mac, find a Wi-Fi network, and start exploring the digital world!