Introduction
Welcome to the world of wireless connectivity! Setting up a wireless router without a computer may seem like a daunting task, but with the right guidance, it can be a breeze. Whether you want to connect your smartphone, tablet, or laptop to the internet, a wireless router is the key to unlocking the wonders of the online world.
In this guide, we will walk you through the process of setting up a wireless router without the need for a computer. Gone are the days when you had to rely on a desktop or a laptop to configure your router. With modern advancements, you can now accomplish this task directly from your smartphone or tablet, making it more convenient than ever before.
Now, you might be wondering why you should go wireless in the first place. Well, the benefits are numerous. First and foremost, a wireless network eliminates the need for messy and inconvenient cables. Forget about tangled wires and limited mobility. With a wireless setup, you can connect to the internet from anywhere within the router’s range, making it ideal for both home and office environments.
Additionally, wireless routers offer the flexibility to connect multiple devices simultaneously. Whether you have a family with several smartphones and tablets or an office with multiple employees, a wireless network can accommodate all your connectivity needs.
Before we dive into the step-by-step process of setting up a wireless router without a computer, let’s quickly go over the materials you’ll need to get started.
Step 1: Gather the necessary materials
Before you can begin setting up your wireless router without a computer, it’s essential to make sure you have all the necessary materials at hand. Here’s a list of what you’ll need:
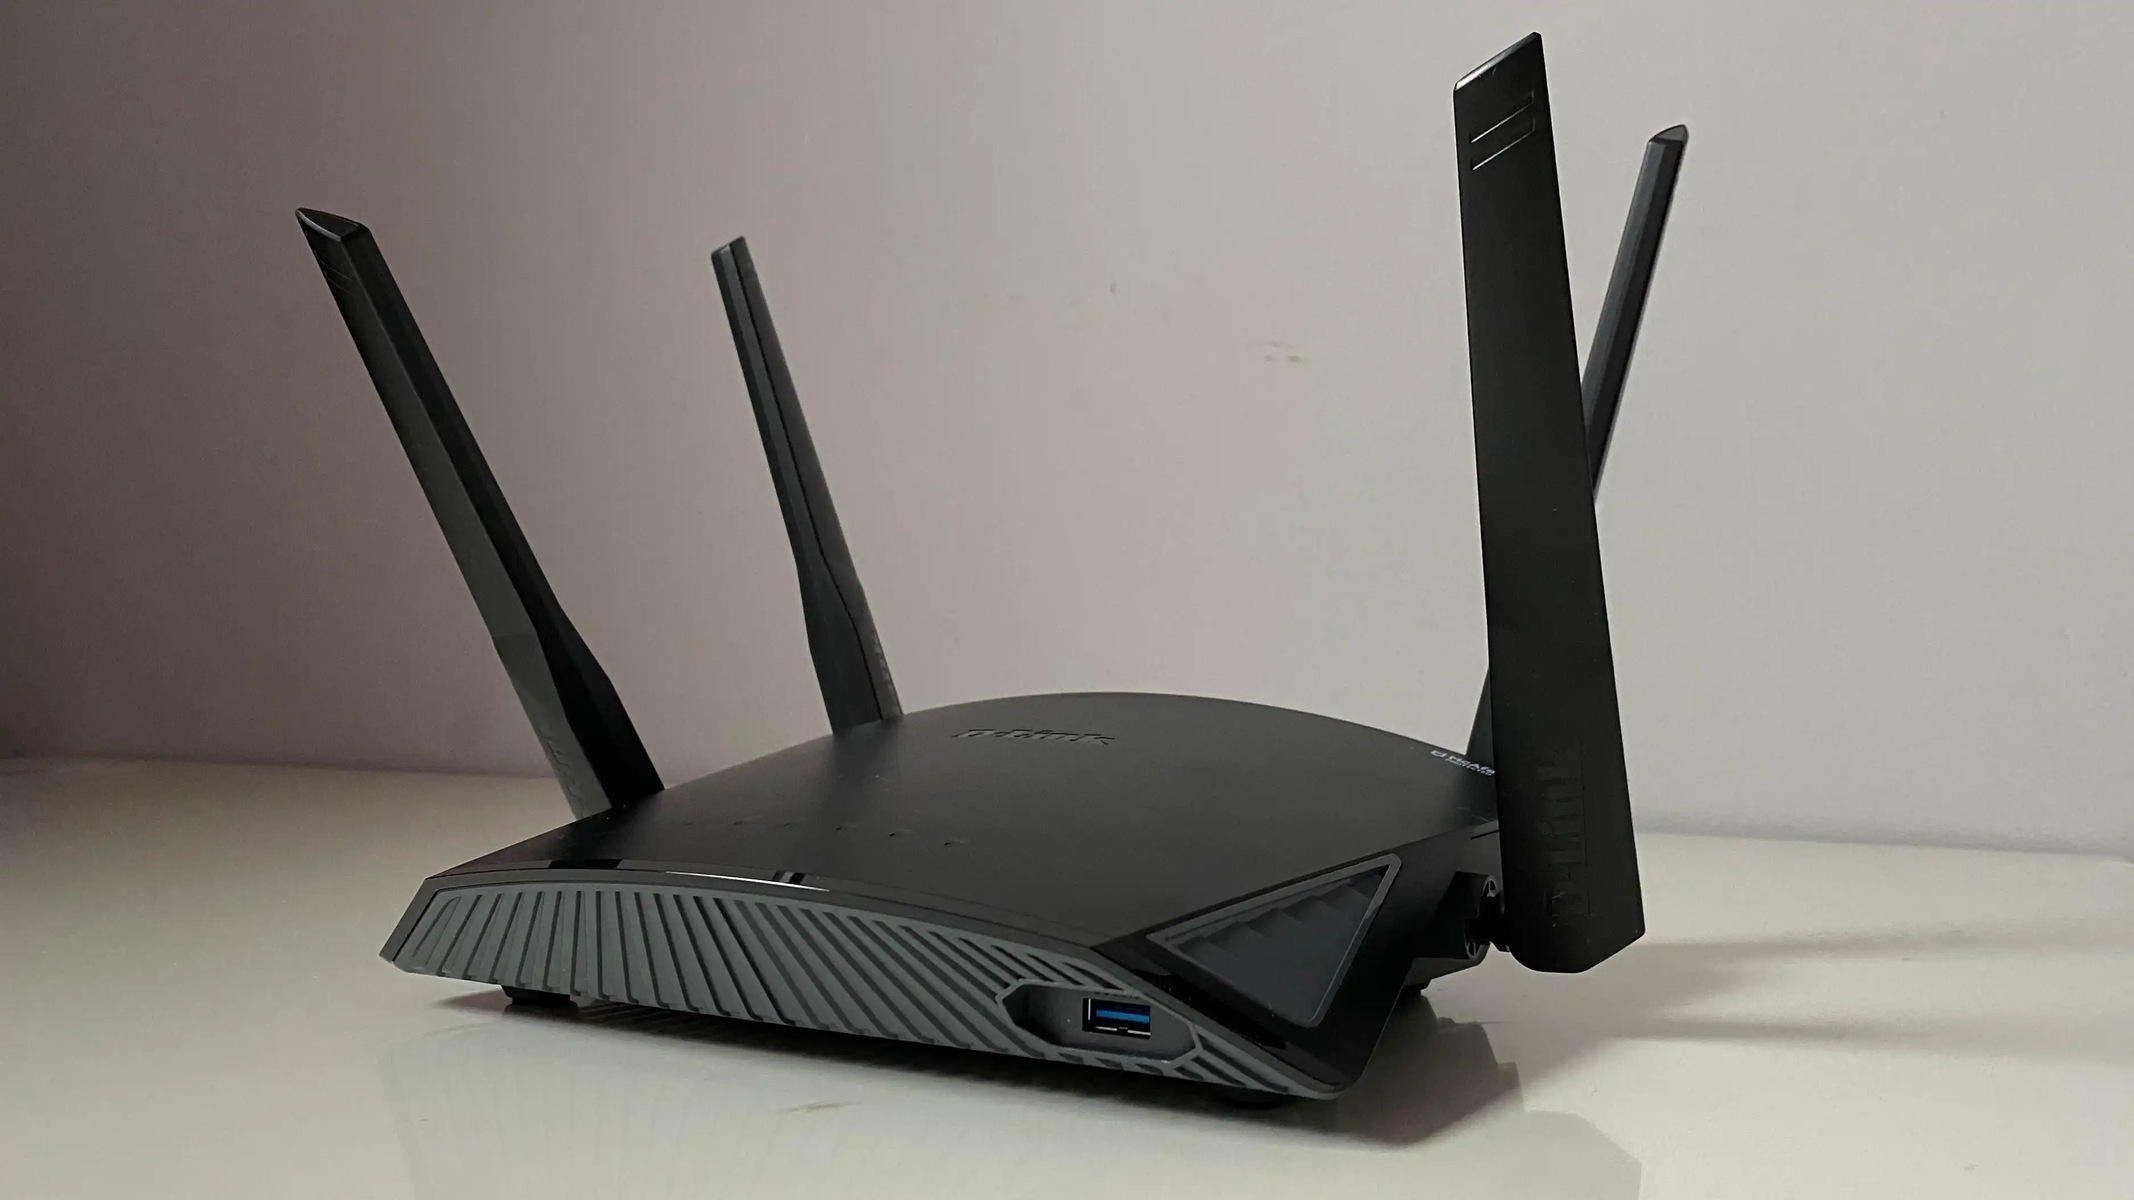
- A wireless router: This is the central device that will enable you to connect to the internet wirelessly. Make sure you choose a router that meets your specific needs in terms of range, speed, and features.
- A modem: The modem serves as the bridge between your internet service provider (ISP) and your router. It typically connects to a coaxial or telephone cable, depending on the type of internet connection you have.
- An Ethernet cable: This cable will be used to establish a wired connection between your modem and router. It’s essential for the initial setup process.
- A smartphone or tablet: Since we’re setting up the router without a computer, you’ll need a mobile device with Wi-Fi capabilities to access the router’s settings and configure the wireless network.
Once you have gathered all the necessary materials, double-check to ensure that everything is in working order. It’s a good idea to read the user manuals and familiarize yourself with the router and modem interfaces before proceeding to the next step. This will help you navigate through the setup process and troubleshoot any issues that may arise.
Now that you have all the required materials, you’re ready to move on to the next step: connecting the router to the modem.
Step 2: Connect the router to the modem
To establish a connection between your router and modem, follow these simple steps:
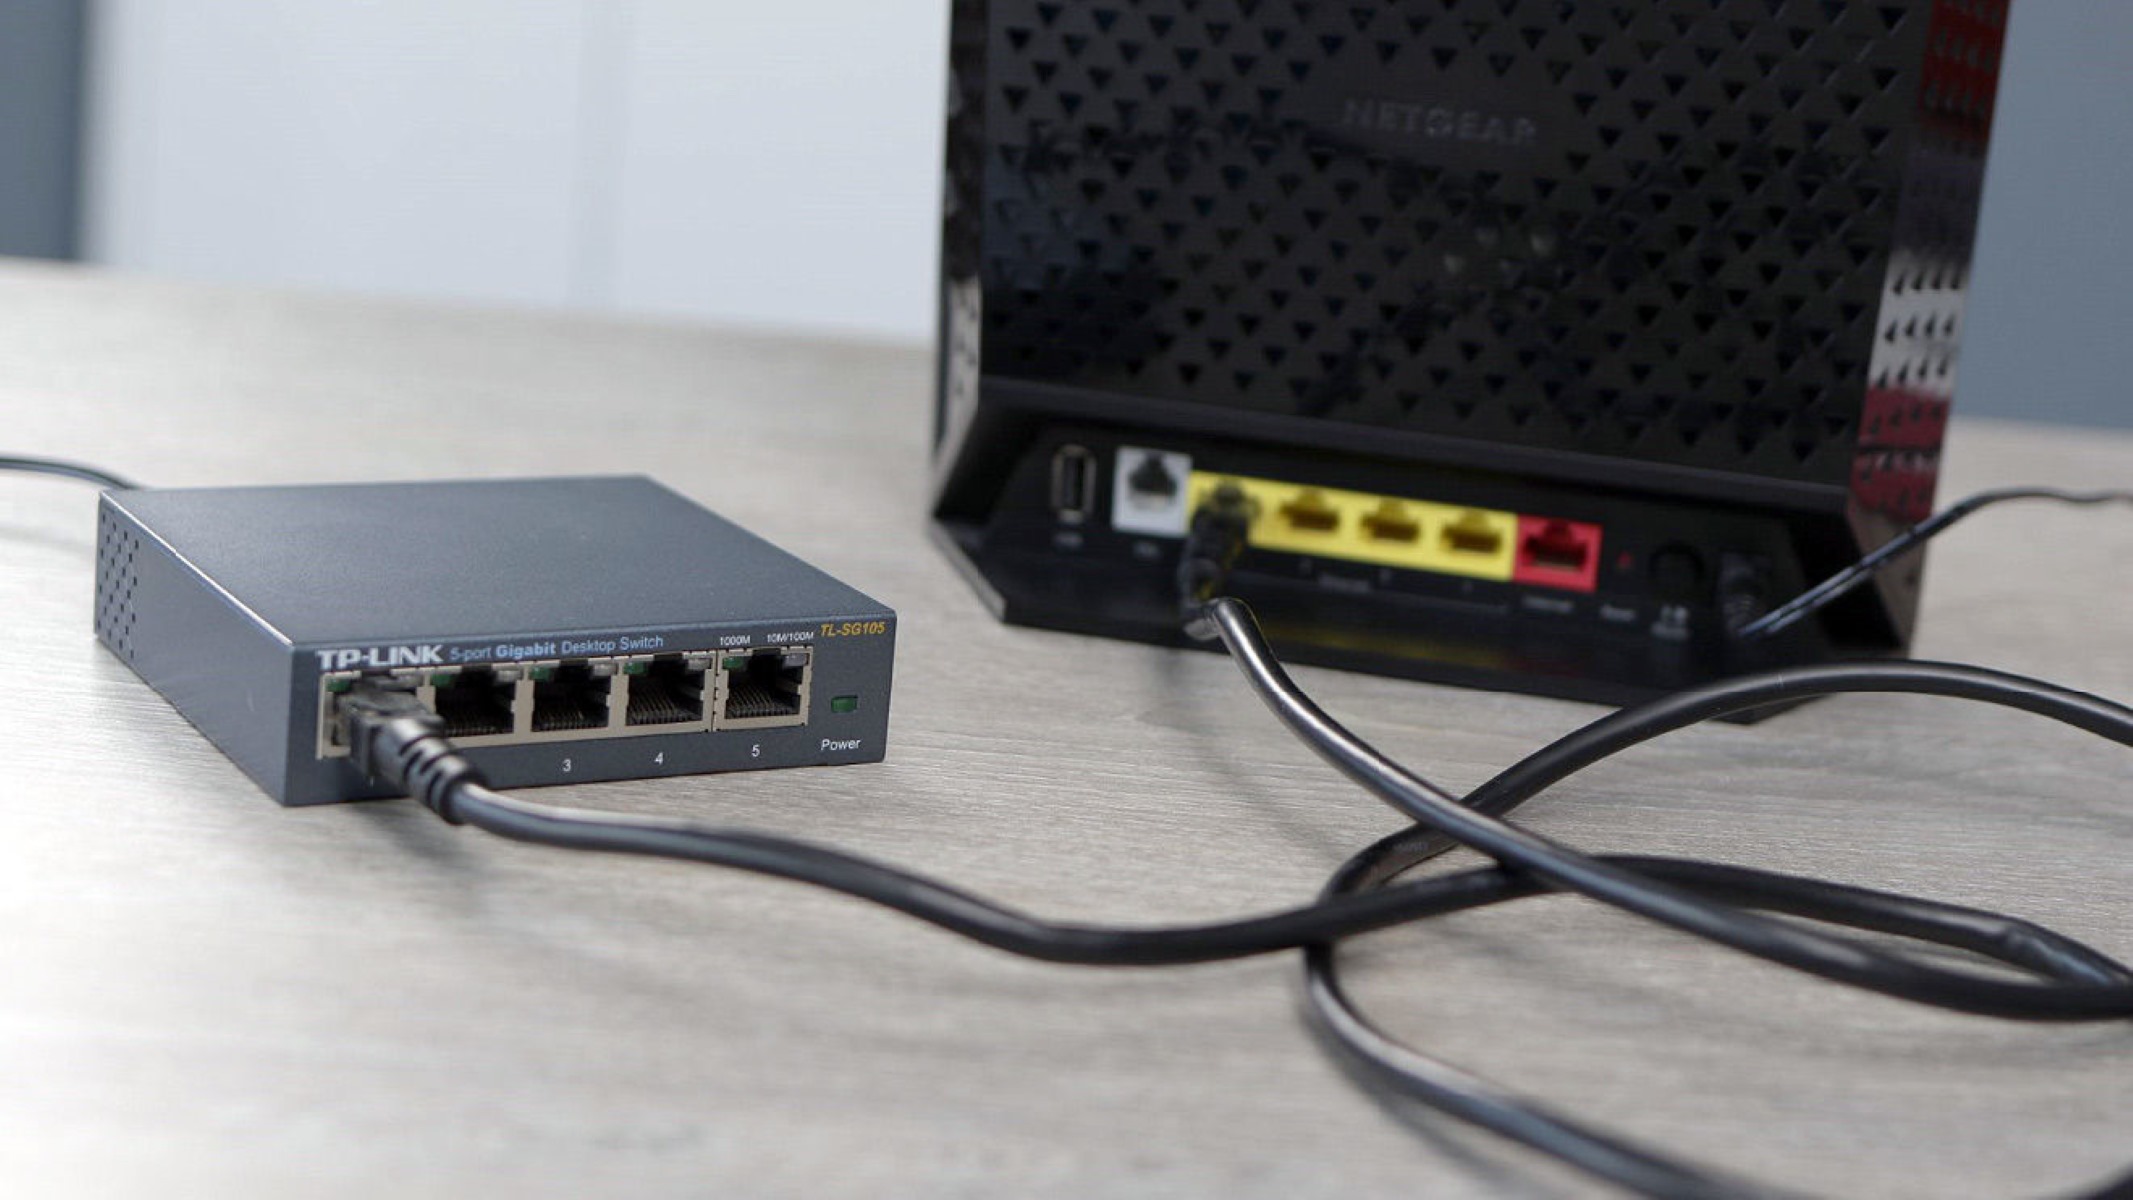
- Locate the Ethernet port on the back of your modem. It is usually labeled as “Ethernet” or “WAN/LAN.”
- Using an Ethernet cable, plug one end into the Ethernet port of the modem and the other end into the “WAN” or “Internet” port on the back of the router. Make sure the connections are secure.
- Now, power on your modem and wait for it to establish a connection with your internet service provider. This process may take a few minutes.
- Once the modem is online, power on your wireless router. Give it a couple of minutes to boot up and establish a connection with the modem.
- After successfully connecting the router to the modem, the corresponding LED lights on both devices should be solid or blinking, indicating a successful connection.
It’s important to note that the above steps may vary slightly depending on the models and brands of your router and modem. Therefore, it’s always a good idea to refer to the user manuals that came with your devices for specific instructions.
By connecting your router to the modem, you are now ready to proceed to the next step, where we will power on the router and access its settings page from your mobile device.
Step 3: Power on the router
Now that your wireless router is physically connected to the modem, it’s time to power it on. Follow these steps to ensure a proper power-on process:
- Locate the power port on the back of the router and plug in the power adapter.
- Connect the power adapter to an electrical outlet or power strip. Ensure that the outlet is easily accessible and not obstructed.
- Press the power button on the router, if it has one. Alternatively, some routers may power on automatically once connected to a power source.
- Wait for the router to boot up. This may take a few minutes.
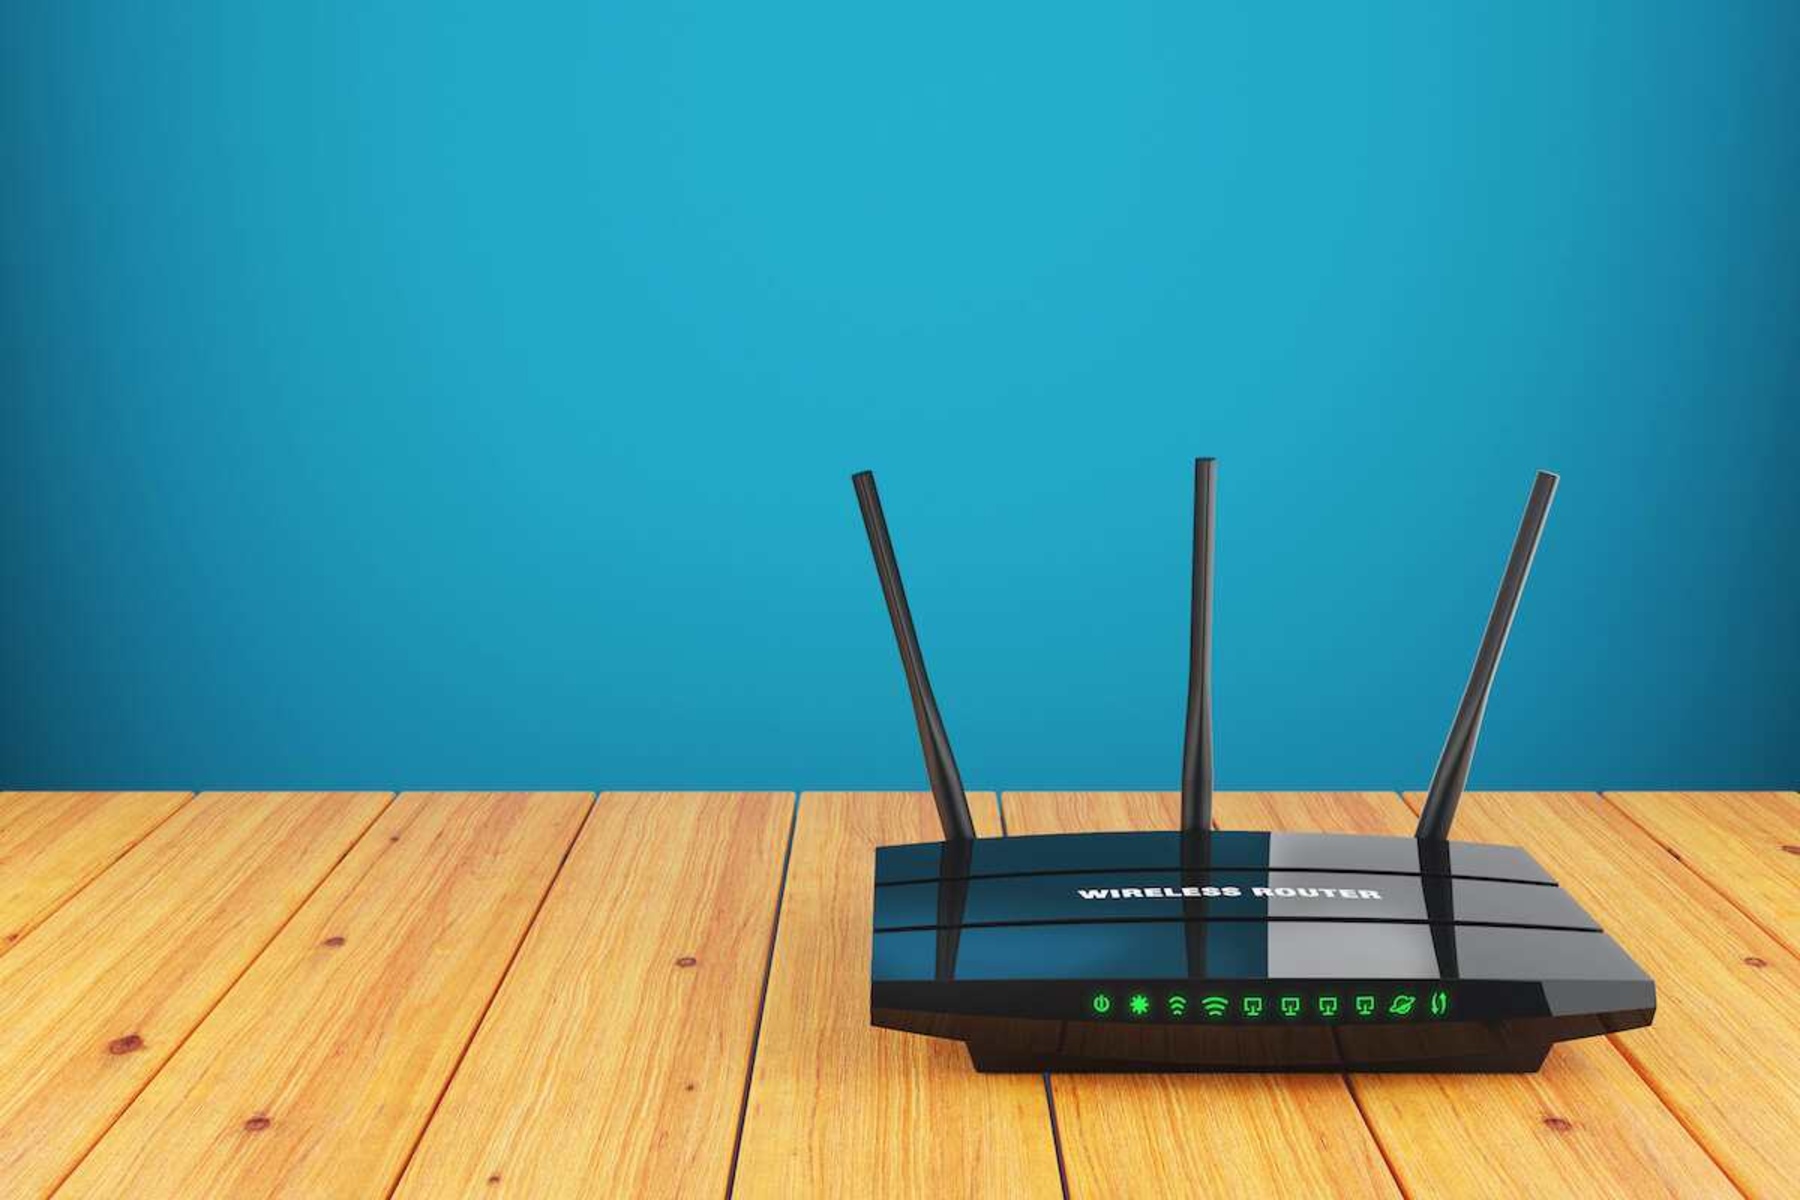
- Look for the LED lights on the front or top panel of the router. These lights indicate the device’s power status and connectivity. Wait until the power and internet LED lights are solid or blinking, indicating that the router is fully powered on and connected to the internet.
Once your router is powered on and connected to the internet, you’re ready to move on to the next step: accessing the router’s settings page from your mobile device.
Step 4: Access the router’s settings page
To configure and customize your wireless network, you need to access the router’s settings page. Follow these steps to access the settings page from your mobile device:
- Ensure that your smartphone or tablet is connected to the Wi-Fi network transmitted by the router. You can find the network name (SSID) and password on a label attached to the router or on the packaging it came in.
- Open the web browser on your mobile device. It can be Chrome, Safari, Firefox, or any other browser of your choice.
- In the address bar, type in the default IP address for your specific router model. Common default IP addresses include 192.168.0.1 or 192.168.1.1. Consult the router’s user manual or check the manufacturer’s website for the specific IP address if you’re unsure.
- Press the “Enter” key, and you will be redirected to the router’s login page.
- Enter the default username and password for your router. These credentials can also be found in the router’s user manual, on the manufacturer’s website, or on the label attached to the router itself. It’s important to change the default login credentials later for enhanced security.
- Once you have successfully logged in, you will be taken to the router’s settings page, also known as the admin interface.
From the settings page, you can customize various aspects of your wireless network, including network name, password, security settings, and more. It’s recommended to explore different sections of the settings page to familiarize yourself with the available options.
Now that you have accessed the router’s settings page, it’s time to move on to the next step: configuring the wireless network.
Step 5: Configure the wireless network
Configuring the wireless network is an important step to ensure seamless connectivity and security. Follow these steps to set up and customize your wireless network:
- On the router’s settings page, locate the “Wireless” or “Wireless Settings” section. This is where you can modify the network name (SSID) and password.
- Enter a unique and easily identifiable network name. Avoid using personal information or obvious names that can be easily guessed.
- Choose a strong password for your network. Aim for a combination of letters (uppercase and lowercase), numbers, and special characters. Ensure that your password is at least 8 characters long.
- Select the appropriate security protocol for your network. The recommended option is WPA2-PSK (AES), as it provides a high level of security. Avoid using outdated security protocols like WEP.
- Save the changes made to the wireless settings. Your router will apply the new settings, and your wireless network will restart.
Once your wireless network is configured, it will be visible to any nearby devices. Users will need to enter the network name (SSID) and password to connect to it securely. Make sure to update all your connected devices with the new network name and password.
It’s also good practice to regularly update your router’s firmware to ensure optimal performance and security. Firmware updates often provide bug fixes, security patches, and new features. Check the router manufacturer’s website or the settings page for any available firmware updates and follow the instructions to install them.
Now that you have configured your wireless network, it’s time to move on to the next step: setting a secure password for your network.
Step 6: Set a secure password for your network
Setting a secure password for your wireless network is crucial for protecting your data and preventing unauthorized access. Follow these steps to set a strong password:
- On the router’s settings page, locate the “Wireless” or “Wireless Security” section. This is where you can change your network’s password.
- Choose a password that is unique, complex, and difficult to guess. It should contain a combination of uppercase and lowercase letters, numbers, and special characters.
- Avoid using easily guessable passwords such as your name, birthdate, or “password123.” These are commonly used and can be easily cracked.
- Ensure that your password is at least 8 characters long, but longer passwords are generally more secure. Consider using a password manager to generate and store complex passwords.
- Save the changes to apply the new password to your wireless network.
Remember to update the password on all your connected devices to maintain a secure connection. Additionally, it’s a good practice to change your Wi-Fi password periodically to further enhance security.
By setting a strong and unique password for your network, you can protect your personal information, prevent unauthorized access, and ensure a secure browsing experience for all your connected devices.
Now that you have set a secure password, it’s time to move on to the next step: connecting your devices to the wireless network.
Step 7: Connect devices to the wireless network
Now that your wireless network is set up and secured, it’s time to connect your devices. Follow these steps to connect your devices to the wireless network:
- On your smartphone, tablet, or computer, locate the Wi-Fi settings.
- Select your wireless network from the list of available networks. The network name (SSID) should be the one you set up earlier.
- Enter the password for your network when prompted. Make sure to enter the password correctly to establish a successful connection.
- Once you have entered the correct password, your device will connect to the wireless network.
- Ensure that your device has successfully connected by checking the Wi-Fi icon in the status bar or system tray. It should display the strength of the connection.
- Repeat these steps for all the devices you want to connect to the wireless network, including smartphones, tablets, laptops, and smart home devices.
Now that your devices are connected to the wireless network, you can enjoy the freedom of accessing the internet wirelessly. Whether you’re streaming movies, browsing the web, or connecting with friends, your devices will have seamless connectivity within the range of the router.
If you encounter any connection issues or difficulties connecting a specific device, try restarting the device or checking if the Wi-Fi settings are correct. You can also refer to the device’s user manual or contact the device manufacturer’s support for further assistance.
Congratulations! You have successfully connected your devices to the wireless network. In the next step, we’ll provide some troubleshooting tips to help you overcome any potential issues that may arise during the setup process.
Step 8: Troubleshooting tips
Sometimes, issues may arise during the setup process or while connecting devices to the wireless network. Here are some troubleshooting tips to help you resolve common problems:
- Ensure that all the connections between the modem, router, and devices are secure.
- If you’re unable to access the router’s settings page, double-check that you have entered the correct IP address in the web browser’s address bar.
- If the internet connection is slow or intermittent, try restarting the router and modem to refresh the network connection.
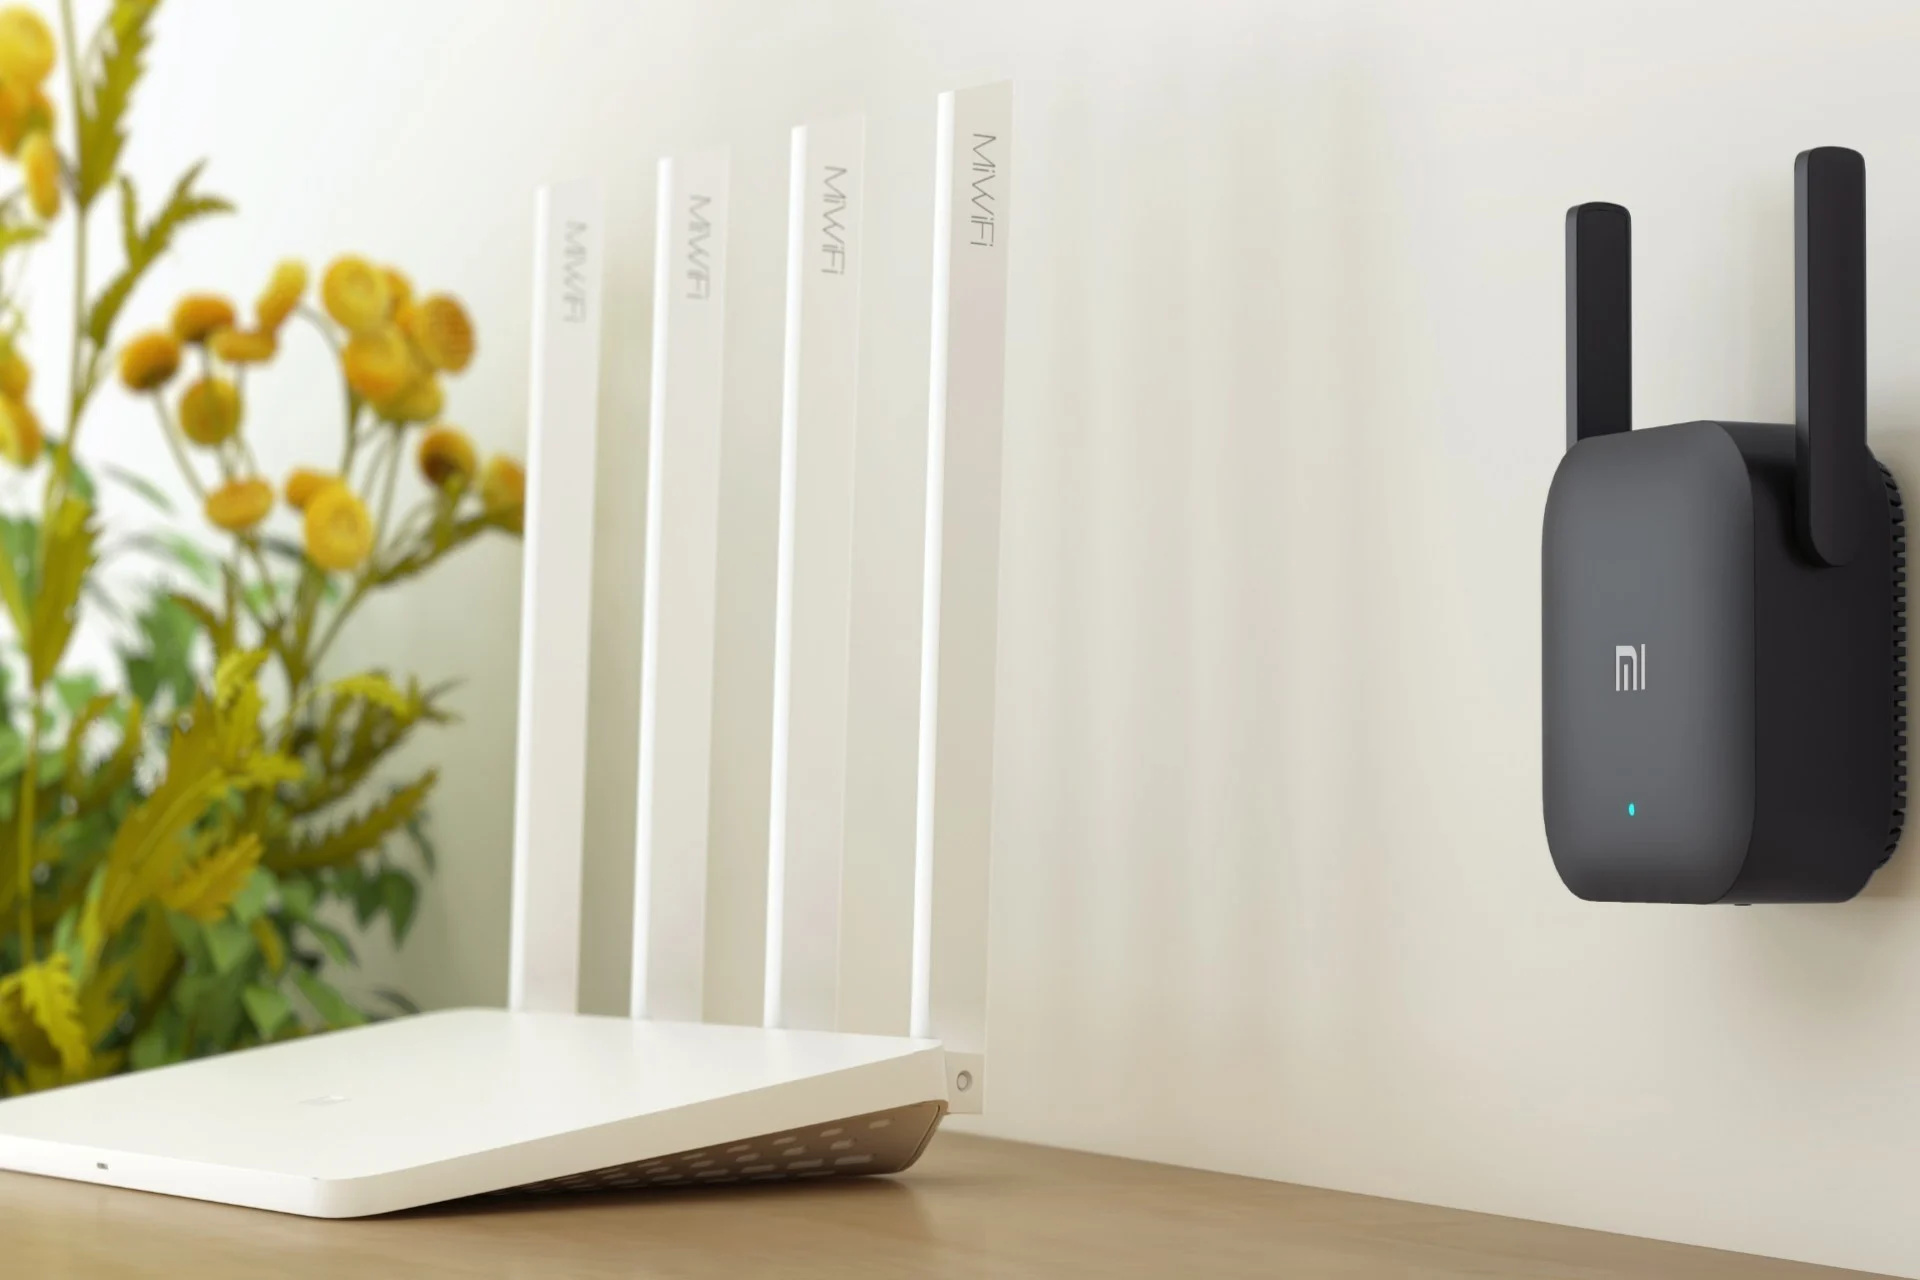
- Make sure you are within the range of the router. Walls, furniture, and other physical obstacles can weaken the signal strength, leading to a weak or unstable connection.
- If you’re experiencing connectivity issues on a specific device, try forgetting the network on that device and reconnecting to it.
- Check for any firmware updates for your router and install them to ensure optimal performance and security.
- Ensure that you have entered the correct network name (SSID) and password when connecting devices. Mistakenly entering the wrong credentials can result in connection issues.
- If you have multiple wireless networks nearby, make sure you are connecting to your own network and not a neighboring one with a similar name.
- Resetting the router to its factory settings should be a last resort if you have exhausted all other troubleshooting options. Keep in mind that this will erase all custom settings and configurations, so make sure to back up any important settings before performing a reset.
If you’re still experiencing trouble after trying these troubleshooting tips, it’s advisable to contact the router manufacturer’s support or consult a professional for assistance. They will be able to provide more targeted guidance on resolving complex issues.
By following these troubleshooting tips, you can overcome potential obstacles and ensure a smooth and reliable wireless network experience.
Now that you’re equipped with troubleshooting knowledge, you’re ready to enjoy the benefits of your wireless router without the need for a computer!
Conclusion
Congratulations on successfully setting up your wireless router without the need for a computer! By following the step-by-step process outlined in this guide, you have established a wireless network that allows you to connect multiple devices to the internet conveniently.
We began by gathering the necessary materials, including a wireless router, modem, Ethernet cable, and a smartphone or tablet. From there, we connected the router to the modem, powered on the router, and accessed the router’s settings page from our mobile device.
Next, we configured the wireless network by setting a unique network name and a strong password. With these security measures in place, your wireless network is protected and ready to be accessed by your devices.
We then connected our devices to the wireless network, ensuring that they were within range and that we entered the correct network name and password. Troubleshooting tips were also provided to help you overcome any issues that may arise during the setup process.
Now, you can enjoy the freedom and convenience of wireless connectivity throughout your home or office. Whether you’re streaming media, browsing the web, or working remotely, your devices will have a reliable and secure internet connection.
Remember to periodically update your router’s firmware and change your network password for optimal performance and security. Additionally, if you ever encounter ongoing issues or need assistance, don’t hesitate to reach out to the router manufacturer’s support or consult a professional.
Thank you for using this guide to set up your wireless router without a computer. Enjoy your seamless connectivity and all the possibilities that the internet has to offer!