Introduction
Welcome to this guide on how to set up the Netgear N150 Wireless Router! If you’ve recently purchased this router or are considering it, you’ve made a great choice for improving your home or office network. The Netgear N150 is known for its reliability, ease of use, and the ability to provide a stable wireless connection for your devices.
In this article, we will walk you through each step of the setup process, from unboxing the router to configuring the network settings. By the end of this guide, you’ll have a fully functioning wireless network that can be accessed by your computers, smartphones, tablets, and other devices.
Before we dive into the setup process, it’s important to note that these instructions are specific to the Netgear N150 Wireless Router model. While the general setup steps may be similar for other Netgear routers, it’s always a good idea to consult the user manual or support documentation for your specific router model.
With that said, let’s get started! Follow along with the steps provided, and you’ll have your Netgear N150 Wireless Router up and running in no time.
Step 1: Unbox the Netgear N150 Wireless Router
The first step in setting up your Netgear N150 Wireless Router is to unbox it. Start by locating the box that contains the router and carefully remove it from the packaging. Take a moment to familiarize yourself with the contents of the box, which typically include:
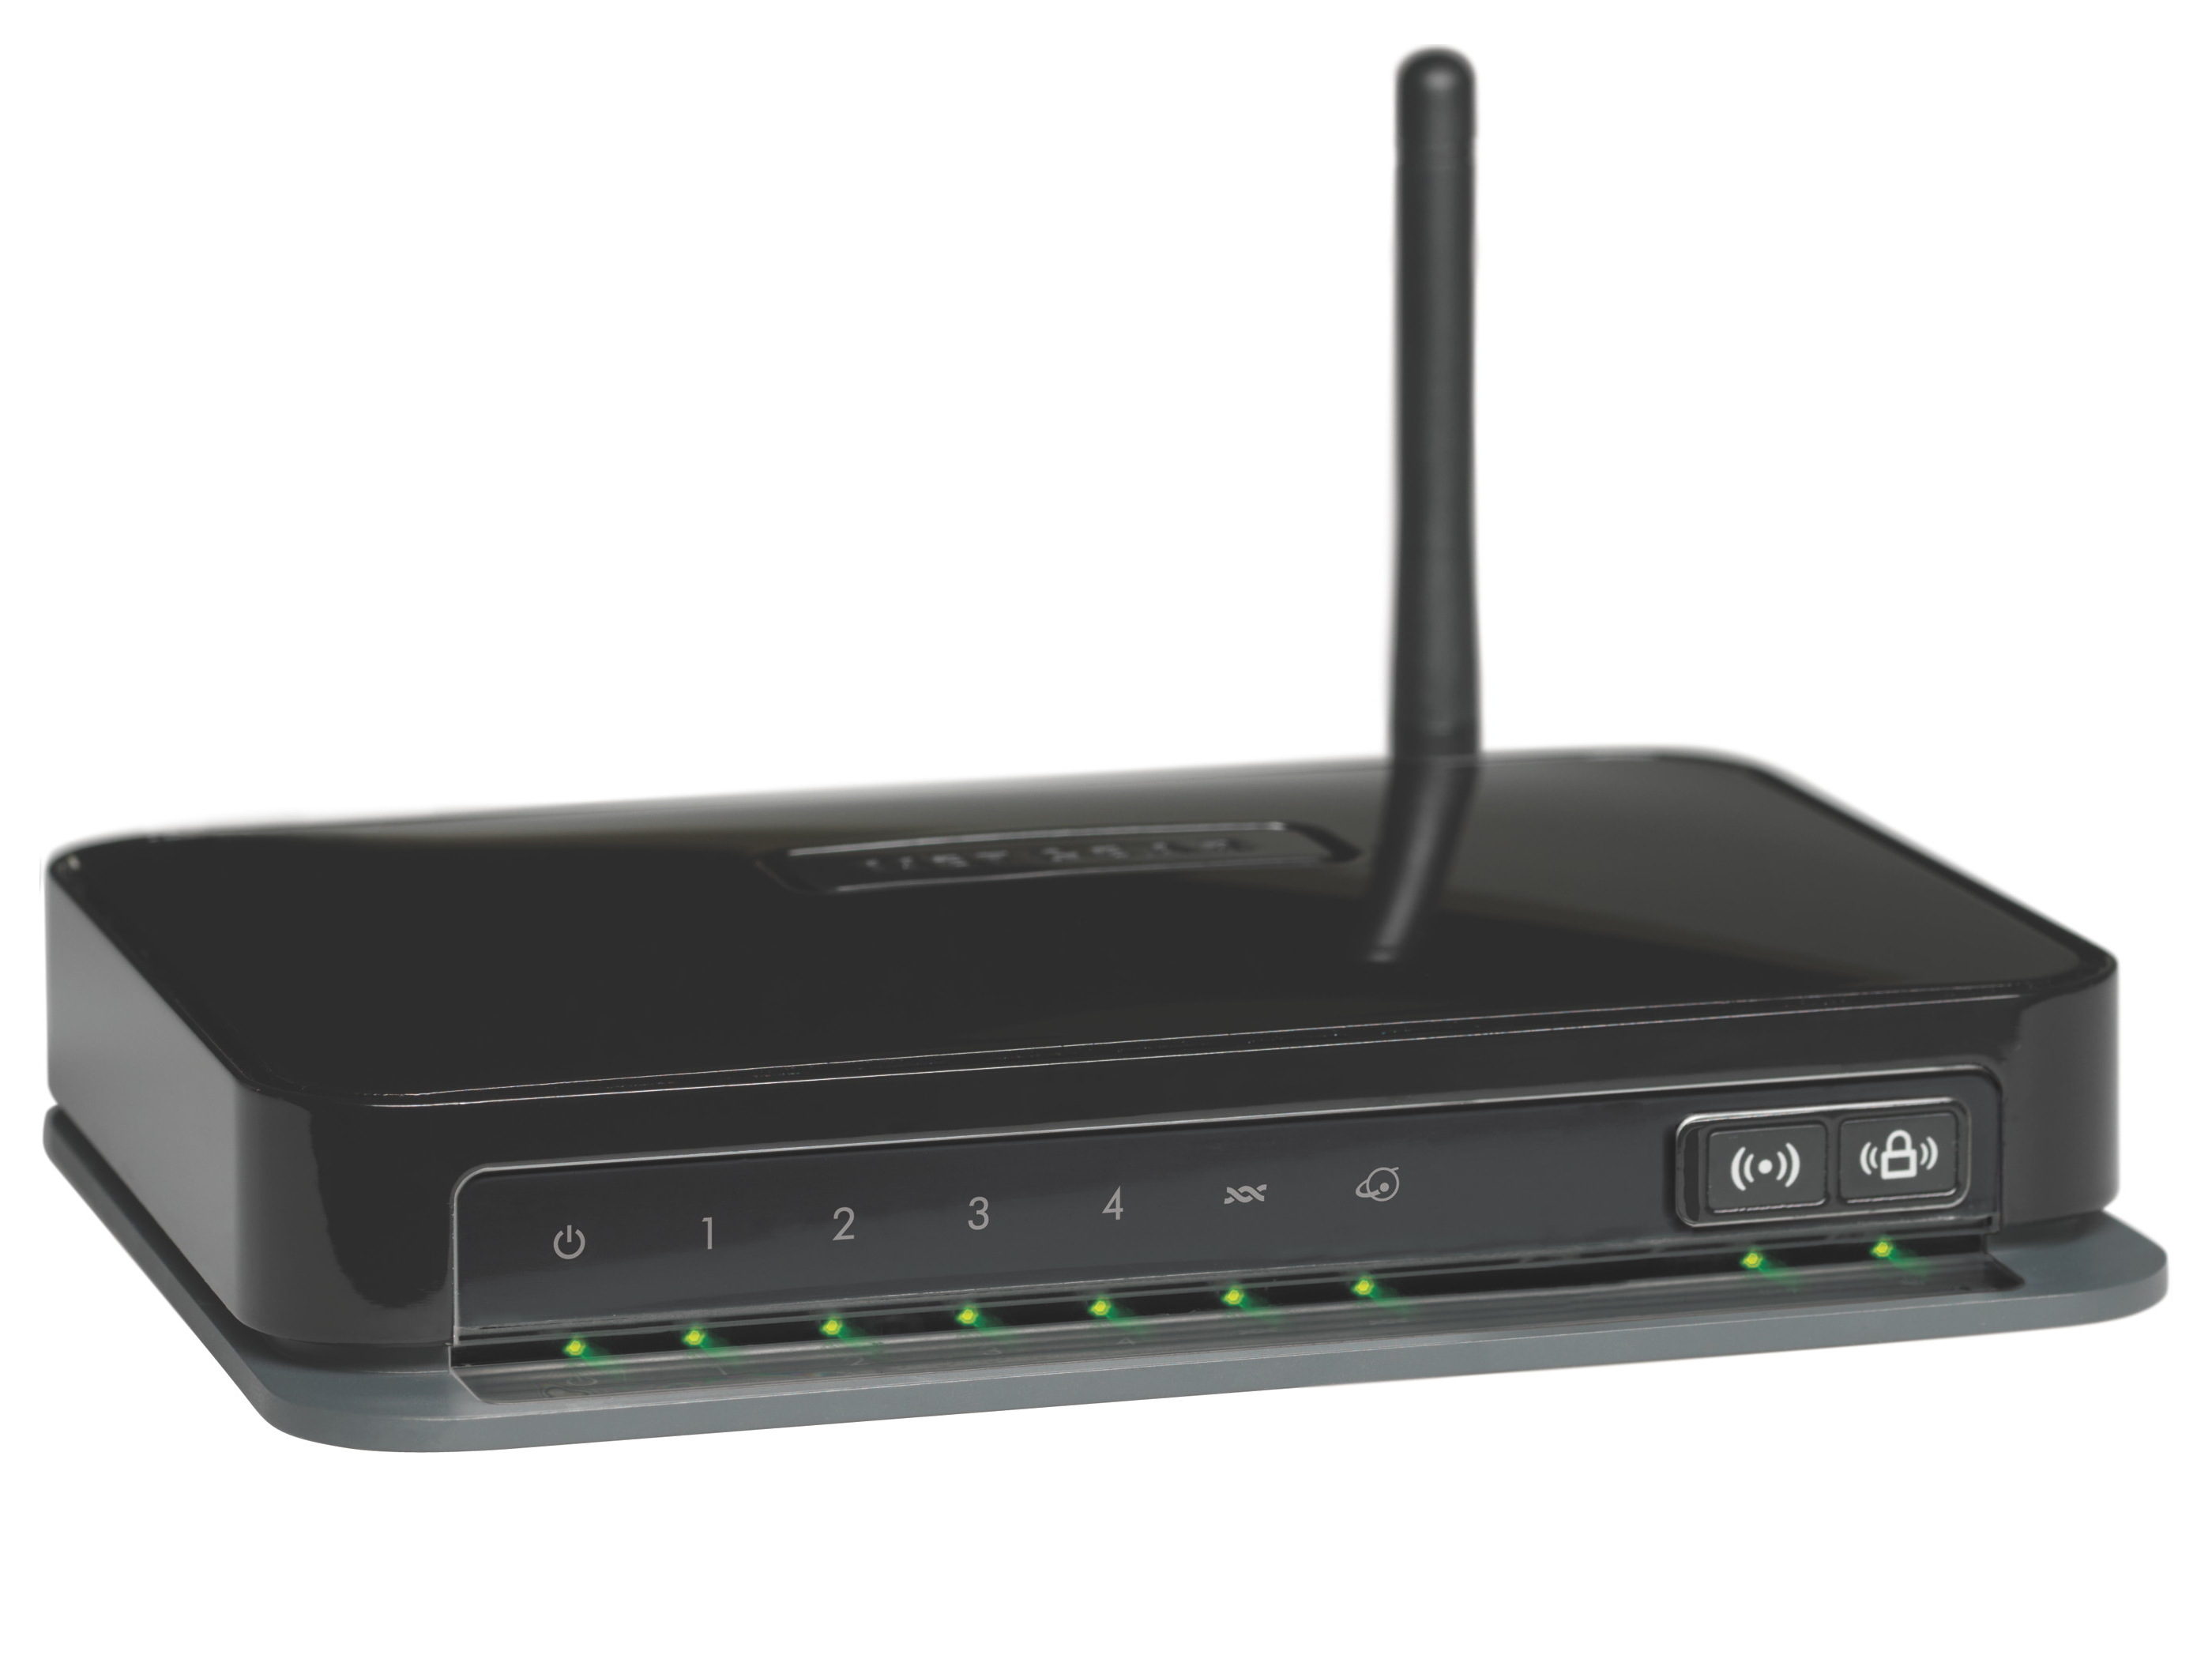
- The Netgear N150 Wireless Router
- A power adapter
- An Ethernet cable
- A quick installation guide
Once you’ve unpacked the router, find a suitable location to set it up. It’s recommended to place the router in a central area of your home or office for optimal wireless coverage. Keep in mind that it should be placed away from any obstructions such as walls or furniture that may interfere with the wireless signal.
Before proceeding to the next steps, ensure that you have access to a power outlet and an available Ethernet port on your modem. The Ethernet port on the modem is where you will connect the router later in the setup process.
Now that you have unboxed the Netgear N150 Wireless Router and have a good understanding of its contents, you’re ready to move on to the next step, which is connecting the router to the modem.
Step 2: Connect the Router to the Modem
In this step, you will connect the Netgear N150 Wireless Router to your modem. This connection is crucial as it allows the router to access the internet and provide a wireless network for your devices.
Start by locating the Ethernet cable that came with the router. One end of the cable should have a smaller connector, known as an RJ-45 connector, while the other end might have a larger connector, such as an RJ-11 connector. Connect the smaller end of the Ethernet cable to the Ethernet port on the back of the modem.
Next, locate the WAN or Internet port on the back of the Netgear router. It’s usually labeled with either “WAN” or “Internet.” Take the other end of the Ethernet cable and connect it to the WAN or Internet port on the router.
Once the cable connections are secure, power on both the modem and the router. To do this, locate the power adapter that came with the router and plug it into a nearby power outlet. Press the power button on the router, if available, to turn it on. If the router doesn’t have a power button, it will automatically power on when it’s plugged in.
Wait for a few minutes as the modem and router establish a connection. You may notice some LED lights on both devices blinking, indicating that they are communicating with each other.
Congratulations! You have successfully connected the Netgear N150 Wireless Router to your modem. Now, it’s time to move on to the next step and power on your computer to connect it to the router.
Step 3: Power on the Router and Modem
Now that you have connected the Netgear N150 Wireless Router to your modem, it’s time to power on both devices. This step is essential to establish a connection between the modem, router, and eventually your devices.
Start by locating the power adapter that came with your modem. Plug one end of the power adapter into the modem and the other end into a nearby power outlet. The modem should power on automatically, and you’ll see various indicator lights come on. Wait for a few minutes to allow the modem to fully initialize.
Next, locate the power adapter that came with the Netgear N150 Wireless Router. Plug one end into the router and the other end into a power outlet. Some routers may have a power button, so make sure to press it to turn on the router. If your router doesn’t have a power button, it will automatically power on once plugged in. Wait for the router’s indicator lights to stabilize.
During the power-on process, you may notice the lights on both the modem and router flashing or blinking. This is normal as they establish a connection with each other and the internet service provider.
Once both the modem and router are powered on and the lights have stabilized, it’s time to move on to the next step, which is connecting your computer to the Netgear N150 Wireless Router.
Note: If you’re using a desktop computer that doesn’t have a built-in wireless adapter, make sure to connect it to the router using an Ethernet cable. This will ensure a stable and reliable internet connection for initial setup.
Step 4: Connect a Computer to the Router
In this step, you will connect your computer to the Netgear N150 Wireless Router. This connection will allow you to access the router’s setup page and configure the network settings.
If you’re using a laptop or a device with built-in Wi-Fi, make sure the Wi-Fi is enabled. Look for the Wi-Fi icon on your device’s taskbar or system tray and ensure that it is turned on. Your device should now detect the available wireless networks in the vicinity.
Locate the Wi-Fi network name (SSID) and password for your Netgear router. This information can usually be found on a sticker located on the router itself or in the documentation that came with the router. Connect to the Wi-Fi network by selecting it from the list of available networks and entering the password when prompted.
If you’re using a desktop computer or a device without built-in Wi-Fi, you can connect it to the router using an Ethernet cable. Take one end of the Ethernet cable and plug it into one of the LAN ports on the back of the router. Connect the other end of the Ethernet cable to the Ethernet port on your computer.
Once you have successfully connected your computer to the router, open a web browser such as Google Chrome, Mozilla Firefox, or Microsoft Edge. In the address bar, enter the default IP address of the Netgear N150 router, which is typically “192.168.1.1” or “www.routerlogin.net”. Press Enter to access the router’s login page.
On the router’s login page, you will be prompted to enter the default username and password. By default, the username is usually “admin” and the password is either “password” or “1234”. Refer to the router’s documentation or sticker for the exact login credentials.
After entering the correct username and password, you will be logged into the Netgear N150 router’s setup page. Congratulations! You are now ready to configure the network settings to customize your wireless network according to your preferences.
Now that your computer is connected to the Netgear N150 Wireless Router, you can proceed to the next step and configure the network settings to ensure a secure and reliable wireless connection.
Step 5: Open a Web Browser and Access the Router’s Setup Page
In this step, you will need to open a web browser on your computer and access the setup page of the Netgear N150 Wireless Router. This will allow you to configure the network settings and customize your wireless network.
Ensure that your computer is connected to the Netgear router either via Wi-Fi or Ethernet cable, as discussed in the previous step. Open your preferred web browser, such as Google Chrome, Mozilla Firefox, or Microsoft Edge.
In the address bar of the web browser, enter the default IP address for the Netgear N150 router, which is usually “192.168.1.1” or “www.routerlogin.net”. Press Enter to proceed.
You will now be redirected to the login page of the router’s setup page. Here, you will need to enter the appropriate login credentials. By default, the username is often “admin” and the password is either “password” or “1234”. However, it’s essential to note that these default credentials can vary, so refer to the router’s documentation or the sticker on the router itself to find the correct login details.
Once you’ve entered the correct username and password, click on the “Login” or “Submit” button to access the setup page of the Netgear N150 router. You should now be presented with the router’s dashboard or configuration interface.
The setup page provides you with various options to customize your network settings. You can set up a unique network name (SSID), change the Wi-Fi password, enable or disable guest network access, configure firewall settings, and much more. Spend some time exploring the available options and adjusting them according to your preferences and network requirements.
It’s crucial to ensure the security of your wireless network by setting a strong Wi-Fi password, enabling encryption (WPA2 is recommended), and disabling any unnecessary features or ports that may pose a security risk.
Remember to save any changes you make before exiting the configuration interface. This ensures that the new settings are applied to the router and take effect immediately.
Once you have finished configuring the network settings, you can move on to the next step to set a secure password for the Netgear N150 Wireless Router itself.
Step 6: Configure the Network Settings
In this step, you will configure the network settings of the Netgear N150 Wireless Router to ensure a reliable and secure wireless connection. By customizing these settings, you can optimize your network for your specific needs.
Once you have accessed the setup page of the router, navigate to the network settings section. Here, you will find various options to customize your wireless network. The most important settings to consider are:
- Network Name (SSID): This is the name that will appear when devices search for available Wi-Fi networks. Choose a unique and easily identifiable name.
- Wireless Security: It is crucial to protect your network with a strong password. Select the preferred security protocol, such as WPA2, and enter a strong and complex password.
- Channel: Wi-Fi operates on different channels, and choosing the right one can minimize interference from other wireless networks. Select a channel with the least congestion.
- Guest Network: If you want to provide internet access to visitors without giving them access to your main network, consider enabling the guest network feature.
- Quality of Service (QoS): If you have bandwidth-intensive applications or devices, you can allocate priority to certain devices or services for optimal performance.
Take your time to explore the available settings and adjust them according to your specific requirements. It’s highly recommended to set a strong password for your Wi-Fi network to prevent unauthorized access.
Once you have configured the network settings to your satisfaction, remember to save your changes before exiting the setup page. This ensures that the new settings are applied and take effect immediately.
Keep in mind that you may need to reconnect your devices to the Wi-Fi network using the updated settings. Disconnect from the network and reconnect using the new SSID and password to ensure a seamless connection.
With the network settings properly configured, you can now move on to the next step and set a secure password for the Netgear N150 Wireless Router itself.
Step 7: Set a Secure Password for the Router
In this step, you will set a secure password for the Netgear N150 Wireless Router itself. It’s essential to have a strong and unique password to protect your router’s configuration and prevent unauthorized access.
First, access the router’s setup page as discussed in the previous steps. Locate the “Administration” or “Settings” section, where you will find the option to change the router’s password.
Choose a password that is memorable for you but difficult for others to guess. It should be a combination of at least eight characters, including a mix of uppercase and lowercase letters, numbers, and special characters. Avoid using common words, personal information, or easily guessable patterns.
Once you have chosen a strong password, enter it into the corresponding field in the router’s configuration interface. Some routers may require you to re-enter the password to confirm it.
After entering your new password, make sure to save the changes. This will update the router’s password and ensure that the new password is in effect.
It’s important to periodically change your router’s password to maintain the security of your network. Consider setting a reminder to update the password every few months or whenever there are significant changes in your network setup.
Remember to keep your router’s password in a secure place and avoid sharing it with unauthorized individuals. This password protects the administrative access to your router and helps safeguard against potential security threats.
With a strong and secure password set for the Netgear N150 Wireless Router, your network is now better protected against unauthorized access. You can confidently proceed to the next step and connect other devices to your network.
Step 8: Connect Other Devices to the Network
In this final step, you will connect other devices to the Netgear N150 Wireless Router’s network. By doing so, you can enjoy a seamless and reliable internet connection on all of your devices, including smartphones, tablets, laptops, and smart home devices.
There are two main methods for connecting devices to your network: via Wi-Fi and Ethernet cable.
Wi-Fi: For devices that have built-in Wi-Fi capabilities, simply go to the Wi-Fi settings on each device and scan for available networks. Select your Netgear router’s network name (SSID) from the list and enter the Wi-Fi password you previously set during the network configuration. Once connected, your devices will be able to access the internet wirelessly.
Ethernet Cable: If you have devices without built-in Wi-Fi or prefer a wired connection for enhanced stability and speed, you can connect them to the router using an Ethernet cable. Plug one end of the Ethernet cable into the LAN port on the router and the other end into the Ethernet port on the device. The connection will be established automatically, allowing you to access the internet via the router.
As you connect each device to the network, make sure to test the internet connection and ensure that everything is working correctly. Browse websites, stream videos, or perform any tasks that require an internet connection to verify that the network is functioning as expected.
If you encounter any connectivity issues, double-check that the Wi-Fi password is entered correctly on your wireless devices. Additionally, ensure that the Ethernet cables are securely plugged into both the router and the devices.
Once you have successfully connected all your devices to the Netgear N150 Wireless Router’s network, enjoy the benefits of a stable and secure internet connection throughout your home or office.
Congratulations! You have completed the setup process for the Netgear N150 Wireless Router and successfully connected all your devices to the network. Your network is now ready to provide you with reliable internet access.
Conclusion
Setting up the Netgear N150 Wireless Router may seem like a daunting task, but with the guidance provided in this article, you should now have a clear understanding of the step-by-step process. By following these instructions, you have successfully unboxed the router, connected it to the modem, powered on both devices, connected your computer to the router, accessed the router’s setup page, configured the network settings, set a secure password, and connected other devices to the network.
With a properly configured Netgear N150 Wireless Router, you can now enjoy a reliable and secure wireless network connection. Whether you’re browsing the internet, streaming your favorite movies, or working from home, this setup will provide you with the necessary connectivity for all your devices.
Remember to periodically check for firmware updates for your router, as these updates often include bug fixes and security enhancements. Keeping your router’s firmware up to date ensures that you have the latest features and protection against potential vulnerabilities.
Should you encounter any difficulties during the setup process or experience any connectivity issues, be sure to consult the Netgear N150 Wireless Router’s user manual or reach out to their customer support for assistance.
Now that your router is up and running, take a moment to enjoy the seamless connectivity and the convenience it brings to your daily life. You can now confidently connect all your devices to the network and make the most of your internet connection.
Thank you for choosing the Netgear N150 Wireless Router. We hope this guide has been helpful in setting up your network and improving your overall online experience.