Introduction
Welcome to our comprehensive guide on how to change the password on your Charter wireless router. Your router’s password is essential for securing your network and preventing unauthorized access. By following the step-by-step instructions outlined in this article, you will be able to change the password easily and ensure the safety of your wireless connection.
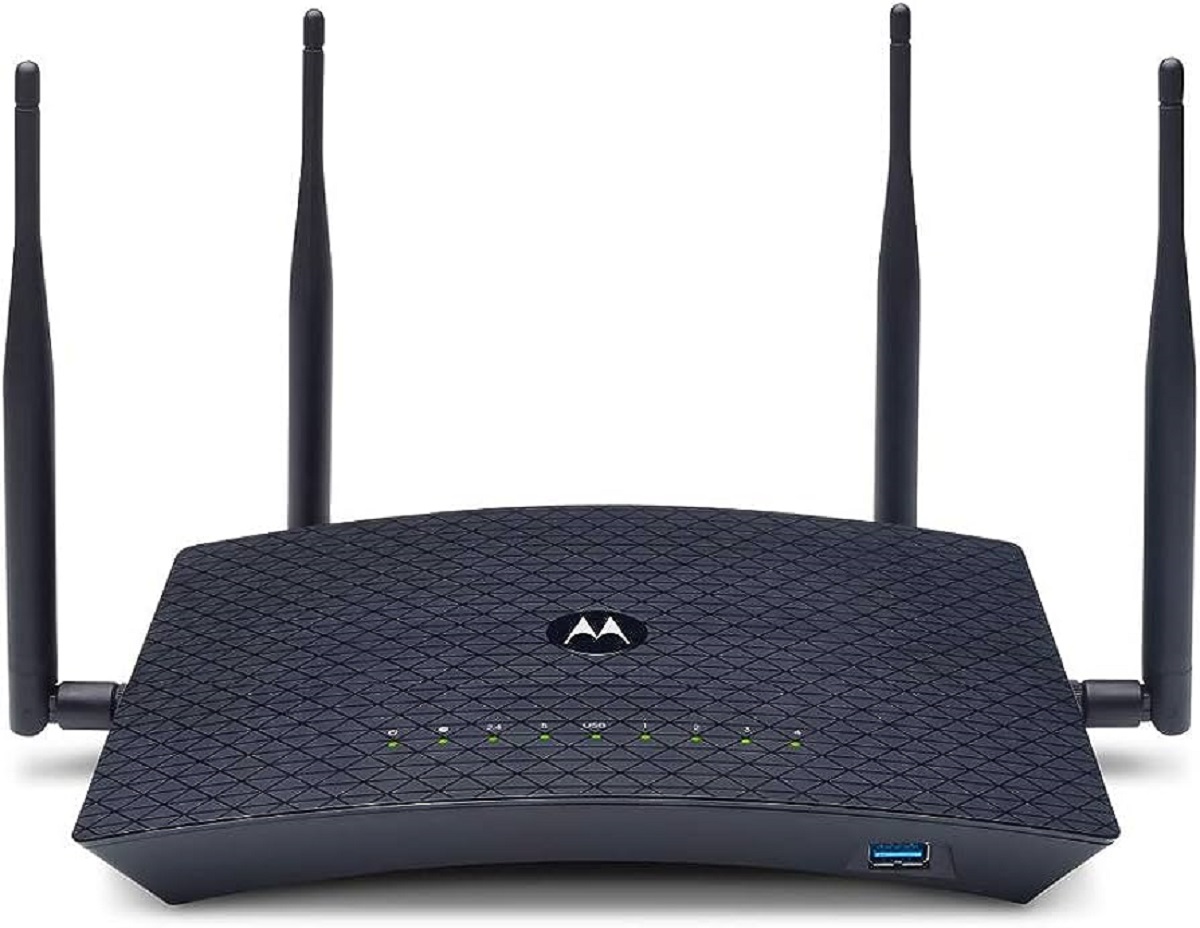
Charter Communications, now known as Spectrum, provides internet services to millions of users across the United States. With their user-friendly interfaces, Charter wireless routers make it simple to make changes to your network settings, including the password.
Changing your router’s password has several benefits. It helps protect your network from potential security threats and keeps your personal information safe. Additionally, changing your password periodically ensures that any devices connected to your network are using the most up-to-date security measures.
In the following sections, we will provide a step-by-step guide to help you change the password on your Charter wireless router. Whether you are a beginner or have some technical knowledge, this guide will walk you through the process in a simple and straightforward manner. Let’s get started!
Step 1: Accessing the Router’s Login Page
The first step in changing your Charter wireless router’s password is to access its login page. To do this, you need to connect your computer or device to the router’s network. Follow these instructions:
- Ensure that your computer or device is connected to the Charter wireless network. You can do this by connecting to the network using Wi-Fi or by connecting an Ethernet cable from your device to one of the router’s LAN ports.
- Open a web browser on your computer or device. Popular options include Google Chrome, Mozilla Firefox, and Microsoft Edge. Type the router’s default IP address into the address bar. In most cases, Charter routers use the IP address 192.168.1.1, so enter “http://192.168.1.1” or “http://192.168.0.1”.
- Press the Enter key to load the router’s login page. If the login page does not load, try clearing your browser’s cache and cookies or try accessing it from another web browser.
- On the login page, you will be prompted to enter your username and password. By default, Charter routers use the username “admin” and the password “password”. Enter these credentials and click on the Login or Sign In button.
- If the login is successful, you will be redirected to the router’s configuration page. Congratulations! You have successfully accessed the router’s login page.
It’s important to note that the default username and password provided here may vary depending on the specific model of your Charter wireless router. If you have previously changed the default login credentials and cannot remember them, you may need to perform a factory reset on the router to restore the default settings.
Now that you have accessed the router’s login page, you are ready to proceed to the next step: logging into the router.
Step 2: Logging into the Router
After accessing the login page of your Charter wireless router, the next step is to log in with your credentials. Follow these instructions:
- On the router’s login page, you should see fields to enter your username and password. Enter the correct username and password associated with your router. If you have not changed these credentials, the default username is usually “admin” and the default password is typically “password”.
- Double-check the spelling and make sure that the CAPS LOCK key is not activated as passwords are case-sensitive.
- Click on the Login or Sign In button to proceed.
- If the provided credentials are correct, you will be granted access to the router’s configuration settings. However, if the credentials are incorrect, you may receive an error message. In this case, review the default username and password mentioned earlier, or refer to the documentation provided by Charter Communications or Spectrum for the correct login information.
It’s important to note that changing the router password requires you to have administrative access. If you cannot remember the login credentials or have never changed them from the defaults, you may need to perform a factory reset on the router. This will restore the router to its original settings, including the default login information.
Once you have successfully logged into the router, you are ready to proceed to the next step: locating the wireless settings.
Step 3: Locating the Wireless Settings
After logging into your Charter wireless router, the next step is to locate the wireless settings. These settings allow you to make changes to your wireless network, including the password. Follow these instructions:
- Once logged into the router, you will be presented with the router’s administration interface. This interface may vary depending on the model of your Charter router, but the general layout and navigation should be similar.
- Look for a tab or menu option labeled “Wireless”, “Wireless Settings”, or something similar. This is where you will find the wireless configuration options.
- Click on the appropriate tab or menu option to access the wireless settings.
- Within the wireless settings, you should see options for your wireless network name (SSID), security mode, and password. The password may be labeled as “Pre-Shared Key” or “Wireless Password”.
- Take note of the current wireless password or SSID, as you may need it to reconnect your devices after changing the password.
It’s important to select a strong and secure password for your wireless network. A secure password typically consists of a combination of uppercase and lowercase letters, numbers, and special characters. Avoid using easily guessable passwords such as your name, birthdate, or sequential numbers.
Once you have located the wireless settings, you are ready to proceed to the next step: changing the wireless security settings and password.
Step 4: Changing the Wireless Security Settings
Now that you have located the wireless settings on your Charter wireless router, it’s time to change the wireless security settings and password. Follow these instructions:
- Within the wireless settings page, look for the security mode or encryption type. The most commonly used security modes are WPA2-PSK (AES) or WPA3-PSK (if available). These security modes provide the highest level of encryption for your wireless network.
- Select the desired security mode from the drop-down menu or radio buttons.
- Once you have selected the security mode, you will need to enter a new password. Look for the option to change the “Pre-Shared Key” or “Wireless Password”.
- Enter a strong password of your choice. Make sure the password meets the recommended security criteria, including a combination of uppercase and lowercase letters, numbers, and special characters. Avoid using easily guessable passwords.
- Take note of the new password as you will need to enter it when reconnecting your devices to the wireless network.
- Some routers may offer additional security features such as MAC address filtering or guest networks. Explore these options and enable them if desired.
Remember, changing your wireless security settings and password regularly helps protect your network from potential security threats. By implementing strong security measures, you can ensure the safety of your wireless connection and keep your personal information secure.
Once you have changed the wireless security settings and password, you are now ready to proceed to the next step: saving the new password.
Step 5: Saving the New Password
After changing the wireless security settings and password on your Charter wireless router, it is crucial to save the new password to ensure easy access and avoid any inconvenience in the future. Follow these instructions to save the new password:
- Within the wireless settings page, look for a button or option to save the changes you have made. This may be labeled as “Save”, “Apply”, or something similar.
- Click on the appropriate button to save the changes.
- Wait for the router to apply the new settings and confirm that the changes have been saved successfully. This process may take a few seconds.
- Take note of the new password and store it securely. It is always a good practice to have a backup of your passwords in case you forget them.
- If available, look for an option to display the password on the screen. This can be helpful if you need to manually enter the new password on certain devices.
Congratulations! You have successfully changed the wireless security settings and password on your Charter wireless router and saved the new password. Your network is now more secure and protected from potential security threats.
Next, you will need to reconnect your devices using the new password to ensure uninterrupted access to your wireless network. In the following step, we will guide you on how to reconnect your devices with the new password.
Step 6: Reconnecting Devices with the New Password
Now that you have changed the password on your Charter wireless router, it is important to reconnect your devices using the new password to regain access to your wireless network. Follow these instructions:
- On each device that was previously connected to your wireless network, locate the Wi-Fi settings or network connections settings.
- In the list of available networks, select your network’s name (SSID). This is the same name you noted earlier in the wireless settings.
- If prompted, enter the new password you set for your network. Make sure to enter it correctly, as passwords are case-sensitive.
- Click or tap on the Connect or Join button to reconnect the device to your network.
- Wait for the device to connect to the network. Once connected, you should have access to the internet.
- Repeat these steps for each device that needs to be reconnected, including smartphones, tablets, laptops, and smart home devices.
It is common for devices to store previous network settings and automatically connect to known networks. However, since you changed the password, these devices will need to be manually updated with the new password to regain internet access.
If you encounter any issues during the reconnection process, ensure that the password you entered is correct. You can also try restarting the device or contacting the device manufacturer for further assistance.
With all your devices reconnected using the new password, you can now enjoy a secure and reliable wireless network with the updated settings.
Remember to periodically check and update your wireless network’s password to ensure the highest level of security.
Conclusion
Changing the password on your Charter wireless router is an important security measure to protect your network and ensure the safety of your personal information. By following the step-by-step instructions in this guide, you have learned how to change the password on your router and keep your wireless connection secure.
We started by accessing the router’s login page, logging in with your credentials, and locating the wireless settings. Then, we walked you through changing the wireless security settings and password. Finally, we discussed the importance of saving the new password and reconnecting your devices using the updated credentials.
Remember, it is crucial to select a strong and unique password that includes a combination of uppercase and lowercase letters, numbers, and special characters. Avoid using easily guessable passwords to ensure the utmost security for your wireless network.
By regularly changing your router’s password and keeping it secure, you can prevent unauthorized access and protect your network from potential security threats.
We hope this guide has been helpful in guiding you through the process of changing the password on your Charter wireless router. If you encounter any difficulties or have further questions, consult the documentation provided by Charter Communications or Spectrum, or reach out to their customer support for assistance.
Thank you for taking the time to read this guide, and we wish you success in securing your Charter wireless network!