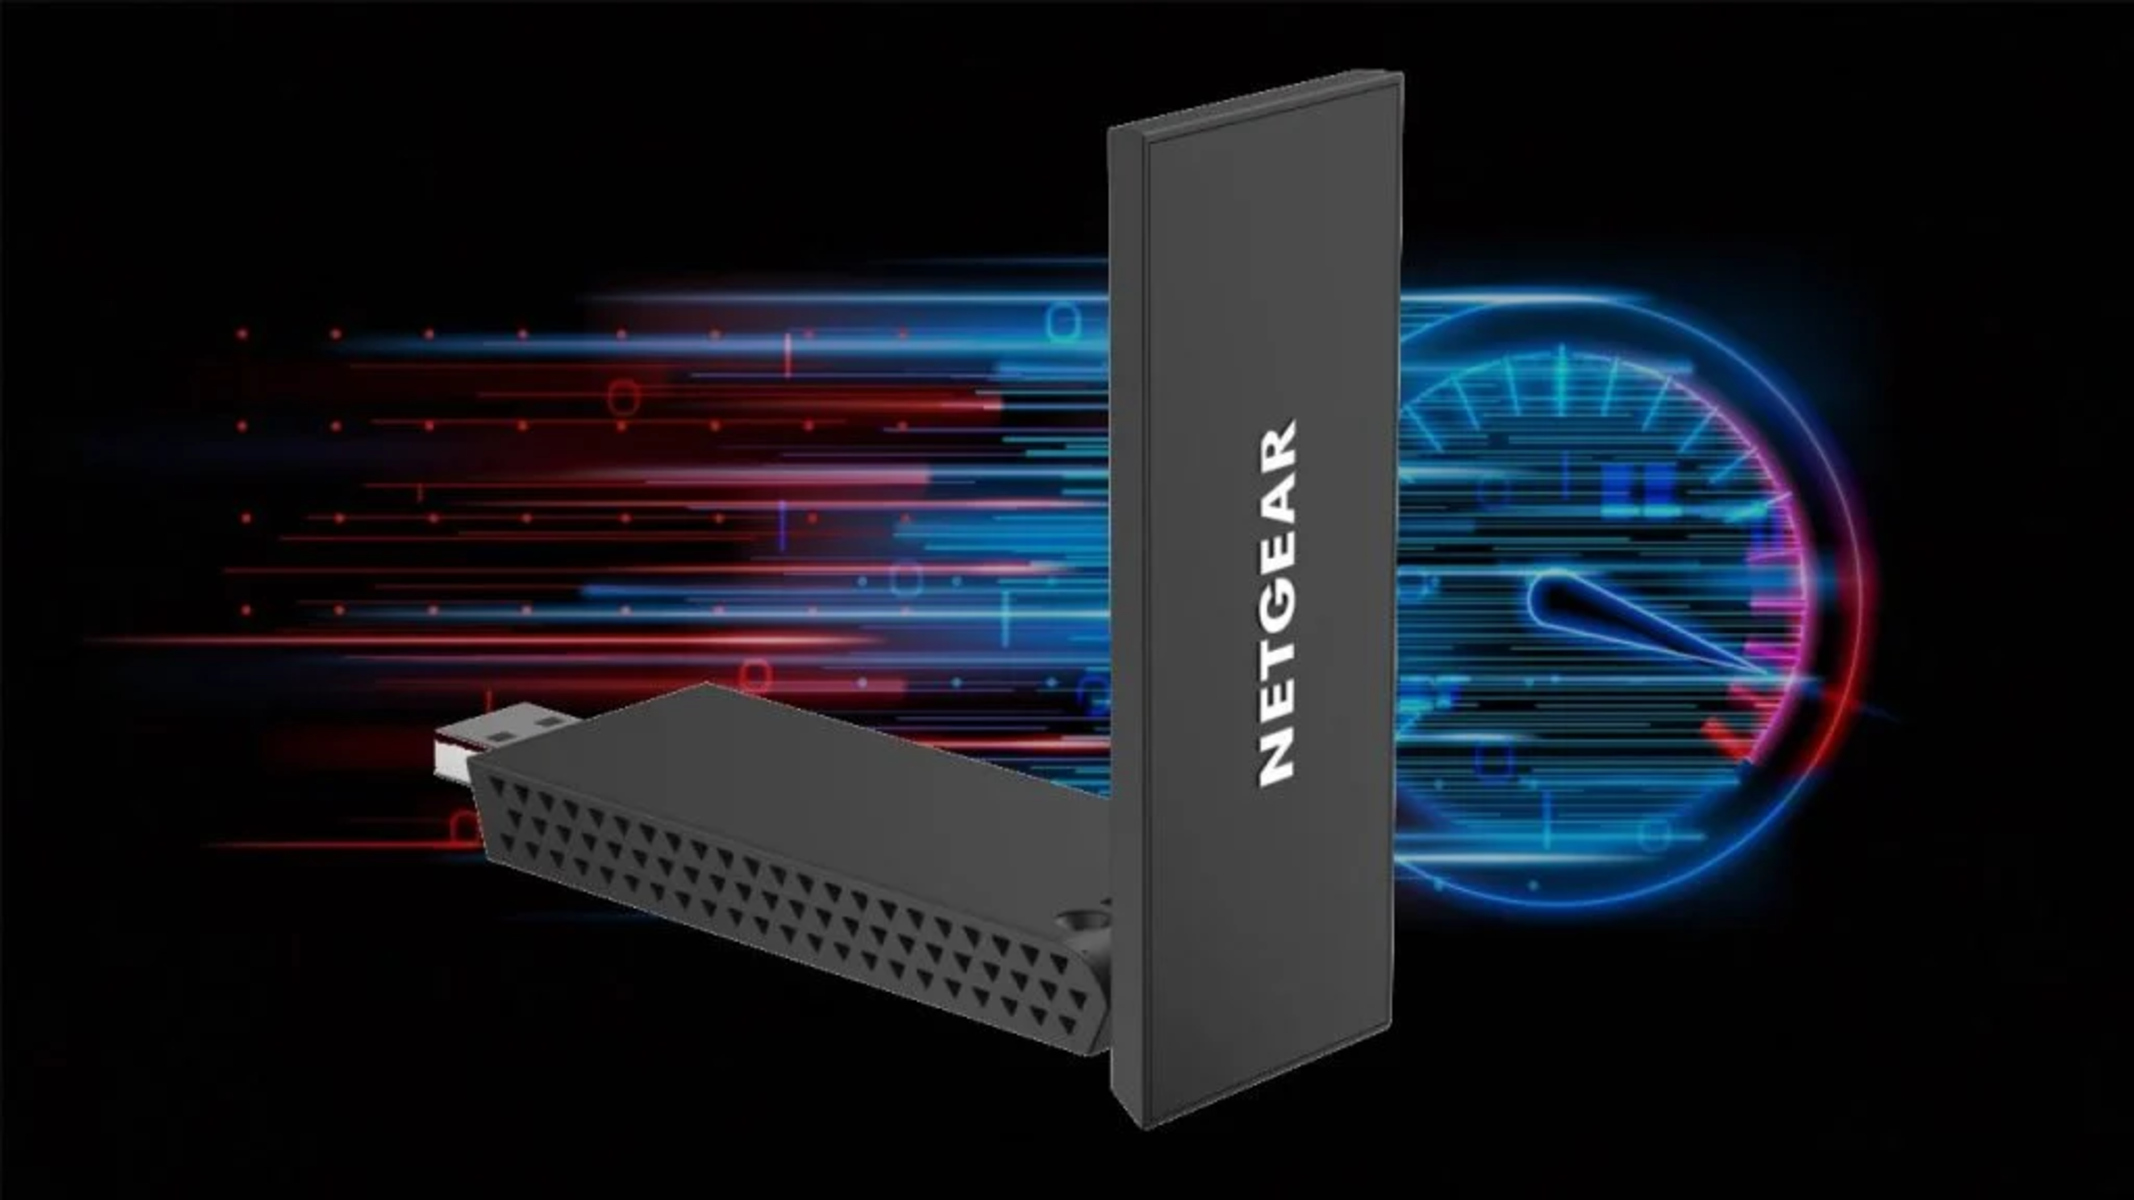
Introduction
Welcome to the comprehensive guide on how to set up your Netgear wireless router without the need for a CD installation. Netgear routers are known for their reliability and performance, providing a seamless internet connection for both home and office environments. Whether you’ve lost the installation CD or simply prefer a CD-free setup, this guide will walk you through the process step by step.
Setting up your Netgear wireless router without a CD is a straightforward process that requires a few simple steps. By following this guide, you’ll be able to connect your router to your modem, access the router’s configuration page, and configure the basic and advanced wireless settings to establish a secure and reliable wireless network.
This guide is designed to be easy to follow, even for those with limited technical knowledge. We’ll provide detailed instructions and tips to ensure a successful setup process. So let’s get started and have your Netgear router up and running in no time!
Before we begin, it’s essential to check the package contents to make sure you have all the necessary components for the setup. Additionally, it’s recommended to gather some basic information, such as your internet service provider (ISP) details and existing network credentials, if applicable.
Please note that the specific steps and options may vary slightly depending on your Netgear router model and firmware version. However, the general setup process remains similar across different models.
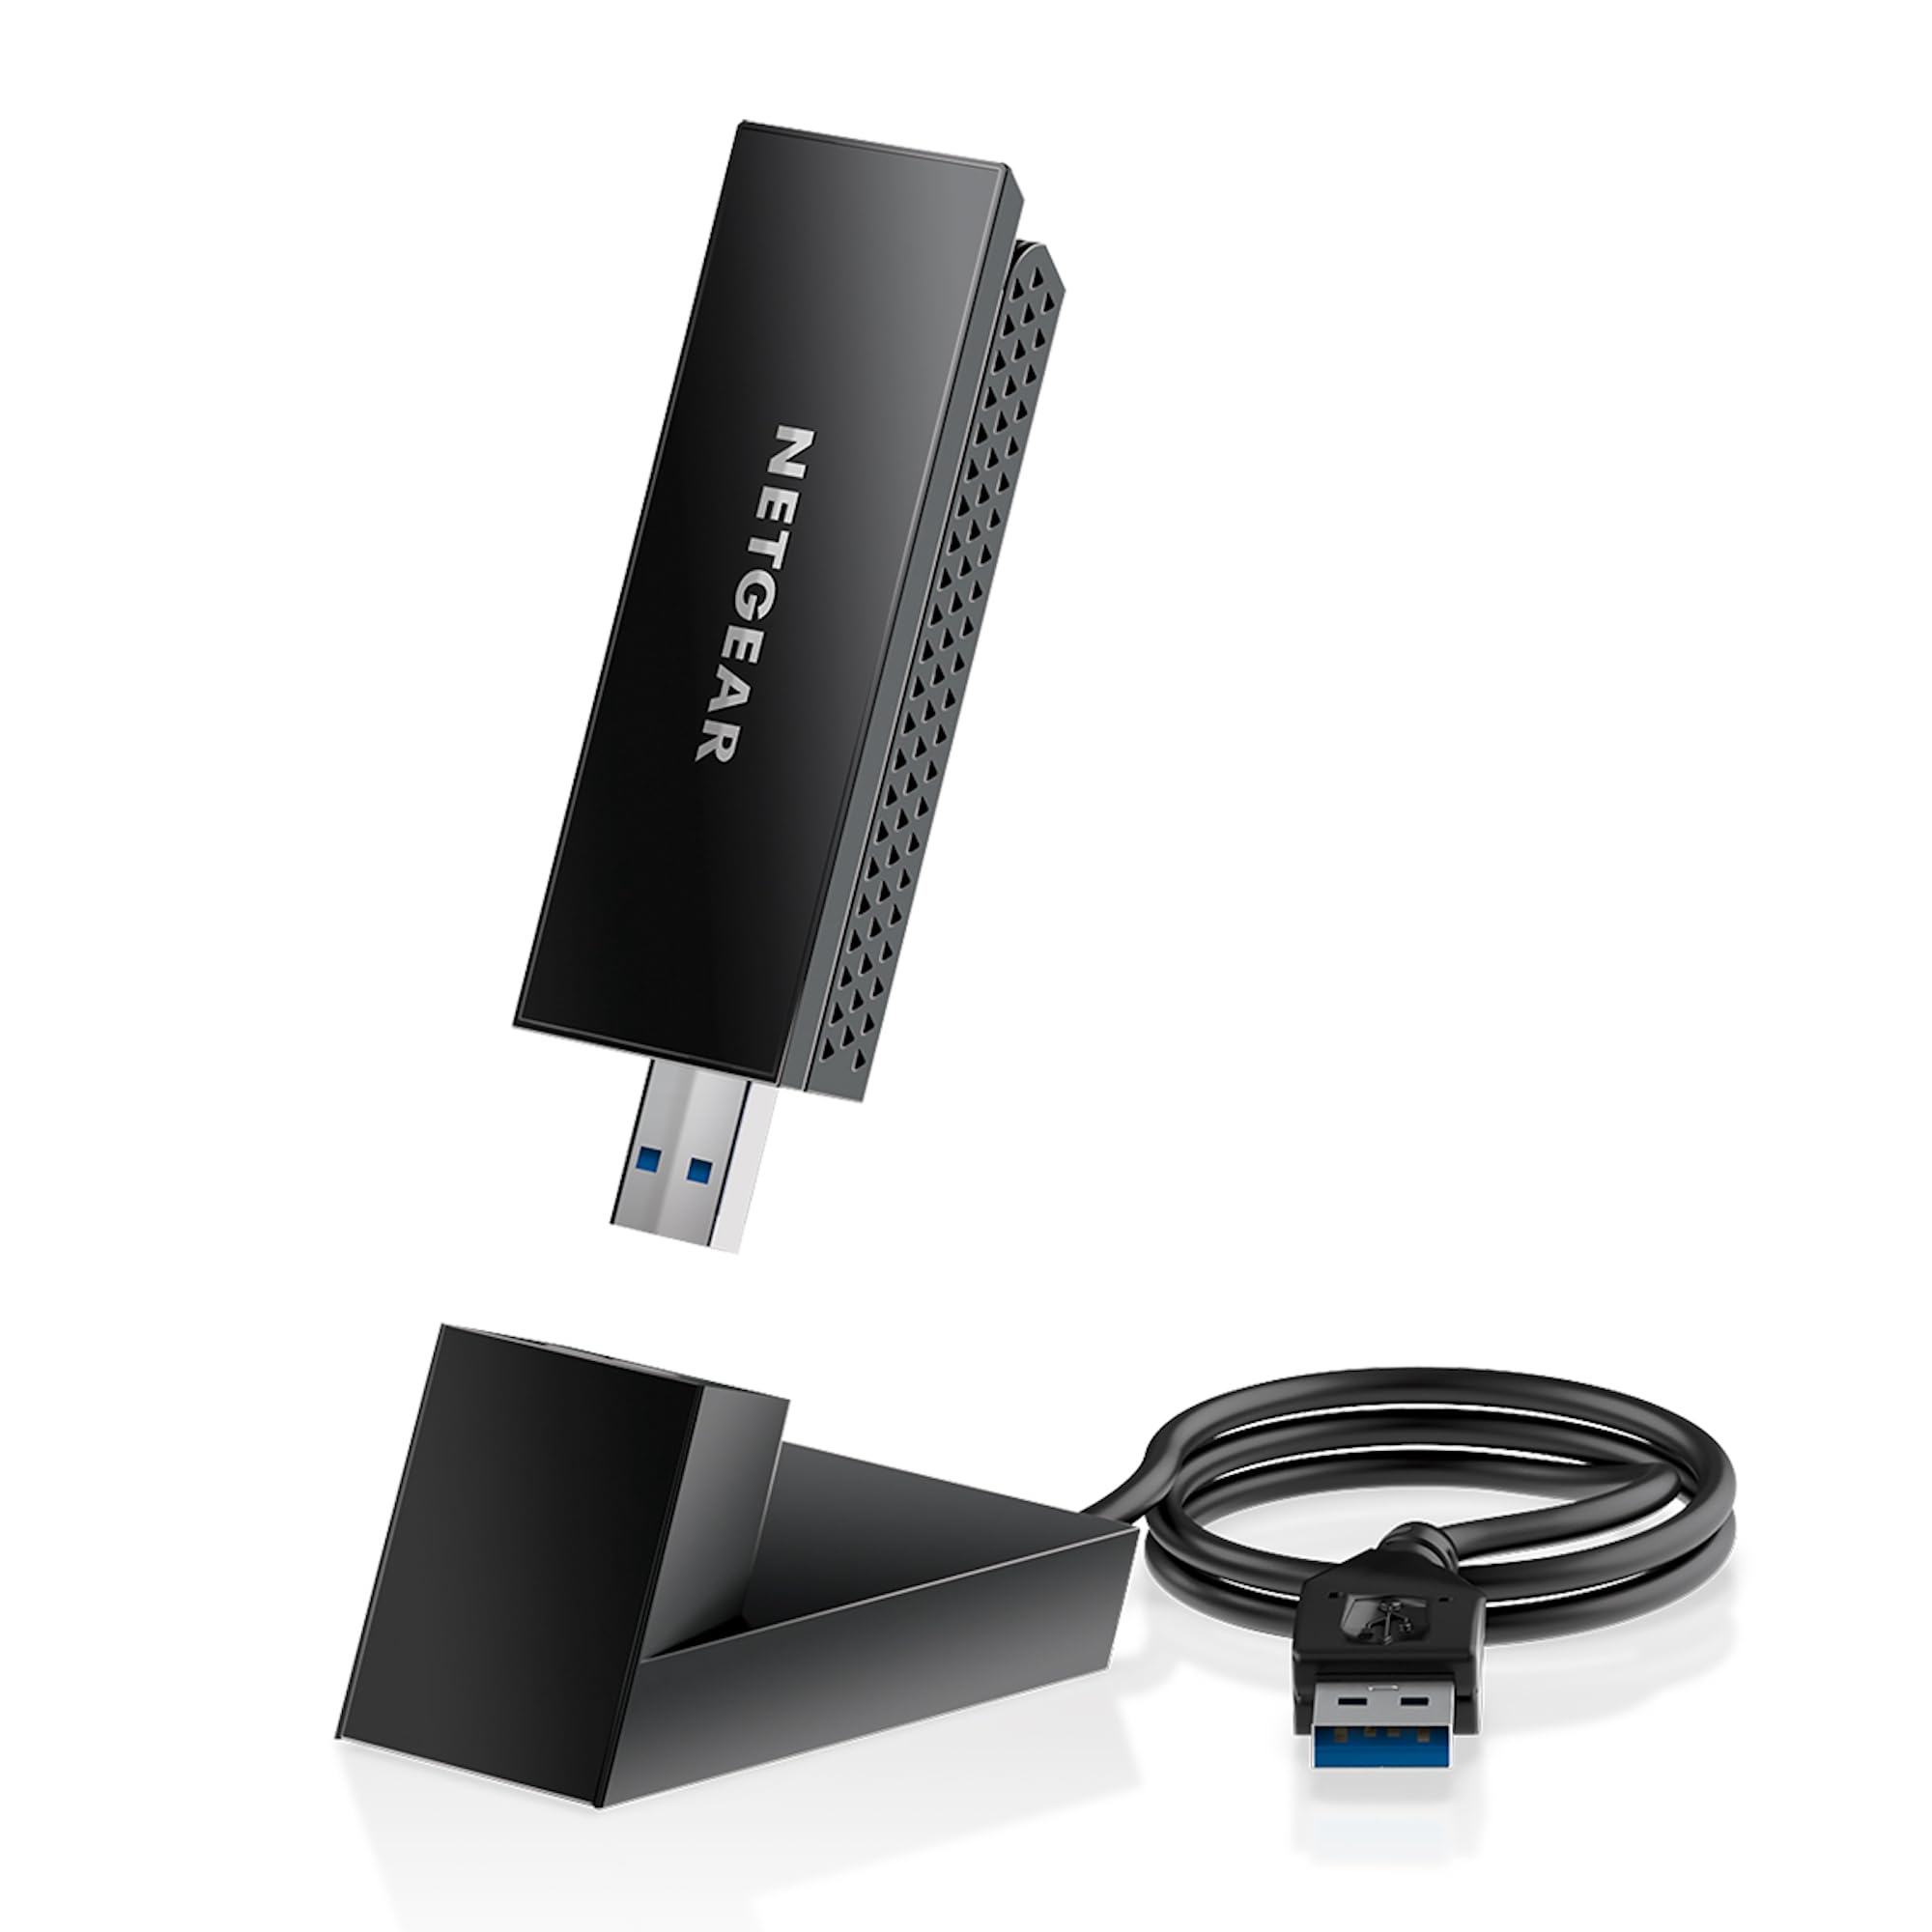
Checking the Package Contents
Before you begin setting up your Netgear wireless router, it’s crucial to ensure that you have all the necessary components included in the package. Checking the package contents will help you avoid any delays or difficulties during the setup process. Here’s a checklist of the typical items you should find:
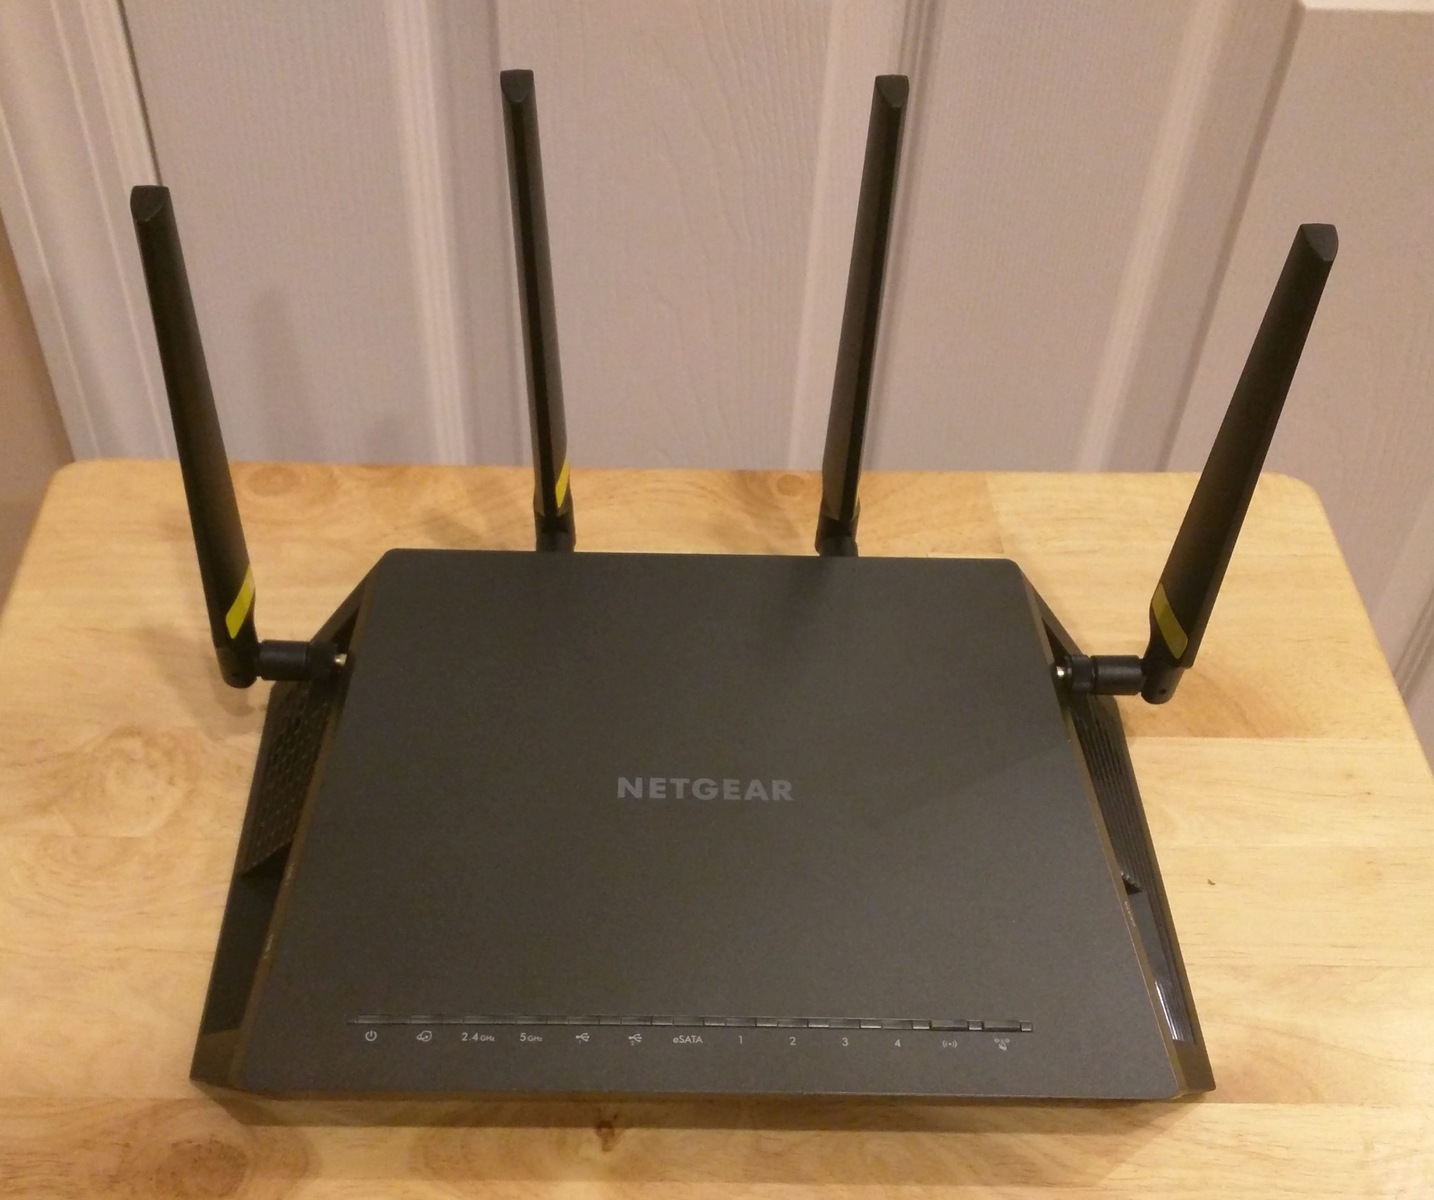
- Netgear wireless router
- Power adapter for the router
- Ethernet cable
- Quick start guide or installation manual
Take a moment to inspect each item and make sure they are in good condition without any visible damage. If you notice any missing or damaged components, contact Netgear support for assistance.
In addition to the router and its accessories, keep in mind that you will also need a computer or mobile device with Wi-Fi capabilities to complete the setup process. Ensure that the device you’ll be using is nearby and ready for use.
Once you’ve confirmed that all the necessary items are present, you can proceed to the next step of connecting the router to your network.
Remember to keep the packaged components in a safe place in case you need to refer to them later or if you decide to relocate your router in the future.
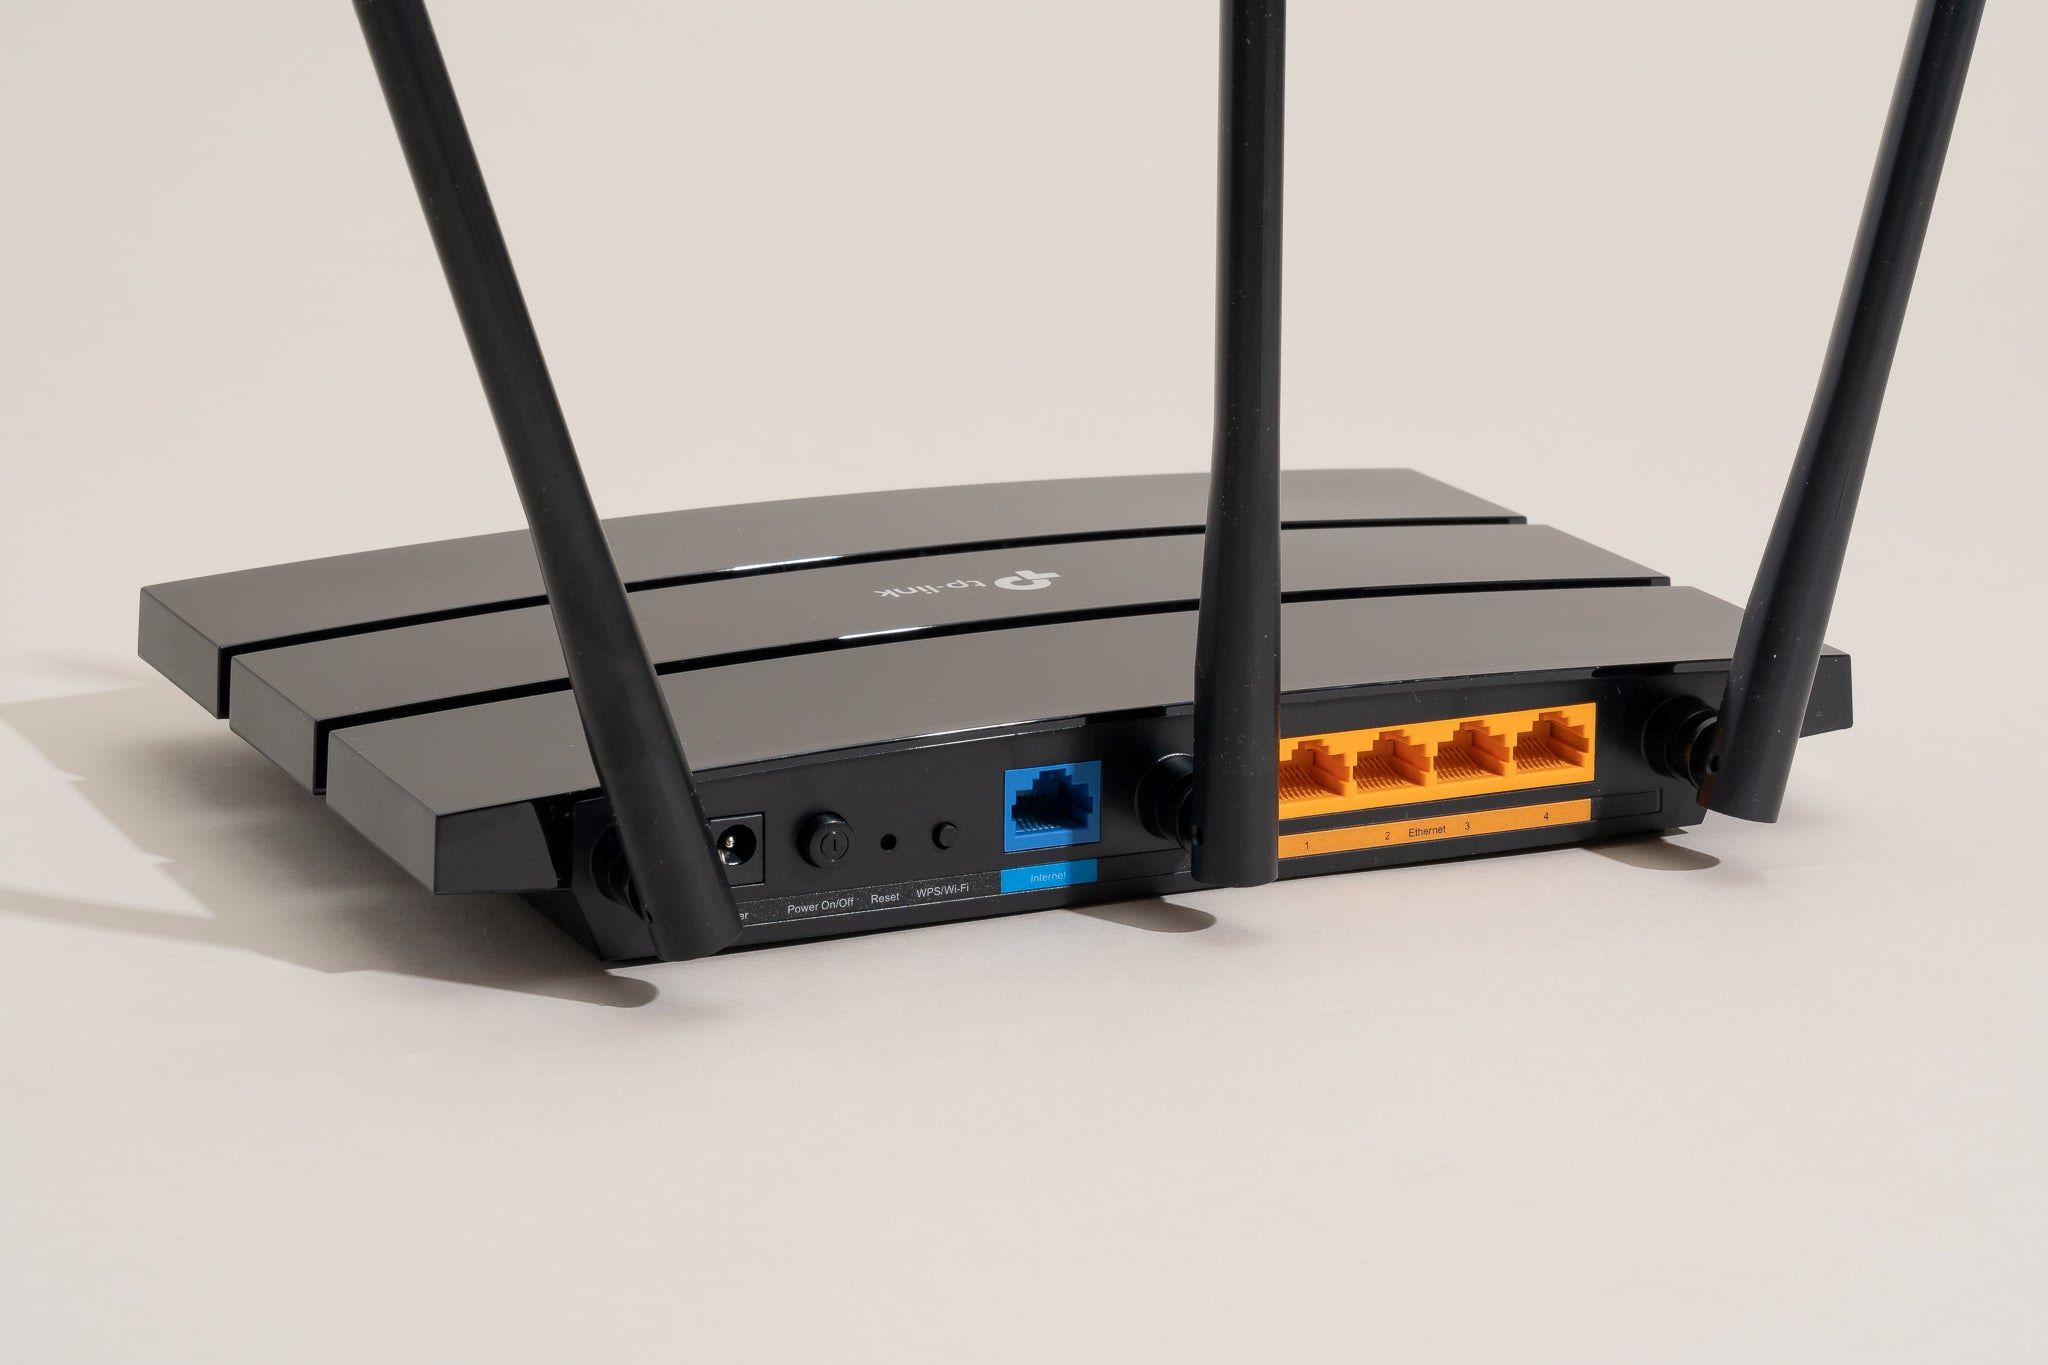
Connecting the Router
Now that you have checked the package contents, it’s time to connect your Netgear wireless router to your network. Follow these steps to ensure a proper setup:
- Locate your modem and power it on. Wait for a few minutes until it fully boots up.
- Now, take the Ethernet cable provided in the package and connect one end to the modem’s Ethernet port.
- Connect the other end of the Ethernet cable to the Internet or WAN port on the back of the Netgear router.
- Next, connect the power adapter to the router’s power input and plug it into an electrical outlet.
- Turn on the power switch, usually located on the back or side of the router.
- Wait for the router to power on and establish a connection with the modem. This may take a couple of minutes.
It’s important to note that during the initial setup, it’s best to connect your computer or mobile device to the router using an Ethernet cable. This ensures a stable and uninterrupted connection during the configuration process. If you prefer a wireless connection, you can set it up later in the configuration steps.
Once the router has established a connection with the modem, you’re ready to access the router’s configuration page to begin the setup process. In the next section, we will guide you through the steps to access the router’s configuration page.
Accessing the Router’s Configuration Page
After connecting your Netgear wireless router to your network, the next step is to access the router’s configuration page. This web-based interface allows you to make changes to your router’s settings and customize your network according to your preferences.
Here’s how you can access the router’s configuration page:
- Open a web browser on your computer or mobile device that is connected to the same network as the router.
- In the address bar, type in the default IP address for Netgear routers: 192.168.1.1 or 192.168.0.1. Press Enter.
- A login page will appear, prompting you for a username and password. By default, the username is usually “admin,” and the password is “password” or “1234”. Check your router’s documentation or the label on the router for any specific login details.
- Once you’ve entered the login credentials, click on the “Login” or “Submit” button to proceed.
If the default login credentials don’t work, it may indicate that you have already changed them or that your router has been pre-configured with different login details. In such cases, try to recall any previous changes you may have made or consult your router’s manual for further instructions.
Upon successful login, you will be presented with the Netgear router’s configuration page, where you can access various settings and options to set up your wireless network. In the next section, we will guide you through the process of configuring the basic wireless settings.
Configuring Basic Wireless Settings
Once you have accessed the Netgear router’s configuration page, it’s time to configure the basic wireless settings. These settings determine the name and security of your wireless network. Follow these steps to set up the basic wireless settings:
- Navigate to the “Wireless” or “Wireless Settings” section on the router’s configuration page.
- Locate the “Wireless Network Name” or “SSID” field. This is the name that will be displayed when devices search for available Wi-Fi networks. Enter a unique and memorable name for your network.
- Choose the appropriate “Wireless Security” option, such as WPA2-PSK (recommended) or WPA3 if supported by your router. This ensures secure communication between your devices and the router.
- In the “Wireless Password” or “Passphrase” field, enter a strong and secure password for your wireless network. It’s advisable to use a combination of letters, numbers, and symbols to enhance security.
- Save the changes by clicking on the “Apply” or “Save” button.
Once you have configured the basic wireless settings, your Netgear router will broadcast the wireless network with the provided SSID. Any device within range can search for and connect to this network using the specified password.
It’s important to choose a strong password to prevent unauthorized access to your network. Avoid using common, easily guessable passwords such as “password” or “123456”. Instead, opt for a unique and complex password to enhance the security of your wireless network.
Congratulations! You have successfully configured the basic wireless settings for your Netgear wireless router. In the next section, we will explore how to set up a wireless network with a unique name (SSID).
Setting up a Wireless Network with a Unique Name (SSID)
A unique and easily identifiable network name, also known as the Service Set Identifier (SSID), helps distinguish your wireless network from others in the vicinity. By setting up a unique SSID, you can easily locate and connect to your network without confusion. Follow these steps to set up a wireless network with a unique name:
- Access the Netgear router’s configuration page by following the steps mentioned earlier.
- Navigate to the “Wireless” or “Wireless Settings” section.
- Locate the “Wireless Network Name” or “SSID” field.
- Enter a unique and meaningful name for your wireless network. You can get creative and personalize the SSID based on your preferences, such as including your name or any other identifier.
- Save the changes by clicking on the “Apply” or “Save” button.
Once you have set up a unique SSID, your wireless network will be easily identifiable when you search for available networks on your devices. This makes it convenient for you and your network users to find and connect to the correct network.
Remember to choose an SSID that is not too long and does not contain special characters that might cause compatibility issues with some devices. Using a mix of letters, numbers, and standard symbols is recommended to create a unique and memorable SSID.
Now that you have set up a wireless network with a unique name, it’s time to proceed to the next step of securing your network by changing the wireless password (passphrase). We will cover this in the following section.
Changing the Wireless Password (Passphrase)
Securing your wireless network is of utmost importance to protect your personal data and prevent unauthorized access. One of the essential steps in network security is changing the default password (passphrase) of your Netgear wireless router. Follow these steps to change the wireless password:
- Access the Netgear router’s configuration page using the steps mentioned earlier.
- Navigate to the “Wireless” or “Wireless Settings” section.
- Locate the “Wireless Password” or “Passphrase” field.
- Enter a new, strong password for your wireless network. Ideally, the password should be a combination of uppercase and lowercase letters, numbers, and symbols.
- Save the changes by clicking on the “Apply” or “Save” button.
By changing the wireless password, you ensure that only authorized users can connect to your network and avoid the potential risks associated with default or weak passwords. It’s recommended to choose a password that is unique and not easily guessable.
Remember to update the wireless password on all devices that connect to your network. This will require re-entering the new password on each device to establish a secure connection.
Changing the wireless password periodically is also recommended to further enhance the security of your network. You can set a reminder to update the password every few months to maintain a robust network security posture.
Now that you have changed the wireless password, you have taken an essential step towards securing your network. In the next section, we will explore the option of configuring advanced wireless settings for additional customization.
Configuring Advanced Wireless Settings (Optional)
While the basic wireless settings ensure a functional and secure network, you may want to further customize your Netgear wireless router by accessing and configuring advanced settings. These advanced settings offer additional features and options to optimize your network performance and tailor it to your specific needs. Here are some optional advanced settings you can consider:
- Wireless Channel: By default, the router selects the best channel automatically. However, in congested areas or if you experience interference, manually selecting a less crowded channel can improve wireless performance.
- Wireless Mode: This setting determines the compatibility of your router’s wireless standard. If all your devices support the latest Wi-Fi standard, such as 802.11ac, selecting this mode can provide faster speeds. Alternatively, you can choose a mixed mode to support older devices.
- Wireless Range: Adjusting the transmit power of the router allows you to control the Wi-Fi coverage area. Decreasing the transmit power can help minimize interference with neighboring networks, while increasing it can extend the range.
- Guest Network: If you frequently have guests or want to create a separate network for IoT devices, enabling a guest network provides a secure and isolated environment, keeping your main network separate from guest access.
- Quality of Service (QoS): This feature allows you to prioritize certain types of internet traffic, ensuring a smooth experience for bandwidth-intensive activities, such as streaming or gaming.
Accessing and configuring these advanced settings may vary depending on your Netgear router model and firmware version. Refer to the router’s documentation or consult the Netgear support website for specific instructions related to your device.
Keep in mind that adjusting advanced settings should be done carefully and only if you understand their implications. If you are unsure or unfamiliar with a particular setting, it’s best to leave it at the default configuration or seek assistance from an experienced user or the Netgear support team.
By exploring and configuring the advanced wireless settings, you can optimize your Netgear wireless router’s performance and tailor it to your unique requirements. In the next optional section, we will briefly discuss updating the router’s firmware.
Updating the Router’s Firmware (Optional)
Updating the firmware of your Netgear wireless router is an optional but highly recommended step to ensure the best performance and security. Firmware updates often include bug fixes, security patches, and new features that can enhance the overall functionality of your router. Here’s how you can update the firmware:
- Visit the Netgear Support website and locate the “Downloads” or “Support” section.
- Enter the model number of your router to find the appropriate firmware version for your device.
- Download the latest firmware file to your computer or mobile device.
- Access the router’s configuration page, as mentioned earlier, and navigate to the “Firmware Update” or “Router Upgrade” section.
- Click on the “Browse” or “Choose File” button and select the firmware file you downloaded.
- Follow the on-screen prompts to start the firmware update process.
- During the update, do not interrupt the power supply to the router or close the browser window, as it may result in an incomplete update or cause firmware corruption.
- Once the firmware update is complete, the router will reboot, and the new firmware will take effect.
It’s crucial to regularly check for firmware updates for your Netgear router and install them as they become available. This helps ensure the stability, performance, and security of your network. Some routers have the option to enable automatic firmware updates, which can streamline the process and keep your router up to date automatically.
Remember to read the release notes or documentation accompanying the firmware update to understand any changes, features, or known issues that may arise. If you encounter any difficulties during the firmware update or have questions, refer to the Netgear support website or contact their customer support for assistance.
By keeping your Netgear router’s firmware up to date, you ensure that it operates at its best and remains protected against potential vulnerabilities. Now that you’ve learned about updating the firmware, let’s move on to troubleshooting common issues in the next section.
Troubleshooting Common Issues
While setting up and using your Netgear wireless router, you may encounter common issues that can be easily resolved. Here are some troubleshooting tips to help you overcome these challenges:
- No Internet Connection: If you’re unable to establish an internet connection, ensure that the modem is functioning correctly and that the router is properly connected to the modem. Restarting both devices can often resolve this issue.
- Weak Wi-Fi Signal: If you experience weak Wi-Fi signal or limited coverage, try repositioning the router to a more centralized location in your home or office. Additionally, ensure that there are no physical barriers obstructing the signal, such as walls or large furniture.
- Slow Internet Speed: If you’re experiencing slow internet speeds, check whether multiple devices are connected to the network and consuming bandwidth. You can also try adjusting the wireless channel or upgrading your internet plan with your ISP if necessary.
- Forgot Router’s Login Details: If you’ve forgotten the login credentials for your router’s configuration page, you may need to reset the router to its factory settings. This will allow you to use the default username and password. However, be aware that this will erase any personalized settings, and you will need to reconfigure them.
- Intermittent Connection: If your Wi-Fi connection periodically drops or becomes unstable, try power cycling the router by unplugging it from the power source, waiting for a few seconds, and then plugging it back in. This can sometimes resolve connectivity issues.
If you continue to experience issues with your Netgear wireless router after troubleshooting, it may be helpful to consult the Netgear support website or contact their customer support for further assistance.
Remember to keep your router’s firmware up to date, as mentioned earlier in this guide, as firmware updates often address common issues and provide improved performance and stability.
Now that you have a better understanding of how to troubleshoot common issues, let’s move on to the concluding section of this guide.
Conclusion
Setting up your Netgear wireless router without a CD is a straightforward process that can be accomplished by following the steps outlined in this guide. By checking the package contents, connecting the router to your network, accessing the router’s configuration page, and configuring the basic and advanced wireless settings, you can establish a secure and reliable wireless network in your home or office.
Remember to choose a unique SSID, change the wireless password for enhanced security, and consider customizing advanced settings according to your specific needs. Updating the router’s firmware periodically ensures optimal performance and protects against vulnerabilities.
If you encounter any issues during the setup process or while using your Netgear wireless router, the troubleshooting tips provided in this guide can help you resolve them effectively.
Keep in mind that the specific steps and options may vary slightly depending on your Netgear router model and firmware version. Consult the router’s documentation or the Netgear support website for detailed instructions tailored to your device.
With the information and guidance provided in this guide, you are well-equipped to set up and configure your Netgear wireless router without the need for a CD. Enjoy the seamless internet connectivity and the convenience of a secure wireless network for all your devices.