Introduction
Welcome to our step-by-step guide on how to connect your Cisco Linksys wireless router. In today’s digital age, a reliable and secure wireless network is essential for staying connected and enjoying seamless internet access. Whether you’re setting up a new router or reconfiguring an existing one, this tutorial will provide you with all the information you need to get started.
Before we dive into the steps, let’s first understand the importance of a wireless router. Simply put, a wireless router is a device that allows multiple devices to connect to the internet wirelessly. It acts as a central hub, transmitting data between your internet service provider (ISP) and your devices, such as laptops, smartphones, tablets, and smart home devices.
Cisco Linksys routers are known for their robust performance, advanced features, and user-friendly interface. Whether you’re a novice or an experienced user, connecting your Cisco Linksys wireless router is a straightforward process. By following the steps in this guide, you’ll be able to set up and configure your router in no time.
It’s important to note that each router model may have slight variations in terms of its setup process. Therefore, it’s always recommended to refer to the user manual or online documentation specific to your router model for detailed instructions. However, this guide will provide you with a general overview of the steps involved in connecting your Cisco Linksys wireless router.
So, without further ado, let’s get started with step 1: gathering the necessary equipment.
Step 1: Gather the necessary equipment
Before you begin setting up your Cisco Linksys wireless router, it’s essential to ensure that you have all the required equipment. Having everything ready will help you avoid any unnecessary delays or interruptions during the setup process. Here are the items you’ll need:
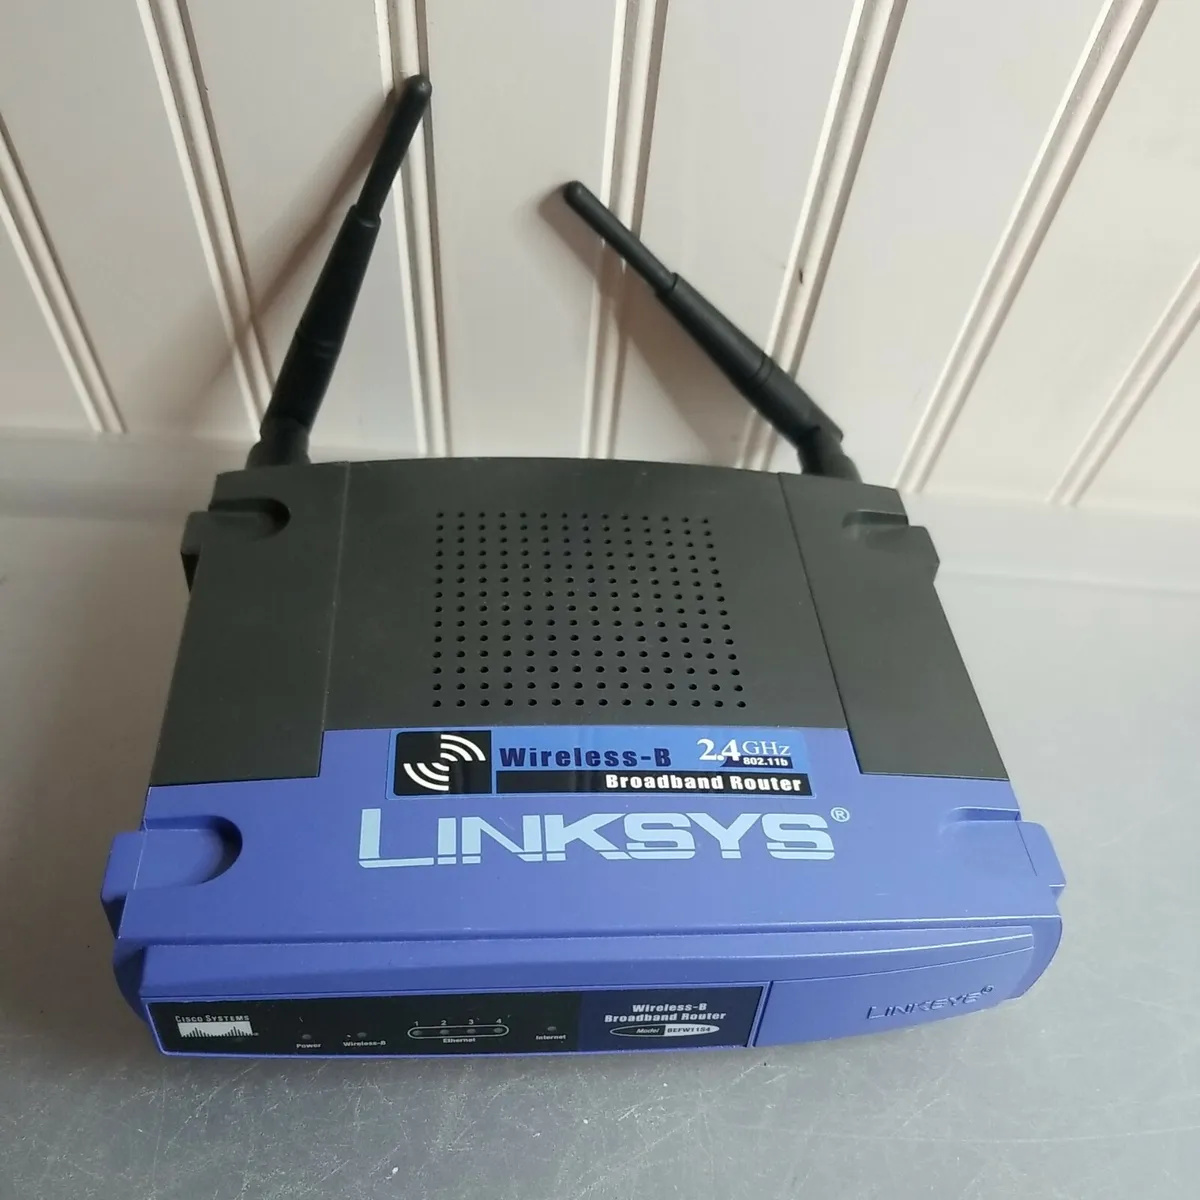
- A Cisco Linksys wireless router: This is the central device that will connect to your ISP’s modem and facilitate wireless internet access.
- An Ethernet cable: You’ll need an Ethernet cable to establish the initial connection between the router and your computer.
- A computer or laptop: You’ll use a computer or laptop to access the router’s web-based setup page and configure the settings.
- A modem: The modem connects your home or office to your ISP’s network and provides the internet connection. Ensure that your modem is configured and functional.
- A power adapter: The power adapter is essential for powering on the router and ensuring it operates correctly.
Once you have gathered all the necessary equipment, double-check that everything is in working order. This includes verifying that your computer can establish internet connectivity by connecting it directly to the modem. If you encounter any issues at this stage, resolve them before proceeding with the router setup.
By ensuring you have all the required equipment and confirming that everything is in proper working condition, you’ll be ready to move on to the next step: connecting the modem to the router. Stay tuned for our next section, where we’ll guide you through the process!
Step 2: Connect the modem to the router
Once you have gathered all the necessary equipment, you can proceed to connect your modem to the Cisco Linksys wireless router. This step establishes the connection between your ISP’s internet service and the router, allowing it to transmit the internet signal to your devices. Follow these simple steps:
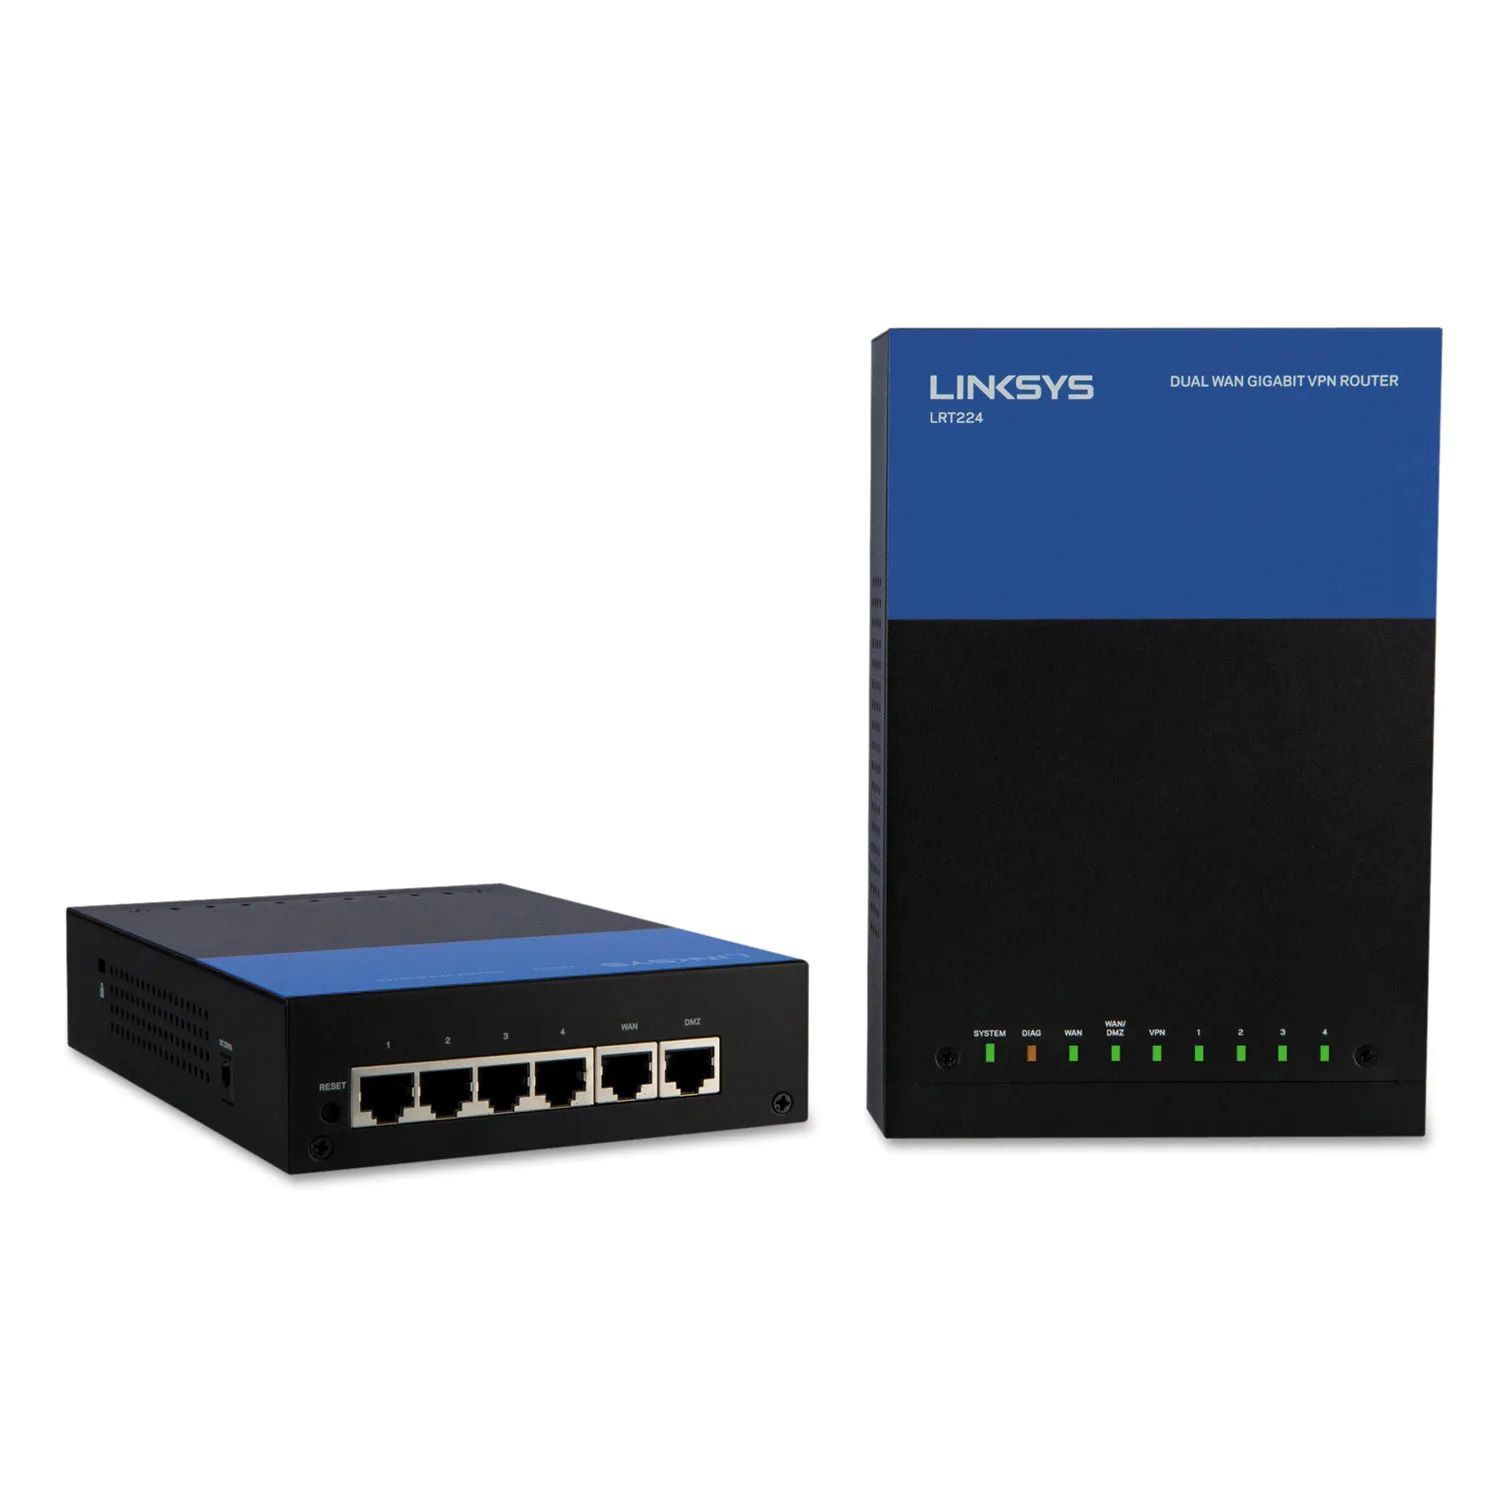
- Locate the Ethernet cable that came with your router. One end of the cable will have an RJ-45 connector, which resembles a large phone jack. Plug this end into the Ethernet port on the back of your modem.
- Next, take the other end of the Ethernet cable and connect it to the WAN or Internet port on the back of your Cisco Linksys router. The WAN port is usually marked with a different color or labeled specifically.
- Ensure that both ends of the cable are securely connected, and the cable is straightened to avoid any bends or kinks.
- Now, take another Ethernet cable and connect one end to any of the available LAN ports on the back of your router. These ports are used to connect your wired devices, such as desktop computers or gaming consoles.
- Connect the other end of the Ethernet cable to the Ethernet port on your computer or laptop.
Once you have completed these steps, your modem and router are now connected, allowing the internet connection to flow through the router to all your devices. In the next section, we will guide you through the process of connecting the router to your computer and configuring the necessary settings. Stay tuned!
Step 3: Connect the router to the computer
Now that you have successfully connected the modem to the Cisco Linksys wireless router in the previous step, it’s time to establish a connection between the router and your computer. This connection will allow you to access the router’s web-based setup page and configure the necessary settings. Follow these steps:
- Ensure that your computer or laptop is powered off before proceeding.
- Take the other end of the Ethernet cable that you connected to the router in the previous step, and plug it into the Ethernet port on your computer or laptop.
- Make sure that the Ethernet cable is securely connected to both the router and your computer.
- Double-check that the router’s power adapter is securely plugged into an electrical outlet and the router itself.
- Turn on your computer or laptop and wait for it to fully boot up.
Once you have completed these steps, your computer is now physically connected to the Cisco Linksys wireless router. This connection will enable you to access the router’s web-based setup page and proceed with configuring the wireless network settings. In the next section, we will guide you through the process of powering on the router and the computer. Let’s continue our journey towards setting up your wireless network!
Step 4: Power on the router and the computer
Now that you have connected the router to your computer, it’s time to power on both devices. This step ensures that the router and your computer can communicate with each other effectively. Follow these simple steps:
- Locate the power adapter that came with your Cisco Linksys router.
- Plug one end of the power adapter into the power port on the back of the router.
- Ensure that the power adapter is securely plugged into an electrical outlet.
- Power on your computer or laptop by pressing the power button, and wait for it to fully boot up.
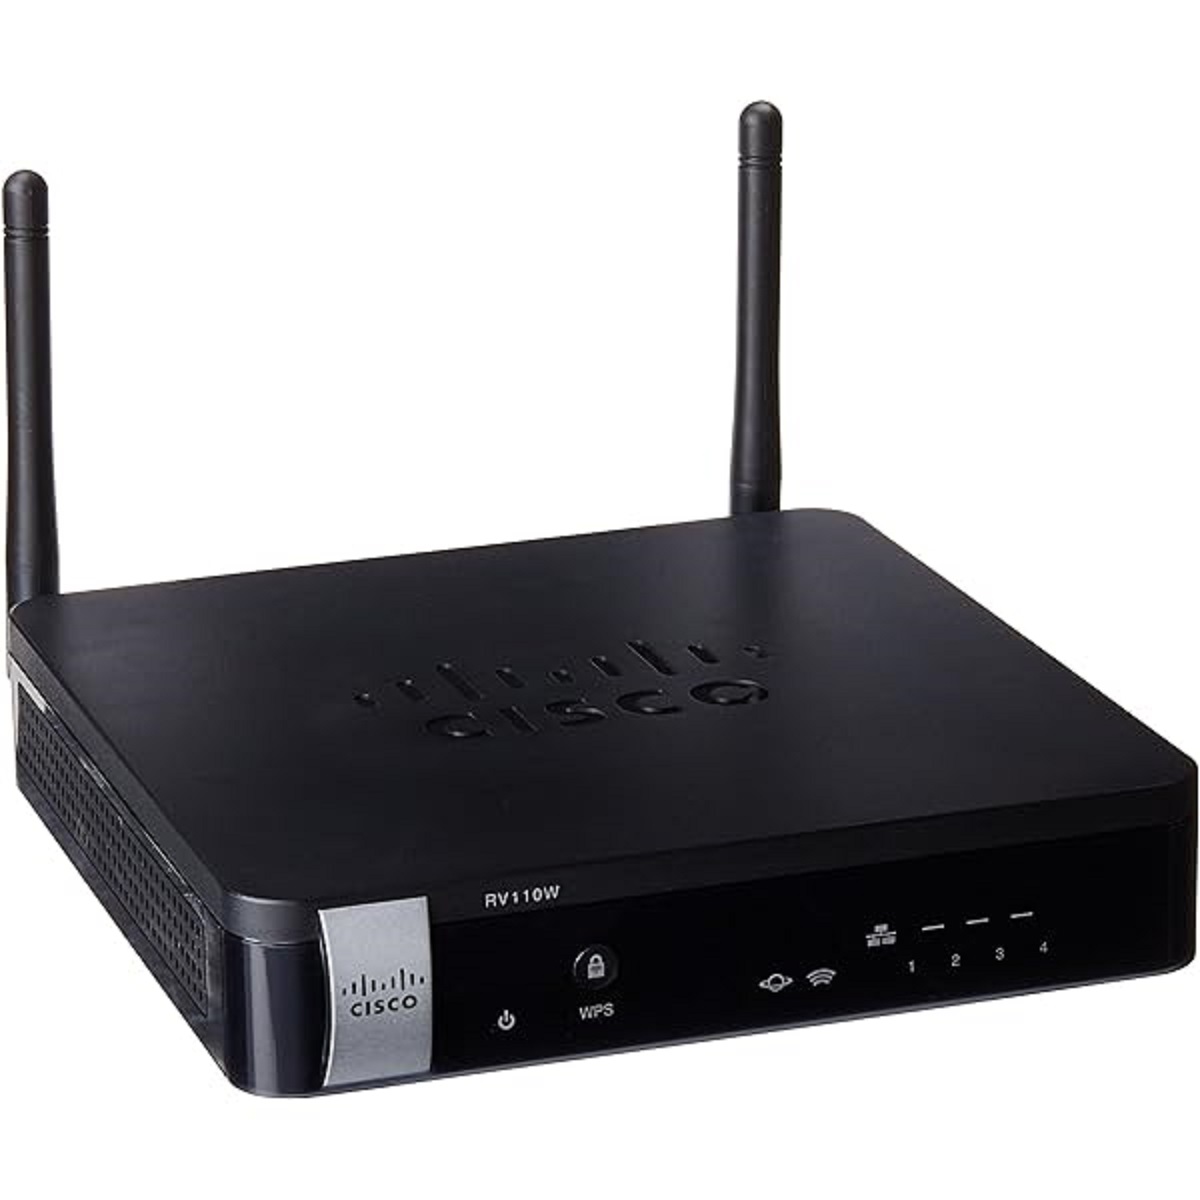
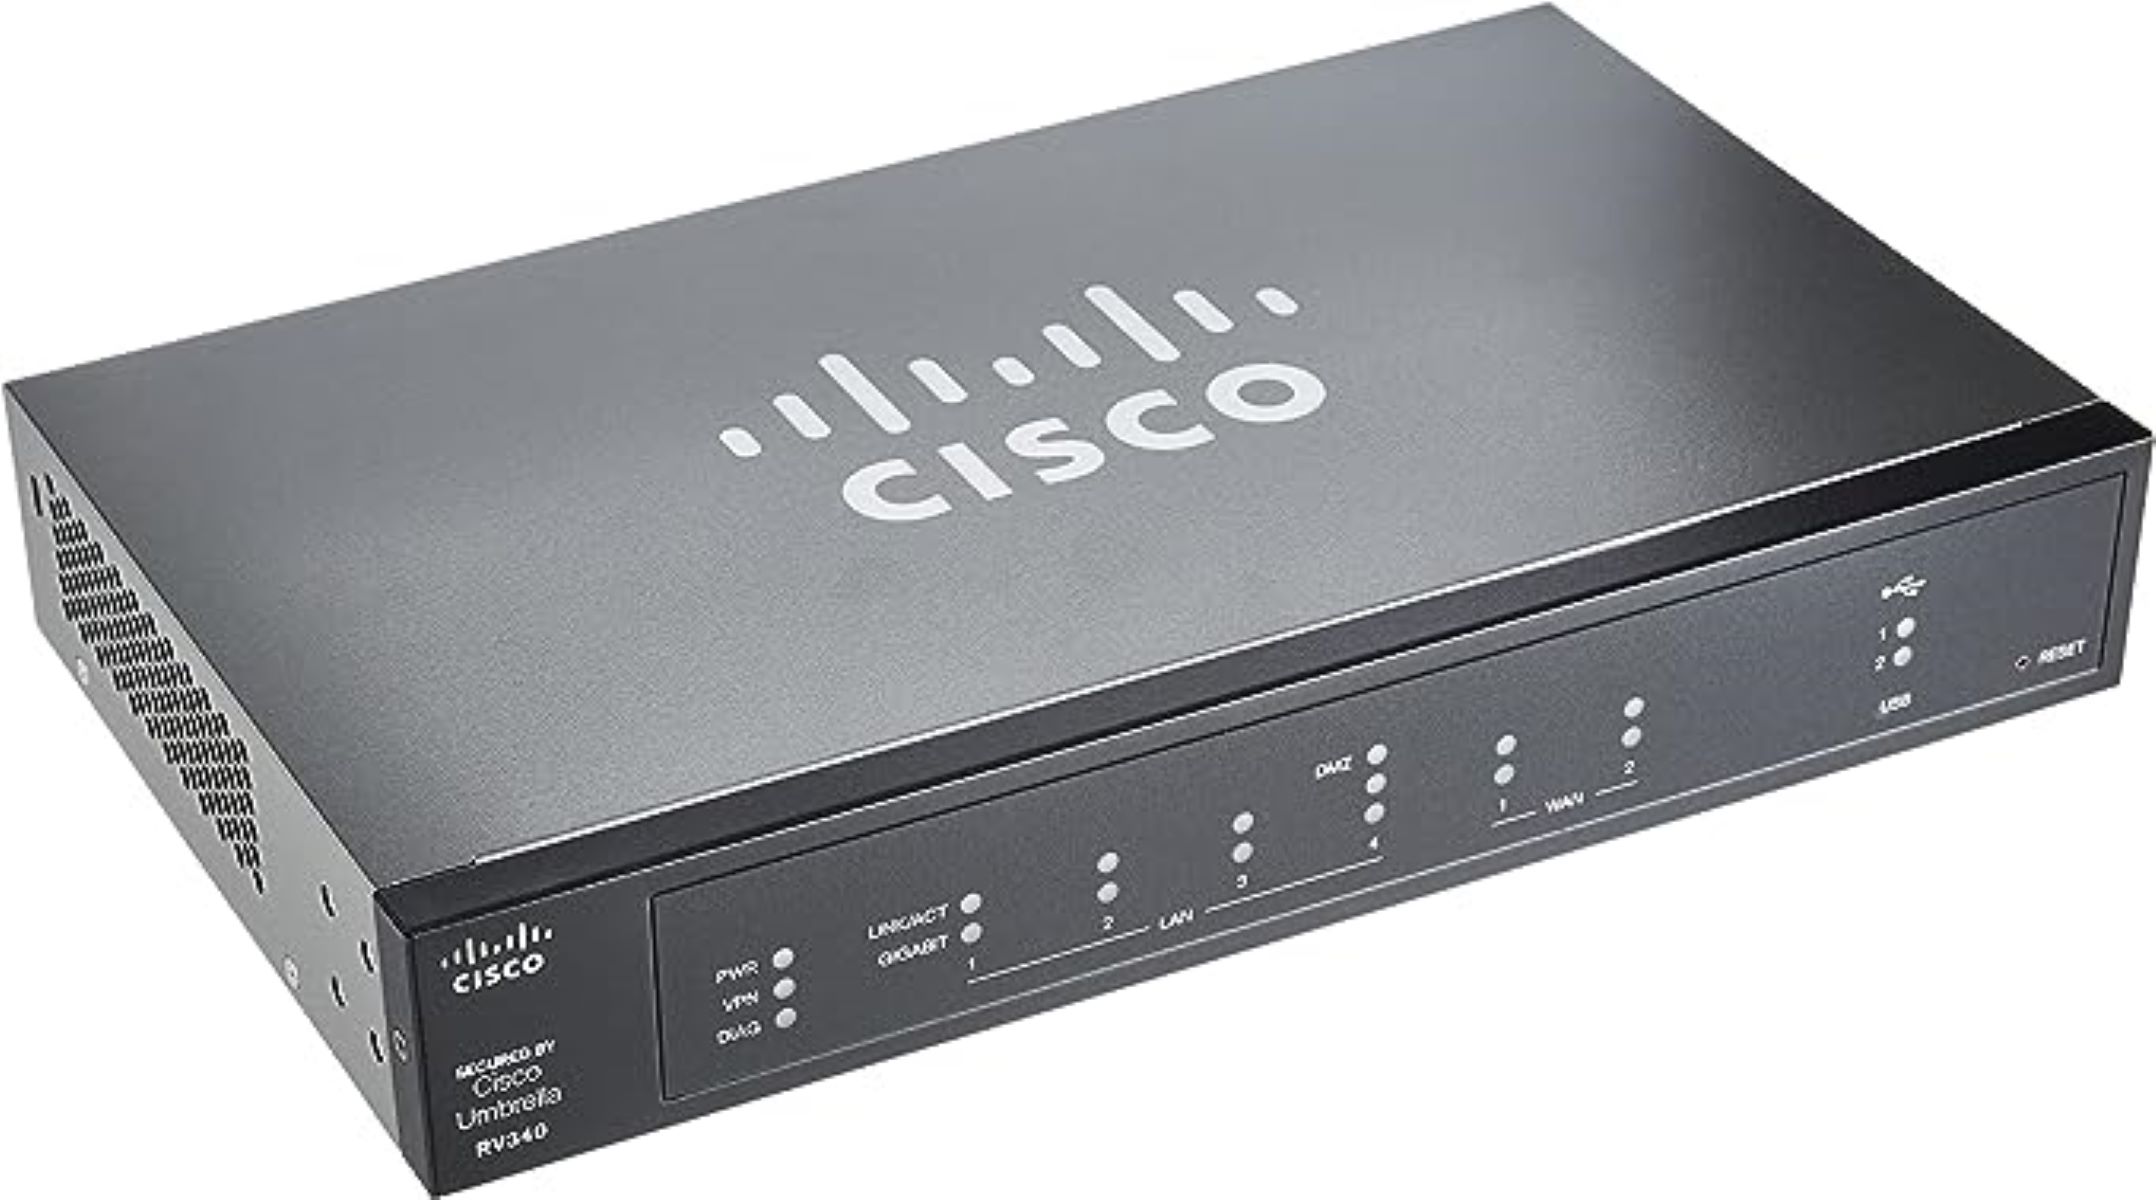
- Keep an eye on the lights on your router. Depending on the model, you should see indicator lights for power, internet connection, and wireless activity. Allow a few moments for the router to initialize and establish a connection with the modem and your computer.
Once the router and your computer are powered on, it’s an excellent time to make a visual check. Ensure that all lights on the router are lit up and there are no loose connections. If you notice any issues or no lights are present, double-check the power and Ethernet connections, and refer to the router’s user manual for troubleshooting guidance.
With the router and your computer powered on, you are now one step closer to setting up your wireless network. In the next section, we will guide you through the process of accessing the router’s web-based setup page. This page will allow you to configure the wireless network settings and customize your network according to your preferences. Stay tuned!
Step 5: Access the router’s web-based setup page
Now that your router and computer are powered on, it’s time to access the router’s web-based setup page. This page allows you to configure various settings and customize your wireless network. Follow these steps to access the setup page:
- Open your preferred web browser on your computer or laptop.
- In the address bar of the browser, type in the default IP address of the Cisco Linksys router. The default IP address is typically “192.168.1.1” or “192.168.0.1”. If none of these addresses work, consult your router’s documentation or check the manufacturer’s website for the correct default IP address.
- Press Enter or Return on your keyboard to navigate to the router’s IP address.
- A login page should appear in your browser. Enter the default username and password for your router. If you haven’t changed these credentials, the default username is usually “admin” and the default password is often left blank. However, it’s important to note that these credentials can vary depending on your router model. Refer to your router’s documentation or the manufacturer’s website for the correct login details.
- After entering the username and password, click on the “Log In” or “Submit” button to access the router’s web-based setup page.
Once you have successfully logged in, you will have access to the router’s configuration settings. This is where you can set up and customize your wireless network according to your preferences. In the next section, we will guide you through the process of configuring the wireless network settings. Get ready to personalize your network and enhance your wireless experience!
Step 6: Configure the wireless network settings
Now that you have accessed the router’s web-based setup page, it’s time to configure the wireless network settings. This step allows you to personalize your network, set a unique name, and implement security measures to protect your network. Follow these steps to configure the settings:
- On the router’s setup page, navigate to the wireless network settings section. This may be labeled as “Wireless,” “Wi-Fi,” or something similar.
- Locate the field where you can enter a network name, usually referred to as the SSID (Service Set Identifier). Choose a name that is easy to identify and remember.
- Choose the security mode for your wireless network. We strongly recommend using WPA2 (Wi-Fi Protected Access 2) for enhanced security. Select the option from the drop-down menu.
- Set a strong and unique password for your Wi-Fi network. This will prevent unauthorized access to your network. Create a password that includes a combination of uppercase and lowercase letters, numbers, and special characters.
- Configure other wireless network settings according to your preferences. This may include options such as wireless channel, signal strength, and broadcast settings. You can typically leave these settings at their default values unless you have specific requirements.
- Once you have made the necessary changes, navigate to the bottom of the page and click on the “Apply” or “Save” button to save the settings.
After saving the settings, the Cisco Linksys router will apply the changes and restart the wireless network. This may take a few moments, and you may temporarily lose connection to the network during this process.
Congratulations! You have successfully configured the wireless network settings on your Cisco Linksys router. In the next step, we will guide you through the process of connecting to the wireless network using your devices. Get ready to enjoy the freedom of wireless connectivity!
Step 7: Connect to the wireless network
Now that you have configured the wireless network settings on your Cisco Linksys router, it’s time to connect your devices to the network. Follow these steps to connect to the wireless network:
- On your computer, laptop, or mobile device, locate the Wi-Fi settings or network connections.
- Scan for available wireless networks, and you should see the network name (SSID) that you set up in the previous step. Select your network from the list.
- If prompted, enter the wireless network password that you set up during the configuration process. Make sure to type the password accurately and ensure that the option to remember the network is checked, so you don’t have to enter the password every time you reconnect.
- After entering the correct password, your device will attempt to connect to the wireless network. Wait for a few seconds, and if all goes well, you should be successfully connected.
- Once connected, you can test the internet connection by opening a web browser and visiting a website. If the page loads successfully, it indicates that your device is now connected to the internet via the Cisco Linksys wireless router.
- If you have multiple devices, repeat the above steps for each device to connect them to the network.
Now, enjoy the freedom of wireless connectivity! You can connect your smartphones, tablets, laptops, smart TVs, and other devices to your Cisco Linksys wireless router and enjoy a seamless internet experience throughout your home or office.
Remember to periodically check the router’s settings, update the firmware, and ensure that your network is secure by keeping the wireless network password confidential. By doing so, you’ll maintain the integrity and security of your network.
That’s it! You have successfully connected to the wireless network using your devices. Congratulations on setting up your Cisco Linksys wireless router! If you have any questions or encounter any issues, refer to the router’s user manual or contact the Cisco Linksys support for assistance.
Conclusion
Congratulations! You have successfully connected and configured your Cisco Linksys wireless router. By following the step-by-step guide in this tutorial, you have established a reliable and secure wireless network that will keep you connected and provide seamless internet access.
Throughout the process, we covered various essential steps, including gathering the necessary equipment, connecting the modem to the router, establishing a connection between the router and your computer, powering on the devices, accessing the router’s web-based setup page, configuring the wireless network settings, and finally, connecting your devices to the wireless network.
With your Cisco Linksys wireless router up and running, you can now enjoy the freedom of wireless connectivity on multiple devices, such as laptops, smartphones, tablets, and smart home devices. Remember to periodically check your router’s settings, update the firmware, and ensure that your wireless network is protected with a strong password to maintain a secure and reliable network connection.
If you encounter any issues or have more questions about your Cisco Linksys wireless router, always refer to the user manual or contact the Cisco Linksys support for assistance. They will be able to provide you with specific guidance based on your router model and any unique circumstances you may encounter.
We hope this guide has been helpful in setting up your Cisco Linksys wireless router. Now, sit back, relax, and enjoy a seamless and high-speed internet experience throughout your home or office!