Introduction
Setting up a Linksys wireless router is a convenient and efficient way to establish a wireless network in your home or office. With a router, you can connect multiple devices to the internet without the need for messy wires or cables. While some routers come with a setup CD, it is possible to set up a Linksys wireless router without it. This allows you to quickly and easily get your network up and running.
In this guide, we will walk you through the step-by-step process of setting up a Linksys wireless router without a CD. Whether you’ve lost the installation CD or prefer a CD-free setup, this method is suitable for all users. By following these instructions, you’ll be able to configure your router, establish a wireless network, and secure your connection.
Before we dive into the setup process, it’s important to ensure that you have all the necessary equipment. You will need a Linksys wireless router, an Ethernet cable, a computer or laptop with an Ethernet port or wireless capability, and a modem provided by your internet service provider. Once you have gathered these essentials, let’s move on to the next step.
Step 1: Gather the necessary equipment
Before you begin setting up your Linksys wireless router without a CD, it’s important to make sure you have all the required equipment. Here’s a list of what you’ll need:
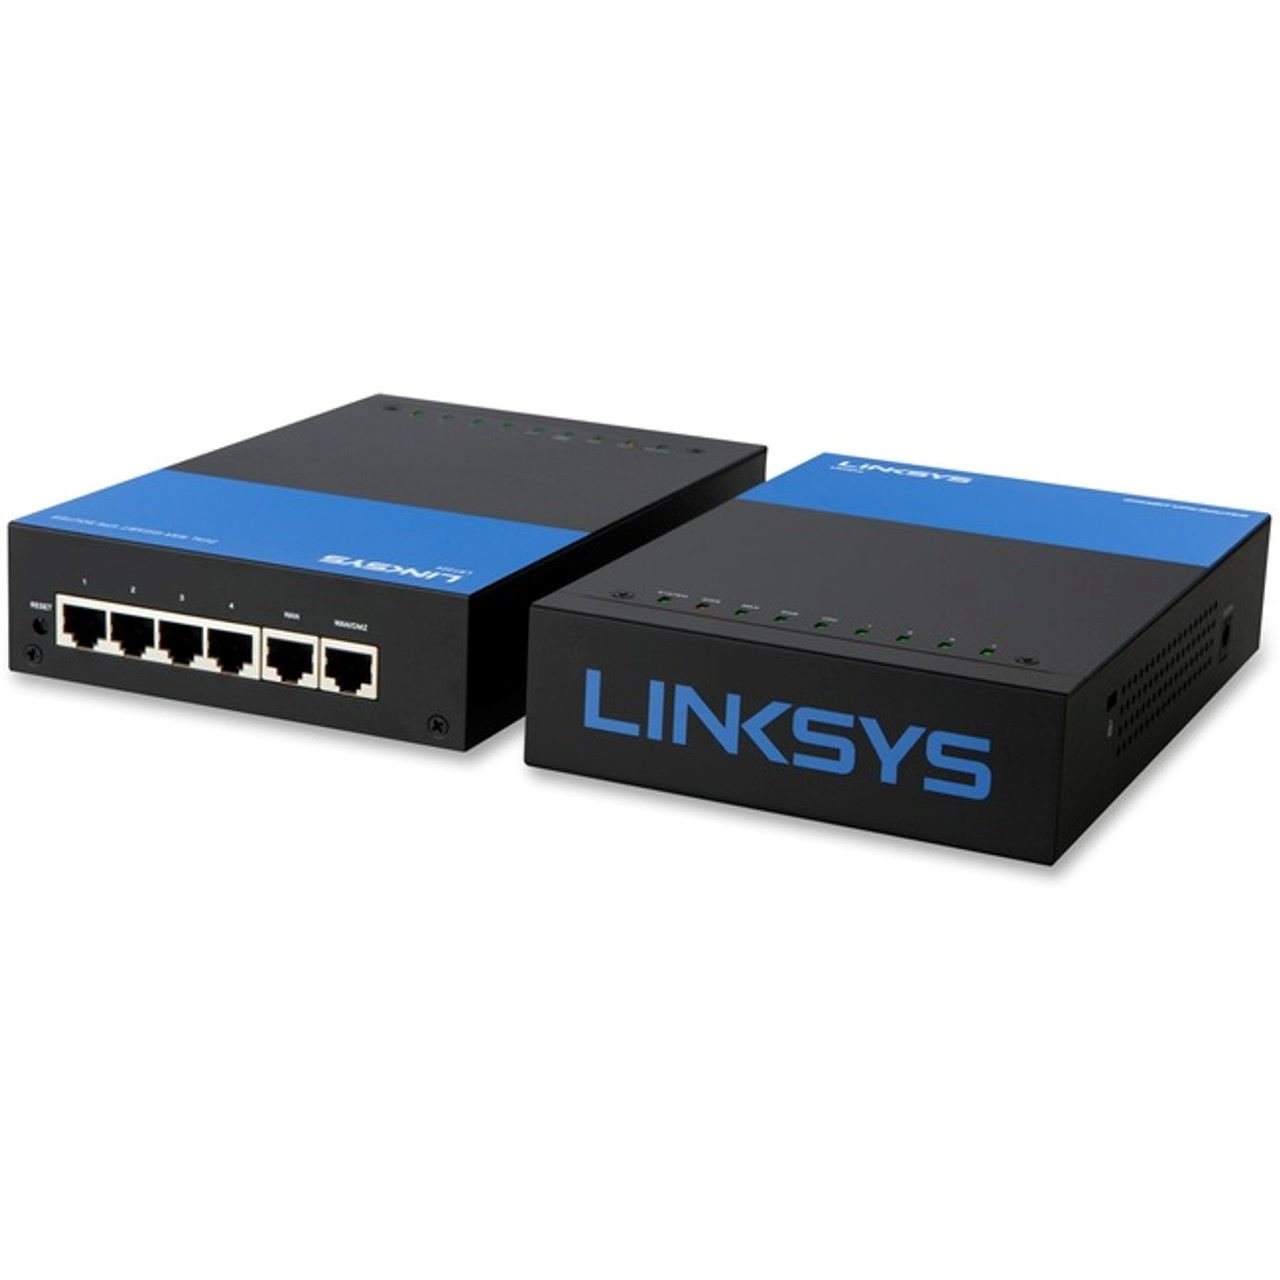
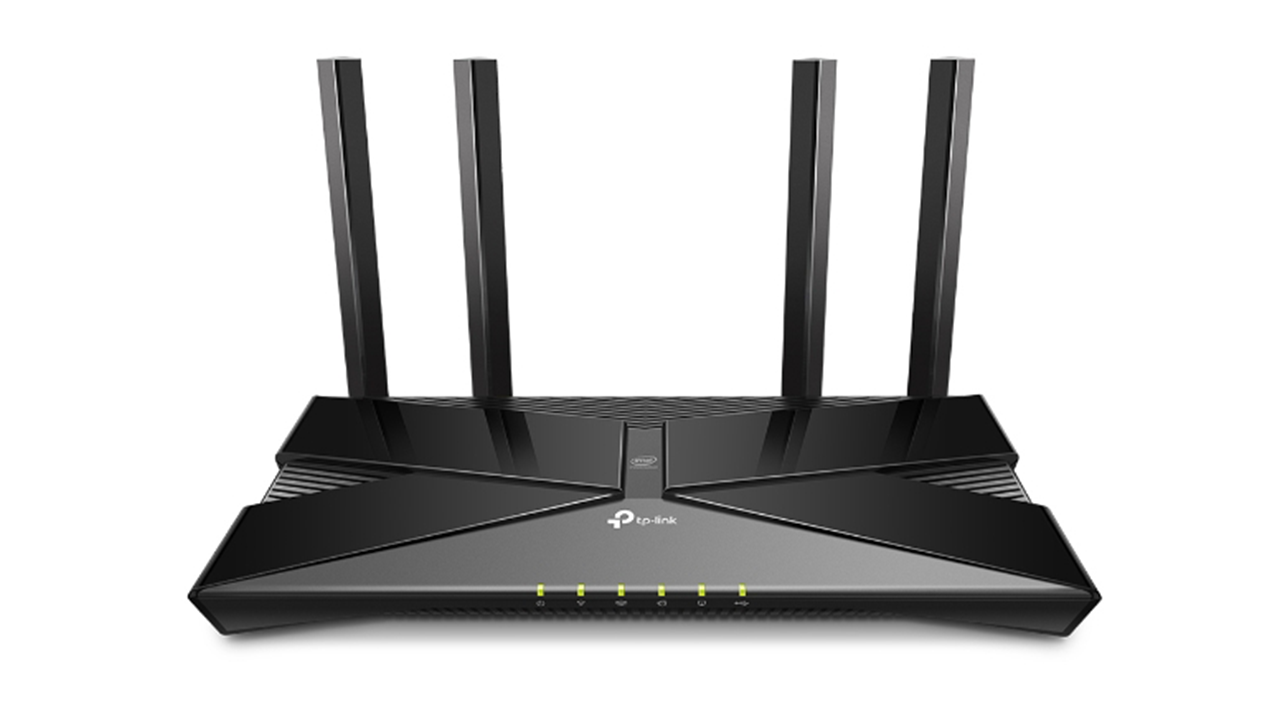
- A Linksys wireless router: Choose a model that suits your needs and budget. Make sure it supports the wireless standards you want (e.g., 802.11ac).
- An Ethernet cable: This will be used to connect your router to the modem and your computer to the router during the setup process.
- A computer or laptop: You’ll need a device to access the router’s configuration page and complete the setup. It should have an Ethernet port or wireless capability.
- A modem: This is provided by your internet service provider (ISP) and is necessary for connecting to the internet. Ensure that it is compatible with your router.
- Power adapters: You’ll need power adapters for both your router and modem to connect them to a power source.
Once you have gathered these items, find a suitable location for your router. Consider placing it in a central area of your home or office to ensure optimal wireless coverage.
Now that you have the necessary equipment, you’re ready to move on to the next step: connecting your router to a power source.
Step 2: Connect your router to a power source
With all the required equipment at hand, it’s time to connect your Linksys wireless router to a power source. Follow these steps:
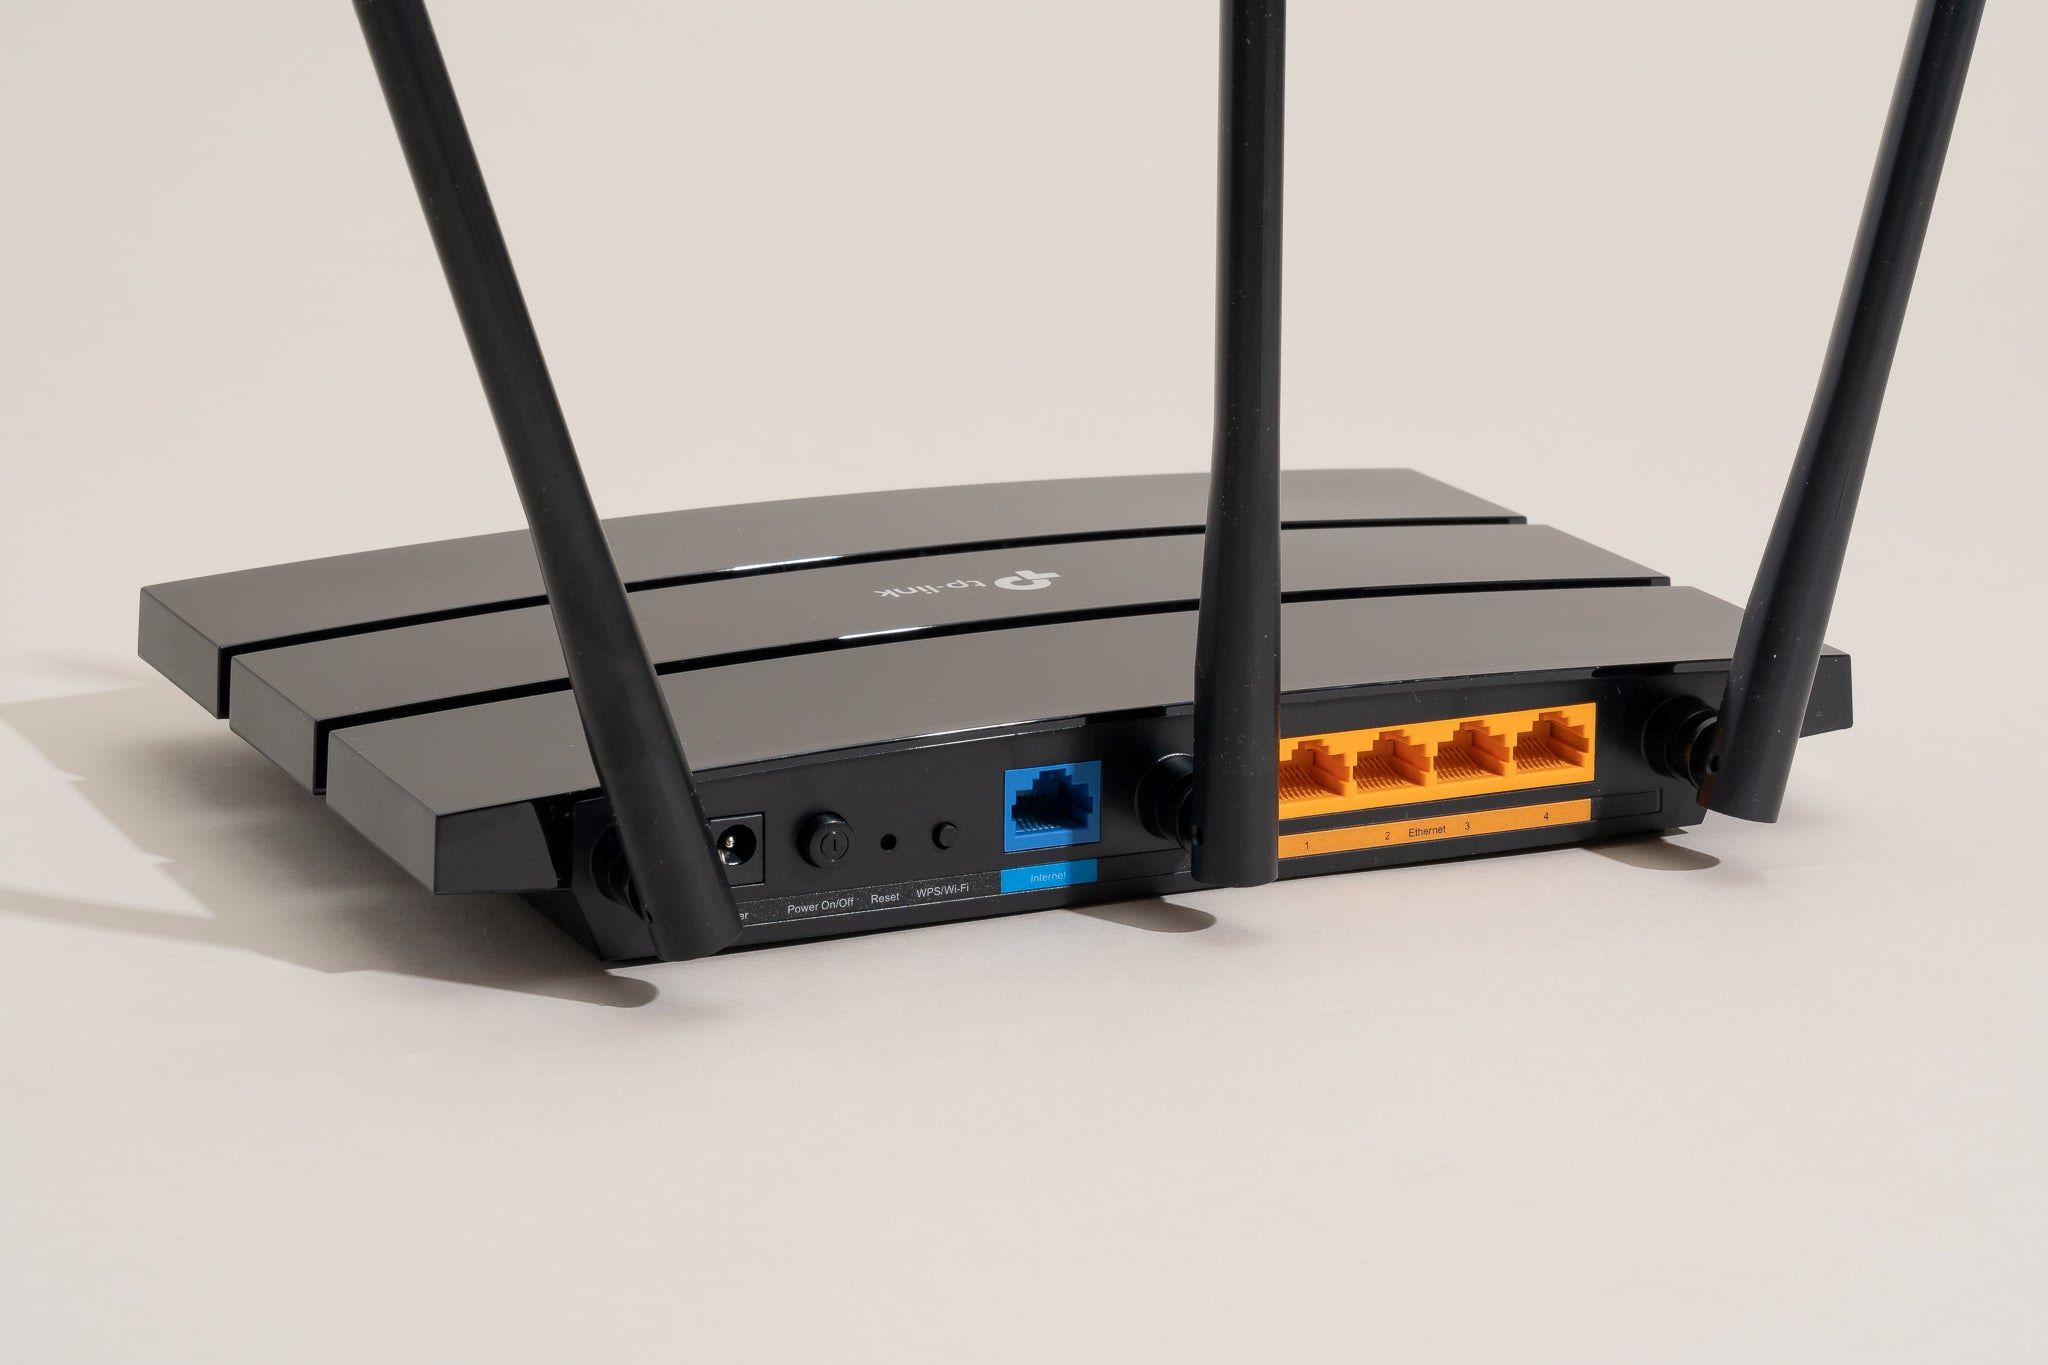
- Locate the power port on the back of your router. It is usually labeled “Power” or indicated by a power symbol.
- Plug one end of the power adapter into the power port on the router.
- Ensure the other end of the power adapter is securely connected to a power outlet. Make sure the outlet is close to the router for easy access.
- Once connected, your router will start initializing. Wait for a few moments until the power LED on the front of the router becomes solid or blinks.
It’s important to note that it may take a couple of minutes for the router to fully power up and establish a stable connection. During this time, avoid disconnecting the power or interfering with the setup process.
Congratulations! You have successfully connected your Linksys wireless router to a power source. Next, we’ll move on to connecting your router to the modem.
Step 3: Connect your router to the modem
Now that your Linksys wireless router is powered on, it’s time to establish a connection between the router and your modem. Follow these steps:
- Locate the Ethernet port on the back of your router. It is usually labeled “Internet” or “WAN”.
- Connect one end of the Ethernet cable to the Ethernet port on the modem.
- Connect the other end of the Ethernet cable to the Ethernet port on the router’s Internet or WAN port.
- Ensure that both ends of the cable are securely plugged in, providing a stable connection.
Once the connection between your router and modem is established, the LED lights on both devices should indicate a successful connection. The specific LED indicators may vary depending on the model of your router and modem, so consult the user manual if needed.
By connecting your router to the modem, you have established the foundation for your wireless network. In the next step, we’ll connect your computer to the router to proceed with the setup process.
Step 4: Connect your computer to the router
Now that your router is connected to the modem, it’s time to establish a connection between your computer and the router. Follow these steps:
- Locate the Ethernet port on your computer or laptop. It is usually located on the side or back of the device.
- Connect one end of the Ethernet cable to the Ethernet port on your computer.
- Connect the other end of the Ethernet cable to one of the available Ethernet ports on the back of your router.
- Ensure that both ends of the cable are securely plugged in, establishing a reliable connection between your computer and the router.
If your computer has wireless capability, you can also connect to the router wirelessly using the Wi-Fi network. In this case, locate and connect to the default Wi-Fi network name (SSID) provided by your router.
Once your computer is connected to the router, it should automatically obtain an IP address from the router. This allows you to access the router’s configuration page and proceed with the setup.
Great! Your computer is now connected to the router, and we’re ready to move on to the next step: accessing the router’s configuration page.
Step 5: Access the router’s configuration page
With your computer connected to the router, you can now access the router’s configuration page to begin the setup process. Follow these steps to access the configuration page:
- Launch a web browser on your computer, such as Google Chrome, Mozilla Firefox, or Internet Explorer.
- In the address bar of the web browser, enter the default IP address provided by Linksys for accessing the router’s configuration page. The default IP address is often “192.168.1.1” or “192.168.0.1”.
- Press Enter or click Go to proceed.
- You’ll be prompted to enter the router’s username and password. By default, the username is usually “admin” and the password is either blank or “admin”. Consult your router’s manual or check the manufacturer’s website if you’re unsure.
- Once you enter the correct login credentials, click on the Login or Submit button.
If the login credentials are correct, you will be granted access to the router’s configuration page. This page allows you to modify various settings and customize your wireless network.
It’s important to note that if you have previously changed the default username and password for your router, you will need to enter those credentials to access the configuration page.
Great job! You’ve successfully accessed the router’s configuration page. In the next step, we’ll configure the basic settings to get your network up and running.
Step 6: Configure the basic settings
Now that you have accessed the router’s configuration page, it’s time to configure the basic settings to customize your wireless network. Follow these steps to set up the basic settings:
- On the router’s configuration page, locate the Setup or Basic Setup tab. This tab may have a different name depending on the router model.
- Here, you will find options to configure the network name (SSID) and password for your wireless network. Enter a unique and memorable network name in the SSID field.
- Create a strong password for your wireless network. It’s important to choose a password that is hard to guess and contains a combination of letters, numbers, and special characters.
- Choose the appropriate wireless channel for your network. It is recommended to use either channel 1, 6, or 11, as they are less likely to interfere with other nearby networks.
- Review and double-check the other settings, such as the time zone, language, and security options. Make any necessary adjustments according to your preferences.
- Once you have made the desired changes, click on the Save or Apply button to save the settings.
After saving the settings, the router may take a few moments to apply the changes. During this time, do not interrupt the process or turn off the router.
Congratulations! You have successfully configured the basic settings for your wireless network. In the next step, we’ll set up the wireless network to enable wireless connectivity.
Step 7: Set up the wireless network
With the basic settings configured, it’s time to set up your wireless network to enable wireless connectivity. Follow these steps to set up the wireless network:
- On the router’s configuration page, navigate to the Wireless or Wireless Settings tab.
- Ensure that the wireless network is enabled. Look for the option to enable or disable the Wi-Fi network, and make sure it is turned on.
- Set the wireless mode to the desired option. It is recommended to use the “Mixed” or “Auto” mode to support both older and newer Wi-Fi devices.
- Choose a wireless channel that is least congested. You can manually select a channel or let the router choose the best channel automatically.
- Adjust the wireless network’s security settings. Select the appropriate security mode, such as “WPA2-PSK”, and enter a strong password to protect your network.
- Review and verify other wireless settings, such as the network mode (2.4GHz or 5GHz) and the network bandwidth (20MHz or 40MHz).
- Once you have made the necessary changes, click on the Save or Apply button to save the wireless network settings.
The router will apply the changes, and your wireless network will be set up and ready for use. Make sure to make a note of the SSID (network name) and password for future reference.
Well done! You have successfully set up your wireless network on the Linksys router. In the next step, we’ll secure your network by setting a strong password.
Step 8: Secure your network with a password
Securing your wireless network with a strong password is crucial to protect it from unauthorized access. Follow these steps to set a strong password for your network:
- On the router’s configuration page, navigate to the Wireless or Wireless Security tab.
- Look for the security mode or encryption type. Select the most advanced and secure option available, such as “WPA2-PSK”.
- Enter a strong and unique password in the passphrase or password field. Make sure to choose a combination of letters, numbers, and special characters.
- Avoid using common words or personal information that can be easily guessed.
- Set the password length, if an option is available. It is recommended to use a minimum of 8 to 12 characters.
- Once you have set the password, click on the Save or Apply button to save the changes.
By setting a strong password, you enhance the security of your wireless network and prevent unauthorized access. It is important to keep this password confidential and share it only with trusted individuals.
Congratulations! You have successfully secured your network with a strong password. In the next step, we’ll test your connection and make any necessary adjustments if needed.
Step 9: Test your connection and make adjustments if needed
After setting up your Linksys wireless router and securing your network, it’s important to test your connection to ensure everything is working correctly. Follow these steps to test your connection and make any necessary adjustments:
- Disconnect the Ethernet cable from your computer and router, if you haven’t done so already. This will test the wireless connection.
- On your computer or laptop, search for available wireless networks. Locate and select your newly created wireless network (SSID).
- Enter the password you set during the setup process when prompted.
- Once connected, open a web browser and navigate to a website to check if you have internet access.
- If you have internet access, congratulations! Your connection is successful.
- If you encounter any issues or have no internet access, try the following troubleshooting steps:
- Restart your router and modem by unplugging them from the power source, waiting for a few seconds, and then plugging them back in.
- Ensure that your modem is connected to the router and that both devices are powered on. Check the LED indicators to confirm a stable connection.
- Double-check your wireless network settings, including the SSID and password. Make sure they are correctly entered in your computer’s wireless network settings.
- If you still have no internet access, consult the Linksys support website, user manual, or contact their customer support for further assistance.
It’s important to periodically test your connection, especially after making any changes to the router settings, to ensure a stable and secure wireless network.
Well done! You have now tested your connection and made any necessary adjustments. Your Linksys wireless router should now be fully set up and ready to use. Enjoy your wireless network connectivity!
Conclusion
Setting up a Linksys wireless router without a CD is a straightforward process that allows you to establish a reliable and secure wireless network in your home or office. By following the step-by-step instructions provided in this guide, you can successfully configure your router, connect it to the modem, and set up a wireless network.
Throughout the setup process, it’s important to gather all the necessary equipment and ensure a stable power source for your router. Connecting your computer to the router via Ethernet or wireless connection is crucial for accessing the router’s configuration page, where you can customize the basic settings and set up the wireless network.
By configuring the basic settings and securing your network with a strong password, you can protect your wireless connection from unauthorized access. Remember to test your connection after completing the setup process and make any necessary adjustments if you encounter any issues.
If you still have questions or need further assistance, refer to the Linksys support website or contact their customer support for additional guidance. Enjoy the convenience and freedom of wireless connectivity that your Linksys wireless router provides!