Introduction
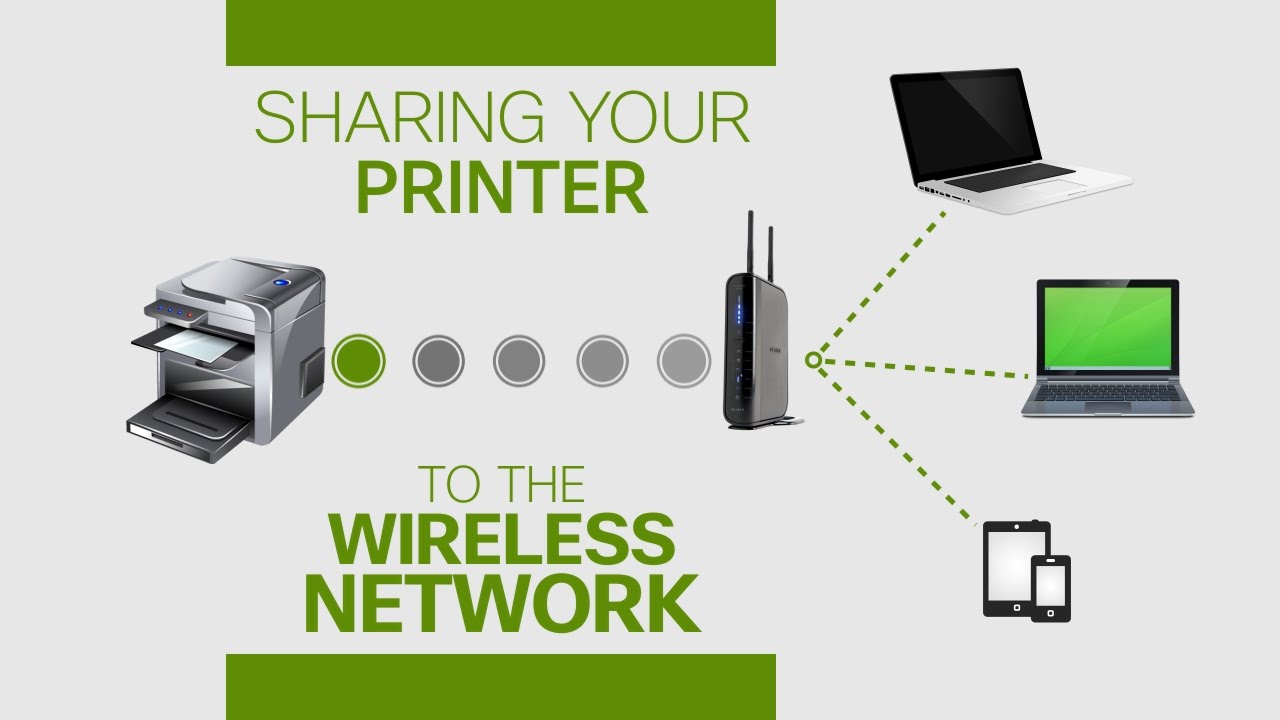
Welcome to our guide on how to set up a printer through a wireless router. As more and more devices are becoming wirelessly connected, it’s crucial to know how to seamlessly integrate your printer into your home or office network. By setting up your printer through a wireless router, you can enjoy the convenience of printing from any device connected to the network without the hassle of connecting cables.
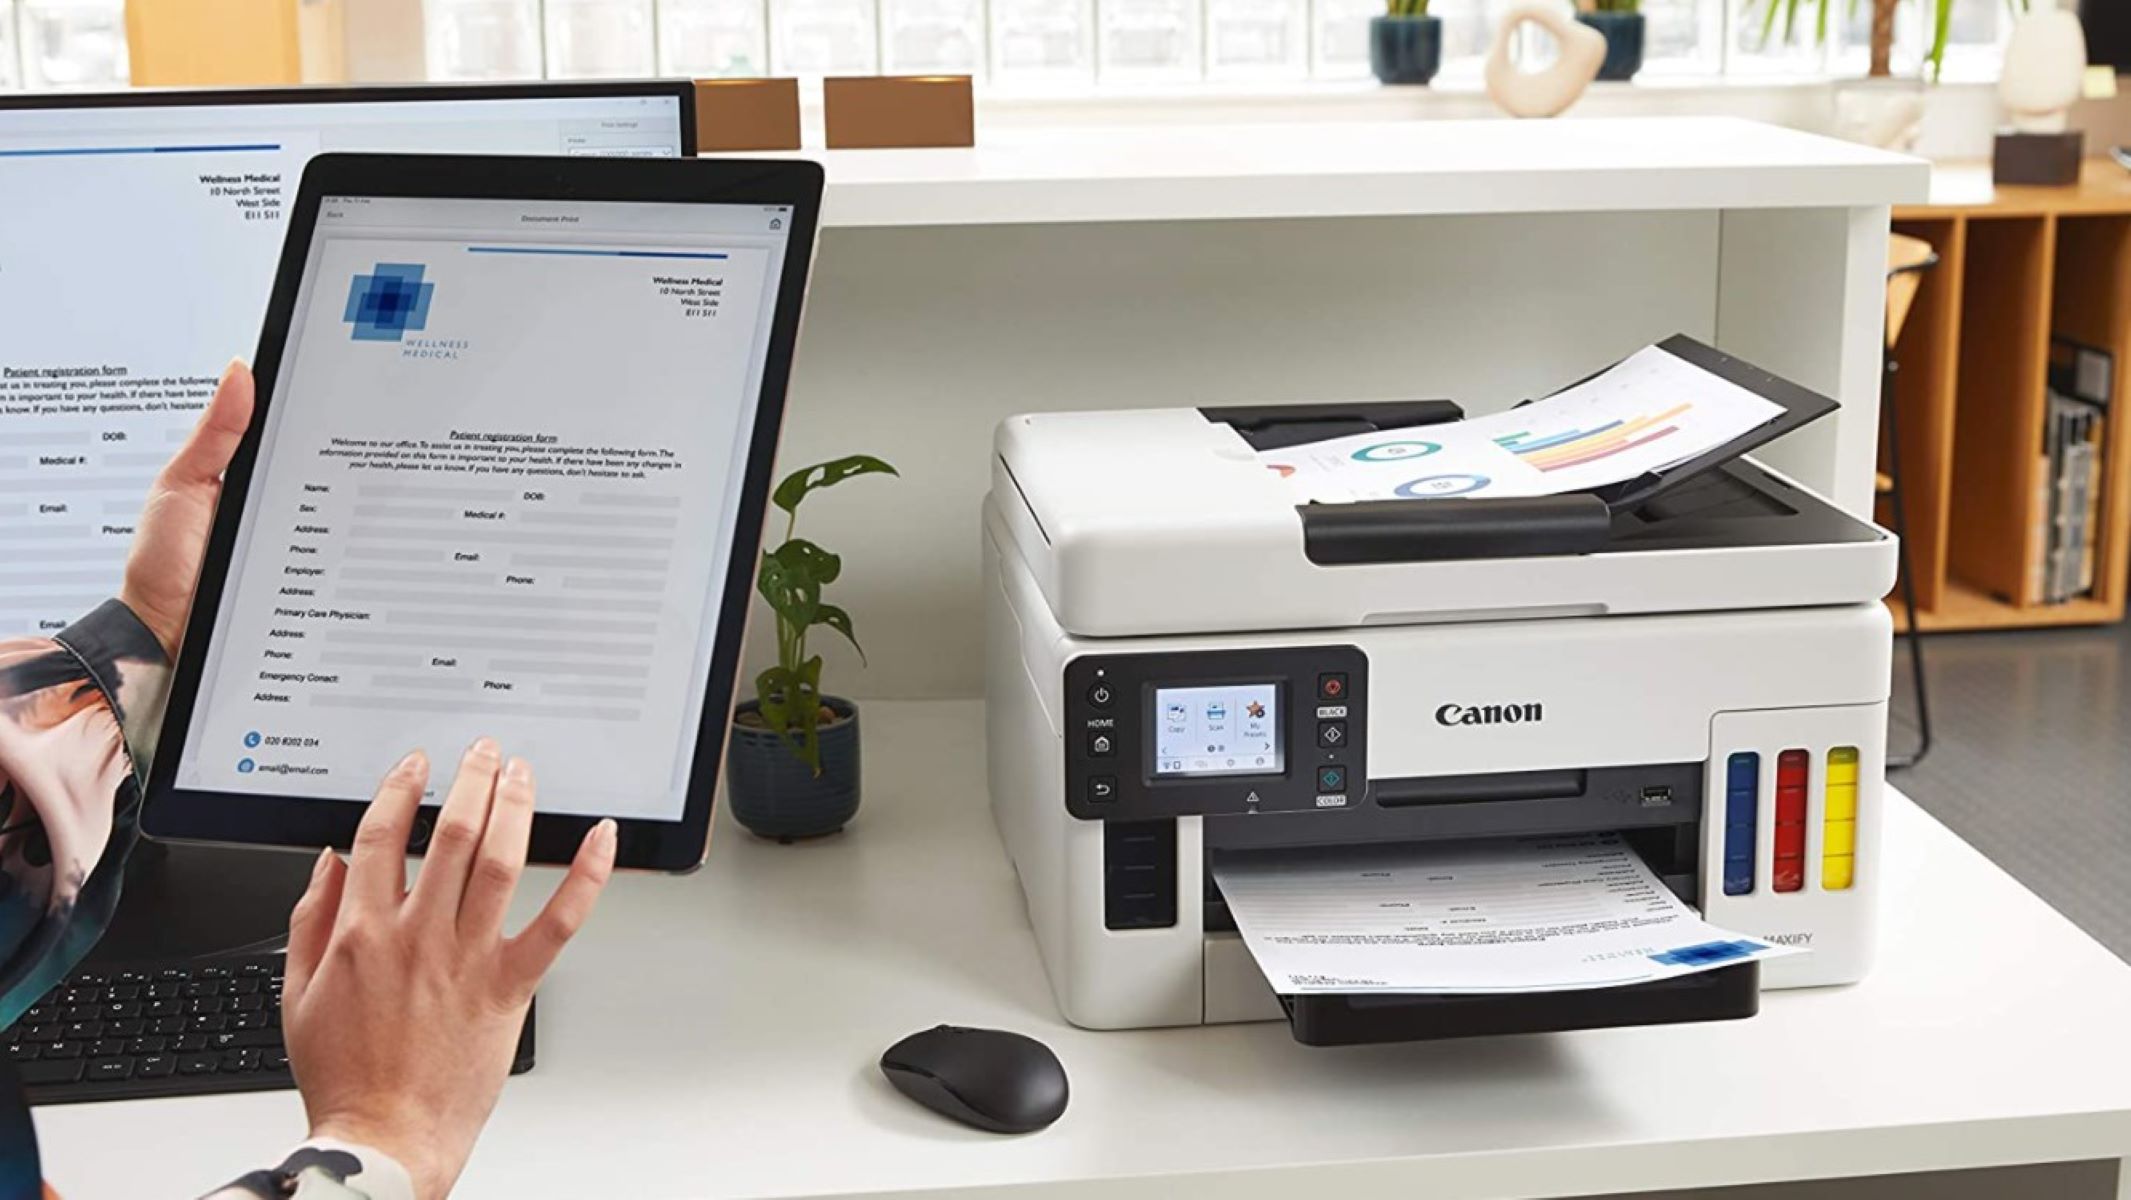
Gone are the days when you had to physically connect your computer to the printer via a USB cable or be limited to a single computer for printing. With wireless printing, you can print from your laptop, smartphone, tablet, or any other Wi-Fi enabled device from anywhere within the range of your wireless network.
Setting up a printer through a wireless router may seem daunting, especially if you’re not tech-savvy. However, with our step-by-step guide, you’ll be able to effortlessly set up your printer and enjoy the freedom of wireless printing in no time.
In this article, we will walk you through the process of setting up your printer through a wireless router, from gathering the necessary materials to testing the printer setup. No matter what brand or model of printer or router you have, the general steps will remain the same. So, let’s dive in and get your printer ready for wireless printing!
Step 1: Gather the necessary materials
Before you begin setting up your printer through a wireless router, it’s important to ensure that you have all the necessary materials in place. Gathering these materials beforehand will help facilitate a smooth and hassle-free installation process. Here’s what you’ll need:
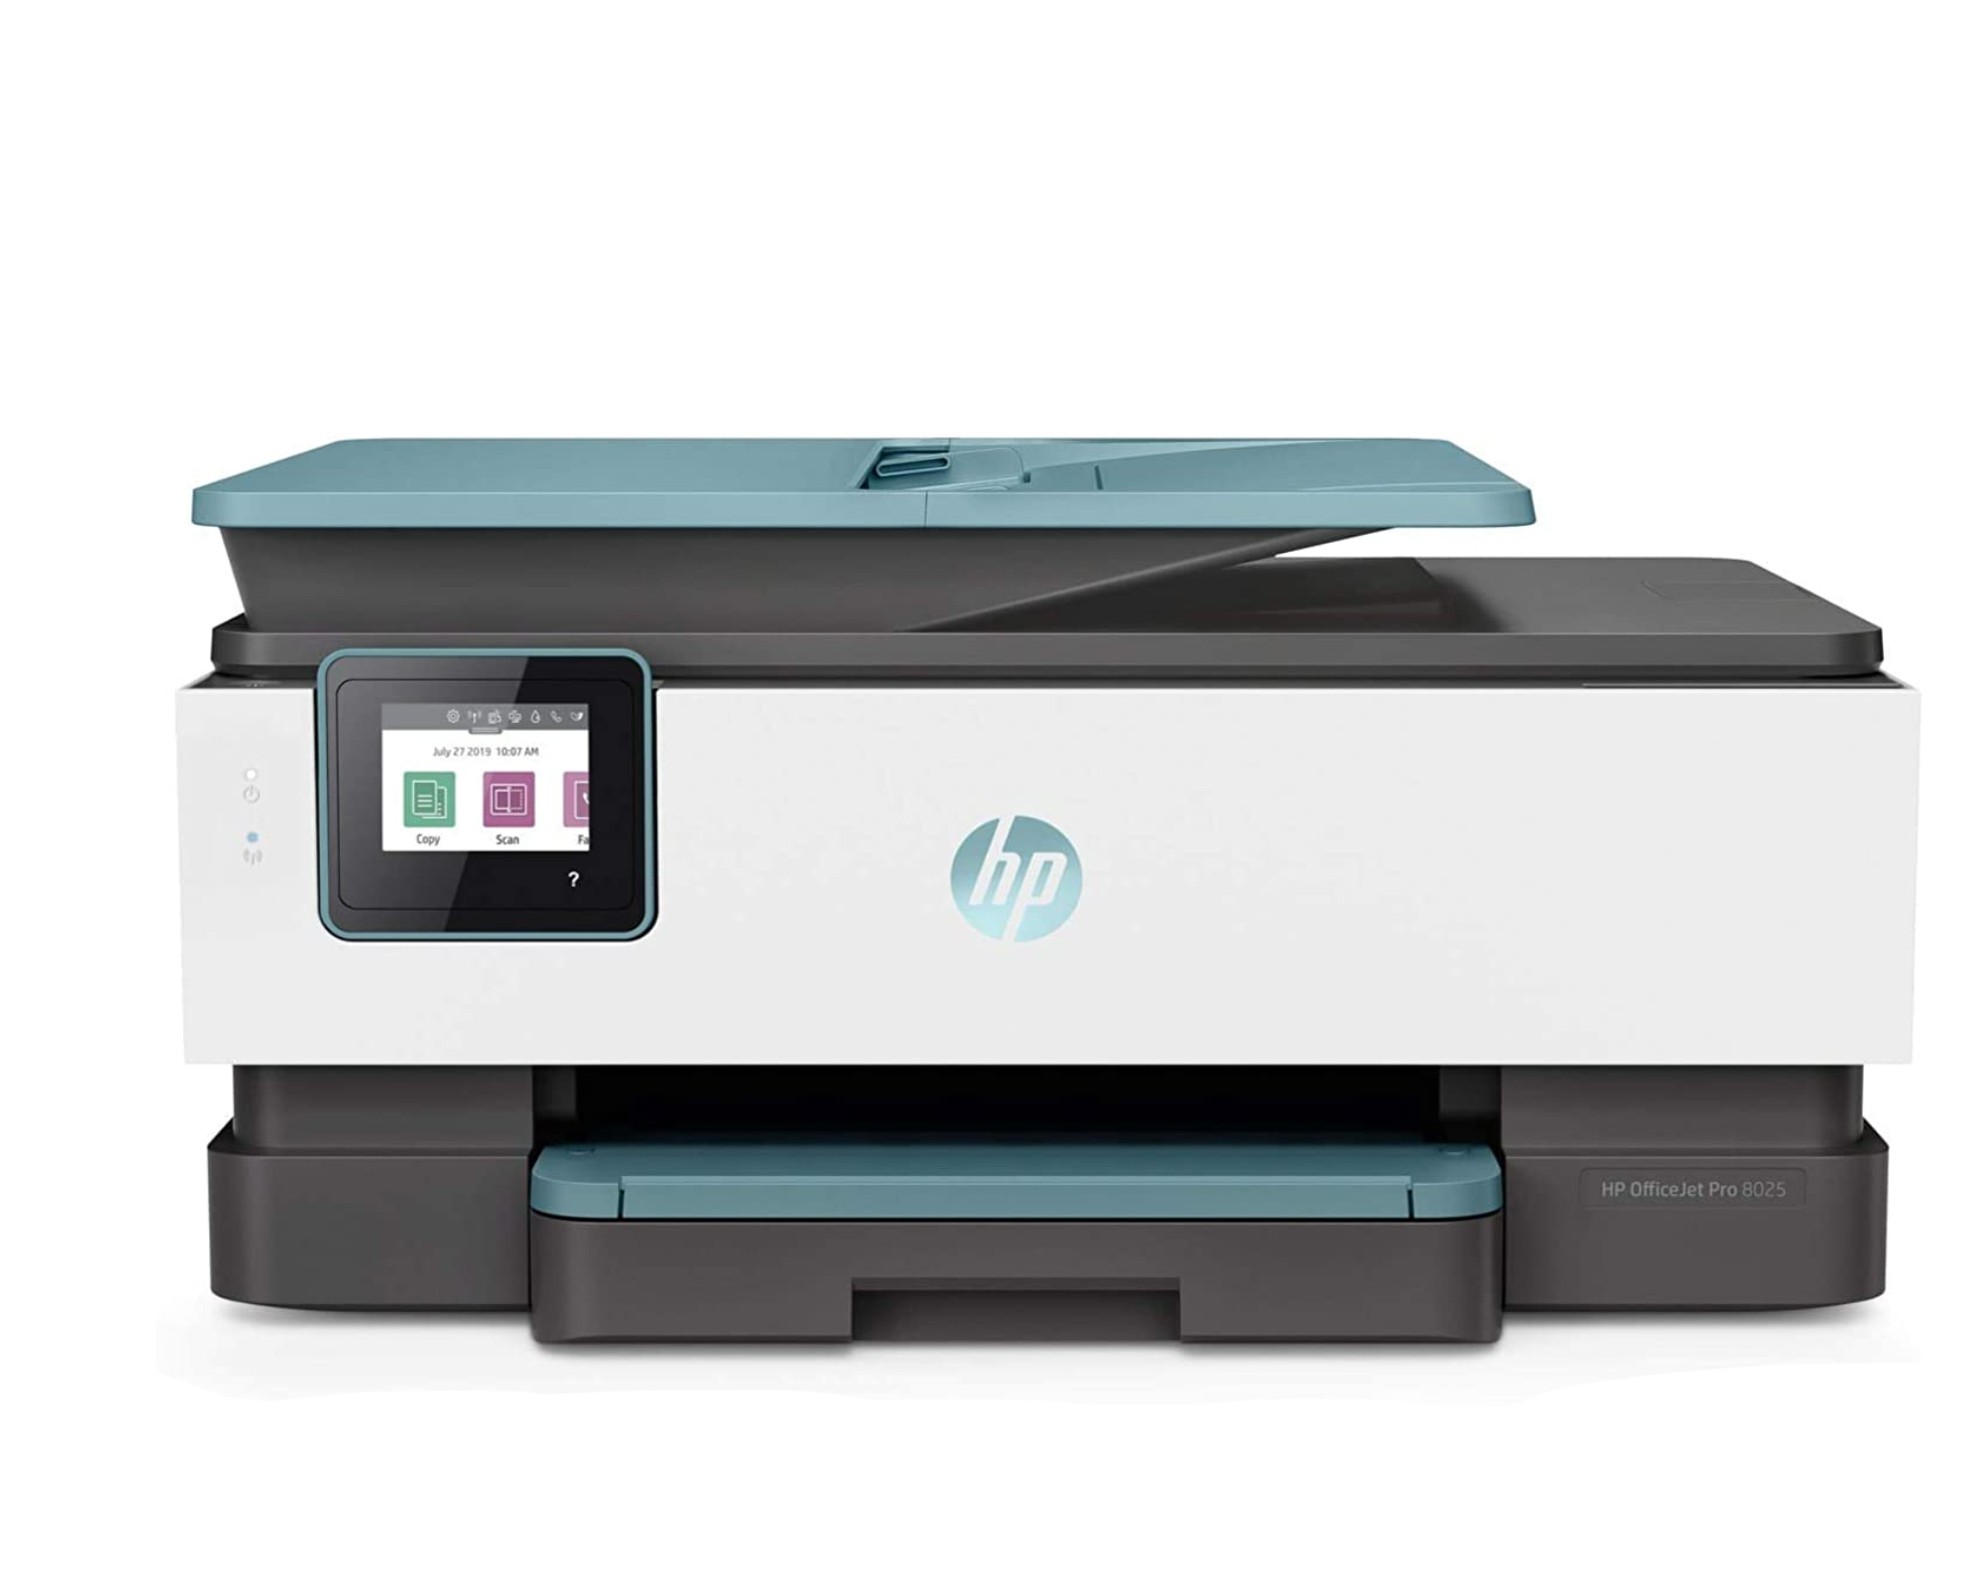
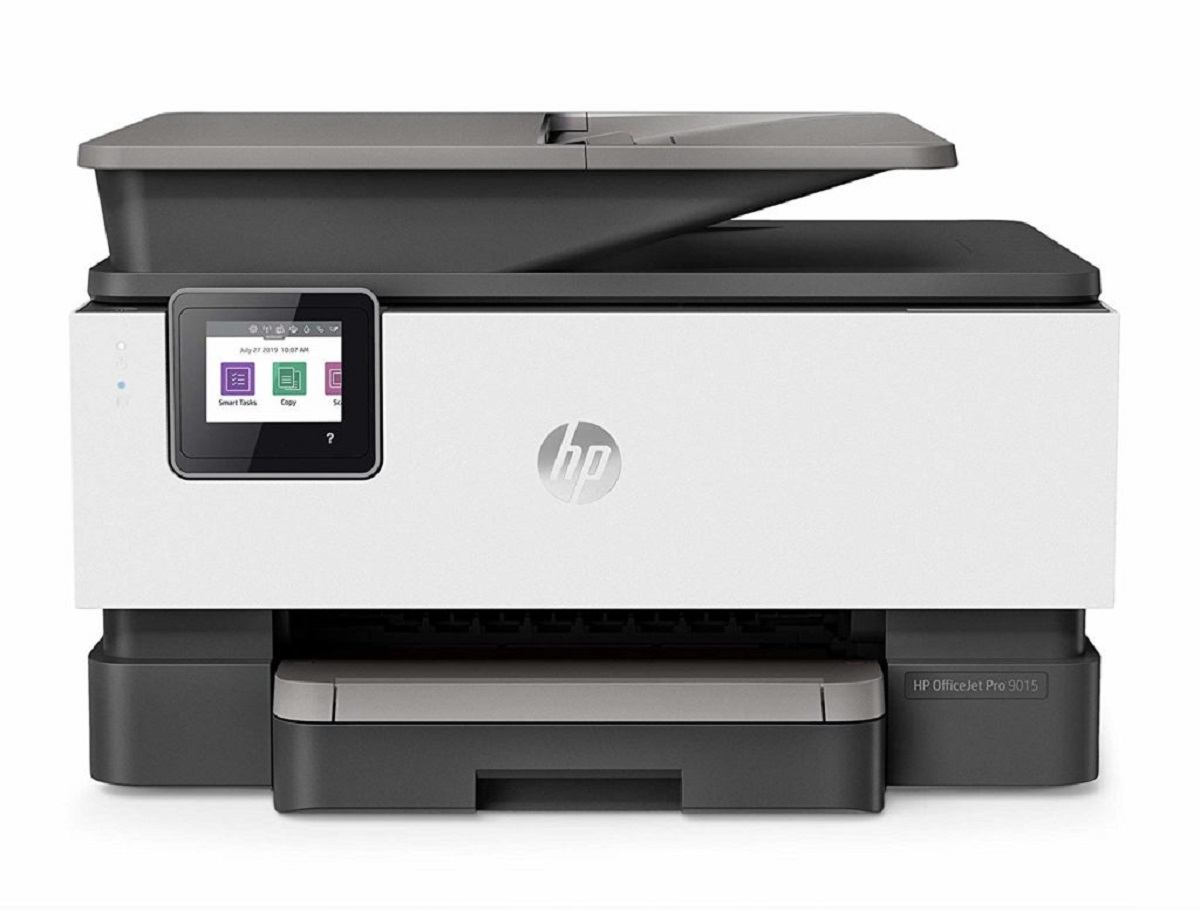
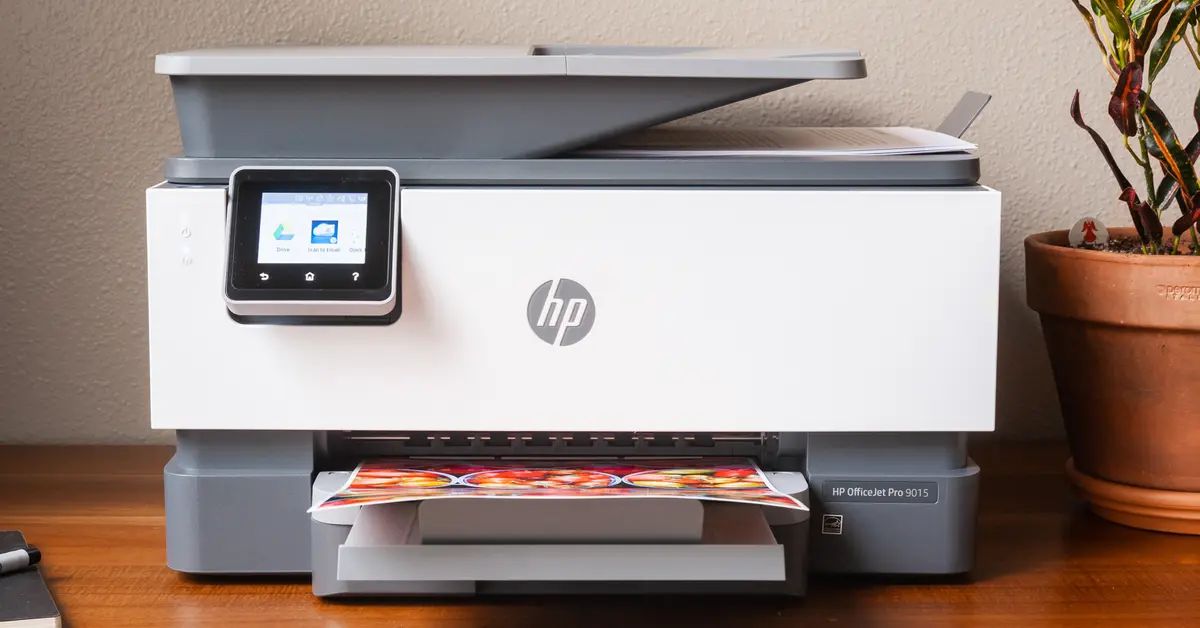
- A printer: Make sure you have a wireless-capable printer. Most modern printers come with built-in Wi-Fi capabilities, but if you’re not sure, consult your printer’s user manual or contact the manufacturer.
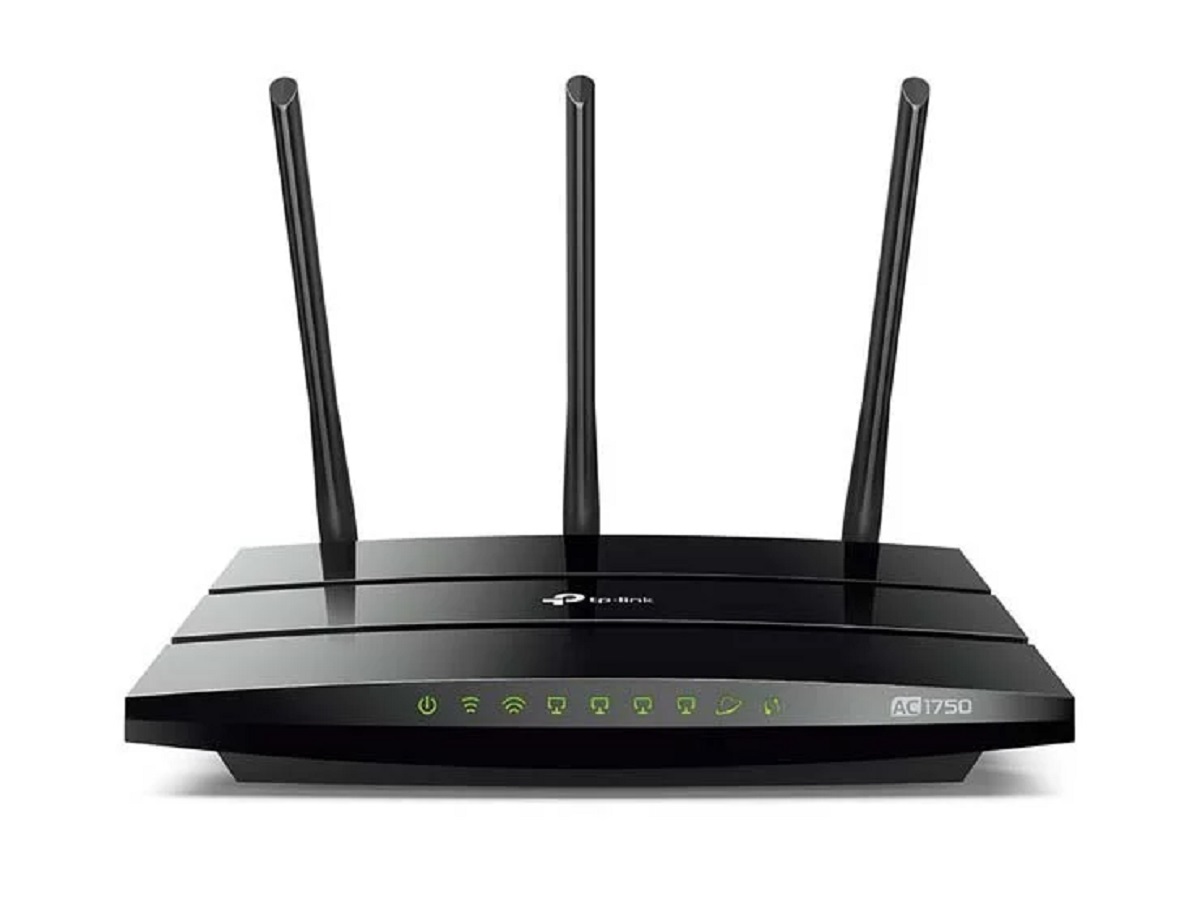
- A wireless router: Ensure that you have a wireless router that is compatible with your printer. The router should support Wi-Fi connections and have available Ethernet ports.
- A computer or mobile device: You’ll need a computer or mobile device to connect to the wireless network and set up the printer. It can be a desktop computer, laptop, smartphone, or tablet. Make sure that it has Wi-Fi capabilities.
- An active internet connection: Ensure that you have an active internet connection. It’s important to have a stable internet connection to complete the setup process and access the necessary software and drivers.
- Printer software and drivers: Check if your printer came with a software CD or DVD. This disc contains the necessary software and drivers for your printer. If you don’t have the disc, you can usually download the software and drivers from the manufacturer’s website.
- USB cable: In some cases, you may need a USB cable to connect your printer to your computer during the setup process. Check if your printer requires a USB connection for initial setup.
Once you have gathered all the necessary materials, you’re ready to move on to the next step: connecting the printer to the wireless router.
Step 2: Connect the printer to the wireless router
Now that you have all the necessary materials, it’s time to connect your printer to the wireless router. This step will establish a connection between your printer and the router, allowing for wireless communication. Follow these steps to connect your printer:
- Power on your printer: Make sure your printer is turned on and properly connected to a power source.
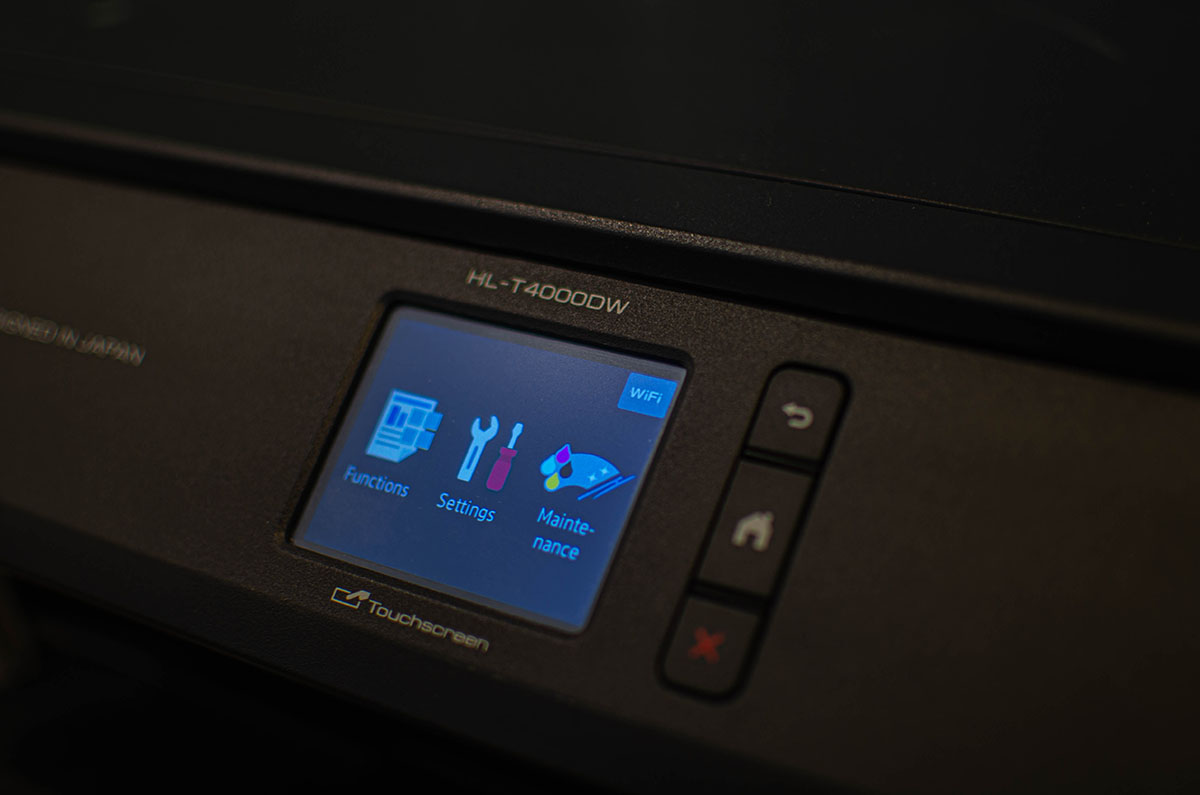
- Access the printer’s settings: Use the display panel or buttons on your printer to navigate to the wireless network settings. The exact steps may vary depending on your printer model, so refer to your printer’s user manual for specific instructions.
- Select the wireless network: Once you’re in the wireless network settings, you’ll see a list of available networks. Locate your wireless network from the list and select it. If prompted, enter the Wi-Fi password to connect to the network.
- Establish the connection: After selecting your wireless network and entering the password (if required), your printer will establish a connection with the wireless router. This process may take a few moments, so be patient.
- Confirm the connection: Once the connection is established, your printer should display a confirmation message or a symbol indicating a successful connection to the wireless network.
It’s important to note that some printers may require a temporary connection via a USB cable during the initial setup process. If prompted, connect your printer to your computer using the USB cable provided until the wireless connection is established. Once the connection is confirmed, you can disconnect the USB cable.
By connecting your printer to the wireless router, you have successfully established a wireless connection. Now it’s time to install the printer software on your computer, which is covered in the next step.
Step 3: Install the printer software on your computer
After connecting your printer to the wireless router, the next step is to install the printer software on your computer. The printer software includes the drivers and necessary tools for your computer to communicate with the printer. Follow these steps to install the printer software:
- Locate the printer software: If your printer came with a software CD or DVD, insert it into your computer’s CD/DVD drive. The disc should automatically launch the printer software installation wizard. If you don’t have the installation disc, you can usually download the software from the manufacturer’s website.
- Follow the installation wizard: The installation wizard will guide you through the process. Click on the “Next” or “Install” button to proceed. Read and accept any license agreements or terms and conditions that may be presented during the installation.
- Choose the installation type: The installation wizard may give you the option to choose between a “Full” or “Custom” installation. It’s recommended to select the “Full” installation, as this will install all the necessary components and features.
- Connect to the printer: During the installation process, you may be prompted to connect your printer to your computer. If you had previously connected your printer via a USB cable, ensure that it is connected. If you haven’t connected your printer, follow the on-screen instructions to establish the connection.
- Complete the installation: Once the installation process is complete, the printer software will be installed on your computer. You may be prompted to restart your computer for the changes to take effect. Follow any on-screen instructions to finish the installation.
After the printer software is installed on your computer, you’ll be able to access the printer’s functions and settings from your computer. The printer software may also include additional features and utilities to enhance your printing experience.
In the next step, we’ll guide you through connecting your computer to the wireless network, allowing it to communicate with the printer.
Step 4: Connect the computer to the wireless network
Now that you have installed the printer software on your computer, it’s time to connect your computer to the wireless network. This step will enable your computer to communicate with the printer wirelessly. Follow these steps to connect your computer to the wireless network:
- Open the network settings: On your computer, navigate to the network settings. This can usually be found in the system tray (Windows) or the menu bar (Mac). Look for the Wi-Fi icon and click on it to open the network settings.
- Scan for available networks: In the network settings, click on the option to scan for available wireless networks. Your computer will search for nearby networks and display them in a list.
- Select your wireless network: From the list of available networks, locate and select your wireless network. If prompted, enter the Wi-Fi password to connect to the network. Make sure to enter the correct password to establish the connection.
- Establish the connection: After selecting your wireless network and entering the password, your computer will establish a connection with the network. This may take a few moments as the computer negotiates the connection with the router.
- Verify the connection: Once the connection is established, your computer should display a confirmation message or a symbol indicating a successful connection to the wireless network.
By connecting your computer to the wireless network, you have enabled it to communicate with the printer wirelessly. Now you are ready to add the printer to your computer, which is covered in the next step.
Keep in mind that the steps for connecting to a wireless network may slightly differ depending on your operating system and version. If you encounter any difficulties, refer to your computer’s user manual or seek assistance from your network administrator.
Step 5: Add the printer to your computer
With your computer connected to the wireless network, the next step is to add the printer to your computer. Adding the printer allows your computer to recognize and communicate with it for printing tasks. Follow these steps to add the printer to your computer:
- Open the control panel: On your computer, go to the control panel settings. This can usually be accessed from the Start menu (Windows) or the Apple menu (Mac). Look for the control panel or system settings option and click on it to open the settings.
- Select “Devices” or “Printers & Scanners”: In the control panel settings, look for the option that relates to devices or printers. Click on it to open the devices or printers & scanners settings, where you can manage your connected devices.
- Click on “Add a printer” or “Add a device”: Look for the option to add a printer or add a device. Click on it to start the search for available printers.
- Wait for the computer to detect the printer: Your computer will now search for available printers on the network. This process may take a few moments. Once the printer is detected, it should appear in the list of available printers.
- Select the printer: From the list of available printers, locate and select the printer that matches your model. If you’re unsure which printer to select, you can check the printer’s name or IP address on its display panel or refer to the printer’s documentation.
- Click on “Add” or “Install”: After selecting the printer, click on the option to add or install the printer. Your computer will configure the necessary settings and drivers to establish a connection with the printer.
- Confirm the printer setup: Once the installation process is complete, your computer should display a confirmation message indicating that the printer has been added successfully.
With the printer successfully added to your computer, you can now start sending print jobs wirelessly. Make sure to set the newly added printer as the default printer if desired.
In the final step, we’ll guide you through testing the printer setup to ensure everything is working correctly.
Step 6: Test the printer setup
After adding the printer to your computer, it’s important to test the printer setup to ensure that it’s working correctly. Testing the printer setup will help you identify any issues or errors that may need to be addressed. Follow these steps to test the printer setup:
- Open a document or file: Choose a document or file that you want to print. It can be a text document, a PDF, an image, or any other printable file format.
- Select the printer: From within the application or software you’re using, select the printer you just added from the list of available printers. This step may vary depending on the software you’re using, so refer to the software’s user manual or help documentation for specific instructions.
- Adjust the print settings (optional): If needed, adjust the print settings before sending the print job. You can modify settings such as paper size, orientation, quality, or the number of copies to be printed.
- Send the print job: Click on the print button or select the option to print the document. Your computer will send the print job to the printer wirelessly.
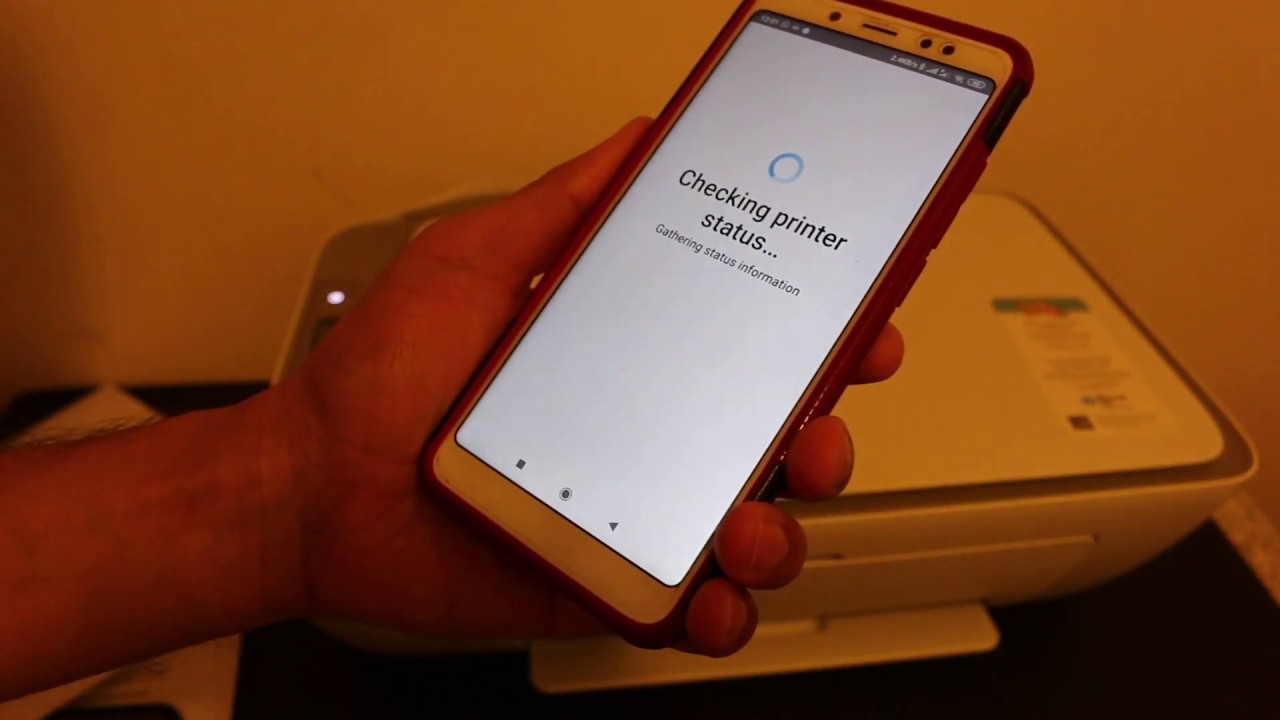
- Monitor the print status: Keep an eye on your computer’s print dialog or print queue. It should display the progress of the print job and indicate when it has been successfully sent to the printer.
- Check the printed output: Once the print job is completed, check the printer’s output tray for the printed document. Ensure that the print quality is satisfactory and that the document matches your expectations.
If the printer successfully prints the document without any issues, congratulations! Your printer setup is complete and functioning properly. You can now enjoy the convenience of wireless printing from your computer.
If, however, you encounter any problems during the test, such as the printer not responding, poor print quality, or incomplete print jobs, there may be underlying issues that need to be addressed. Check the printer’s error messages, consult the user manual, or reach out to the printer manufacturer’s support for troubleshooting assistance.
By testing the printer setup, you can ensure that everything is in order and that you’re ready to confidently use your printer for all your printing needs.
Conclusion
Congratulations on successfully setting up your printer through a wireless router! You’ve now unlocked the convenience and flexibility of wireless printing, allowing you to print from any device connected to the network without the need for cables.
In this guide, we’ve walked you through the step-by-step process of setting up your printer through a wireless router. From gathering the necessary materials to testing the printer setup, you’ve learned how to seamlessly integrate your printer into your home or office network.
By following these steps, you can enjoy the benefits of wireless printing, such as the ability to print from multiple devices, increased mobility, and simplified printer sharing among multiple users. No longer will you be confined to a single computer or tangled in a web of cables.
Remember, each printer model and wireless router may have small variations in the setup process, so be sure to consult the user manual or contact the manufacturer if you encounter any difficulties specific to your devices.
Now that you’re equipped with the knowledge to set up your printer through a wireless router, you can enjoy efficient and convenient printing in your daily life. Say goodbye to tangled cables and hello to the freedom of wireless printing!


