Introduction
Welcome to the world of 3D printing, where you can bring your imagination to life! Whether you’re a hobbyist, a designer, or an engineer, a 3D printer can be a valuable tool in your arsenal. But in order to fully utilize your printer’s capabilities, you first need to find its IP address.
The IP address is a unique identifier assigned to each device connected to a network. It allows you to communicate with your 3D printer and send commands or transfer files seamlessly. Knowing your printer’s IP address is essential for setting up remote access, troubleshooting connectivity issues, or accessing advanced features.
In this guide, we will walk you through the step-by-step process of finding your 3D printer’s IP address. Whether you are using a wireless or wired connection, the process will be similar, and with a little patience, you’ll have it up and running in no time.
So, let’s get started on this exciting journey of discovering the elusive IP address of your 3D printer!
Step 1: Connect to the Network
The first step in finding your 3D printer’s IP address is to ensure that it is connected to your network. This can be done either through a wired Ethernet connection or a wireless network. Here’s how you can connect your printer to the network:
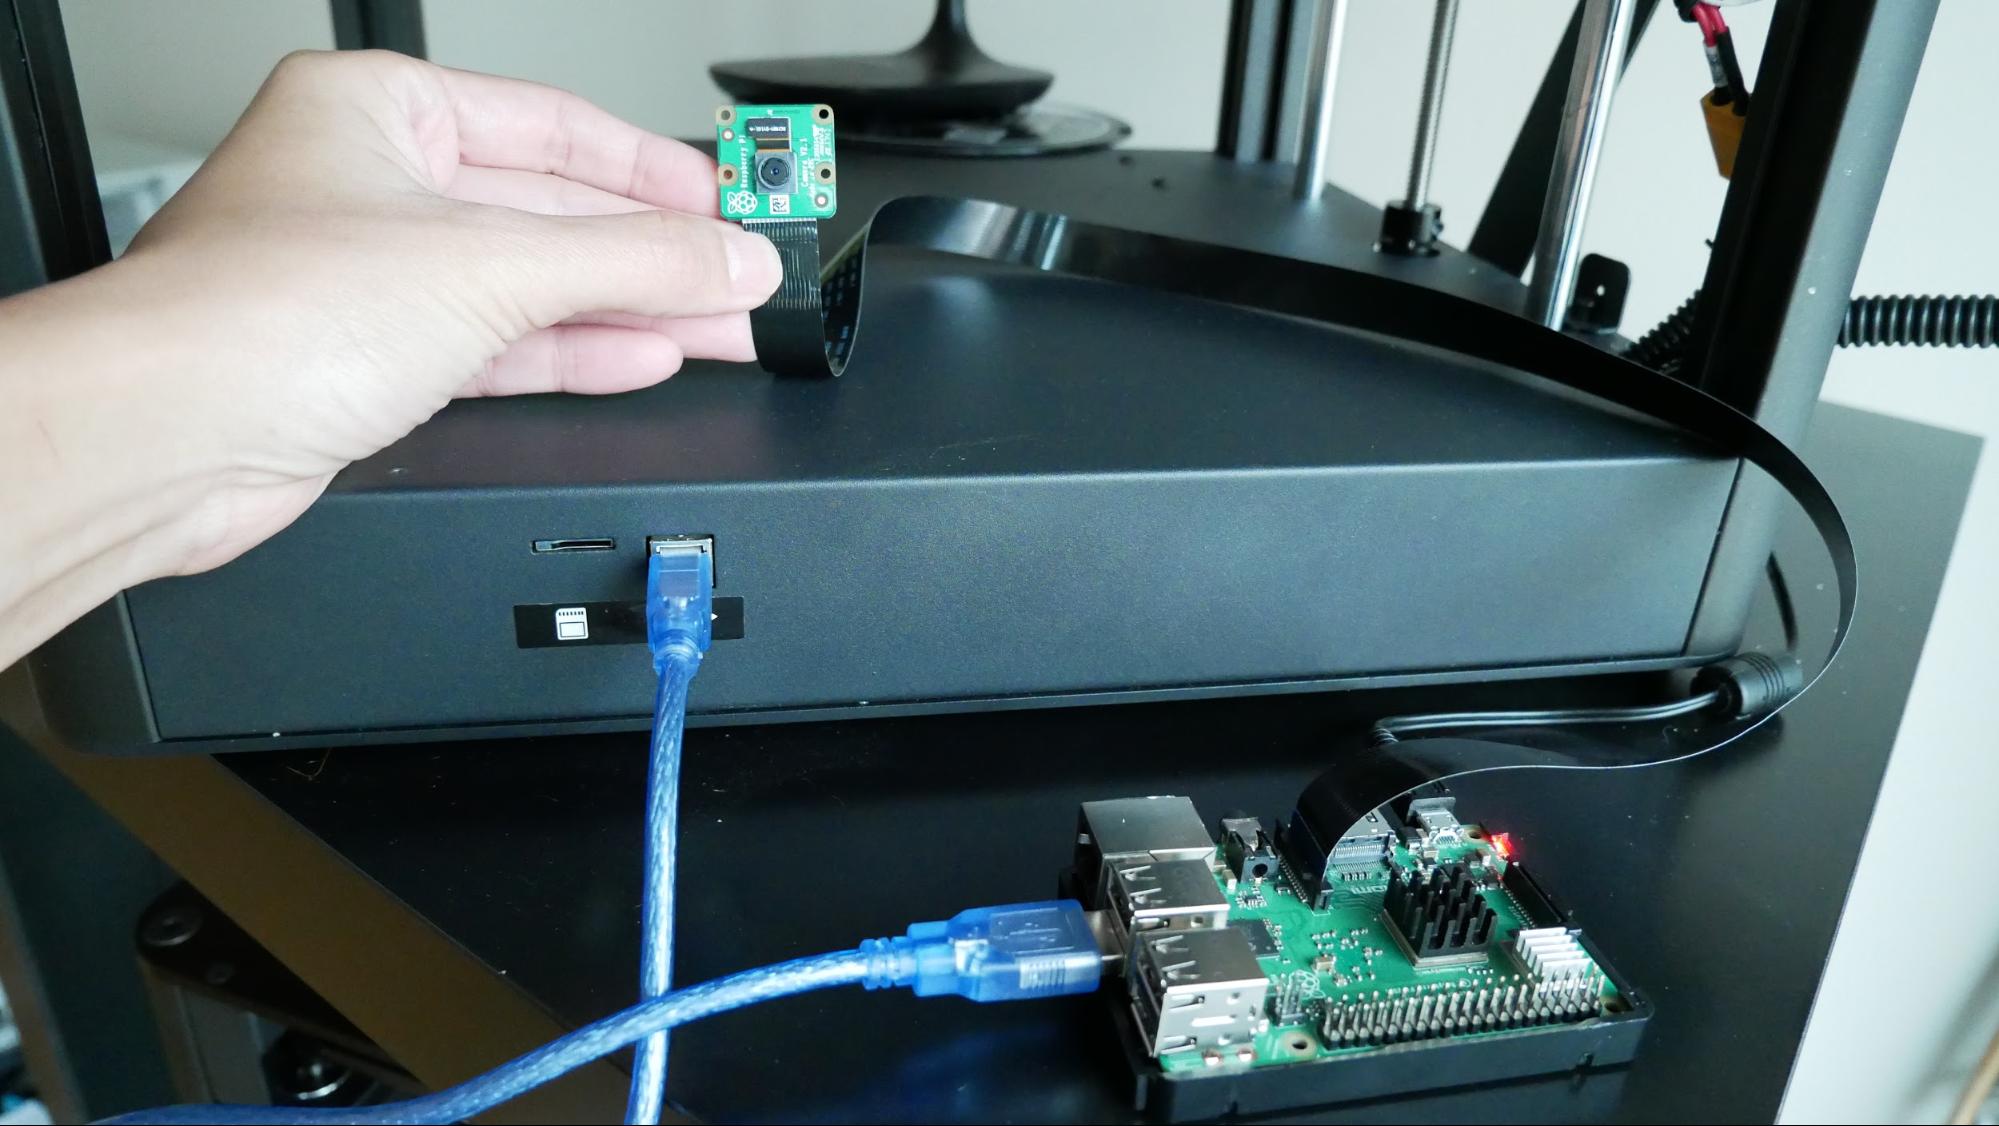
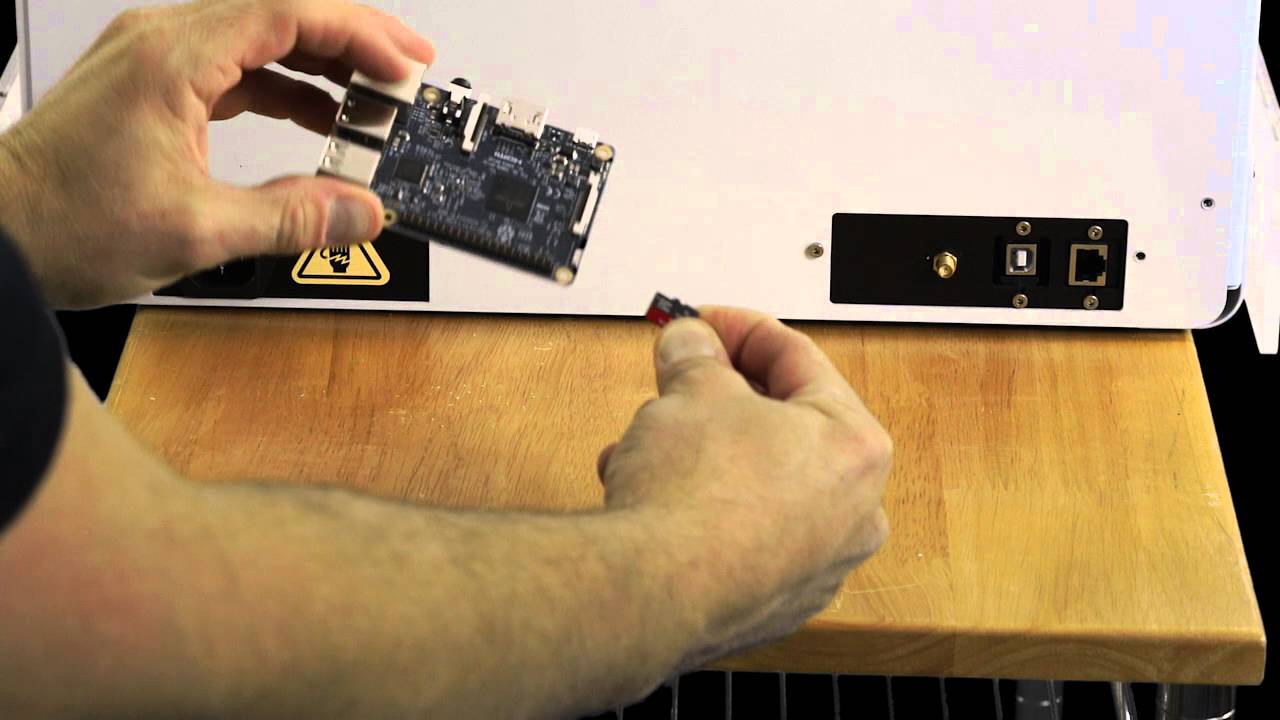
- For a wired connection, connect one end of an Ethernet cable to your printer’s Ethernet port and the other end to an available port on your router. This will establish a direct connection between your printer and the network.
- For a wireless connection, access your printer’s settings menu, usually through a control panel or a web interface. Look for the “Wireless” or “Network” settings and follow the instructions to connect to your Wi-Fi network. Make sure you have the network name (SSID) and password at hand.
Once your printer is successfully connected to the network, it will be assigned an IP address by your router. Now that the connection is established, it’s time to move on to the next step.
Step 2: Access the Router
In order to find your 3D printer’s IP address, you will need to access your router’s settings. The router is the central device that manages your network and assigns IP addresses to connected devices. Follow these steps to access your router:
- Open a web browser on your computer or mobile device.
- Type your router’s IP address into the address bar. This address is typically printed on a label on the router itself, and commonly starts with “192.168.” followed by a series of numbers. If you’re not sure, you can also try typing “192.168.1.1” or “192.168.0.1” as these are commonly used default IP addresses for routers.
- Press Enter to access the router’s login page.
- Enter the router’s username and password. If you have not changed these, consult your router’s manual or look for the default login credentials online. Common default usernames are “admin” or “root” and passwords may be “admin” or “password”.
- Once you have successfully logged in, you will be able to access your router’s settings and configuration.
It’s important to note that not all routers have the same login procedure. Some routers may have a different IP address or require additional steps to access the settings. If you are unable to access your router using the provided steps, refer to your router’s manual or contact your Internet service provider for assistance.
Step 3: Find the Device List
Now that you have accessed your router’s settings, it’s time to locate the device list. The device list is where you can find all the devices currently connected to your network, including your 3D printer. Follow these steps to find the device list:
- Look for a tab or menu option labeled “Devices”, “Device List”, “Connected Devices”, or similar.
- Click on the appropriate tab or menu option to view the list of connected devices.
- In the device list, you should see a list of devices along with their corresponding IP addresses. These devices may be identified by their device names, MAC addresses, or other identifiers.
- Scan the device list to locate your 3D printer. It may be listed under a generic name, such as “Unknown” or “Generic Printer”, or it may be listed with the manufacturer’s name or model number.
If you have a large number of connected devices, it may take some time to locate your 3D printer in the list. You can also try searching for keywords related to your printer in the search box, if available.
Once you have found your 3D printer in the device list, it’s time to proceed to the next step and extract its IP address.
Step 4: Locate your 3D Printer
Now that you have located the device list on your router, it’s time to find and identify your 3D printer within that list. Follow these steps to locate your 3D printer:
- Review the device list and look for a device that matches the make and model of your 3D printer. It might also be labeled with the manufacturer’s name or a generic name such as “3D Printer”.
- If you’re unsure which device is your 3D printer, try disconnecting it from the network momentarily and then reconnecting it. This will help you identify the device that appears and disappears from the device list during the disconnection process.
- Some routers may provide additional information about connected devices, such as the MAC address or the device’s current status (e.g., active, inactive, or online). Use this information, if available, to further confirm the identity of your 3D printer.
- If you’re still having trouble locating your 3D printer, consult your printer’s manual or the manufacturer’s website for specific instructions on how to find its IP address.
Once you have successfully located your 3D printer within the device list, it’s time to move on to the next step and extract its IP address.
Step 5: Note down the IP Address
Now that you have located your 3D printer in the device list, you are ready to extract its IP address. Follow these steps to note down the IP address of your 3D printer:
- Locate the entry for your 3D printer in the device list. The IP address should be listed next to it.
- Take note of the IP address. It will typically be a series of numbers and dots, such as 192.168.1.100.
- If the IP address is not displayed directly in the device list, you may need to click on the device or access its properties to reveal the IP address.
- Write down the IP address on a piece of paper or in a digital document for future reference. Having the IP address readily available will be useful when you need to access your 3D printer remotely or perform other network-related tasks.
It’s important to remember that the IP address of your 3D printer may change if it is assigned dynamically by your router. If you encounter connectivity issues in the future, you may need to repeat this process to find the new IP address.
Now that you have successfully noted down the IP address of your 3D printer, you’re ready to move on to the final step and test the IP address.
Step 6: Test the IP Address
After noting down the IP address of your 3D printer, it’s important to test whether the IP address is valid and accessible. Follow these steps to test the IP address:
- Open a web browser on your computer or mobile device.
- Type the IP address of your 3D printer into the address bar of the browser.
- Press Enter to navigate to the IP address.
- If the connection is successful, you should be able to access your 3D printer’s web interface or control panel. This will vary depending on the make and model of your printer.
- If you are unable to access the printer’s interface, double-check that the IP address was entered correctly. Ensure there are no typos or missed characters.
- If you still can’t access the printer’s interface, it’s possible that the printer’s web interface is not enabled or that the IP address has changed. Refer to the printer’s manual or the manufacturer’s website for troubleshooting steps.
Testing the IP address will help you determine if your 3D printer is properly connected to the network and if you can access it through a web browser. This step is crucial for troubleshooting purposes or when you need to perform advanced configurations on your printer.
Congratulations! You have successfully found, noted down, and tested the IP address of your 3D printer. With this information, you can now take full advantage of the capabilities of your printer and enjoy an enhanced printing experience.
Conclusion
Discovering your 3D printer’s IP address is an essential step in optimizing its functionality and accessing advanced features. By following the step-by-step process outlined in this guide, you have learned how to connect your printer to the network, access your router’s settings, locate the device list, identify your 3D printer, note down its IP address, and test the connection. With this knowledge, you can now remotely access your printer, troubleshoot connection issues, and perform advanced configurations.
Remember, the IP address of your 3D printer may change if it is assigned dynamically by your router. It is a good practice to periodically check and update the IP address to ensure seamless connectivity. Additionally, consult your printer’s manual or the manufacturer’s website for specific instructions and troubleshooting tips tailored to your printer’s make and model.
Now that you are equipped with the necessary information, go ahead and embrace the limitless possibilities of 3D printing. Unleash your creativity, bring your ideas to life, and enjoy the amazing world of additive manufacturing with your newly discovered 3D printer IP address.


