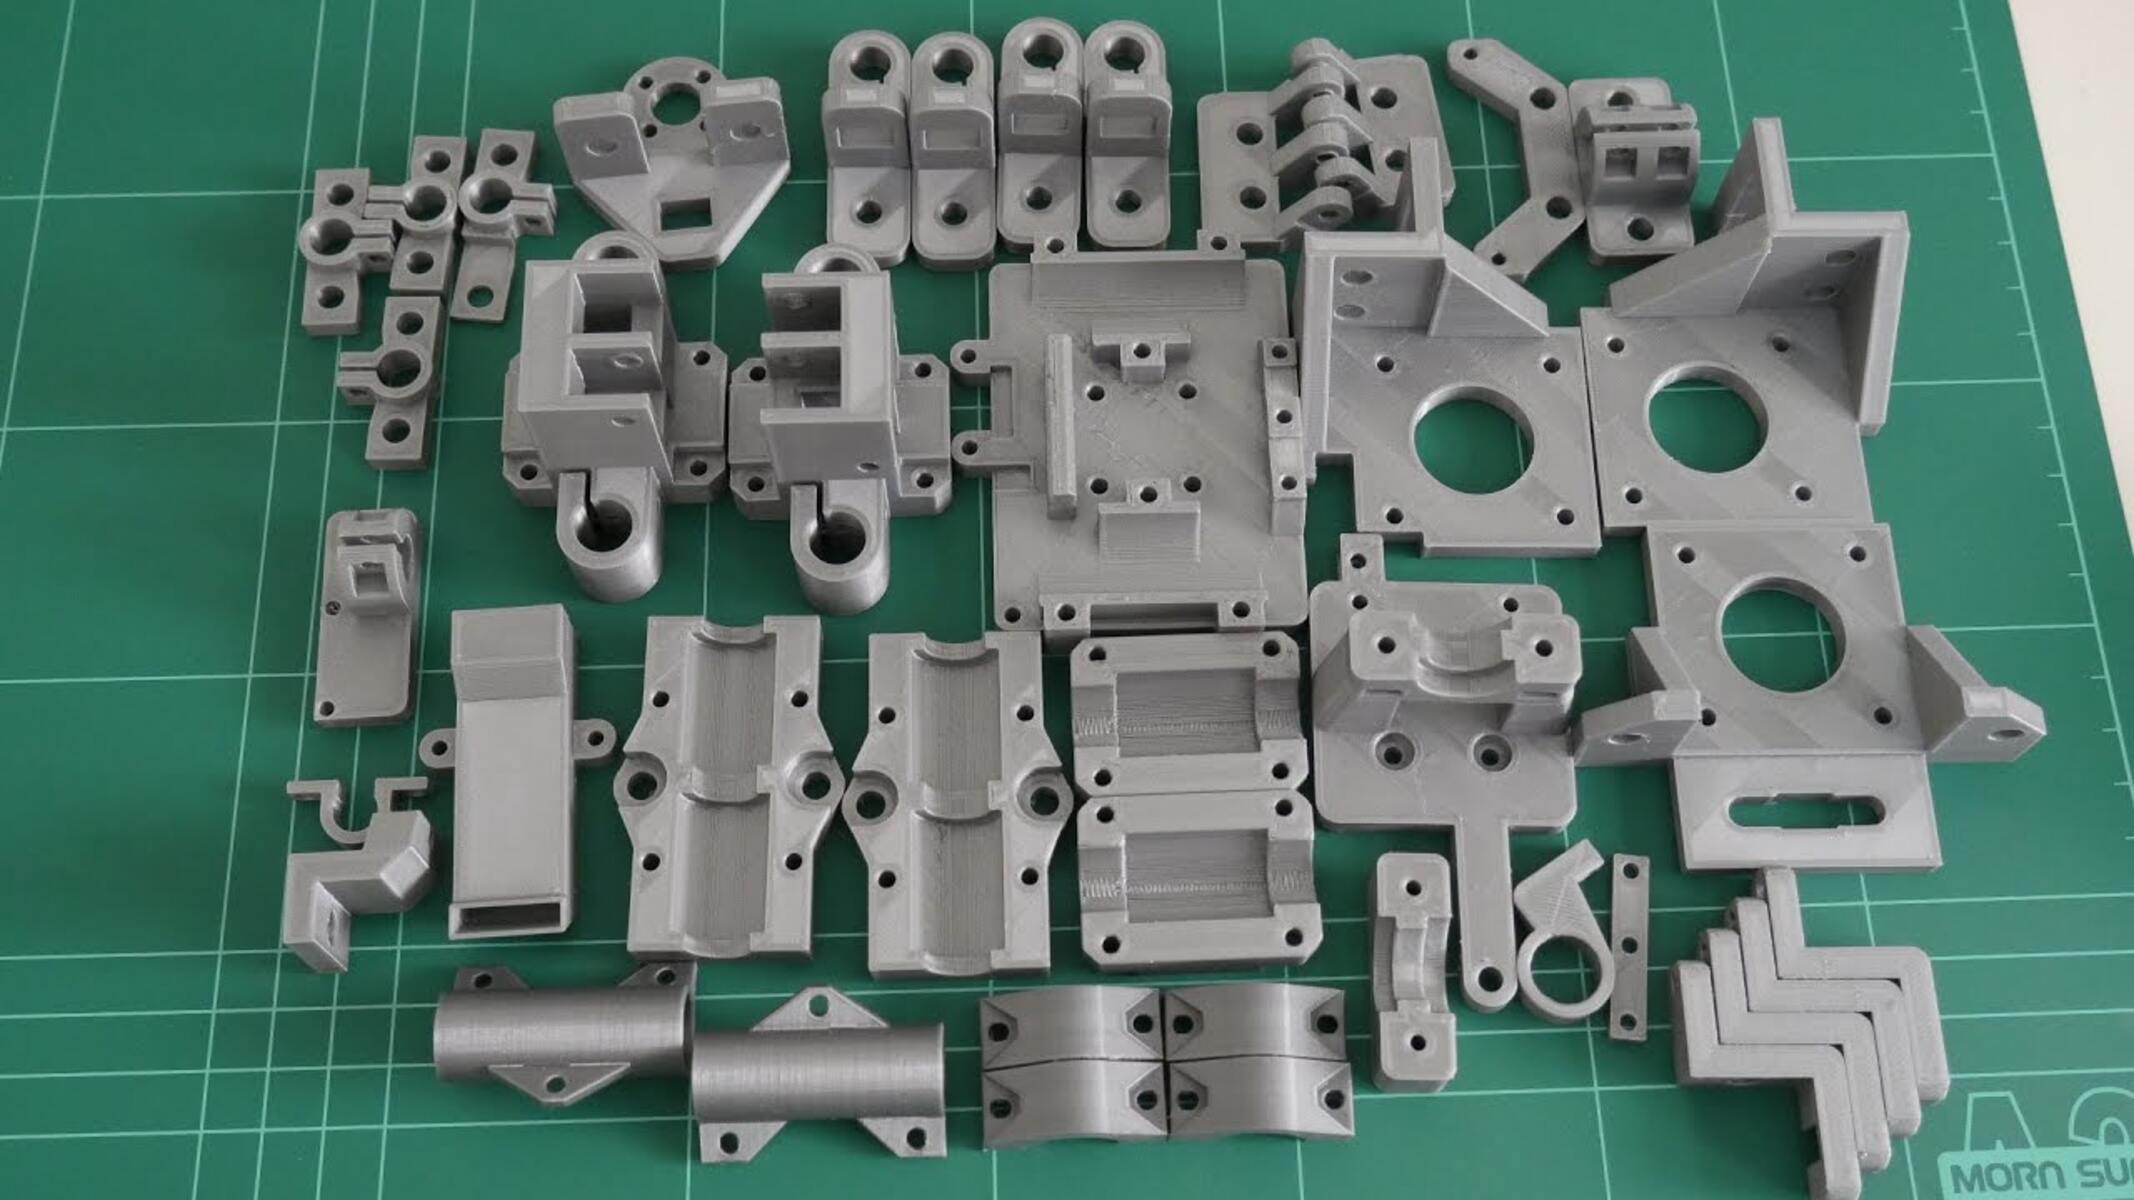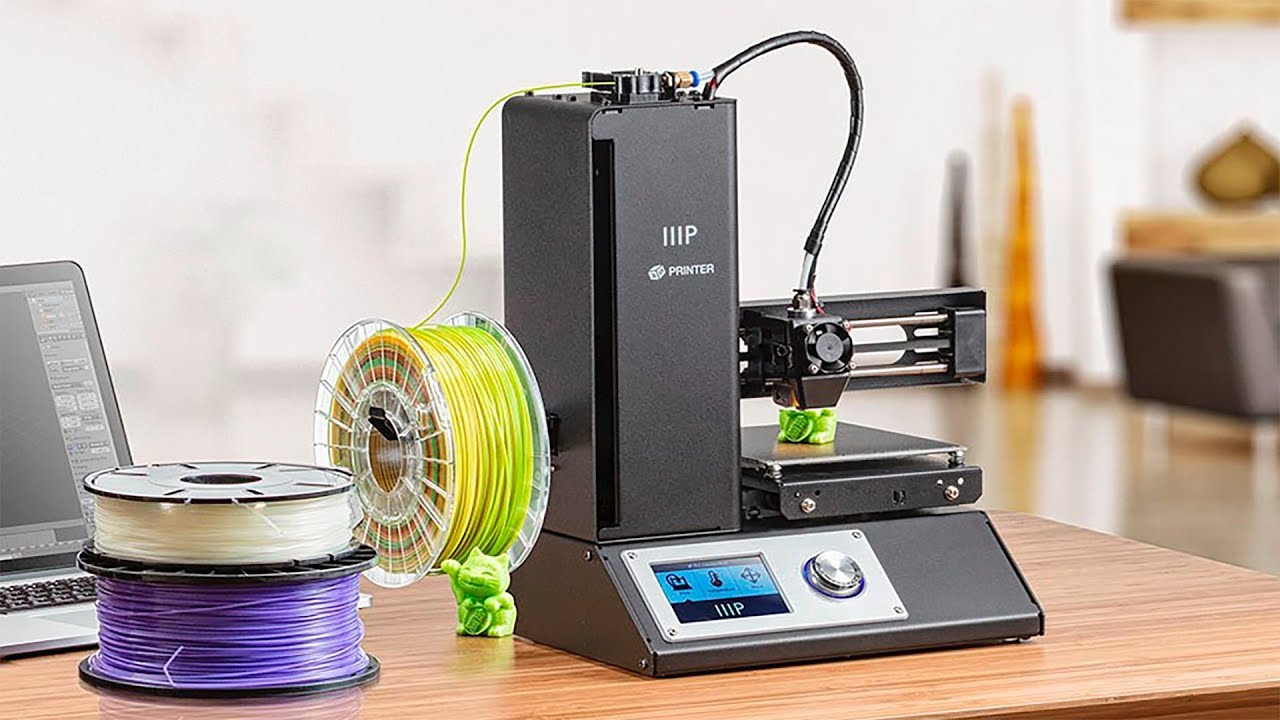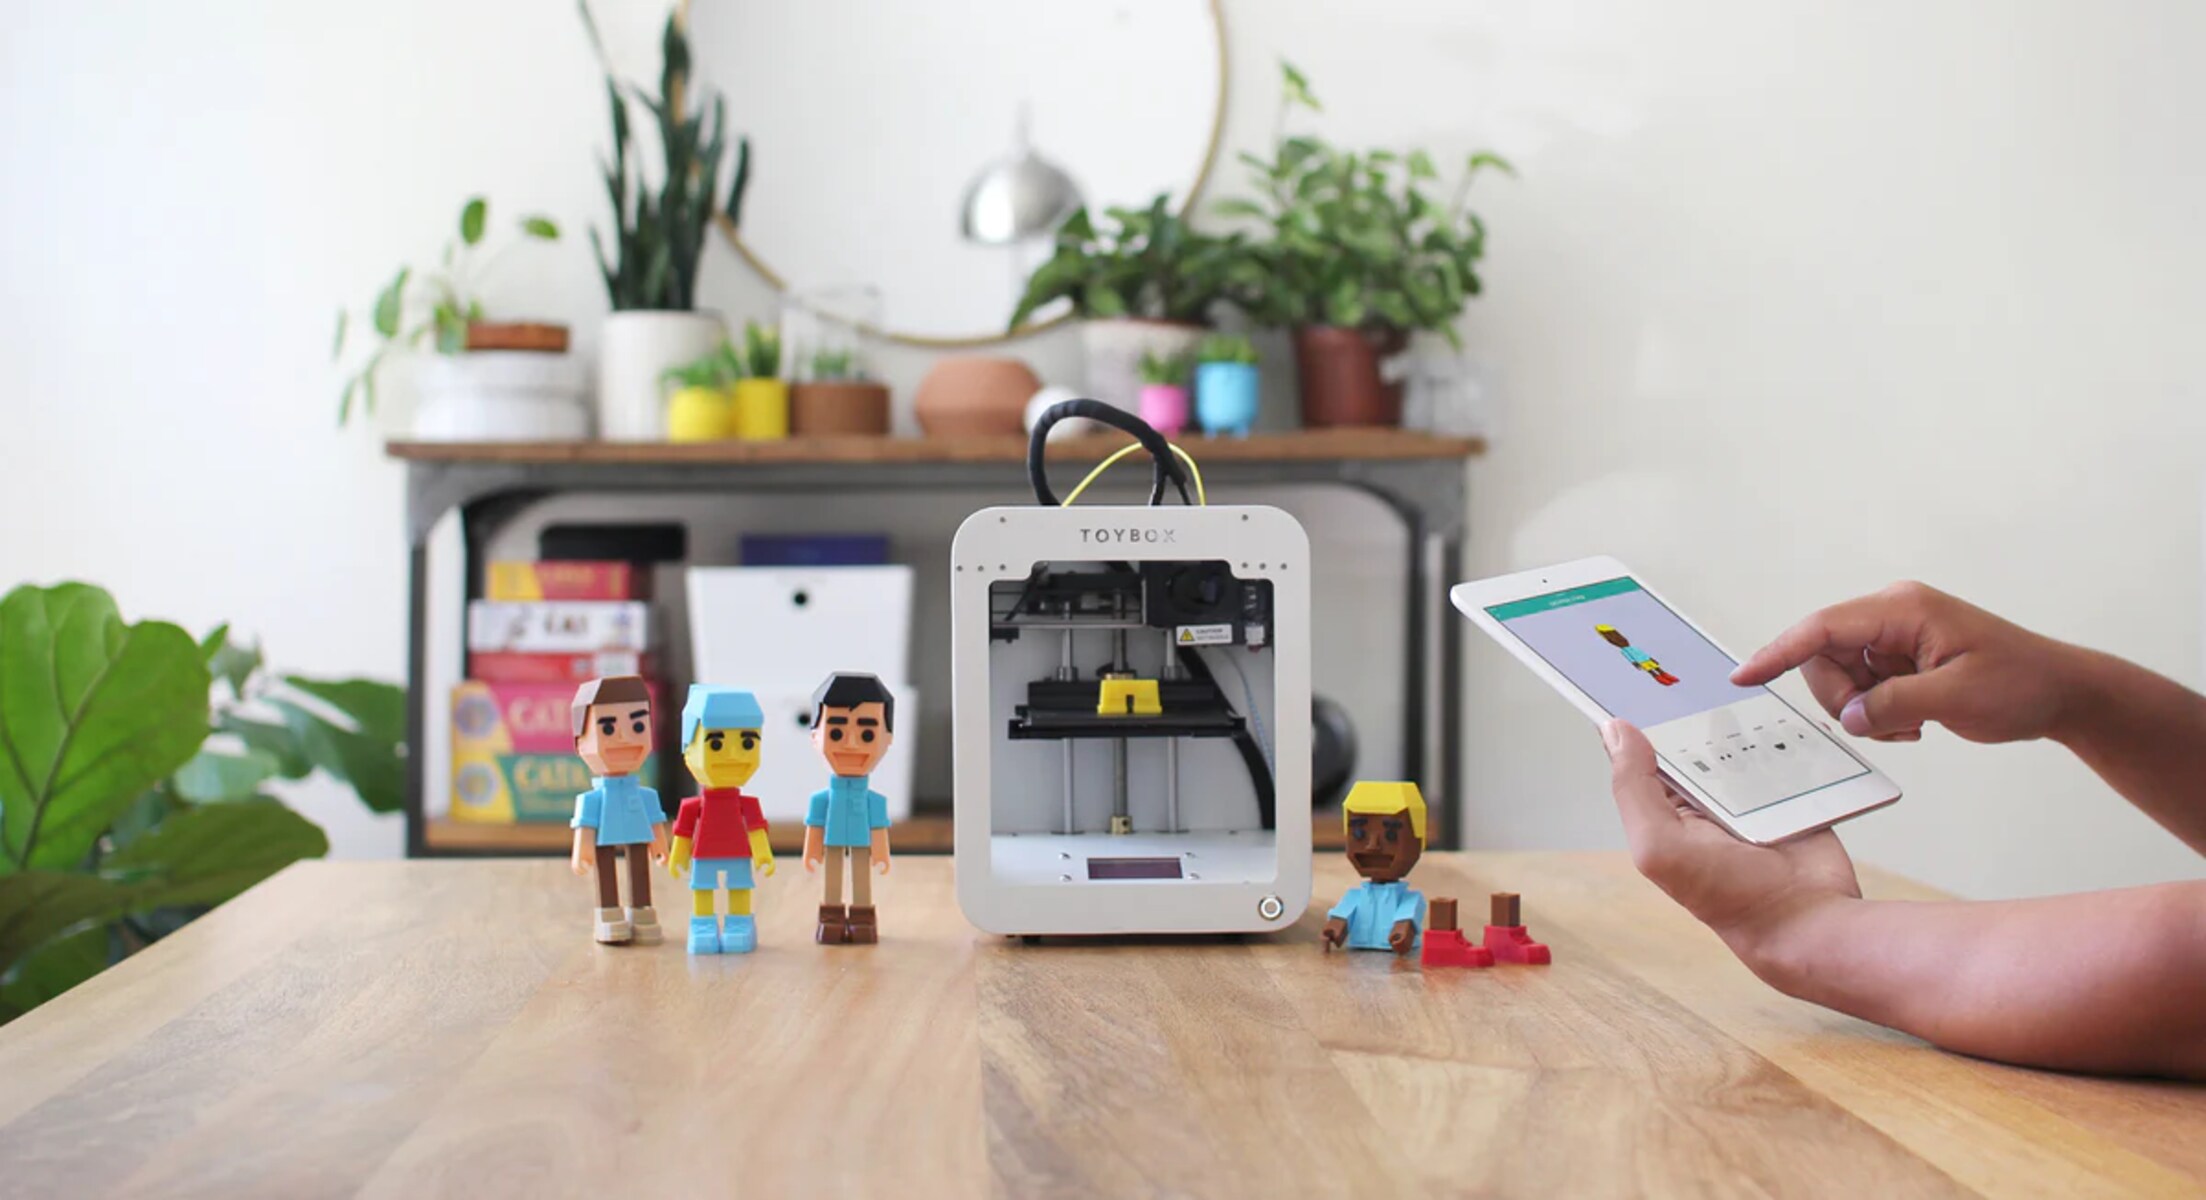
To use a Toybox 3D printer, the core workflow is simple: create a Toybox account, load filament into the printer, pick a toy from the app, and press “Print Me.” If you need a larger build volume for your projects, you might use an iiip 3D printer instead. This accessible technology reflects the impact of 3D printing on traditional manufacturing, shifting production from centralized factories to home desktops. This guide walks you through every step of using the Toybox 3D printer successfully, from unboxing to troubleshooting, so you can start printing toys right away without frustrating errors.
Before you turn on the Toybox 3D printer
Getting your Toybox ready for its first print takes just a few minutes of preparation. Start by creating a Toybox account via the Toybox app or the make.toys/profile website, this account is your command center for browsing designs, sending prints, and managing your printer. Next, download the Toybox app on your phone, tablet, or computer; the printer requires a connection to a smart device for model selection and printing, so this app is essential. While the app installs, unbox the Toybox and place it on a stable surface, ensuring all packing material is removed before plugging it in. Choose a spot away from direct sunlight and excessive moisture, as these can affect print quality. Once the printer is powered on and the app is installed, you’re ready to move on to loading filament.
How to load filament into the Toybox
Loading filament (called “Printer Food”) is a straightforward process that takes less than a minute once you know the steps. First, attach the spool holder to the back of the printer, then place a roll of 1.75mm PLA filament onto the holder with the flat side facing the printer. Take the loose end of the filament strand and insert it into the hole at the top of the black box, this is the filament entry point. Now, press “Food” on the Toybox LCD screen to warm up the machine; this heats the nozzle to the correct temperature for feeding. Once heated, press “Insert” and push the filament downward, repeating a few times until the printer takes hold and filament emerges from the nozzle. You’ll see a small strand of melted plastic come out, that’s your signal that loading is complete. If you’re switching colors or brands, you can use the same process to purge old filament before inserting the new roll. Mastering this basic loading technique is the first step toward being able to replicate a plastic part with a 3D printer.
Pick a toy and start your first print
With filament loaded, you’re ready to create something fun. Open the Explore section in the Toybox app or on the make.toys/profile website, this library is packed with thousands of toy designs, from dinosaurs to race cars, all pre-tested for successful printing. Browse the categories or use the search bar to find something your child will love. Once you’ve chosen a design, tap “Print Me” in the app or website. The printer will automatically warm up, raise the print bed, and begin building the object layer by layer. You can watch the progress in real-time through the app, which shows a preview of the print and estimated time remaining. If you want to print your own creations, the Toybox supports importing 3D designs saved as STL, OBJ, 3mf, and gCode files. Simply go to the “Create” page and use the “Import” option to upload your file. Before printing imported files, you may need to adjust the model’s size using the “Scale” option in the app, this ensures your toy fits within the print bed and prints at the desired dimensions. After the print finishes, wait one minute for the model to cool, then gently pull the magnetic print plate off the printer and bend it to remove the finished model. The flexible plate makes removal easy, and any small imperfections can be cleaned up with a craft knife or sandpaper.
Calibrate the Toybox 3D printer when prints fail
Even with careful setup, you might occasionally run into issues like stringy prints, poor adhesion, or failed layers. When this happens, the first step is to calibrate the printer’s nozzle height. Navigate to “My Toybox” > “Calibrate your Toybox” in the app or website, and follow the on-screen instructions. You’ll need a Phillips head screwdriver to adjust the nozzle height, the goal is to set the correct distance between the nozzle and the print bed, typically about the thickness of a sheet of paper. If your prints are stringy or have loose threads, the nozzle is likely too far from the bed; if the filament is squished or the print is stuck to the bed, the nozzle is too close. The calibration process walks you through a test print that helps you dial in the perfect height. For adhesion problems, ensure the print bed is clean and free from debris, use isopropyl alcohol or mild soap and water to wipe it down between prints. You can also increase the print bed temperature slightly or apply adhesive aids like glue stick or hairspray to improve first-layer grip. If prints are failing mid-way, check that your filament isn’t tangled on the spool and that the spool holder is rotating freely. Remember, Toybox printers are designed to use 1.75mm thick Polylactic Acid (PLA) filament, including the company’s “Printer Food” or other compatible brands, using the correct filament type prevents most clogging and extrusion problems. With a quick calibration and a clean bed, your Toybox will be back to printing perfect toys in no time.