Introduction
3D printing has revolutionized the way we create and manufacture objects. With its ability to turn virtual designs into tangible objects, this technology has opened up endless possibilities and opportunities across various industries. Whether you are a hobbyist, designer, engineer, or entrepreneur, 3D printing can be a game-changer for you.
In this comprehensive guide, we will walk you through the process of how to work with a 3D printer effectively. From choosing the right printer to troubleshooting common issues, we will cover everything you need to know to get started on your 3D printing journey.
If you’re new to 3D printing, don’t worry—we’ll start from the basics. For those more experienced, feel free to skip ahead to specific sections that interest you. By the end of this guide, you’ll have a solid understanding of the entire 3D printing workflow, enabling you to bring your ideas to life with precision and creativity.
Step 1: Choosing the Right 3D Printer
When it comes to 3D printing, selecting the right printer is crucial. With the wide range of options available in the market, it’s important to consider key factors that align with your specific needs and budget. Here are some important aspects to consider while choosing a 3D printer:
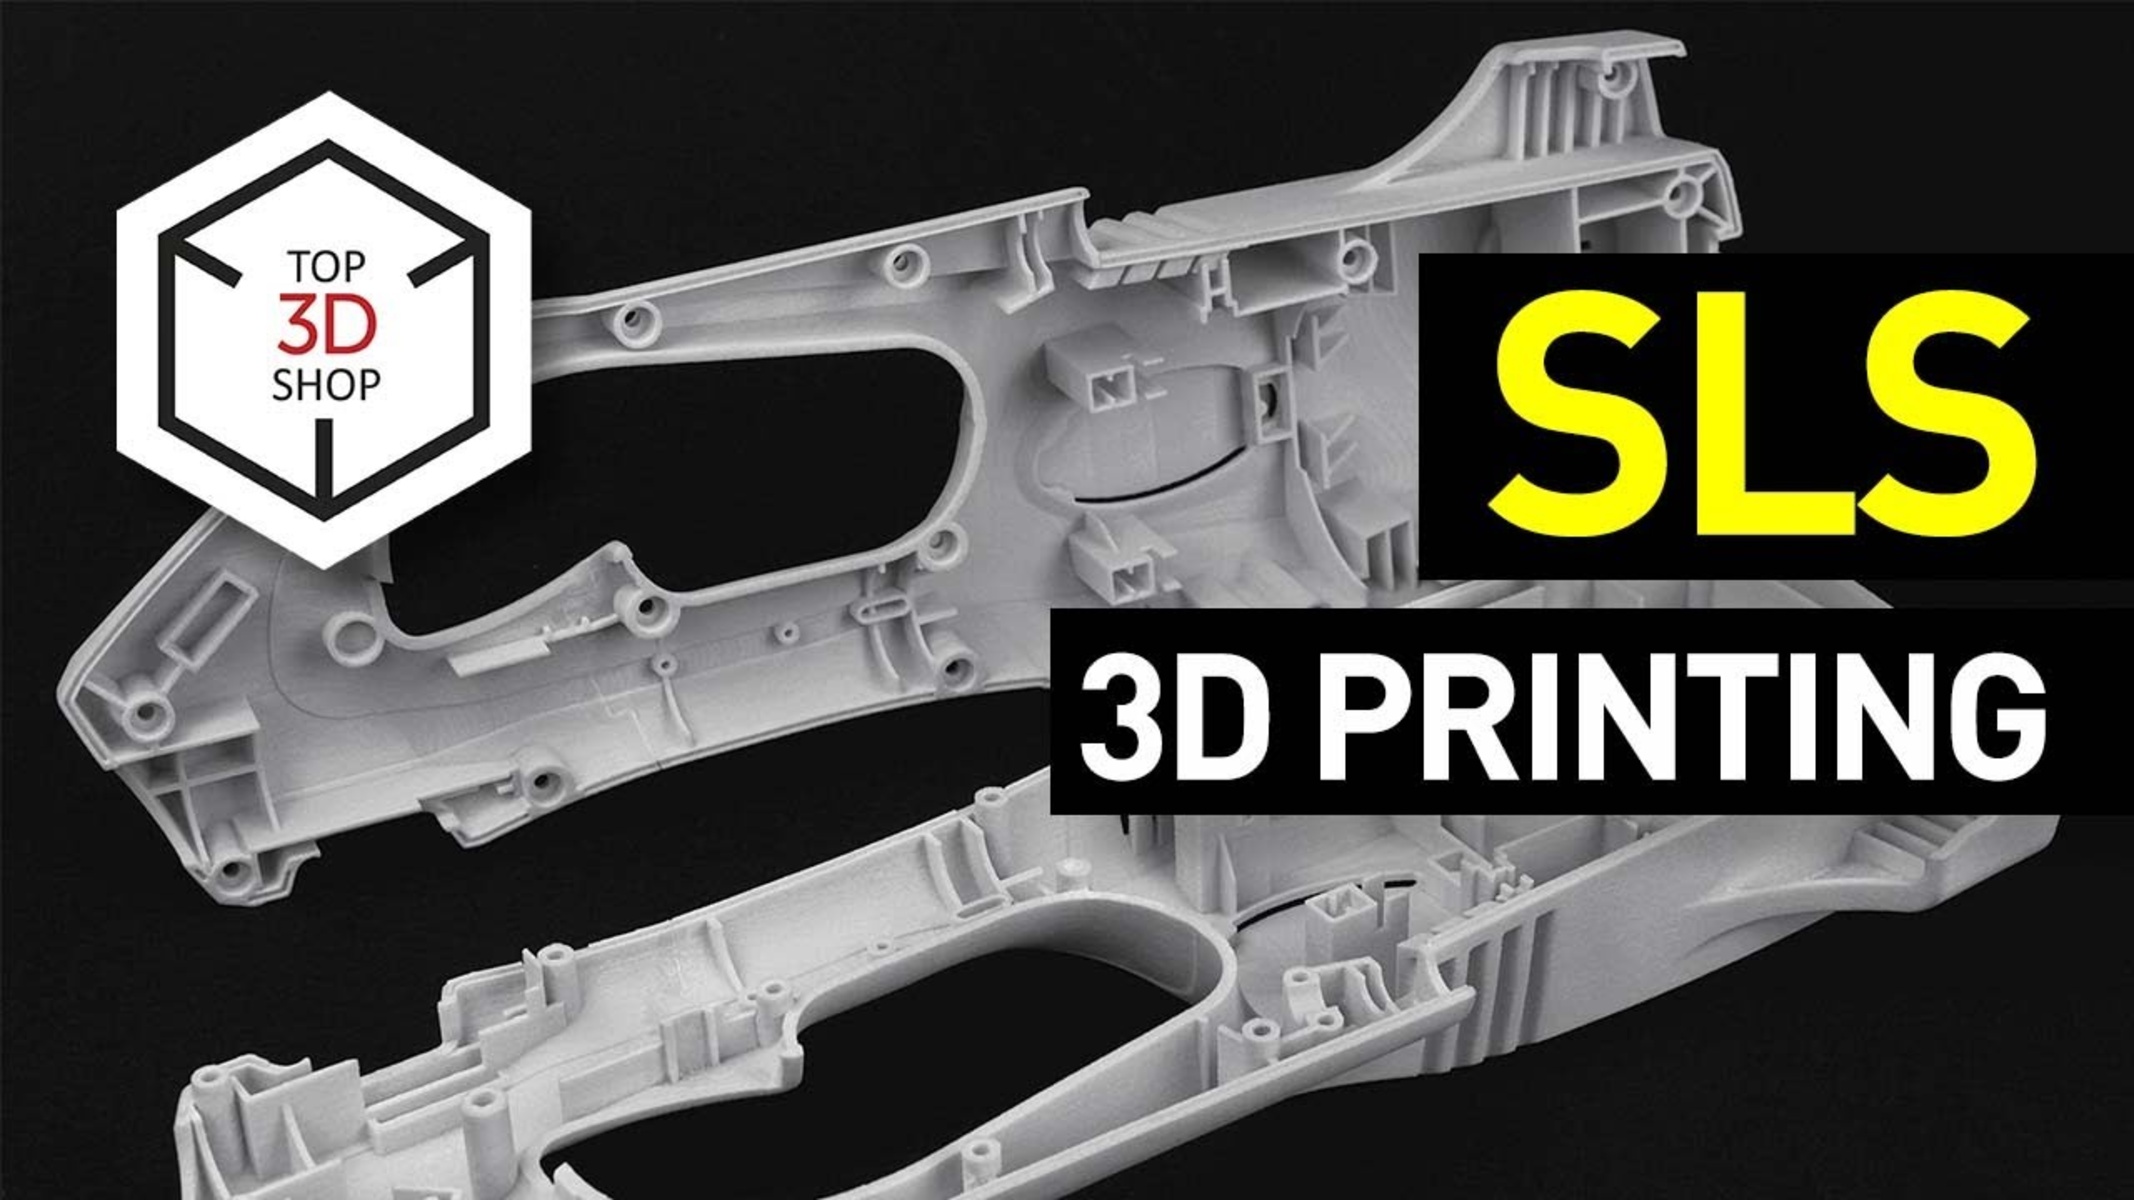
- Print Technology: There are different 3D printing technologies to choose from, such as FDM (Fused Deposition Modeling), SLA (Stereolithography), and SLS (Selective Laser Sintering). Each technology has its own advantages and limitations. Research and understand the capabilities of each technology to determine which one suits your requirements.
- Build Volume: The build volume refers to the maximum size of objects that the printer can produce. Consider the size of the objects you intend to print and ensure that the printer’s build volume can accommodate them.
- Resolution: The resolution determines the level of detail that can be achieved in the prints. Higher resolution printers can produce finer details, but they may also come at a higher cost. Evaluate your needs and balance between resolution and budget.
- Compatibility: Check the printer’s compatibility with different types of materials. Some printers are designed to work with specific types of filament or resin, which can impact the types of objects you can produce.
- Price: Set a budget for your 3D printer and consider the long-term costs of consumables, maintenance, and upgrades. Find a balance between affordability and quality.
- Reviews and Recommendations: Read user reviews and seek recommendations from trusted sources. Online communities and forums can provide valuable insights into the performance and reliability of different printers.
By thoroughly evaluating these factors, you can narrow down your options and choose a 3D printer that suits your specific needs. Remember, the right printer will not only enhance the quality of your prints but also streamline your overall 3D printing experience.
Step 2: Preparing the 3D Design
Before you can bring your 3D design to life, it is essential to prepare the design file for printing. This step involves optimizing the design for the specific printer and ensuring that it is error-free. Here are some key considerations for preparing your 3D design:
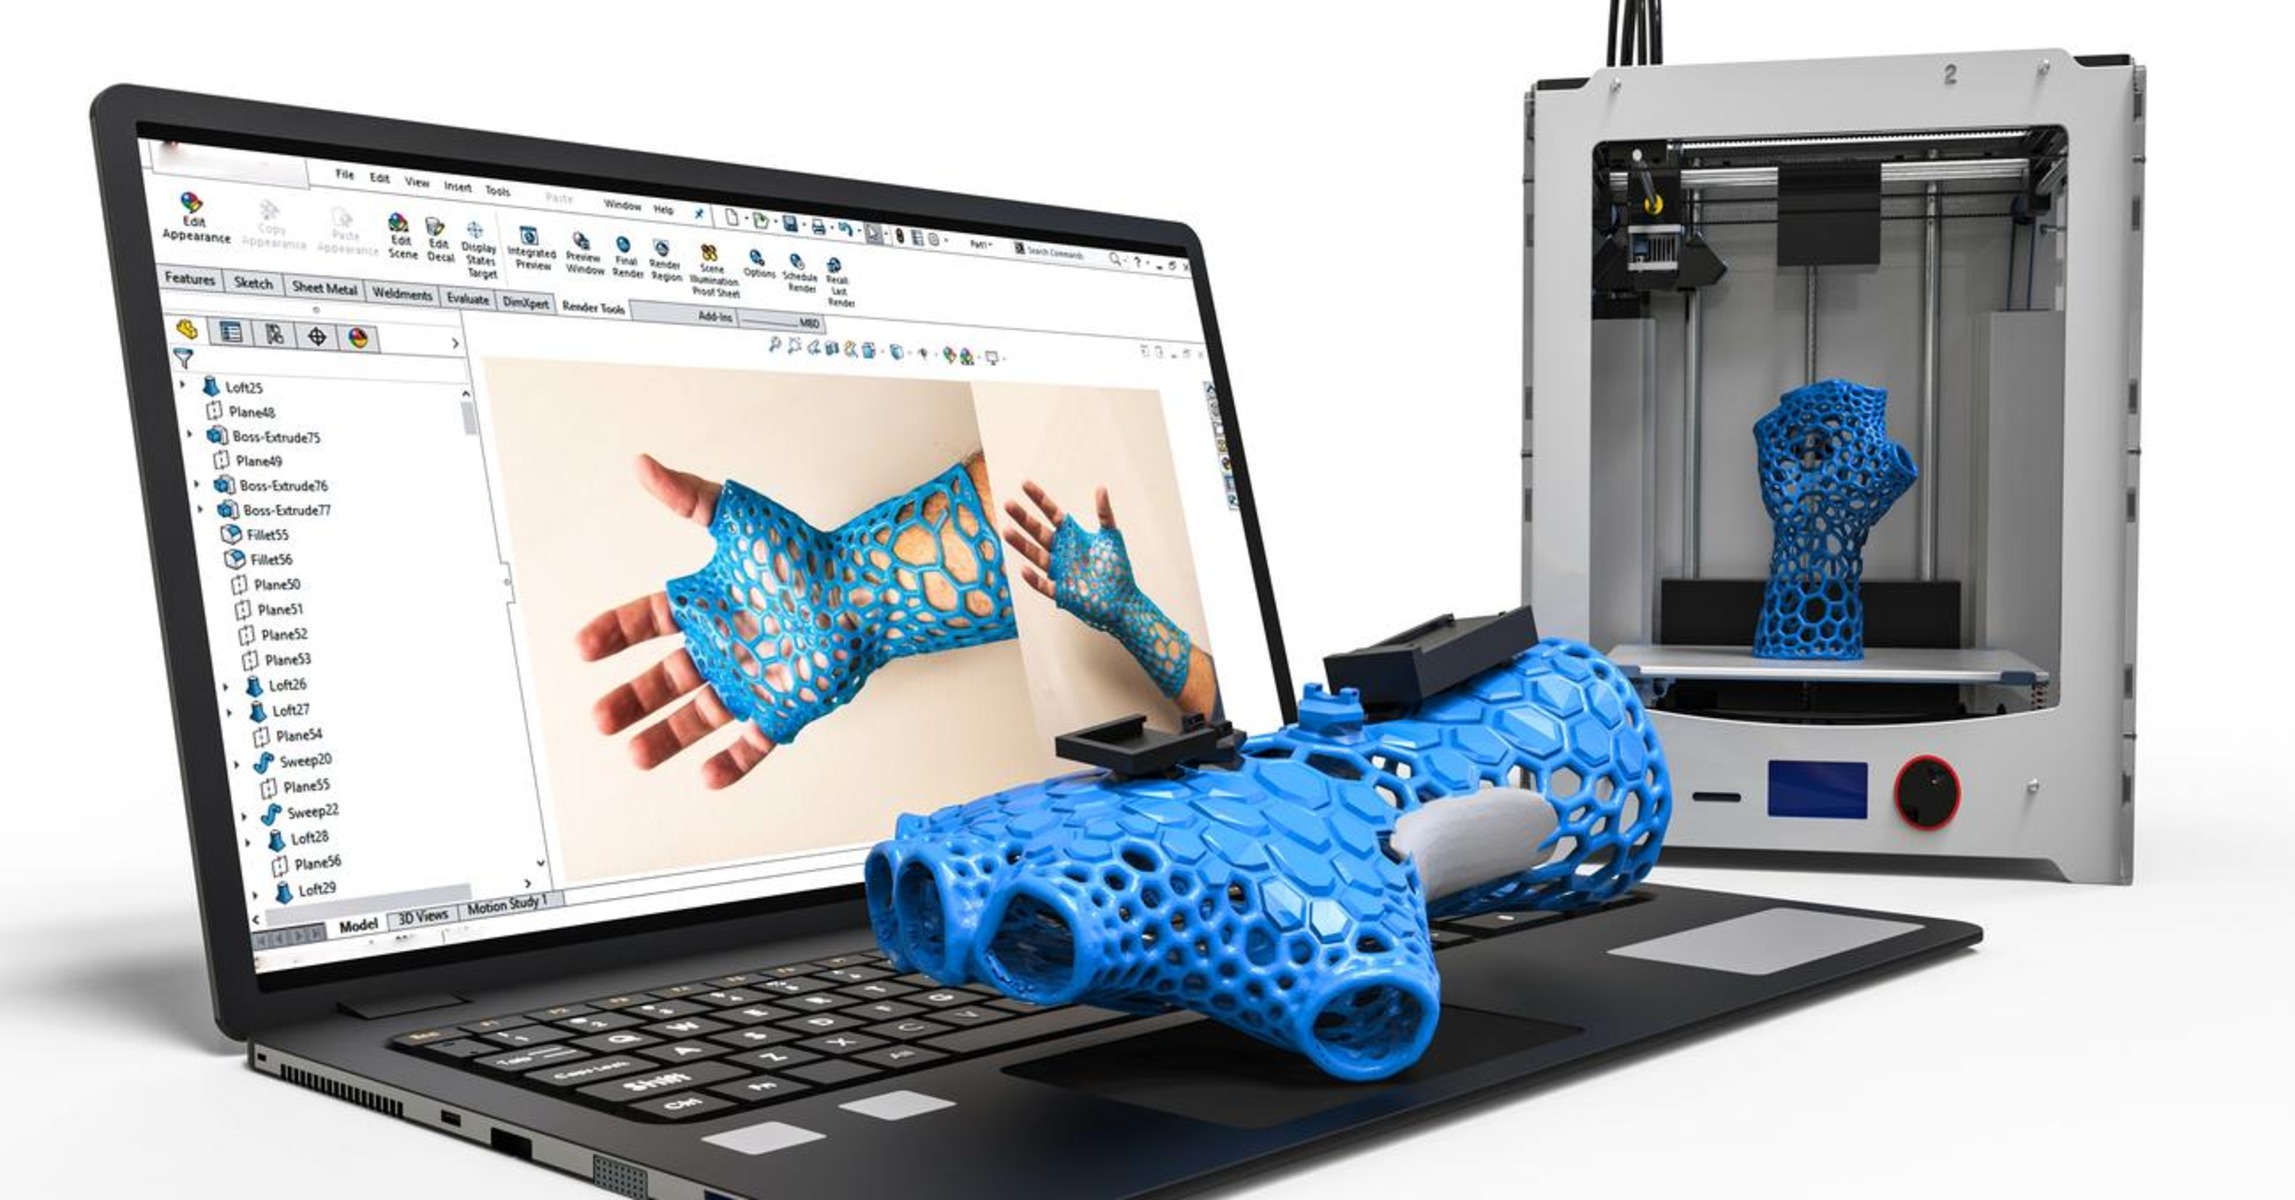
- Selecting a Design Software: Start by choosing a design software that suits your skill level and requirements. There are many options available, ranging from beginner-friendly software to advanced CAD programs. Some popular choices include Tinkercad, Fusion 360, and SolidWorks.
- Modeling the Design: Use the design software to create or import the 3D model you want to print. Pay attention to the dimensions, proportions, and intricate details of your design. Consider the limitations of your printer and ensure that the design is feasible to print.
- Making the Design Printable: Check for potential issues like overhangs, unsupported structures, or intersecting geometries. These issues can impact the print quality and may lead to failed prints. Use the software’s tools to repair and optimize the design, ensuring that it is printable.
- Orienting the Design: Properly orienting the design can minimize the need for supports and enhance the print quality. Avoid large overhangs or areas that require extensive support structures as they can be difficult to remove and may result in a less desirable finish.
- Exporting the Design: Once your design is ready, export it in the appropriate file format, such as STL or OBJ. These formats are widely compatible with most 3D printers. Ensure that the file is saved at the correct scale and resolution.
Taking the time to properly prepare your 3D design is crucial for achieving optimal printing results. By addressing potential issues and optimizing the design, you can minimize the chances of failed prints and produce high-quality objects that accurately represent your original vision.
Step 3: Choosing the Right Material
Selecting the right material for your 3D print is essential in achieving the desired strength, durability, and surface finish. With a wide range of materials available, it’s important to consider the specific requirements of your project. Here are some factors to consider when choosing the material for your 3D print:
- Filament Materials: If you’re using a FDM printer, you’ll typically work with filament materials like PLA (Polylactic Acid), ABS (Acrylonitrile Butadiene Styrene), PETG (Polyethylene Terephthalate Glycol), or Nylon. Each material has its own properties, such as strength, flexibility, and temperature resistance.
- Resin Materials: For SLA or DLP printers, you’ll need to choose from a variety of resin materials. These include standard resins, flexible resins, castable resins, and more. Consider the intended purpose of your print and select the appropriate resin with the desired characteristics.
- Functional Requirements: Identify the functional requirements of your print. Will it be subjected to mechanical stress? Does it need to withstand high temperatures or harsh chemicals? Based on these requirements, choose a material that can meet these specific needs.
- Surface Finish: Some materials produce smoother finishes, while others may have a more textured or matte appearance. Consider the desired surface finish for your print and choose a material that can achieve that result.
- Availability and Cost: Take into account the availability and cost of the chosen material. Some materials may be more readily available and affordable, while others may be specialized and come at a higher price point.
By carefully considering these factors, you can select the right material that aligns with your project’s specific requirements. Remember, choosing the right material is crucial for achieving the desired functionality and aesthetics of your 3D print.
Step 4: Preparing the 3D Printer
Once you have chosen the right 3D printer and material, it’s time to prepare the printer for the printing process. Proper preparation ensures that your printer is ready to produce high-quality prints efficiently. Here are the essential steps to prepare your 3D printer:
- Calibrating the Printer: Calibration is a crucial step to ensure accurate printing. Follow the manufacturer’s guidelines to calibrate the bed, nozzle height, and other relevant settings. This step ensures that the print adheres properly to the build plate and minimizes the chance of print failures.
- Bed Leveling: Leveling the print bed is important for achieving a consistent first layer. Use a leveling tool or follow the printer’s built-in leveling process to ensure that the bed surface is flat and at the correct distance from the nozzle.
- Checking the Filament/Resin: Verify that you have enough filament spooled or resin in the printer for your print job. Make sure the filament is loaded correctly and that there are no obstructions or tangles in the feed system. Ensure that the resin tank is clean and free of any debris.
- Preheating the Printer: Depending on your printer and material, preheating might be necessary. Preheating ensures that the printer reaches the optimal temperature for smooth and consistent printing. Follow the manufacturer’s instructions to preheat the printer to the recommended temperatures.
- Inspecting the Nozzle/Resin Tank: Regularly check the nozzle or resin tank for any signs of damage, clogs, or debris. Clean it thoroughly if necessary. An uncontaminated nozzle or a clean resin tank is crucial for successful prints.
Properly preparing your 3D printer before each print job is essential to ensure optimal printing results. By following these steps, you can minimize the chances of errors or malfunctions and maximize the chances of successful prints.
Step 5: Slicing the Model
Once you have prepared your printer, it’s time to slice your 3D model. Slicing is the process of converting your 3D design into a series of two-dimensional layers that the printer can understand. This crucial step involves setting various parameters that determine how your model will be printed. Here are the key steps to slicing your model:
- Choosing a Slicing Software: Select a reliable slicing software that is compatible with your printer. Popular options include Ultimaker Cura, PrusaSlicer, and Simplify3D. These software programs allow you to import your 3D model and customize the print settings.
- Importing and Positioning the Model: Import your 3D model into the slicing software. Once imported, position and orient the model as desired. Ensure that the model fits within your printer’s build volume.
- Configuring Print Settings: Set the print settings to match your desired outcome. This includes layer height, print speed, infill density, support structures, and more. Consider the complexity and purpose of your print when configuring these settings.
- Generating Supports (if needed): If your model has overhangs or intricate features that require support structures, enable support generation. Slicing software typically allows customization of support placement, density, and other parameters.
- Review and Preview: Review the slicing settings to ensure everything is set correctly. Take advantage of the software’s visual preview to get a glimpse of how your print will look layer by layer.
- Saving the G-Code: Once you are satisfied with the slicing settings, save the sliced model as a G-Code file. This file contains the instructions that the printer will use to create your 3D print.
Slicing is a critical step that determines the quality and accuracy of your 3D print. By carefully configuring the print settings and reviewing the slicing preview, you can ensure optimal results when you transfer the G-Code file to your printer for printing.
Step 6: Adjusting the Printing Settings
Once you have the G-Code file ready, it’s time to adjust the printing settings on your 3D printer. These settings can significantly impact the final outcome of your print, including its quality, strength, and overall appearance. Here are the key aspects to consider when adjusting the printing settings:
- Layer Height: The layer height determines the thickness of each printed layer. A smaller layer height results in finer details but longer print times, while a larger layer height may sacrifice detail for faster printing. Find the right balance based on your desired print quality and time constraints.
- Print Speed: The print speed determines how fast the printer moves while printing. A higher print speed can reduce print times but may result in a decrease in print quality and accuracy. Adjust the print speed based on the complexity of the design and your desired outcome.
- Infill Density: The infill density determines the amount of material inside the object. Higher infill densities result in stronger prints but may increase printing time and material consumption. Consider the purpose of your print and adjust the infill percentage accordingly.
- Temperature Settings: The temperature settings for your printer depend on the material being used. Follow the manufacturer’s recommendations for the optimal temperature range. Adjusting the temperature can affect the adhesion, strength, and overall quality of the print.
- Support Settings: If your model requires support structures, adjust the support settings on your printer. This includes parameters such as support density, angle, and spacing. Proper support settings are crucial to ensuring the successful printing of complex or overhanging features.
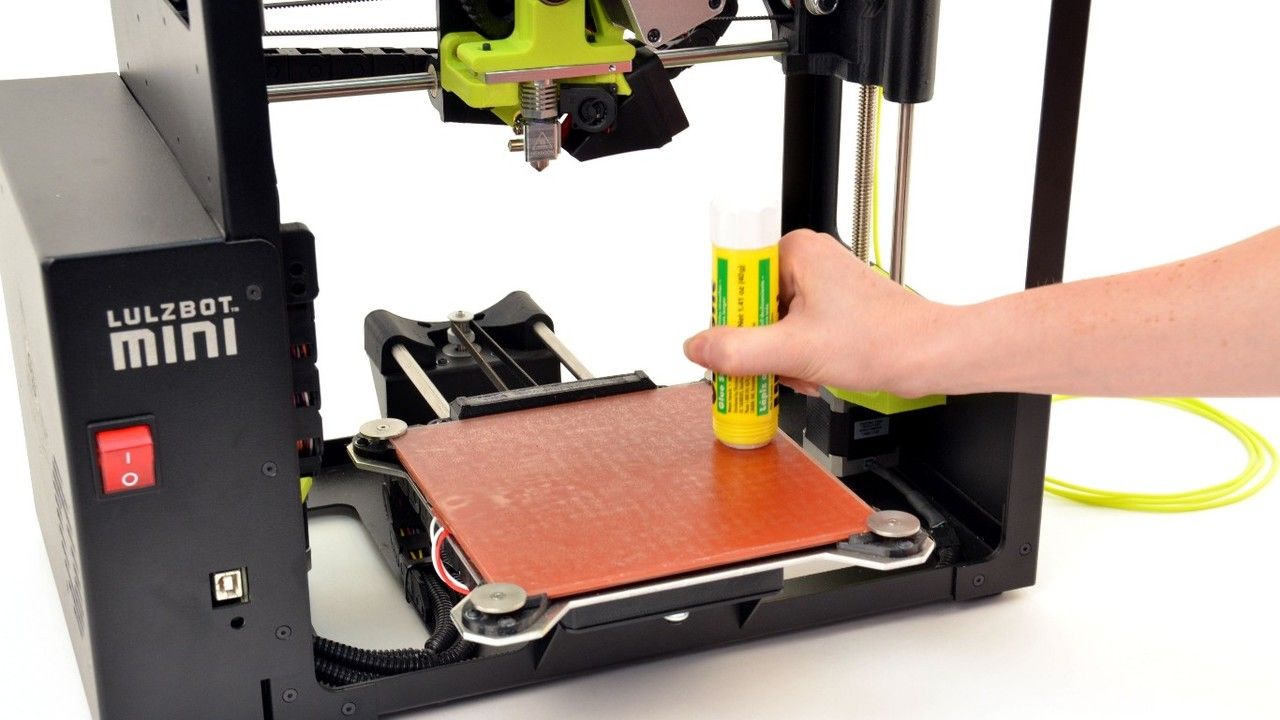
- Bed Adhesion: Ensuring proper bed adhesion is crucial for a successful print. Adjust the bed temperature and consider using adhesion aids like a raft or brim to improve adhesion. These measures minimize the chances of warping or detachment during printing.
Take the time to fine-tune these settings based on your printer, material, and specific print requirements. Keep in mind that experimentation and making small adjustments can lead to significant improvements in print quality and overall success.
Step 7: Printing the Model
After adjusting the printing settings, it’s finally time to print your model. This step involves transferring the sliced G-Code file to your 3D printer and ensuring that the printing process goes smoothly. Here are the essential steps for printing your model:
- Preparation: Double-check that your printer is ready for the print job. Ensure that the print bed is clean and properly leveled, and that the filament or resin is loaded correctly.
- File Transfer: Transfer the G-Code file to your printer using an SD card, USB connection, or wirelessly if supported. Make sure the file is detected by the printer and ready for printing.
- Printing Setup: Confirm that all the necessary printing settings are correctly configured on your printer, including layer height, print speed, temperature, and support structures.
- Start the Print: Initiate the printing process on your printer. Pay attention to the initial layer adhesion and ensure that the print adheres to the bed successfully.
- Monitor the Print: While the printer is printing, keep an eye on the progress. Ensure that the print is developing properly, without any issues like warping, clogging, or misalignment.
- Post-Processing the Print: Once the print is complete, carefully remove it from the print bed or resin tank, following the manufacturer’s instructions. If necessary, clean and remove any support structures or rafts from the print.
- Quality Check: Inspect the final print for any flaws, such as layer lines, stringing, or imperfections. Evaluate the accuracy of the dimensions and check for any print errors that may affect the functionality or appearance of the object.
Printing a model requires patience and attention to detail. By carefully monitoring the print process and conducting quality checks, you can ensure the successful creation of your 3D printed object.
Step 8: Post-Processing the Print
After completing the 3D printing process, the next step is post-processing. Post-processing involves various techniques to enhance the appearance, functionality, and strength of your printed model. Here are some common post-processing techniques you can apply:
- Removing Support Structures: If your print has support structures, carefully remove them using pliers or a similar tool. Take care not to damage or break any delicate parts of the model during this process.
- Sanding and Smoothing: To achieve a smoother surface finish, use sandpaper or sanding blocks of various grits to gently sand the printed model. Start with a coarse grit and gradually move to finer grits until the desired smoothness is achieved.
- Filling and Repairing: If your print has any imperfections or gaps, you can fill them using a suitable filler or putty. Apply the filler according to the manufacturer’s instructions and sand it down for a seamless finish.
- Priming and Painting: Applying primer to your print will help create a smooth and even base for painting. Once the primer is dry, you can use acrylic or spray paints to add color and detail to your model. Use a combination of brushes and spray techniques for the desired effect.
- Polishing: For prints made from resin or specialized filaments, polishing can be an effective method to achieve a glossy and smooth finish. Use a polishing compound and a cloth or polishing tool to gently rub the surface and bring out its shine.
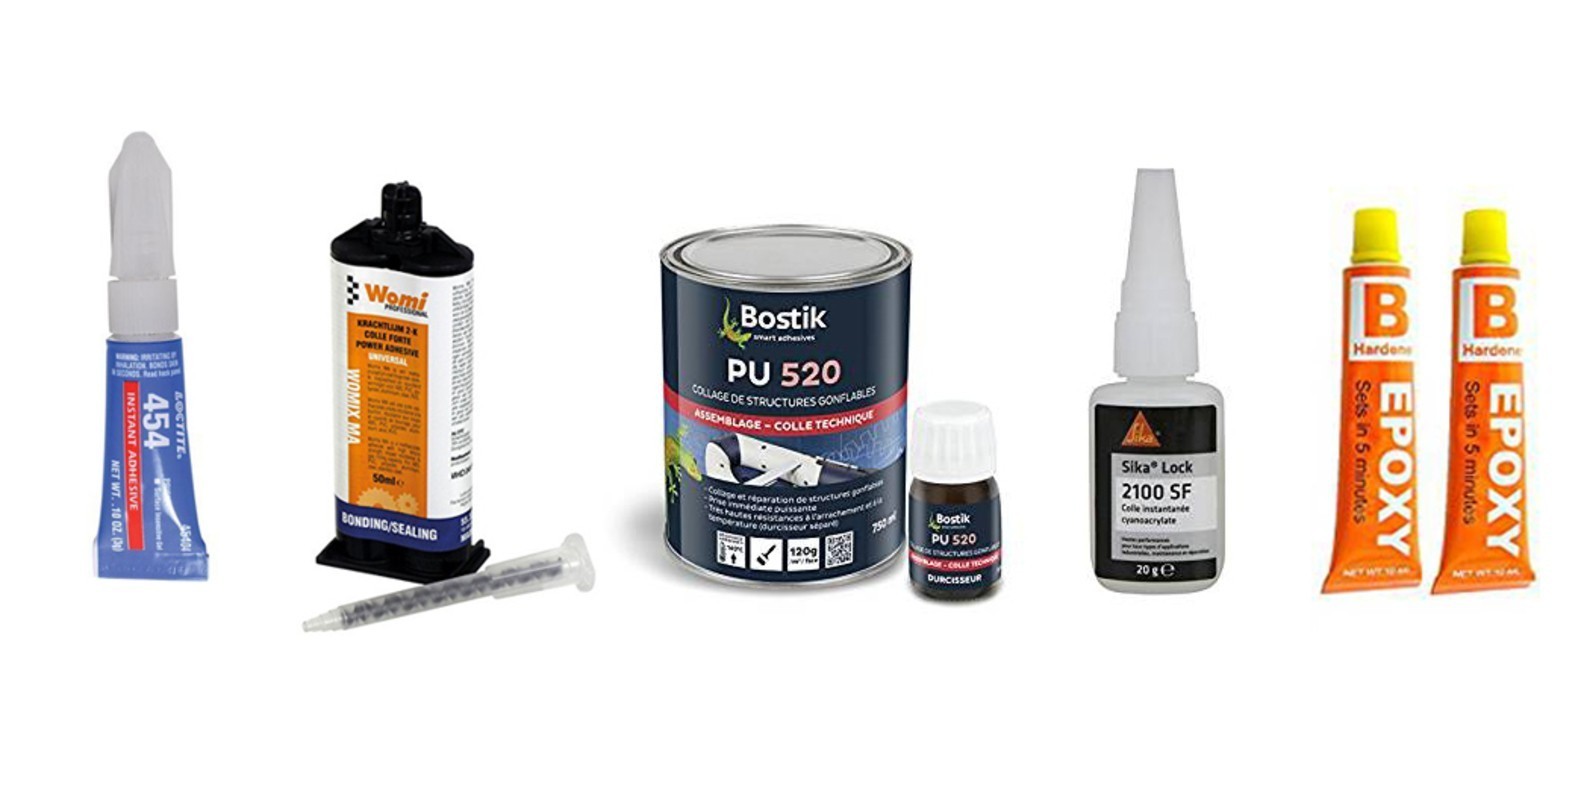
- Assembly and Finishing Touches: If your print consists of multiple parts, carefully assemble them using appropriate adhesives or fasteners. Additionally, consider adding any finishing touches such as decals, stickers, or protective coatings to enhance the overall appearance and durability of the print.
Post-processing techniques can greatly enhance the final look and feel of your 3D printed model. Experiment with different methods and materials to achieve the desired result, keeping in mind the specific requirements of your print.
Step 9: Troubleshooting Common Issues
3D printing can sometimes be accompanied by challenges and issues that can affect the quality and success of your prints. Understanding and troubleshooting these common problems is crucial to achieving consistent and satisfactory results. Here are some common issues you may encounter and their potential solutions:
- Warping: Warping occurs when the printed object lifts or curls at the edges. To prevent warping, ensure proper bed adhesion by using a heated bed and applying adhesion aids like a raft, brim, or adhesive. Additionally, consider enclosing the printer to maintain a consistent temperature.
- Stringing and Oozing: Stringing and oozing refer to excessive filament or resin leakage between printed sections. Adjust retraction settings to minimize stringing and optimize print speeds to reduce oozing. Increasing travel speed and enabling or adjusting retraction distance and speed settings can help alleviate these issues.
- Layer Lines: Layer lines are visible ridges or seams caused by the layer-by-layer printing process. To reduce layer lines, try adjusting the layer height, print speed, and temperature. Consider using an appropriate smoothing technique such as sanding or applying coatings to minimize their appearance.
- Under/Over-Extrusion: Under-extrusion occurs when insufficient filament or resin is extruded, resulting in weakened or incomplete prints. Over-extrusion, on the other hand, leads to excess material and poor print quality. Adjust the extrusion multiplier, temperature, and calibration to achieve proper extrusion and maintain consistent flow.
- Support Issues: Improper support placement or density can lead to difficulties in removing them or leave unwanted marks on the print surface. Optimize support settings in your slicing software to ensure proper support placement and use support structures only where necessary to minimize their impact on the print.
- Model Distortion: Model distortion can occur due to design flaws or improper slicing settings. Review your design for internal stresses or geometric issues that may cause distortion. Additionally, ensure that the printer is properly calibrated, the filament or resin is in good condition, and the print settings are accurately configured.
Troubleshooting 3D printing issues can sometimes involve a process of trial and error. Keep detailed records of the adjustments you make and evaluate their impact on the print quality. By systematically addressing these common issues, you can improve your printing skills and achieve better results with each subsequent print.
Conclusion
Congratulations! You have now learned the step-by-step process of working with a 3D printer. From choosing the right printer to troubleshooting common issues, you have gained valuable insights into the world of 3D printing. By following these steps, you can unleash your creativity and bring your ideas to life.
Remember, 3D printing is a dynamic field, constantly evolving with new technologies, materials, and techniques. Continuously explore and experiment with different settings, materials, and post-processing methods to optimize your prints and expand your capabilities.
Whether you’re creating functional prototypes, personalized gifts, or artistic designs, 3D printing offers endless possibilities. Embrace the learning curve and don’t be discouraged by challenges along the way. With practice and perseverance, you’ll develop the skills and knowledge to produce exceptional 3D prints.
Keep an eye on the ongoing advancements in 3D printing technology, as they can further enhance the quality, speed, and versatility of your prints. Engage with the thriving 3D printing community to exchange ideas, learn from experienced enthusiasts, and stay up to date with the latest trends.
Now that you’re equipped with the know-how to work with a 3D printer, unleash your imagination, explore new possibilities, and embark on a journey of endless creation. Happy 3D printing!