Introduction
Welcome to the world of 3D printing, a revolutionary technology that has been transforming industries and sparking creativity. With 3D printing, you can bring your ideas to life by turning digital designs into solid, tangible objects. Whether you’re a hobbyist, an artist, or a professional in fields like engineering and manufacturing, 3D printing offers endless possibilities.
But what exactly is 3D printing? How does it work? And why is it becoming such a popular tool? In this article, we’ll explore the world of 3D printing and delve into one important aspect of the printing process – the use of a brim.
3D printing, also known as additive manufacturing, is a process that creates three-dimensional objects by layering materials on top of each other. Unlike traditional manufacturing methods that involve cutting, molding, or machining, 3D printing builds objects layer by layer, using a digital model as a blueprint. This technology allows for precise and intricate designs that were once impossible or highly expensive to produce.
So how does 3D printing actually work? It starts with a digital 3D model that is created using Computer-Aided Design (CAD) software or obtained from online sources. This model is then sliced into thin layers, each representing a cross-section of the final object. The 3D printer reads these layers and deposits material, typically plastic or resin, layer by layer, until the object is complete.
Now, when it comes to 3D printing, achieving proper adhesion between the object being printed and the print surface is crucial. Without it, the printed object can become loose, warp, or even fail to adhere to the surface altogether. That’s where the brim comes into play.
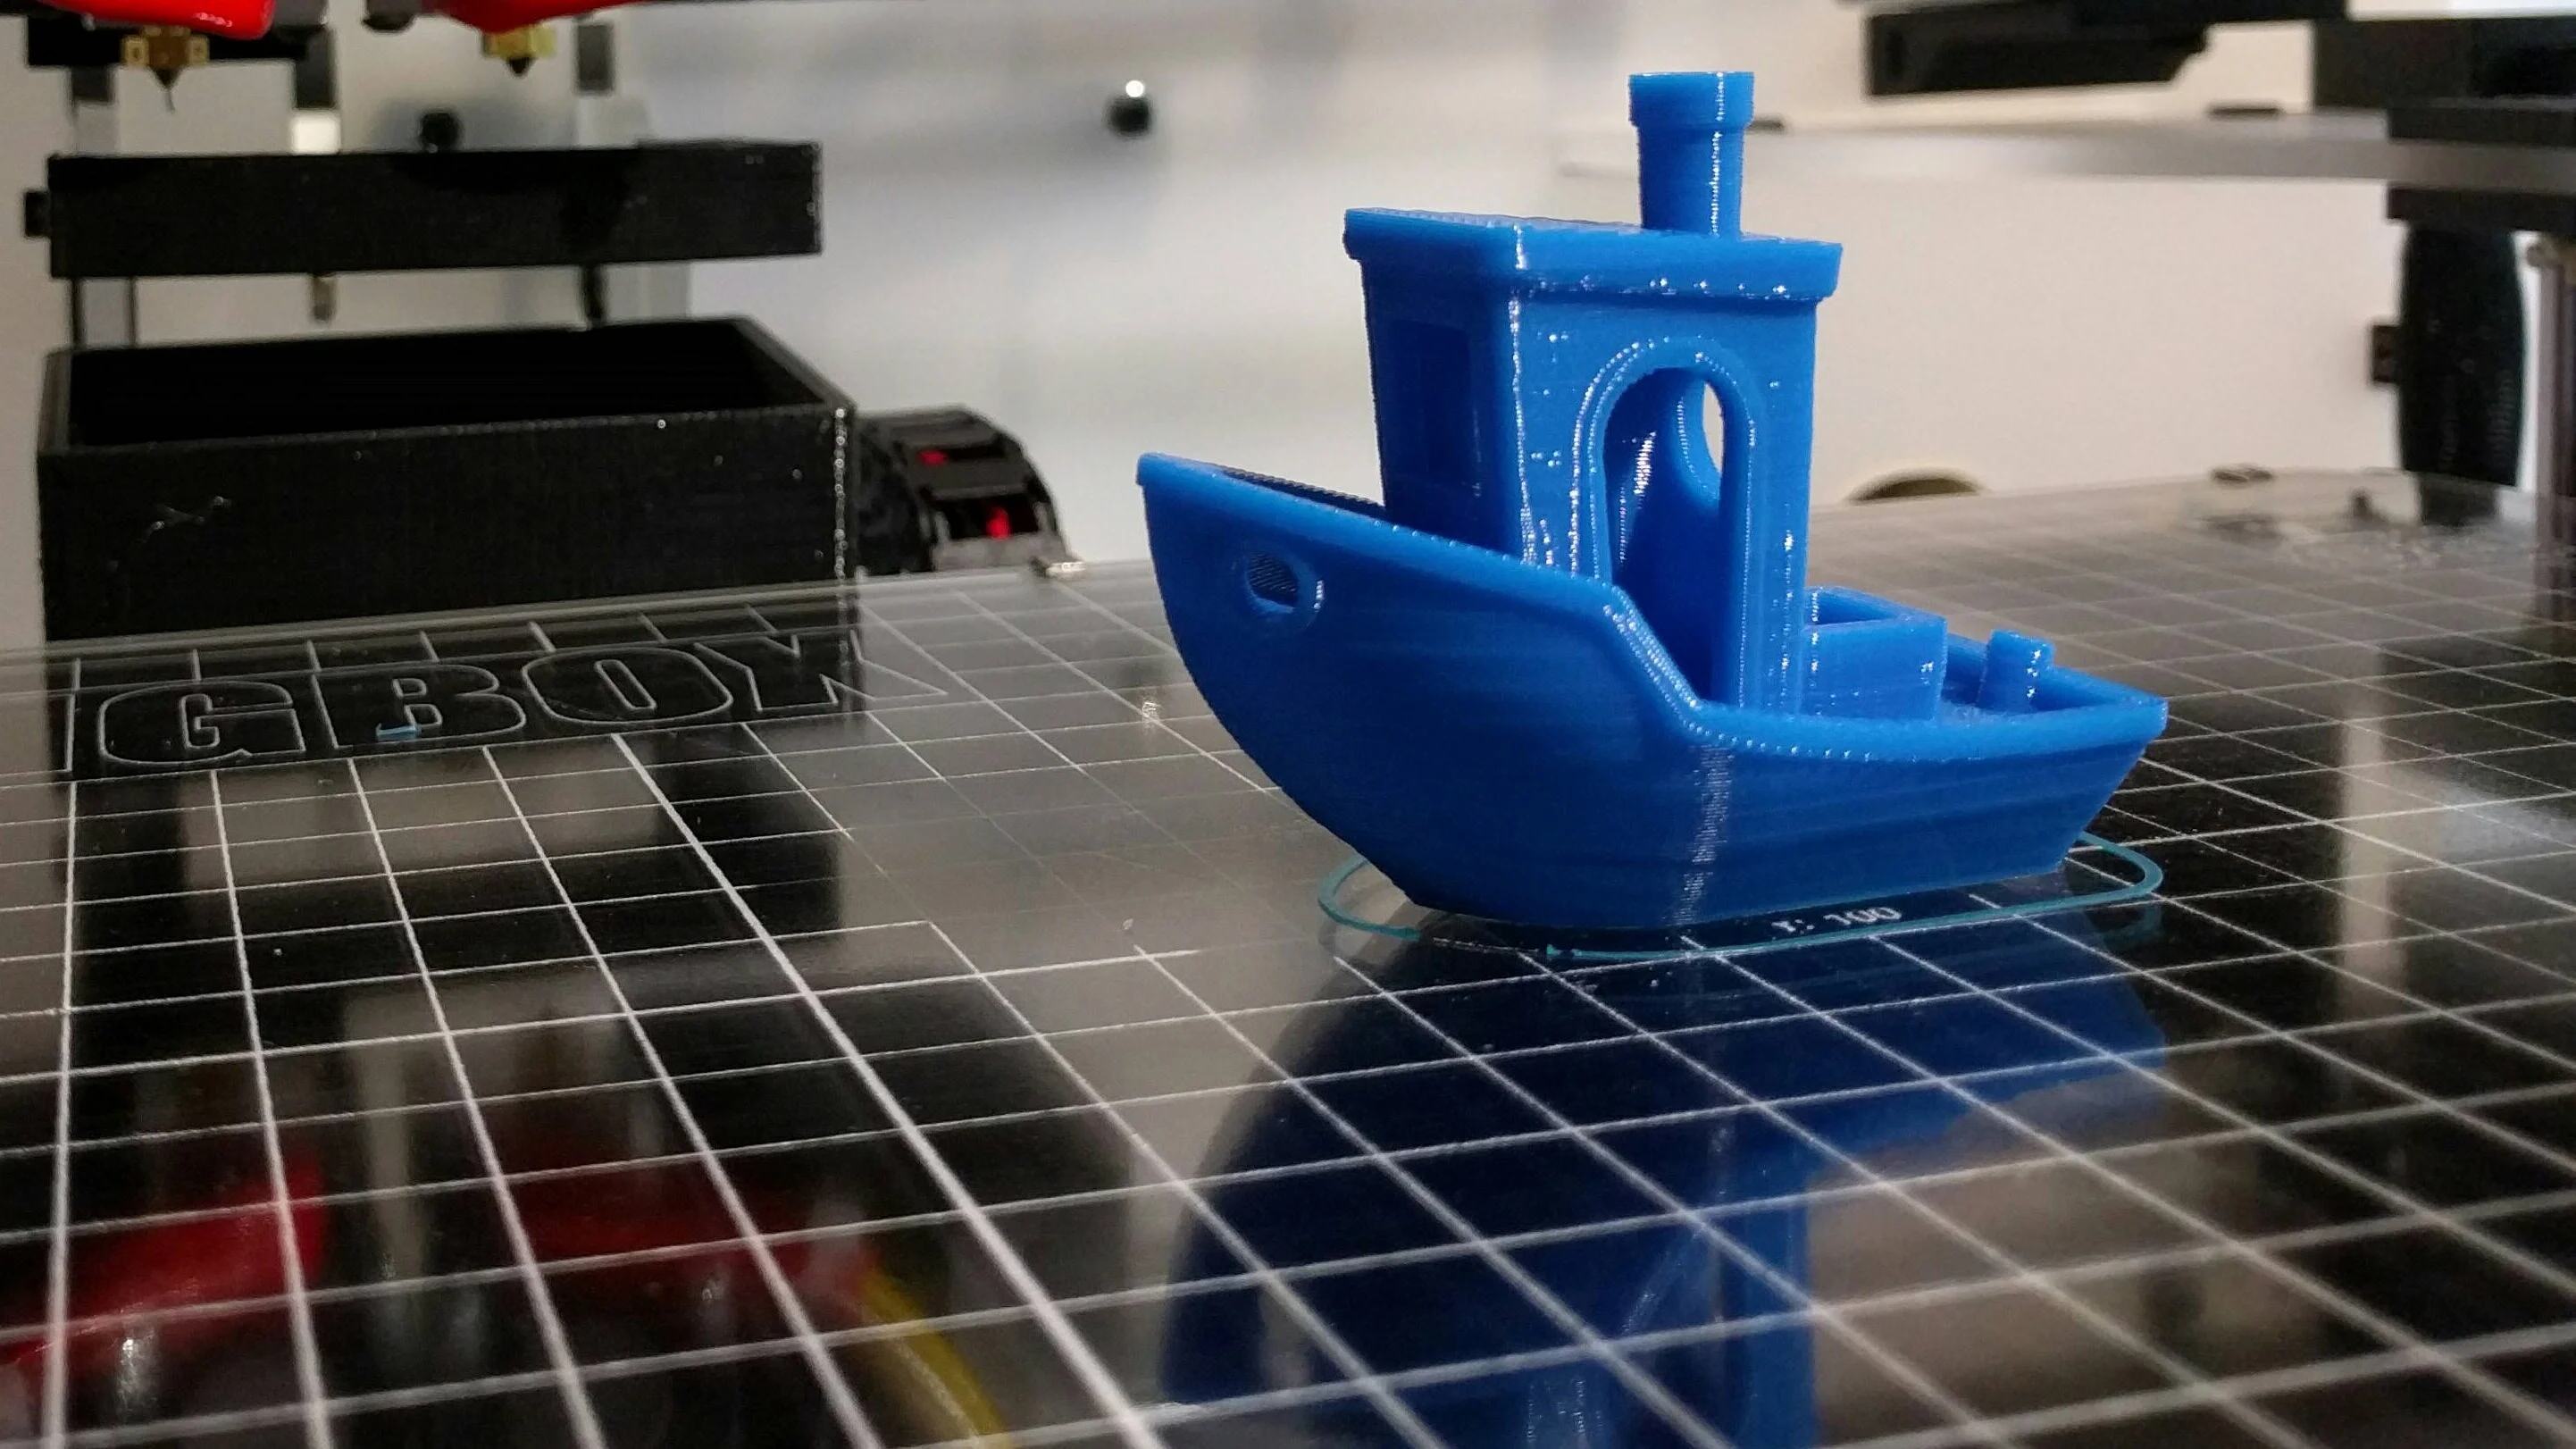
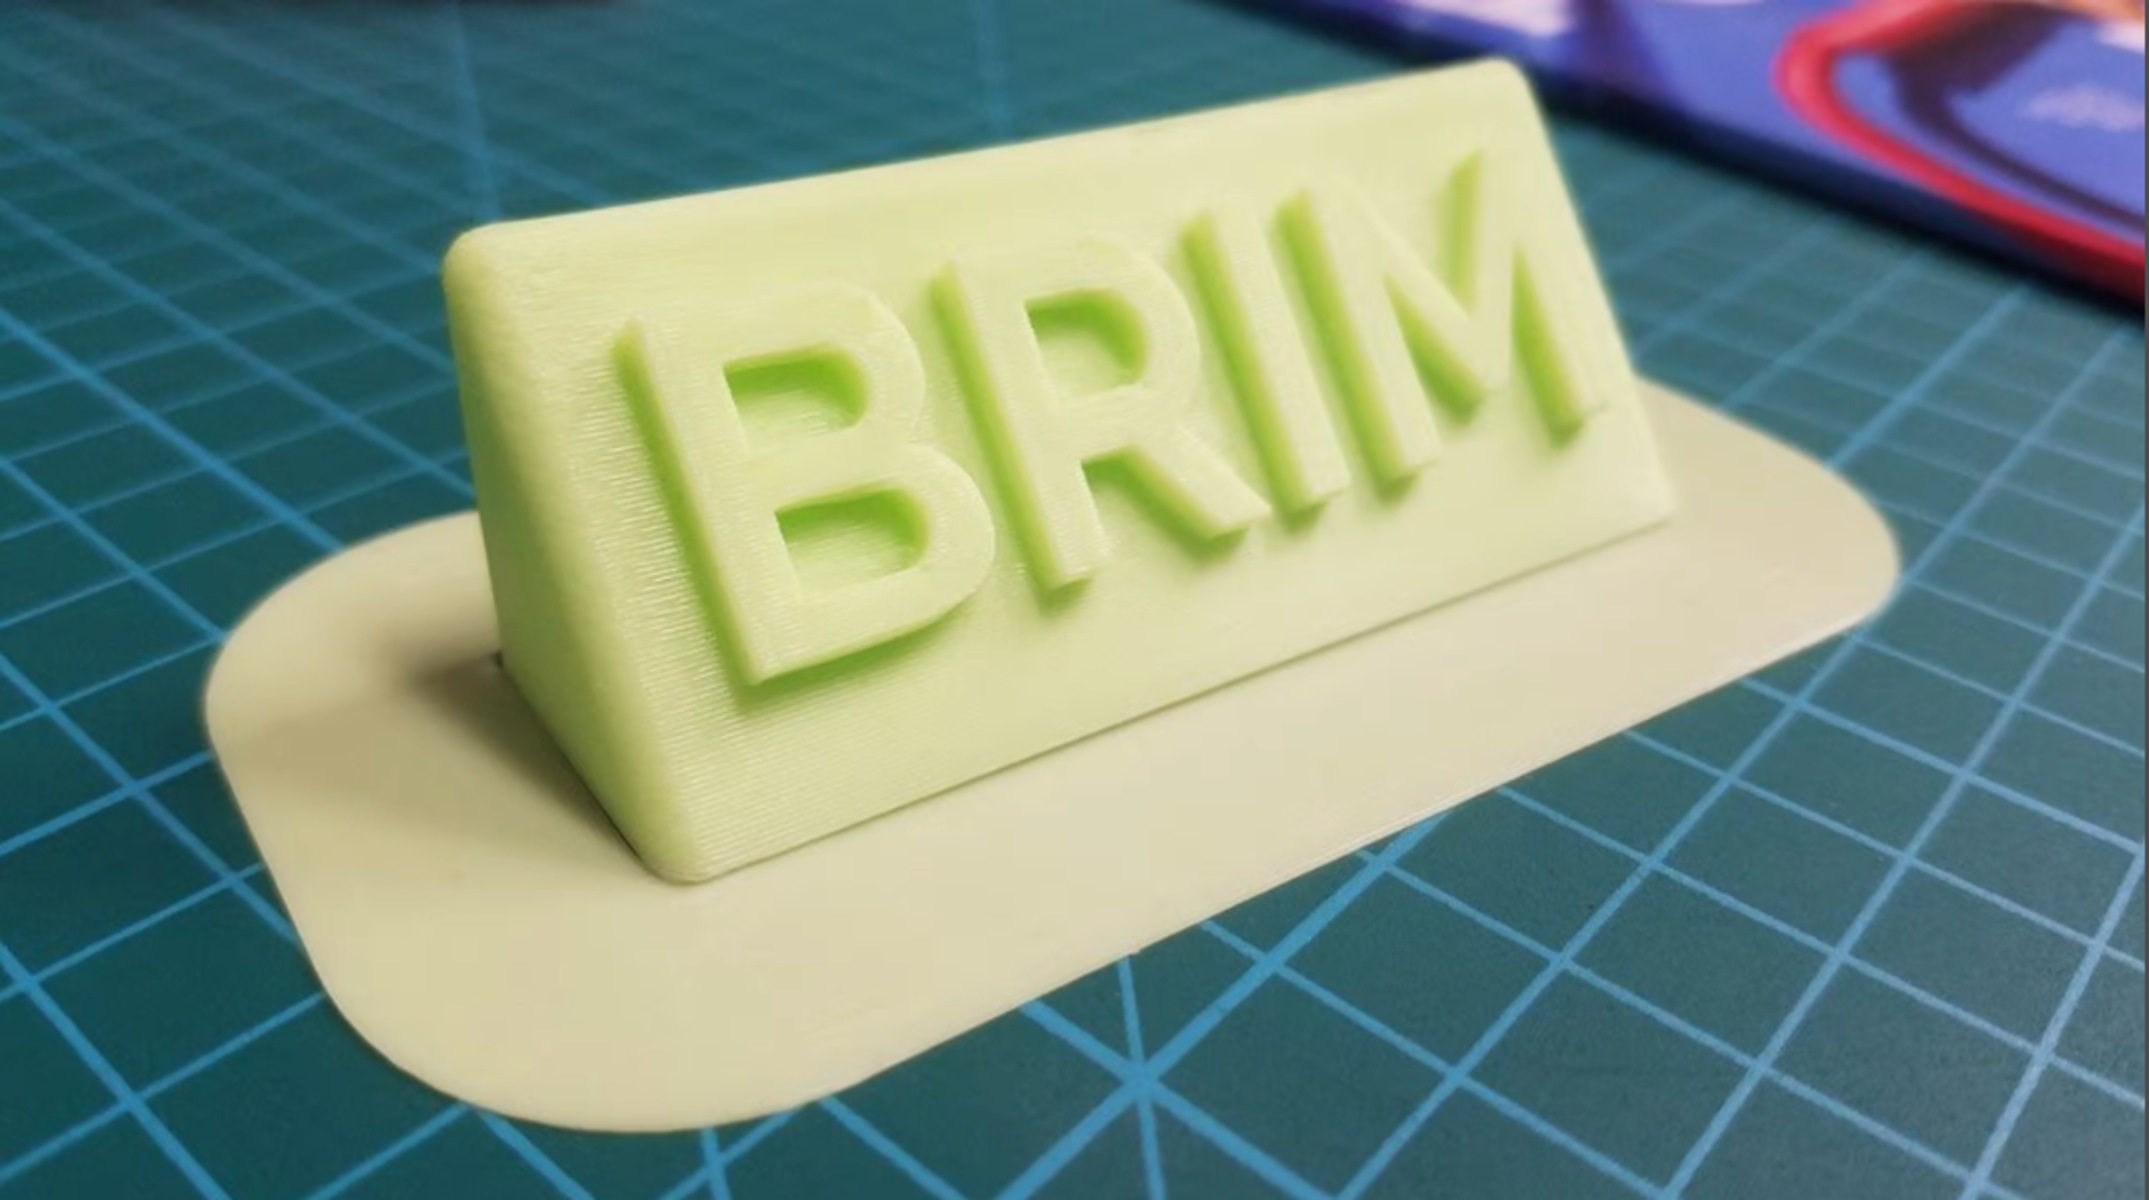
A brim is a thin layer of material that is added to the base of a 3D printed object. It extends outward from the object, creating a wider area of contact with the print surface. The purpose of the brim is to enhance adhesion and stability during the printing process.
In the next sections, we’ll explore why using a brim in 3D printing is important, how to add a brim in 3D printing software, and the benefits of using a brim. We’ll also provide some helpful tips for using a brim effectively to improve your 3D printing results. So, let’s dive in and uncover the role of the brim in the fascinating world of 3D printing!
What is 3D Printing
3D printing, also known as additive manufacturing, is a cutting-edge technology that enables the creation of three-dimensional objects from digital designs. It differs from traditional manufacturing methods by building objects layer by layer, using materials such as plastic, resin, or metal, rather than subtracting or molding them.
The process of 3D printing begins with a digital 3D model, which can be created using specialized computer-aided design (CAD) software or obtained from online repositories. This digital model is sliced into layers, and each layer serves as a blueprint for the 3D printer.
Once the digital model is ready, the 3D printer translates it into a physical object by depositing or curing material, layer by layer. The printer follows the instructions provided by the digital model, precisely positioning the nozzle or the laser to create the desired shape. The material used in 3D printing is typically in the form of filaments, liquid polymer, or metal powder.
There are various types of 3D printers available, ranging from desktop printers suitable for home use to industrial-grade machines used in large-scale manufacturing. Each printer’s capabilities and specifications may vary, but they all share the common goal of turning digital designs into physical objects with remarkable precision and detail.
The applications of 3D printing are wide-ranging and diverse. It has been embraced by industries such as aerospace, automotive, healthcare, architecture, fashion, and consumer goods, just to name a few. In manufacturing, 3D printing allows for rapid prototyping, reducing time and costs associated with traditional prototyping processes. It also enables customization, as objects can be easily tailored to specific needs or requirements.
Beyond industrial applications, 3D printing has also been a game-changer for hobbyists, artists, and educators. It provides a creative outlet for designers, allowing them to explore complex geometries and produce intricate objects. Additionally, 3D printing has become an educational tool, introducing students to STEM fields and fostering innovation and problem-solving skills.
What sets 3D printing apart is not only its ability to create physical objects, but also the freedom and versatility it offers. With 3D printing, complex designs that were once considered impractical or impossible are now within reach. It has opened doors to endless possibilities, enabling individuals and businesses to bring their ideas to life in a tangible form.
How 3D Printing Works
3D printing, also known as additive manufacturing, is a transformative technology that turns digital designs into three-dimensional objects. This innovative process is achieved by building objects layer by layer, using various materials such as plastics, resins, or metals.
The journey of a 3D printed object begins with a digital 3D model, which can be created using computer-aided design (CAD) software or obtained from online platforms. This digital model serves as the blueprint for the 3D printer, guiding it on how to construct the physical object.
Once the digital model is ready, it is sliced into thin layers, each representing a cross-section of the final object. These layers typically range from 0.05mm to several millimeters in thickness, depending on the desired level of detail and the capabilities of the 3D printer.
The 3D printer then interprets each layer and begins the printing process. There are several different technologies and techniques employed in 3D printing, including:
Fused Deposition Modeling (FDM): This is one of the most common 3D printing techniques. It involves feeding a continuous filament of plastic material, such as PLA or ABS, into a heated nozzle. The nozzle melts the filament, which is then extruded layer by layer onto the build plate. As the material cools, it solidifies, forming the object.
Stereolithography (SLA): SLA utilizes a liquid resin that is cured by a UV light source, selectively solidifying the resin layer by layer. The build platform gradually moves upwards as each layer is cured, resulting in a fully formed object once the printing is complete.
Selective Laser Sintering (SLS): In SLS, a laser is used to selectively fuse powdered material, usually plastics or metals, into solid layers. The untouched powder acts as support, allowing complex geometries to be created without the need for additional support structures.
After the printing process is complete, the 3D printed object may require additional post-processing to achieve the desired finish or functionality. This can include removing support structures, sanding or polishing the surface, and applying coatings or paints.
3D printing offers numerous advantages over traditional manufacturing methods. It allows for intricate designs with complex geometries that would be difficult or impossible to produce using traditional methods. It reduces waste, as only the necessary material is used in the printing process. It also enables rapid prototyping, allowing for quick iteration and refinement of designs.
While 3D printing has made significant advancements in recent years, there are still limitations, such as material selection, printing speed, and printing size constraints. However, ongoing research and development in the field are constantly pushing the boundaries and expanding the possibilities of 3D printing technology.
The Importance of Adhesion in 3D Printing
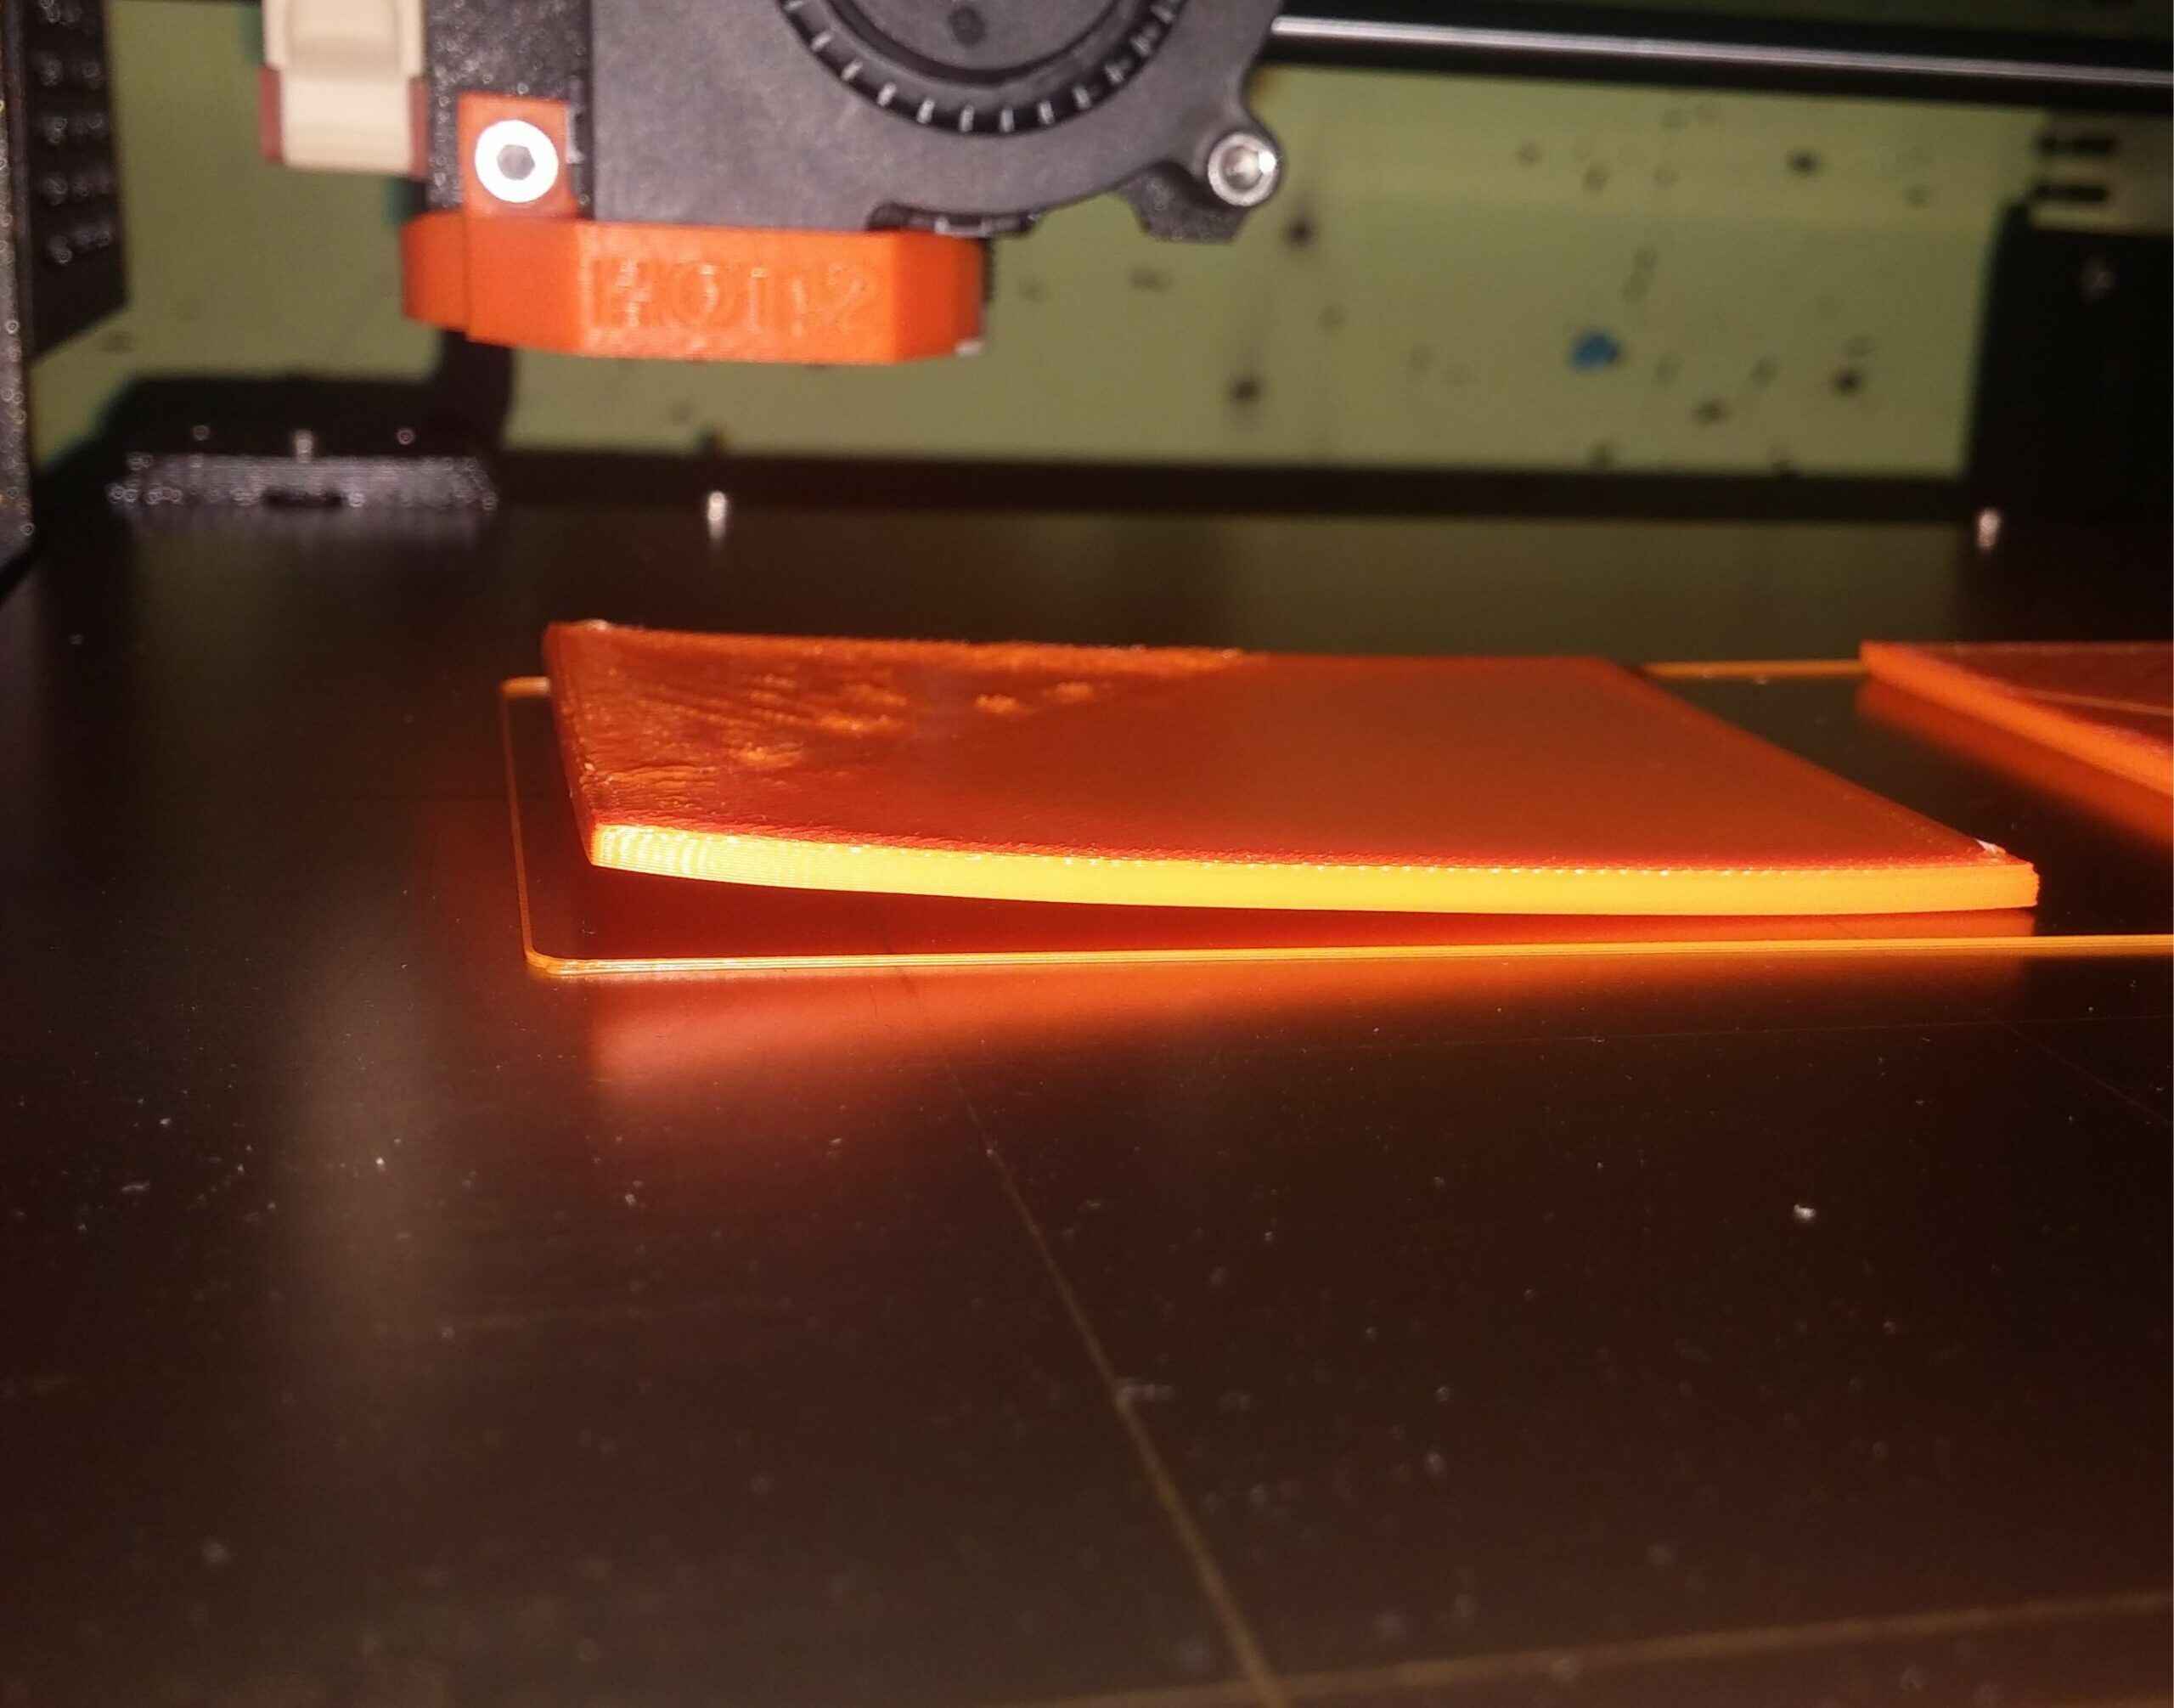
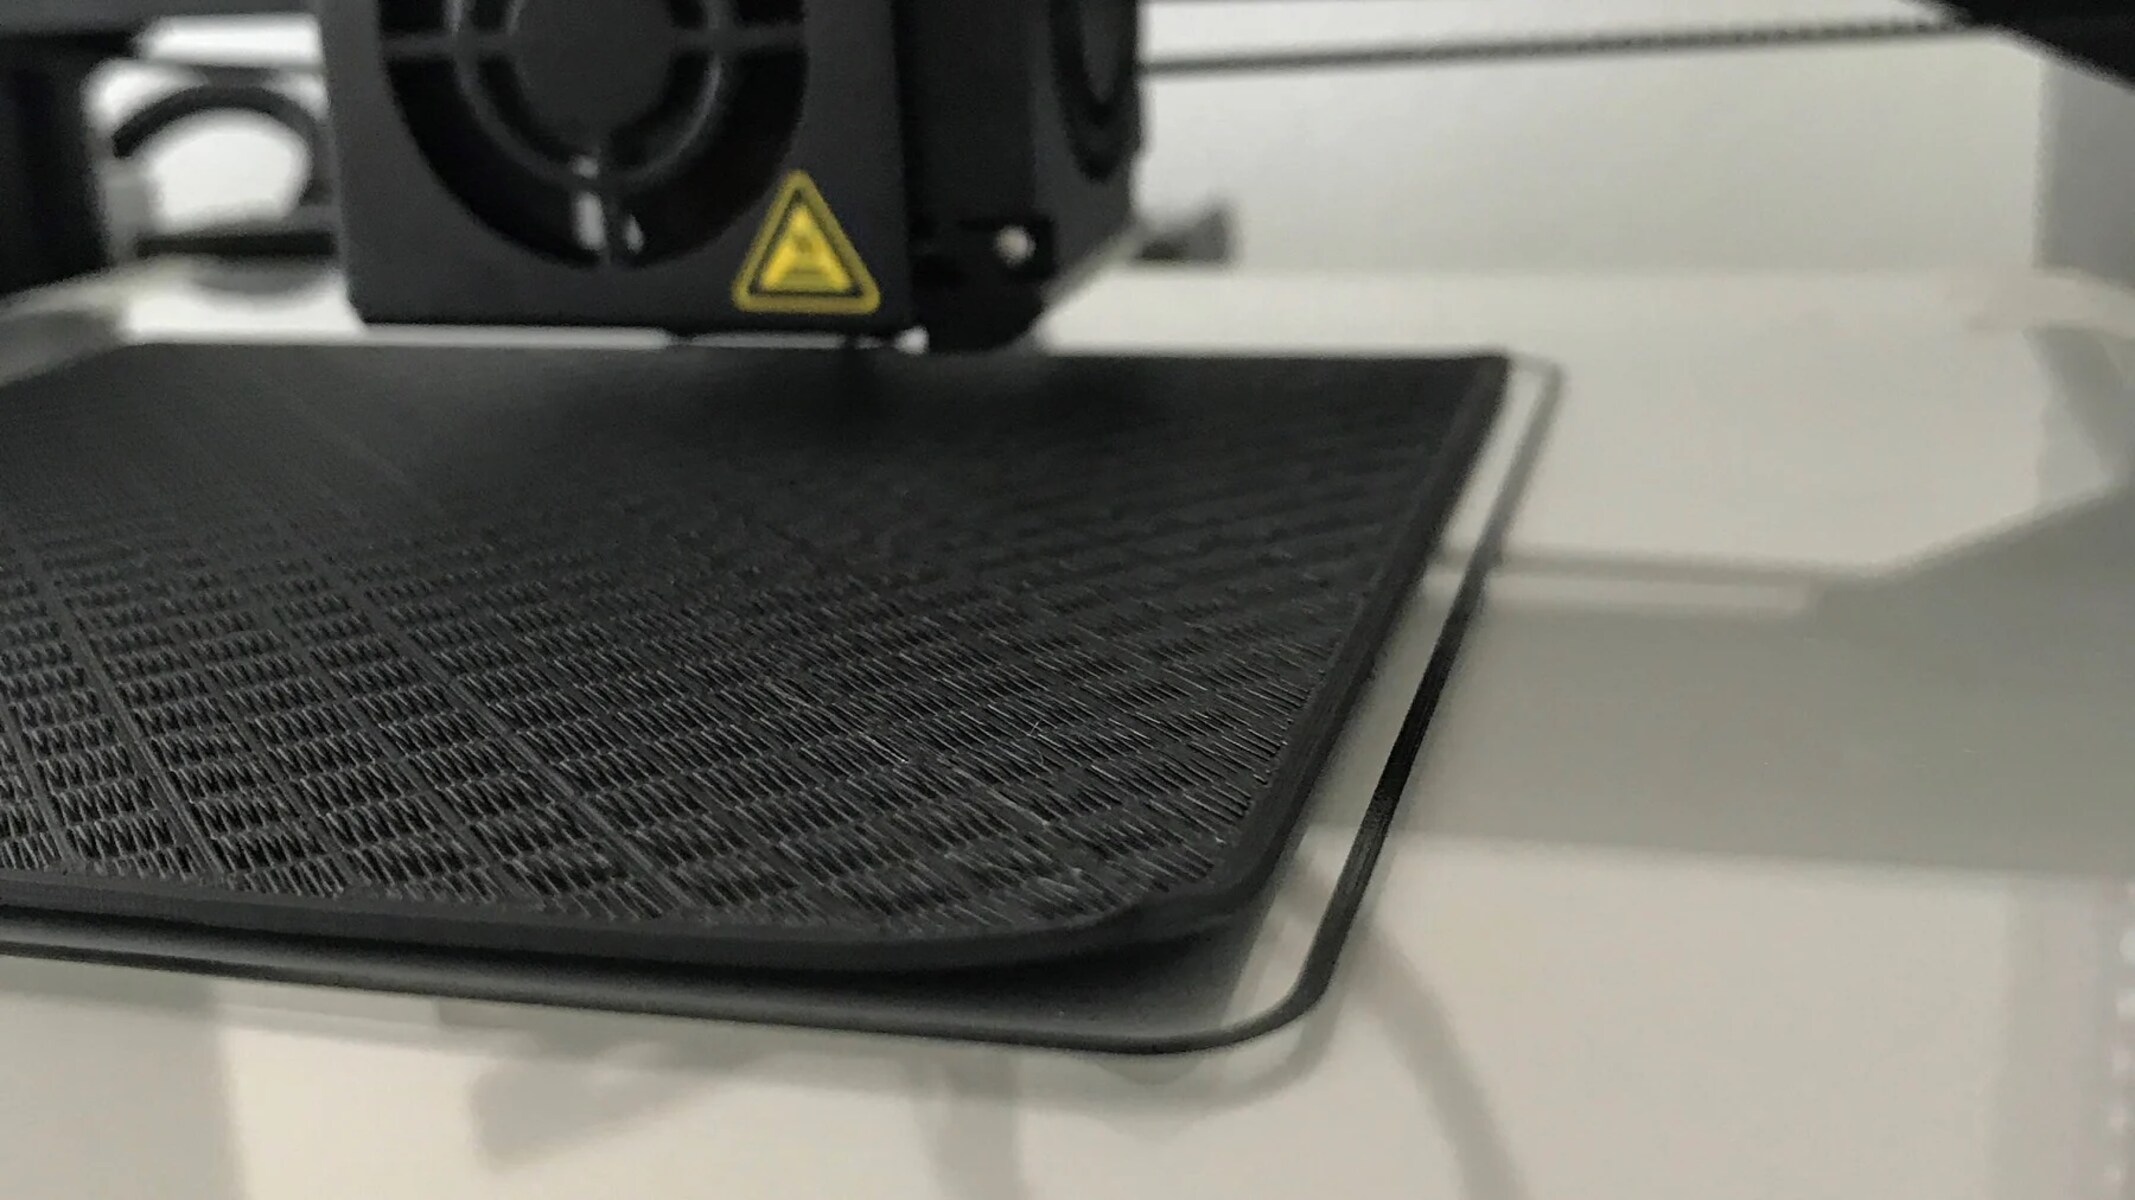
Adhesion plays a crucial role in the success of 3D printing. Without proper adhesion, the printed object may fail to adhere to the print surface, leading to warping, detachment, or misalignment during the printing process. This can result in a failed print and wasted time, material, and effort.
Adhesion refers to the ability of the printed object to firmly stick to the print surface throughout the printing process. It ensures that each new layer adheres securely to the previous layer, creating a solid and structurally sound object.
There are several factors that contribute to adhesion in 3D printing:
Print Surface: The choice of print surface material is essential. Most commonly used print surfaces include glass, BuildTak, or painter’s tape. These surfaces provide a smooth and flat base for the object to adhere to. Selecting the appropriate print surface for the type of material being used is vital for achieving good adhesion.
Leveling: Ensuring that the printer bed is properly leveled is crucial for maintaining consistent adhesion throughout the printing process. A level bed ensures that the first layer of the print is evenly deposited and adheres properly to the print surface.
Cleanliness: A clean print surface is essential for good adhesion. Dust, oils, or leftover filament remnants can hinder the object’s ability to stick to the print surface. Regularly cleaning the print surface and removing any debris or residue is essential for achieving optimal adhesion.
Temperature Settings: Different materials have specific temperature requirements for optimal adhesion. Adjusting the print bed and extruder temperatures to the recommended settings for the material being used helps improve adhesion. For example, some materials may require a heated build plate to prevent warping.
The use of a brim is a popular technique to enhance adhesion in 3D printing. A brim is a thin layer of material that extends outward from the base of the object, creating a wider area of contact with the print surface. It increases the surface area that adheres to the print surface, providing more stability and reducing the chances of the print detaching or warping.
Proper adhesion ensures that the printed object is securely anchored to the print surface, resulting in a successful print job. It promotes accuracy and precision, allowing for complex designs with overhangs or intricate details to be printed successfully.
Understanding and managing adhesion is crucial for achieving high-quality prints. Experimenting with different adhesion techniques, such as adjusting bed temperature, using adhesive sprays, or applying specialized adhesion sheets, can help optimize adhesion for specific materials and printing scenarios.
By prioritizing adhesion in 3D printing, you can significantly improve print success rates, reduce print failure, and ultimately achieve superior 3D printed objects.
What is a Brim
In the context of 3D printing, a brim refers to a thin layer of material that is added to the base of a 3D printed object. It extends outward from the object in a flat, sheet-like shape, creating a wider area of contact with the print surface.
The purpose of a brim is to enhance adhesion and stability during the printing process. By increasing the surface area that adheres to the print surface, a brim helps prevent the print from detaching or warping, especially for objects with a small footprint or with overhangs that might otherwise cause the print to fail.
Unlike a raft or a skirt, which are other types of adhesion structures used in 3D printing, a brim is directly connected to the object being printed. It is usually created by extruding or depositing the same material as the object itself, ensuring a seamless transition between the brim and the object.
The size and thickness of a brim can vary depending on the specific needs of the print. Typically, the width of a brim ranges from a few millimeters to several centimeters, while the thickness is usually kept relatively thin, around 0.1mm to 0.3mm. The size of the brim can be adjusted in the slicing software used for preparing the print.
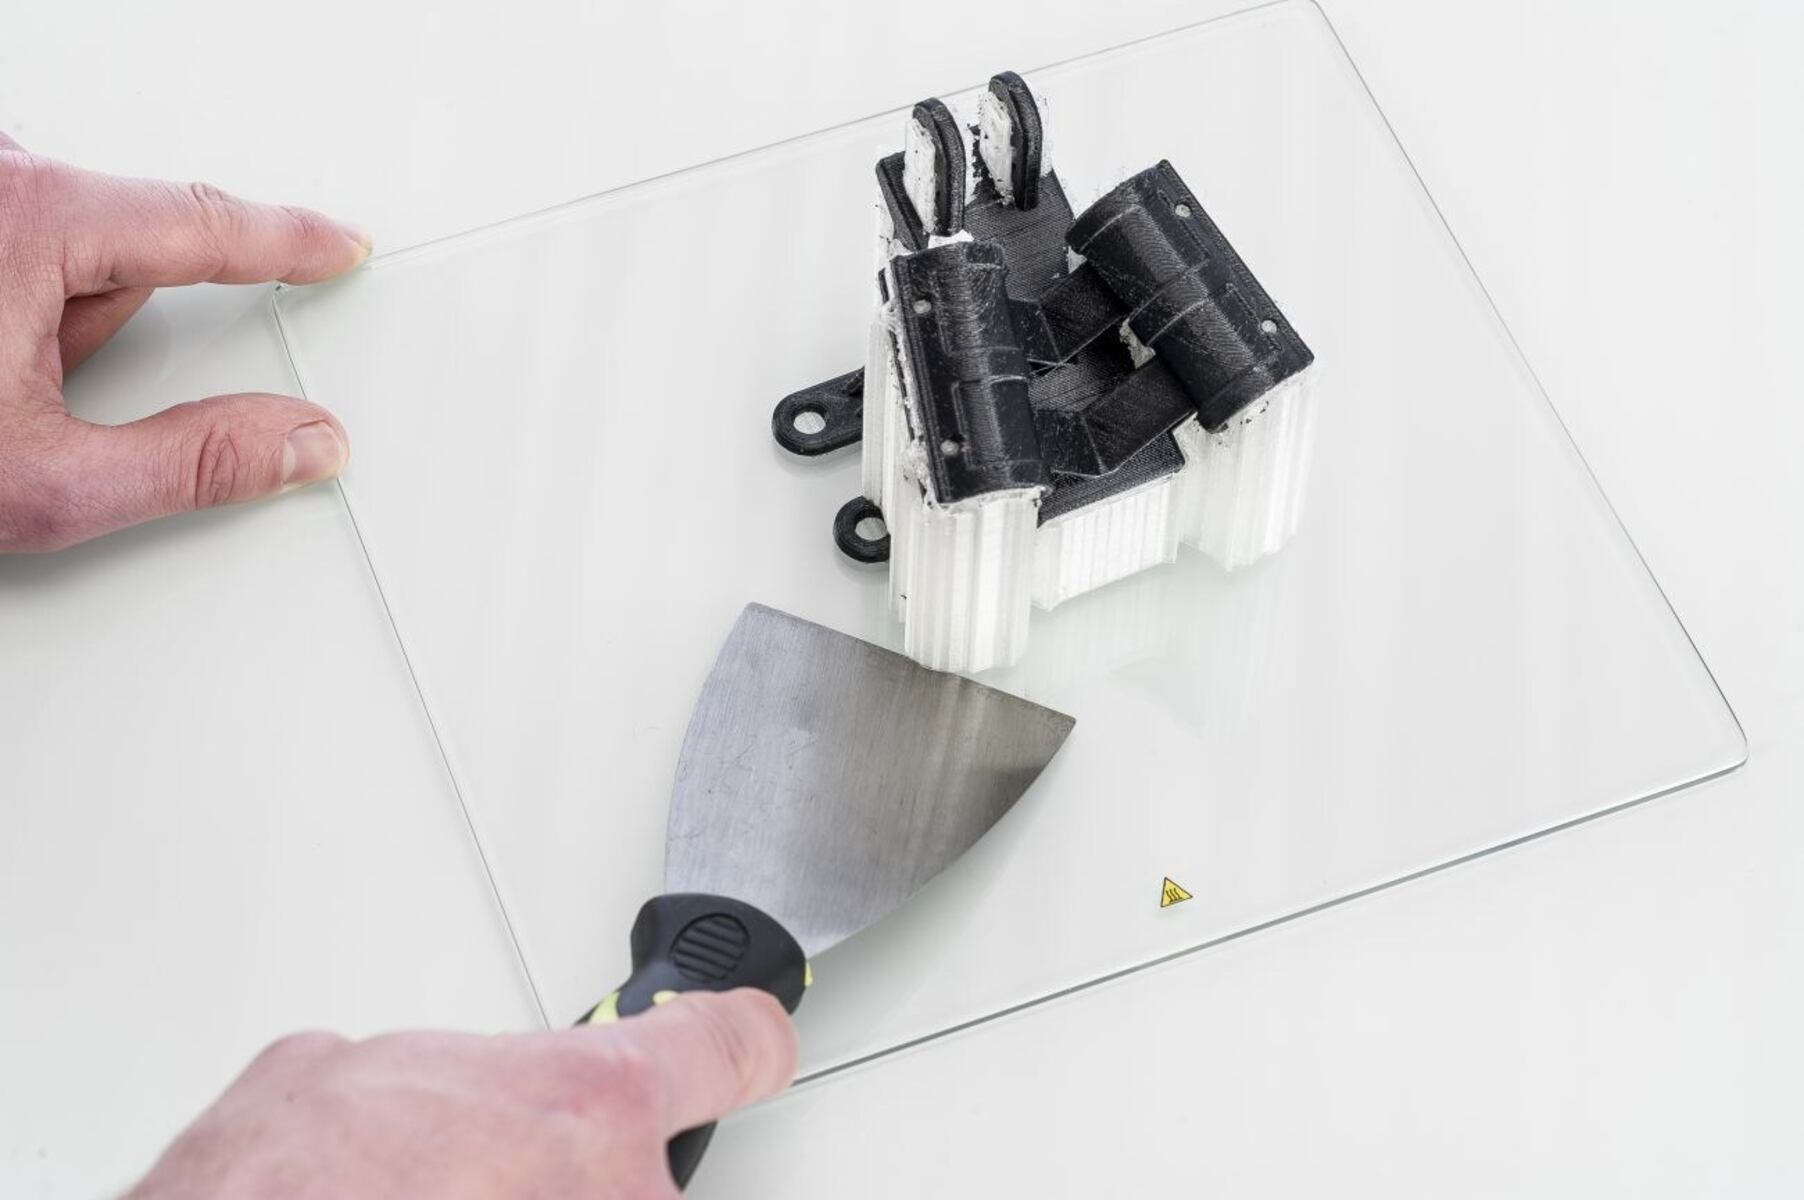
A brim serves as a sacrificial layer as it is easily removed once the print is complete. It can be peeled away or trimmed off using a knife or a pair of scissors. Since the brim is connected to the object, any remnants left on the object can be easily cleaned or sanded away, leaving behind a clean and finished surface.
Adding a brim to your 3D printing process is particularly useful when working with materials prone to warping, such as ABS or nylon. These materials tend to shrink as they cool down, which can lead to detachment from the print surface. A brim provides additional adhesion and acts as a support structure for the object, preventing warping and promoting successful prints.
It’s worth noting that a brim may not be necessary for every print. Small or simple objects with a large enough base may have sufficient adhesion without the need for a brim. However, for prints with a small contact area or intricate designs, using a brim can greatly increase the chances of a successful print.
In the next sections, we’ll explore why using a brim in 3D printing is important, how to add a brim in 3D printing software, and the benefits of using a brim. So, let’s continue our exploration of the role of the brim in the exciting world of 3D printing!
Why Use a Brim in 3D Printing
Using a brim in 3D printing offers several benefits that contribute to successful prints and improved overall print quality. Let’s explore why incorporating a brim into your printing process can be advantageous.
Enhanced Adhesion: The primary reason for using a brim is to improve adhesion between the print surface and the object being printed. By increasing the surface area in contact with the print surface, the brim provides additional stability, preventing the print from detaching or warping during the printing process. This is particularly useful for prints with a small base or complex geometries.
Reduced Warping and Curling: Certain materials, such as ABS or nylon, have a tendency to warp or curl as they cool down. This can lead to failed prints or objects with distorted shapes. The brim acts as a support structure, absorbing some of the forces that cause warping and curling, thus helping to maintain the integrity of the print.
Improved Print Accuracy: A brim can help improve the accuracy and precision of your prints. It provides a wider base of support, reducing the chances of the print shifting or becoming misaligned during the printing process. This is particularly important for objects with delicate or intricate details.
Easy Removal and Cleanup: Since the brim is a sacrificial layer, it can be easily removed once the print is complete. It can be peeled away or trimmed off with minimal effort, leaving behind a clean and finished object. Any remnants left on the object can be easily cleaned or sanded away, ensuring a polished final result.
Compatible with Various Printing Materials: The use of a brim is compatible with a wide range of 3D printing materials. Whether you are printing with PLA, ABS, PETG, or other commonly used filaments, a brim can be added to enhance adhesion and improve print outcomes.
Increased Print Success Rate: Incorporating a brim into your printing process can significantly increase the success rate of your prints. By providing a stable foundation and minimizing the risks of detachment or warping, a brim helps to ensure that your prints come out as intended and minimizes the number of failed prints.
While using a brim may add a little extra printing time and material usage, the benefits it offers in terms of improved adhesion and print quality make it a worthwhile technique. It is especially valuable when working with challenging materials or complex designs.
In the next sections, we’ll explore how to add a brim in 3D printing software and provide some tips for using a brim effectively. So, let’s continue our exploration of the role and application of the brim in the exciting world of 3D printing!
How to Add a Brim in 3D Printing Software
Adding a brim to your 3D printed object is a straightforward process that can be accomplished using various slicing software programs. Slicing software is used to prepare the digital 3D model for printing, allowing you to adjust settings and generate the necessary instructions for the printer.
Here are the general steps to add a brim in 3D printing software:
- Import your 3D model: Start by importing your digital 3D model into the slicing software. The software will analyze the model and prepare it for the printing process.
- Select brim settings: Look for the settings or options related to the brim. This can typically be found under the “Adhesion” or “Support” settings. Depending on the software, you should be able to adjust the width and number of brim lines.
- Adjust brim width and thickness: Determine the desired width and thickness of the brim. The width refers to the distance the brim extends from the object, while the thickness refers to the layer height of the brim. Adjust these settings to suit your specific print requirements.
- Apply and slice the model: Once you have defined the brim settings, apply them to the model and proceed to slice the model. This process generates the G-code, which contains the instructions for the 3D printer, including the brim structure.
- Preview and save the sliced file: Review the sliced model preview to ensure that the brim is generated as intended. Make any necessary adjustments if needed. Once satisfied, save the sliced file to the appropriate format (.gcode) ready for printing.
It’s important to note that the exact steps and terminology may vary depending on the slicing software you are using. Popular slicing software options include Ultimaker Cura, PrusaSlicer, Simplify3D, and Slic3r. Consult the software’s documentation or online resources for specific instructions related to brim settings.
Keep in mind that the addition of a brim in the slicing software may increase the overall print time and material usage. Consider adjusting other settings, such as infill density or layer height, to optimize printing speed and material consumption while still ensuring a successful print.
By incorporating a brim into your 3D printing workflow using slicing software, you can enhance adhesion and improve the overall print quality, ensuring a successful and stable print throughout the printing process.
Benefits of Using a Brim in 3D Printing
The use of a brim in 3D printing offers several benefits that contribute to successful prints and improved overall print quality. Let’s explore the advantages of incorporating a brim into your printing process.
Enhanced Adhesion: One of the primary benefits of using a brim is improved adhesion between the print surface and the object being printed. By increasing the surface area in contact with the print surface, the brim provides additional stability, preventing the print from detaching or warping during the printing process.
Reduced Warping and Curling: Certain materials, such as ABS or nylon, have a tendency to warp or curl as they cool down. The brim acts as a support structure, absorbing some of the forces that cause warping and curling. This helps to maintain the integrity of the print and reduces the risk of print failure.
Improved Print Accuracy: A brim helps improve the accuracy and precision of your 3D prints. It provides a wider base of support, reducing the chances of the print shifting or becoming misaligned during the printing process. This is particularly important for objects with delicate or intricate details.
Easy Removal and Cleanup: Since the brim is a sacrificial layer, it can be easily removed once the print is complete. It can be peeled away or trimmed off with minimal effort, leaving behind a clean and finished object. Any remnants left on the object can be easily cleaned or sanded away, ensuring a polished final result.
Compatible with Various Printing Materials: The use of a brim is compatible with a wide range of 3D printing materials. Whether you are printing with PLA, ABS, PETG, or other commonly used filaments, incorporating a brim can enhance adhesion and improve print outcomes.
Increased Print Success Rate: By using a brim, you can significantly increase the success rate of your prints. The improved adhesion and stability provided by a brim help to minimize print failures due to lifting, warping, or detachment during the printing process.
Overall, the use of a brim in 3D printing is a valuable technique that can greatly enhance the success and quality of your prints. It provides improved adhesion, reduces warping, enhances accuracy, and facilitates easy removal and cleanup. Whether you’re a beginner or an experienced 3D printer, incorporating a brim into your printing process is a worthwhile strategy to achieve high-quality and reliable prints.
Tips for Using a Brim Effectively
Using a brim can significantly enhance the stability and adhesion of your 3D prints. To ensure effective utilization of a brim, consider the following tips:
- Adjust brim width and thickness: Experiment with different brim widths and thicknesses to find the optimal settings for your prints. A wider brim provides more surface area for adhesion, while a thicker brim can offer added stability. However, keep in mind that a thicker brim might also increase print time and material usage.
- Properly level the print bed: Achieving a level print bed is essential when using a brim. An uneven or tilted bed can negatively impact the brim’s effectiveness and overall print quality. Regularly check and calibrate the print bed to ensure it is level before each print.
- Clean the print surface: Ensure that the print surface is clean and free from dust, oils, or residues. A clean surface promotes better adhesion between the brim and the print surface. Regularly clean the print bed and remove any debris to avoid print issues.
- Consider alternating brim patterns: Some slicing software allows you to choose different brim patterns, such as zigzag, lines, or concentric circles. Experiment with different patterns to find the one that provides optimal adhesion and minimizes the risk of warping or detachment.
- Use adhesive solutions: If you are still experiencing issues with adhesion, consider using adhesive solutions specifically designed for 3D printing. This can include adhesive sprays, glue sticks, or specialized adhesion sheets. These solutions can enhance the bond between the brim and the print surface, ensuring better adhesion throughout the print.
- Plan for cleanup: When removing the brim after the print is complete, take care not to damage the object. Use a sharp knife, scissors, or pliers to carefully trim or peel away the brim. Depending on the material used, consider sanding or smoothing any remnants left by the brim to achieve a finished appearance.
- Experiment and iterate: Every 3D printer and filament combination may respond differently to using a brim. Don’t be afraid to experiment with different settings and iterate on your prints to find what works best for your specific setup and requirements.
By following these tips, you can effectively use a brim in your 3D printing process to achieve improved adhesion, reduce warping, and increase the success rate of your prints. Experimentation and fine-tuning of the brim settings will allow you to find an optimal balance between stability and print quality.
Conclusion
3D printing continues to revolutionize the way we create, innovate, and manufacture. The use of a brim in 3D printing is a valuable technique that enhances adhesion, reduces warping, and improves overall print quality. By increasing the surface area in contact with the print surface, a brim provides stability and prevents detachment or misalignment during the printing process.
Understanding the importance of adhesion in 3D printing is crucial, as it ensures that the printed object firmly adheres to the print surface, resulting in successful prints. Using a brim effectively contributes to enhanced adhesion, reduced warping, improved print accuracy, and increased overall print success rates.
To incorporate a brim into your 3D printing workflow, adjust the brim width and thickness in slicing software, ensure the print bed is level, keep the print surface clean, and consider using adhesive solutions if needed. Additionally, exploring different brim patterns and planning for proper brim removal and cleanup are essential for achieving the desired print quality.
By implementing these tips and techniques, you can optimize the benefits of using a brim in 3D printing. Enjoy the advantages of improved adhesion, minimized warping, and enhanced stability for your 3D printed objects.
3D printing continues to push the boundaries of creativity and innovation. As the technology evolves, the use of techniques like a brim ensures that we can achieve remarkable results with speed, precision, and reliability. So, embrace the world of 3D printing, explore the possibilities, and let your imagination come to life in three dimensions!