Introduction
Welcome to the fascinating world of 3D printing! Whether you’re a seasoned enthusiast or just starting your journey, one crucial aspect of 3D printing that can make or break your prints is the quality of the first layer. The first layer sets the foundation for the rest of your print, so it’s essential to ensure it adheres well to the build surface and is evenly deposited.
Getting a good first layer can be a challenge, but fear not! In this article, we’ll explore various techniques and tips that will help you achieve that perfect first layer every time. From selecting the right bed surface to fine-tuning your slicer settings, we’ll cover everything you need to know to optimize your 3D prints.
So why is the first layer so important? Well, it plays a vital role in determining the overall quality and success of your print. A well-adhered and accurately deposited first layer provides a sturdy base for subsequent layers, resulting in better interlayer adhesion and overall print stability. On the other hand, a poorly leveled or improperly set first layer may lead to issues such as warping, poor adhesion, and even print failure.
By following the techniques outlined in this article, not only will you enhance the look and strength of your prints, but you’ll also minimize the chances of encountering common issues like layer separation, curling, or uneven surfaces.
Now, let’s dive into the details and discover how you can achieve that perfect first layer for your 3D prints.
Understanding the Importance of a Good First Layer
When it comes to 3D printing, the first layer is the foundation upon which the rest of your print is built. It serves as the groundwork, ensuring that subsequent layers adhere properly and form a strong, solid structure. Understanding the significance of a good first layer is crucial in achieving high-quality prints.
One of the primary reasons why a good first layer is essential is adhesion. The first layer needs to stick firmly to the build surface to prevent any shifting or warping during the printing process. Poor adhesion can result in a print that detaches from the bed or becomes misaligned, leading to a failed print.
Another vital aspect is ensuring an even and consistent first layer deposition. The thickness and uniformity of the first layer have a direct impact on the overall print quality. An uneven first layer can lead to inconsistencies in subsequent layers, resulting in a visually unappealing print with potential weaknesses.
In addition to ensuring adhesion and layer consistency, a good first layer also helps prevent issues such as filament clogs or nozzle jams. Properly leveled and calibrated print beds help maintain the optimum distance between the nozzle and the bed. This eliminates the risk of the nozzle being too close or too far, which can cause filament flow problems or obstruction.
Furthermore, a well-executed first layer enhances the print’s overall finish and aesthetics. A smooth and level first layer creates a solid base, allowing subsequent layers to be built up without any distortions or imperfections. This results in a visually pleasing print that showcases the intricate details and layers of your design.
In summary, the first layer of a 3D print is crucial for achieving successful and high-quality prints. It ensures proper adhesion, layer consistency, and overall print stability. By understanding and prioritizing the importance of a good first layer, you can significantly improve your 3D printing results and enhance the overall printing experience.
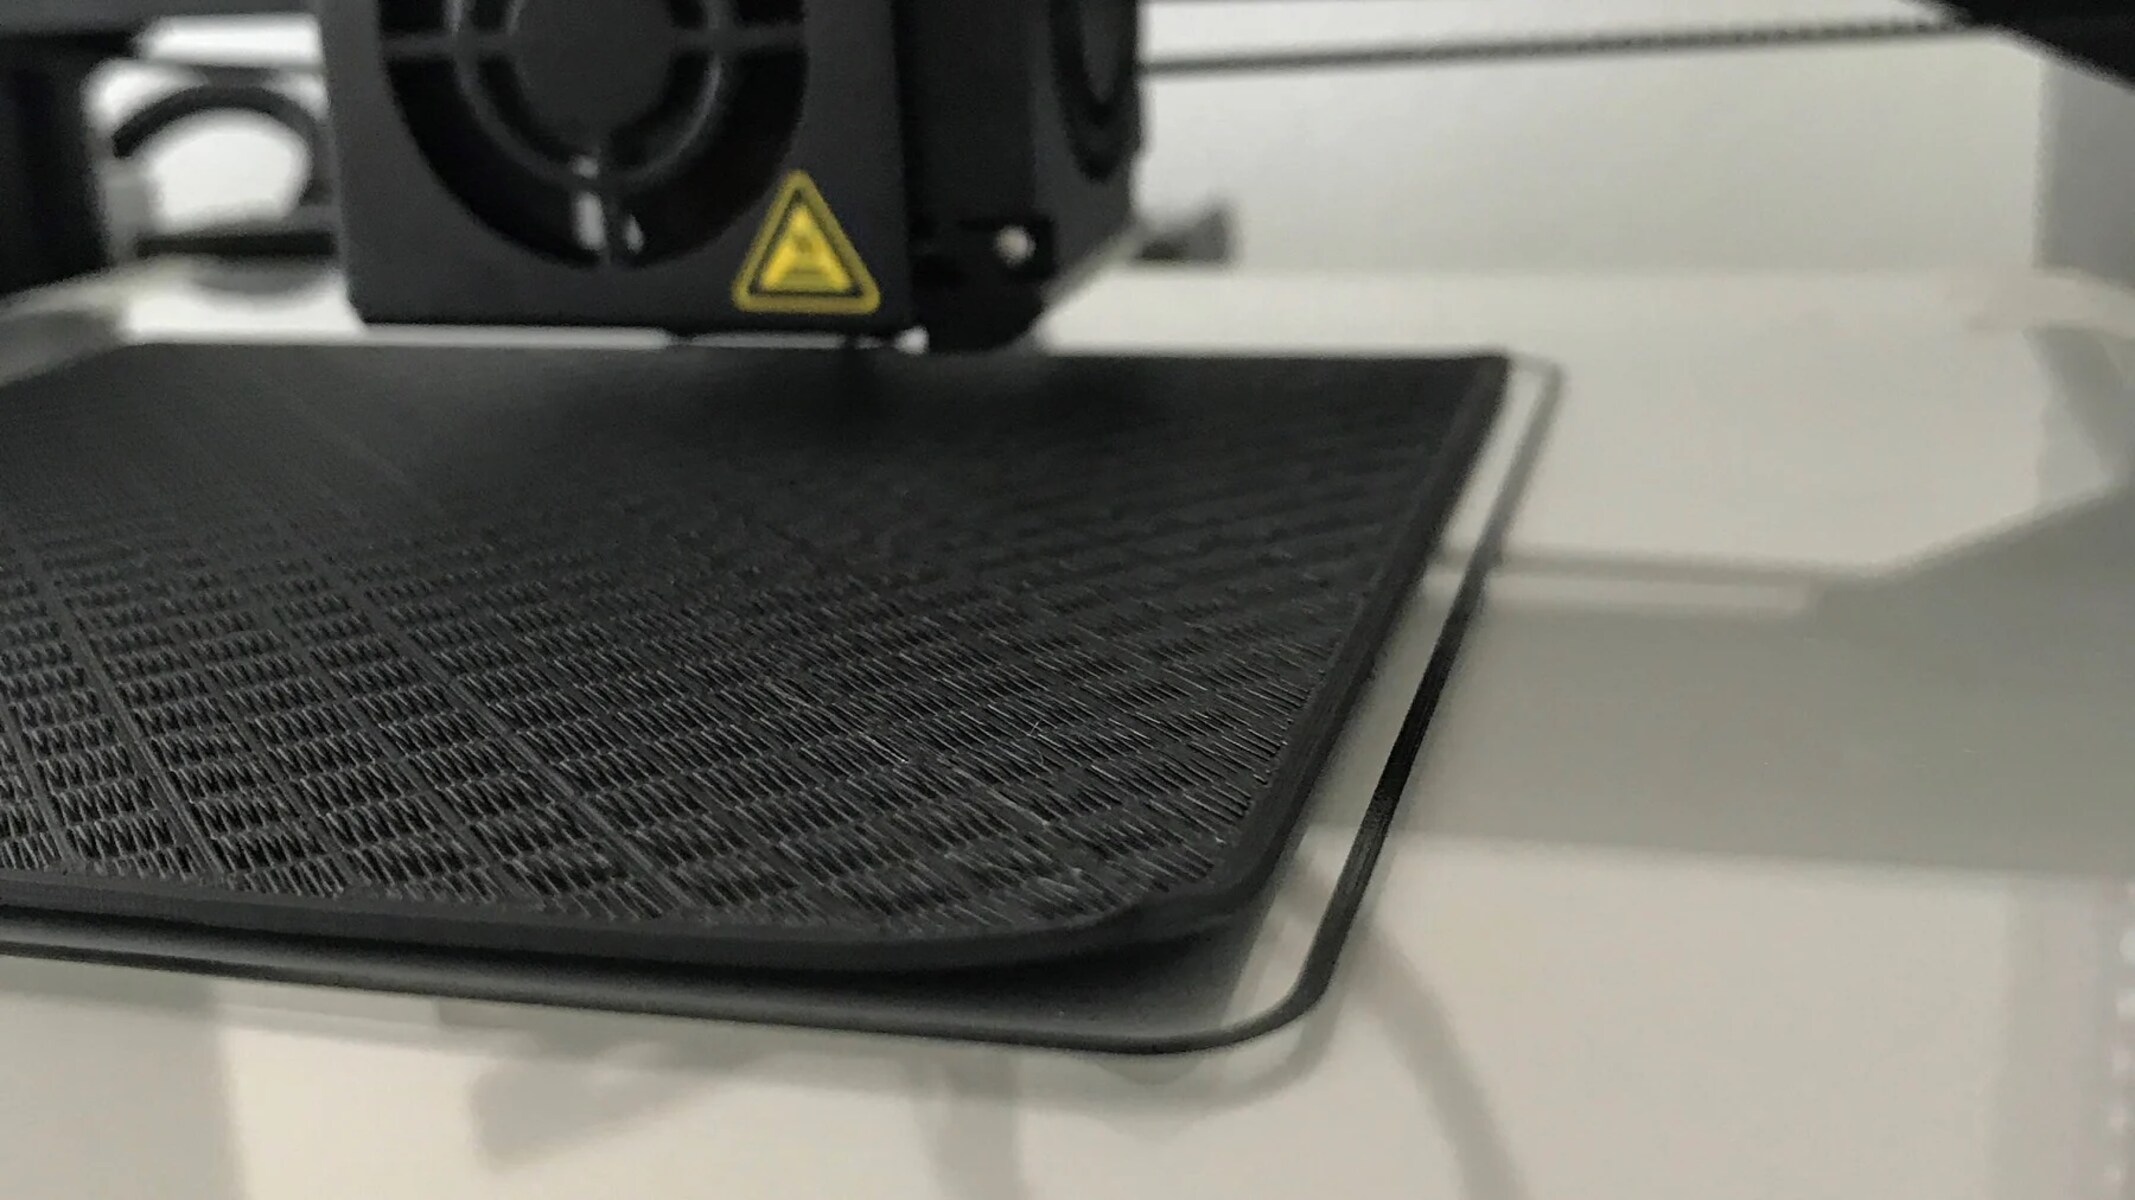
Choosing the Right Bed Surface
When it comes to getting a good first layer in 3D printing, the choice of bed surface plays a vital role. The bed surface determines the level of adhesion and grip between the printed object and the printing surface. Let’s explore some popular bed surface options to help you select the right one for your needs.
1. BuildTak: BuildTak is a popular bed surface known for its strong adhesion properties. It provides a textured surface that helps the filament adhere firmly during printing. BuildTak works well with many different filaments, making it a versatile choice for a range of 3D printing projects. However, it’s important to note that removing prints from BuildTak can sometimes be a bit challenging, so patience and care are required.
2. Glass: Glass beds, such as borosilicate glass, offer a smooth and flat surface for printing. Glass provides excellent adhesion and can offer a glossy finish to the bottom layer of prints. It’s particularly recommended for prints that require a high level of detail and accuracy. Using a layer of adhesive, such as hairspray, glue stick, or specialized bed adhesives, can further enhance adhesion on glass surfaces.
3. PEI (Polyetherimide): PEI is a robust and durable bed surface that offers excellent adhesion. It provides a semi-textured surface that promotes strong first layer adhesion while allowing for easy print removal once cooled. PEI works well with a wide range of filaments, including PLA, ABS, and PETG, making it a popular choice among 3D printing enthusiasts.
4. Magnetic Flex Plates: Magnetic flex plates, often made from spring steel with a PEI or BuildTak surface, offer the advantage of easy print removal. The flexible nature of these plates allows for quick and hassle-free removal of prints once they are bent or flexed. This ensures minimal damage to the print or the bed surface. These plates are particularly useful for printing large or flat objects that require careful removal to prevent warping.
It’s essential to choose a bed surface that is compatible with the type of filament you are using. Some filaments, like PLA, adhere well to most surfaces, while others, like ABS, may require additional adhesion aids such as a heated bed or adhesive substances.
Ultimately, the choice of bed surface depends on your specific needs and preferences. Consider factors such as print adhesion, print removal ease, surface texture, and compatibility with different filaments to find the right bed surface that will consistently deliver a good first layer for your 3D prints.
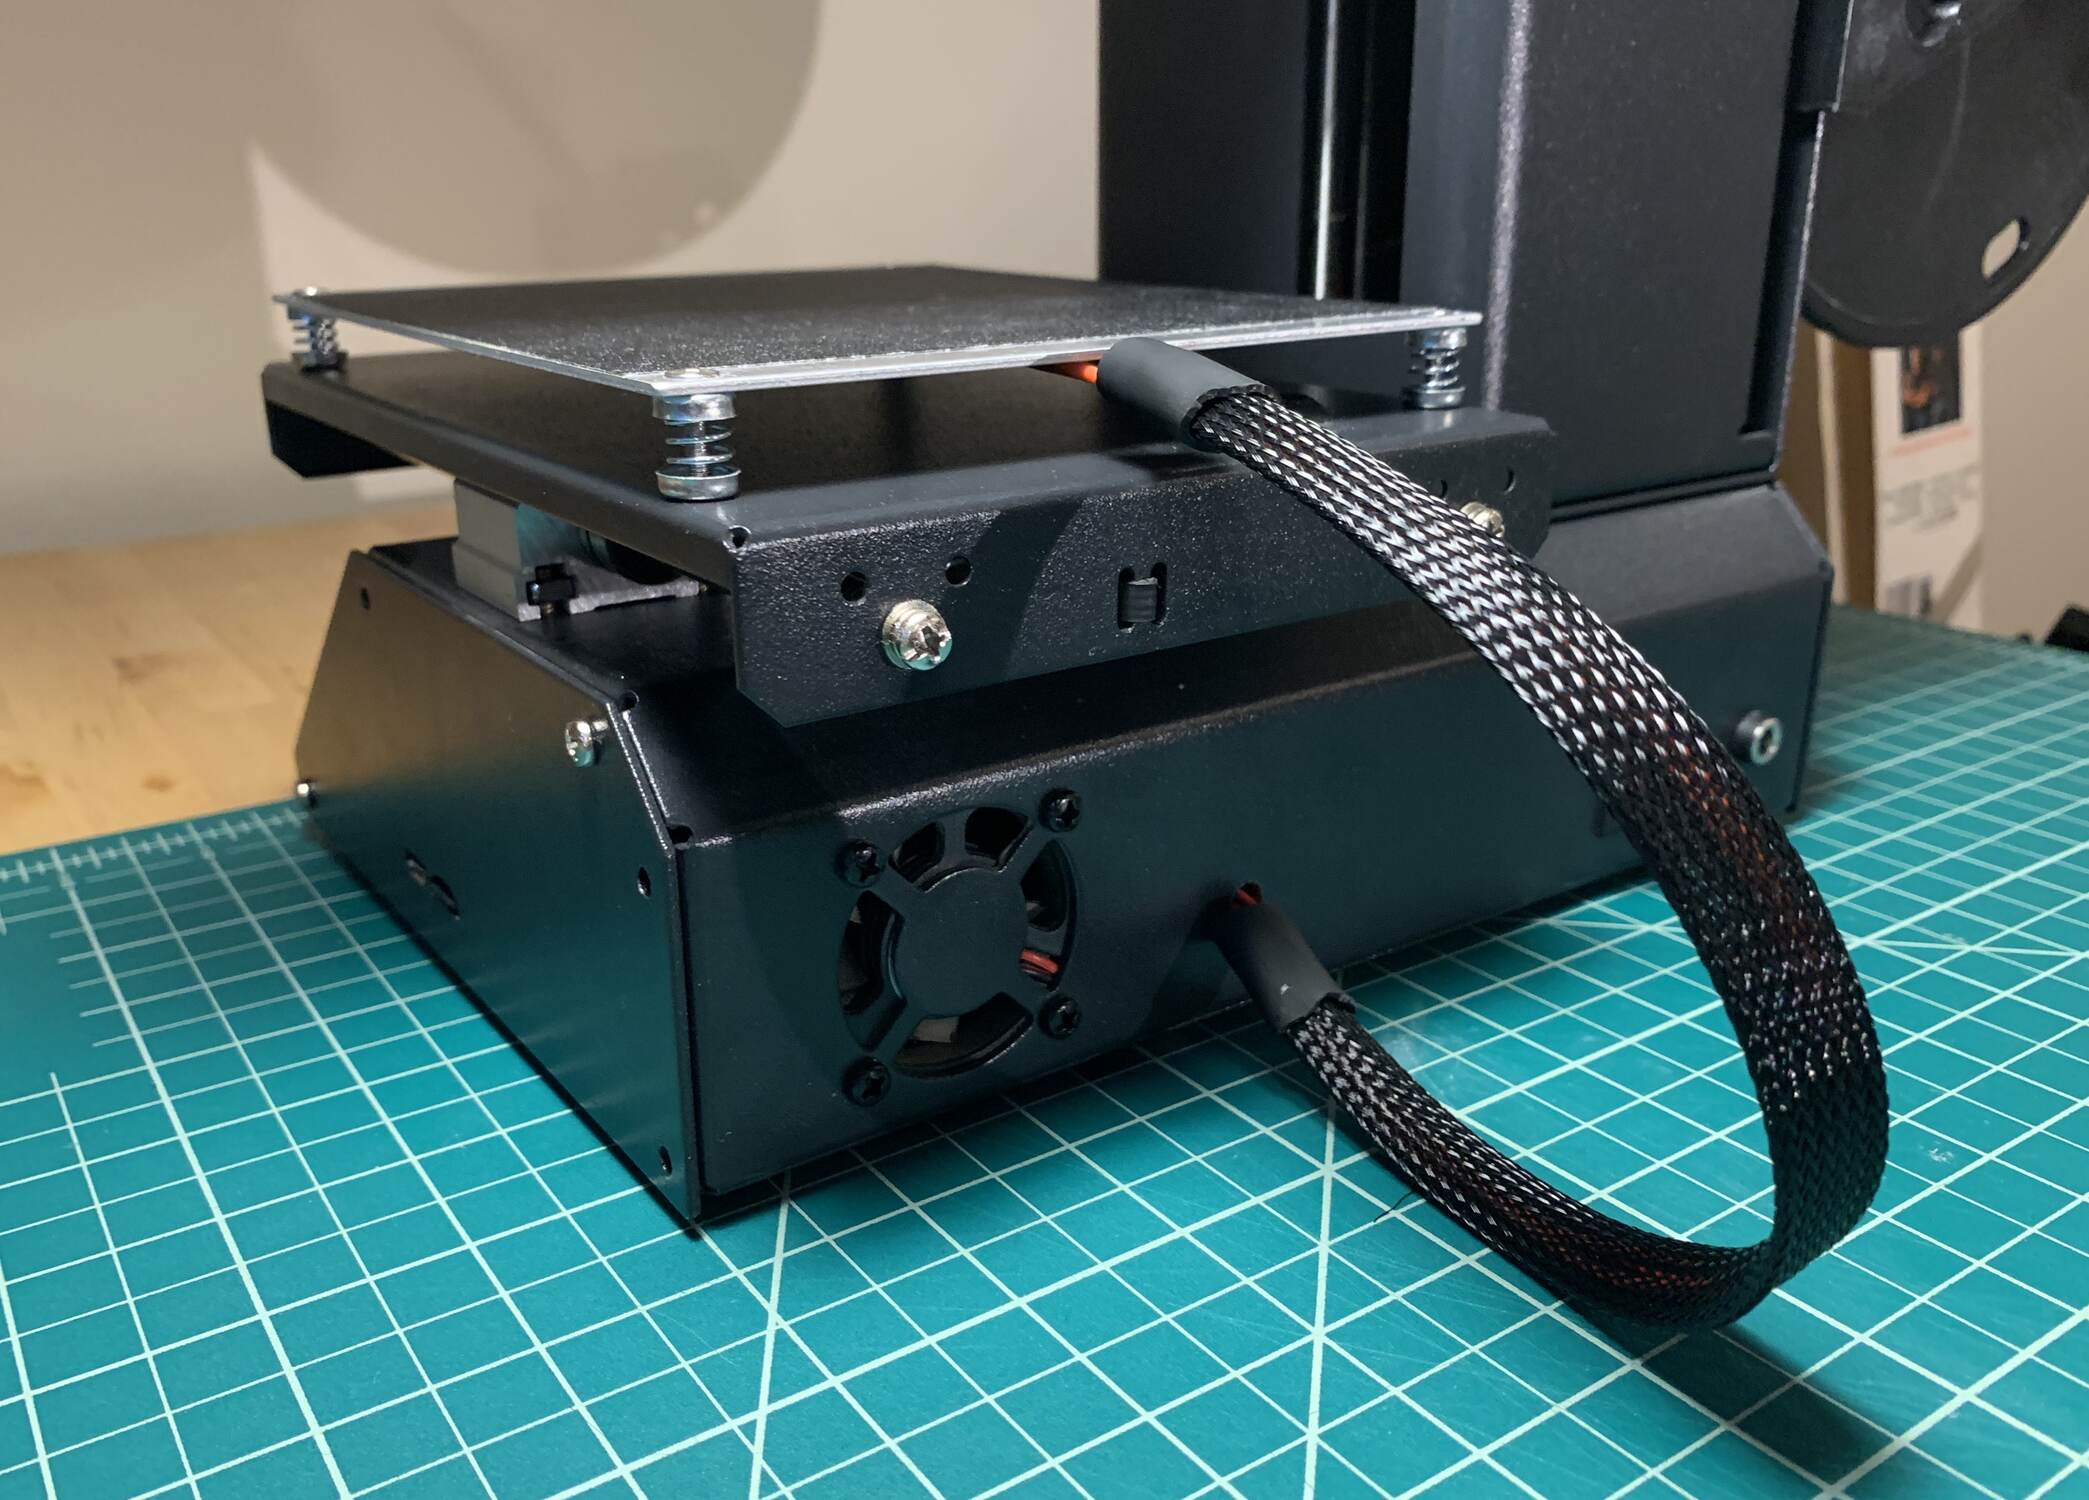
Leveling the Print Bed
One critical step in achieving a good first layer in 3D printing is properly leveling the print bed. Leveling the bed ensures that the distance between the nozzle and the bed is consistent across the entire print surface. Let’s explore the importance of bed leveling and some techniques to help you achieve a level bed.
Why is bed leveling important? A properly leveled bed ensures that the nozzle is at the correct distance from the bed, allowing for accurate filament deposition. If the bed is too close to the nozzle, the filament may not have enough room to flow, resulting in poor adhesion and potential nozzle clogs. Conversely, if the bed is too far from the nozzle, the filament won’t adhere well and might lead to a failed print.
Here are some techniques to help you level your print bed:
1. Manual Leveling: This method involves adjusting the bed leveling screws manually. Start by selecting three or four designated points on the bed and using a piece of paper or a feeler gauge to check the nozzle-to-bed distance. Adjust the screws until you achieve a consistent and slight resistance when moving the paper or gauge under the nozzle.
2. Mesh Bed Leveling: Many 3D printers come with an auto bed leveling feature, often referred to as “mesh bed leveling.” This feature uses a sensor to map the bed surface and compensate for any irregularities. Follow your printer’s instructions to activate and calibrate this feature, ensuring a level bed across the entire print surface.
3. Inductive or Capacitive Bed Leveling Probe: Some printers utilize an inductive or capacitive probe to automatically level the bed. The probe detects the distance between the nozzle and bed, making adjustments as necessary. This method simplifies the leveling process and ensures consistent results.
Remember to re-level your bed periodically, as regular use of the printer may cause the bed to shift or become unlevel over time.
Proper bed leveling is essential not just for achieving excellent first layer adhesion, but for the overall success of your prints. It ensures that each layer is deposited at the correct height, resulting in accurate and well-formed prints.
Take the time to master the bed leveling process, as it is a fundamental skill that will significantly enhance your 3D printing experience and improve the consistency and quality of your prints.
Adjusting Nozzle Height
Another crucial step in achieving a good first layer in 3D printing is ensuring the proper height or distance between the nozzle and the print bed. Adjusting the nozzle height allows for precise filament deposition and optimized adhesion. Let’s explore the importance of nozzle height adjustment and some techniques to help you get it just right.
Why is adjusting nozzle height important? The correct nozzle height ensures that the filament is deposited onto the bed at the optimal distance. If the nozzle is too close to the bed, the filament may be squished, leading to poor flow and potential clogs. Alternatively, if the nozzle is too far from the bed, the filament won’t adhere well, resulting in weak adhesion and potential print failures.
Here are some techniques to help you adjust the nozzle height:
1. Manual Adjustment: To manually adjust the nozzle height, first ensure that the bed is leveled properly. Then, move the printhead to one of the designated leveling points. Place a piece of paper or a feeler gauge between the nozzle and the bed. Adjust the nozzle height using the leveling screws or knobs until you feel slight resistance when moving the paper or gauge.
2. Z-Offset Adjustment: Many 3D printers have a feature called Z-offset adjustment. This feature allows you to fine-tune the nozzle height during printing. By adjusting the Z-offset value through the printer’s interface or firmware settings, you can raise or lower the nozzle height in small increments until you achieve optimal adhesion.
3. Auto Bed Leveling with Z-Probe: Some printers come equipped with an auto bed leveling system that utilizes a Z-probe or sensor. The Z-probe measures the distance between the nozzle and the bed and adjusts the height automatically during printing. Follow your printer’s instructions to activate and calibrate this feature for accurate and consistent nozzle height adjustment.
Remember that different filaments may require slightly different nozzle heights for optimal adhesion. Experimenting with different nozzle heights and observing the results will help you find the perfect setting for each filament.
Properly adjusting the nozzle height is essential for achieving a good first layer and ensuring the overall success of your 3D prints. By taking the time to fine-tune this aspect of the printing process, you’ll be able to optimize filament flow, improve adhesion, and increase the quality of your prints.
Calibrating Extrusion Settings
Calibrating the extrusion settings is a critical step in achieving a good first layer and ensuring accurate and consistent filament deposition throughout the entire print. Proper extrusion calibration helps prevent issues such as under or over extrusion, which can negatively impact the print quality and adhesion. Let’s explore the importance of calibrating extrusion settings and some techniques to help you achieve optimal results.
Why is calibrating extrusion settings important? When the extrusion settings are not properly calibrated, it can lead to inconsistent filament flow, resulting in gaps or overfilled areas in the print. These inconsistencies can cause poor adhesion, layer separation, or weak structural integrity. Calibrating the extrusion settings ensures that the printer accurately pushes out the intended amount of filament, resulting in a precise and solid first layer.
Here are some techniques to help you calibrate your extrusion settings:
1. Extrusion Multiplier: The extrusion multiplier, also known as the flow rate or flow multiplier, adjusts the amount of filament extruded by the printer. Fine-tuning this setting allows you to increase or decrease the amount of filament flow to achieve accurate dimensions and consistent extrusion. Use a calibration cube or a single-walled print to measure the accuracy of the extrusion multiplier and make adjustments accordingly.
2. E-Steps Calibration: E-steps, which stands for “extruder steps,” refers to the number of steps the extruder motor needs to take to extrude a specific length of filament. Calibrating the E-steps ensures the extruder is accurately pushing out the correct amount of filament. The process involves measuring the actual filament length that is being extruded and adjusting the E-steps value in the firmware settings to match the desired length. This ensures precise filament extrusion for each print.
3. Filament Diameter: Correctly setting the filament diameter is essential for accurate extrusion. Measure the actual diameter of your filament using calipers to ensure it matches the setting in your slicer software. Inaccurate filament diameter input can result in inconsistent extrusion, affecting the overall print quality and adhesion.
4. Temperature Calibration: Proper temperature calibration is crucial for achieving optimal extrusion. Different filaments have specific temperature requirements. Use the manufacturer’s recommended temperature as a starting point, but be prepared to adjust it as needed. Calibrate the temperature by printing temperature towers or temperature calibration prints to find the optimal temperature for your specific filament and printer setup.
By calibrating your extrusion settings, you can fine-tune the filament flow and ensure accurate and consistent extrusion throughout your prints. Taking the time to dial in these settings will greatly improve the precision and quality of your prints, resulting in a solid and well-adhered first layer.
Fine-Tuning Temperature and Speed
Fine-tuning the temperature and speed settings is an essential step in achieving a good first layer and optimizing the overall print quality. The temperature and speed at which the filament is extruded directly impact the adhesion, detail, and strength of the print. By finding the optimal balance, you can ensure successful prints with precise layer deposition and excellent adhesion. Let’s explore the importance of fine-tuning temperature and speed and some techniques to help you achieve the best results.
Temperature:
The temperature at which you extrude the filament greatly affects its flow and adhesion to the print bed. Different filament materials have specific temperature requirements determined by their unique properties. Experimenting with temperature settings is crucial to finding the optimal temperature for your specific filament. A higher temperature might improve adhesion but can also lead to stringing or over-extrusion, while a lower temperature may result in poor layer adhesion and under-extrusion.
Start by using the manufacturer’s recommended temperature as a baseline. From there, make slight adjustments up or down in increments of 5 degrees Celsius. Observe the print quality, adhesion, and any issues such as stringing or under-extrusion. By gradually fine-tuning the temperature, you’ll discover the temperature setting that produces the best results for your particular filament and printer combination.
Speed:
The printing speed, or how fast the printhead moves during printing, also plays a crucial role in achieving a good first layer. The speed at which filament is laid down affects the smoothness, accuracy, and adhesion of each layer. Print too fast, and you might experience issues such as poor adhesion, layer shifting, or even skipped layers. Print too slow, and you risk over-extrusion, longer print times, and potential print failures.
Begin by using the recommended speed settings provided by the filament manufacturer or your slicing software. Gradually adjust the speed up or down by small increments, evaluating the print quality and adhesion at each speed level. Strike a balance between speed and accuracy, ensuring the printer moves at a pace that allows for precise filament deposition and proper adhesion to the first layer.
It’s worth noting that temperature and speed settings can also vary based on the complexity and intricacy of the print. Large prints with complex geometry might require slower speeds to maintain accuracy, while smaller prints may benefit from slightly increased speeds.
By fine-tuning the temperature and speed settings for your filament and specific print, you can optimize layer adhesion, detail quality, and overall print success. Remember to make incremental adjustments and observe the effects on the print, allowing you to find the perfect balance and achieve impressive results.
Using a Brim or Raft
When it comes to ensuring the stability and adhesion of your prints, using a brim or raft can be a helpful technique. A brim or a raft is an additional layer or platform that surrounds the base of the model, providing extra support and improving the chances of a successful print. Let’s explore the benefits of using a brim or raft and how to incorporate them into your 3D printing process.
A brim is a thin layer of filament that extends outward from the base of the model. It helps increase the surface area and provides additional support, promoting better adhesion and reducing the chances of warping or curling. The brim is usually easy to remove and does not significantly affect the overall design of the print.
A raft, on the other hand, is a thicker, multi-layered platform that goes beneath the entire print. It acts as a foundation, particularly useful for prints with a small base or prints that have a tendency to detach from the bed. The raft provides excellent adhesion and stability, making it easier to remove the print once it is complete. However, the raft leaves a textured bottom surface which may require additional finishing if a smooth bottom layer is desired.
Here are a few considerations when deciding whether to use a brim or raft:
1. Print Size and Complexity: For larger or more intricate prints, a brim or raft can provide added stability during the printing process. It helps prevent warping and ensures better adhesion to the print bed, especially with materials that have a higher chance of shrinking or separating during cooling.
2. Material and Bed Adhesion: Some filaments, like ABS, can have challenges with bed adhesion. Using a brim or raft can create a larger contact surface area, improving adhesion and reducing the chances of the print detaching from the bed during printing.
3. Post-Processing and Aesthetics: Consider how the final appearance of the print will be affected by the use of a brim or raft. While a brim is relatively easy to remove and leaves minimal marks, a raft may leave a textured surface on the bottom of the print that may require additional finishing if a smooth bottom layer is desired.
To incorporate a brim or raft into your 3D printing process, most slicing software allows you to specify the desired settings. Typically, you can adjust the width or number of brim layers or choose the option to print with a raft. Experimenting with different settings and observing the effects on your prints will help you determine the optimal solution for each specific print.
Using a brim or raft can greatly improve the stability, adhesion, and overall success rates of your 3D prints. By providing that extra support during the printing process, these techniques help mitigate potential issues and ensure that your models adhere firmly to the print bed.
Optimizing Slicer Settings
When it comes to 3D printing, the slicer software you use plays a crucial role in determining the quality, accuracy, and overall success of your prints. Optimizing the slicer settings is essential to achieve the desired level of detail, strength, and adhesion in your 3D prints. Let’s explore the importance of optimizing slicer settings and some key parameters to consider.
Layer Height: The layer height refers to the thickness of each individual layer in your print. Balancing print speed and detail, a smaller layer height results in a finer resolution, but it also increases the overall print time. A larger layer height reduces print time but sacrifices some detail. Experiment with different layer heights to find the optimal setting for your specific print, considering factors such as print speed, desired level of detail, and material limitations.
Infill Density: The infill density determines the internal structure of your printed object. It affects the strength, weight, and print time. For models that require high structural integrity, such as functional parts or prototypes, a higher infill density is recommended. Conversely, for less critical or decorative prints, a lower infill density can be used to reduce material usage and print time.
Support Structures: When printing models with overhangs or complex geometries, support structures can be added to provide stability during printing. Optimizing the support structures in your slicer software ensures that they are generated where needed while minimizing unnecessary supports. Adjusting parameters such as the support density, overhang angle, and support pattern can help strike the right balance between support effectiveness and ease of removal after printing.
Print Speed: The print speed determines how quickly the printer moves during the printing process. It affects not only print time but also the overall print quality and adhesion. A higher print speed can reduce print time, but it may sacrifice some detail and accuracy. Conversely, a slower print speed can increase detail, but it may also increase the chances of poor adhesion. Find the optimal print speed that provides a balance between speed and quality for your specific printer and filament combination.
Retraction Settings: Retraction refers to the process of pulling the filament back slightly when moving between different print sections or during travel moves. Proper retraction settings prevent issues like stringing or oozing of filament. Experiment with retraction distance and speed to minimize stringing and achieve clean, accurate prints.
These are just a few examples of the slicer settings that can be optimized to enhance your 3D prints. It’s important to note that different printers, filaments, and models may require different settings, so a process of trial and error is often required to find the ideal parameters for your specific setup.
Take the time to explore the features and options provided by your slicer software, and don’t hesitate to experiment and make adjustments to optimize your prints further. Remember to document your successful settings for future reference, as they can serve as a valuable starting point for similar projects.
By investing time in optimizing your slicer settings, you can unlock the full potential of your 3D printer and achieve prints with exceptional detail, strength, and adhesion.
Troubleshooting Common First Layer Issues
While achieving a good first layer is the goal, it’s not uncommon to encounter some issues during the process. Understanding and troubleshooting common first layer issues can help you identify the root cause and implement the necessary solutions to improve your prints. Let’s explore some common first layer problems and techniques to resolve them.
1. Poor Adhesion: If your print doesn’t stick to the bed or keeps detaching, poor adhesion may be the culprit. Ensure that the print bed is clean, free from dust, oils, or debris. Double-check the bed leveling to ensure the proper distance between the nozzle and the bed. Adjusting the bed temperature or using adhesion aids like a brim, raft, or adhesive sprays can also improve adhesion.
2. Warping or Curling: Warping or curling occurs when the edges or corners of your print lift or curl upwards. This can be caused by uneven cooling or temperature fluctuations. Enclosing the printer or using a heated build chamber can help maintain a consistent temperature throughout the print. Additionally, using a heated bed, reducing the printing speed, or adjusting the temperature settings for the specific filament can minimize warping.
3. Bulging or Over-Extrusion: Bulging or over-extrusion happens when the first layer is too thick or the extrusion rate is too high. This can lead to a rough or distorted first layer. Adjusting the nozzle height, reducing the flow rate or extrusion multiplier, and fine-tuning the first layer settings in the slicer software can help correct this issue.
4. Under-Extrusion: Under-extrusion occurs when the first layer has gaps or insufficient filament, resulting in a weak or incomplete print. This can be caused by a clogged nozzle, incorrect filament diameter settings, or insufficient filament tension. Clearing the nozzle, ensuring the correct filament diameter input, and checking the tension and feeding mechanism can help address under-extrusion issues.
5. Uneven Layer Thickness: Uneven layer thickness can result in an inconsistent first layer, leading to an overall poor print quality. This can be caused by an uneven print bed, incorrect z-axis movement, or an improperly leveled bed. Verify the bed leveling process and ensure proper z-axis movement to maintain consistent layer thickness throughout the print.
6. Stringing or Oozing: Stringing or oozing occurs when the nozzle leaves thin strands of filament between different parts of the print or during travel moves. Adjusting retraction settings, lowering the print temperature, or increasing travel speed can help minimize stringing and oozing issues.
When troubleshooting these issues, it’s important to address one problem at a time and make incremental changes. Document the adjustments you make and their impact on the print, as this will help you identify which solutions work best for specific issues in the future.
Remember, every 3D printer and filament combination is unique, so finding the optimal settings may require some experimentation and adjustment. By understanding the common first layer issues and implementing the appropriate troubleshooting techniques, you’ll be well-equipped to address challenges and achieve consistent, high-quality prints.
Conclusion
Achieving a good first layer in 3D printing is crucial for the success and quality of your prints. By following the techniques and tips outlined in this article, you can significantly improve your chances of getting that perfect first layer every time.
We explored the importance of a good first layer, which serves as the foundation for the rest of your print. We discussed the significance of choosing the right bed surface, leveling the print bed accurately, adjusting nozzle height, and calibrating extrusion settings. These steps ensure proper adhesion, layer consistency, and overall print stability.
We also emphasized the importance of fine-tuning temperature and speed settings to optimize filament flow and adhesion. Additionally, we discussed how using a brim or raft can provide extra stability and improve print adhesion, and how to optimize slicer settings for enhanced print quality.
Troubleshooting common first layer issues is an essential skill for any 3D printer enthusiast. By understanding and addressing issues such as poor adhesion, warping, over-extrusion, under-extrusion, uneven layer thickness, and stringing, you can overcome challenges and achieve more successful prints.
Remember, 3D printing is a versatile and ever-evolving field, and what works for one print or filament may not work for another. It’s important to experiment, iterate, and learn from each print to refine your techniques and settings for optimal results.
With patience, practice, and the knowledge gained from this article, you’ll be well equipped to master the art of getting a good first layer in 3D printing. So go ahead, unleash your creativity, and enjoy the process of bringing your ideas to life with stunning and precise 3D prints!