Introduction
When it comes to 3D printing, achieving a strong bed adhesion is crucial for ensuring successful prints. Bed adhesion refers to the ability of the 3D object being printed to stick securely to the build surface throughout the printing process. Without proper bed adhesion, prints can fail, become warped, or detach from the build plate, resulting in wasted time and material.
Getting a good bed adhesion might seem like a daunting task, especially for beginners. However, with the right techniques and materials, you can create a strong bond between your prints and the build surface, ensuring the quality and accuracy of your final product.
In this article, we will explore various strategies for achieving excellent bed adhesion on your 3D printer. We will discuss the importance of understanding bed adhesion, choosing the right print surface, leveling the bed, adjusting the nozzle height, applying adhesive materials, using brims and rafts, adjusting print settings, and troubleshooting common bed adhesion issues.
Whether you are a seasoned 3D printing enthusiast or just starting out, this guide will provide you with valuable insights and practical tips to improve your bed adhesion and enhance your overall printing experience.
So, if you’re ready to take your 3D printing to the next level and ensure strong bed adhesion, let’s dive in and explore these essential techniques!
Understanding Bed Adhesion
Bed adhesion is the foundation of successful 3D printing. It refers to the ability of the printed object to adhere to the build surface and remain securely in place throughout the printing process. Achieving proper bed adhesion is crucial to prevent shifting, warping, or detachment of the print, which can lead to failed or poor-quality prints.
Several factors contribute to bed adhesion, including the print surface, leveling of the bed, nozzle height, and the use of adhesive materials. Understanding these factors will help you optimize your printing setup and achieve the best bed adhesion possible.
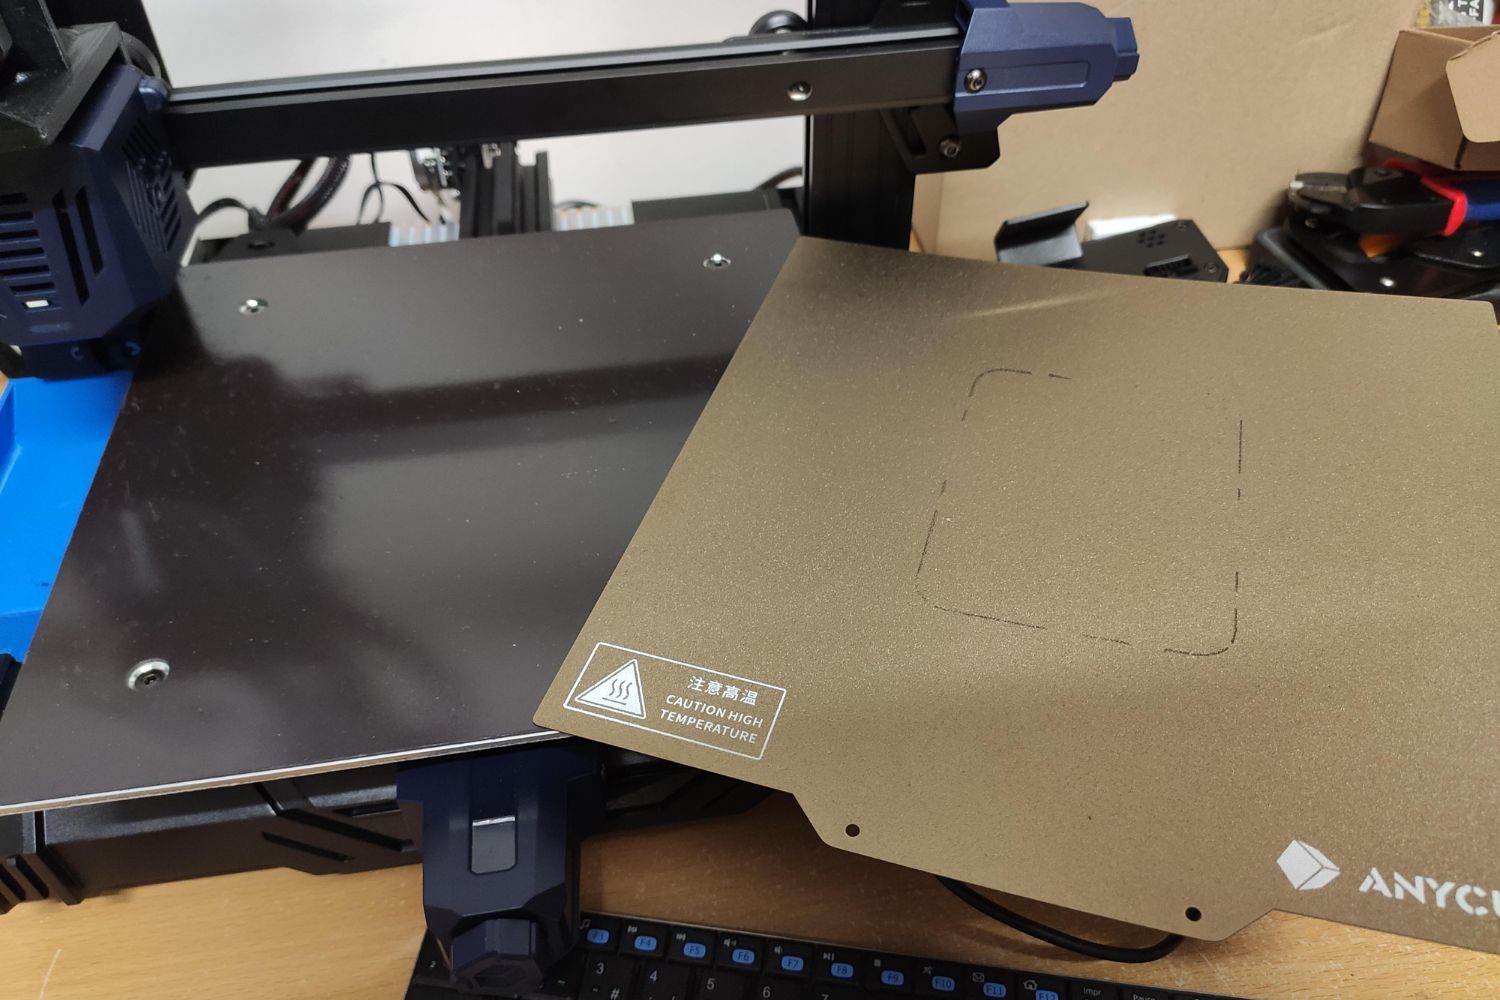
The choice of print surface plays a significant role in bed adhesion. Different materials have different adhesion properties. Some commonly used print surfaces include glass, heated beds, painter’s tape, PEI sheets, and build surfaces with specialized coatings. Research and experiment with different materials to determine which one works best for your specific printer and filament combination.
Properly leveling the bed is another essential aspect of bed adhesion. If the bed is not leveled correctly, the nozzle may be too far from or too close to the print surface, affecting the quality of adhesion. Use the auto-leveling feature if available, or manually level the bed using a piece of paper or a leveling tool to ensure the nozzle is at the optimal distance from the bed.
The nozzle height, or the distance between the nozzle and the print surface, is also crucial for achieving good bed adhesion. If the nozzle is too far, the filament may not properly adhere to the bed. Conversely, if the nozzle is too close, it can obstruct the flow of filament and cause clogs or unwanted dragging of the filament on the print surface. Adjust the nozzle height carefully to find the sweet spot for optimal adhesion.
Applying adhesive materials can significantly enhance bed adhesion. These materials, such as glue sticks, hairspray, or specialty adhesives like a 3D printing bed adhesive, create a layer of grip between the print and the bed surface. Apply the adhesive evenly and sparingly to avoid excessive buildup, which can affect print quality.
Understanding these key factors will help you optimize your bed adhesion and ensure successful 3D prints. In the next sections, we will delve deeper into specific techniques and strategies to improve bed adhesion, including using brims and rafts, adjusting print settings, and troubleshooting common bed adhesion issues.
Choosing the Right Print Surface
Choosing the right print surface is a crucial step in optimizing bed adhesion for your 3D prints. The print surface is the foundation upon which your objects are built, and different materials offer varying levels of adhesion for different types of filaments.
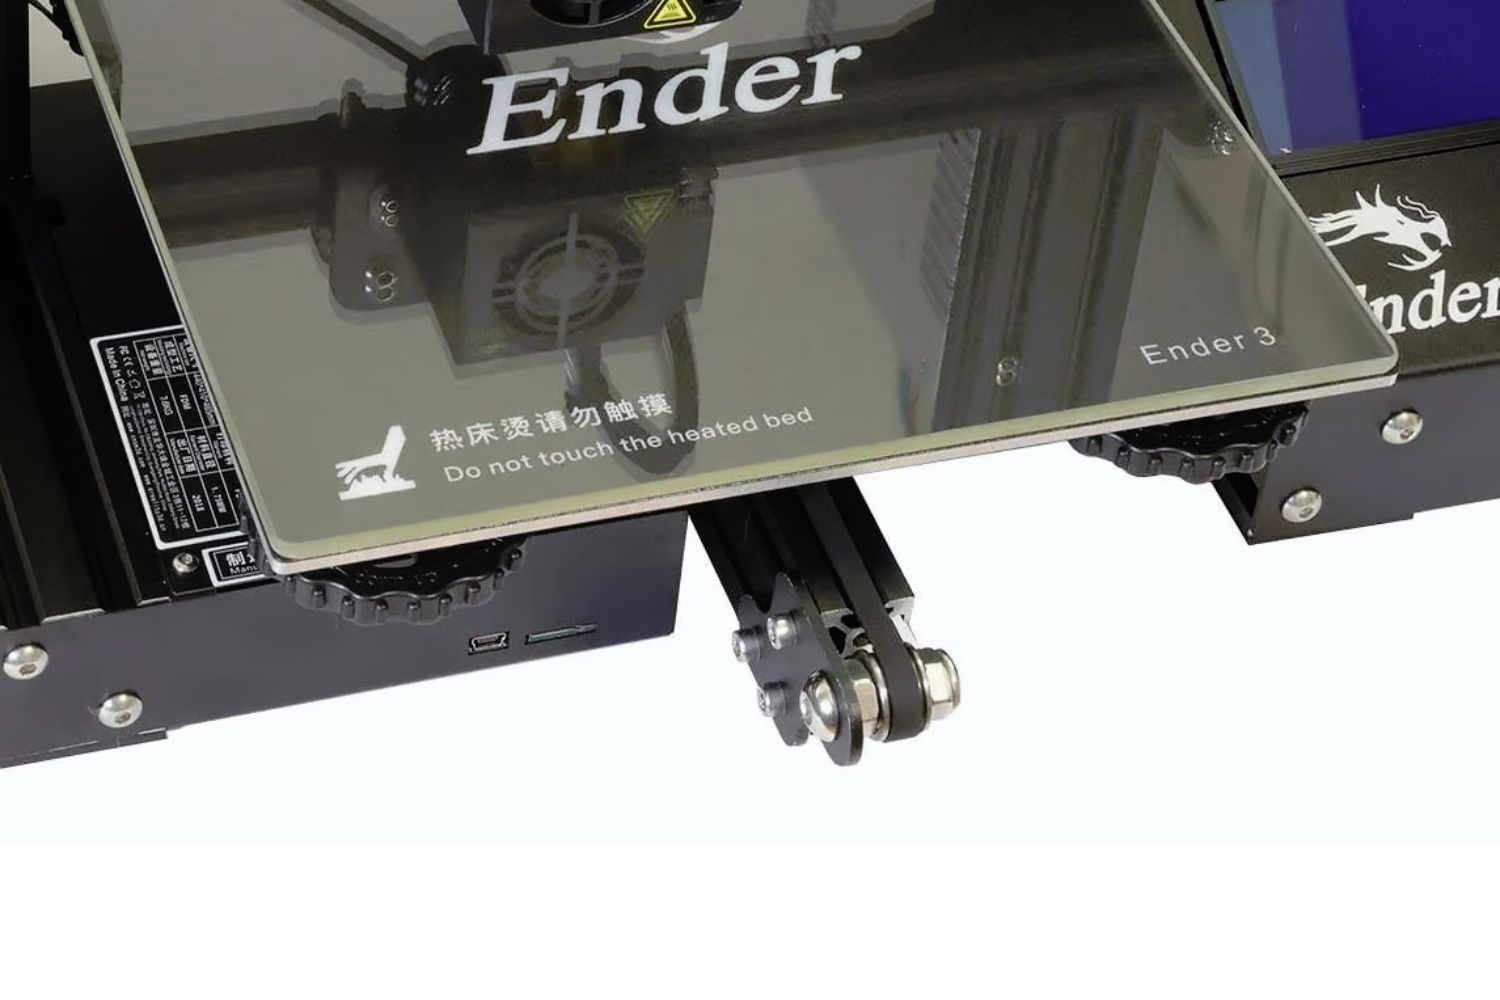
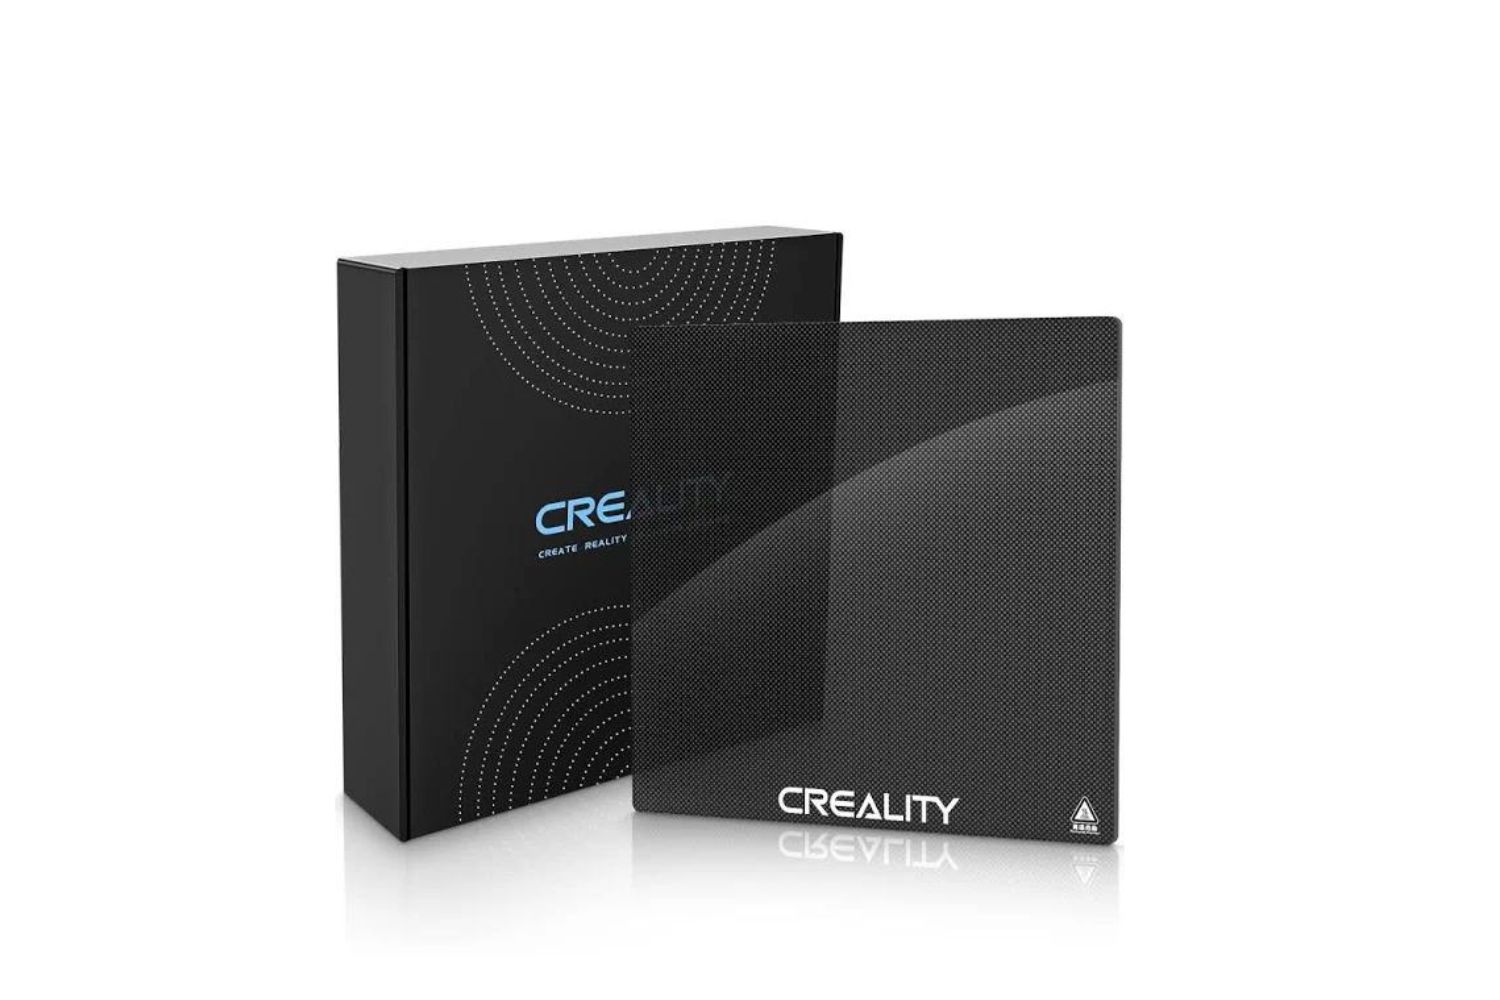
One of the most commonly used print surfaces is glass. A glass bed provides a smooth and flat surface that allows for excellent adhesion. It is important to ensure that the glass bed is clean before printing to prevent any contaminants from affecting the bed adhesion. Some users also prefer to use a thin layer of adhesive material like hairspray or glue stick on the glass surface to enhance adhesion further.
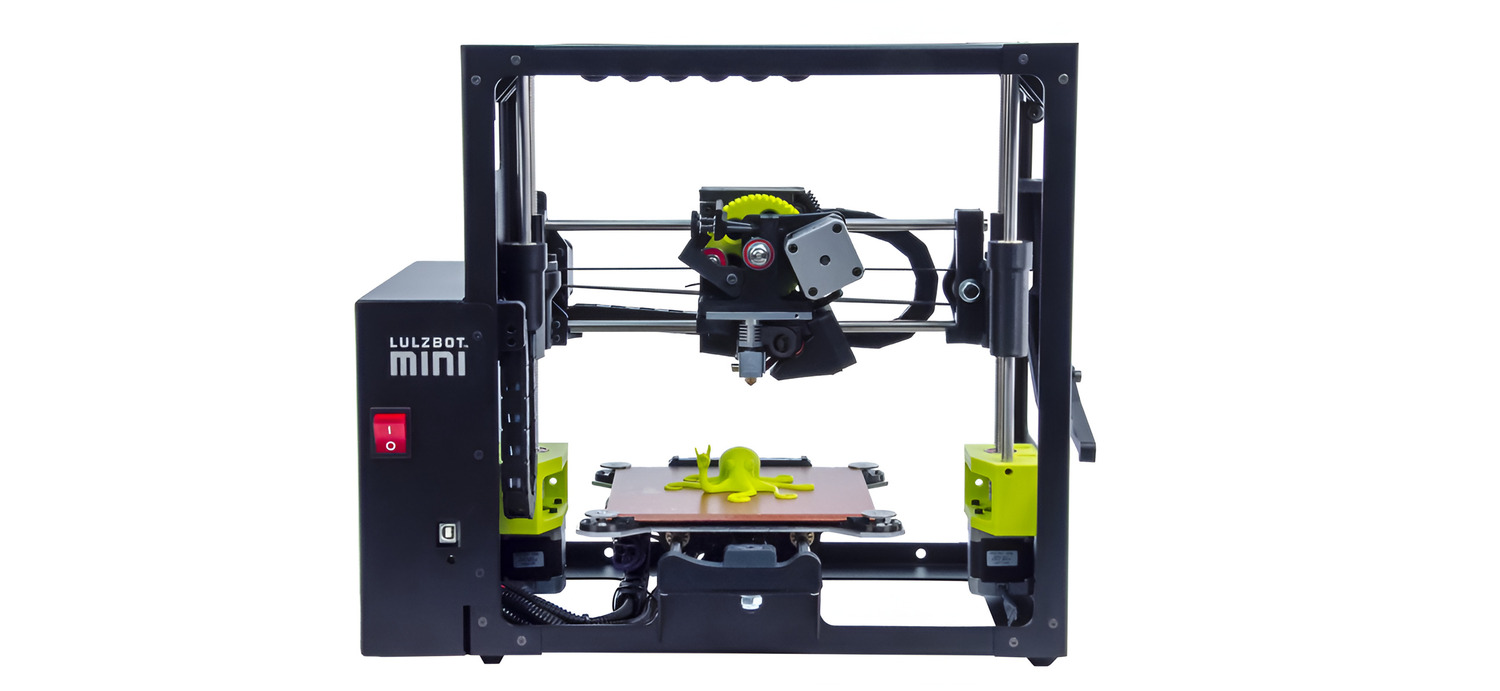
Heated beds are another popular choice for improving bed adhesion. By heating the bed, the plastic filament can bond more effectively with the surface. The increased temperature helps to reduce shrinkage and warping, resulting in better adhesion and overall print quality. In combination with a suitable print surface, a heated bed can significantly enhance bed adhesion for a wide range of filament types.
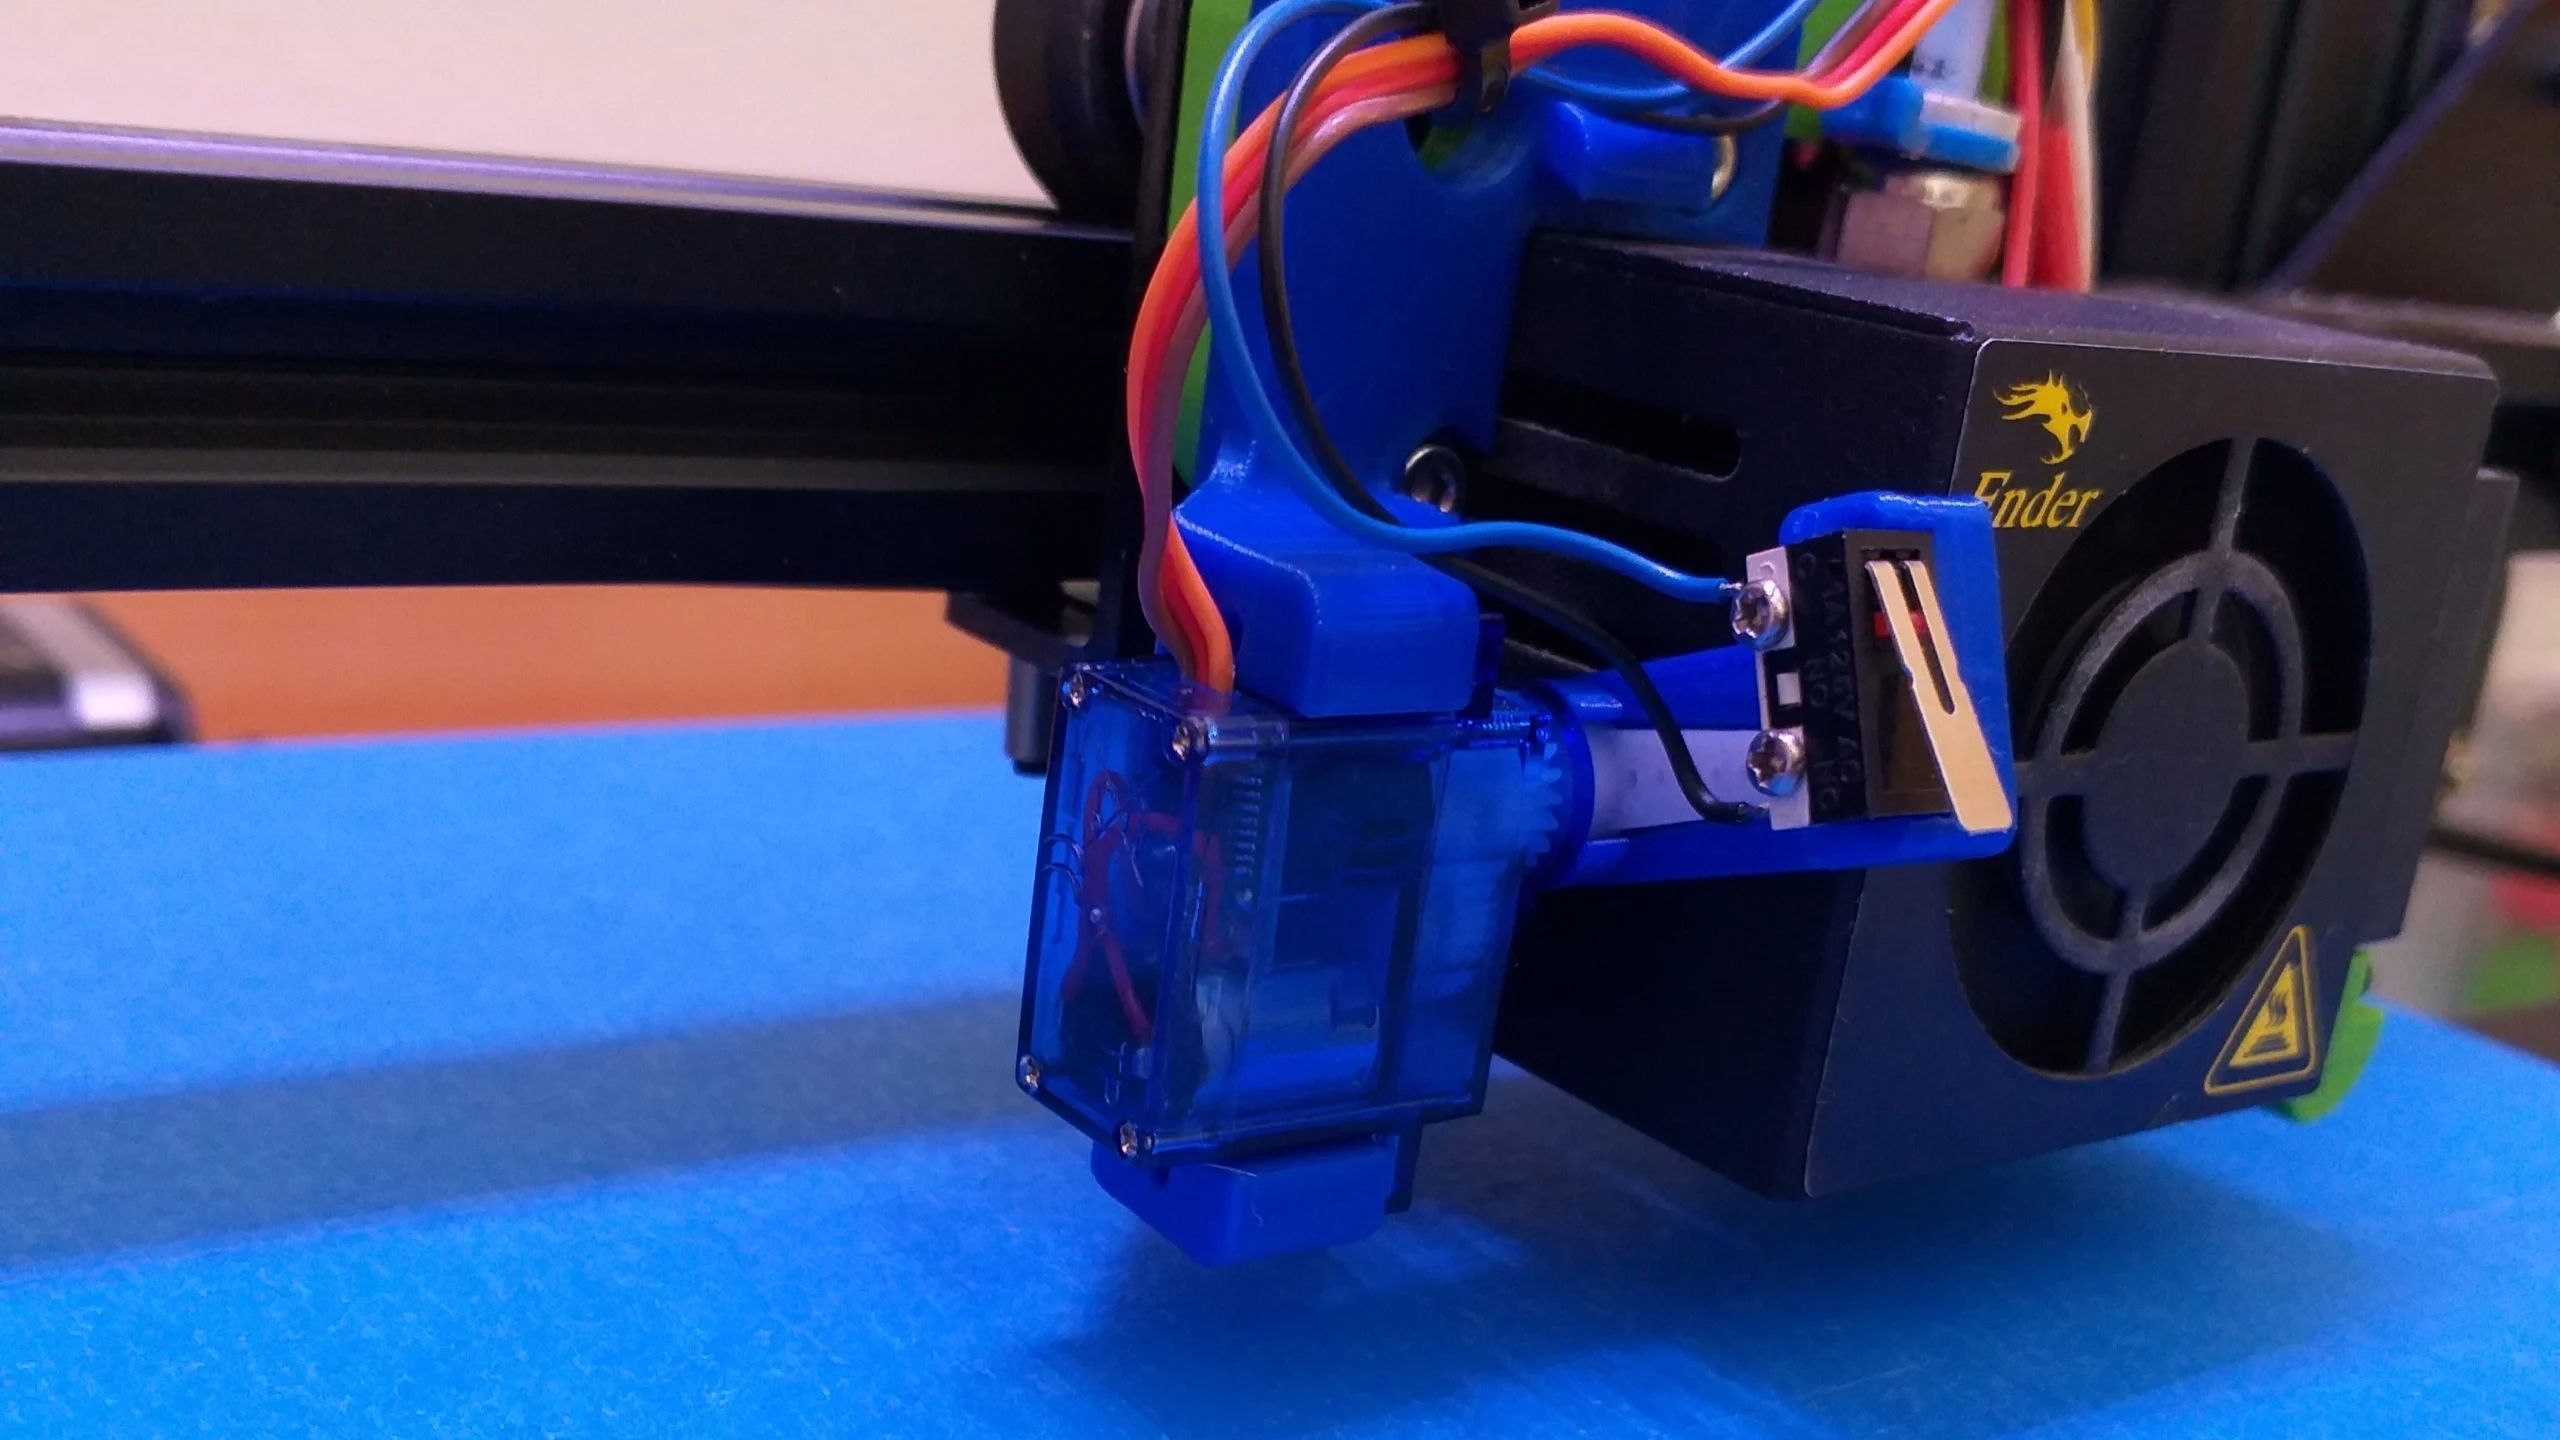
Painter’s tape, also known as blue tape, is a cost-effective option for improving bed adhesion. It provides a textured surface that filament can easily adhere to. Painter’s tape works particularly well with PLA filaments, but it may not be as effective for filaments with higher printing temperatures, such as ABS.
PEI (Polyetherimide) sheets are becoming increasingly popular in the 3D printing community due to their excellent bed adhesion properties. PEI is a thermoplastic that provides a semi-textured surface, allowing for strong adhesion without the need for additional adhesive materials. It works well for a wide range of filaments and is highly durable, making it a long-term investment for your printing setup.
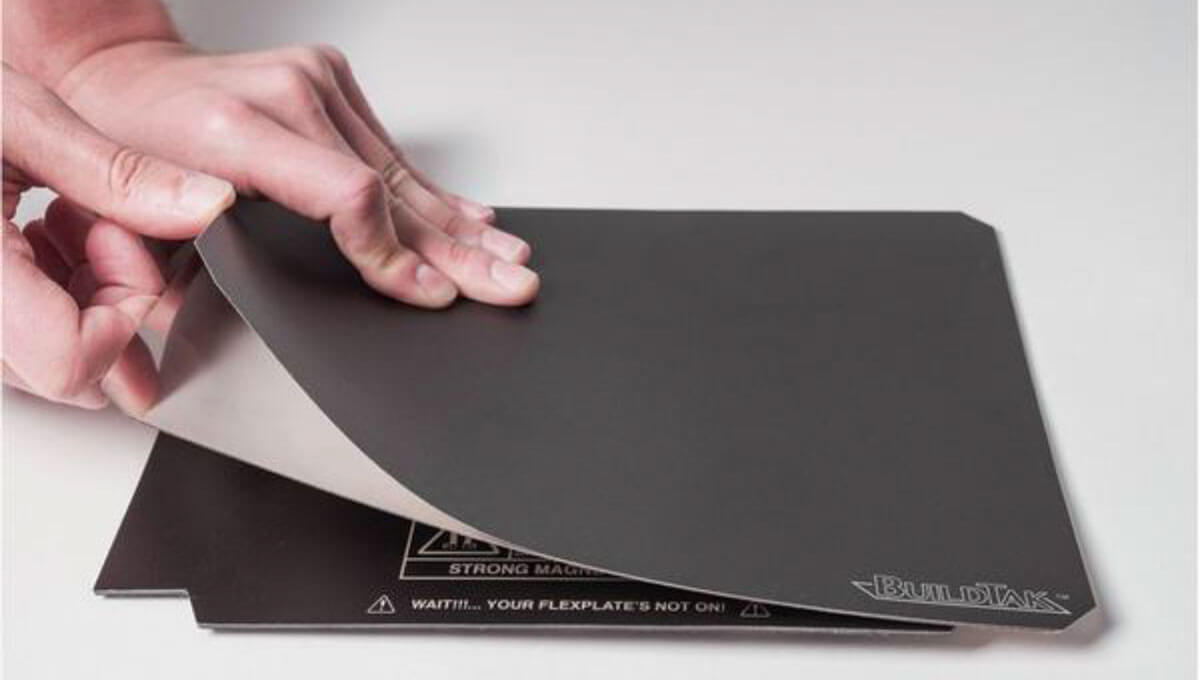
There are also specialized build surfaces available, such as those with powdery coatings or micro-textured surfaces. These surfaces are engineered specifically for optimal bed adhesion and can provide excellent results. However, they may require occasional maintenance and careful handling.
Ultimately, the choice of print surface depends on various factors, including the type of filament you are using, personal preference, and budget. Consider experimenting with different surfaces to find the one that works best for your specific printing needs.
In the next sections, we will explore other techniques to further improve bed adhesion, including proper bed leveling, adjusting nozzle height, and applying adhesive materials.
Leveling the Bed
One of the critical steps in achieving good bed adhesion is ensuring that the printing bed is properly leveled. Leveling the bed refers to adjusting the height of the bed to ensure that it is parallel to the movement of the printer’s nozzle. When the bed is leveled correctly, the nozzle maintains a consistent distance from the print surface, resulting in uniform adhesion across the entire print area.
Uneven bed leveling can lead to uneven adhesion, causing the print to fail in certain areas or detach from the bed altogether. Therefore, it’s essential to dedicate time to properly level the bed before each print job.
The exact method for leveling the bed may vary depending on the type of printer you have, but the basic principle remains the same. Most printers have built-in features for manual or automatic bed leveling. Here is a general step-by-step process to level the bed:
- Make sure the print bed is clean from any debris or leftover residue from previous prints. This ensures a smooth and even surface for the filament to adhere to.
- Home the printer by using the “home” or “auto home” command in the printer’s software. This will bring the nozzle and the print bed to their starting positions.
- Use a piece of paper or a feeler gauge with a known thickness as a leveling tool. Place it between the nozzle and the bed.
- Adjust the bed leveling screws or knobs to raise or lower the bed until you feel a slight resistance when moving the paper or gauge between the nozzle and the bed. Repeat this process for each corner and the center of the bed.
- Double-check the leveling by moving the nozzle to different areas of the bed and retesting the distance with the paper or gauge. Make additional adjustments if necessary.
It’s important to note that some printers have auto-leveling features, which can make the leveling process more convenient and accurate. These printers use sensors or probes to measure the distance between the bed and the nozzle and automatically adjust the bed’s height. Consult your printer’s manual or documentation to learn how to activate and use the auto-leveling feature.
By properly leveling the bed, you ensure that the nozzle maintains a consistent distance from the print surface, promoting even adhesion and minimizing the risk of print failures due to poor bed adhesion. So take the time to level your bed before each print, and you’ll be one step closer to achieving successful prints.
Adjusting the Nozzle Height
Alongside leveling the bed, adjusting the nozzle height is vital for achieving good bed adhesion in 3D printing. The nozzle height, also known as the nozzle-to-bed distance or the Z-offset, refers to the gap between the printer’s nozzle and the surface of the print bed.
Having the correct nozzle height ensures proper filament flow and adhesion to the bed. If the nozzle is too far from the bed, the filament may not adhere correctly or even fail to stick at all. On the other hand, if the nozzle is too close to the bed, it can cause the filament to get squished or dragged across the surface, resulting in poor print quality and potential damage to the bed.
Adjusting the nozzle height typically involves making precise adjustments to the Z-axis, either manually or using software controls, to achieve the optimal distance from the bed. Here’s an overview of the process:
- Begin by homing your printer or moving the nozzle to the expected starting position.
- With the nozzle at the expected starting position, use a piece of paper or a feeler gauge to gauge the gap between the nozzle and the bed.
- Gradually adjust the Z-axis height until you feel slight resistance when sliding the paper or gauge between the nozzle and the bed. The ideal nozzle height should allow the paper or gauge to move with a little friction.
- Check the nozzle height at multiple points across the bed surface, including the corners and center, to ensure consistent adhesion throughout.
- If needed, fine-tune the nozzle height by making slight adjustments to the Z-axis until you achieve the desired adhesion level.
Some printers offer automatic bed leveling features or probe sensors that can assist in adjusting the nozzle height. These features help to measure and compensate for variations in the bed surface, resulting in more precise nozzle height adjustments. Consult your printer’s documentation or manual to learn how to utilize these features effectively.
It’s crucial to note that different filaments may require specific nozzle heights for optimal bed adhesion. Factors such as filament type, filament diameter, and printing speed can influence the ideal nozzle height. Therefore, it’s recommended to experiment and fine-tune the nozzle height settings for different materials to achieve the best results.
By properly adjusting the nozzle height, you ensure that the filament adheres evenly to the bed surface, resulting in improved bed adhesion and successful prints. Take the time to dial in the right nozzle height for each print job, and you’ll be well on your way to achieving consistent and high-quality 3D prints.
Applying Adhesive Materials
Using adhesive materials can significantly enhance bed adhesion and improve the overall success rate of your 3D prints. These materials create a layer of grip between the print and the bed surface, ensuring that the filament sticks securely throughout the printing process.
There are several adhesive options available, and the choice depends on factors such as the print surface, filament type, and personal preference. Here are some commonly used adhesive materials:
Glue Sticks: Glue sticks are a popular choice for enhancing bed adhesion. Apply a thin and even layer of glue to the print surface before starting a print. Glue sticks work well on various print surfaces like glass and painter’s tape and are particularly effective for materials like PLA. Avoid applying excessive amounts of glue, as it can result in messy prints or difficulties in removing the finished object from the bed.
Hairspray: Hairspray is another commonly used adhesive material. A light mist of hairspray on the print surface can help improve bed adhesion, particularly for materials like ABS. It creates a slightly sticky surface that allows the filament to adhere securely during printing. Ensure that the hairspray is evenly distributed and dry before starting the print.
Specialized 3D Printing Bed Adhesive: There are specific adhesives available that are specifically designed for 3D printing purposes. These adhesives come in various forms, such as sprays, liquids, or gels. They offer excellent adhesion properties and are compatible with a wide range of print surfaces and filaments. Follow the manufacturer’s instructions for proper application and usage.
When applying adhesive materials, it’s important to find the right balance. Applying too little may result in poor adhesion, while applying too much can lead to difficulties in removing the finished print or cause damage to the print surface. Experiment with different amounts and observe the results to determine the optimal quantity for your specific setup.
Additionally, keep in mind that some print surfaces, such as PEI sheets, may not require additional adhesive materials. These surfaces provide sufficient grip without the need for extra adhesives. However, it’s always a good practice to test different approaches and determine which method works best for your specific filament and print surface combination.
By applying adhesive materials appropriately, you can ensure a strong bond between the print and the bed surface. Experiment with different adhesive options and find the one that provides the best bed adhesion for your specific printing needs.
Using Brims and Rafts
Brims and rafts are useful techniques in 3D printing that can improve bed adhesion, especially for challenging prints or materials with poor adhesion characteristics. They create an additional foundation or support structure for the main print, enhancing stability and minimizing the risk of warping or detachment from the bed.
Brims: A brim is a thin, flat extension that surrounds the base of the print. It adds a wider contact area between the print and the bed, promoting better adhesion and stability. Brims are particularly beneficial for prints with small or narrow bases that have a tendency to come loose during the printing process. They provide extra support and prevent the edges of the object from curling or lifting. Once the print is complete, the brim can be easily separated and removed. Adjusting the brim width in the slicer settings allows for customization based on the specific print requirements.
Rafts: A raft is a more substantial support structure that sits between the print and the bed. It consists of multiple layers that are printed before the actual model begins. Rafts act as a sacrificial layer that provides a larger surface area for adhesion while also compensating for any inconsistencies in the bed leveling or print surface. Rafts are particularly useful for prints with a high probability of warping, such as large, flat objects or those made from materials like ABS. Once the print is finished, the raft can be easily detached from the bottom of the main model. As with brims, raft settings in the slicer software provide options to customize the thickness and density of the raft structure.
While brims and rafts can enhance bed adhesion, they may also introduce some additional preparation time and may require extra post-processing to remove them from the finished print. However, the benefits they provide in terms of stability and successful print completion often outweigh these minor inconveniences.
When deciding whether to use a brim or a raft, consider the specific requirements of your print, the filament being used, and the likelihood of warping or adhesion issues. It’s advisable to experiment with both techniques and determine which one works best for the specific print job.
Integrating brims or rafts into your printing workflow can greatly improve bed adhesion and increase the success rate of challenging prints. Utilize these techniques strategically to ensure a strong foundation for your objects and achieve high-quality results.
Adjusting Print Settings for Better Adhesion
Optimizing print settings is an effective way to improve bed adhesion and ensure successful 3D prints. Fine-tuning various parameters in your slicer software can help enhance the bonding between the print and the bed surface. Here are some key settings to consider:
First Layer Settings: The first layer plays a crucial role in establishing a strong bond with the print surface. Adjust the settings for the first layer, such as the extrusion width, nozzle temperature, and print speed, to optimize the level of adhesion. Typically, using a slightly lower print speed and a slightly higher nozzle temperature for the first layer can improve adhesion by allowing the filament to flow smoothly and adhere well to the bed.
Layer Height: The layer height affects the overall surface quality and adhesion. In general, using a smaller layer height can improve bed adhesion as it allows for finer filament deposition and better contact with the bed surface. However, keep in mind that reducing the layer height too much might slow down the print and increase the printing time.
Print Speed: Adjusting the print speed can influence bed adhesion. Slower print speeds provide more time for the filament to adhere properly to the print surface, resulting in better bed adhesion. Experiment with different print speeds, especially for the first few layers, to find the optimal balance between adhesion and overall print time.
Printing Temperature: The filament’s printing temperature can affect its flow characteristics and adhesion to the bed. Ensure that you are printing at the recommended temperature for the specific filament you are using. Some filaments, like ABS, may require a higher bed temperature to ensure proper adhesion throughout the printing process.
Retraction Settings: Retraction settings control the filament retraction and extrusion during travel moves. Proper retraction settings help minimize stringing and blobs, which can negatively impact bed adhesion. By reducing these imperfections, the overall print quality improves, leading to better adhesion between layers.
Support Structures: When using support structures, ensure that they are properly designed and easy to remove after printing. Poorly designed or difficult-to-remove supports can cause damage to the main print or affect bed adhesion. Properly calibrated support settings can make removal easier and minimize any negative impact on bed adhesion.
Remember that the optimal print settings for bed adhesion might vary depending on your specific printer, filament, and print surface. It’s crucial to experiment and iteratively adjust these settings to find the best combination for your prints.
By adjusting print settings to optimize bed adhesion, you can achieve stronger bonds between the filament and the print surface. Continuously refine your settings to strike the right balance between adhesion, print quality, and overall printing efficiency.
Troubleshooting Bed Adhesion Issues
Even with the best techniques and settings, bed adhesion issues can still arise during 3D printing. Understanding common problems and knowing how to troubleshoot them will help you overcome these challenges and improve the adhesion of your prints. Let’s explore some common bed adhesion issues and their potential solutions:
Prints not sticking to the bed: If your prints aren’t sticking to the bed at all or keep detaching, there could be several reasons. Double-check the bed leveling to ensure it’s adjusted properly. Also, make sure the print surface is clean, free from any debris, or leftover adhesive materials. If necessary, reapply the recommended adhesive material or experiment with different types to enhance bed adhesion.
Excessive warping or curling: Warping occurs when the material on the edges of the print lifts or curls away from the bed during the printing process. To combat this issue, ensure that the print bed is heated to the appropriate temperature for the filament being used. Additionally, consider increasing the printing temperature or adding an enclosure around the printer to provide a stable and controlled environment for the print.
Too much adhesion: Sometimes, the print can adhere too strongly to the bed, making it difficult to remove without causing damage. In such cases, try reducing the bed temperature slightly or adjusting the printing speed. Applying a release agent like isopropyl alcohol or using a flexible print surface may also help with removing the print more easily.
Uneven adhesion across the print bed: Uneven adhesion can lead to uneven prints or adhesion failure in certain areas. Check the bed leveling and make sure all corners and the center of the bed are properly leveled. If there are still issues, consider using a different print surface or applying extra adhesive material where required, focusing on the areas with poor adhesion.
Filament not sticking to the bed during the first layers: If the first layers of your print have poor adhesion, it may be due to insufficient initial layer height or improper leveling. Ensure that the initial layer height is set correctly, allowing the nozzle to properly compress the filament against the bed. Also, double-check the bed leveling and make necessary adjustments to achieve the ideal nozzle-to-bed distance.
Stringing or oozing: Stringing or oozing can occur when the filament doesn’t adhere properly and leaves strands of filament between printed sections. This issue can negatively impact bed adhesion. Adjust the retraction settings in your slicer software, reducing the amount of filament being pulled back when the nozzle moves between sections. This can help minimize excess filament and improve adhesion.
Remember, troubleshooting bed adhesion issues may require some trial and error. Each printer and filament combination may have unique requirements. It’s essential to observe, experiment, and adjust the variables to find the best solutions for your specific setup.
By identifying and addressing bed adhesion issues, you can overcome common challenges and achieve reliable adhesion for your 3D prints. Don’t be discouraged by initial failures; instead, use them as learning opportunities to fine-tune your techniques and optimize your printing process.
Conclusion
Achieving good bed adhesion is a fundamental aspect of successful 3D printing. By understanding the importance of bed adhesion and implementing the right techniques, you can significantly improve the quality and reliability of your prints.
Throughout this guide, we’ve discussed various strategies for achieving excellent bed adhesion, including choosing the right print surface, leveling the bed, adjusting the nozzle height, applying adhesive materials, using brims and rafts, and adjusting print settings. Each of these techniques plays a crucial role in creating a strong bond between the print and the bed surface, minimizing the risk of failed prints, lifting, or warping.
Remember to select a suitable print surface that matches your filament type, level the bed properly to ensure it’s parallel to the nozzle movement, adjust the nozzle height for optimal distance from the bed, and apply adhesive materials when necessary to promote adhesion. Additionally, consider using brims and rafts for challenging prints and fine-tune your print settings to optimize bed adhesion.
If you encounter bed adhesion issues, don’t be discouraged. Instead, troubleshoot the problem by examining the leveling, adjusting print settings, or experimenting with different adhesive materials. By refining your techniques and understanding the unique requirements of your printer and filament combination, you can achieve consistent and reliable bed adhesion.
Improving your bed adhesion will lead to more successful and high-quality 3D prints. Take the time to understand the factors influencing bed adhesion, experiment with different techniques, and continuously refine your approach. With practice, you’ll be able to consistently achieve strong bed adhesion, resulting in exceptional 3D prints that showcase your creativity and technical skill.