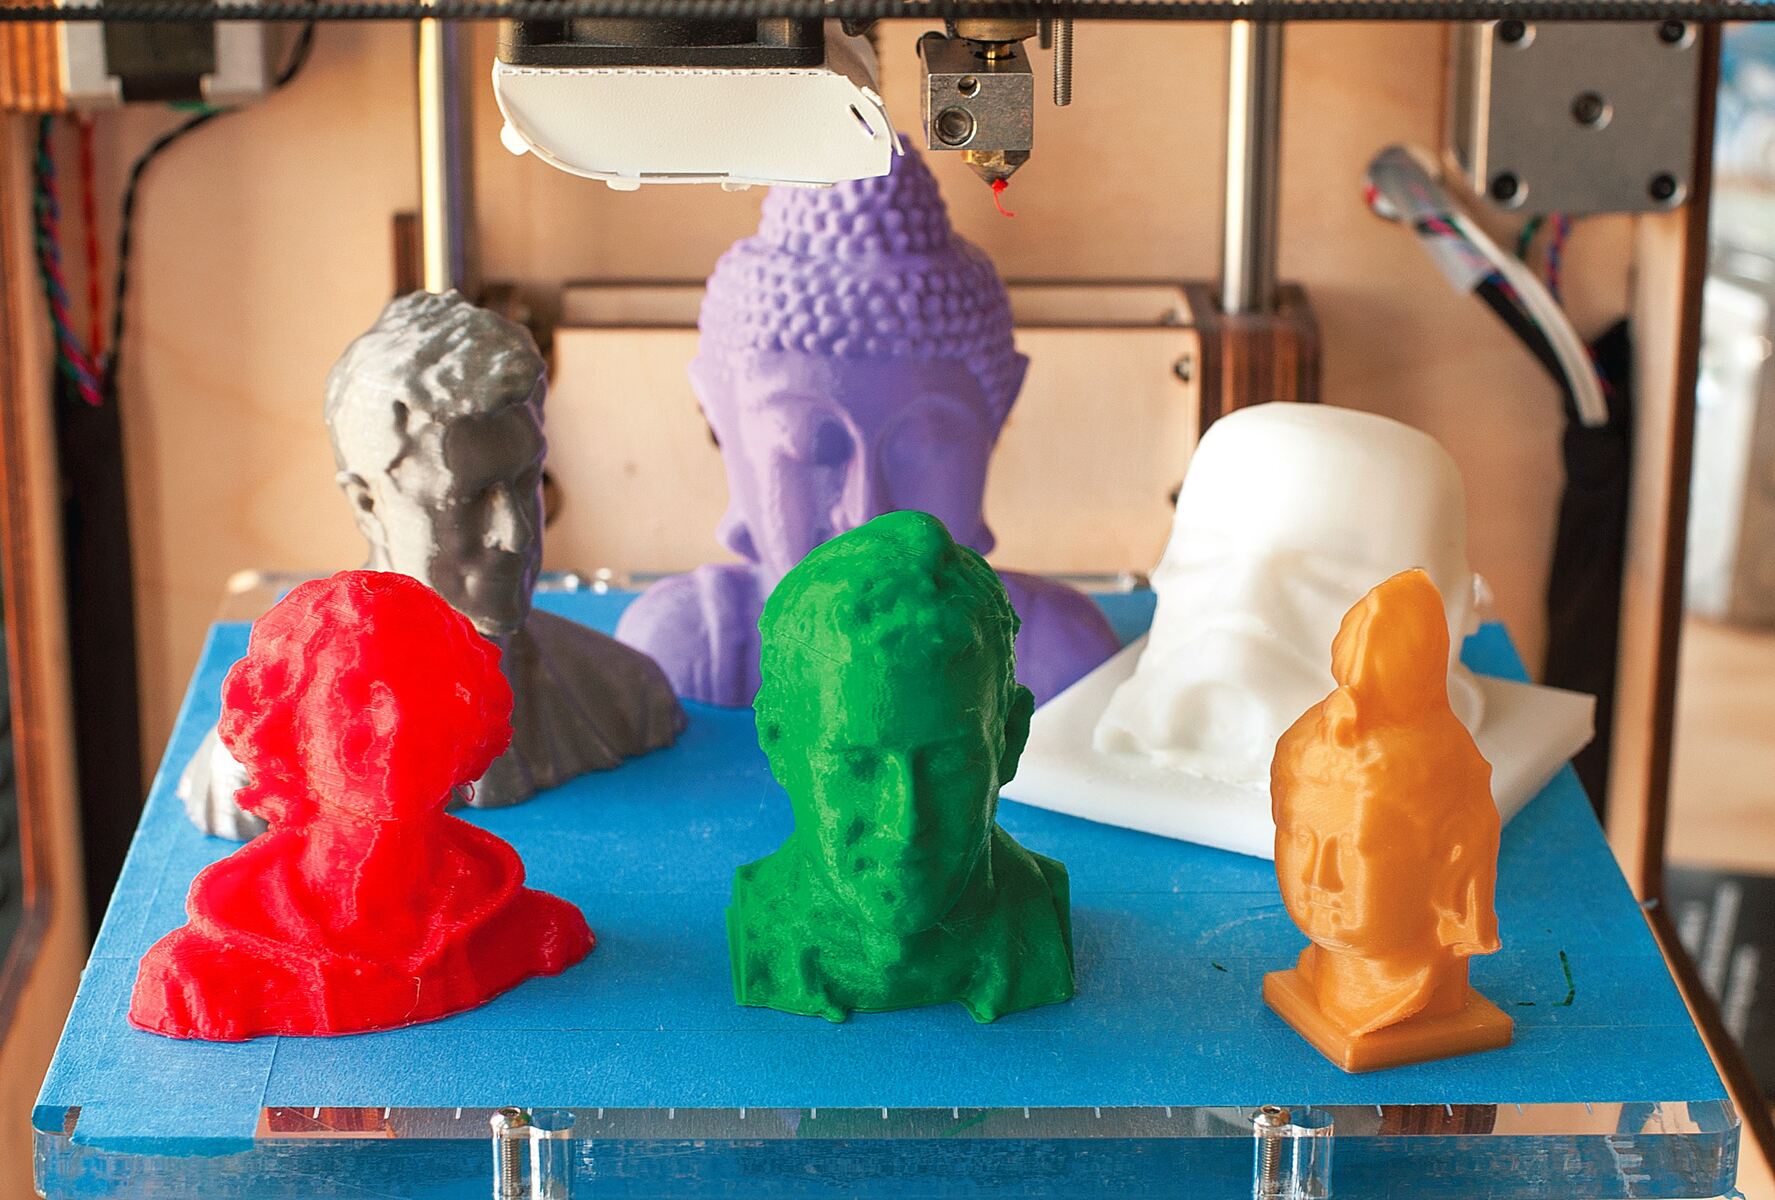
Introduction
Welcome to the world of 3D printing! With the advancements in technology, 3D printing has become more accessible than ever before. If you’re interested in creating your own 3D models for printing, you’ve come to the right place. In this article, we will guide you through the process of making a 3D model for a 3D printer.
Creating a 3D model may seem like a daunting task, but with the right software and understanding of the basics, it can be an exciting and rewarding experience. Whether you are a designer looking to bring your ideas to life or a hobbyist wanting to explore the world of 3D printing, this step-by-step guide will help you get started.
Before diving into the actual process, it’s important to note that 3D modeling requires some familiarity with computer software and a basic understanding of design concepts. However, don’t let that discourage you if you’re a beginner! With practice and patience, anyone can learn to create impressive 3D models.
In this guide, we will cover everything from choosing the right software to sending your file to the 3D printer. We will explore the key steps involved in 3D modeling, including sketching and planning your design, creating the model itself, checking for errors, and optimizing the model for printing.
Additionally, we’ll delve into the essential aspects of preparing the model for printing, such as slicing the model, adjusting print settings, and performing post-processing techniques to achieve a polished final result.
So, without further ado, let’s embark on this exciting journey into the world of 3D modeling and printing!
Step 1: Choosing the Right Software
Choosing the right software is a crucial first step when diving into 3D modeling. There are various software options available, each with its own set of features and learning curves. It’s important to select software that aligns with your skill level, needs, and budget.
If you’re completely new to 3D modeling, it’s a good idea to start with beginner-friendly software that offers simple and intuitive interfaces. TinkerCAD and SketchUp are popular options for beginners, as they provide user-friendly tools and tutorials to help you get started.
For those with more experience or looking for more advanced capabilities, software such as Autodesk Fusion 360 or Blender may be more suitable. These programs offer a wider range of tools and functionalities, allowing you to create complex and intricate designs.
Consider the type of objects you wish to create as well. Some software is more geared towards specific industries or applications, such as Autodesk AutoCAD for architectural designs or ZBrush for intricate sculptures.
It’s also important to consider the compatibility of the software with your operating system. Ensure that the software you choose is compatible with your computer or device to avoid any technical issues down the line.
Furthermore, take into account the availability of tutorials, online resources, and a supportive community. Having access to learning materials and a community of fellow users can be invaluable when you encounter challenges or need guidance.
Lastly, consider your budget. While some software options offer free versions or trials, others may require a paid subscription or purchase. Evaluate your budget and determine the level of investment you’re willing to make in 3D modeling software.
By carefully considering these factors – skill level, needs, budget, compatibility, tutorials, and community – you’ll be able to choose the right software that best suits your specific requirements. Once you’ve made your decision, you’ll be ready to embark on the exciting journey of creating your 3D models for 3D printing.
Step 2: Understanding 3D Modeling Basics
Before diving into the process of creating a 3D model, it’s essential to grasp the basics of 3D modeling. Understanding these fundamental concepts will make the entire process smoother and more efficient.
Firstly, it’s important to comprehend the difference between 2D and 3D. Traditional drawings and images are typically 2D, meaning they only have height and width. In contrast, 3D models add depth to the equation, creating objects that can be viewed and manipulated from various angles.
One key aspect of 3D modeling is the understanding of geometry. In simple terms, geometry refers to the spatial relationships of points, lines, and shapes. It includes concepts like vertices (points), edges (lines), and faces (flat surfaces).
Another vital concept is the understanding of coordinate systems. In 3D modeling, objects are positioned within a three-dimensional coordinate system. This system uses X, Y, and Z axes to represent width, height, and depth, respectively. Familiarizing yourself with this coordinate system will enable you to accurately position and manipulate objects within your 3D modeling software.
Furthermore, being acquainted with basic modeling techniques is important. These techniques include extrusion, where a 2D shape is pulled or pushed to create a 3D object, and Boolean operations, where different objects are combined or subtracted to create complex shapes.
It’s also crucial to understand the concept of mesh and polygons. A mesh is a collection of vertices, edges, and faces that form the surface of a 3D model. Polygons make up these faces and come in various forms, such as triangles and quadrilaterals. Some software may require models to be made up of specific polygon types, so it’s essential to understand how to work with and manipulate them.
Lastly, familiarize yourself with the concept of file formats commonly used in 3D modeling. The most common format is STL (Standard Tessellation Language), which captures the surface geometry of a 3D model. Other formats, such as OBJ or STEP, may be used for specific purposes. Understanding these file formats will ensure compatibility when exporting and importing models.
By having a solid understanding of these 3D modeling basics – including geometry, coordinate systems, modeling techniques, meshes and polygons, and file formats – you’ll be well-equipped to navigate the intricacies of creating 3D models for your 3D printer. Armed with this knowledge, let’s move on to the next step: sketching and planning your design.
Step 3: Sketching and Planning Your Design
Now that you have a grasp of the basics of 3D modeling, it’s time to move on to the exciting stage of sketching and planning your design. This step is crucial as it lays the foundation for the 3D model you will create.
Start by brainstorming and visualizing your concept. Think about the purpose of your design and the specific features you want to incorporate. Consider the size, shape, and overall aesthetics you wish to achieve.
Next, bring your ideas to paper or use digital sketching tools to create preliminary sketches of your design. This helps you get a clearer vision of how your object will look in three dimensions. Pay attention to proportions, dimensions, and any intricate details you want to include.
Once you have a solid sketch, it’s time to move onto more detailed planning. Consider the technical aspects of your design, such as how the different parts will fit together or how it will be assembled.
During this planning phase, take into account any limitations or constraints that your 3D printer may have. For example, consider the maximum print size, resolution, and support requirements of your printer. Design your model in a way that it can be successfully printed without any issues.
It’s also beneficial to research similar designs or gather inspiration from existing 3D models. This can give you new ideas, help you understand the technicalities of certain features, and guide you in creating an innovative design.
Remember, the planning phase is an iterative process. Make adjustments to your sketches and plans as needed, refining your design along the way. Don’t be afraid to experiment and explore different possibilities.
Once you’re satisfied with your sketches and detailed plans, you’re ready to move on to the next step: creating the actual 3D model. In the following section, we will dive into the intricacies of bringing your design to life using 3D modeling software. So let’s get started!
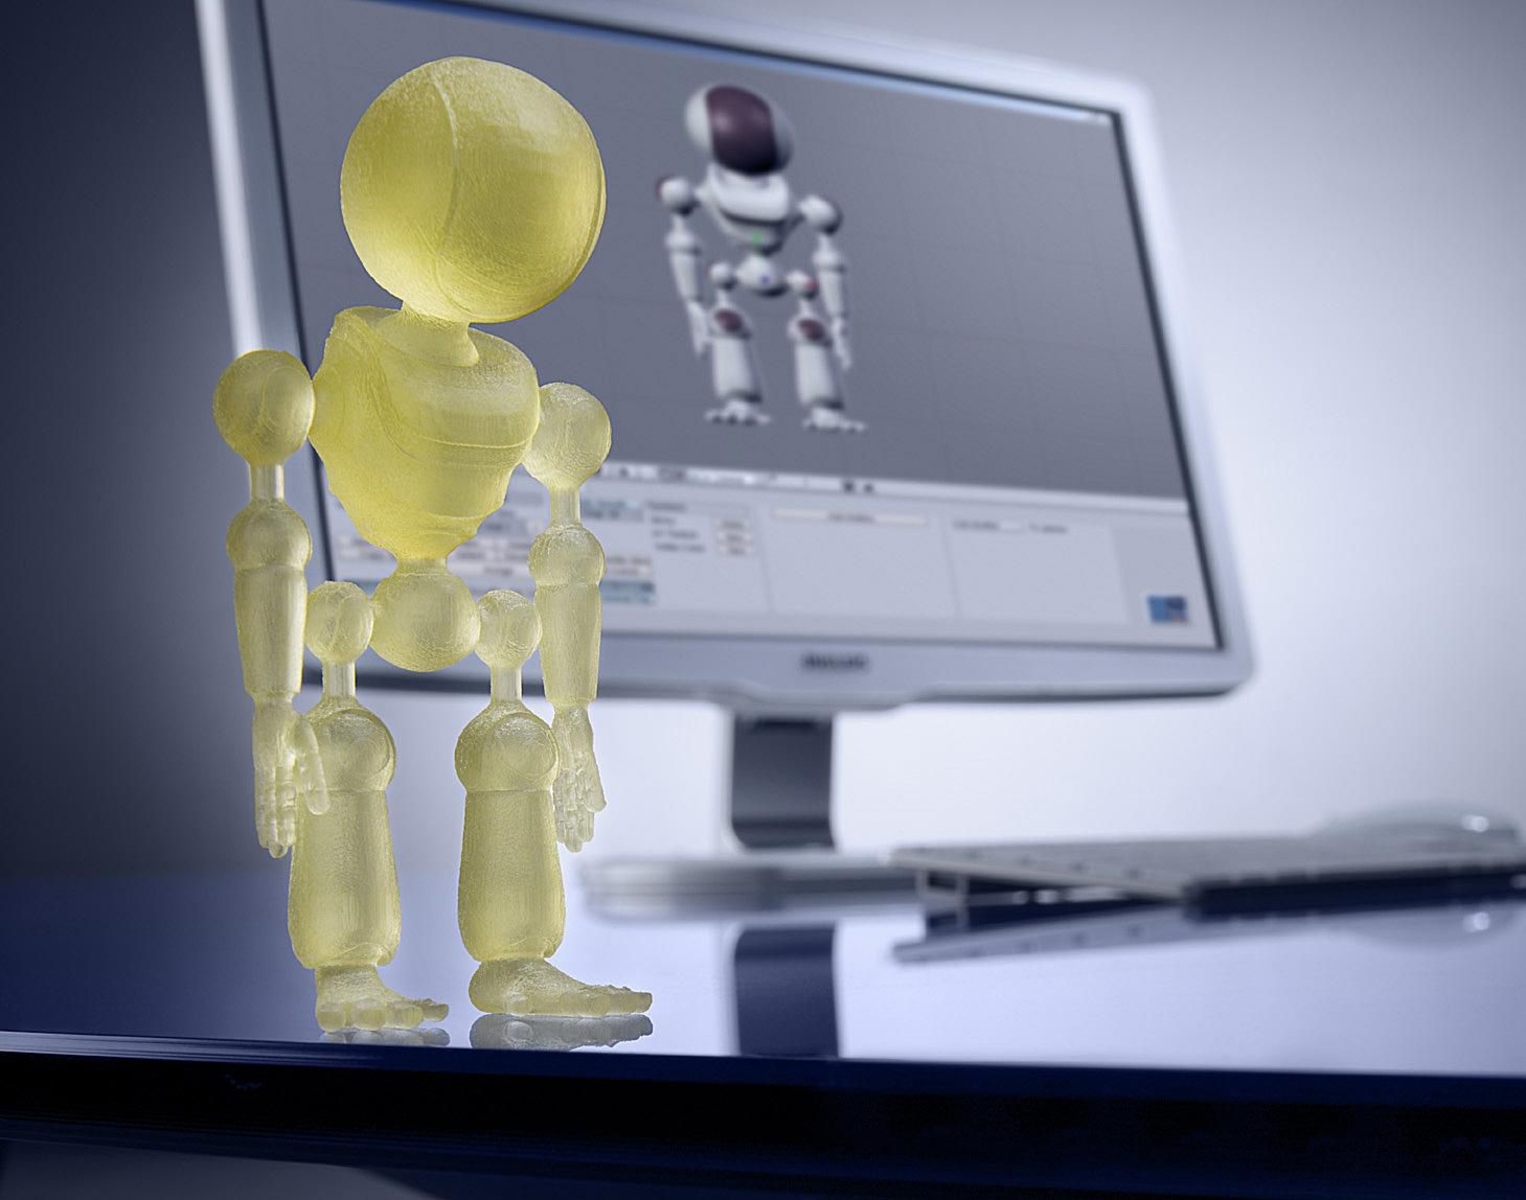
Step 4: Creating the 3D Model
With your sketches and detailed plans in hand, it’s time to bring your design to life by creating the actual 3D model. This step is where you’ll use your chosen 3D modeling software to shape your virtual object.
Start by importing your sketches or reference images into the software. This will serve as a guide for creating the basic shape and proportions of your model. Use the software’s tools to trace or sculpt the initial form, focusing on capturing the overall structure and dimensions.
Next, it’s time to refine the details of the model. Use the software’s various tools and brushes to add intricate features, such as textures, patterns, or specific shapes. Pay attention to the small details that will make your design unique and visually appealing.
As you work on your model, make use of the software’s 3D viewports and camera controls to examine your design from multiple angles. This allows you to ensure that your model looks aesthetically pleasing from all perspectives.
While creating the 3D model, it’s important to maintain good geometry and clean topology. Avoid unnecessary complexity and ensure that the vertices, edges, and faces flow smoothly. This will make the model easier to work with and optimize for 3D printing.
In addition to the visual aspects, consider the structural integrity of your design. If your model features movable parts or requires support structures during printing, make sure that they are designed and positioned correctly within the model.
Throughout the process, save your progress regularly and make use of different file versions or backups. This can be especially useful if you need to backtrack or make changes to an earlier stage of your model’s development.
Remember, creating a 3D model is a creative process, and there’s no one right way to do it. Explore different techniques, experiment with different tools, and don’t be afraid to make adjustments and modifications as you go along.
Once you are satisfied with your 3D model, it’s time to proceed to the next step: checking for errors and optimizing the model for 3D printing. We’ll cover these important steps in detail in the following section. So let’s continue our journey of bringing your design to life with a 3D printer!
Step 5: Checking for Errors and Optimizing the Model
After creating your 3D model, it’s crucial to thoroughly check for any errors or issues that may impact the quality of the final print. This step ensures that your design is optimized and ready for 3D printing.
Begin by inspecting the geometry of your model. Look for any intersecting or overlapping parts, as well as any gaps or holes in the surface. These issues can result in printing errors or structural weaknesses. Make use of your software’s tools for repairing or closing these gaps to ensure a watertight model.
Next, check for any non-manifold geometry, which refers to areas of your model where the geometry does not meet the requirements of a solid object. These can cause printing errors or result in unexpected outcomes. Use the software’s tools to fix any non-manifold geometry, ensuring that your model is clean and printable.
Pay attention to the thickness of your model’s walls and features. Thin walls may result in a fragile print, while overly thick walls can lead to excessive use of material and longer printing times. Optimize the wall thickness to strike a balance between strength and efficiency.
If your model includes overhangs or intricate details, consider adding support structures. These supports help prevent sagging or collapsing during the printing process. Your software may have automatic support generation tools that can assist with this process. Alternatively, you can manually add supports to your model using the software’s editing tools.
Once you have addressed these issues, it’s a good practice to run a 3D print simulation within your software. This simulation allows you to visualize the printing process and identify any potential problems. It can help you determine if your model is likely to print successfully or if any further adjustments are needed.
Another essential step is to consider the orientation of your model for printing. By optimizing the orientation, you can minimize the need for support structures and achieve the best possible surface finish. Experiment with different orientations to find the one that works best for your design.
Lastly, before moving on to the printing stage, take the time to review your model one final time. Ensure that all the details are as intended, and make any additional adjustments or refinements as needed. Remember, attention to detail at this stage will result in a high-quality final print.
With your model checked for errors and optimized for 3D printing, you’re now ready to move on to the next step: exporting the model for 3D printing. In the next section, we will explore the various file formats and settings you need to consider when exporting your model. So let’s continue our journey towards bringing your design to life!
Step 6: Exporting the Model for 3D Printing
Once you have completed the necessary checks and optimizations on your 3D model, the next step is to export it in a format that is compatible with your 3D printer. This ensures that the printer can accurately interpret and reproduce your design.
The most commonly used file format for 3D printing is STL (Standard Tessellation Language). This format represents the surface geometry of your model using triangles. Most 3D modeling software has an option to export your model directly as an STL file.
Before exporting, it’s essential to review the export settings. Ensure that the unit of measurement (e.g., millimeters) is correctly set to match your intended scale. Also, consider the level of detail or resolution you want for your print. Higher resolution means more triangles and a more accurate representation of your model, but it may also result in larger file sizes and longer print times.
In addition to STL, there are other file formats you may encounter depending on your software and printer. These include OBJ, AMF, and 3MF. While STL is the most widely supported format, it’s always a good idea to consult your printer’s documentation or software recommendations for the optimal file format to use.
When exporting, choose a location on your computer or portable storage device where you can easily access the file. It’s also advisable to keep multiple versions of your exported files, especially if you plan to make further modifications or updates to your design.
At this stage, it’s a good practice to open the exported STL file in a dedicated 3D slicing software. Slicing software converts your 3D model into a series of thin layers and generates the toolpath information for your printer. It allows you to adjust print settings and preview the print before actually sending it to the printer.
Within the slicing software, you can specify parameters such as layer height, infill density, print speed, and support structures. These settings directly impact the quality and strength of the printed object, so it’s important to understand their implications and adjust them according to your specific needs.
Once you are satisfied with the slicing settings, the final step in this stage is to save the sliced file in the appropriate format recognized by your 3D printer, such as G-code or a proprietary format. This file will contain all the information required by your printer to execute the print job accurately.
With the model properly exported and sliced, you’re now ready to move on to the next step in our journey: preparing your printer and setting up for printing. In the upcoming section, we will explore the necessary steps to ensure a successful print. So let’s continue on our path to bring your design to life!
Step 7: Slicing the Model for Printing
With your 3D model exported, the next step is to slice it using dedicated slicing software. Slicing software takes your 3D model and converts it into a series of layers, generating the toolpath instructions necessary for your 3D printer to produce the object.
Start by opening the slicing software and importing the previously exported STL or compatible file. The software will analyze the model and allow you to adjust various printing parameters to achieve the desired print quality.
One critical parameter to consider is the layer height. This determines the thickness of each individual layer in the print. Smaller layer heights result in smoother surfaces but may lead to longer print times. Conversely, larger layer heights can speed up printing but may sacrifice surface quality. Find the balance between speed and detail that suits your project.
Another crucial aspect of slicing is deciding on the infill density. Infill refers to the internal structure of the printed object. Higher infill percentages result in a stronger print, while lower percentages reduce material usage and print time. It’s essential to consider the function and structural integrity of your design when adjusting infill density.
Additionally, consider the printing speed, which determines the speed at which the printer moves during the printing process. Higher speeds can reduce print time, but they may also sacrifice print quality and accuracy. It’s recommended to start with default speed settings and gradually adjust as needed.
If your design includes overhangs or intricate features, you may need to enable support structures. These temporary structures provide stability during printing and prevent any areas from collapsing. Most slicing software allows you to generate automatic support structures or manually add them to specific areas of your model.
In the slicing software, you can also adjust parameters such as print temperature, print bed temperature, and cooling settings to optimize adhesion, prevent warping, and ensure proper layer bonding. These settings may vary depending on the material you are using, so it’s important to consult the material and printer specifications.
Once you have adjusted the necessary parameters, preview the sliced model using the software’s visualization tools. This allows you to inspect each layer and identify any potential issues or areas that may require further adjustments. Take your time to review the preview and make any necessary modifications before proceeding.
When you are satisfied with the slicing settings and preview, save the sliced file in a format compatible with your 3D printer, such as G-code or a proprietary format. This file will contain all the instructions and data required by the printer to accurately reproduce your object layer by layer.
Congratulations! You have successfully sliced your model, and it’s now ready to be printed. In the next step, we will guide you through the final preparations and settings required before sending the file to the 3D printer. So let’s continue our journey towards bringing your design to life!
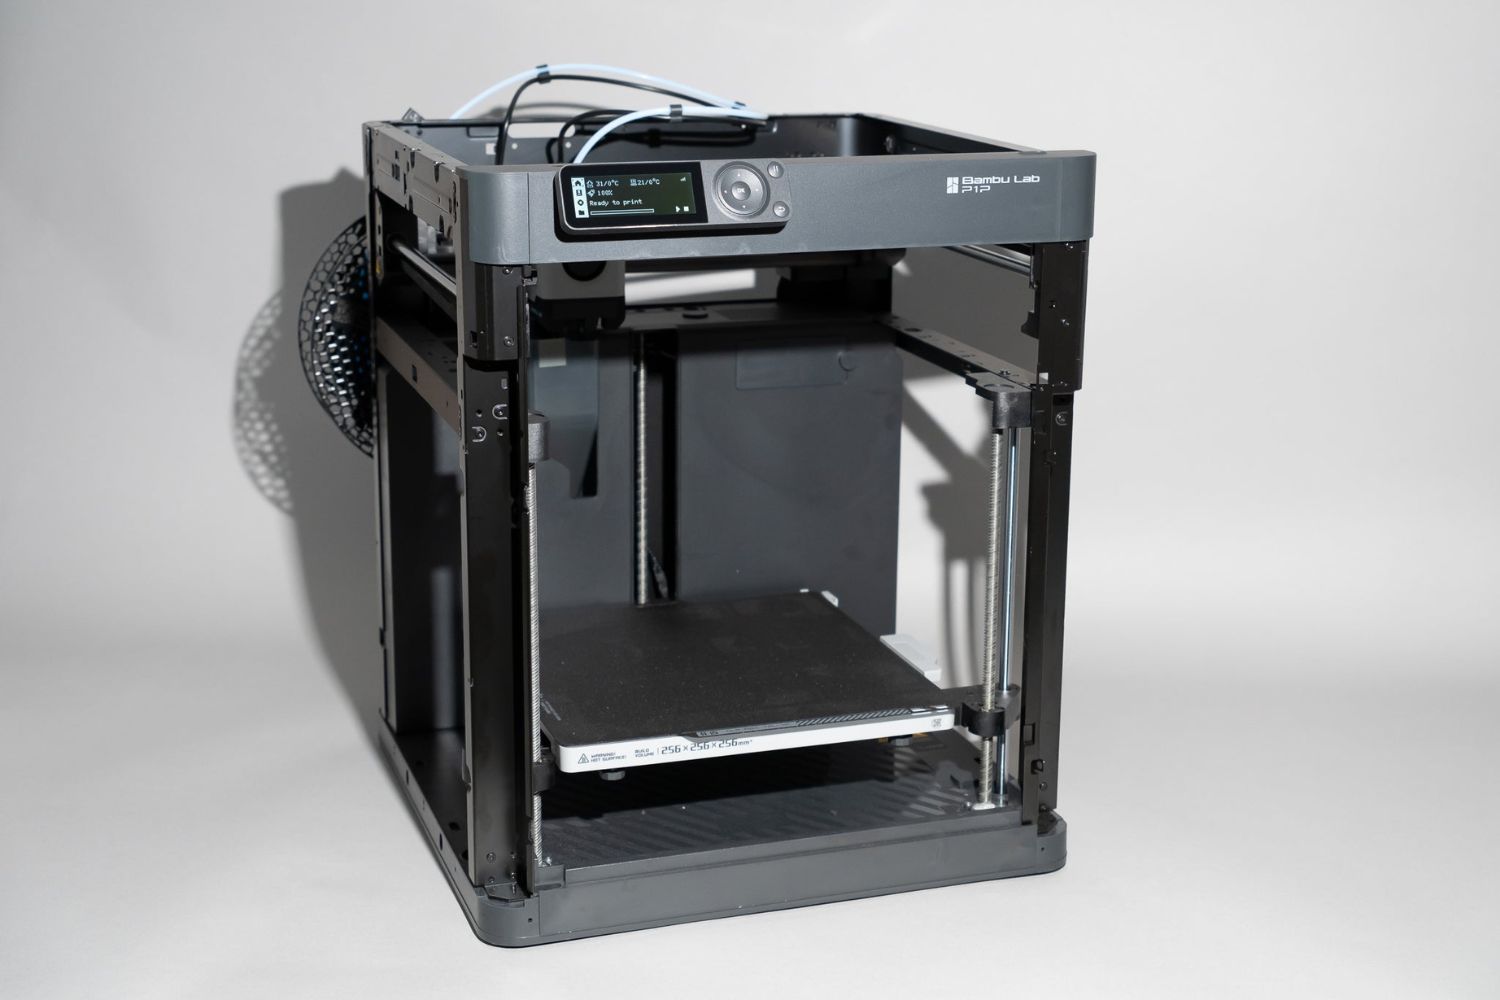
Step 8: Print Preparation and Settings
With your model sliced and the file ready, it’s time to prepare your 3D printer for the actual printing process. This step involves setting up the printer, ensuring proper adhesion to the build plate, and adjusting various settings to achieve the desired print quality.
Firstly, ensure that your printer is in good working condition. Verify that the print bed is clean and free from debris or residue that may affect adhesion. Additionally, check that the printer’s nozzle is clean and unclogged to avoid any extrusion issues during printing.
Next, properly level the print bed to ensure that the first layer adheres correctly. Many 3D printers have manual or automatic bed leveling features. Follow the instructions provided by the manufacturer to achieve a level surface. This will help prevent issues such as warping or uneven prints.
Consider using a suitable adhesive for bed adhesion. Depending on your printer and print bed material, options such as painter’s tape, hairspray, or specialized adhesive sheets may be recommended. Apply the adhesive to the print bed before starting the print to improve adhesion and reduce the chances of print separation.
Before printing, set the appropriate temperature for the printer’s extruder and heated bed. These temperatures depend on the filament material you are using. Consult the manufacturer’s guidelines or the filament packaging for recommended temperature settings.
Take note of the recommended print speed for your specific filament and printer combination. Adjust the print speed settings accordingly in the printer’s control software to ensure smooth and accurate movements during printing. It’s important to find the right balance between print speed and print quality.
If your model requires support structures, make sure to enable this feature in the printer’s control software before starting the print. Proper support structures are essential for printing overhangs and complex geometries, preventing the print from failing due to gravity-induced deformations.
Pay attention to the layer height setting, which determines the thickness of each layer of your print. Ensure that the printer is set to the same layer height that was specified during the slicing process. Adjust this setting if you want to experiment with different levels of detail or printing speed.
Finally, double-check the print file, ensuring that it is properly loaded and ready to initiate the print. If you have multiple files or multiple prints in a queue, review the print order and settings to avoid any errors or confusion.
With the printer properly prepared and all the settings in place, you are now ready to begin the 3D printing process. Start the print job and monitor the progress closely, addressing any issues that may arise along the way.
Congratulations! You have successfully prepared your 3D printer and adjusted the necessary settings. In the final step, we will cover the post-processing and finishing touches to give your printed object that professional and polished look. So let’s move forward and complete our journey of bringing your design to life!
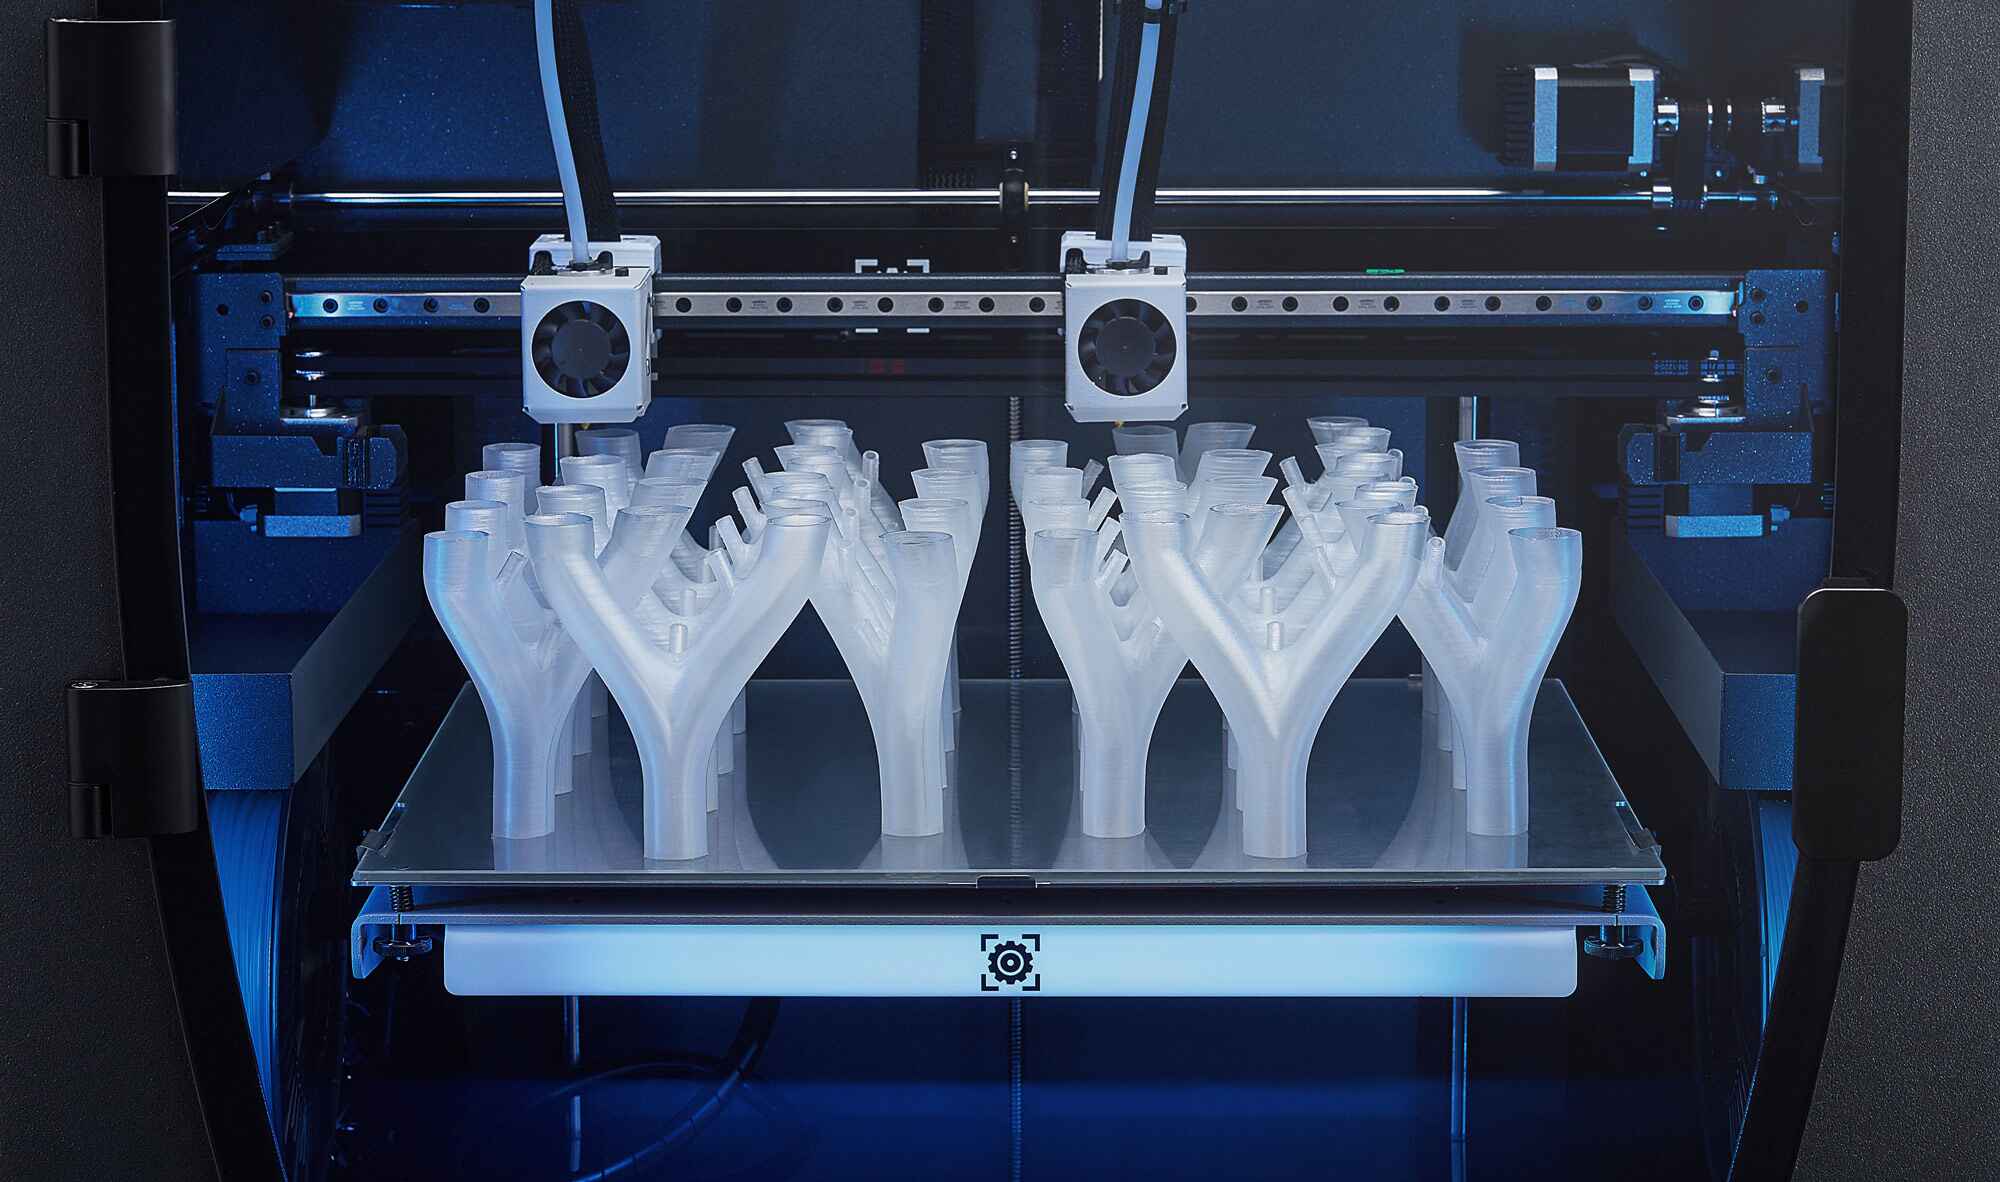
Step 9: Sending the File to the 3D Printer
After completing all the necessary preparations, it’s time to send the sliced file to your 3D printer and start the printing process. In this step, we will guide you through the final actions required to initiate the print job successfully.
Firstly, ensure that your printer is connected to your computer or the network where the print file is located. This can be done through USB, Wi-Fi, or an Ethernet connection. Verify that the printer is powered on and ready to receive commands.
Open the dedicated 3D printer control software that corresponds to your printer model. In the software, locate the option to load or import the printing file. Browse to the location of the sliced file saved during the previous step and select it for printing.
Depending on your printer or software, you may have additional options to tweak print settings. This includes parameters such as print speed, temperature, and fan settings. Ensure that these settings align with your desired print quality and that they match the settings used during the slicing process.
Select the appropriate print file from the software and send it to the printer. The software will transfer the file to the printer, which will then begin the printing process based on the instructions encoded in the file.
During the printing process, monitor the printer’s performance closely. Pay attention to the initial layer adhesion and verify that the extrusion is consistent and accurate. Be mindful of any unusual sounds or irregular movements that may indicate a problem.
It’s crucial to allow the printer to complete the entire printing process without interruptions. Avoid moving or manipulating the print bed or the printed object while printing is in progress, as it can lead to misalignment or failed prints.
While the printer is working, take this opportunity to ensure that the printing environment remains stable. Avoid exposing the printer to excessive vibrations, drafts, or temperature fluctuations that may impact the print quality or cause print failures.
Once the printer has completed the print job, carefully remove the printed object from the print bed, following any specific guidelines provided by the printer manufacturer. Use caution to prevent damage to both the object and the print bed.
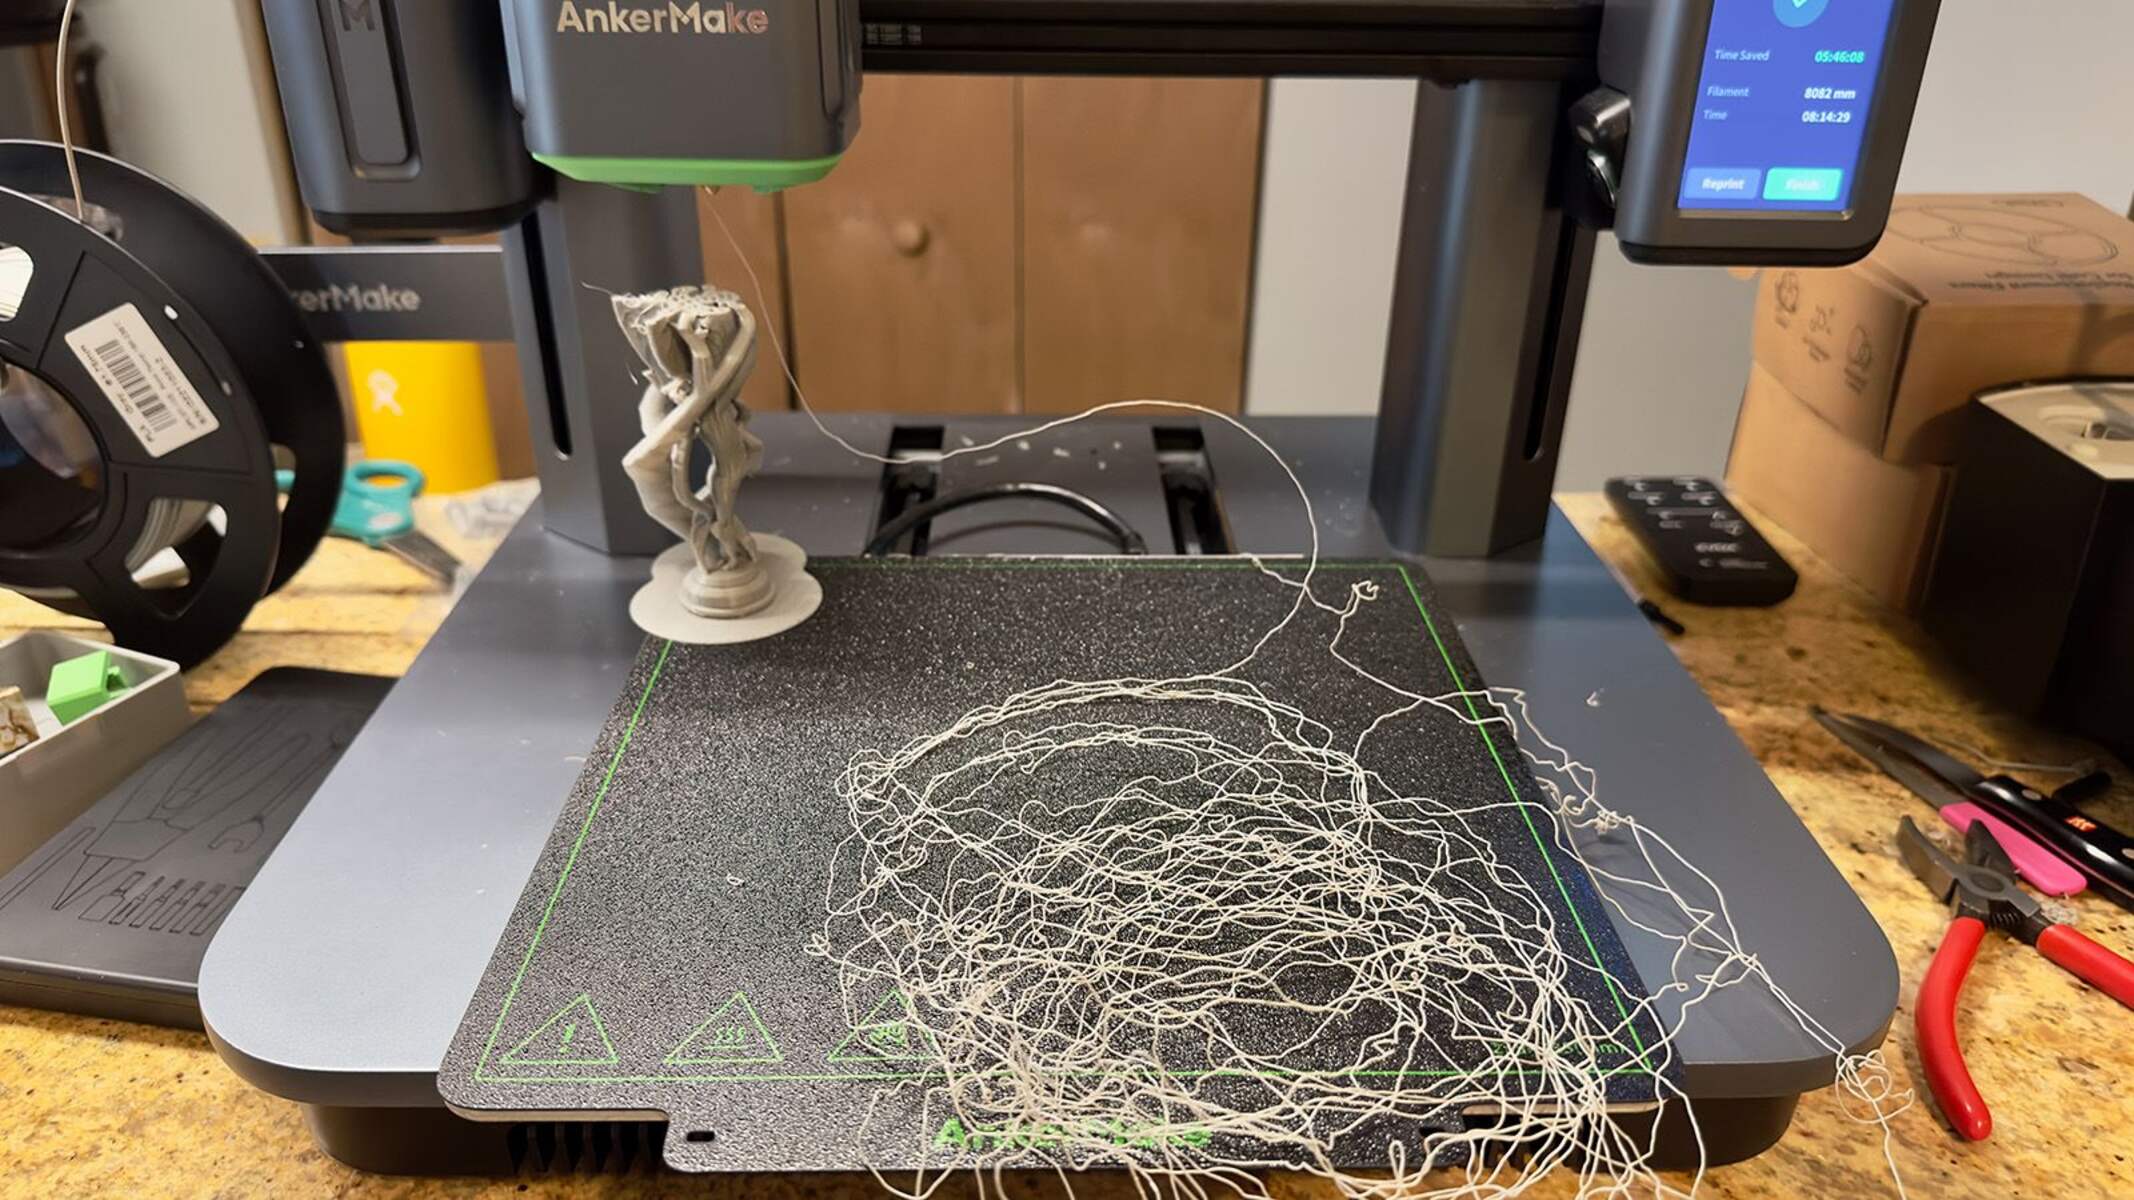
Inspect the printed object for any visual imperfections, such as stringing, layer shifting, or inconsistencies. These can often be resolved through post-processing techniques, which we will cover in the next and final step.
Congratulations! You have successfully sent the file to your 3D printer and initiated the printing process. In the next and final step, we will explore the post-processing and finishing touches to give your printed object that professional and polished look. So let’s progress and complete our journey of bringing your design to life!
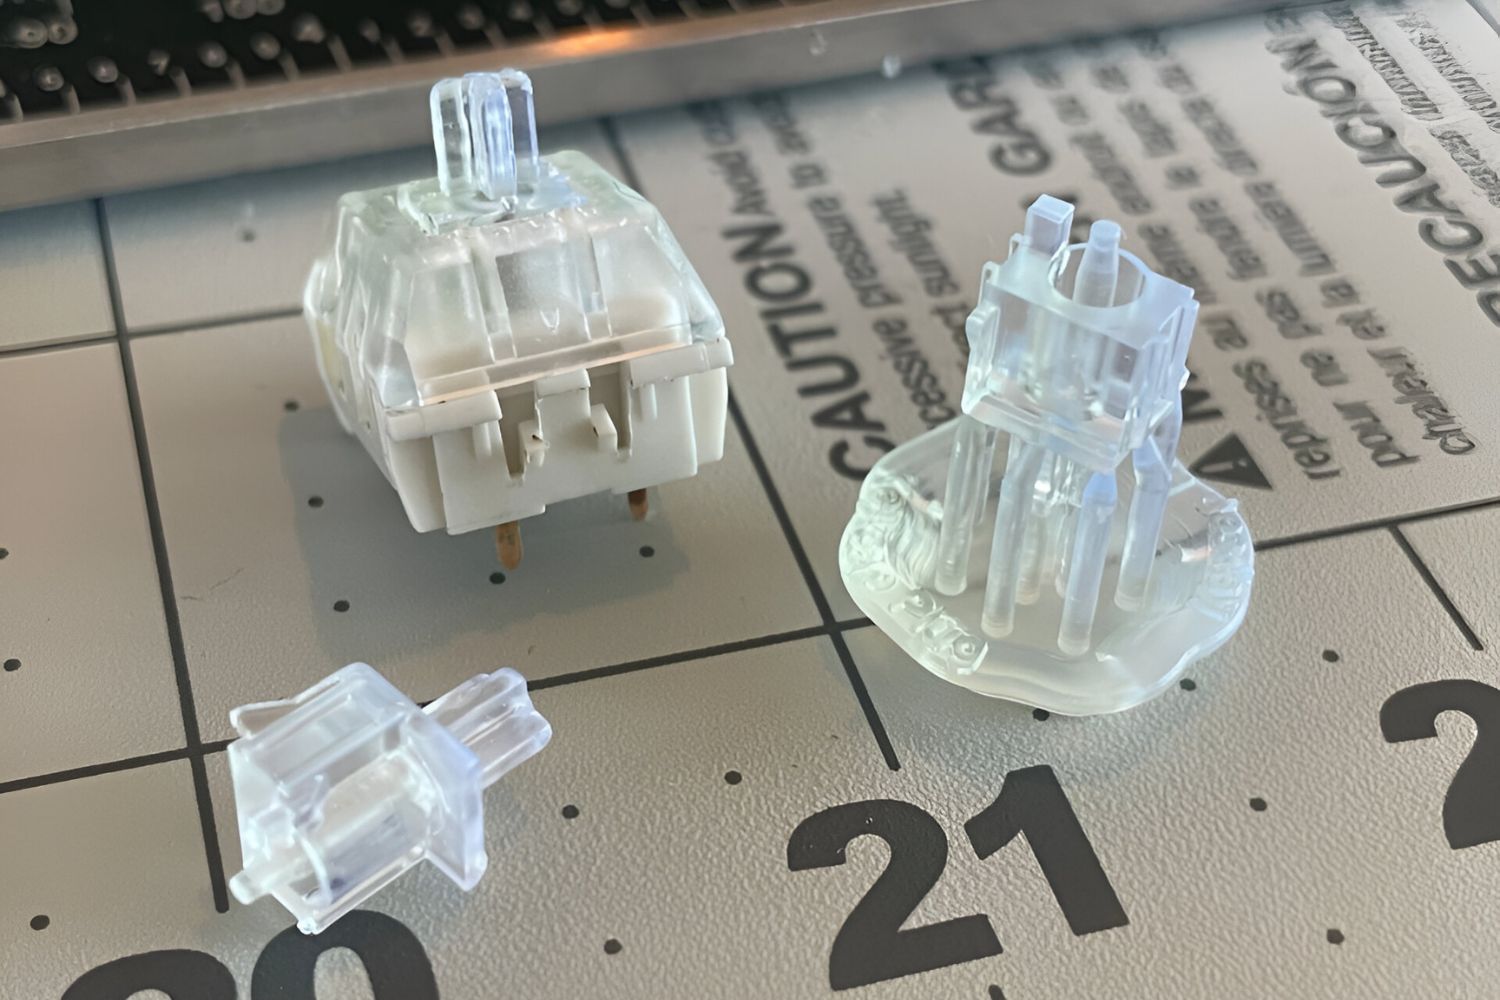
Step 10: Post-Processing and Finishing Touches
After the 3D printing process is complete and you have your printed object in hand, it’s time to take it to the next level with post-processing and finishing touches. This step involves refining the appearance, addressing any imperfections, and adding those final details to make your print truly impressive.
Start by carefully removing any support structures that were printed along with your object. Use snippers, pliers, or other appropriate tools to gently break away the supports, taking care not to damage the main structure. If necessary, use sandpaper or a file to smoothen any rough edges left by the supports.
Inspect the printed object for any visible layer lines or imperfections in the surface. Depending on the material used and the desired finish, there are several techniques you can employ to improve the surface quality. Sanding the surface with progressively finer-grit sandpaper can help soften layer lines and create a smoother surface.
If you are working with filament-based prints, consider using a heat gun or a flame (with caution) to carefully pass over the surface. This technique, known as flame polishing or heat smoothing, can help melt and blend the layers, resulting in a more polished and uniform appearance. However, exercise caution and always prioritize safety when using these methods.
Once the surface is smooth, you can further enhance the appearance by applying a suitable finish. This can involve painting the object with acrylic or spray paints to add color and texture. Use thin coats, allowing each layer to dry before applying the next. You can also use techniques such as airbrushing or adding intricate details with a brush or fine-tipped marker.
If your object has small holes or imperfections, you can utilize filler materials such as epoxy putty or wood filler to smooth the surface and create a seamless finish. Apply the filler and sand it down to achieve a uniform appearance, ensuring that it blends seamlessly with the rest of the object.
For more advanced finishes, consider techniques such as hydro dipping, which involves transferring a decorative pattern to the surface of the object using water immersion. Another method is electroplating, which utilizes an electrical current to deposit a thin layer of metal onto the surface, giving it a metallic finish.
Finally, don’t forget to add any additional touches that complement your design. This could include applying decals, attaching small accessories, or even integrating electronic components to add functionality to your print.
Throughout the post-processing stage, remember to document your techniques, materials used, and any challenges faced. This will help you refine your skills and replicate successful results in future projects.
With the post-processing and finishing touches complete, you have transformed your 3D printed object into a professional and polished final product. It’s now time to proudly display or utilize your creation, showcasing the results of your hard work and creativity.
Congratulations! You have successfully completed all the steps from designing and modeling to printing and post-processing. We hope this guide has helped you create a remarkable 3D printed object. Remember, the possibilities with 3D printing are endless, so continue exploring new ideas and pushing the boundaries of your creativity.
Conclusion
Congratulations on completing your journey into the world of 3D modeling and printing! Throughout this guide, we have explored the step-by-step process of creating a 3D model for a 3D printer, from choosing the right software to post-processing and finishing touches.
We started by emphasizing the importance of choosing the right software that aligns with your skill level, needs, and budget. Understanding the basics of 3D modeling, such as geometry, coordinate systems, and file formats, laid the foundation for creating your design.
We then delved into the process of sketching and planning your design, ensuring that you visualized your concept and considered the technical aspects and limitations of 3D printing. From there, we moved on to creating the 3D model, refining the details, and optimizing it for printing.
Slicing the model for printing involved adjusting settings, such as layer height, infill density, and support structures, to achieve the desired print quality. We also covered the final preparations and settings required before sending the file to the 3D printer.
Once the printing process was underway, we discussed the importance of monitoring the printer’s performance and maintaining a stable printing environment. Finally, we explored the vital step of post-processing and finishing touches, which elevated the appearance of your printed object to a professional and polished level.
By following these steps and honing your skills, you have gained the ability to create stunning 3D printed objects that showcase your creativity and technical prowess. This guide serves as a jumping-off point for your continued exploration and growth in the field of 3D modeling and printing.
Remember to keep experimenting, learning from challenges, and pushing the boundaries of your imagination. Embrace the exciting possibilities that 3D printing offers and continue to refine your skills to create even more remarkable designs in the future.
Thank you for joining us on this journey, and we wish you continued success in all your 3D printing endeavors. Happy creating!