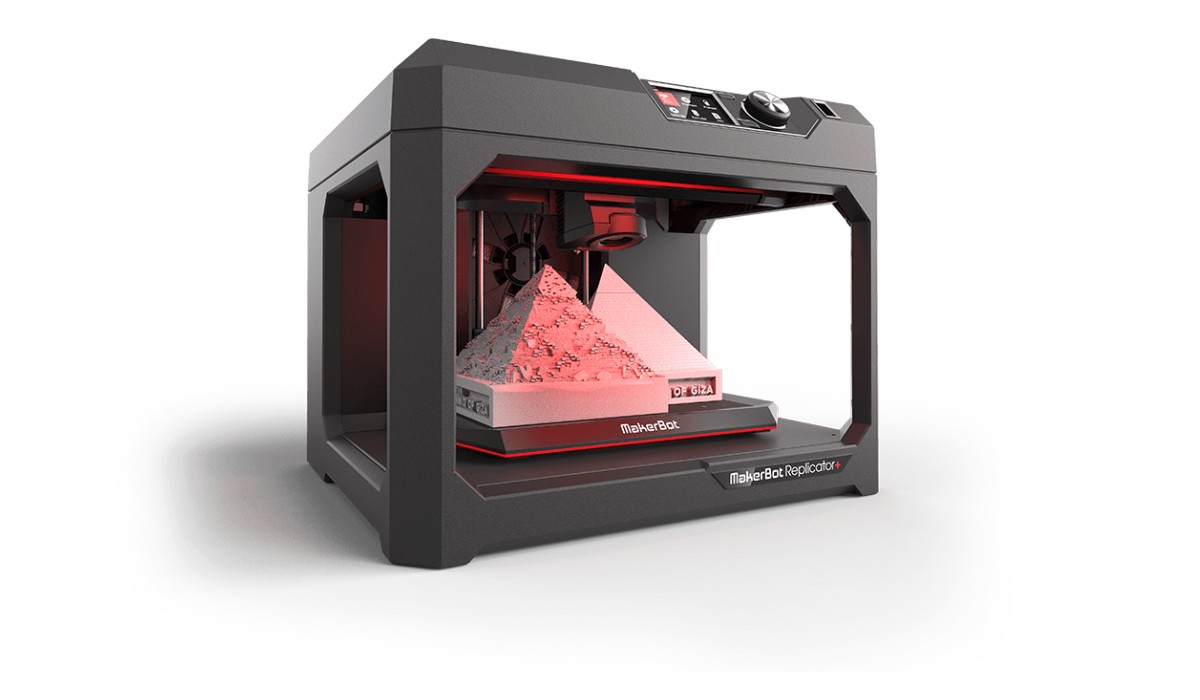
Introduction
Welcome to the world of 3D printing! Whether you’re a hobbyist, designer, engineer, or just curious about the technology, setting up a 3D printer is the first step towards bringing your creations to life. In this guide, we will walk you through the process of setting up your 3D printer and preparing it for your first print.
3D printing has revolutionized manufacturing by enabling the creation of complex and customized objects. From intricate prototypes to decorative household items, this technology allows you to transform digital designs into tangible objects with ease. However, getting started with 3D printing can seem overwhelming, especially for beginners.
In this comprehensive guide, we will cover everything you need to know to set up your 3D printer successfully. We’ll discuss safety precautions, unboxing the printer, assembling its components, connecting it to power and your computer, installing the necessary software, calibrating the printer, loading the filament, adjusting print settings, preparing the 3D model, and initiating the print.
By following this step-by-step guide, you’ll gain a solid understanding of the entire 3D printing process and be well on your way to creating amazing 3D printed objects of your own. So, let’s dive in and get started on this exciting journey!
Safety Precautions
Before diving into the setup process, it’s important to prioritize safety when working with a 3D printer. While 3D printers are generally safe, they do involve high temperatures and small moving parts. Following these safety precautions will ensure a smooth and worry-free printing experience:
- Read the User Manual: Familiarize yourself with the manufacturer’s instructions and guidelines. This will help you understand the specific safety requirements and precautions for your particular 3D printer model.
- Choose an Appropriate Location: Set up your 3D printer in a well-ventilated area to avoid inhaling potentially harmful fumes. Ideally, choose a location away from flammable materials and ensure there is enough space for the printer to operate without any obstructions.
- Wear Protective Gear: Utilize safety glasses and gloves to protect yourself from hot surfaces and sharp objects. Consider using a dust mask if your printer uses materials that generate fine particles.
- Keep Children and Pets Away: 3D printers can be fascinating to watch, but it’s important to keep children and pets at a safe distance. The hot components and moving parts can pose a risk of injury.
- Monitor the Print: While 3D printers are designed to operate autonomously, it’s important to maintain visual supervision during the printing process. This allows you to quickly respond to any unexpected issues that may arise.
- Keep a Fire Extinguisher Nearby: Although rare, it’s better to be prepared. Have a fire extinguisher readily accessible in case of any emergencies.
- Maintain a Clean Workspace: Ensure your printing area is clean and clutter-free. This reduces the risk of tripping over cables or damaging the printer due to accidental spills or mishaps.
- Do Not Modify the Printer Mid-Print: Avoid making any adjustments or modifications to the printer while it is in operation. This can jeopardize the printing process and potentially cause damage.
By adhering to these safety precautions, you can enjoy the exciting world of 3D printing while minimizing any potential risks. It’s important to remember that every printer is different, so always consult your user manual for specific safety instructions. With all precautions in place, you’re now ready to unbox and set up your 3D printer!
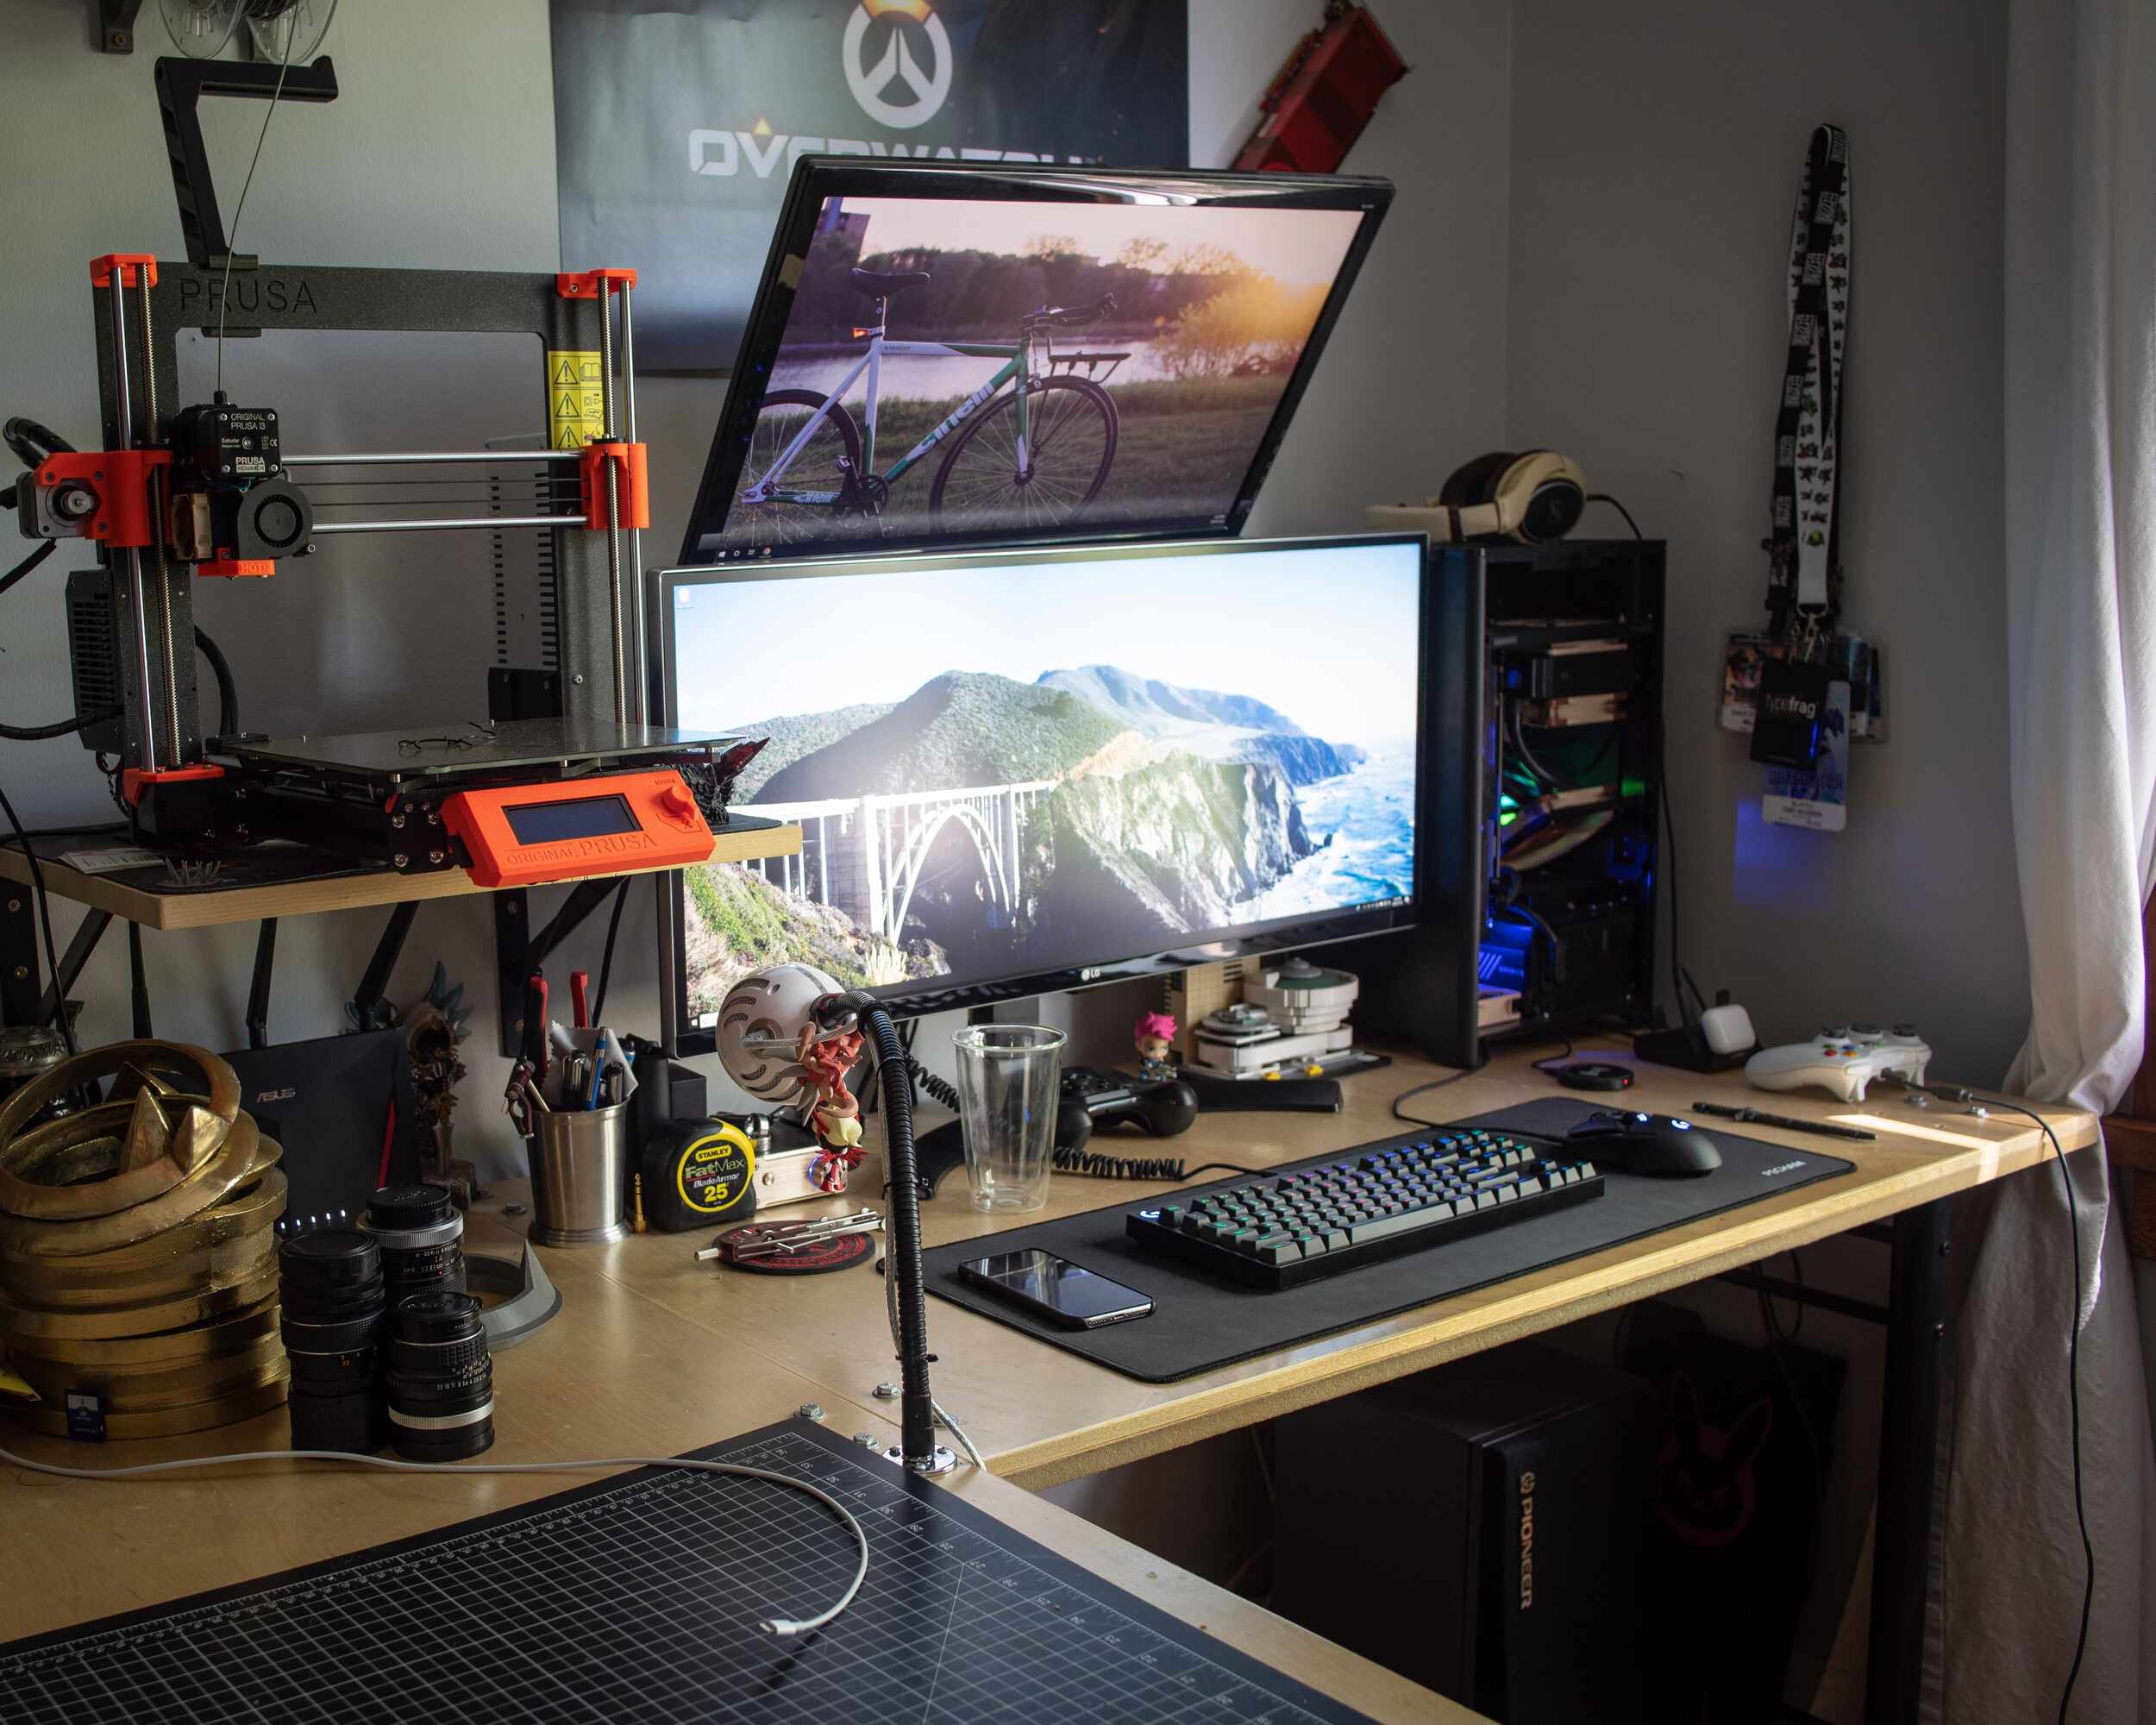
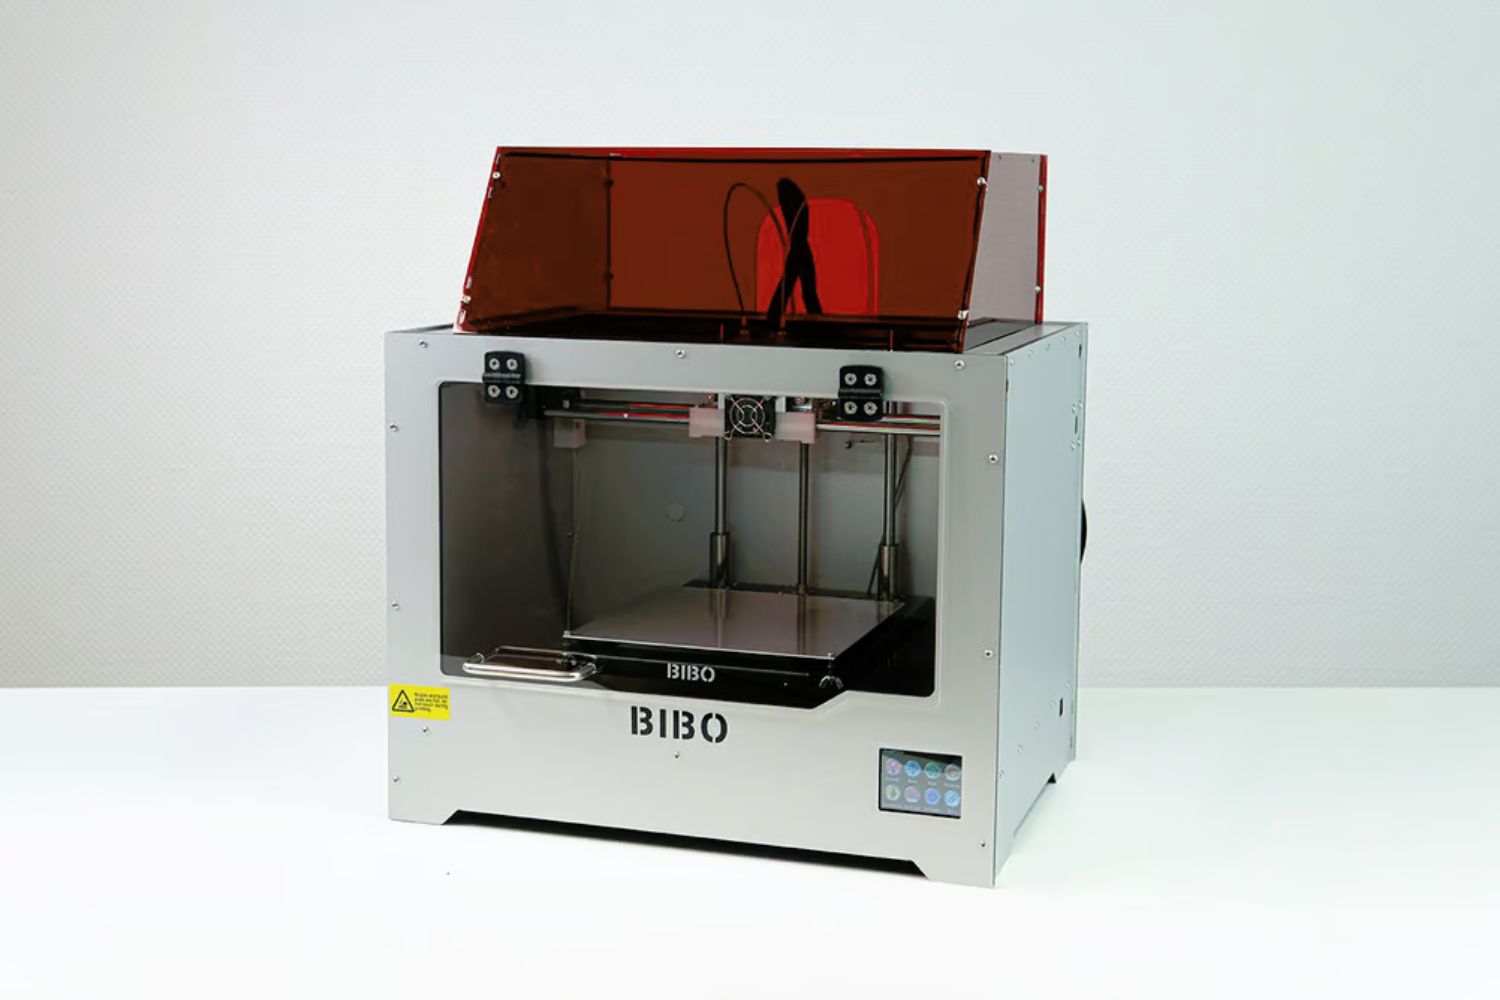
Unboxing the 3D Printer
Excitement fills the air as you unbox your brand new 3D printer. Unboxing a 3D printer is an important step that requires care and attention to ensure that all components are intact and undamaged. Follow these steps to safely unbox your 3D printer:
- Remove Packaging Materials: Carefully remove any exterior packaging, such as plastic wrap or foam, from the box. Keep an eye out for any fragile parts that may be hidden within the packaging.
- Inspect for Damage: Take a moment to inspect the printer and its components for any visible signs of damage. Check for cracks, dents, or loose parts. If you notice any issues, contact the manufacturer or retailer immediately for assistance.
- Check the Contents: Verify that all the necessary components are included in the box. Typical components may include the 3D printer itself, power cord, USB cable, spool holder, filament, and any additional accessories mentioned in the user manual.
- Read the User Manual: Before proceeding further, read the user manual provided by the manufacturer. Familiarize yourself with important information about the printer’s assembly, safety precautions, and any specific instructions regarding unboxing and setup.
- Organize the Components: Lay out the components on a clean and spacious surface. Group similar items together and identify each one to make it easier to assemble the printer later.
- Keep Packaging Materials: As you unbox the printer, set aside the packaging materials, such as boxes and foam, in case you need to store or transport the printer in the future. Proper packaging will protect the printer from damage during transportation.
- Dispose of Packaging Responsibly: Dispose of the packaging materials responsibly, following local recycling guidelines. Reuse or recycle the materials whenever possible to minimize environmental impact.
Unboxing your 3D printer sets the stage for the exciting journey that lies ahead. Uncover the hidden potential within the box, inspect for any damage, and familiarize yourself with the included components. With the unboxing process complete, you’re ready to move on to the next step: assembling the 3D printer!
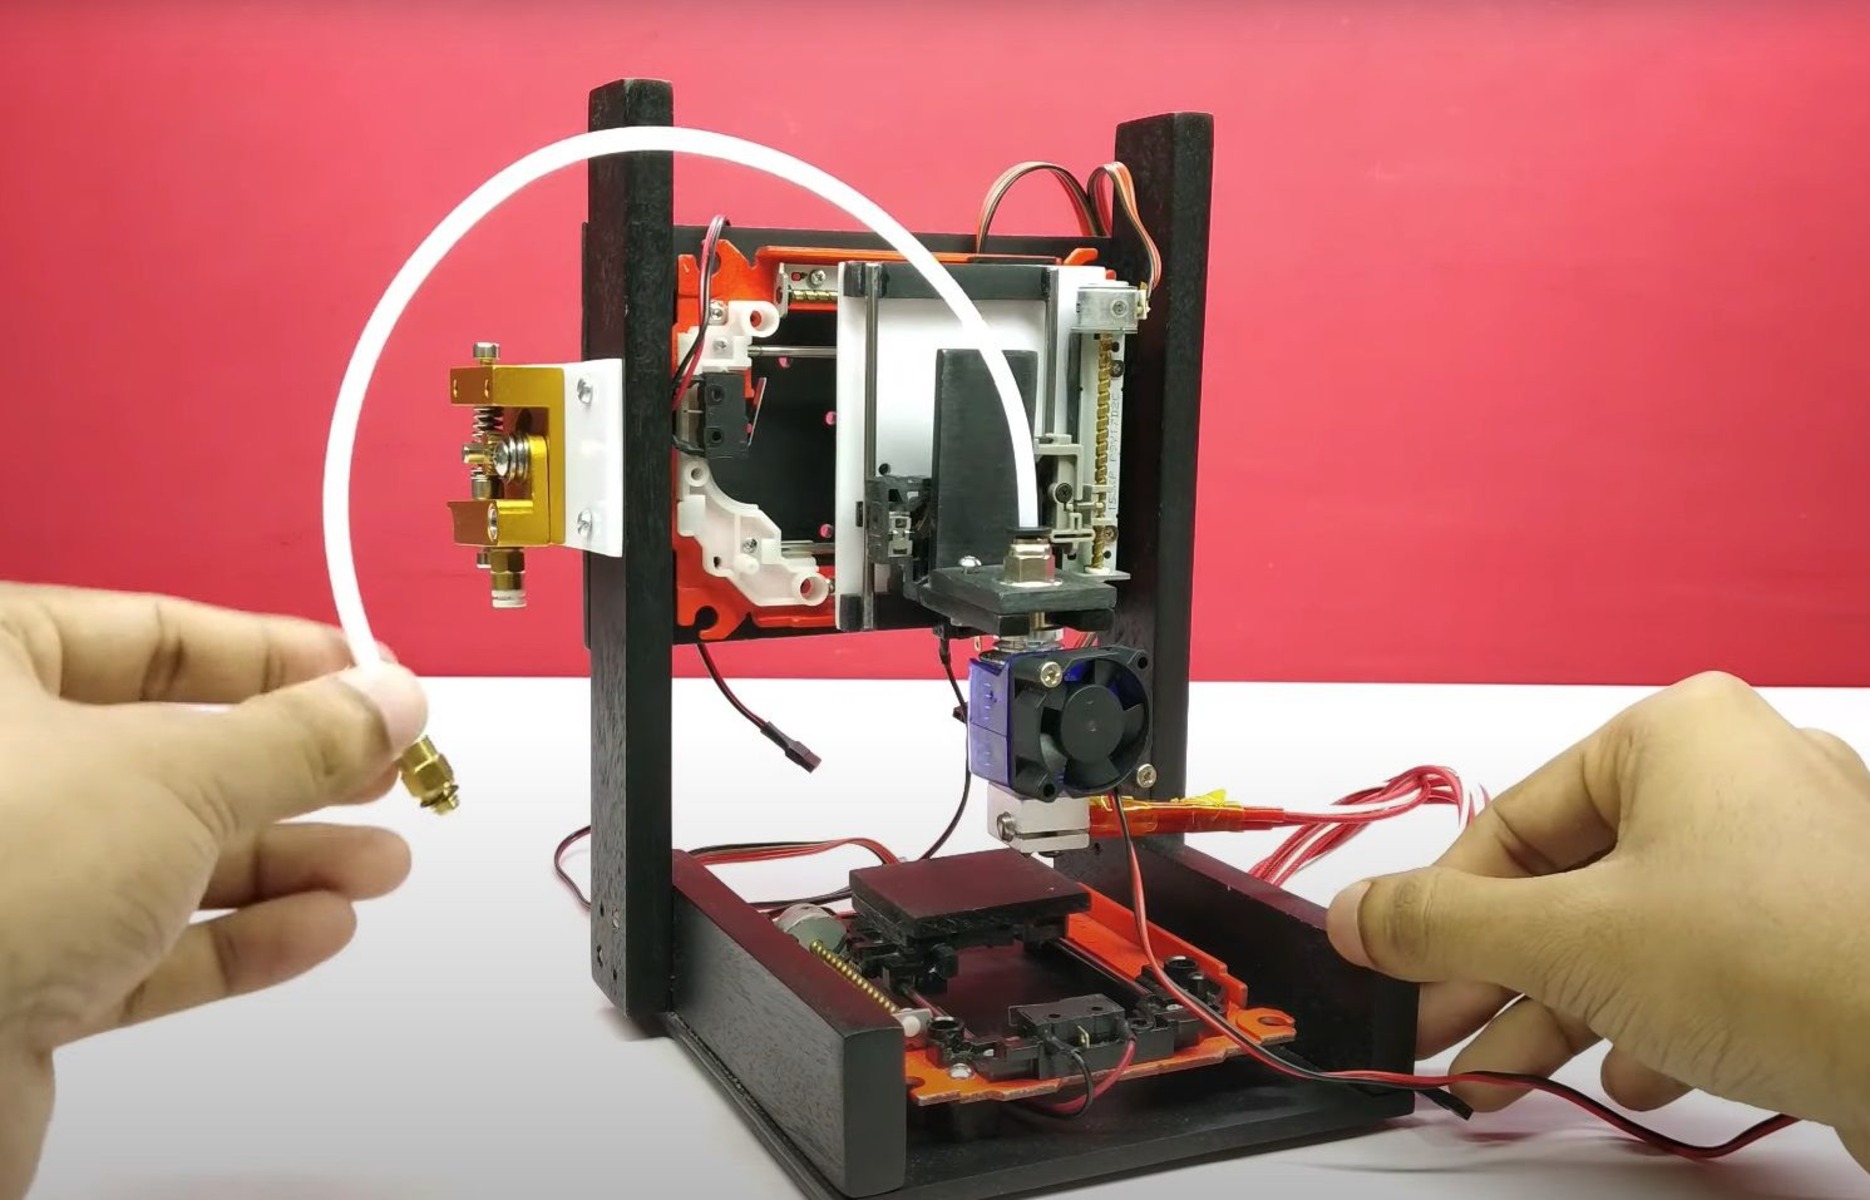
Assembling the 3D Printer
With the unboxing complete, it’s time to assemble your 3D printer. The assembly process may vary depending on the make and model of your printer, so it’s important to refer to the user manual provided by the manufacturer. However, here are some general steps to guide you through the assembly process:
- Refer to the User Manual: Familiarize yourself with the assembly instructions provided in the user manual. Carefully follow the manufacturer’s guidelines to ensure proper assembly and avoid any potential issues.
- Prepare the Workspace: Clear a suitable workspace with ample room to assemble the printer. Ensure the area is clean and well-lit, making it easier to handle and assemble the components.
- Identify and Organize Parts: Lay out all the parts and components required for assembly. Take your time to identify each item and group similar parts together for easy access.
- Attach the Frame: Start by attaching the frame of the printer. Follow the manufacturer’s instructions to securely connect the various sections of the frame, using the provided screws or fasteners.
- Mount the Motors and Extruder: Install the motors and extruder according to the user manual. These components control the movement and extrusion of the filament during printing.
- Connect Wiring: Carefully connect the wiring according to the provided instructions. Ensure that all cables are properly inserted into their respective ports and secured to avoid any loose connections.
- Install the Print Bed: Install the print bed onto the printer’s frame. Often, this involves attaching the heated bed and leveling it properly to ensure even and accurate printing.
- Secure the Filament Spool Holder: Depending on the printer model, attach the filament spool holder to your printer. Make sure it is securely fastened, as it will hold the filament during printing.
- Perform a Final Check: Once the assembly is complete, carefully inspect all connections, screws, and bolts to ensure everything is properly tightened. Double-check that no loose parts remain.
When assembling your 3D printer, patience and attention to detail are key. Take your time to follow the instructions carefully, ensuring each component is securely attached. With the assembly complete, you are now ready to move on to the next step: connecting the printer to power.
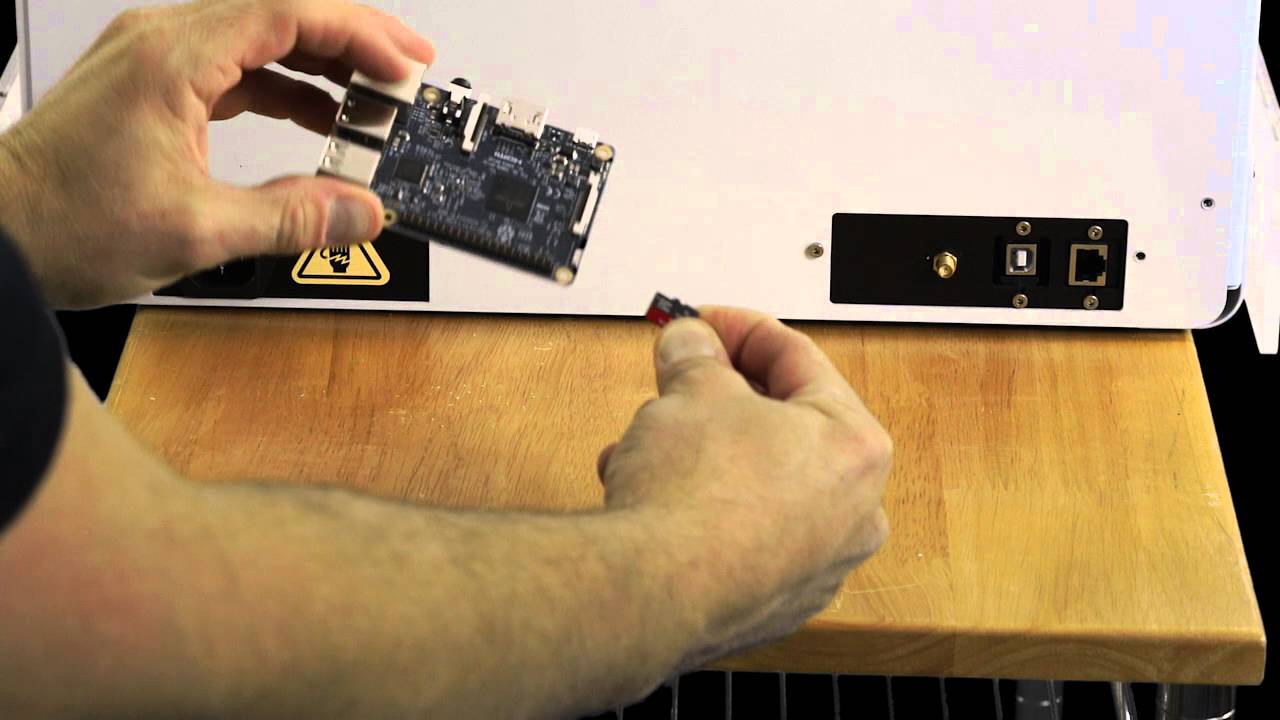
Connecting the Printer to Power
After assembling your 3D printer, the next step is to connect it to a power source. This will ensure that the printer has the necessary electrical supply to operate. Follow these steps to safely connect your 3D printer to power:
- Locate the Power Cable: Begin by finding the power cable that came with your printer. It is usually a standard power cord with a plug that matches your region’s electrical outlets.
- Identify the Printer’s Power Input: Take a close look at your printer to find the power input port. It is typically located at the back or side of the printer and is labeled as “Power” or has an easily recognizable icon.
- Plug in the Power Cable: Insert one end of the power cable firmly into the printer’s power input port. Ensure that the connection is secure and the cable is not loose.
- Connect to a Power Outlet: Find a nearby electrical outlet that is compatible with the power cable. Insert the other end of the power cable into the outlet, making sure it fits securely.
- Turn on the Printer: Locate the power switch on your printer, usually located near the power input port. Press the power switch to turn on the printer.
- Check the Power Indicator: Once the printer is powered on, check the power indicator light on the printer. This light will usually be located near the power switch and will indicate that the printer is receiving power.
It’s important to note that some printers may have built-in power supplies, while others may require an external power brick. Always refer to the printer’s user manual to determine the specific power requirements and connection instructions for your model.
When connecting your printer to power, ensure that the electrical outlet you use is grounded and can provide the necessary power for the printer’s operation. Avoid using power strips, extension cords, or multi-plug adapters, as they may not be able to handle the printer’s power requirements effectively.
With your 3D printer successfully connected to power, you are now ready to move on to the next step: connecting the printer to your computer.
Connecting the Printer to the Computer
To unleash the full potential of your 3D printer, you need to establish a connection between the printer and your computer. This connection allows you to send 3D models to the printer for printing. Here is a step-by-step guide to connecting your printer to the computer:
- Gather Necessary Cables: Ensure you have the appropriate cables to connect your printer to the computer. Typically, USB cables are used for this purpose. Check the printer’s specifications or the manufacturer’s instructions to determine the type of cable required.
- Locate Printer Port: Identify the printer port on your computer. It can be a USB port or a Thunderbolt, depending on your computer’s configuration. Locate an available and compatible port to connect the printer.
- Connect the Cable: Once you have identified the appropriate port, plug one end of the cable into the printer’s port and the other end into the corresponding port on your computer. Ensure the connection is secure.
- Check Connection Status: After connecting the printer and computer, check the connection status. Your computer should detect the printer automatically and install any necessary drivers. Look for notifications indicating successful connection or follow any on-screen prompts for driver installation.
- Configure Printer Settings: Once the connection is established, you might need to configure the printer settings. Access the printer settings through the Control Panel or Printer Preferences on your computer. Here, you can adjust parameters such as print quality, filament type, and build volume to match your project requirements.
- Printer Firmware Update: It’s essential to keep your printer’s firmware up to date for optimal performance. Check the manufacturer’s website for any available firmware updates and follow their instructions to update the printer’s software if necessary.
- Test the Connection: To ensure the connection is working correctly, open 3D printing software and attempt to connect to the printer. Follow the software’s instructions to establish a connection. If the software recognizes the printer, you have successfully connected it to your computer.
Remember, the exact steps may vary depending on the printer model and the software you are using. Always refer to the printer’s user manual and the software documentation for specific instructions.
With the printer successfully connected to your computer, you’re ready to move on to the next step: installing the 3D printing software.
Installing the 3D Printing Software
Before you can start printing with your 3D printer, you need to install the appropriate 3D printing software on your computer. This software acts as a bridge between your computer and the printer, allowing you to create, edit, and send 3D models to be printed. Follow these steps to install the 3D printing software:
- Research Software Options: Explore the different 3D printing software available in the market. Look for software that is compatible with your printer and suits your needs. Popular options include Ultimaker Cura, PrusaSlicer, and Simplify3D.
- Download the Software: Visit the software’s official website and download the appropriate version for your operating system. Most 3D printing software is available for both Windows and Mac platforms.
- Install the Software: Once the download is complete, locate the installer file and run it. Follow the on-screen instructions to install the software on your computer. Make sure to read and accept any license agreements or terms of use.
- Configure Printer Settings: After the software is installed, you’ll need to configure the printer settings. Open the software and navigate to the printer settings or preferences section. Select your printer model from the list of supported printers or manually input the printer parameters.
- Connect the Printer: Establish a connection between the software and your printer. Some software may automatically detect your printer if it is connected and configured properly. If not, follow the software’s instructions to establish the connection manually. This usually involves selecting the appropriate communication port and baud rate.
- Import or Create 3D Models: With the software installed and the printer connected, you’re ready to start printing. You can import pre-made 3D models from online repositories or create your own using CAD (Computer-Aided Design) software. Make sure to select the appropriate file format that is compatible with the software.
- Prepare the Model for Printing: Once you have your 3D model loaded into the software, you can manipulate it, scale it, and position it on the virtual build plate. Take your time to orient the model in a way that optimizes print quality and minimizes support materials.
- Slice the Model: The final step before printing is to slice the model. Slicing involves converting the 3D model into a series of individual layers that the printer can print. Specify the printing parameters such as layer height, print speed, and infill density to achieve the desired results.
Installing the 3D printing software is an essential step to unlock the full potential of your printer. By following these steps, you’ll have the necessary software installed and configured, ready to start transforming your 3D designs into physical objects.
Next, we’ll cover the process of calibrating your 3D printer for optimal performance.
Calibrating the 3D Printer
Calibrating your 3D printer is a crucial step to ensure accurate and high-quality prints. Calibration fine-tunes various settings and parameters of the printer to optimize its performance. Follow these steps to calibrate your 3D printer:
- Bed Leveling: Proper bed leveling is essential for successful 3D printing. Start by homing the printer, then use manual or automated bed leveling features to adjust the height of the print bed. This ensures that the nozzle is at the correct distance from the bed surface, promoting good adhesion and preventing printing issues.
- Extrusion Calibration: Extrusion calibration ensures the printer extrudes the correct amount of filament during printing. Use the printer’s settings or specific calibration prints to measure and adjust the flow rate. This ensures accurate dimensions and avoids over-extrusion or under-extrusion issues.
- Temperature Calibration: Each filament material requires specific temperature settings to melt and flow correctly. Refer to the filament manufacturer’s guidelines or perform calibration prints to determine the optimal temperature for your specific filament. Adjust the printer’s temperature settings accordingly.
- Print Head Alignment: Aligning the print head ensures that the printed layers are properly aligned and result in consistent prints. Some printers come with automated head alignment features, while others require manual adjustment. Follow the manufacturer’s instructions to align the print head properly.
- Testing and Fine-Tuning: After making initial calibration adjustments, print calibration models or test prints to evaluate the print quality. Look out for issues such as stringing, warping, or layer inconsistencies. Use the test prints to fine-tune the printer’s settings such as print speed, retraction settings, and cooling fan speed to address any issues that may arise.
- Iterate and Repeat: Calibrating a 3D printer is an iterative process. As you gain experience and encounter different filament types or print models, you may need to re-calibrate certain settings. Regularly check and fine-tune your printer’s calibration to maintain optimal performance.
Proper calibration is essential for achieving high-quality 3D prints. It may take some time and experimentation to find the ideal settings for your specific printer and filament. Keeping a calibration log or taking notes during the process can be helpful for future reference.
With your 3D printer properly calibrated, you’re now ready to move on to the next step: loading the filament.
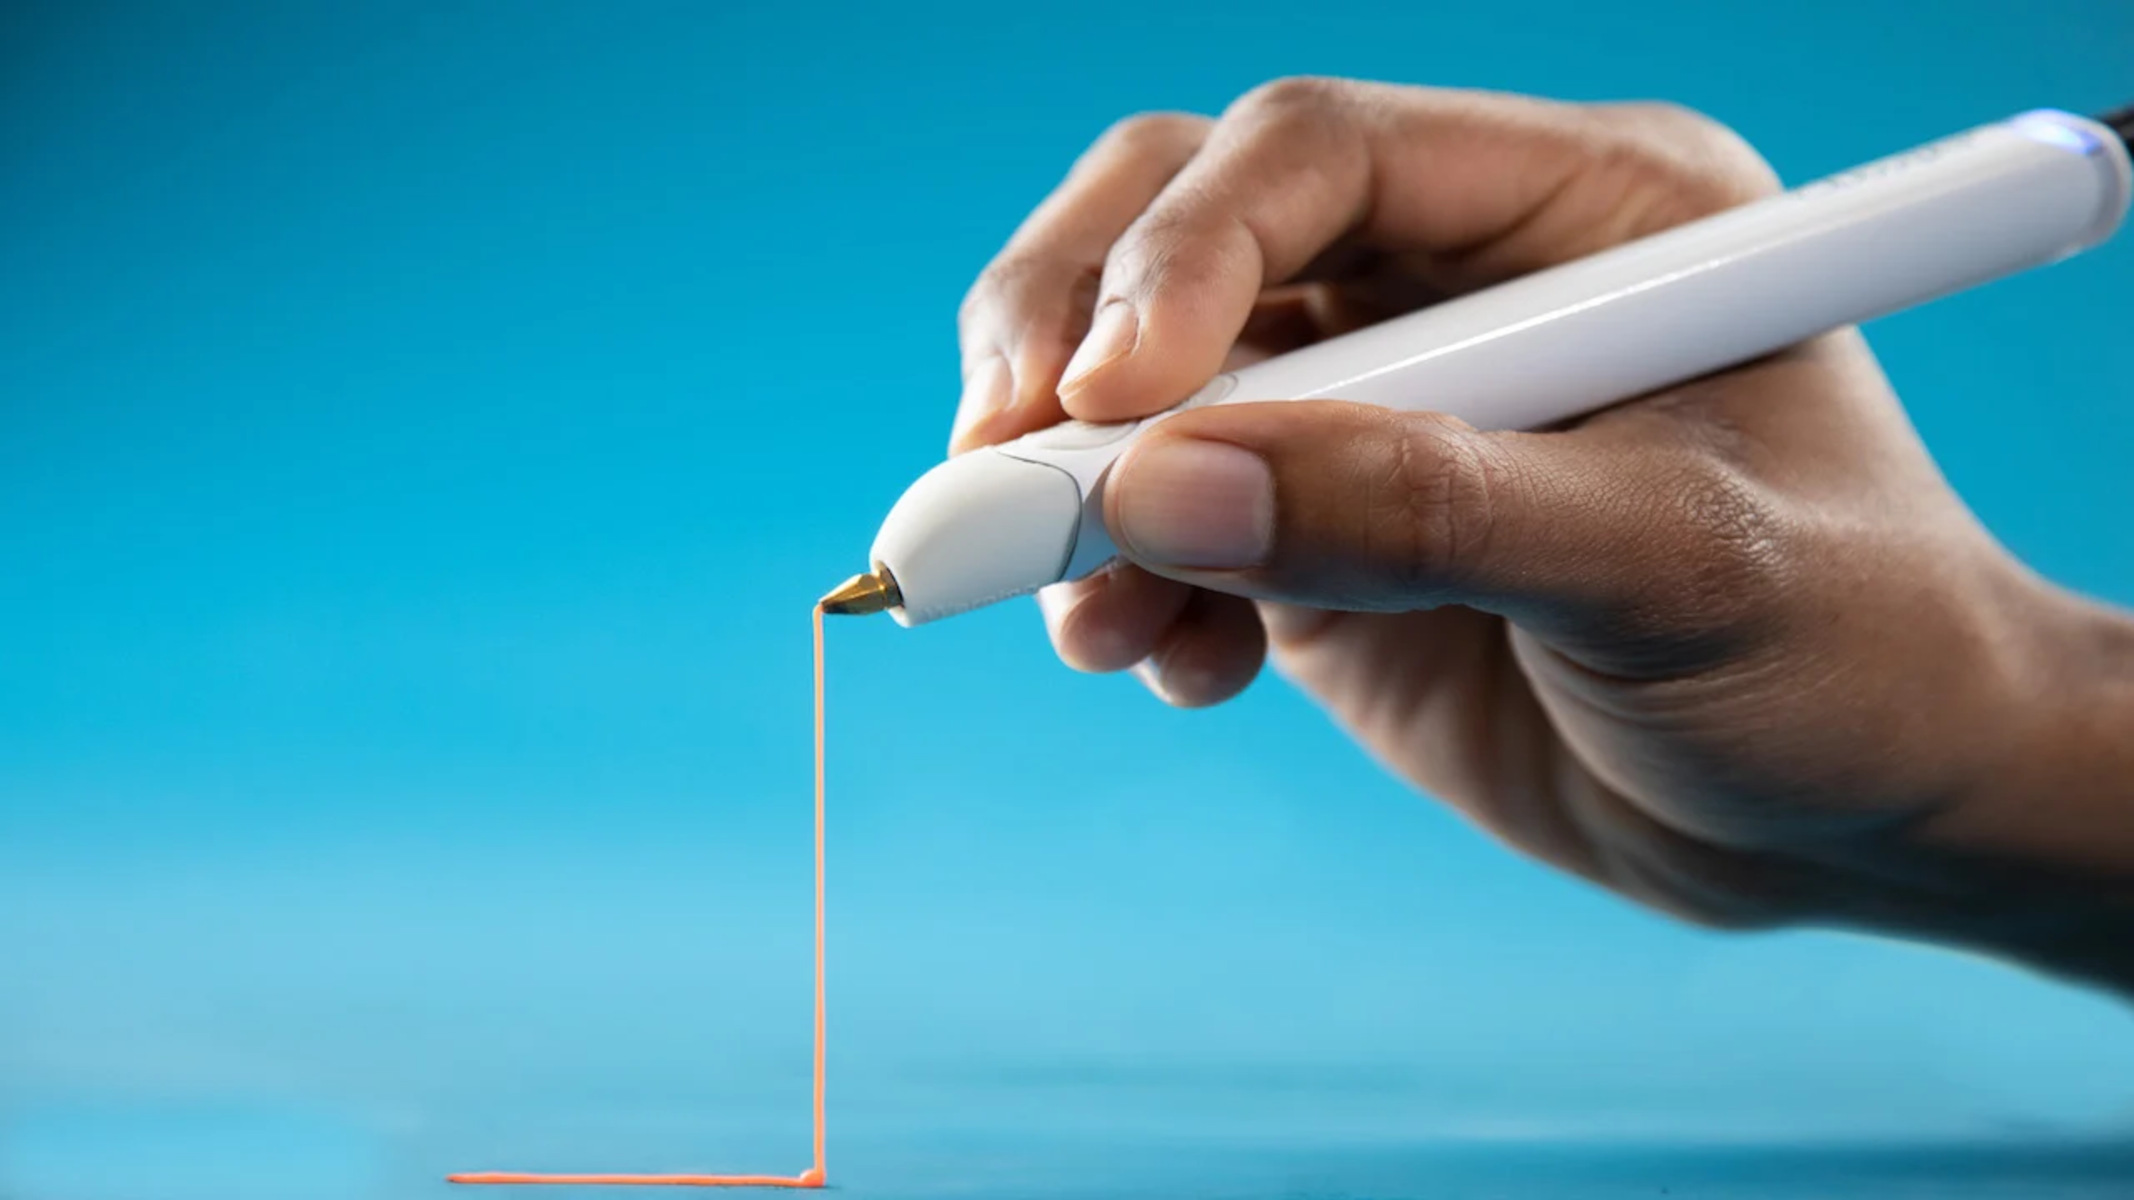
Loading the Filament
Loading filament into your 3D printer is an essential step before you can start printing. The filament is the material that is melted and extruded by the printer to create the 3D object. Here’s a step-by-step guide on how to load filament into your printer:
- Prepare the Filament: Start by preparing your filament. Ensure that you have the correct filament type and color for your intended print. If necessary, trim the end of the filament to create a clean, straight edge.
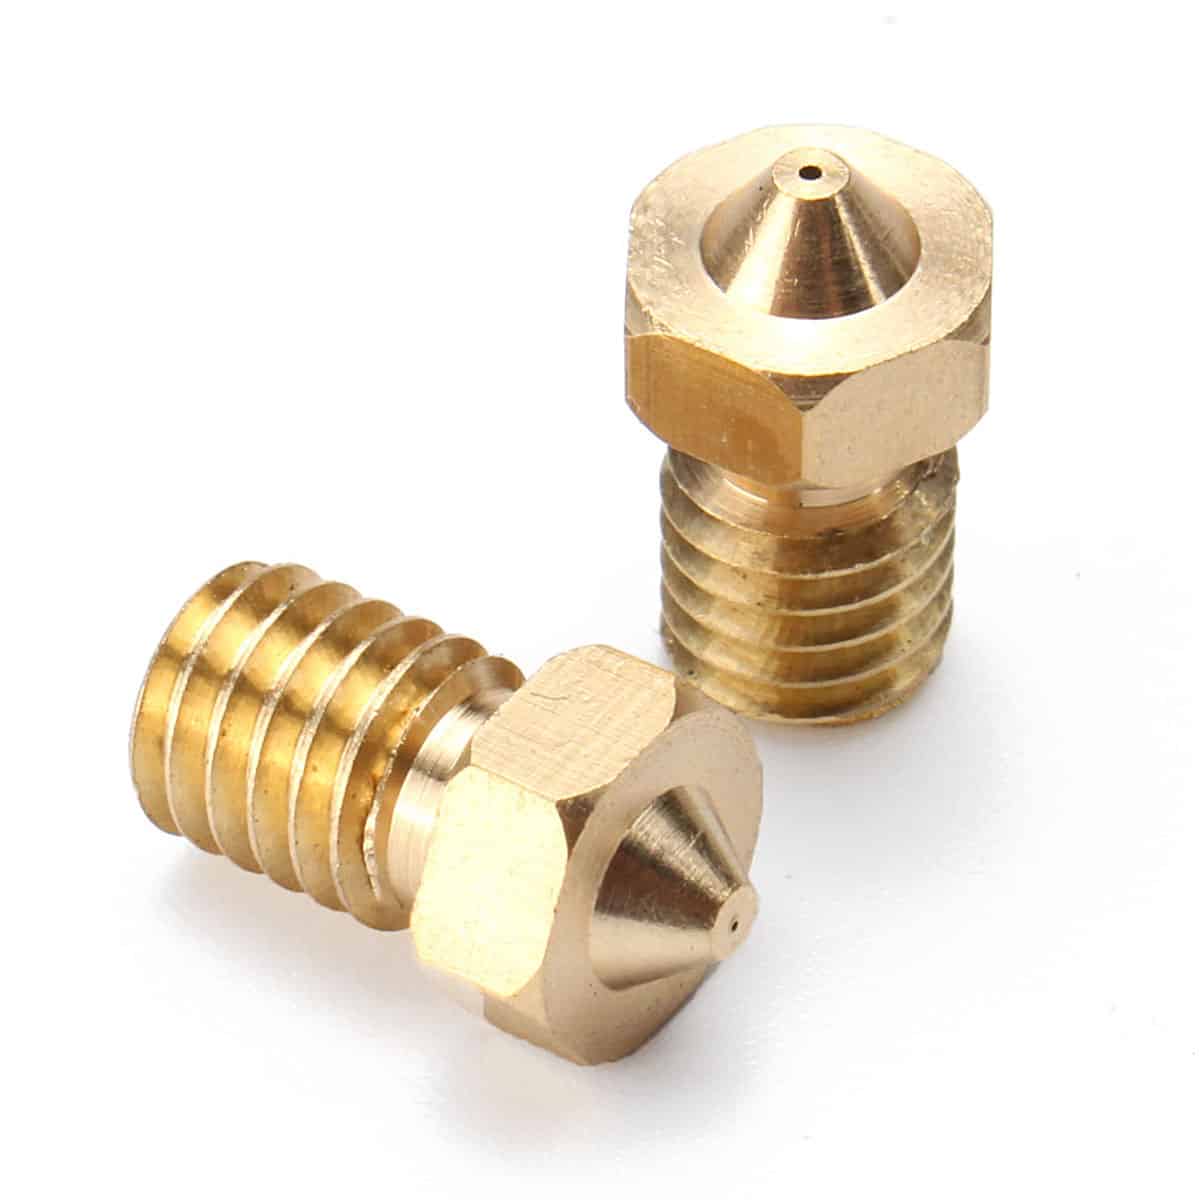
- Heat the Nozzle: Turn on your 3D printer and wait for it to reach the recommended printing temperature for your filament. This temperature can typically be found in the filament manufacturer’s guidelines or on the printer’s control panel.
- Open the Filament Path: Locate the filament path on your printer. This is where the filament will enter the extruder. Depending on your printer, you may need to open a filament door, remove a cover, or release a clamp to access the filament path.
- Insert the Filament: Gently guide the end of the filament into the filament path until you feel resistance. Push it in until it reaches the extruder or hot end of the printer. Be cautious not to force the filament or bend it at a sharp angle, as this may cause feeding issues.
- Feed the Filament: Once the filament is inserted into the filament path, use the printer’s controls to start the filament feeding process. This will slowly push the filament through the extruder and into the hot end. Monitor the feeding process to ensure the filament is moving smoothly and without any friction.
- Watch for Extrusion: As the filament is being fed, keep an eye on the nozzle. You should see a steady flow of molten filament extruding from the nozzle. This indicates that the filament has successfully loaded and is ready for printing.
- Purge and Prime: To ensure a smooth flow of filament, it’s a good practice to perform a purge or prime process. This involves extruding a small amount of filament to clear any potential impurities or remnants from previous prints. Follow the printer’s instructions or software prompts to perform this step.
- Confirm Successful Loading: After the filament has been loaded and extruded successfully, visually inspect the nozzle to ensure there are no clogs or filament remnants. You’re now ready to start printing!
Remember to follow the manufacturer’s instructions for your specific printer model, as the loading process may vary. If at any point you encounter difficulties loading filament, consult your printer’s user manual or contact the manufacturer for assistance.
With the filament successfully loaded, it’s time to move on to the next step: adjusting the print settings.
Adjusting Print Settings
Adjusting the print settings is a crucial step in achieving the desired print quality and accuracy for your 3D prints. Fine-tuning the settings allows you to customize various parameters to match the requirements of your specific print. Here are the key factors to consider when adjusting the print settings:
- Layer Height: The layer height determines the thickness of each printed layer. Smaller layer heights result in finer details but longer print times. Choose a layer height based on the desired print quality and time constraints.
- Print Speed: The print speed affects the overall print time and the quality of the print. Higher print speeds may lead to reduced print quality, while slower speeds offer more precise and detailed prints. Adjust the print speed based on your specific requirements.
- Infill Density: Infill refers to the internal structure of the printed object. Higher infill densities result in a stronger and more rigid print, but also increase print time and material usage. Adjust the infill density based on the desired strength and weight of the final print.
- Support Structures: Support structures are temporary structures that help support overhanging parts of a print. Enable support structures for prints with complex geometries or overhangs that would otherwise sag or fail during printing. Adjust the support settings based on the complexity of your print design.
- Print Temperature: The print temperature depends on the type of filament being used. Each filament has a specific temperature range in which it melts and flows properly. Refer to the filament manufacturer’s guidelines to determine the optimal print temperature for the specific material you’re using.
- Bed Temperature: The bed temperature is especially important for filament materials that require adhesion to the print bed, such as ABS or PETG. Generally, a heated bed provides better adhesion. Refer to the filament manufacturer’s recommendations for the appropriate bed temperature.
- Retraction: Retraction refers to the backward movement of the filament to prevent oozing or stringing between printed parts. Adjust the retraction distance and speed to minimize stringing and achieve cleaner prints.
- Print Orientation and Supports: Consider the orientation of your 3D model on the print bed to optimize print quality and minimize the need for excessive supports. Experiment with different orientations to achieve the best results.
Keep in mind that these settings may vary depending on the 3D printer model and the slicing software you’re using. Take the time to experiment and fine-tune these settings for each print, keeping notes of the adjustments made and the resulting print quality.
By adjusting the print settings accordingly, you can optimize the print quality, durability, and overall performance of your 3D prints. With the settings adjusted, you’re now ready to move on to the next step: preparing the 3D model for printing.
Preparing the 3D Model
Before you can start printing, you need to prepare your 3D model to ensure it is print-ready. This involves several steps to optimize the model for successful printing. Here’s a guide on how to prepare your 3D model:
- Import the 3D Model: Start by importing your 3D model into the slicing software you installed earlier. Most slicers support various file formats, such as .STL or .OBJ. Drag and drop or use the software’s import feature to load your model.
- Position and Scale: Adjust the position and scale of the model within the print volume. Ensure that the model fits comfortably within the build area and is properly oriented for printing.
- Orient for Printing: Consider the overhangs, bridges, and general geometry of your model when determining the optimal printing orientation. Orienting the model in a way that reduces or eliminates the need for support structures can significantly improve print quality and reduce material usage.
- Add Support Structures: If necessary, add support structures to your model using the slicing software’s built-in tools. These structures help to hold up overhanging or complex parts during printing. Ensure that support structures are only added where necessary, as they can impact surface finish.
- Adjust Printing Settings: Set the desired print settings for the model, including layer height, print speed, infill density, and any specific material or slicer-related settings. These settings should align with the requirements of your print and the capabilities of your printer.
- Preview and Validate: Utilize the slicing software’s preview function to visualize and validate the prepared model. This allows you to inspect layer-by-layer slices, check for any potential issues, and ensure that the model is ready for printing.
- Generate G-Code: Once you’re satisfied with the model’s placement, orientation, supports, and settings, generate the G-code file. This file contains the instructions for the printer on how to execute the print. Save the G-code file to your computer or an SD card for transfer to the printer.
It’s important to note that the specific options and features mentioned may vary depending on the slicing software you’re using. Familiarize yourself with the software’s user interface and documentation to make the most out of the available tools.
By taking the time to properly prepare your 3D model, you’ll ensure a smoother printing process and increase the chances of getting a successful print outcome. Now that the model is ready, it’s time to move on to the next step: initiating the print.
Initiating the Print
After preparing your 3D model and generating the necessary G-code, it’s time to initiate the print and bring your creation to life. To successfully initiate a print on your 3D printer, follow these steps:
- Prepare the Printer: Ensure that your printer is in proper working condition. Check that the print bed is clean, the nozzle is unclogged, and there are no obstructions or loose parts that could interfere with the printing process.
- Load the Filament: If you haven’t already done so, load the filament into the printer as per the instructions provided earlier. Make sure the filament is properly inserted and feeding smoothly through the extruder.
- Home the Printer: Use the printer’s control panel or software interface to home the printer. This aligns the print head and ensures that the printer’s reference point is set correctly.
- Preheat the Printer: Set the appropriate temperature for the nozzle and bed according to the filament manufacturer’s recommendations or the print settings you established earlier. Allow the printer to preheat until it reaches the desired temperatures.
- Position the Print Bed: Position the print bed in the printer’s build area. Use the bed leveling adjustments to ensure that the distance between the nozzle and the bed is properly set for optimal layer adhesion.
- Transfer the G-code: Transfer the generated G-code file from your computer to the printer. Depending on your printer, you can transfer the file via USB, SD card, or through a wireless connection if supported.
- Select the File and Start Print: Using the printer’s control panel or software interface, navigate to the transferred G-code file and select it for printing. Follow the prompts on the screen to confirm the settings and start the print.
- Monitor the Print: As the printer begins the print process, monitor it closely. Observe the first few layers to ensure proper adhesion. Make sure the printer is running smoothly and that the filament is extruding as expected.
- Address Issues if Necessary: If you notice any issues, such as poor adhesion, stringing, or abnormal noises, pause or cancel the print and address the problem. This could involve adjusting settings, clearing clogs, or realigning the print bed.
- Allow the Print to Complete: Once the print is underway without any issues, allow the printer to continue until it completes the entire print. Avoid disturbances or sudden movements around the printer, as this may impact the final print quality.
Remember to exercise caution when working with a 3D printer while it is in operation. Avoid touching any hot surfaces and follow the safety precautions outlined earlier.
With the print successfully initiated, all that’s left to do is wait for the printer to complete the job. Enjoy the mesmerizing process of watching your creation come to life layer by layer!
Troubleshooting Common Issues
While 3D printing is an exciting technology, it can sometimes come with its fair share of challenges. Understanding and troubleshooting common issues will help you overcome any obstacles that may arise during the printing process. Here are some of the most common 3D printing issues and their possible solutions:
- Poor Adhesion: If your print is not sticking to the print bed or has warping issues, ensure that the print bed is clean and properly leveled. Applying a thin layer of adhesive, such as glue stick or a specialized print bed adhesive, may also improve adhesion.
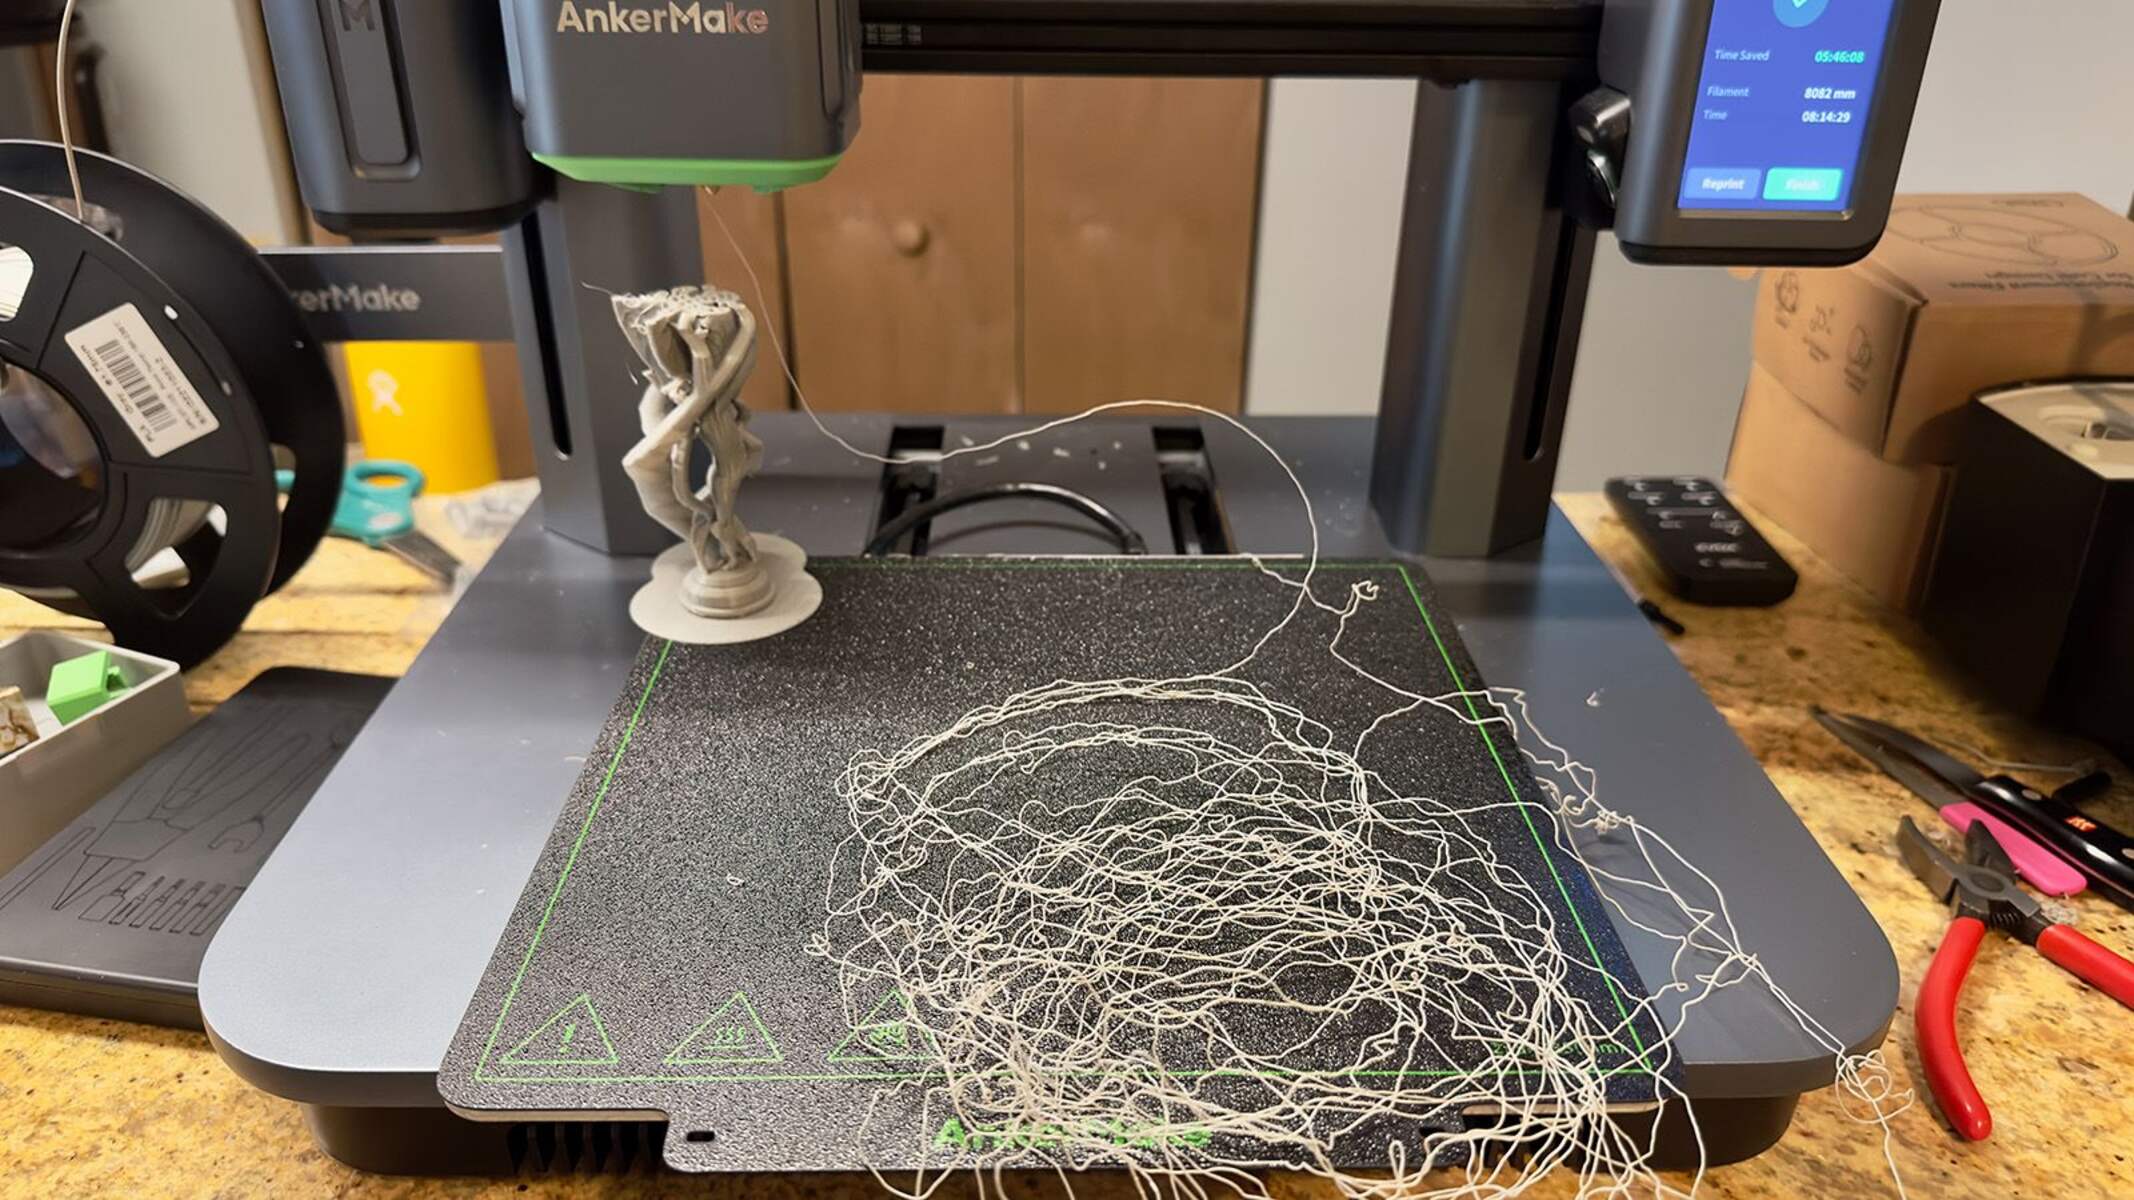
- Stringing and Over-Extrusion: Stringing occurs when the filament oozes or leaves thin strands during travel moves. To reduce stringing, increase the retraction settings in your slicing software and adjust the temperature to ensure proper material flow.
- Lack of Filament Flow: If your print shows signs of under-extrusion or gaps in the layers, check for any obstructions in the nozzle or extruder. Make sure the filament is properly loaded and free from knots or tangles. Adjusting the temperature and extrusion settings can also help address this issue.
- Print Layer Imperfections: If your print has visible layer lines or rough surface finishes, consider adjusting the layer height for finer or coarser prints. Additionally, reducing the print speed or increasing the print temperature can improve the overall print quality.
- Print Shift or Shifting Layers: Print shifting can occur if the printer’s belts are too loose, causing movement inaccuracies. Check the tightness of the belts and ensure that all mechanical components are secure. Lubricating moving parts can also help prevent issues like layer shifting.
- Extruder Clicking or Grinding: Clicking or grinding noises from the extruder may indicate filament feeding issues. Check the filament path for any obstacles or jams and confirm that the extruder gear is properly gripping the filament. Adjusting the extrusion multiplier or increasing the print temperature can also address this issue.
- Excessive Filament Extrusion: If your print shows signs of over-extrusion, where the printed parts are distorted or have blobs and excess material, adjust the flow rate or filament diameter settings in your slicing software. Additionally, ensuring that the nozzle is properly cleaned and free from clogs can help prevent excessive extrusion.
- Print Warping: Warping occurs when the edges of the print curl or lift off the print bed. To prevent warping, ensure that the print bed is heated to the appropriate temperature for the filament being used. Use a suitable adhesive or a heated build plate with a brim or raft if necessary.
Remember that troubleshooting 3D printing issues requires patience and experimentation. Take note of the adjustments made and their impact on the print quality. Online forums and communities dedicated to 3D printing can also provide valuable insights and solutions to specific issues.
By tackling common issues as they arise, you’ll gain valuable experience and develop a better understanding of your printer’s capabilities and limitations. With troubleshooting knowledge in your toolbox, you’ll be well-equipped to resolve challenges and achieve successful 3D prints!
Conclusion
Congratulations! You have now successfully learned the essential steps to set up and begin using your 3D printer. From unboxing and assembling the printer to connecting it to power and your computer, installing software, calibrating, and finally initiating prints, you’ve gained the knowledge needed to embark on your 3D printing journey.
Remember to prioritize safety throughout the process by following the recommended precautions. Take your time to familiarize yourself with the user manual specific to your printer model, as it contains valuable instructions and guidelines.
As you continue your 3D printing endeavors, you may encounter challenges that require troubleshooting. By understanding common issues and their solutions, you can overcome obstacles and achieve the best possible print quality.
Keep in mind that 3D printing is a versatile and constantly evolving technology. There is always room for experimentation and improvement, allowing you to refine your skills and explore new possibilities.
So, fire up your imagination, unleash your creativity, and let your 3D printer bring your ideas to life. Enjoy the satisfaction of watching your designs materialize into tangible objects, and embrace the endless possibilities that 3D printing has to offer!