Introduction
Welcome to the exciting world of 3D printing! With the advancements in technology, 3D printers have become more accessible and affordable, allowing individuals to create three-dimensional objects from digital designs. If you’ve been curious about getting started with 3D printing but are hesitant to invest in a commercial printer, we have a solution for you. In this article, we will guide you through the process of making your very own 3D printer using a Raspberry Pi.
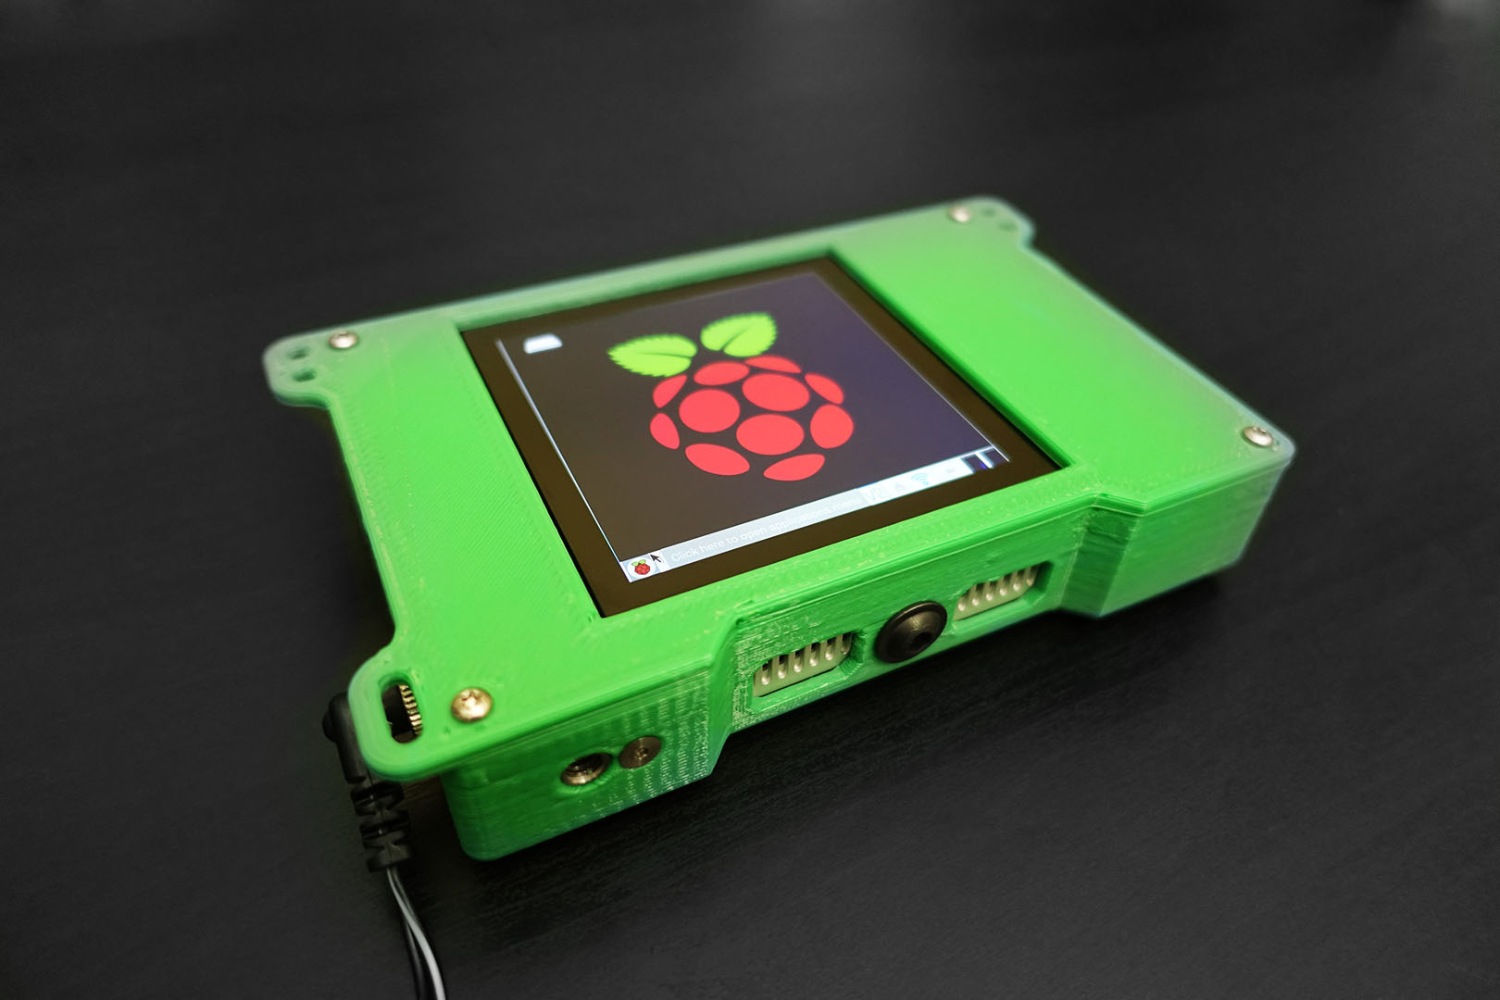
The Raspberry Pi is a small, credit card-sized computer that is both powerful and versatile. By combining it with a few additional components and open-source software, you can transform it into a fully functional 3D printer. Not only is this an exciting project for tech enthusiasts, but it also provides a great opportunity for learning about electronics, programming, and the principles behind 3D printing.
By making your own 3D printer, you have the freedom to customize and upgrade it as you see fit. You also have the advantage of learning about the inner workings of a 3D printer, which can come in handy if you ever need to troubleshoot or make repairs. Plus, building your own printer is a rewarding experience that will give you a sense of accomplishment.
In the following sections, we will outline the materials you will need for this project, guide you through the step-by-step process of setting up the Raspberry Pi, assembling the hardware, installing the 3D printing software, configuring the software, calibrating the 3D printer, and finally, testing your creation. Whether you’re a seasoned DIYer or just starting out, this article will provide you with all the information you need to get started on your 3D printing journey.
Materials Needed
Before we dive into the process of building your own 3D printer with a Raspberry Pi, let’s go over the materials you will need for this project. Gathering all the necessary components in advance will ensure a smooth and uninterrupted build process. Here are the essential materials:
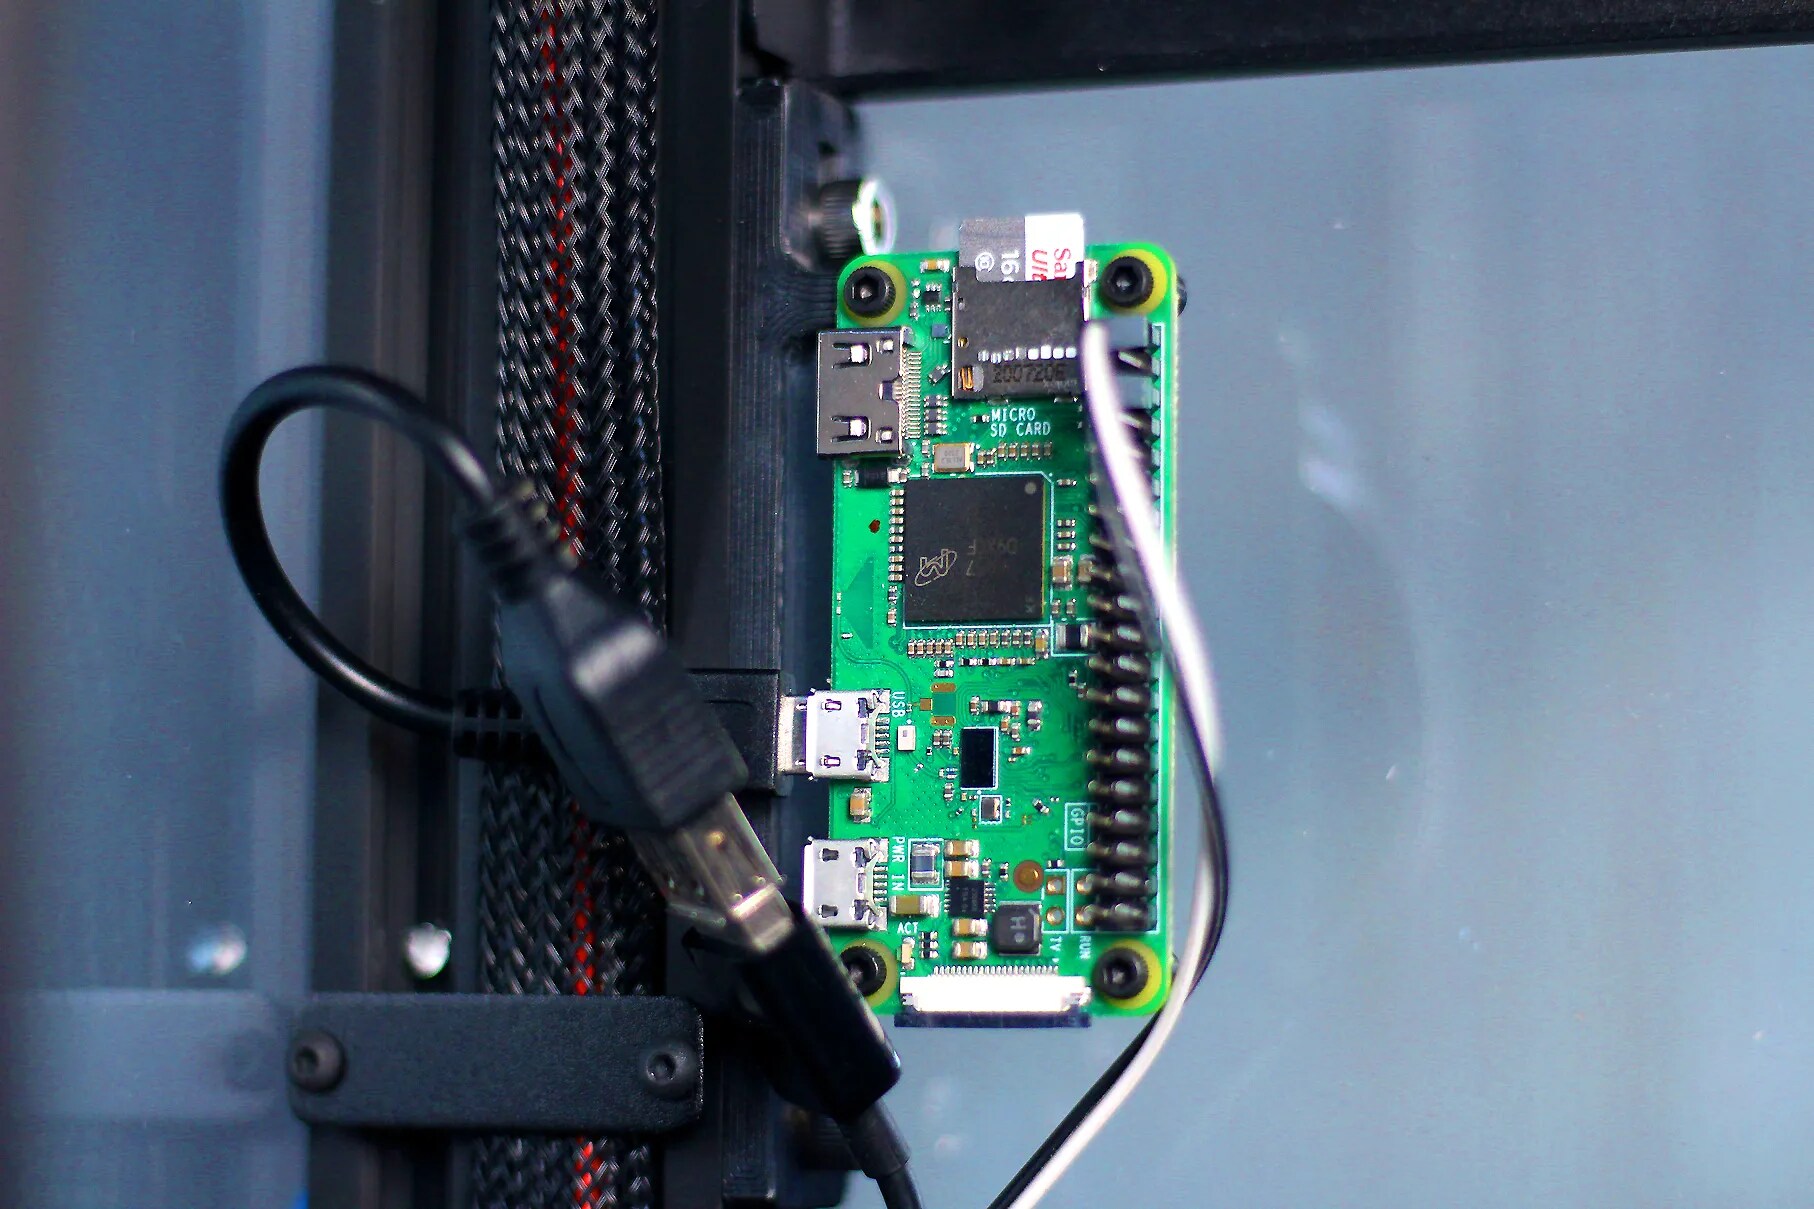
- Raspberry Pi: You will need a Raspberry Pi, preferably the latest model available, as the brains of your 3D printer. The Raspberry Pi provides the computing power and control needed to process 3D printing commands.
- MicroSD Card: To store the operating system and software for the Raspberry Pi, you will need a microSD card with at least 8GB of storage capacity. Make sure to choose a reliable and high-quality brand to ensure optimal performance.
- Power Supply: The Raspberry Pi requires a 5V micro USB power supply. Ensure that the power supply you choose can deliver enough current to power both the Raspberry Pi and the 3D printer components.
- Frame and Linear Guides: The structural frame of the 3D printer is crucial for stability and accuracy. You can purchase a pre-made frame or choose to build your own using materials like aluminum extrusion profiles. Linear guides will also be needed to ensure smooth and precise movement of the printer’s components.
- Stepper Motors: Stepper motors are responsible for controlling the movement of the printer’s axes. You will need a set of stepper motors compatible with your chosen frame and capable of handling the load and speed requirements of your 3D printer.
- Hotend and Extruder: The hotend and extruder are essential components that heat the filament and push it through the nozzle to create layers of the printed object. Choose a reliable hotend and extruder combination that suits your needs.
- Heated Bed: A heated bed is crucial for ensuring proper adhesion of the printed object to the build plate and minimizing warping. Look for a heated bed that matches the size of your printer and has a reliable temperature control system.
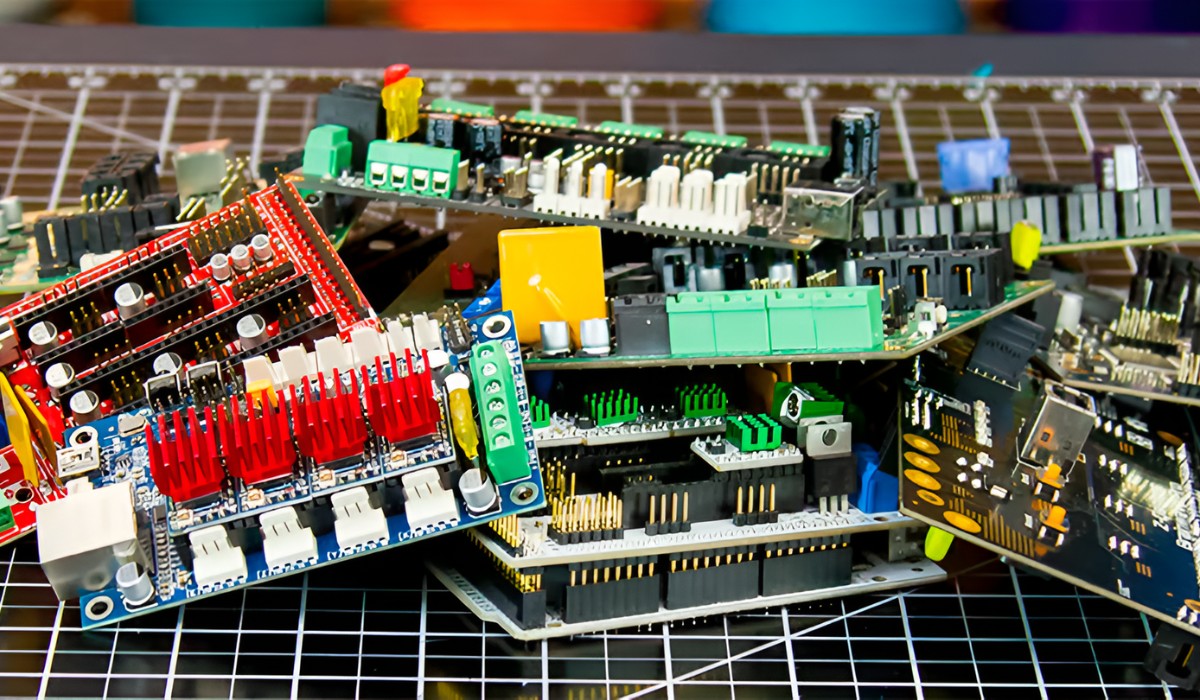
- Control Board: A control board acts as the intermediary between the Raspberry Pi and the various components of your 3D printer. It allows for easy connection and control of the motors, hotend, and other peripherals.
- Filament: Lastly, you will need filament material to feed into your 3D printer. PLA and ABS are common choices, but there is a wide variety of filaments available, each with its own unique characteristics.
In addition to these primary materials, you may also need various tools such as screwdrivers, pliers, and an Allen wrench set for assembly. It’s important to double-check that you have all the necessary materials before starting the build process to avoid any delays.
Step 1: Setting up the Raspberry Pi
The first step in building your own 3D printer with a Raspberry Pi is to set up the Raspberry Pi itself. Follow these steps to get your Raspberry Pi up and running:
- Acquire a Raspberry Pi: Purchase a Raspberry Pi board, preferably the latest model available. The Raspberry Pi is a credit card-sized computer that will serve as the brains of your 3D printer.
- Prepare the MicroSD Card: Format a microSD card with at least 8GB of storage capacity. Then, download the latest version of the Raspberry Pi operating system, called Raspbian, from the official Raspberry Pi website. Use the Raspberry Pi Imager tool to write the Raspbian image to the microSD card.
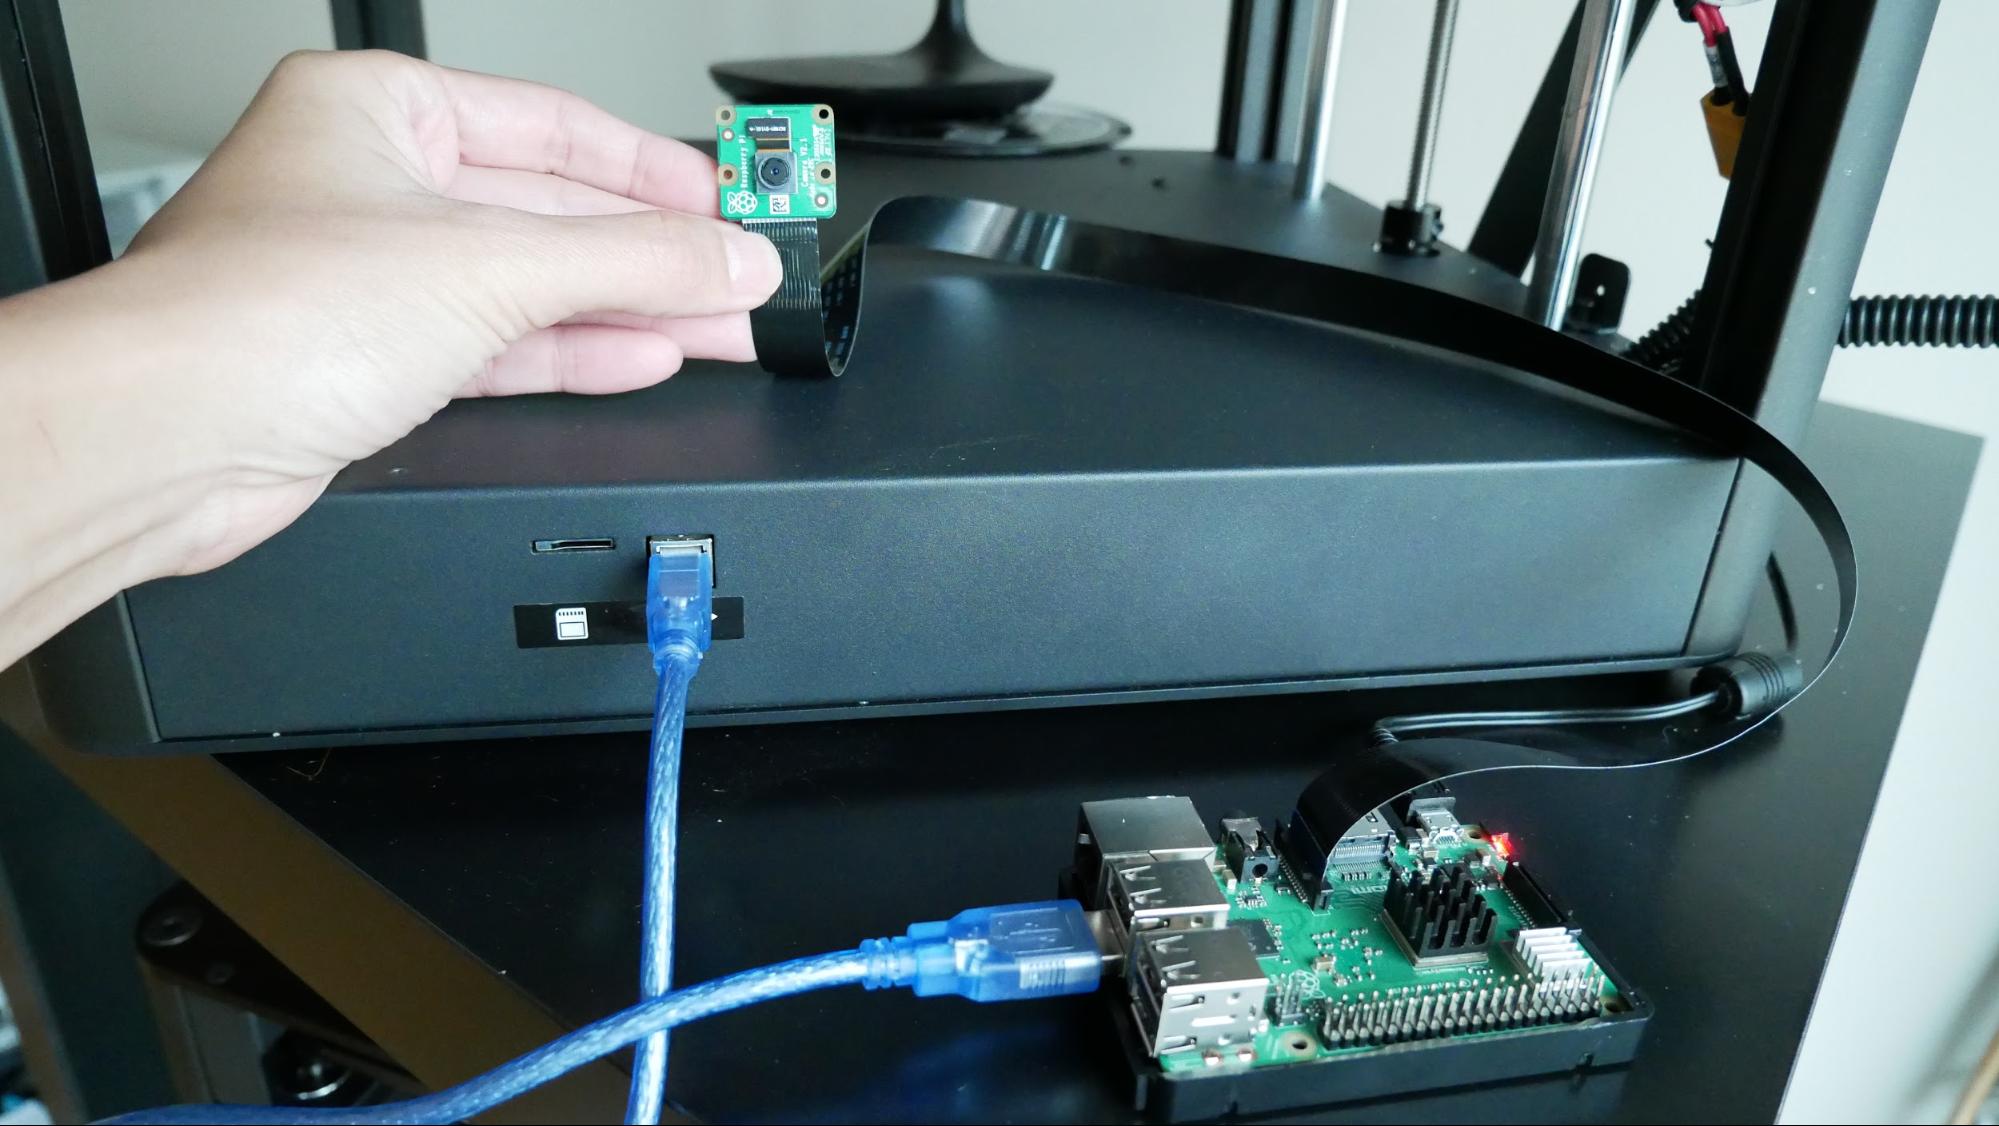
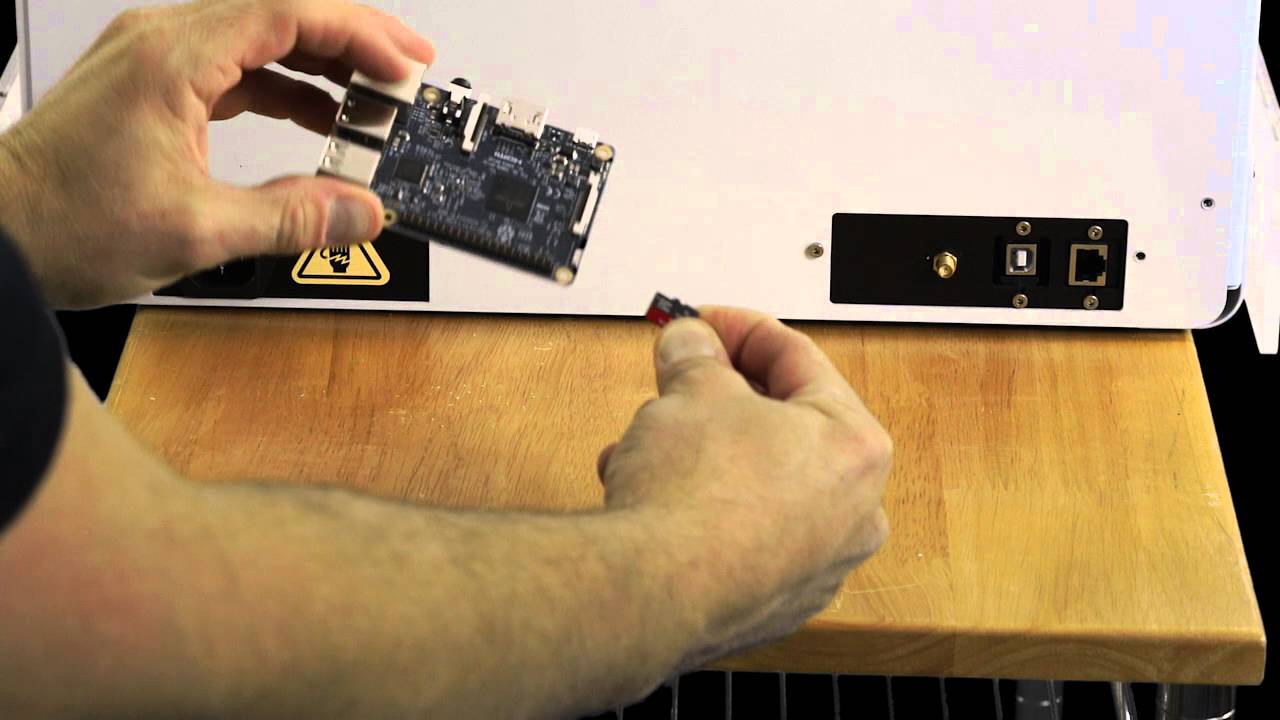
- Connect Peripherals: Insert the prepared microSD card into the Raspberry Pi. Connect a keyboard, mouse, and HDMI cable to the Raspberry Pi to facilitate the initial setup process. Also, connect the Raspberry Pi to a power supply using a micro USB cable.
- Boot up the Raspberry Pi: Once all the peripherals are connected, power on the Raspberry Pi. You will see the Raspbian operating system boot up on the connected display.
- Configure Raspbian: Follow the on-screen prompts to complete the initial configuration of Raspbian. This includes setting up your Wi-Fi network, updating the software, and changing the default password for the Raspberry Pi.
- Enable SSH: To ensure remote access to your Raspberry Pi, enable Secure Shell (SSH) by going to the Raspberry Pi Configuration menu. This will allow you to connect to the Raspberry Pi using SSH from another device on the same network.
- Install VNC Server (optional): If you prefer a graphical user interface (GUI) for remote access, you can install the VNC Server on the Raspberry Pi. This will enable you to access the Raspberry Pi desktop from another device using a VNC client.
- Update the Raspberry Pi: After completing the initial setup, it is recommended to update the Raspberry Pi to ensure you have the latest software and security updates. Open the terminal and enter the following commands: sudo apt-get update, sudo apt-get upgrade, and sudo reboot.
Once you have completed these steps, your Raspberry Pi will be ready to serve as the heart of your 3D printer. In the next section, we will discuss the process of assembling the hardware components of your printer.
Step 2: Assembling the Hardware
Now that you have set up the Raspberry Pi, it’s time to assemble the hardware components of your 3D printer. Follow these steps to ensure a successful assembly:
- Prepare the Frame: If you have purchased a pre-made frame, follow the manufacturer’s instructions to assemble it. If you are building your own frame, cut and assemble the aluminum extrusion profiles according to your design. Ensure that the frame is stable and square, as this will directly impact the accuracy of your prints.
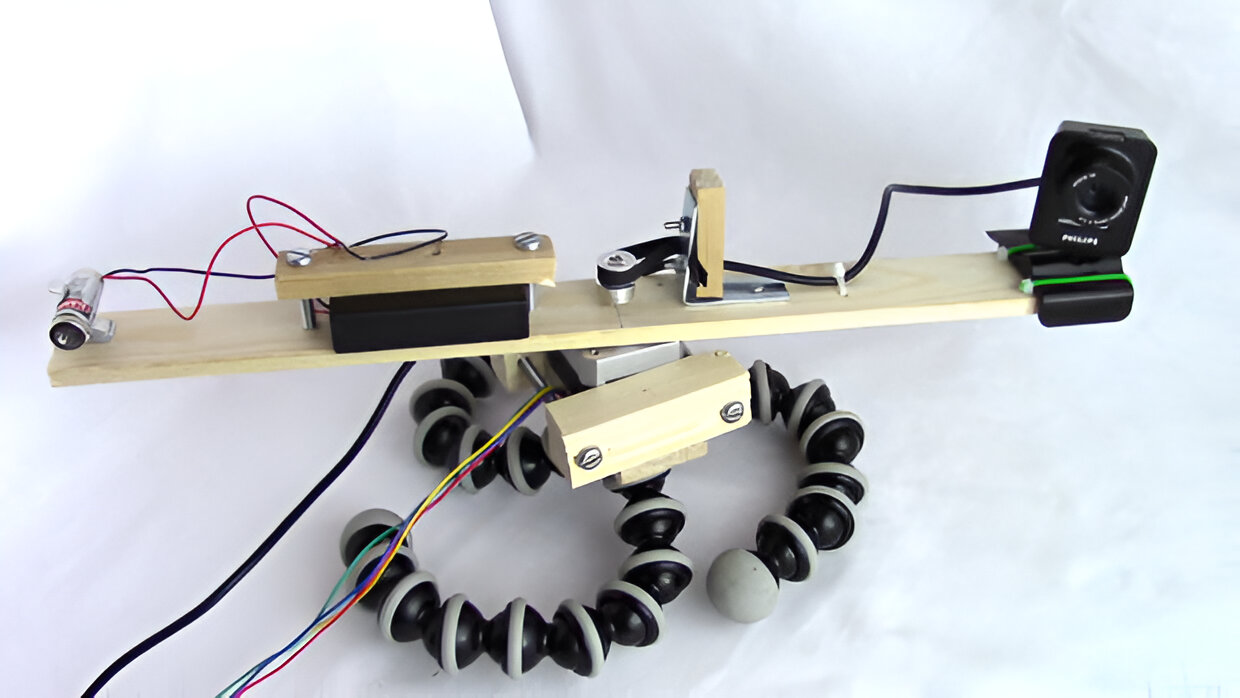
- Mount the Stepper Motors: Attach the stepper motors to their respective mounting points on the frame. Make sure they are securely fastened and aligned properly. These motors will control the movement of your printer’s axes.
- Install the Hotend and Extruder: Mount the hotend and extruder assembly onto the X-axis carriage of your printer. Take care to install it in a way that allows smooth and precise movement along the X-axis.
- Attach the Heated Bed: Position and secure the heated bed onto the Y-axis bed of your printer. Ensure that it is aligned properly and that the cables for power and temperature control are connected securely.
- Connect the Wiring: Connect the wiring for the stepper motors, hotend, extruder, and heated bed to their respective control board ports. Follow the manufacturer’s instructions and double-check the connections to ensure proper functionality.
- Secure the Electronics: Mount the Raspberry Pi and control board onto the printer frame or a separate electronics enclosure. Ensure that they are protected and securely fastened to prevent any movement during printing.
- Check for Stability: Once all the components are attached and connected, check for stability and make any necessary adjustments. Verify that the frame is rigid and that all components are securely in place.
- Perform a Power Test: Before proceeding, perform a power test to ensure that all components are receiving power and functioning correctly. Power on the printer and check that the stepper motors move smoothly and the hotend and heated bed heat up properly.
By following these steps, you will have successfully assembled the hardware components of your 3D printer. In the next section, we will discuss the installation and configuration of the 3D printing software on your Raspberry Pi.
Step 3: Installing the 3D Printing Software
With the hardware components of your 3D printer assembled, it’s time to install the 3D printing software on your Raspberry Pi. Follow these steps to get the software up and running:
- Open Terminal: On your Raspberry Pi, open the Terminal application. You can find it in the main menu or by searching for “Terminal” in the applications.
- Update the System: Before installing the 3D printing software, it is recommended to update the system packages. Enter the following command in the Terminal: sudo apt-get update. This will ensure that you have the latest software versions.
- Install 3D Printer Software: The most popular and widely-used 3D printer software for Raspberry Pi is OctoPrint. OctoPrint allows you to control and monitor your 3D printer remotely via a web interface. To install OctoPrint, enter the following command in the Terminal: sudo apt-get install octoprint.
- Configure OctoPrint: Once the installation is complete, you will need to configure OctoPrint to match your printer’s specifications. Access the OctoPrint web interface by opening a web browser on your Raspberry Pi and navigating to http://localhost:5000. Follow the on-screen instructions to complete the initial setup process, including connecting to your Wi-Fi network.
- Install Required Plugins: OctoPrint supports various plugins that enhance its functionality. Some popular plugins include slicer integration, webcam streaming, and remote control. Install the desired plugins from the OctoPrint interface’s plugin manager, following the provided instructions.
- Restart OctoPrint: After installing plugins, it is recommended to restart OctoPrint to ensure they are activated. You can do this from the OctoPrint web interface or by entering the following command in the Terminal: sudo service octoprint restart.
Once you have completed these steps, the 3D printing software will be installed and ready to use on your Raspberry Pi. In the next section, we will discuss how to configure the software to work with your specific 3D printer.
Step 4: Configuring the Software
After installing the 3D printing software on your Raspberry Pi, it’s time to configure the software to work with your specific 3D printer. Follow these steps to configure the software:
- Access OctoPrint Web Interface: Open a web browser on a connected device and enter the IP address of your Raspberry Pi followed by port 5000 (e.g. http://192.168.1.100:5000). This will access the OctoPrint web interface.
- Add Printer Profile: In the OctoPrint interface, go to the Printer Profiles section and click on “Add a new printer.” Fill in the details such as bed size, nozzle diameter, and filament diameter to match your printer specifications. Save the profile when finished.
- Calibrate Printer Settings: Navigate to the Printer Settings section and configure settings like acceleration, jerk, and temperature control to optimize the performance of your printer. Refer to your printer’s documentation for recommended values or experiment with different settings to find the best performance.
- Configure Slicer: OctoPrint integrates with slicer software to convert 3D models into printable G-code. Access the Slicer section in OctoPrint and configure the slicer settings to match your printer and filament. You can choose a pre-configured slicer or specify your own custom slicer settings.
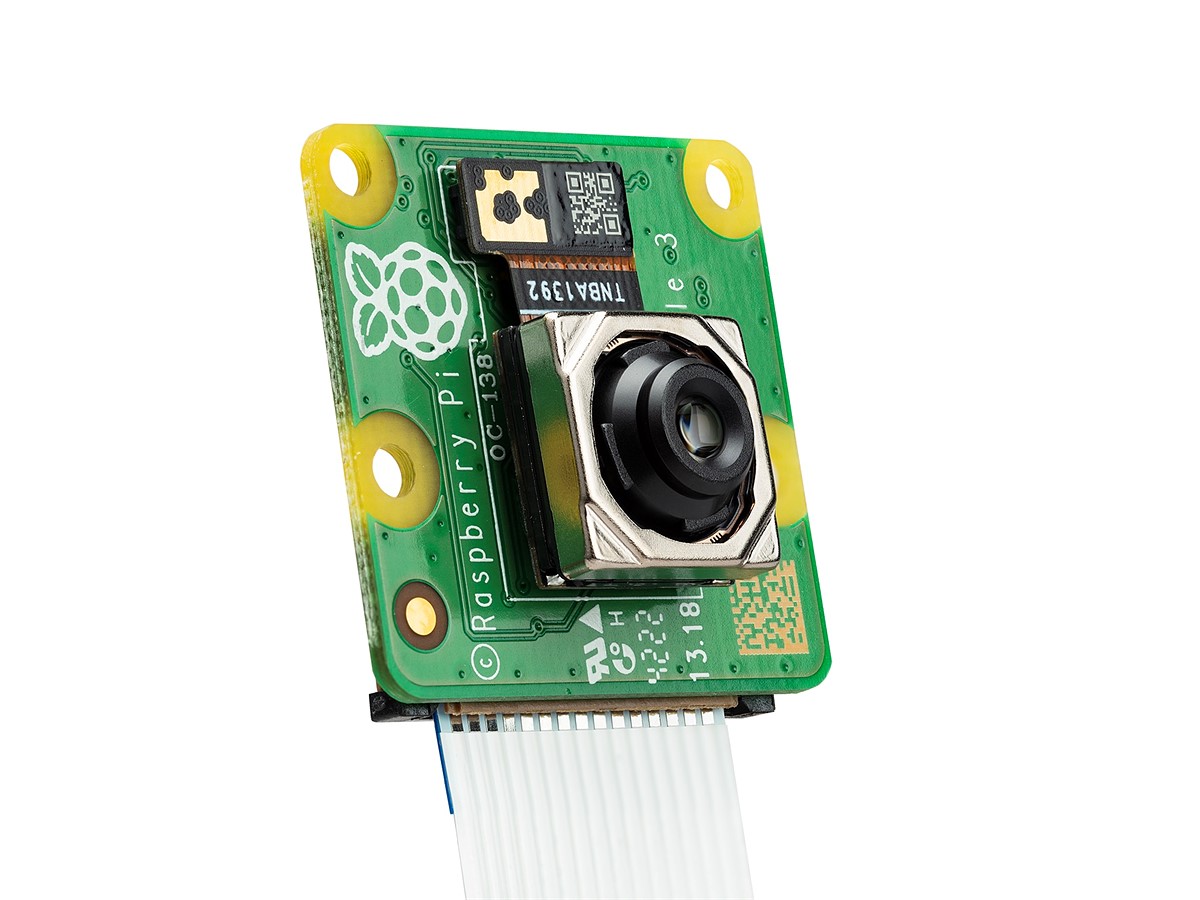
- Webcam Configuration (optional): If you have a webcam connected to your Raspberry Pi for monitoring your prints, go to the Webcam section in OctoPrint and configure the webcam settings. You can set up live streaming, take snapshots, and monitor your prints remotely.
- Test Communication: Before proceeding, test the communication between OctoPrint and your printer. Go to the Control section in OctoPrint and use the manual controls to move the axes, extrude filament, and heat up the nozzle and bed. Make sure that the commands are executed correctly and the printer responds as expected.
By following these steps, you will have successfully configured the 3D printing software to work with your specific 3D printer. In the next section, we will discuss the importance of calibrating your 3D printer for optimal performance.
Step 5: Calibrating the 3D Printer
Calibrating your 3D printer is a crucial step to ensure optimal performance and accurate prints. Proper calibration will fine-tune the printer’s settings and mechanics for precise movements and extrusion. Follow these steps to calibrate your 3D printer:
- Level the Build Plate: Start by leveling the build plate or heated bed of your 3D printer. This ensures that the first layer of your print adheres properly and is uniform across the entire surface. Use a sheet of paper or a leveling tool to adjust the height of the bed at different points until it is leveled.
- Calibrate Stepper Motors: Check the movement of each axis (X, Y, Z) and ensure that they move the specified distance accurately. Use calibration commands in the 3D printer software to move each axis a specific distance and measure it to verify accuracy. Adjust the steps per millimeter (or steps per unit) in the firmware if necessary.
- Extruder Calibration: Measure the extrusion of filament from the nozzle by marking a specific length (e.g., 100mm) above the extruder. Use the 3D printer software to extrude that length and measure how much filament actually comes out. Adjust the extruder steps per millimeter in the firmware to match the desired extrusion length.
- Fine-Tune Temperature Settings: Experiment with different temperature settings for the hotend and heated bed to find the optimal temperature range for your filament. Adjust the temperature settings in the printer software and monitor the prints for any issues such as underextrusion or warping. Make gradual adjustments until you achieve the desired print quality.
- Test Print: Perform a test print, preferably a calibration print such as a cube or a benchy model. This will help you assess the overall print quality and identify any specific calibration issues that need to be addressed. Analyze the print for any imperfections, such as gaps, inconsistent layers, or incorrect dimensions.
- Make Iterative Adjustments: Based on the results of the test print, make iterative adjustments to the calibration settings. Fine-tune parameters such as print speed, layer height, retraction settings, and cooling fan speed to achieve the desired print quality. Make incremental changes as you go, keeping track of the adjustments you make.
- Continue Refining Calibration: Calibration is an ongoing process. As you gain experience with your 3D printer and encounter different types of models and filaments, continue to refine the calibration settings based on the specific requirements of each print. Regularly perform calibration checks and adjust as necessary to maintain optimal performance.
By following these calibration steps, you will optimize the performance of your 3D printer and achieve consistent and accurate prints. In the next section, we will discuss the importance of testing your 3D printer to ensure it is functioning correctly.
Step 6: Testing the 3D Printer
After going through the setup, assembly, configuration, and calibration of your 3D printer, it’s time to put it to the test. Testing your printer is essential to ensure that it is functioning correctly and capable of producing high-quality prints. Here are some important steps to follow when testing your 3D printer:
- Preheat and Prepare: Start by preheating the hotend and heated bed to the recommended temperature for your filament. Ensure that the printer is properly warmed up before starting any test prints.
- Choose a Test Model: Select an appropriate test model to print, preferably one that includes a variety of features such as overhangs, bridges, and fine details. This will allow you to evaluate different aspects of your printer’s performance.
- Monitor the Print: During the print, closely monitor the progress and observe the printer’s behavior. Pay attention to the quality of adhesion to the build plate, smooth movement of the print head, proper filament extrusion, and overall print accuracy.
- Check for Issues: After the print is completed, carefully inspect the finished model for any issues or defects. Look for common problems like stringing, layer shifting, uneven layers, or any other imperfections that may indicate calibration or hardware issues.
- Measure Accuracy: Use calipers or other measuring tools to check the accuracy of the printed dimensions. Compare the dimensions of the printed object with the expected measurements from the original model to ensure proper scaling and accuracy.
- Assess Print Quality: Evaluate the overall print quality, including fine details, surface finish, layer adhesion, and structural integrity. Take note of any areas that may require improvement and adjust the printer settings accordingly for future prints.
- Iterative Testing and Improvement: Use the results of the test print to guide further improvements. Make incremental changes to your printer’s settings, such as print speed, temperature, or retraction, to fine-tune the output and achieve better print quality.
- Experiment with Different Filaments: Once you have tested and refined your printer with a specific filament, consider experimenting with different filament materials. Different filaments may require adjustments to temperature settings or other specific parameters to achieve optimal results.
By thoroughly testing your 3D printer and analyzing the results, you will be able to identify any areas for improvement and make necessary adjustments to enhance the performance and quality of your prints. Remember that testing and iteration are continuous processes, and with each print, you’ll gain valuable insights to achieve better results.
Congratulations! You have successfully completed the steps to build, configure, calibrate, and test your own 3D printer using a Raspberry Pi. With this newfound knowledge and experience, you can continue to explore the exciting world of 3D printing and unleash your creativity.
Conclusion
Building your own 3D printer with a Raspberry Pi can be a fun and rewarding experience. Not only does it allow you to dive into the world of 3D printing, but it also provides an opportunity to learn about electronics, programming, and mechanical systems. Throughout this article, we have guided you through the steps of setting up the Raspberry Pi, assembling the hardware components, installing the 3D printing software, configuring the software, calibrating the printer, and finally, testing its performance.
By following these steps and investing the time and effort into building and calibrating your 3D printer, you have gained valuable skills and knowledge that will serve you well in your 3D printing journey. You now have the ability to bring your digital designs to life, create unique and customized objects, and explore endless possibilities.
Remember, 3D printing is not just about the end result; it is a continuous learning process. As you gain more experience with your printer, you will discover new techniques, materials, and designs that will allow you to push the boundaries of what you can create. Experimentation and iteration will be key to unlocking the full potential of your 3D printer.
Additionally, staying connected with the vibrant 3D printing community can provide further guidance, inspiration, and troubleshooting assistance. Online forums, social media groups, and maker spaces are great places to connect with like-minded individuals and gain insights and tips from experienced 3D printing enthusiasts.
Now it’s time to embark on your own 3D printing adventures. Start by exploring different models, experimenting with various materials, and continuously refining your printer settings. Let your creativity soar as you bring your concepts to life through the fascinating world of 3D printing.