Introduction
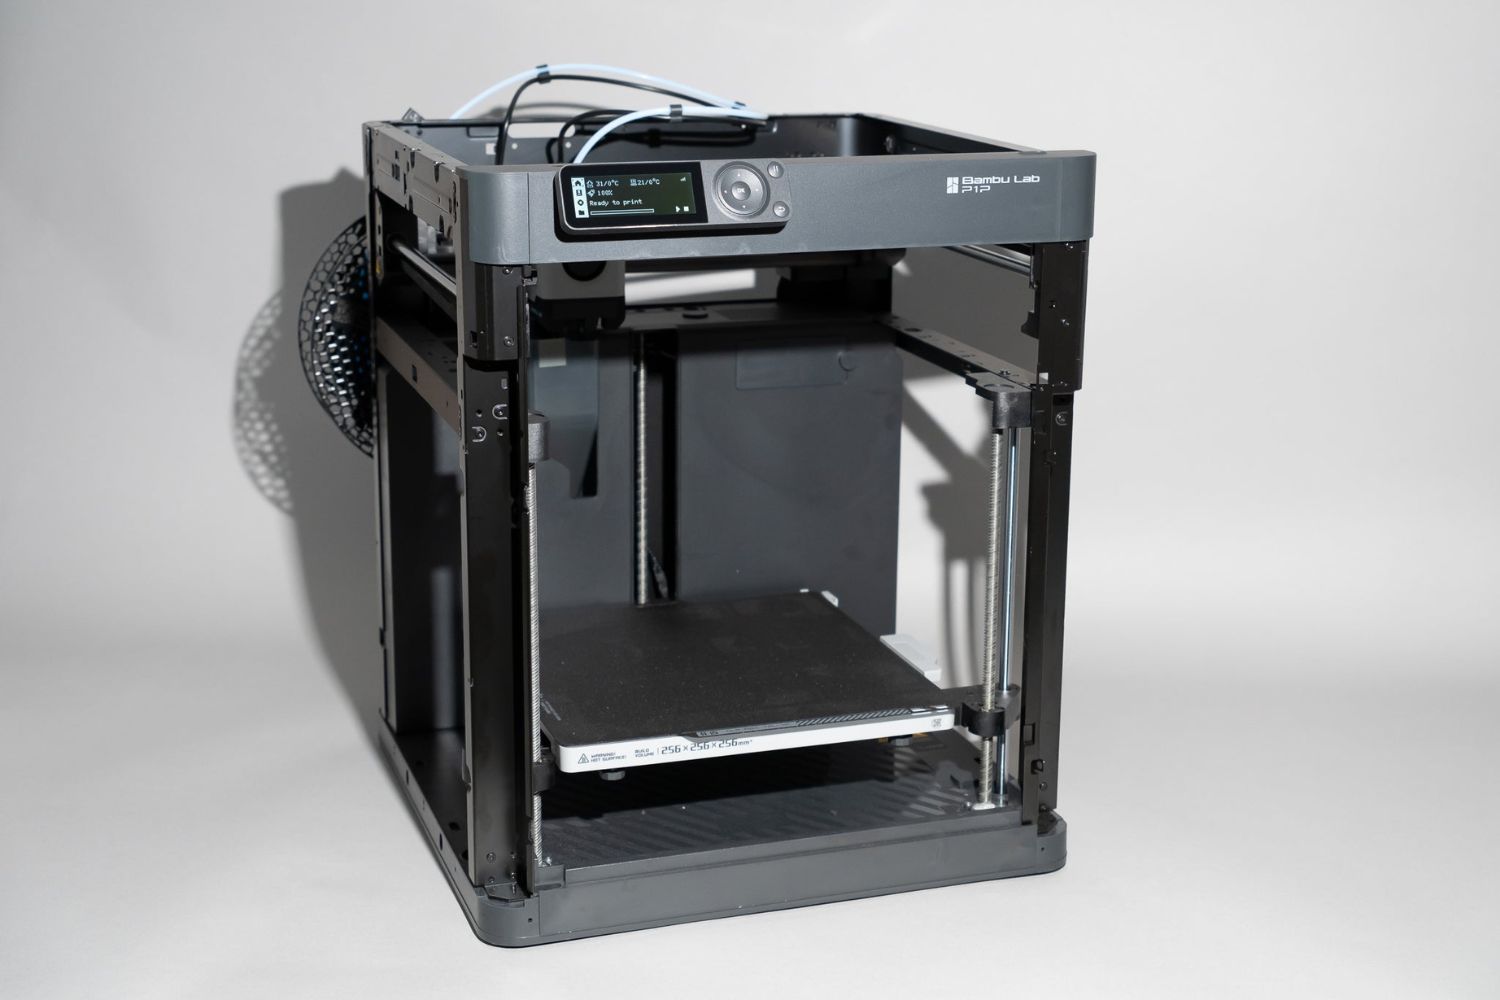
Welcome to the fascinating world of 3D printing! Whether you’re a hobbyist or a professional, owning a 3D printer allows you to turn your ideas into reality. However, one aspect of 3D printing that often gets overlooked is the proper removal of filament from the printer. In this guide, we’ll walk you through the step-by-step process of removing filament from a 3D printer.
Before we dive into the details, let’s briefly discuss why removing filament is important. When you’re done printing with one type of filament and want to switch to another, it’s crucial to remove the existing filament completely. This ensures that there’s no residue left in the printer’s extruder, which could potentially mix with the new filament and compromise the quality of your prints.
Furthermore, removing filament is necessary when troubleshooting issues such as clogging or jamming. By properly removing the filament, you can inspect the extruder and clear any blockages, allowing for smooth and uninterrupted printing.
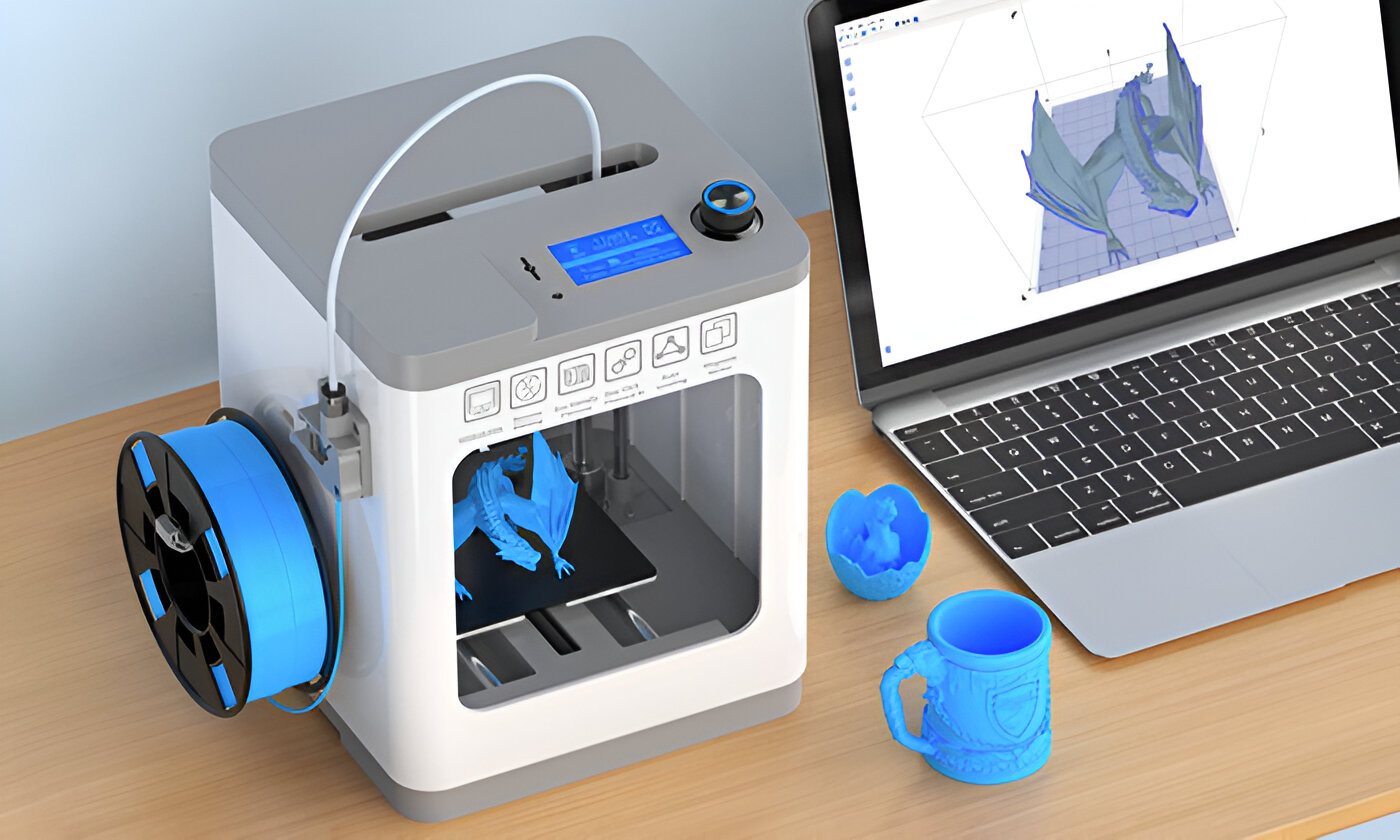
To facilitate the filament removal process, we recommend having a few essential tools on hand. These tools include a pair of pliers or tweezers, a filament clip or spool holder, and if necessary, a hand drill or hot air gun. Having these tools readily available will make the process much more convenient and efficient.
Now that we’ve covered the basics, let’s proceed to the step-by-step guide on how to remove filament from a 3D printer. Whether you prefer a manual unloading method or utilizing the printer’s menu, we’ve got you covered. Let’s get started!
Why Removing Filament is Important
Removing filament from a 3D printer is an essential step in maintaining the quality and functionality of your prints. Let’s explore why this process is so crucial.
First and foremost, removing filament is necessary when you want to switch from one type or color of filament to another. Imagine printing a beautiful model using black filament and then wanting to print with white filament. Without removing the black filament properly, remnants of it can mix with the new white filament, resulting in a mix of colors and potentially affecting the aesthetics of your print.
Furthermore, different filaments require specific temperature settings and extruder conditions. Leaving residue from a previous filament in the extruder can lead to complications and affect the proper extrusion of the new filament. This can result in print defects, clogs, or even damage to your 3D printer.
In addition to switching filaments, removing filament is crucial for troubleshooting purposes. If your printer encounters issues like filament clogs or jams, you need to remove the filament to access and clear the clogged area. Leaving the filament inside the printer can exacerbate the problem, making it difficult to identify and resolve the issue.
By regularly removing and reinstalling filament, you also ensure that the extruder mechanism remains clean and functional. Filament can accumulate dust particles, debris, or small fragments over time, leading to decreased extruder performance and potential difficulties in filament loading and unloading. Taking the time to clean the extruder during the filament removal process helps maintain optimal printing conditions.
Moreover, if you store your 3D printer for an extended period, it’s advisable to remove the filament entirely. This prevents the filament from absorbing moisture from the surroundings, which can negatively impact its quality and performance.
In summary, removing filament from your 3D printer is crucial for maintaining the integrity of your prints, preventing color contamination, troubleshooting issues, and prolonging the lifespan of your printer. Now that we understand the importance of this process, let’s move on to the tools and steps required for successfully removing filament from a 3D printer.
Tools Needed for Removing Filament
Removing filament from a 3D printer requires a few essential tools to make the process smooth and efficient. Let’s take a look at the tools you’ll need to have on hand:
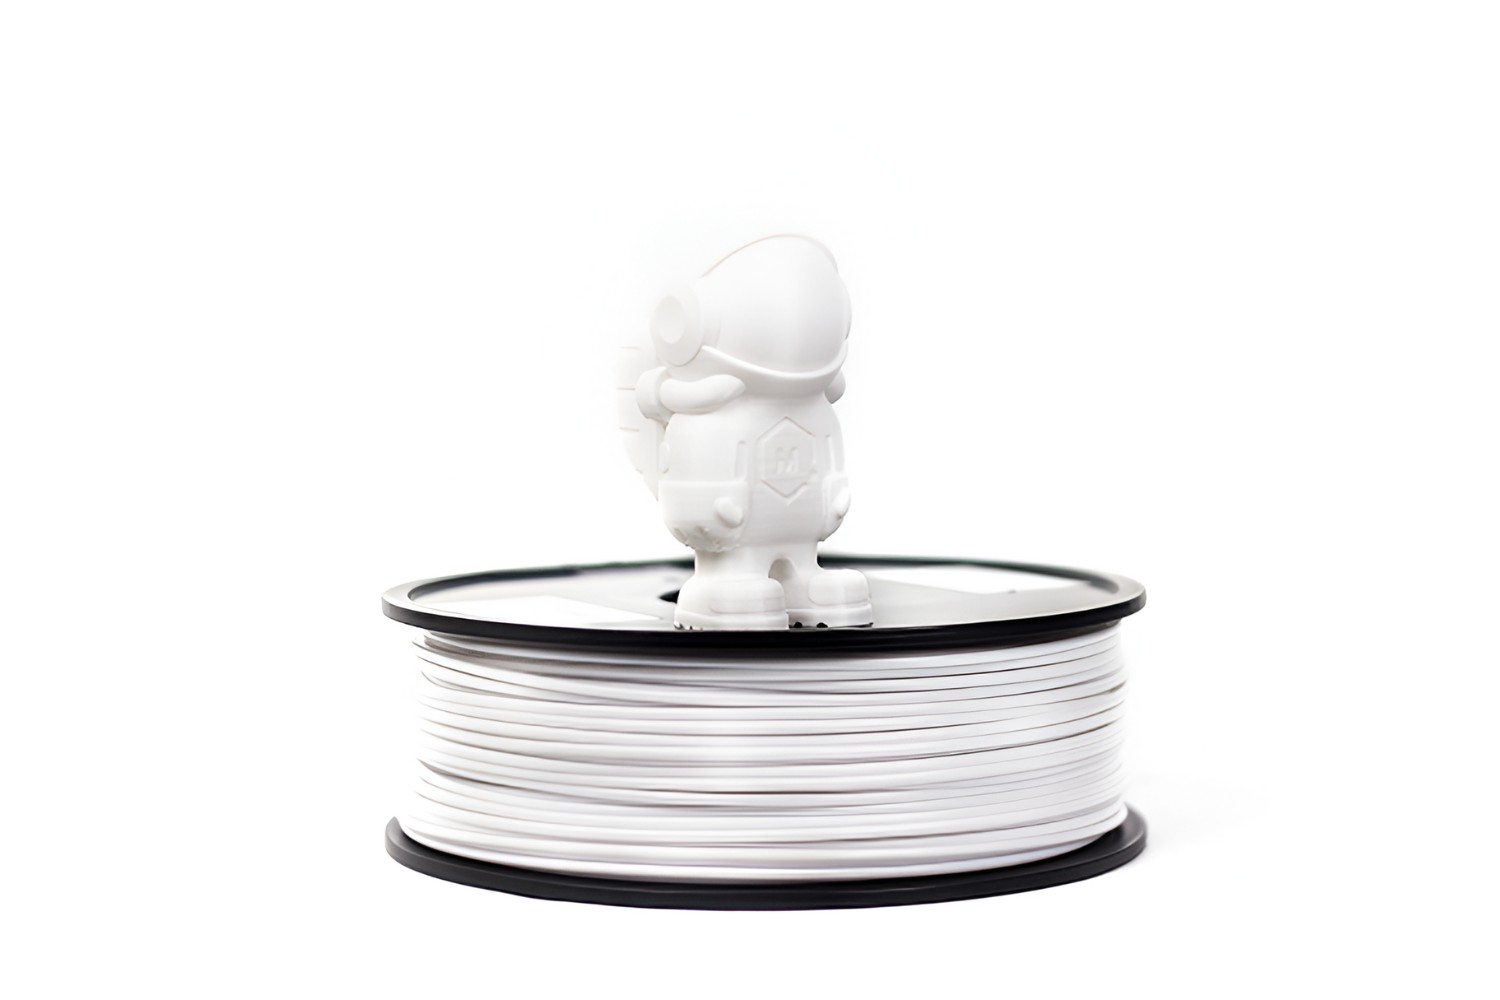
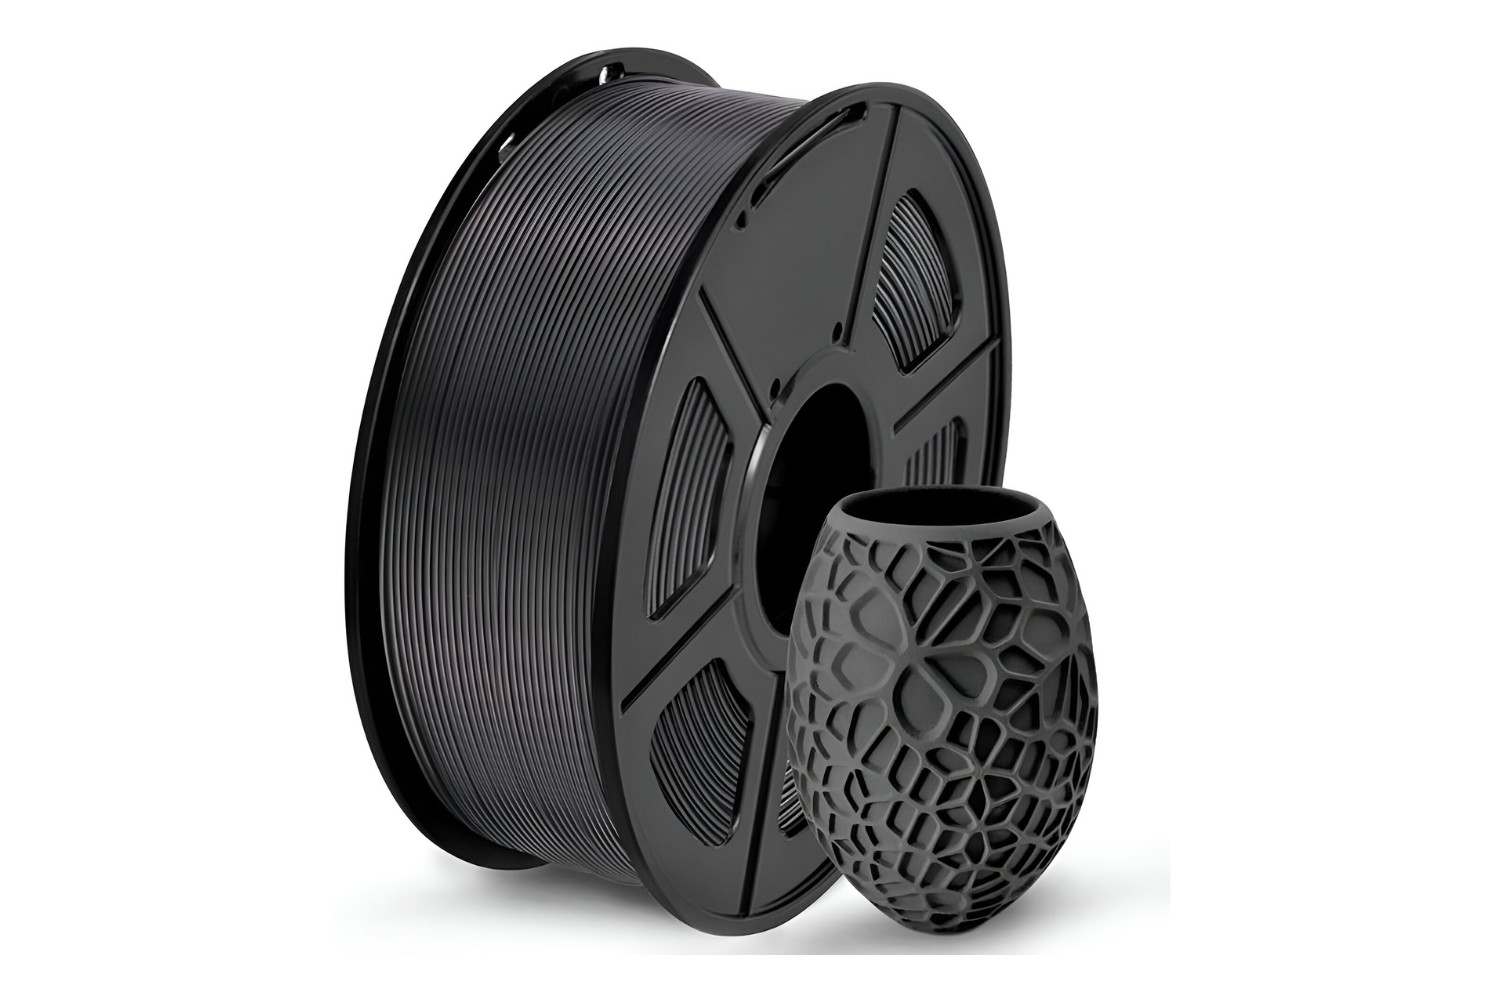
- Pliers or Tweezers: These tools come in handy for manually grabbing and pulling out the filament from the extruder. They provide a firm grip and allow for precise control during the removal process. Make sure to use pliers or tweezers with a flat, non-serrated jaw to avoid damaging the filament.
- Filament Clip or Spool Holder: A filament clip or spool holder is used to secure the filament when it’s not in use. Attaching a clip or using a spool holder prevents the filament from unraveling and keeps it organized. It also helps ensure smooth and easy filament loading and unloading.
- Hand Drill or Hot Air Gun (optional): In some cases, if the filament is stubbornly stuck in the extruder or hotend, a hand drill or hot air gun can be used to aid in the removal process. The hand drill can be used to create a small hole in the filament, making it easier to grasp and pull out. The hot air gun can be used to soften the filament and make it more pliable for removal. However, exercise caution when using these tools to avoid damage to the printer or yourself.
While these tools are essential for filament removal, it’s important to note that not all of them may be required for every removal scenario. The specific tools you’ll need can vary depending on the type of printer, extruder design, and filament type.
Having these tools readily available will make the filament removal process much more convenient and efficient. Now that you have a good understanding of the tools necessary, let’s proceed to the step-by-step guide on how to remove filament from a 3D printer.
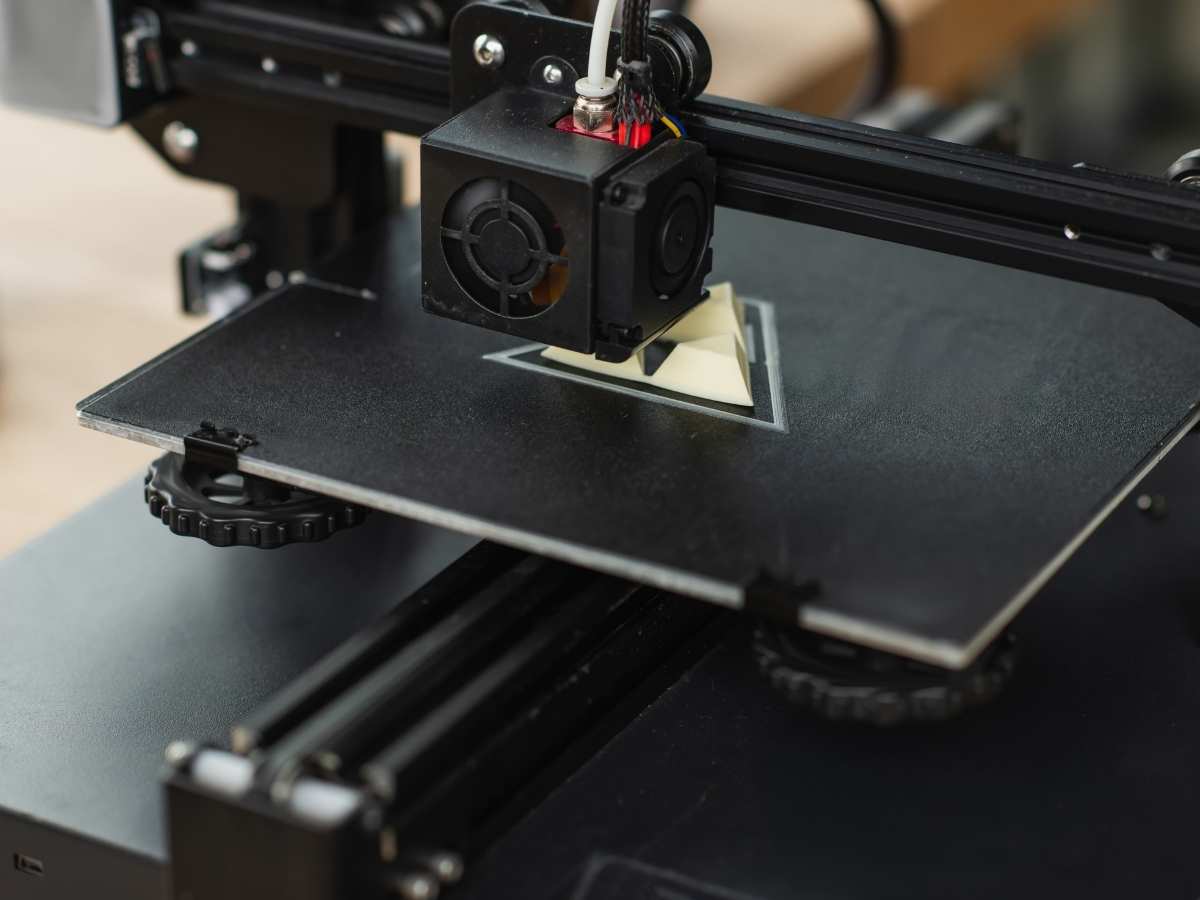
Step-by-Step Guide to Remove Filament from a 3D Printer
Now, let’s walk through a step-by-step process on how to remove filament from your 3D printer. We’ll cover three different methods, so you can choose the one that suits your printer and preferences.
Method 1: Manual Unloading
- Start by heating your printer’s nozzle to the appropriate temperature for the filament you are using. Consult the filament manufacturer’s guidelines or your printer’s manual for the recommended temperature.
- Once the nozzle has reached the desired temperature, use the control panel or software interface to initiate the filament unloading process. This will activate the extruder motor and push out the filament.
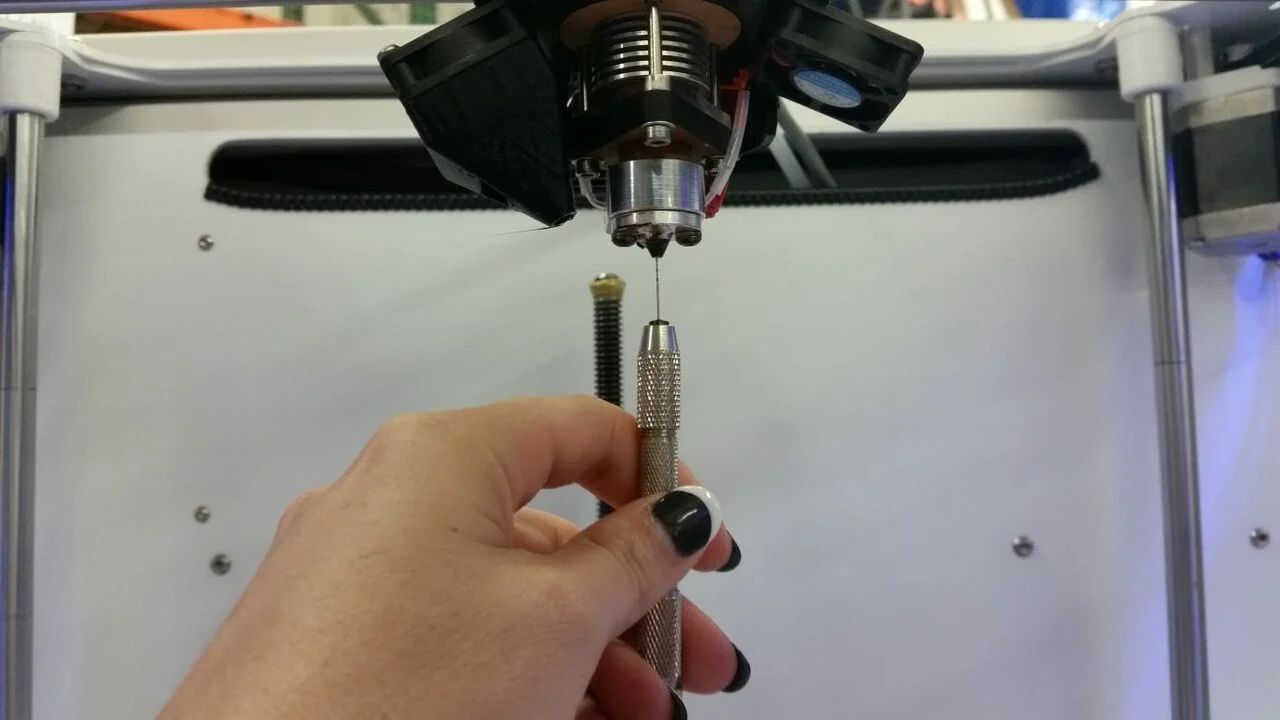
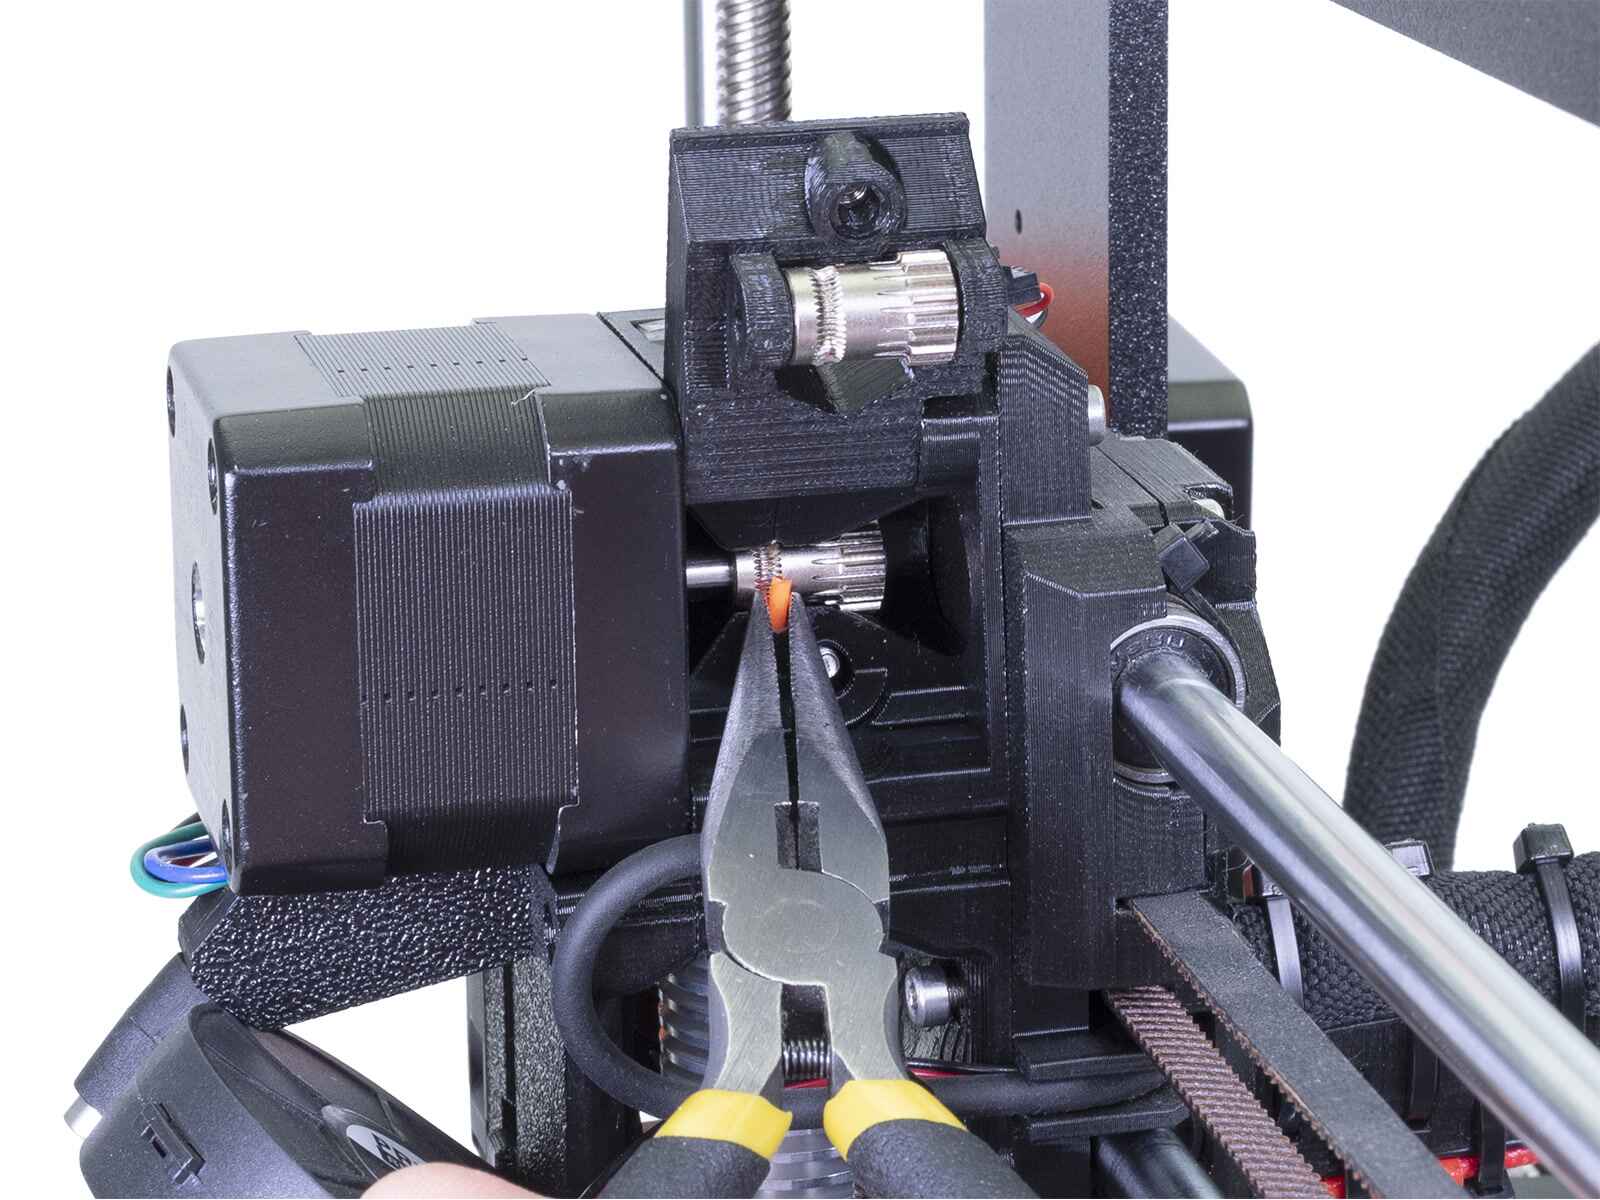
- As the filament is being pushed out, use a pair of pliers or tweezers to gently and steadily pull the filament from the extruder. Be careful not to yank on the filament too forcefully, as this can damage the extruder or the filament itself.
- Continue pulling the filament until it is completely removed from the extruder and the nozzle. If there are any remnants of the filament left in the nozzle, you can use the pliers or tweezers to carefully clean them out.
- Once the filament is removed, you can proceed to load a new filament or perform any necessary maintenance on the printer.
Method 2: Using the Printer’s Menu
- Access the printer’s menu or interface and navigate to the “Filament” or “Unload Filament” option.
- Select the option to unload filament, which will begin the unloading process.
- Wait for the printer to heat the nozzle to the appropriate temperature for filament unloading.
- Once the nozzle is heated, the printer will start pushing out the filament. As soon as you see the filament being extruded, grab it with a pair of pliers or tweezers and gently pull it out of the extruder.
- Continue pulling the filament until it is completely removed from the printer.
Method 3: Using Filament Spool Holder
- If your 3D printer is equipped with a filament spool holder, start by securing the filament spool onto the holder.
- Depending on the printer model, there may be a lever or release mechanism near the extruder. Activate this lever to release the tension on the filament.
- Gently pull the filament from the spool while ensuring it is properly guided through the filament path and into the extruder.
- Continue pulling the filament until it is fully removed from the extruder and the printer.
Remember, these methods are general guidelines, and your specific printer model may have slight variations in the filament removal process. Consult your printer’s manual or manufacturer’s website for detailed instructions specific to your printer.
Now that you know how to remove filament using different methods, you are well equipped to perform routine maintenance or switch between filaments with ease. However, in some cases, filament removal can be challenging, especially when dealing with stubborn or stuck filament. In the next section, we’ll provide some troubleshooting tips to help you overcome these difficulties.
Method 1: Manual Unloading
Manual unloading is a common method for removing filament from a 3D printer. This method allows for direct control and ensures a thorough removal process. Follow these steps to manually unload filament from your printer:
- Start by heating your printer’s nozzle to the appropriate temperature for the filament you are using. Consult the filament manufacturer’s guidelines or your printer’s manual for the recommended temperature.
- Once the nozzle has reached the desired temperature, use the control panel or software interface to initiate the filament unloading process. This will activate the extruder motor and push out the filament.
- As the filament is being pushed out, use a pair of pliers or tweezers to gently and steadily pull the filament from the extruder. Be careful not to yank on the filament too forcefully, as this can damage the extruder or the filament itself.
- Continue pulling the filament until it is completely removed from the extruder and the nozzle. If there are any remnants of the filament left in the nozzle, you can use the pliers or tweezers to carefully clean them out.
- Once the filament is removed, you can proceed to load a new filament or perform any necessary maintenance on the printer.
This method gives you full control over the unloading process and allows you to visually inspect the extruder and nozzle for any clogs or debris. It’s important to ensure that the nozzle is heated to the correct temperature before attempting to remove the filament. The heat makes the filament more pliable, making it easier to pull out without causing any damage.
When using pliers or tweezers to remove the filament, be gentle and avoid applying excessive force. Pulling too hard or abruptly can lead to filament breakage or damage to the extruder. Take your time, and maintain a steady and controlled pull to steadily and efficiently remove the filament.
After the filament is completely removed, it’s a good practice to clean the extruder and nozzle. Use a soft cloth or brush to remove any residual filament or debris that may have accumulated. This ensures that the next filament you load will have a clean and unobstructed path for proper extrusion.
Manual unloading is a reliable method to remove filament from your 3D printer. However, there are alternative methods available, which we will discuss in the upcoming sections. Different printers may have their specific unloading procedures, so refer to your printer’s manual or manufacturer’s guidelines for any model-specific instructions.
Method 2: Using the Printer’s Menu
Another convenient method for removing filament from a 3D printer is by utilizing the printer’s menu or interface. This method allows you to initiate the unloading process directly from the printer’s controls. Follow these steps to remove filament using the printer’s menu:
- Access the printer’s menu or interface and navigate to the “Filament” or “Unload Filament” option.
- Select the option to unload filament, which will begin the unloading process.
- Wait for the printer to heat the nozzle to the appropriate temperature for filament unloading.
- Once the nozzle is heated, the printer will start pushing out the filament. As soon as you see the filament being extruded, grab it with a pair of pliers or tweezers and gently pull it out of the extruder.
- Continue pulling the filament until it is completely removed from the printer.
This method allows for a more hands-off approach, as the printer takes care of heating the nozzle and pushing out the filament. By following the on-screen instructions and prompts, you can easily initiate and monitor the unloading process.
It’s important to ensure that you have selected the correct filament type and temperature in the printer’s menu before proceeding with the unloading process. Each filament type has its own specific temperature requirements, so refer to the filament manufacturer’s recommendations or your printer’s manual for the appropriate settings.
When the filament starts to extrude, be ready to grasp it with pliers or tweezers. Ensure that you have a firm grip on the filament as it’s being pulled out of the extruder. Gently and steadily pull the filament to prevent any breakage or damage to the extruder components.
Once the filament is fully removed from the printer, you can proceed with loading a new filament or perform any necessary maintenance tasks. Always remember to keep the extruder and nozzle clean for optimal printing performance.
Now that we’ve covered the second method of removing filament using the printer’s menu, let’s move on to the third method, which involves using a filament spool holder.
Method 3: Using Filament Spool Holder
If your 3D printer is equipped with a filament spool holder, you can take advantage of this feature to remove filament easily. This method involves utilizing the filament spool holder to guide the filament out of the extruder. Follow these steps to remove filament using the filament spool holder:
- If your 3D printer has a filament spool holder, start by securing the filament spool onto the holder. Ensure that the filament is properly mounted and can freely rotate without any entanglement.
- Depending on the specific design of your printer, there may be a lever or release mechanism near the extruder. Activate this lever to release the tension on the filament and allow it to move freely.
- Gently pull the filament from the spool, making sure it is properly guided through the filament path and into the extruder.
- Continue pulling the filament until it is fully removed from the extruder and the printer.
This method is straightforward and eliminates the need for manual pulling or using the printer’s menu. The filament spool holder acts as a guide, ensuring the filament is properly threaded through the printer. Additionally, releasing the tension on the filament helps facilitate its smooth removal.
When pulling the filament, be cautious to prevent any excessive force that could cause the filament to break or damage the filament path. Maintain a steady and controlled pull to smoothly remove the filament without any disruption.
If you encounter any difficulties during the filament removal process or if the filament gets stuck, you can use pliers or tweezers to assist in pulling it out. However, exercise caution to avoid damaging the filament or any other components of the printer.
Once the filament is successfully removed, you can proceed with loading a new filament or perform any necessary printer maintenance tasks. Remember to keep your filament spool holder clean and free from any debris or obstructions to ensure proper filament feeding and smooth printing.
Now that we’ve covered the three different methods of removing filament from a 3D printer, you are equipped with the knowledge to switch between filaments or troubleshoot filament-related issues with ease.
Troubleshooting Tips for Difficult Filament Removal
While removing filament from a 3D printer is usually a straightforward process, there may be instances where it becomes challenging due to factors such as clogs, jams, or stubborn filament. Here are some troubleshooting tips to help you overcome difficulties during filament removal:
- Heat the nozzle: If the filament is stuck or not coming out easily, try heating the printer’s nozzle to a slightly higher temperature than usual. This can help soften the filament and make it more pliable for removal. Be cautious not to overheat the nozzle, as this can lead to filament burning or other issues.
- Use pliers or tweezers: In case the filament is firmly stuck in the extruder, use pliers or tweezers to gently grip and pull it out. Apply sufficient, but controlled force, to avoid damaging the extruder or breaking the filament. If necessary, create a small hole in the filament using a hand drill, allowing you to get a better grip.
- Apply heat directly: If the filament is extremely stubborn or jammed inside the hotend, you can try using a hot air gun to soften the filament. With caution, direct the heat to the jammed portion to make it more malleable. Once softened, use pliers or tweezers to carefully remove the filament.
- Clear any debris: If you encounter resistance or unusual difficulty when removing the filament, it’s possible that there may be debris or clogs in the extruder or hotend. In such cases, disassemble the necessary components following your printer’s manual and remove any blockages using a needle, filament cleaner, or compressed air. This will help restore smooth filament flow and make removal easier.
- Consult the printer’s manual or manufacturer: If you have tried the above techniques and are still having trouble removing the filament, refer to your printer’s manual or contact the manufacturer for troubleshooting advice specific to your printer model. They can provide additional guidance or recommend further steps to take.
Remember, patience and caution are key when troubleshooting difficult filament removal. Avoid using excessive force or aggressive measures that could potentially damage your printer’s components. Take your time, follow the recommended techniques, and consult the appropriate resources to resolve any challenging filament removal situations.
By following these troubleshooting tips, you can overcome obstacles and successfully remove filament from your 3D printer, ensuring smooth transitions between filaments and optimal printer performance.
Conclusion
Removing filament from a 3D printer is a crucial aspect of maintenance and troubleshooting. Whether you’re switching between filaments or resolving filament-related issues, knowing how to properly remove filament is essential for achieving high-quality, reliable prints.
In this guide, we have explored three methods for removing filament from a 3D printer: manual unloading, using the printer’s menu, and utilizing a filament spool holder. Each method offers its advantages and can be chosen based on your printer’s capabilities and your preferences.
During the removal process, it’s important to use the right tools, such as pliers or tweezers, filament clips, and, if necessary, a hand drill or hot air gun. These tools ensure a smooth and efficient filament removal experience.
We have also outlined troubleshooting tips for difficult filament removal, including heating the nozzle, using additional tools like pliers or tweezers, applying direct heat, and clearing any debris or clogs that might obstruct the filament’s path.
Always refer to your 3D printer’s manual and consult the manufacturer’s guidelines for specific instructions tailored to your printer model.
By following the methods and tips provided in this guide, you can confidently remove filament from your 3D printer with ease and maintain optimal printing performance.
Now that you are equipped with the knowledge to remove filament effectively, feel free to explore various filaments and unleash your creativity in the exciting world of 3D printing!