Introduction
Welcome to the world of 3D printing! In recent years, 3D printing has revolutionized various industries, from manufacturing and engineering to healthcare and art. One popular choice for 3D printing enthusiasts is the XYZ 3D printer. This versatile and user-friendly printer offers a wide range of capabilities, allowing you to bring your creative ideas to life.
In this article, we will guide you through the process of setting up and using an XYZ 3D printer. Whether you’re a beginner looking to dip your toes into the world of 3D printing or an experienced user seeking to expand your skills, this guide will provide you with the necessary steps and tips to make the most out of your XYZ 3D printer.
Before we dive into the step-by-step process, it’s essential to understand what exactly an XYZ 3D printer is and how it works. XYZ 3D printers operate through additive manufacturing, which means they build objects layer by layer using a filament material. This process differs from traditional manufacturing techniques that involve cutting or subtracting material.
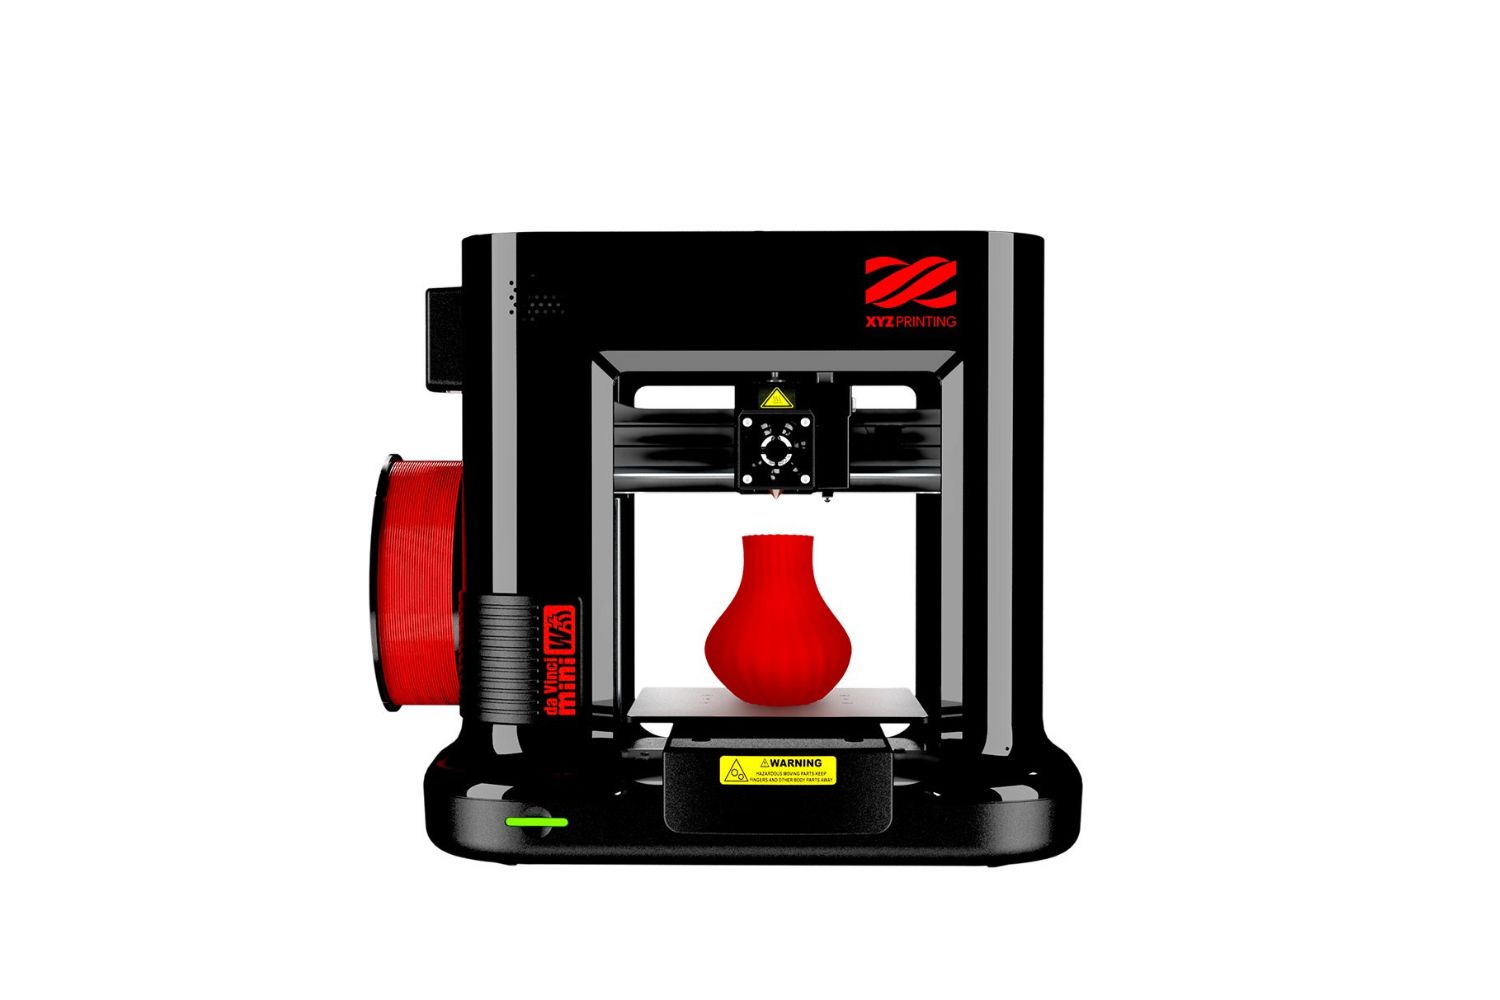
An XYZ 3D printer consists of several main components, including the printer itself, the print bed, the extruder, and the control panel. The printer reads a digital 3D model file, slices it into multiple layers, and then guides the extruder to deposit the filament material accurately, creating the desired object.
Now that you have a basic understanding of what an XYZ 3D printer is, let’s jump into the step-by-step process of setting up and using this fantastic technology. By the end of this guide, you’ll be ready to unleash your creativity and start printing incredible 3D objects!
What is an XYZ 3D Printer?
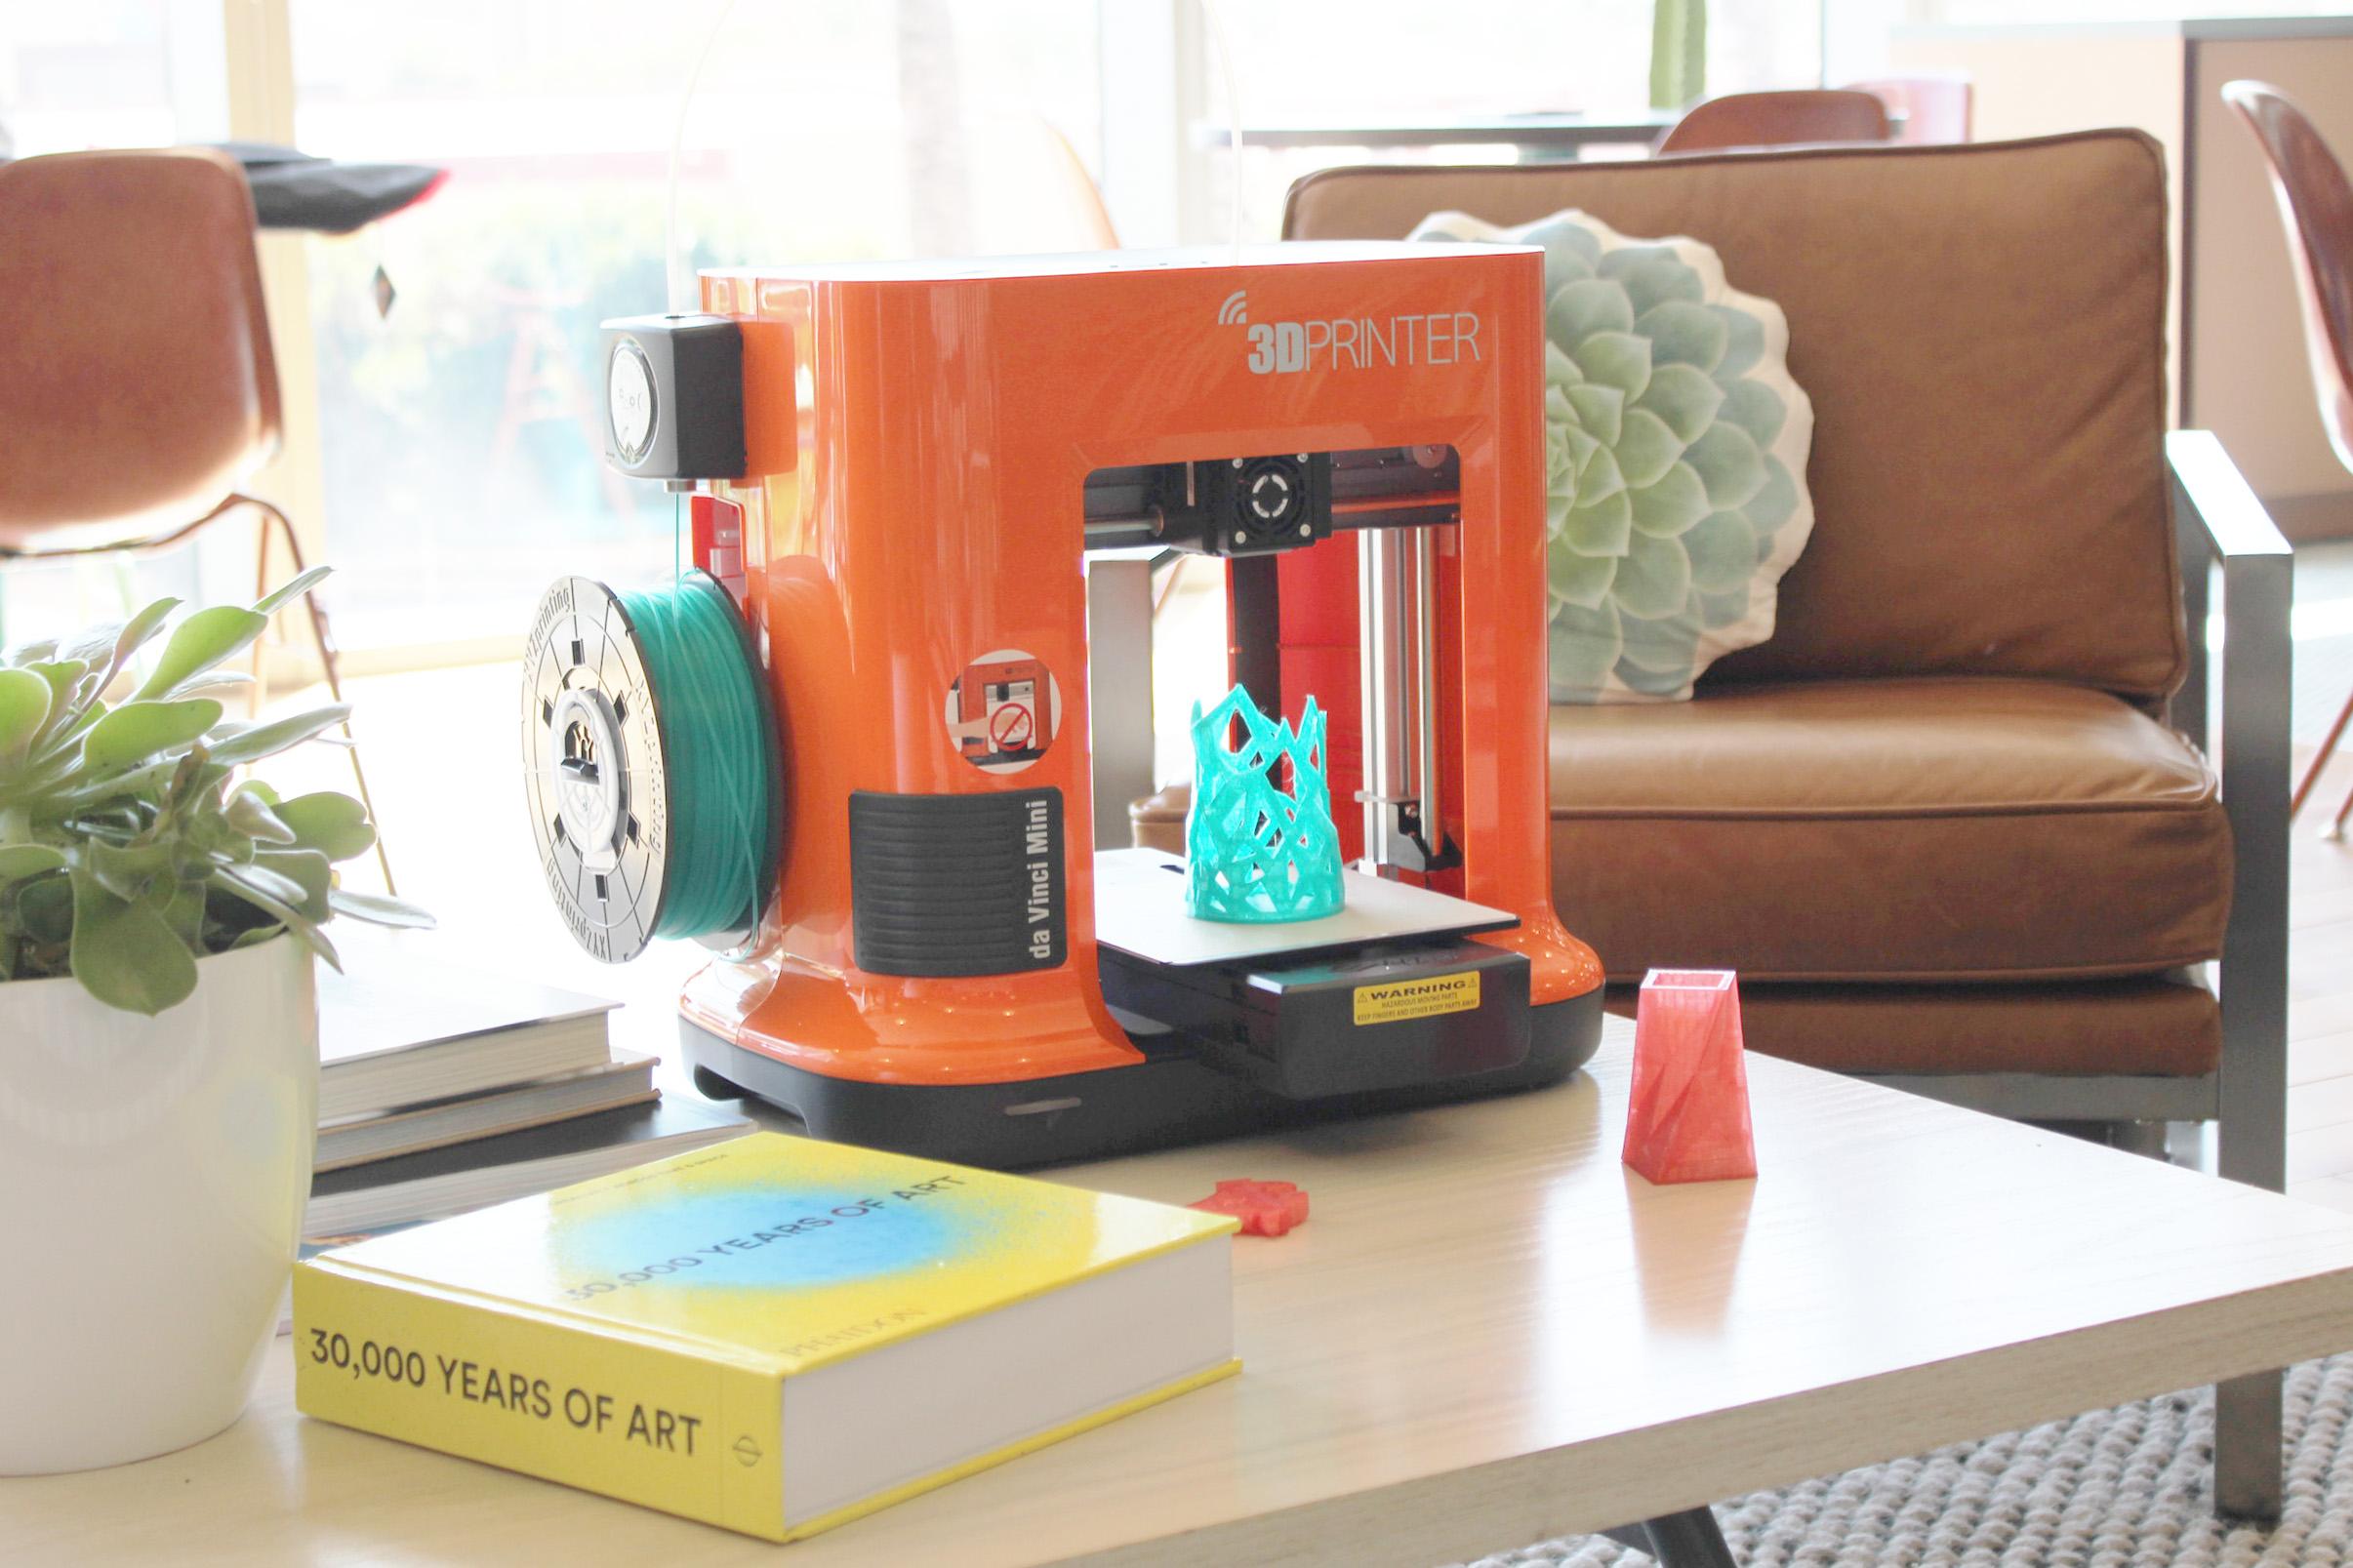
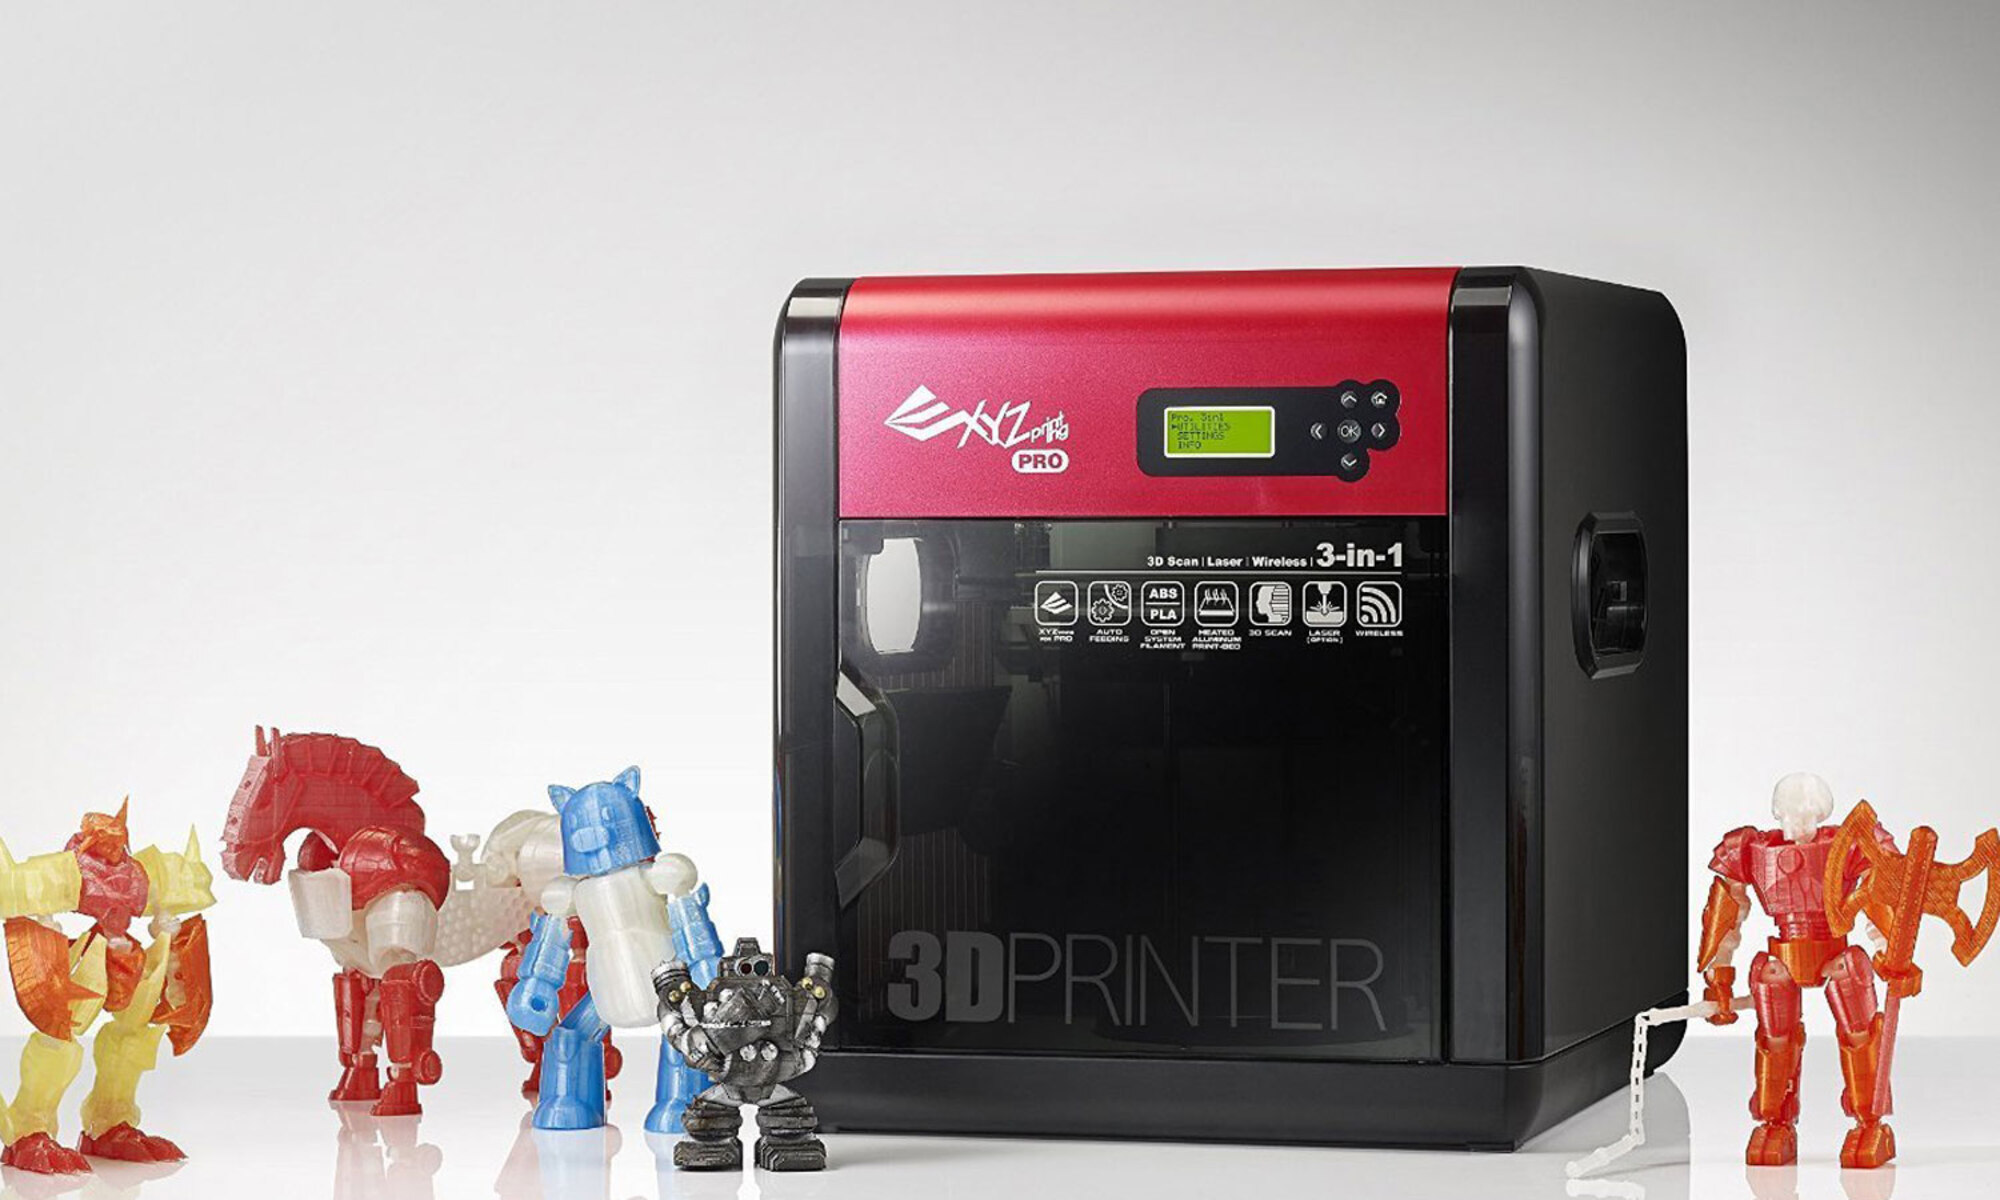
An XYZ 3D printer is a type of 3D printer that offers an accessible and user-friendly approach to 3D printing. Produced by XYZprinting, a leading manufacturer in the industry, these printers are designed to be affordable and easy to use, making them ideal for beginner and intermediate users.
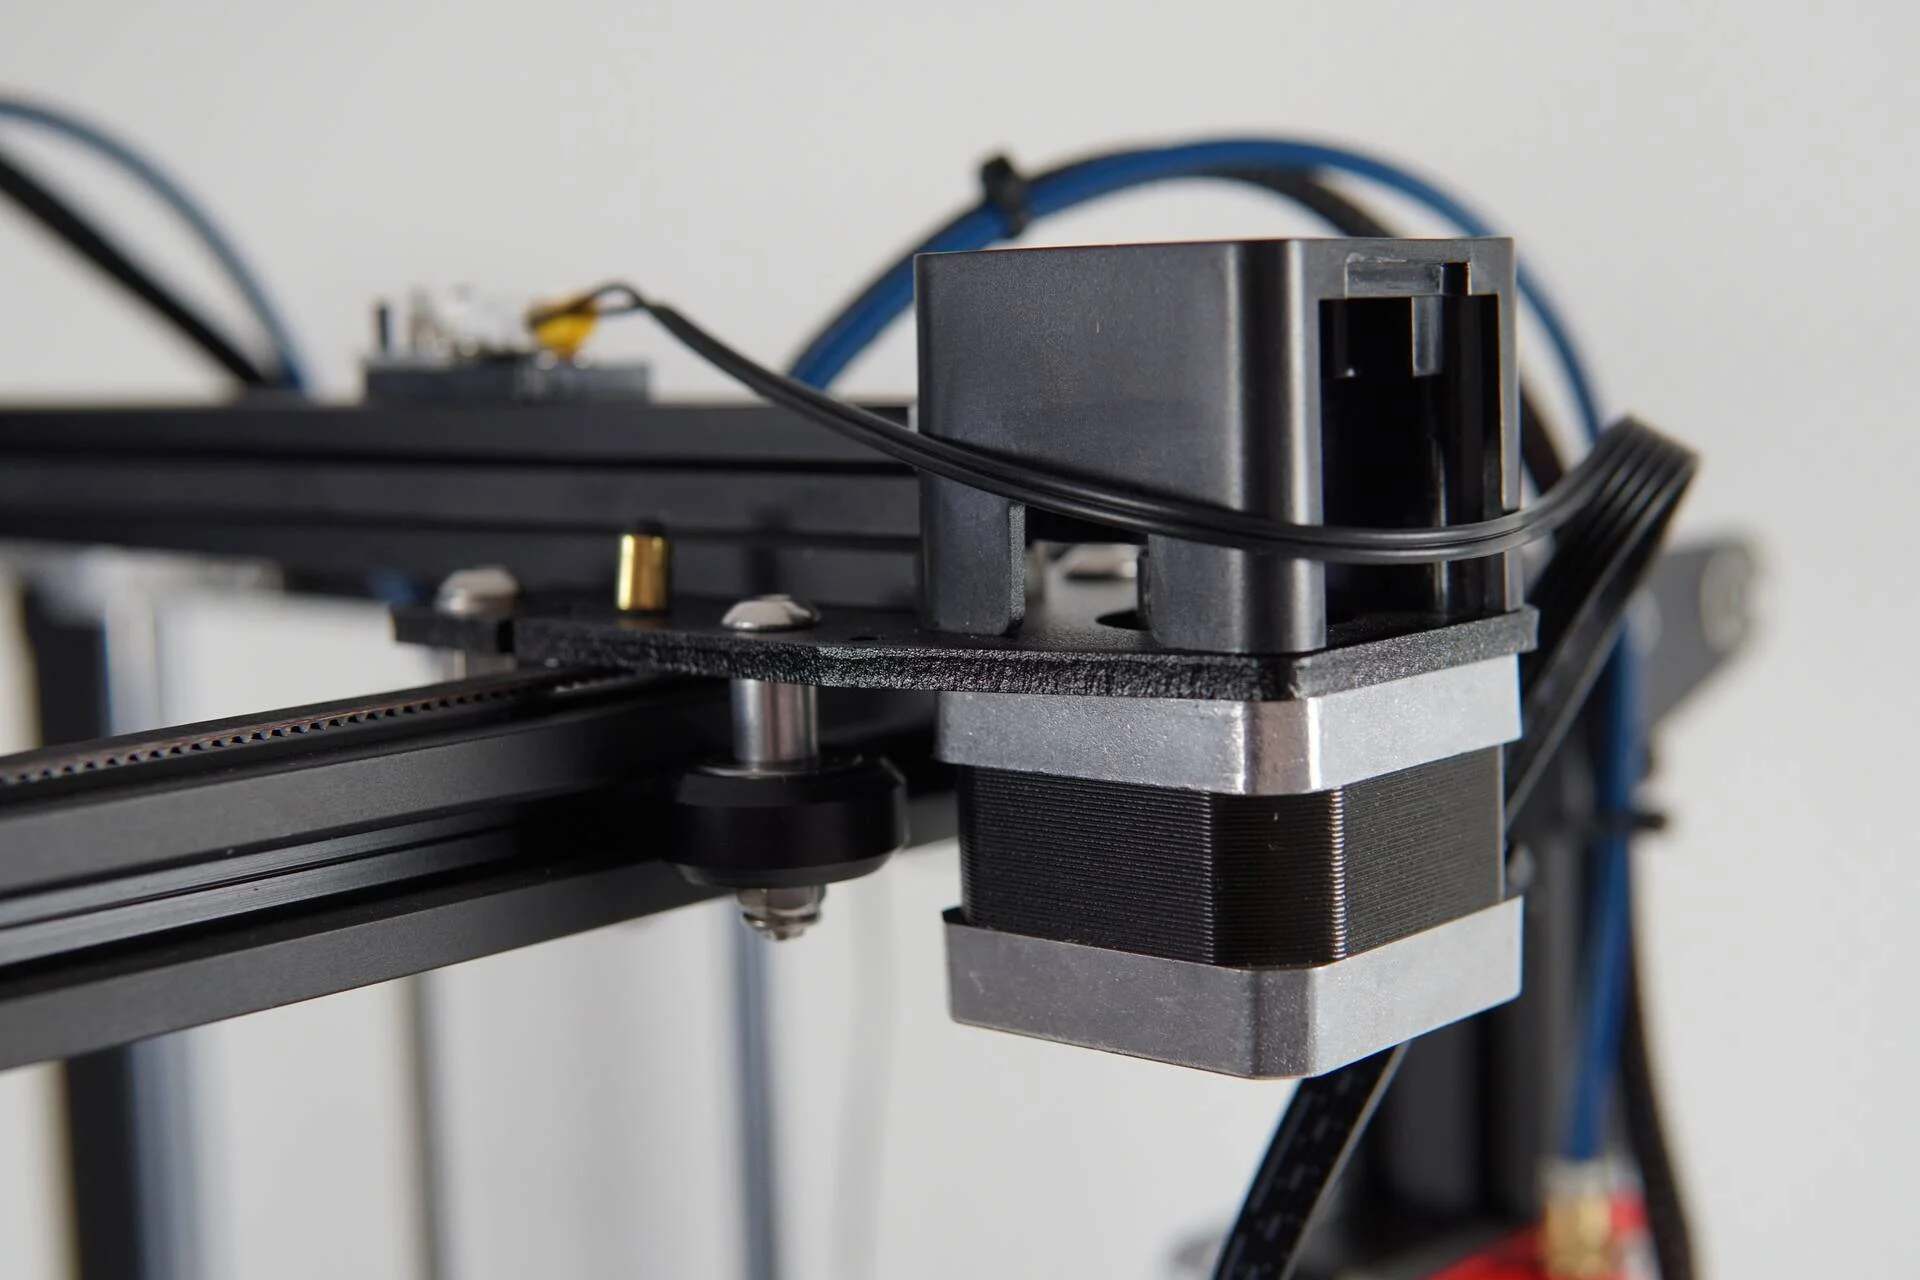
XYZ 3D printers utilize Fused Deposition Modeling (FDM) technology, which is a popular and widely used 3D printing method. FDM works by extruding melted filament material layer by layer to build a 3D object. The XYZ 3D printer uses a heated nozzle that moves along the X, Y, and Z axes, precisely depositing the melted filament material onto a build platform.
One of the key advantages of XYZ 3D printers is their versatility. They can print with a wide range of materials, including PLA (Polylactic Acid), ABS (Acrylonitrile Butadiene Styrene), PETG (Polyethylene Terephthalate Glycol), and more. This allows users to create objects with different properties, such as flexibility, strength, and heat resistance.
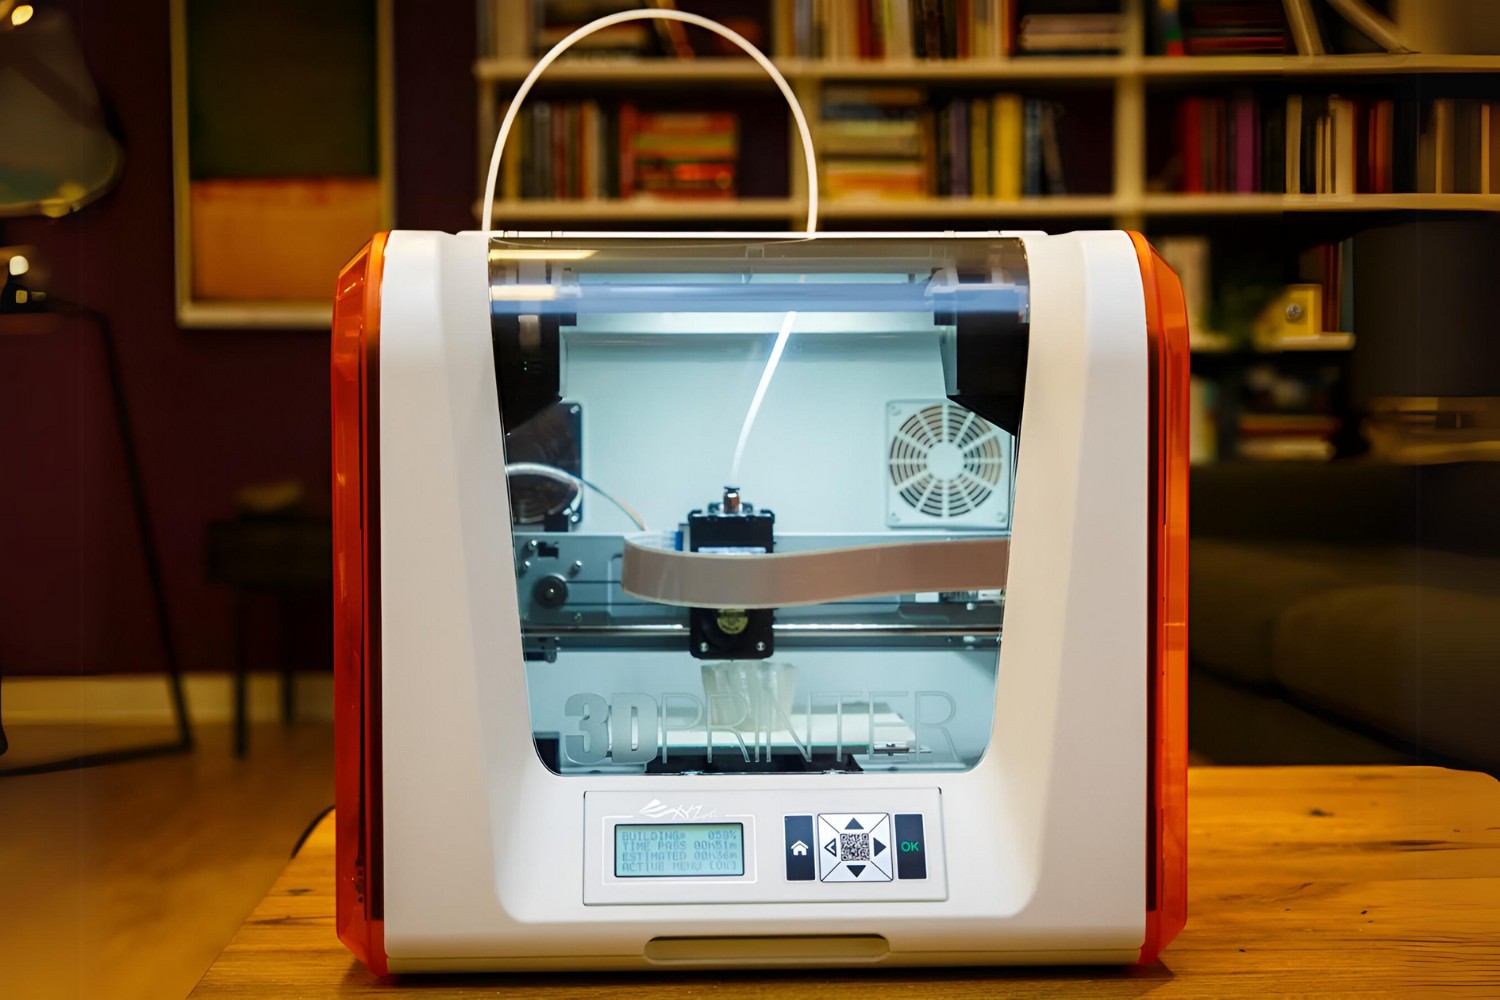
XYZ 3D printers are equipped with user-friendly features that make the printing process straightforward and efficient. They typically come with a built-in LCD screen and a user-friendly interface, allowing users to easily navigate through settings and make adjustments to the print parameters. Some models even offer Wi-Fi connectivity and mobile app integration, enabling users to monitor and control their prints remotely.
Another notable feature of XYZ 3D printers is their compatibility with proprietary software called XYZmaker. This software provides a seamless and intuitive interface for designing 3D models, slicing them into printable layers, and generating the necessary G-code instructions for the printer. XYZmaker supports both beginners and advanced users, offering various tools and features to suit different skill levels.
Overall, an XYZ 3D printer is a reliable and user-friendly choice for anyone interested in exploring the world of 3D printing. Whether you’re a hobbyist, an educator, or a professional looking for a cost-effective solution, an XYZ 3D printer provides the necessary tools and features to bring your ideas to life.
Step 1: Setting Up the XYZ 3D Printer
Before you can start using your XYZ 3D printer, you need to go through the initial setup process. This involves unboxing the printer, assembling any components if necessary, and connecting it to a power source and computer. Follow these steps to ensure a smooth setup:
- Unboxing: Start by carefully unboxing the XYZ 3D printer and removing all the packaging materials. Take note of any included accessories or documentation.
- Assembling: If your XYZ 3D printer requires assembly, carefully follow the provided instructions to put it together. This typically involves attaching the filament spool holder, leveling the print bed, and installing any necessary components.
- Power and Connections: Locate the power cord and plug it into a suitable power outlet. Connect the printer to your computer via USB or Wi-Fi, depending on the model. Install any required drivers or software as instructed in the user manual.
- Calibration: Once the printer is powered on, you may need to calibrate the print bed. This ensures that the nozzle is at the correct distance from the bed for accurate printing. Follow the instructions provided by the printer’s interface or manual to perform the calibration process.
- Bed Adhesion: To improve print adhesion, apply a thin layer of adhesive, such as glue stick or 3D printer adhesive sheets, to the print bed. This helps prevent the printed object from detaching during the printing process.
- Maintenance and Safety: Familiarize yourself with the maintenance and safety guidelines provided by the manufacturer. This includes information on cleaning the printer, handling filament, and ensuring a safe working environment.
By following these steps, you will have successfully set up your XYZ 3D printer and ensure that it is ready for the next steps in the printing process. Take your time during the setup process to ensure everything is properly assembled and connected, as this will contribute to successful and hassle-free 3D printing experiences.
Step 2: Loading Filament
Once your XYZ 3D printer is set up, the next step is to load filament into the printer. Filament is the material that is melted and extruded to create your 3D printed objects. Follow these steps to load filament into your XYZ 3D printer:
- Filament Selection: Choose the appropriate filament material for your print job. XYZ 3D printers are compatible with various types of filaments, such as PLA, ABS, PETG, and more. Ensure that the filament you are using matches the recommended specifications for your printer model.
- Locate the Filament Port: Identify the filament port on your XYZ 3D printer. This is usually located near the extruder assembly or on the side of the printer. Refer to your printer’s user manual for specific instructions on locating the filament port.
- Prepare the Filament: If your filament is on a spool, ensure that it is placed on the spool holder on the printer. Next, cut the end of the filament to create a clean and flat surface for loading.
- Feed the Filament: Insert the filament into the filament port, pushing it gently until it reaches the extruder assembly. Depending on your printer model, you may need to follow specific instructions, such as feeding the filament through a tube or guiding it into a designated slot.
- Engage the Filament: Once the filament is inserted, follow the instructions provided by your printer’s interface to engage the filament. This typically involves using the control panel or software to initiate the filament loading process.
- Monitor the Filament Loading: Keep an eye on the printer as the filament is being loaded. Watch for any signs of filament jamming or extruder blockage. If you encounter any issues, refer to the troubleshooting section of your printer’s manual for guidance.
- Finalize the Loading Process: Once the filament is successfully loaded, you can perform a filament extrusion test to ensure a smooth flow of material. This test will help confirm that the filament is properly loaded and ready for printing.
Loading filament is a crucial step in the 3D printing process. By following these steps, you can ensure that your filament is properly loaded and ready for use in creating amazing 3D printed objects. Remember to refer to the specific instructions provided by your XYZ 3D printer model to ensure successful filament loading.
Step 3: Calibrating the Printer
Calibrating your XYZ 3D printer is essential for achieving accurate and high-quality prints. Calibration ensures that the printer’s components are properly aligned and calibrated for optimal performance. Follow these steps to calibrate your XYZ 3D printer:
- Level the Print Bed: Start by leveling the print bed. This ensures that the distance between the nozzle and the bed is consistent across the entire printing area. Use the printer’s interface or manual to access the bed leveling feature and follow the step-by-step instructions provided. Adjust the bed’s leveling screws or knobs until the nozzle is at the optimal distance from the bed.
- Check the Extruder Calibration: Next, check the extruder calibration. This ensures that the extruder is properly calibrated to extrude the correct amount of filament during printing. Refer to your printer’s manual for specific instructions on how to calibrate the extruder. This may involve adjusting the steps per unit (mm) in the printer firmware or software.
- Calibrate the Filament Diameter: XYZ 3D printers often have the option to calibrate the filament diameter. This ensures that the printer knows the exact diameter of the filament being used, enabling it to extrude the correct amount of filament for accurate prints. Follow the printer’s interface or manual instructions to calibrate the filament diameter, if necessary.
- Test Print: After calibrating the printer, it’s recommended to perform a test print. This allows you to check the quality and accuracy of the printed object, ensuring that the calibration adjustments have been successful. Choose a simple test print file and initiate the print job. Inspect the printed object for any signs of over or under extrusion, uneven layers, or other print quality issues.
- Fine-Tuning: If you notice any issues with the test print, you may need to fine-tune the calibration settings accordingly. Make incremental adjustments to the bed leveling, extruder calibration, or filament diameter until you achieve the desired print quality. Take note of the changes made, as you may need to revert or refine them for different print jobs.
Calibrating your XYZ 3D printer may require some patience and trial and error. However, it is a crucial step in ensuring consistent and accurate prints. By following these steps and paying attention to the printer’s manual and interface, you will be able to fine-tune the calibration settings to achieve optimal print quality.
Step 4: Choosing and Preparing a 3D Model
Choosing the right 3D model is an important step in the 3D printing process. Whether you’re creating your own design or downloading a pre-made model, proper preparation is key to achieving a successful print. Follow these steps to choose and prepare a 3D model for printing with your XYZ 3D printer:
- Design or Download: Decide whether you want to create your own 3D design or download a pre-made model from online repositories or design platforms. If you’re new to 3D modeling, start with simple designs or utilize beginner-friendly software to create your own designs.
- Consider Printability: When choosing or designing a 3D model, consider the printability of the object. Look for models that have been optimized or have a suitable geometry for 3D printing. Avoid designs with intricate details, overhangs, or complex geometries that may pose challenges during the printing process.
- Orient the Model: Once you have selected a 3D model, consider how you want it to be oriented on the print bed. The orientation can affect the quality and strength of the print. Generally, it’s best to position the model with the largest surface area flat against the print bed to ensure stability and minimize the need for support structures.
- Scale and Resize: If needed, scale or resize the model to fit your desired dimensions. Use software or the printer’s interface to adjust the size of the 3D model. Keep in mind the limitations of your printer’s build volume to ensure that the scaled model will fit within the printable area.
- Review and Repair: Before sending the 3D model to your printer, review it for any potential issues or errors. Use software with built-in analysis tools to check for manifoldness, wall thickness, and other common issues. Repair any problematic areas to ensure a successful print.
- Slice the Model: The next step is to slice the 3D model into printable layers using slicing software. This software converts the 3D model into a series of instructions (G-code) that the printer can understand. Set the desired print settings such as layer height, print speed, and infill density according to your preferences or the requirements of the object.
- Save and Export: Once the model is sliced, save the G-code file to an SD card, USB drive, or transfer it directly to the printer if supported. Ensure that the file is saved in a format compatible with your XYZ 3D printer.
By following these steps, you will be able to choose a suitable 3D model and prepare it for printing with your XYZ 3D printer. Keep in mind that practice and experimentation may be necessary to achieve the desired results, especially when it comes to designing your own models. With time, you’ll develop a better understanding of what works best for your specific needs and preferences.
Step 5: Starting the Print Job
Once you have selected and prepared your 3D model, it’s time to start the print job on your XYZ 3D printer. Follow these steps to initiate the printing process:
- Prepare the Printer: Ensure that your XYZ 3D printer is turned on and ready for printing. Make sure that the print bed is clean and free from any debris or remnants of previous prints. Check that the filament is properly loaded and ready for extrusion.
- Select the Print File: If you have saved the sliced G-code file on an SD card or USB drive, insert it into the printer’s designated slot or connect it to the printer. Use the printer’s control panel or interface to navigate to the appropriate location and select the desired print file.
- Adjust Print Settings: Before initiating the print, review and adjust any necessary print settings. This includes the print temperature, print speed, layer height, infill density, and any other parameters that can be adjusted according to your specific requirements or preferences. Ensure that the settings match the desired outcome for your print job.
- Preheat the Printer: If required, preheat the printer to the recommended temperature for the selected filament material. This allows the extruder to reach the proper temperature for smooth and consistent filament extrusion.
- Initiate the Print: Once the printer is adequately prepared, select the “Print” or “Start” option on the control panel or interface. The printer will begin the printing process, following the instructions from the loaded G-code file. Observe the initial layers being printed to ensure that the filament is properly adhering to the print bed.
- Monitor the Print: Throughout the print job, keep an eye on the progress. Pay attention to the printer’s display or software interface for any notifications or error messages. Monitor the print to ensure that it is proceeding smoothly and that the layers are being printed accurately.
- Address Issues: If you encounter any issues during the print job, such as poor adhesion, filament clogs, or layer shifting, refer to the troubleshooting section of the printer’s manual. Follow the recommended steps to address the issue and make any necessary adjustments.
- Allow the Print to Complete: Once the print job is initiated, allow the printer to complete the entire print process. Avoid disturbing or touching the printer during this time to prevent any potential disruptions or misalignment.
- Clean up and Remove the Print: After the print job is finished, carefully remove the printed object from the print bed. Use a spatula or other suitable tools to gently lift the object, ensuring not to damage the print bed or the object itself. If needed, clean up any support structures or excess filament remnants.
By following these steps, you will be able to start a print job on your XYZ 3D printer and ensure a smooth and successful printing process. Be patient and take note of any issues or adjustments needed for future reference and improvement. With practice and experience, you will be capable of producing high-quality 3D printed objects.
Step 6: Monitoring the Print Job
Once you have started a print job on your XYZ 3D printer, it’s crucial to monitor its progress to ensure a successful outcome. Monitoring the print job allows you to catch any errors or issues as they arise and make necessary adjustments. Follow these steps to effectively monitor your print job:
- Initial Observation: After starting the print job, closely observe the first few layers being printed. Check for proper adhesion to the print bed and ensure that the layers are being deposited accurately. If you notice any issues, such as poor adhesion or misalignment, it’s important to address them promptly.
- Check Filament Flow: Continuously monitor the extruder to ensure a steady and consistent flow of filament. Keep an eye out for any signs of under extrusion or over extrusion, such as gaps in the printed layers or excessive filament buildup. Make adjustments to the print settings, including the temperature and extrusion speed, if necessary.
- Watch for Print Quality Issues: Throughout the print job, monitor the quality of the printed layers. Look for any signs of artifacts, such as layer lines, stringing, or uneven surfaces. These issues can often be addressed by adjusting the print settings or using post-processing techniques.
- Address Errors and Issues: If you notice any errors or issues, refer to the troubleshooting section of your XYZ 3D printer’s manual or consult online resources. Troubleshoot the problem and make any necessary adjustments to the print settings or the printer itself. This may involve cleaning the print bed, adjusting the print speed, or clearing any filament jams.
- Ensure Stability and Safety: While monitoring the print job, ensure that the printer remains stable and secure. Avoid moving or jostling the printer unnecessarily, as it can lead to misalignment or print defects. Additionally, take necessary precautions to ensure the safety of your workspace, such as keeping flammable materials away from the printer and following proper ventilation guidelines.
- Record Observations: Keep a record of your observations during the print job. Note any adjustments made, issues encountered, or successful settings used. This documentation will be valuable for future reference and troubleshooting.
- Monitor Progress and Estimated Time: Check the progress of the print job periodically and note the estimated completion time. This will help you plan your time effectively and ensure that you’re available to remove the finished print from the printer once it’s done.
- Wait for Completion: Once the printer has reached the estimated completion time, continue to monitor the print job until it finishes. Avoid interrupting the process or removing the print prematurely, as this can result in a failed print or damage to the object.
By actively monitoring the print job, you can catch and address any issues that may arise, ensuring that your XYZ 3D printer produces high-quality prints. Regular observation and proactive adjustments will contribute to successful print outcomes and improve your overall 3D printing experience.
Step 7: Removing the Printed Object
Once your XYZ 3D printer has completed the print job, it’s time to carefully remove the printed object from the print bed. This step requires caution to prevent any damage to the object or the printer. Follow these steps to ensure a safe and successful removal process:
- Allow Cooling: After the print is done, give the printed object sufficient time to cool down. Avoid touching or handling it while still hot, as it may deform or break due to its malleable state.
- Prepare Tools: Gather the necessary tools for removing the printed object. A spatula, scraper, or tweezers can be useful for gently lifting or prying the object from the print bed.
- Assess Adhesion: Assess the adhesion of the printed object to the print bed. If the object is firmly stuck, apply a gentle amount of pressure using the edge of the spatula or scraper to loosen it. Exercise caution to prevent damaging the print bed.
- Remove with Care: Gradually and carefully lift the printed object from the bed using the chosen tool. Take your time and apply gentle force to avoid any sudden movements or excessive strain on the object. If necessary, use additional tools to support or stabilize the object during the removal process.
- Inspect and Clean: Once the object is successfully removed, inspect it for any defects or imperfections. Look for any support structures that may need to be removed or any excess filament remnants that should be cleaned up. Use appropriate tools, such as a pair of pliers or flush cutters, to carefully remove any unwanted support structures or filament residue.
- Post-Processing (Optional): Depending on your desired outcome, you may consider post-processing the printed object. This can involve smoothing the surface using sandpaper or filing, applying a coat of paint or finish, or any other techniques that enhance its appearance or functionality. Refer to specific post-processing guides or resources for the best practices based on your intended result.
- Clean the Print Bed: After removing the object, take a moment to clean the print bed. Remove any residual adhesive, filament debris, or adhesive sheets that may have been used. Clean the bed with a suitable cleaning agent, such as isopropyl alcohol or soapy water, to ensure a clean and well-prepared surface for future prints.
By following these steps, you can safely and effectively remove the printed object from your XYZ 3D printer. Take care to handle the object gently and remove any support structures or filament remnants. With proper removal and cleaning, you’ll have a successfully printed object ready for use or further post-processing.
Step 8: Troubleshooting Common Issues
While 3D printing with your XYZ printer can be a rewarding experience, it’s not uncommon to encounter some challenges along the way. Understanding common issues that may arise during the printing process and how to troubleshoot them can help you overcome potential obstacles. Follow these steps to troubleshoot common issues with your XYZ 3D printer:
- Poor Adhesion: If your printed object is not adhering well to the print bed, ensure that the bed is properly leveled. Adjust the bed level screws or knobs as necessary. Additionally, consider using a suitable adhesive, such as glue stick or 3D printer adhesive sheets, or adjusting the initial layer height settings to improve adhesion.
- Extrusion Problems: If you’re experiencing extrusion issues, first ensure that the filament is loaded correctly and feeding smoothly. Check for any filament clogs or tangled spooling and clear them if necessary. Adjust the extrusion temperature, print speed, or retraction settings to improve extrusion consistency.
- Stringing: Stringing occurs when thin strands of filament are left between different parts of the printed object. To minimize stringing, adjust the retraction settings in your slicing software to retract the filament slightly when moving between different parts of the print. Consider increasing the print speed or adjusting the temperature settings as well.
- Layer Shifting: Layer shifting refers to the misalignment of layers in the printed object. This can be caused by mechanical issues or incorrect stepper motor settings. Check that all mechanical components, such as belts and pulleys, are properly tightened and not loose. Adjust the stepper motor settings in the printer’s firmware, if available.
- Under/Over-Extrusion: If you notice inconsistencies in the thickness of your printed layers, there may be under or over-extrusion occurring. Adjust the extrusion multiplier in the printer’s firmware or software settings to regulate the amount of filament being extruded. Additionally, ensure that the filament diameter is correctly calibrated in your slicing software.
- Print Warping: Print warping can occur when the edges of the printed object lift or curl upward during the printing process. This is commonly caused by inadequate bed adhesion or temperature fluctuations. Improve bed adhesion by ensuring proper leveling and using adhesive aids like a heated bed or a suitable bed adhesion solution. Consider enclosing the printing area to regulate temperature and reduce drafts.
- Filament Jamming: Filament jams can occur when the filament gets stuck or tangled in the extruder assembly. To address this issue, first, ensure that the filament path is clear and free from obstructions. Check the filament quality and ensure it is not brittle or contaminated. Adjust the temperature settings or retraction settings to minimize the risk of filament jams.
- Print Not Starting/Completing: If your 3D printer fails to start or complete a print job, check for any error messages on the printer’s display or through the software interface. Ensure that the print file is properly sliced and in a compatible format for your printer. Verify the connectivity of the printer to the computer or printer host and consider updating the printer firmware or software if necessary.
- Print Quality Issues: Various print quality issues like rough surfaces, gaps, or layer lines can arise due to incorrect print settings or model geometry. Check your slicer settings to ensure optimal layer height, print speed, and temperature for the specific filament material being used. Review the 3D model for any geometry issues and repair them using modeling software.
By troubleshooting common issues that may arise during 3D printing, you can overcome challenges and improve the overall quality of your prints with your XYZ printer. Remember to consult the printer’s manual, online resources, or seek assistance from relevant communities or forums for specific troubleshooting steps tailored to your printer model and the issues you are encountering.
Conclusion
Congratulations! You have successfully learned how to set up, operate, and troubleshoot your XYZ 3D printer. With this knowledge, you are well-equipped to explore the exciting world of 3D printing and bring your creative ideas to life.
Throughout this guide, we covered essential steps such as setting up the printer, loading filament, calibrating the printer, choosing and preparing a 3D model, starting the print job, monitoring the print job, removing the printed object, and troubleshooting common issues. By following these steps, you can ensure smooth and successful printing experiences with your XYZ 3D printer.
Remember, 3D printing is a journey of continuous learning and experimentation. As you gain more experience, you’ll become more proficient in optimizing your print settings, designing intricate models, and tackling more complex projects.
Keep in mind that each XYZ 3D printer model may have unique features and functionalities, so familiarize yourself with the specific user manual and guidelines for your printer to maximize its potential.
Lastly, don’t hesitate to seek help from online communities, forums, or the manufacturer’s support team if you encounter any difficulties or have specific questions. The 3D printing community is vast and supportive, providing a wealth of knowledge and resources to help you along your journey.
Now, it’s time to unleash your creativity and start 3D printing incredible objects with your XYZ printer. Enjoy your journey as you explore the limitless possibilities of this fascinating technology!