Introduction
Welcome to this guide on how to connect a Raspberry Pi to a 3D printer. The Raspberry Pi is a powerful and versatile single-board computer that can be used for a wide range of applications. By connecting a Raspberry Pi to your 3D printer, you can gain additional functionalities, such as wireless control and monitoring, remote management, and even the ability to run complex slicing software directly on the Pi.
Before you get started, there are a few things you should know. This guide assumes that you have a basic understanding of both Raspberry Pi and 3D printers. You will need some technical knowledge to follow the instructions and troubleshoot any issues that may arise. Additionally, the specific steps outlined in this guide may vary depending on the type of 3D printer you have and the operating system you are using.
The process of connecting a Raspberry Pi to a 3D printer involves several steps. You will need to assemble the Raspberry Pi, install the operating system, connect the Pi to your printer, configure the Arduino IDE, and test the connection. Don’t worry if you’re not familiar with these terms – we will explain everything in detail.
By the end of this guide, you will have a fully functional Raspberry Pi connected to your 3D printer, ready to take your printing experience to the next level. So without further ado, let’s dive in and get started!
Prerequisites
Before you begin the process of connecting your Raspberry Pi to a 3D printer, there are a few prerequisites that you need to have in place. These include:
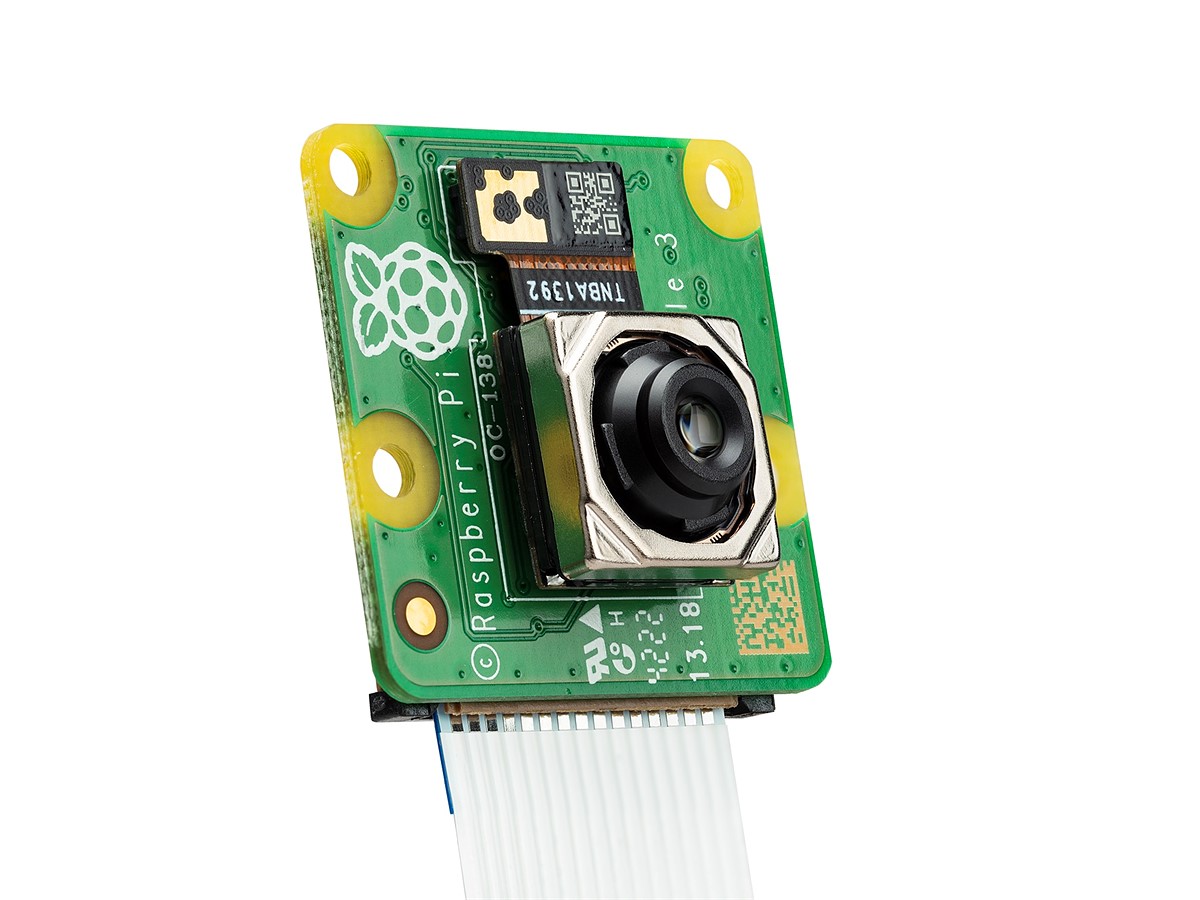
- A Raspberry Pi board: You will need a Raspberry Pi board, such as the Raspberry Pi 4 or Raspberry Pi 3, along with its power supply.
- A microSD card: You will need a microSD card with a minimum of 8GB of storage capacity. This will be used to install the operating system.
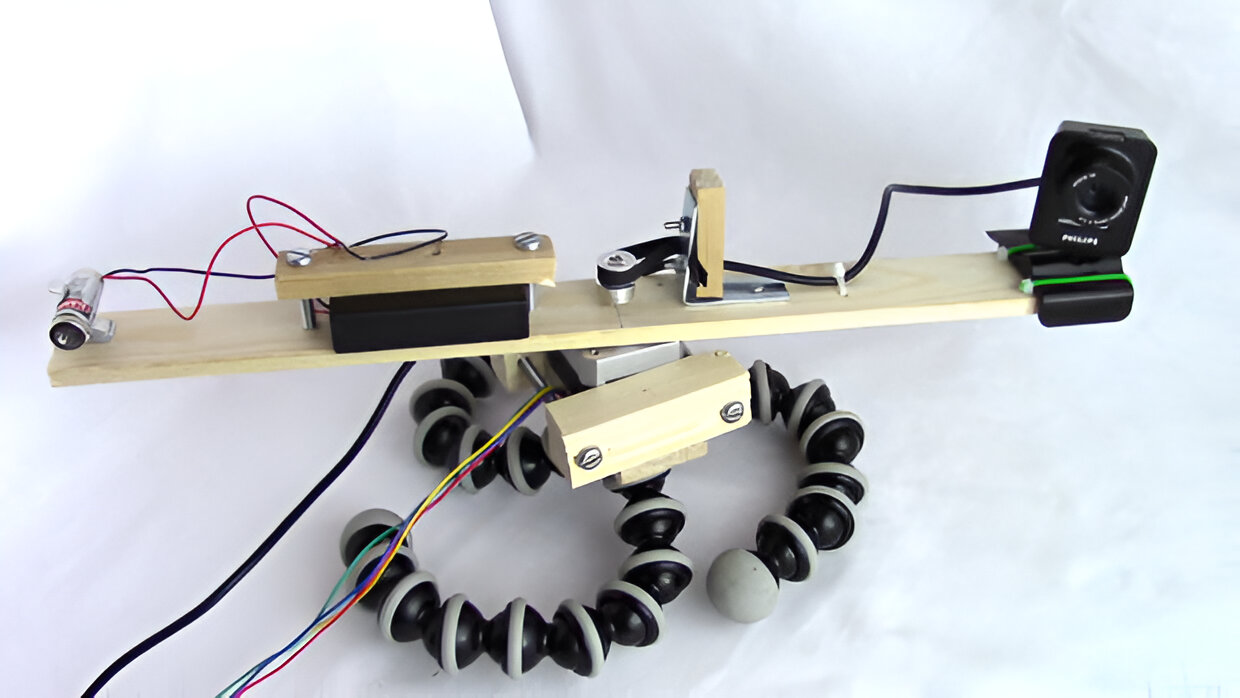
- A 3D printer: Of course, you will need a 3D printer. This can be any type of 3D printer, as long as it has a compatible interface that allows it to be connected to a computer.
- A USB cable: You will need a USB cable to connect the Raspberry Pi to the 3D printer. The type of USB cable required will depend on the specific interface of your printer.
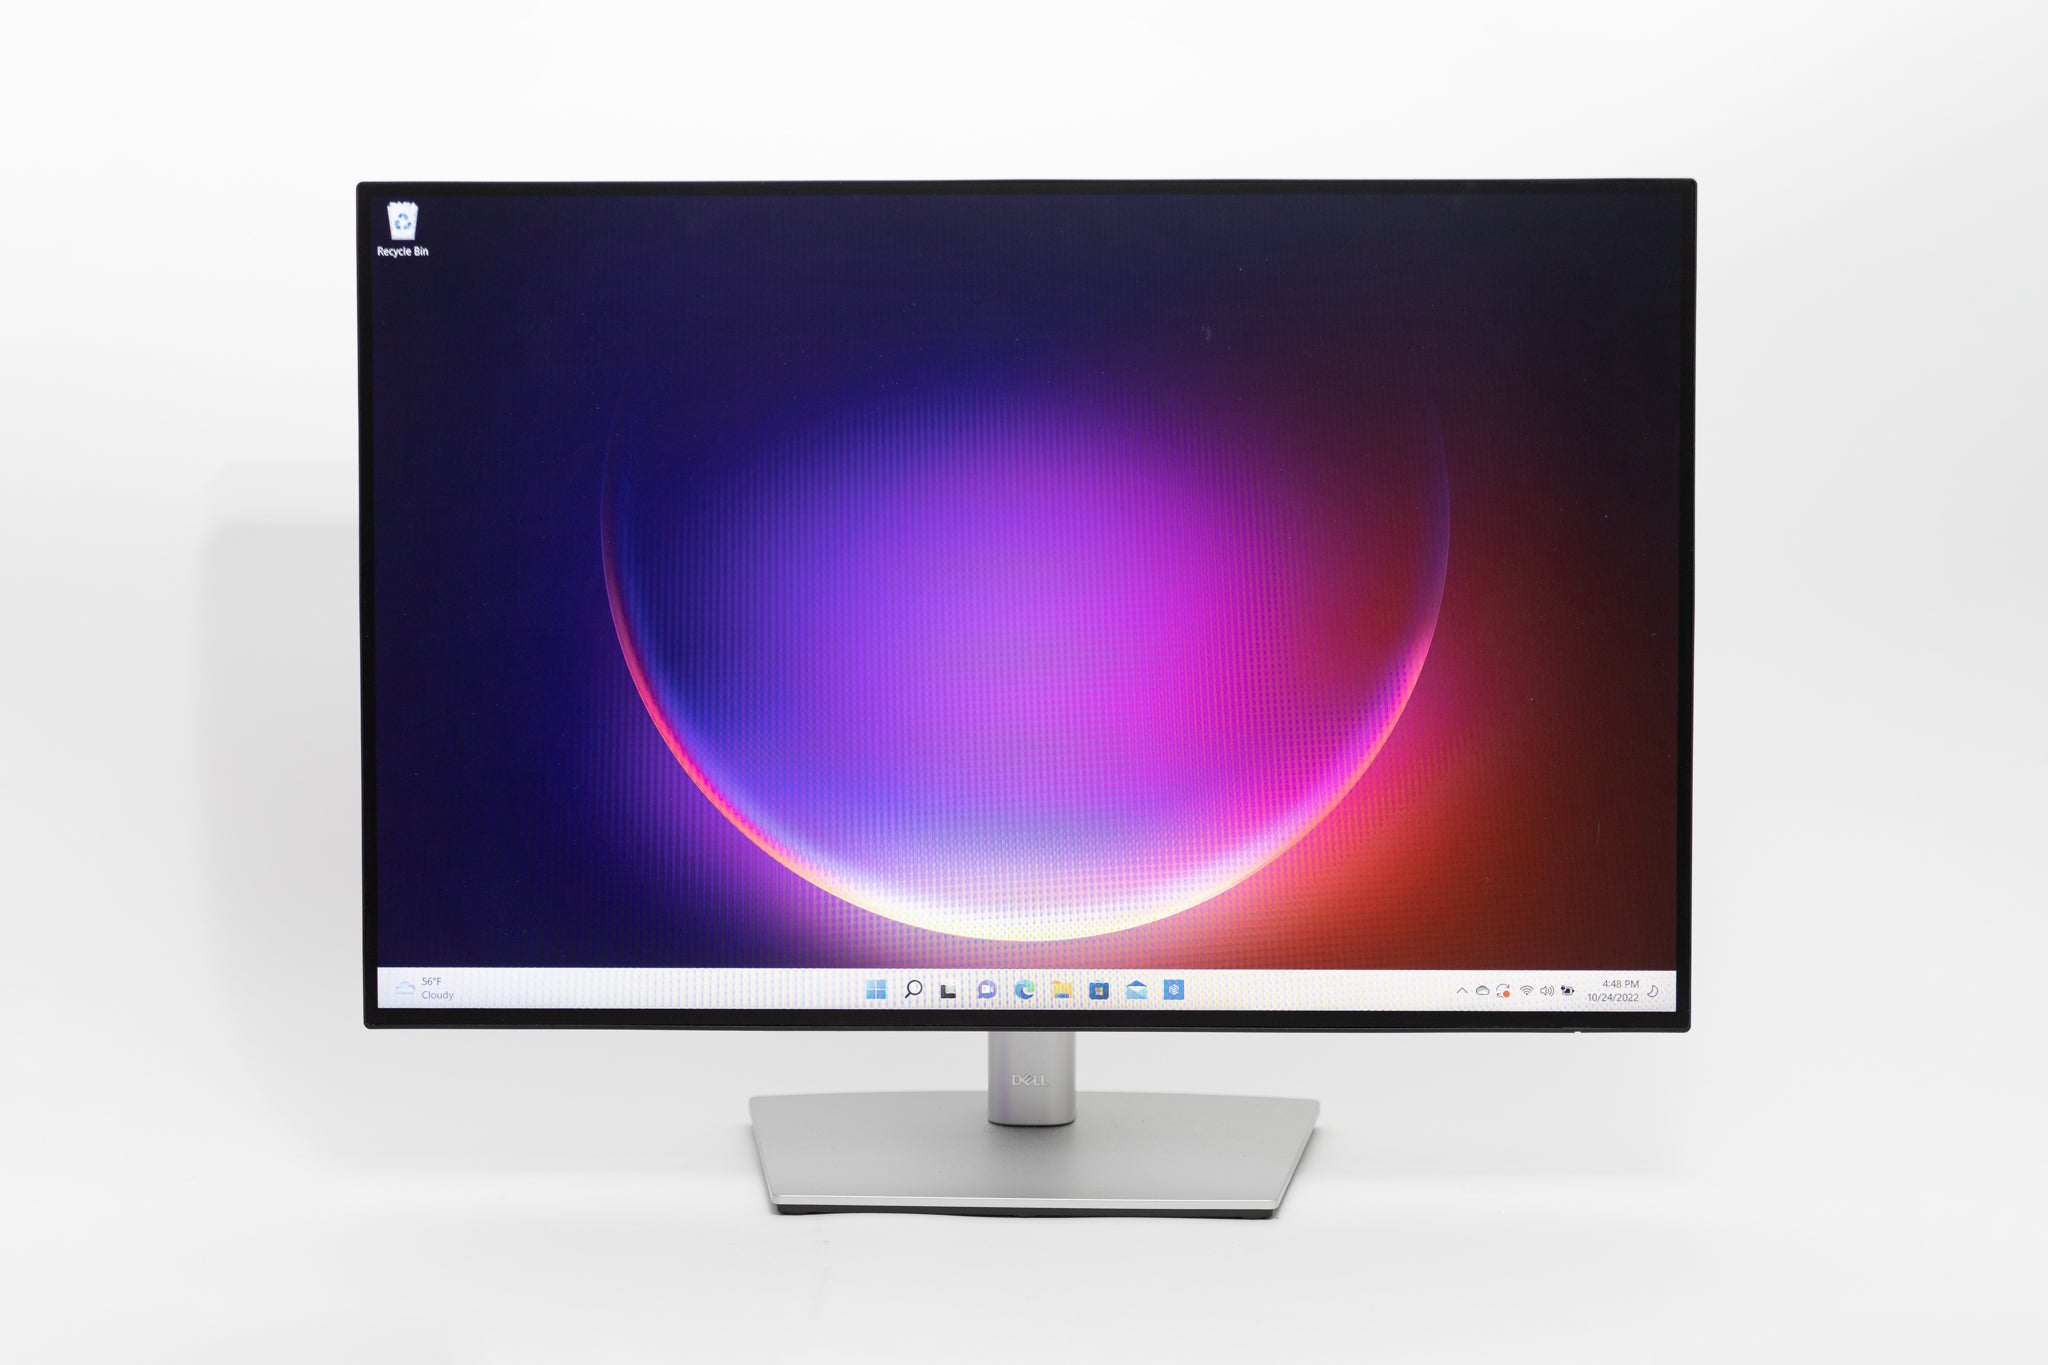
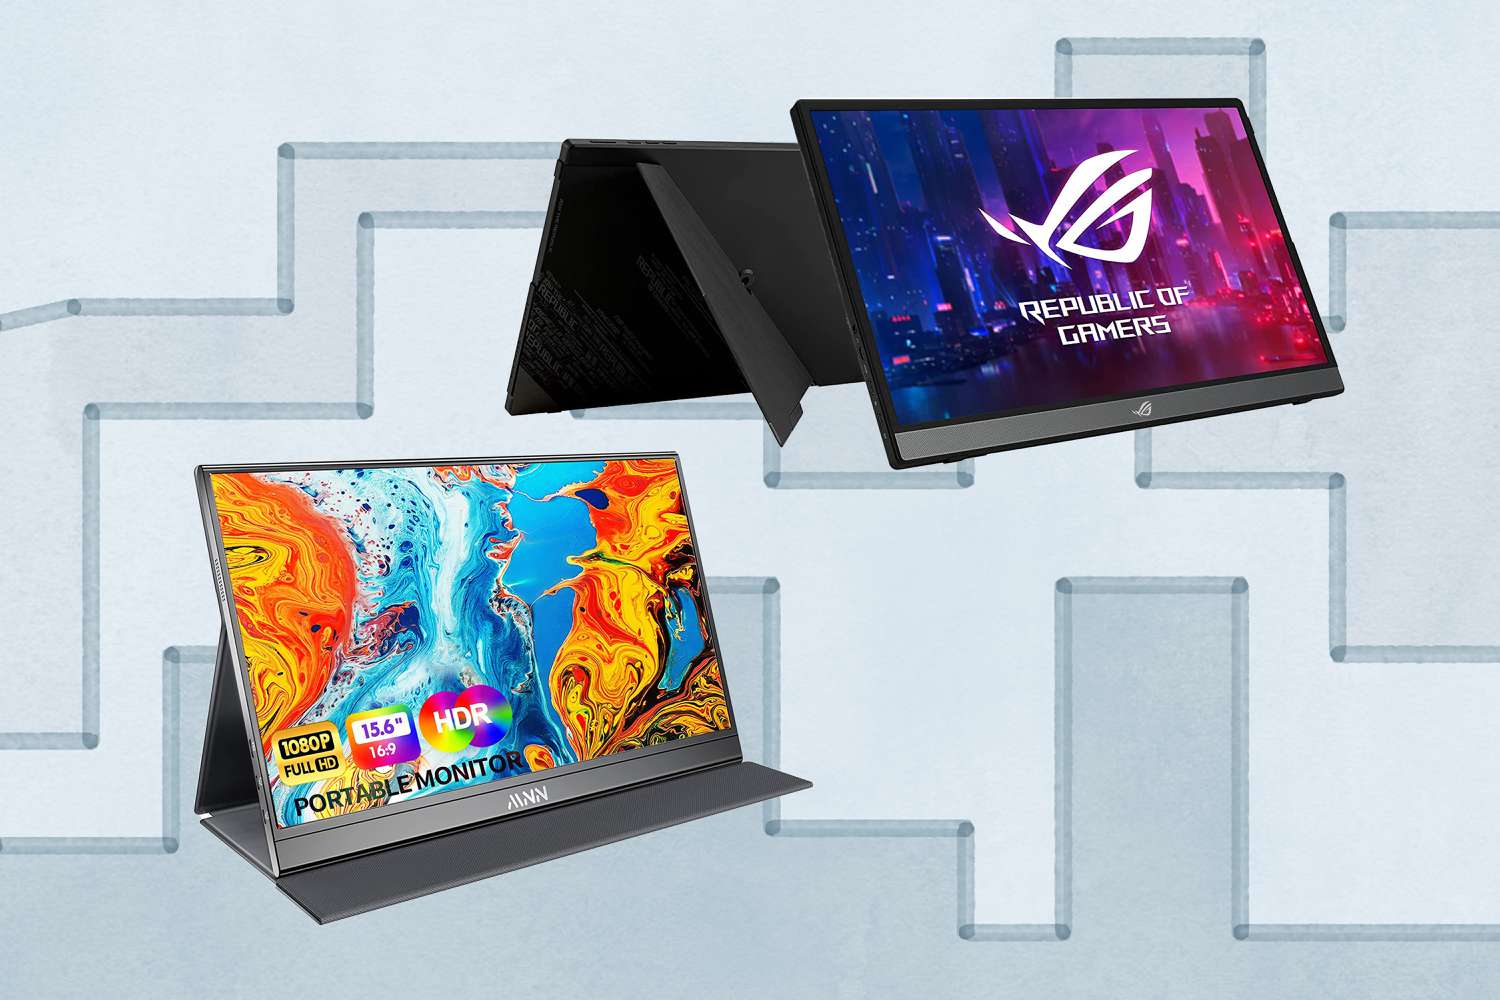
- An HDMI cable (optional): If you want to connect your Raspberry Pi to a monitor for troubleshooting or configuration purposes, you will need an HDMI cable.
- An Ethernet cable or Wi-Fi adapter: To enable network connectivity on your Raspberry Pi, you will need either an Ethernet cable or a Wi-Fi adapter, depending on your preference and network setup.
- A computer with an SD card reader: You will need a computer with an SD card reader to format and transfer the operating system to the microSD card.
- A power source for the 3D printer: Ensure that your 3D printer is plugged into a power source.
It is also recommended to have basic knowledge of Linux operating systems and command-line interfaces as you may need to execute commands for configuration purposes. Furthermore, obtaining the documentation for your specific 3D printer model and familiarizing yourself with its interface and settings will be beneficial during the process.
Now that you have all the necessary prerequisites, you are ready to move on to the next steps of connecting your Raspberry Pi to the 3D printer. So let’s get started!
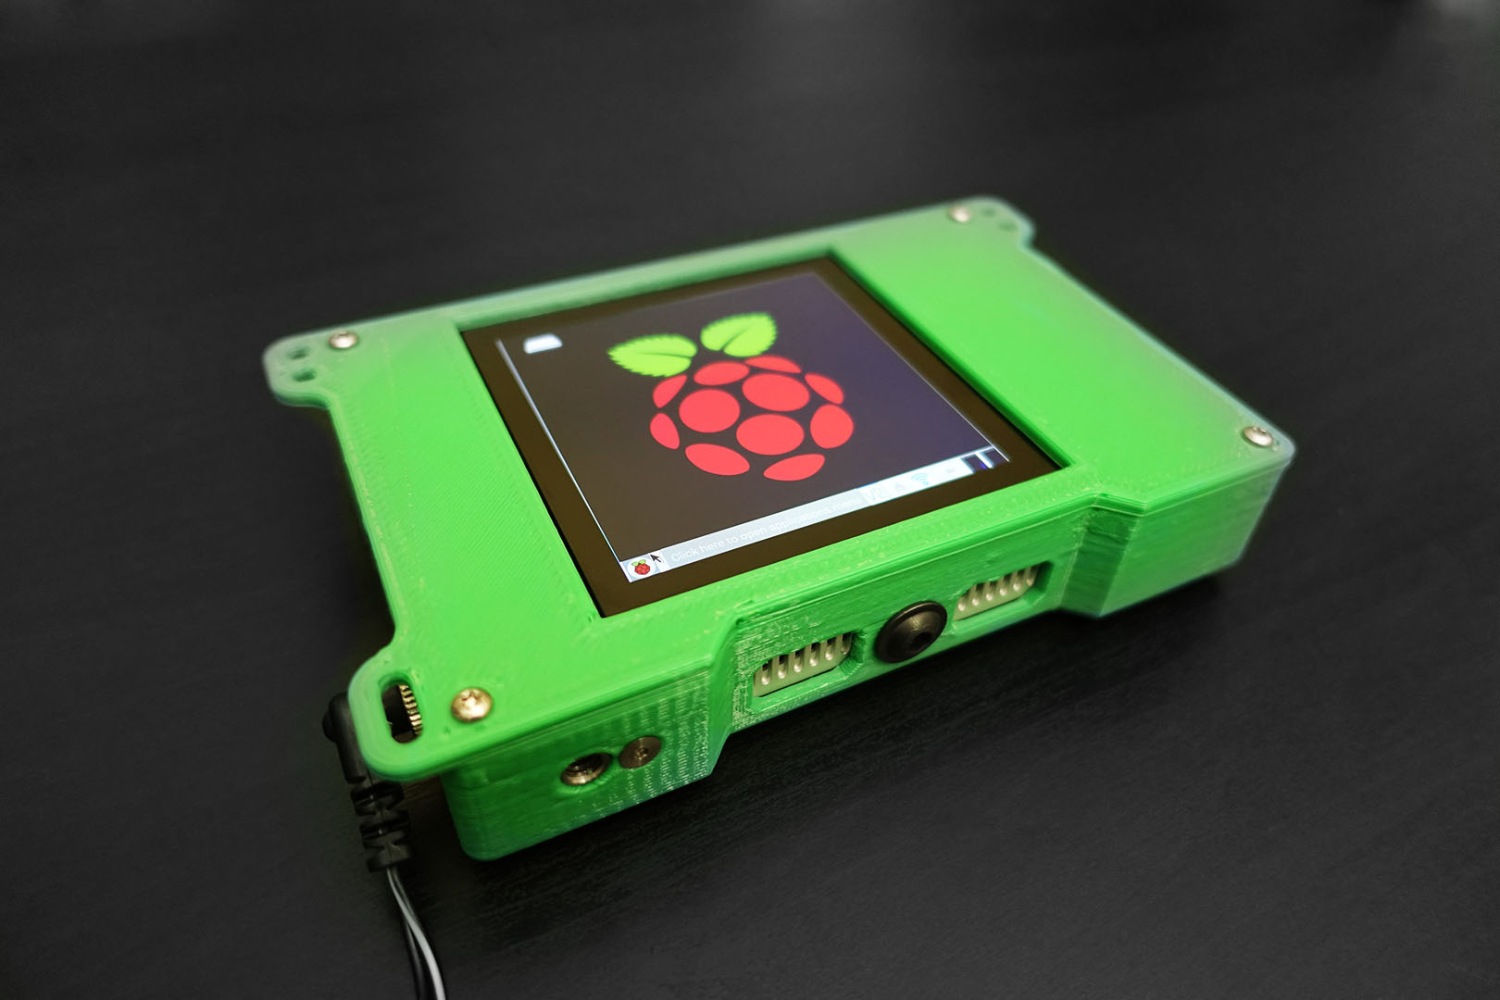
Step 1: Assembling the Raspberry Pi
The first step in connecting your Raspberry Pi to a 3D printer is to assemble the Raspberry Pi itself. Follow these steps:
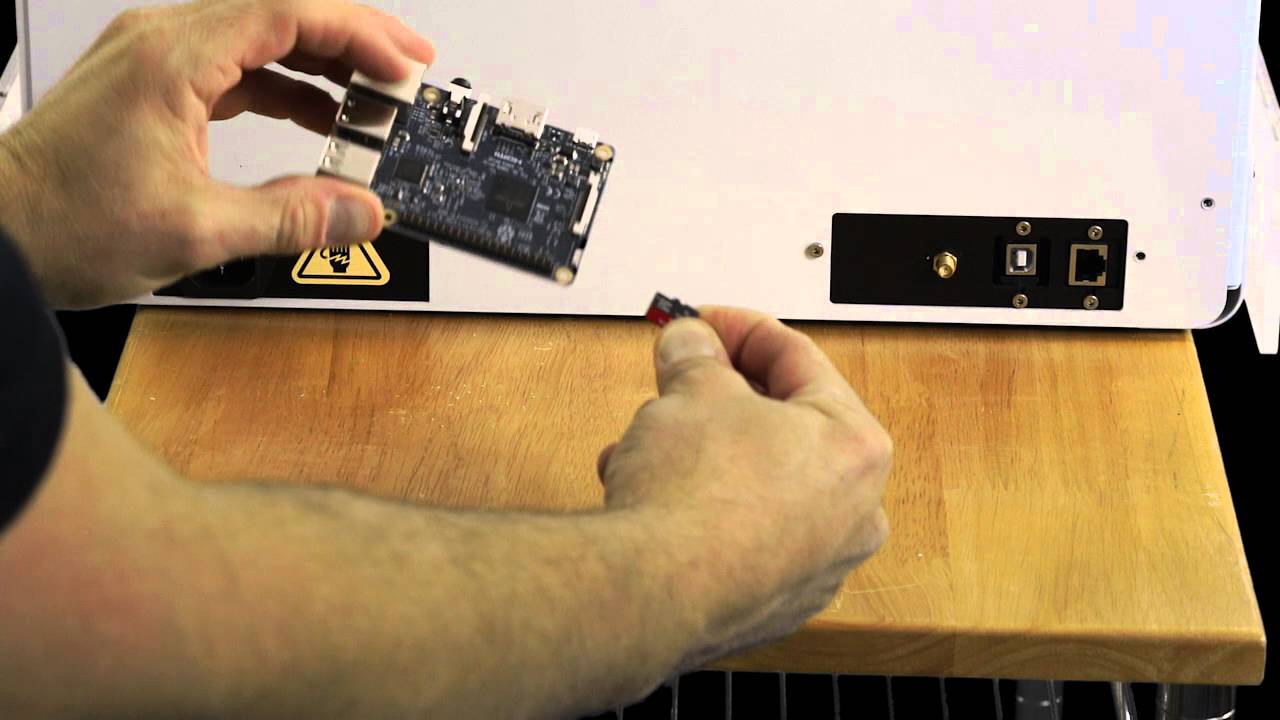
- Start by placing the Raspberry Pi board on a flat surface and gather all the necessary components.
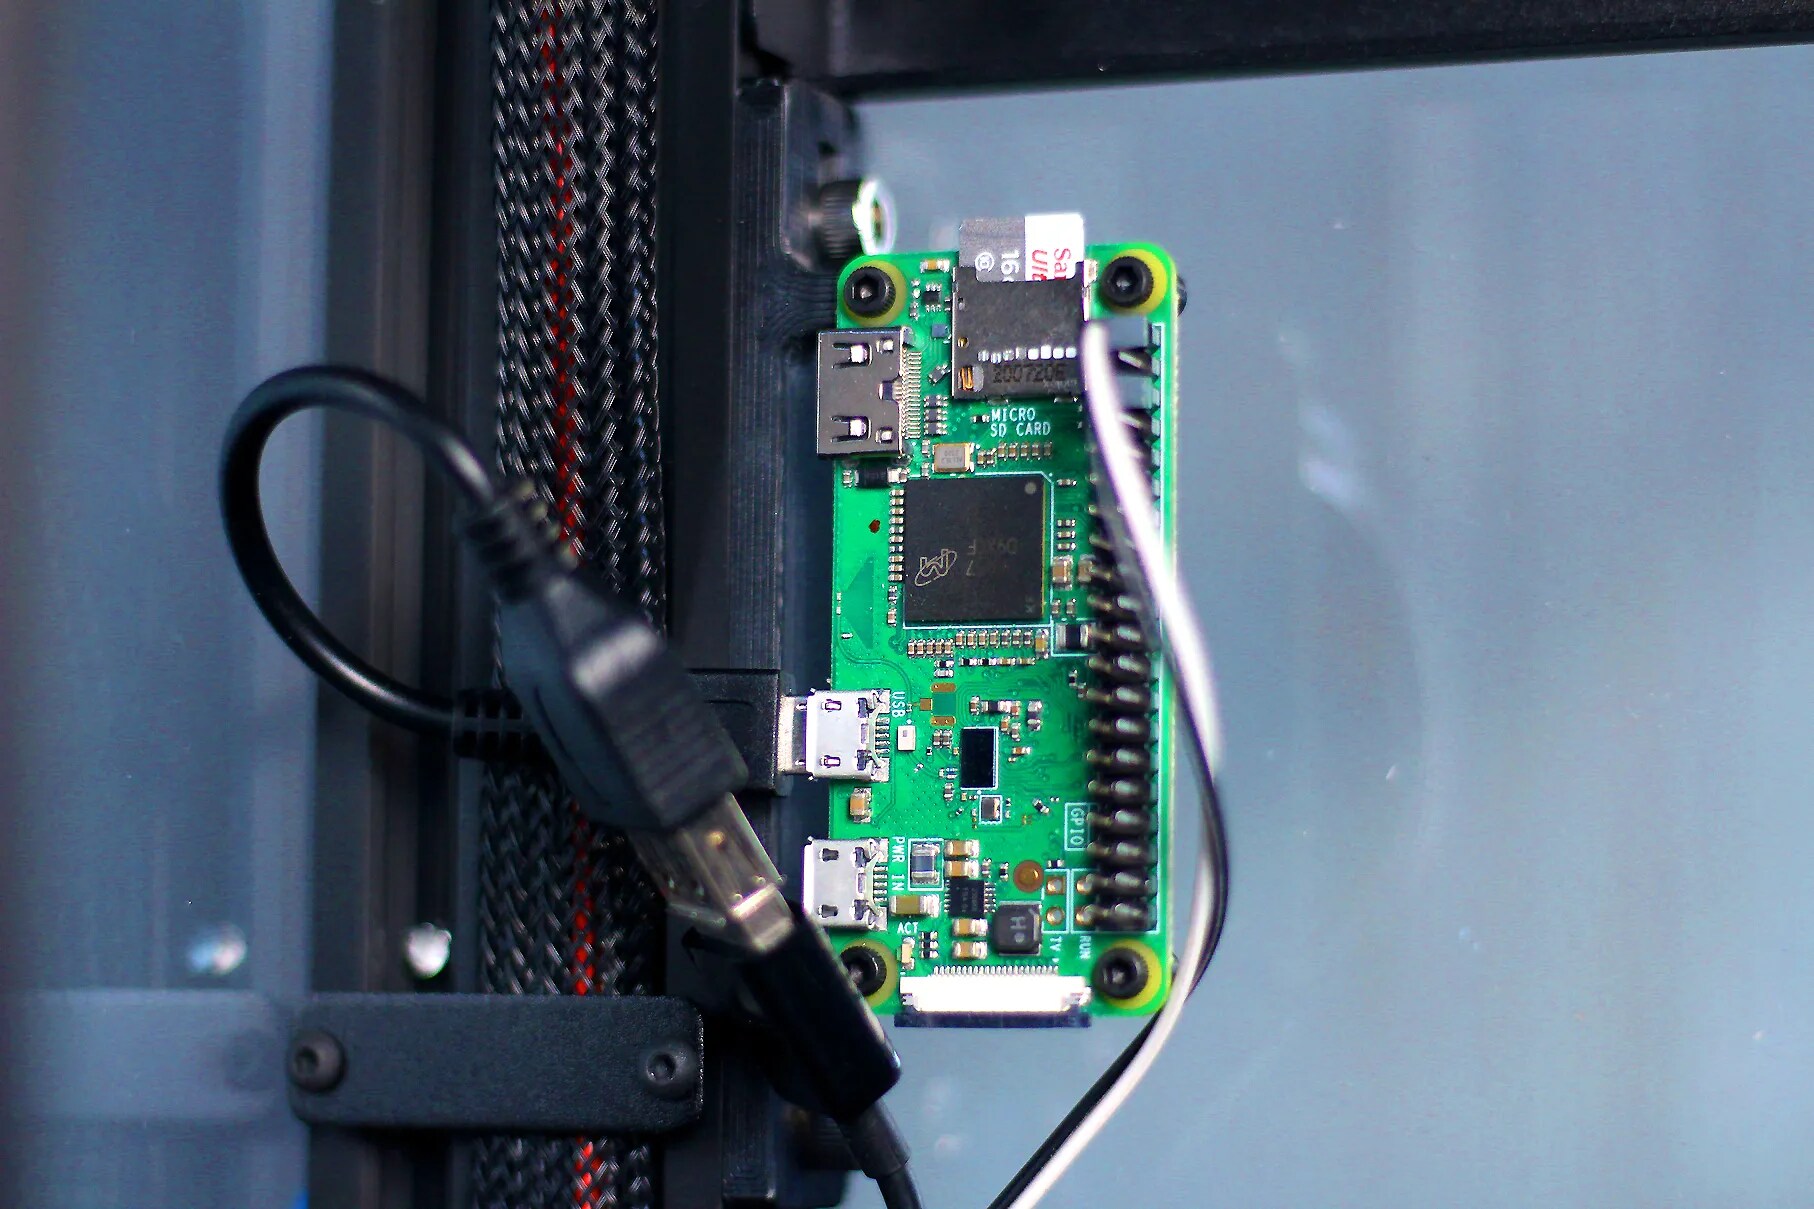
- Insert the microSD card into the microSD card slot on the Raspberry Pi board. Make sure it is securely inserted.
- Connect the USB power cable to the power port on the Raspberry Pi. Ensure a secure connection.
- If you want to connect your Raspberry Pi to a monitor, connect one end of the HDMI cable to the HDMI port on the Raspberry Pi and the other end to the monitor.
- Connect the Ethernet cable to the Ethernet port on the Raspberry Pi if you prefer a wired connection. Alternatively, if you are using Wi-Fi, insert the compatible Wi-Fi adapter into one of the USB ports.
- Finally, connect the USB cable from the Raspberry Pi to the USB port on your 3D printer. Ensure a secure connection.
- Once everything is connected, power on both the Raspberry Pi and the 3D printer.
It’s important to note that the specific ports and connections may vary slightly depending on the model of your Raspberry Pi board and 3D printer. Refer to the documentation provided with your devices for precise instructions.
After completing this step, your Raspberry Pi should be assembled and connected to your 3D printer. In the next step, we will proceed to install the operating system on the Raspberry Pi, so that we can begin the configuration process. Stay tuned!
Step 2: Installing the Operating System
Once you have assembled the Raspberry Pi and connected it to your 3D printer, the next step is to install the operating system. The operating system provides the necessary software foundation for running various applications, including the tools and utilities required for 3D printing. Follow these steps to install the operating system:
- Start by downloading the latest version of the Raspberry Pi operating system, known as Raspbian, from the official Raspberry Pi website.
- Insert the microSD card, which you prepared earlier, into your computer’s SD card reader.
- Using a software utility like Etcher, select the Raspbian image file and the corresponding microSD card. Follow the prompts to write the operating system onto the microSD card. This process may take a few minutes.
- Once the operating system is written to the microSD card, safely remove it from your computer’s SD card reader.
- Insert the microSD card into the microSD card slot on the Raspberry Pi board.
- Power on your Raspberry Pi.
- The first time you boot up the Raspberry Pi, you will be prompted to go through the initial setup process. Follow the on-screen instructions to configure your language, timezone, and password.
- After completing the initial setup, you will be presented with the Raspbian desktop environment.
With the operating system successfully installed, you can now proceed to the next step of connecting your Raspberry Pi to the 3D printer and configuring the necessary software. We will cover the configuration process in the following steps. Stay with us!
Step 3: Connecting to the 3D Printer
Now that you have the operating system installed on your Raspberry Pi, the next step is to establish a connection between the Raspberry Pi and your 3D printer. This will allow the Raspberry Pi to send commands to the printer and control its operation. Follow the steps below to connect the Raspberry Pi to your 3D printer:
- Ensure that your 3D printer is powered on and in a ready state.
- On your Raspberry Pi, navigate to the “Applications” menu and launch the 3D printing software of your choice. Common options include OctoPrint, Repetier-Server, or AstroPrint. These software packages provide a web interface for controlling and monitoring 3D printers.
- In the 3D printer software, locate the settings or configuration section and select the option to add a new printer.
- Follow the prompts to configure the connection to your printer. Depending on the software you’re using, you may need to enter the connection type (USB or network), the port number, and the communication settings of your 3D printer.
- Once you have successfully configured the connection, save the settings and restart the 3D printer software if required.
- Your Raspberry Pi is now connected to your 3D printer! You can access the web interface of the 3D printer software by opening a web browser on any device connected to the same network as the Raspberry Pi and entering the IP address or hostname of the Raspberry Pi in the address bar.
By connecting your Raspberry Pi to the 3D printer using the appropriate software, you gain the ability to remotely control and monitor your printer. You can start and stop prints, adjust settings, view progress, and even receive notifications when prints complete or encounter errors.
In the next step, we will configure the Arduino Integrated Development Environment (IDE) on the Raspberry Pi, which is necessary for communicating with the printer’s controller board. Keep following along!
Step 4: Configuring the Arduino IDE
To communicate with your 3D printer’s controller board, you will need to configure the Arduino Integrated Development Environment (IDE) on your Raspberry Pi. The Arduino IDE provides a user-friendly interface for uploading firmware and making modifications to the printer’s settings. Follow these steps to configure the Arduino IDE:
- Open the Terminal application on your Raspberry Pi. You can find it in the “Accessories” menu or by searching for it in the application launcher.
- Install the Arduino IDE by entering the following command in the Terminal:
sudo apt-get update
sudo apt-get install arduino - Once the installation is complete, launch the Arduino IDE from the “Programming” section of the application menu.
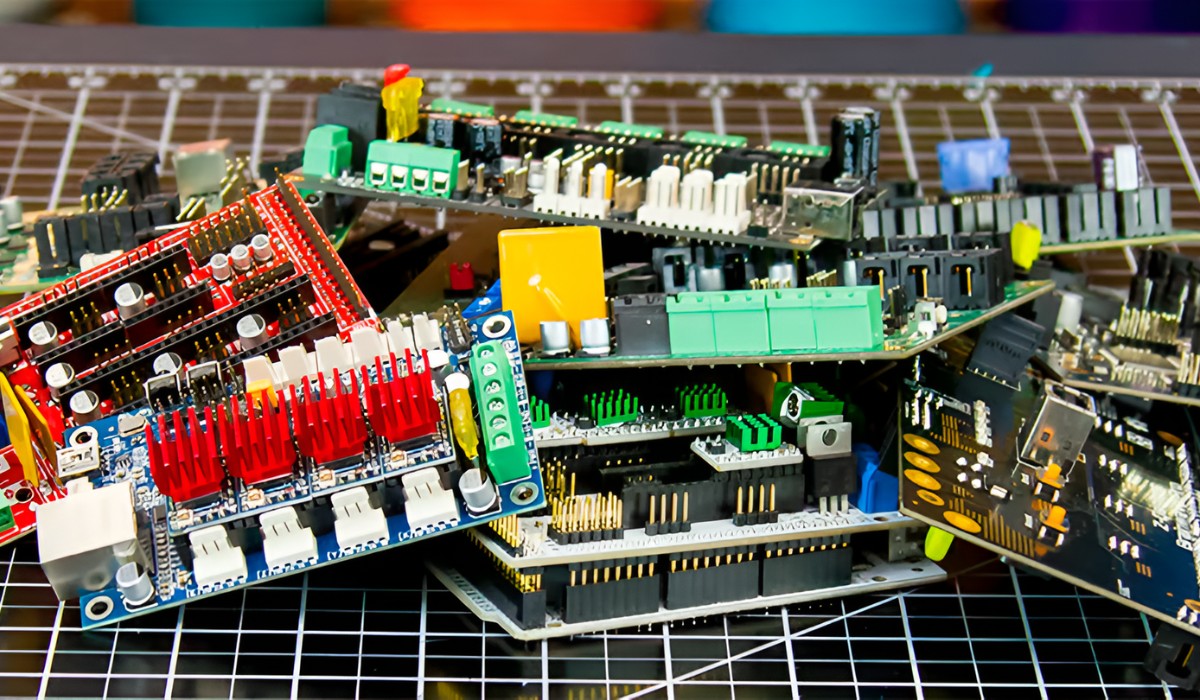
- In the Arduino IDE, navigate to the “Tools” menu and select “Board”. Choose the appropriate board that matches your 3D printer’s controller. This information can usually be found in the documentation or specifications of your printer.
- Next, go to the “Tools” menu again and select “Port”. Choose the port that corresponds to your printer’s controller board. If you are not sure which port to select, you can try each one until you establish a successful connection.
- Verify that the connection to the printer’s controller board is working by selecting “Sketch” from the menu and then clicking on “Upload”. This will compile and upload a test firmware to the printer. If the upload process completes without errors, the connection is established successfully.
- At this point, the Arduino IDE is configured and ready to communicate with your 3D printer’s controller board. You can now proceed with making firmware modifications or uploading custom firmware, depending on your requirements.
The Arduino IDE gives you the flexibility to modify and upgrade your printer’s firmware, enabling you to take advantage of new features and improvements. It’s important to note that firmware modifications should be done with caution, as improper settings can lead to printer malfunctions.
In the next step, we will test the connection between your Raspberry Pi and the 3D printer to ensure everything is working correctly. Stay tuned!
Step 5: Testing the Connection
After configuring the Arduino IDE and establishing communication with your 3D printer’s controller board, it’s time to test the connection and ensure that everything is working as expected. Follow these steps to perform a basic test:
- In the Arduino IDE, navigate to the “Tools” menu and select “Serial Monitor”. This will open a window that displays the serial communication between your Raspberry Pi and the printer’s controller board.
- Ensure that your printer is powered on and connected to the Raspberry Pi via USB.
- In the Serial Monitor window, set the baud rate to match the one specified in your printer’s firmware. The default baud rate is typically 115200, but it may vary depending on your printer.
- Send a test command to the printer by typing “G28” in the input field and pressing enter. This is a basic command that instructs the printer to home all of its axes.
- If the printer successfully receives and executes the command, you should see the corresponding response in the Serial Monitor. It may display information such as the current position of each axis or any error messages.
- Repeat this process with additional commands, such as “M104 S200” to set the extruder temperature or “M106 S255” to turn on the cooling fan. Monitor the responses in the Serial Monitor to ensure proper communication.
- If all the test commands are executed successfully without any errors or communication issues, it indicates that the connection between your Raspberry Pi and the 3D printer is working correctly.
This testing process allows you to verify that the communication between the Raspberry Pi and the printer’s controller board is functioning properly. It ensures that commands sent from the Raspberry Pi are received and executed by the printer.
Now that your connection is tested and confirmed, you can start using the Raspberry Pi to control and monitor your 3D printer remotely. Enjoy the convenience and enhanced capabilities that this setup provides!
Conclusion
By following the steps outlined in this guide, you have successfully connected your Raspberry Pi to a 3D printer. This allows you to unleash a wide range of possibilities, including wireless control, remote monitoring, and advanced slicing capabilities. Let’s recap the key points:
We began by assembling the Raspberry Pi and connecting it to the 3D printer. Then, we installed the operating system, ensuring a solid foundation for the subsequent steps. Next, we established a connection between the Raspberry Pi and the printer using 3D printer software, enabling remote control and monitoring. We then configured the Arduino IDE to communicate with the printer’s controller board, giving us access to firmware modifications and fine-tuning. Finally, we tested the connection between the Raspberry Pi and the printer to validate that everything is functioning correctly.
Now that your Raspberry Pi is seamlessly integrated with your 3D printer, you can explore a variety of possibilities. You can remotely start or stop prints, adjust print settings on the fly, receive notifications when prints complete or encounter errors, and even monitor the progress of print jobs from anywhere within your network. Additionally, the Raspberry Pi’s processing power can be leveraged to run more complex slicing software or even host a web interface for your printer, making it even more accessible and user-friendly.
Remember, as with any technical process, troubleshooting may be required along the way. Consulting the documentation provided with your specific devices, engaging with online communities, and exploring relevant forums and tutorials can help address any challenges you may encounter.
We hope this guide has been informative and empowering, assisting you in successfully connecting your Raspberry Pi to your 3D printer. So go ahead, start exploring the endless possibilities and unleash the full potential of your 3D printing experience!