Introduction
Welcome to the world of 3D printing, where innovation and creativity collide! If you’re familiar with 3D printing, you may have come across various software and firmware options that enhance the capabilities of your printer. One such option that has gained popularity among 3D printing enthusiasts is Klipper.
Klipper is an open-source 3D printer firmware that offers a multitude of benefits for avid makers. It revolutionizes the way you control your printer, improving print speed, accuracy, and overall performance. In this article, we will delve into the world of Klipper 3D printing, exploring what it is, its advantages, how it works, setting it up on your printer, fine-tuning for optimal performance, and troubleshooting common issues.
Whether you’re a beginner eager to optimize your 3D printing experience or an experienced user looking to take your prints to the next level, Klipper offers a powerful solution that can elevate your printing game.
So, let’s dive into the world of Klipper and explore the possibilities it holds!
What is Klipper 3D Printing?
Klipper is an open-source 3D printer firmware that acts as a bridge between your printer’s hardware and software. It replaces the traditional firmware that comes pre-installed on most 3D printers, unlocking a world of advanced features and unparalleled control.
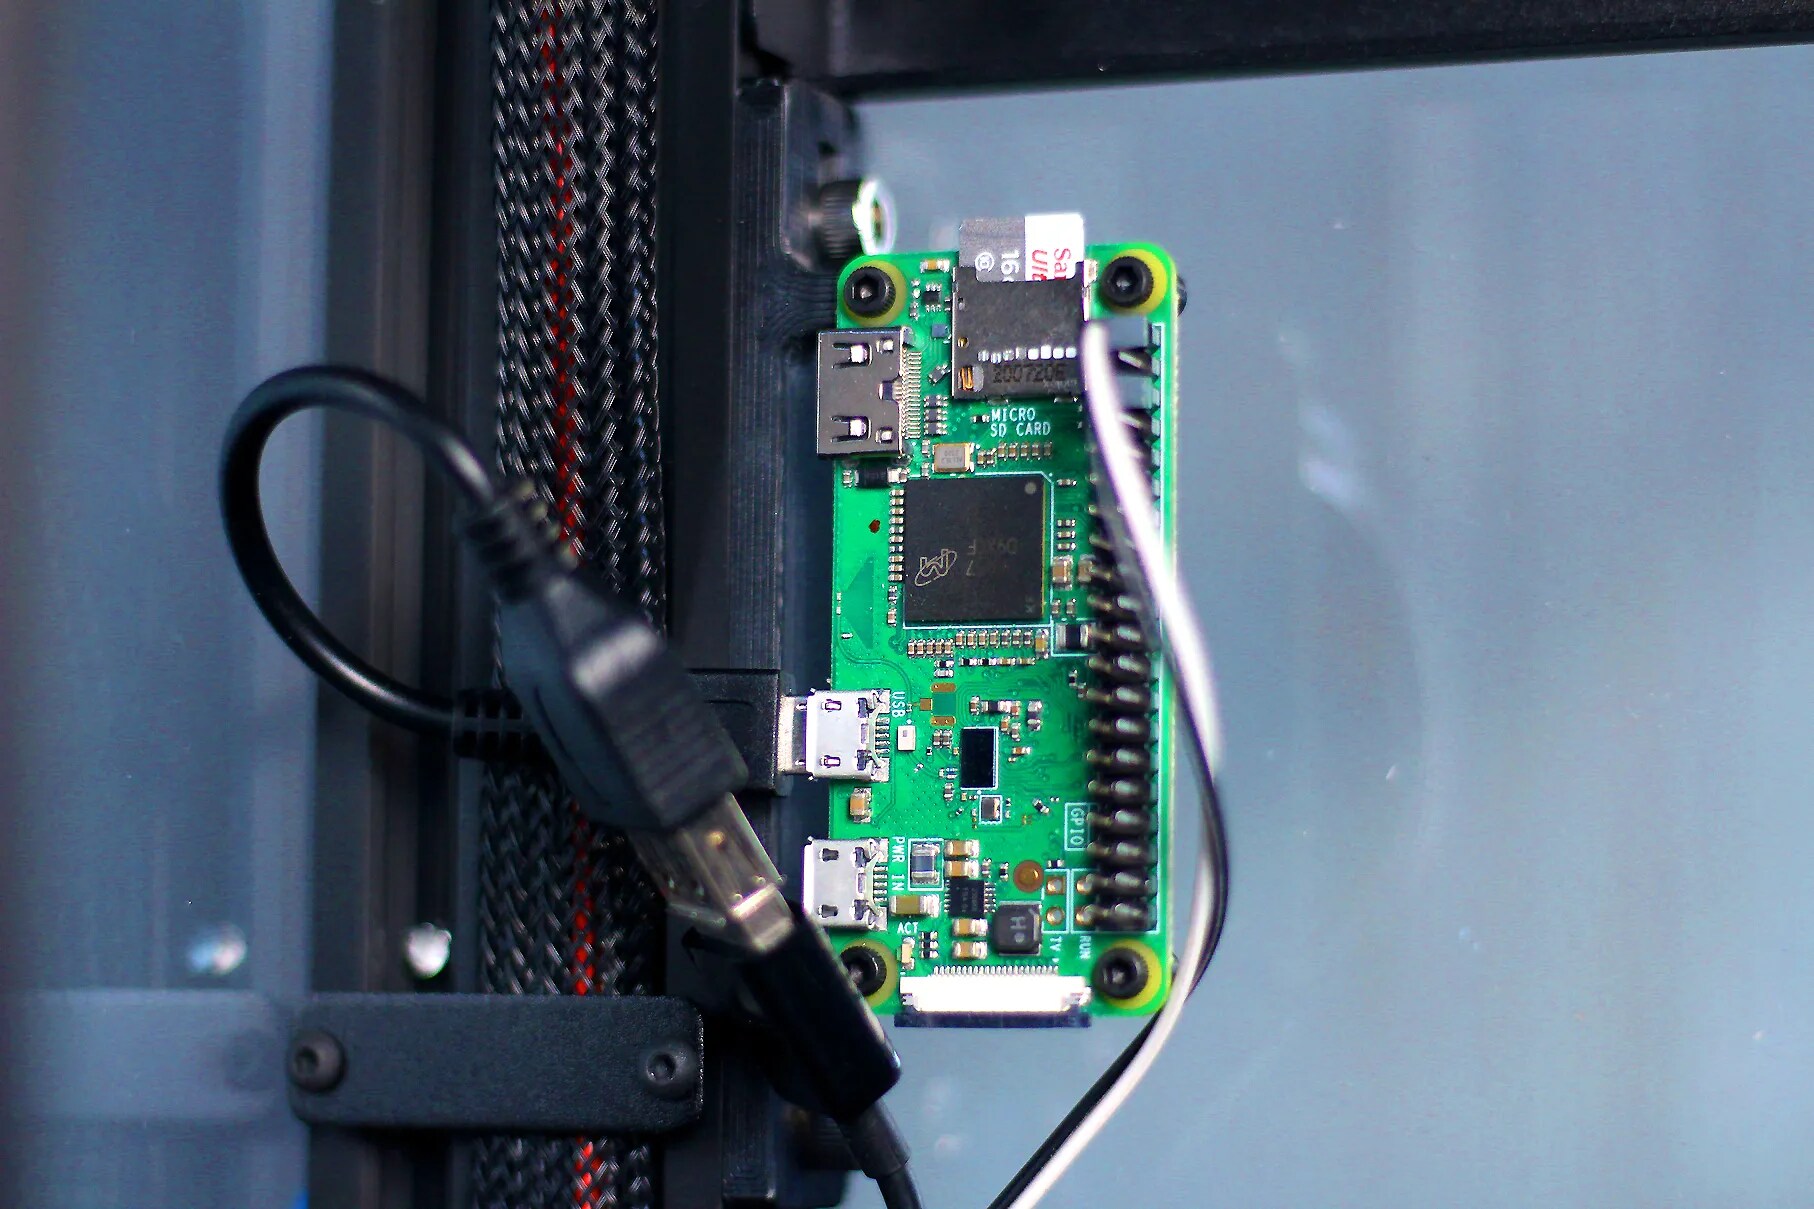
Unlike standard firmware, Klipper offloads the complex processing tasks to a single-board computer, such as a Raspberry Pi, while utilizing the printer’s existing microcontroller for low-level commands. This unique architecture allows Klipper to harness the computing power of the single-board computer, resulting in faster and more precise print movements.
With Klipper, your 3D printer can reach new heights in terms of speed, accuracy, and overall performance. It optimizes the processing of G-code commands, enabling smoother and more consistent movements, reducing the likelihood of artifacts or imperfections in your prints.
Moreover, Klipper offers a wealth of advanced features that can enhance your 3D printing experience. These include pressure advance, linear advance, and auto bed leveling, among others. These features allow for fine-tuning and calibration, ensuring optimal print quality and reducing the need for manual adjustments.
Another noteworthy aspect of Klipper is its extensive compatibility with various 3D printer models. It supports a wide range of popular printer boards and printer models, making it accessible to an extensive user base. Whether you have a Cartesian, Delta, or CoreXY printer, Klipper can be adapted to suit your specific setup.
Since Klipper is open-source, it benefits from a vibrant community of developers and users who constantly contribute to its improvement and provide support. This active community ensures that the firmware remains up-to-date, compatible with new printer models, and continuously evolves with the latest advancements in 3D printing technology.
In the next section, we will delve deeper into the advantages of using Klipper for your 3D printing endeavors.
Advantages of Klipper 3D Printing
Klipper 3D printing offers a plethora of advantages that can greatly enhance your printing experience. Let’s take a closer look at the key benefits of using Klipper firmware:
1. Improved Print Speed: Klipper offloads the processing tasks to a single-board computer, allowing for faster print movements and reducing print times. This is especially noticeable in complex prints with intricate details.
2. Enhanced Print Quality: By optimizing the G-code processing, Klipper ensures smoother and more consistent movements, resulting in improved surface finish and reduced artifacts, such as blobs or ghosting. The firmware’s advanced features, such as pressure advance and linear advance, further contribute to better print quality.
3. Flexibility and Customizability: Klipper offers a wide range of customization options, allowing you to fine-tune your printer’s settings to achieve optimal results. Whether it’s adjusting acceleration, jerk settings, or tweaking print profiles, Klipper gives you the flexibility to tailor your printing settings to your specific needs.
4. Compatibility with Multiple Printer Models: Klipper supports a diverse range of printer models and boards, making it accessible to a wide user base. Whether you have a popular brand printer or a DIY printer with custom hardware, chances are Klipper can be adapted to your setup.
5. Active Community and Support: Being an open-source firmware, Klipper benefits from a vibrant community of developers and users who provide support, share knowledge, and continually improve the firmware. This active community ensures that Klipper remains up-to-date, compatible with new technologies, and evolves with the latest advancements.
6. Easy Updates and Modifications: Updating Klipper firmware is a straightforward process, thanks to its modular design. You can easily add or modify features without the need for complex coding, allowing you to tailor the firmware to your specific requirements.
7. Cost-Effective Solution: Klipper enables you to unlock advanced features and improved performance without the need to invest in expensive hardware upgrades. Utilizing a single-board computer, such as a Raspberry Pi, you can significantly enhance your printing capabilities at a fraction of the cost of upgrading your printer components.
With these advantages, Klipper stands as a powerful firmware option in the world of 3D printing. In the next section, we will dive deeper into how Klipper works and its unique architecture.
How Does Klipper Work?
Klipper operates on a unique architecture that separates the processing tasks between the printer’s microcontroller and a single-board computer, such as a Raspberry Pi. Let’s explore the inner workings of Klipper and understand how it brings enhanced performance to your 3D printer:
1. Offloading Processing to a Single-Board Computer: Klipper takes the processing burden off the printer’s microcontroller and delegates it to a more powerful single-board computer. The single-board computer runs the Klipper firmware, utilizing its processing capabilities to handle the complex calculations and movement planning required for precise 3D printing.
2. G-code Parsing and Transformation: Klipper interprets the G-code commands sent by slicing software and transforms them into precise movement instructions for the printer. It analyzes the G-code line by line, optimizing the commands and generating a more efficient path for the print head to follow. This results in faster and smoother movements, leading to improved print quality and reduced print times.
3. Real-Time Kinematics: Klipper implements a real-time kinematics (RTK) system to calculate the movement of the printer’s axes. This system ensures that the printer’s motors move precisely according to the desired positions at any given moment. By utilizing advanced algorithms, Klipper compensates for mechanical imperfections and inaccuracies, resulting in more accurate prints.
4. OctoPrint Integration: Klipper seamlessly integrates with OctoPrint, a popular open-source web interface for 3D printers. OctoPrint provides a user-friendly interface to monitor and control your printer remotely. With Klipper and OctoPrint working together, you can easily manage print jobs, adjust settings, and monitor the progress, all from your computer or smartphone.
5. Modularity and Customization: Klipper is designed with modularity in mind, allowing users to configure and customize various aspects of the firmware. You can adjust acceleration, jerk settings, PID values, and other parameters to fine-tune your printer’s performance according to your specific needs. This flexibility empowers users to optimize their printers for different materials, print speeds, and desired levels of quality.
By utilizing the power of a single-board computer and employing intelligent algorithms, Klipper unlocks the full potential of your 3D printer. In the next section, we will discuss how to set up Klipper firmware on your 3D printer and get started with this game-changing technology.
Setting Up Klipper on Your 3D Printer
Setting up Klipper firmware on your 3D printer is a straightforward process that requires a few key steps. Let’s walk through the process of getting Klipper up and running on your printer:
1. Hardware Requirements: To use Klipper, you’ll need a single-board computer, such as a Raspberry Pi, along with its power supply and an SD card. Make sure your printer’s microcontroller is compatible with Klipper and check if any additional hardware, like a USB cable or adapter, is needed for the connection.
2. Install Klipper on the Single-Board Computer: Start by installing the Klipper firmware on the single-board computer. This involves downloading the Klipper software, flashing it onto the SD card, and setting up the necessary configurations. Detailed instructions can be found on the Klipper GitHub repository, along with specific steps for different single-board computer models.
3. Connect the Single-Board Computer to Your Printer: Once the Klipper firmware is installed on the single-board computer, connect it to your printer. This typically involves establishing a USB connection between the single-board computer and the printer’s microcontroller. Consult the documentation or online resources for specific instructions on how to connect your particular printer model.
4. Configure Klipper Settings: After establishing the connection, you need to configure the Klipper settings to match your printer’s specifications. This includes defining the printer model, bed dimensions, and other parameters specific to your setup. Klipper provides a comprehensive configuration file where you can make these adjustments. The Klipper documentation and community forums offer detailed guidance on how to configure the settings correctly.
5. Calibrate and Fine-Tune: With Klipper firmware successfully installed and configured, it’s time to calibrate and fine-tune your printer for optimal performance. This may involve performing a bed leveling procedure, adjusting steps per millimeter for each axis, fine-tuning acceleration and jerk values, and other calibration procedures. Klipper’s advanced features, such as pressure advance and linear advance, can further optimize print quality and speed. Take the time to experiment and find the settings that work best for your printer and desired printing outcomes.
Once the setup and calibration processes are complete, you’re ready to start printing using Klipper firmware. Enjoy the enhanced speed, precision, and customization options that Klipper brings to your 3D printing journey.
In the next section, we will discuss how to fine-tune Klipper firmware for optimal performance and achieve the best possible print results.
Fine-Tuning Klipper for Optimal Performance
While Klipper firmware offers enhanced performance and versatility right out of the box, fine-tuning the settings can further optimize your 3D printing experience. Let’s explore some key aspects to consider when fine-tuning Klipper for optimal performance:
1. Acceleration and Jerk Settings: Adjusting the acceleration and jerk values can have a significant impact on your print quality. Higher acceleration values enable faster print movements, while jerk settings control how sudden changes in speed occur. Experiment with different values to find the optimum balance between print speed and print quality. Remember to test and verify the results with different prints and materials.
2. PID Tuning: Klipper allows for fine-tuning the Proportional, Integral, and Derivative (PID) parameters for your printer’s hotend and heated bed. Proper PID tuning ensures stable temperature control, reducing the chances of temperature fluctuations during printing. There are various methods and tools available to perform PID tuning, such as using the PID Auto Tune feature in Klipper or manually adjusting the values based on temperature response.
3. Pressure Advance and Linear Advance: Take advantage of Klipper’s advanced features like pressure advance and linear advance. Pressure advance compensates for the pressure build-up in the extrusion system, resulting in cleaner and more accurate prints, especially with fast movements and corners. Linear advance optimizes filament extrusion by dynamically adjusting the extrusion rate to achieve better print quality, especially when printing curved surfaces or corners. Experiment with different values and observe the impact on your prints to find the ideal settings for your printer.
4. Calibration and Bed Leveling: Proper calibration and bed leveling are crucial for achieving uniform layer heights and consistent print quality. Klipper provides various methods for calibrating your printer’s axes and performing bed-leveling procedures. Follow the recommended procedures and take the time to ensure accurate and level printing surfaces. This will greatly improve the quality of your prints and reduce the chances of failed or skewed prints.
5. Material and Profile Settings: Different materials and print profiles may require specific adjustments to achieve optimal results. Klipper allows you to define custom profiles with unique settings tailored to specific materials or print requirements. Experiment with nozzle temperatures, retraction settings, and other parameters to find the sweet spot for each material. Keep a record of the settings that yield the best results for future reference.
Remember that fine-tuning Klipper settings is an iterative process that may require multiple adjustments and test prints. Document the changes you make and carefully observe the impact on your prints. Don’t be afraid to experiment and try new settings to unlock the full potential of your printer.
In the next section, we will explore common troubleshooting tips and techniques to address any potential issues that may arise when using Klipper.
Troubleshooting Klipper Issues
While Klipper firmware is known for its reliability and performance, occasional issues may arise during its usage. Here are some common troubleshooting tips to help address and resolve any issues that you might encounter:
1. Printer Not Connecting: If you’re having trouble connecting your printer to Klipper, ensure that the USB cable is securely connected and that the correct port is selected in the Klipper configuration file. Also, double-check that the printer’s microcontroller is compatible with Klipper and that any necessary drivers are installed on your computer or single-board computer.
2. Printing Quality Issues: If you notice artifacts, uneven layers, or other print quality issues, review your printer’s configuration and settings. Check for proper bed leveling, appropriate extruder calibration, and correct filament diameter settings. Additionally, make sure your filament is of good quality and stored in a dry environment to avoid moisture-related issues.
3. Extruder Skipping Steps: If your extruder is skipping steps or experiencing under extrusion, first check the extruder gear for any debris or blockages. Ensure that the filament path is clear and that the idler tension is properly adjusted. You may need to adjust the extrusion steps per millimeter (E-step) value in your Klipper configuration file if the extruder is consistently under or over-extruding.
4. Heating Issues: If you’re experiencing inconsistent or inaccurate heating, verify that the temperature sensor is securely attached to the hotend or heated bed. Also, check the wiring connections for any loose or damaged connections. Perform a PID tuning process to ensure proper temperature control. Additionally, make sure your power supply can handle the required current to maintain consistent heating.
5. Layer Shifting: If your printed layers are shifting or the print is not aligned, check for any loose belts or pulleys on your printer. Ensure that the motor drivers are set correctly in the Klipper configuration file and that the stepper motor connections are secure. Adjust the stepper driver current if necessary to maintain proper motor performance.
6. Unexpected Movements: If you notice unexpected movements or random pauses during printing, review your G-code files and make sure they’re compatible with Klipper firmware. Some slicers may generate code that is not fully compatible with Klipper. You can also try to lower the maximum print speed to see if it helps stabilize the movements.
If you’re unable to resolve the issue using these troubleshooting tips, reach out to the Klipper community for assistance. The Klipper GitHub page and forums are filled with experienced users and developers who can provide guidance and support.
Remember, troubleshooting may require patience and experimentation. Keep a log of the changes you make and their impact on your prints. With time and experience, you’ll become more proficient at resolving issues and achieving exceptional print results with Klipper firmware.
In the final section, we will summarize the key points discussed in this article and wrap up our exploration of Klipper 3D printing.
Conclusion
Klipper 3D printing firmware opens up a world of possibilities for 3D printing enthusiasts. With its unique architecture, advanced features, and extensive customization options, Klipper offers enhanced speed, precision, and control over your 3D printer.
In this article, we explored what Klipper is and how it works. We discussed the advantages of using Klipper, such as improved print speed, enhanced print quality, and compatibility with various printer models. Additionally, we covered the steps to set up Klipper on your printer, including installing the firmware, connecting the single-board computer, and configuring the settings.
We delved into the process of fine-tuning Klipper for optimal performance, emphasizing the importance of adjusting acceleration and jerk settings, tuning PID values, and utilizing advanced features like pressure advance and linear advance. We also provided troubleshooting tips to address common issues that may arise when using Klipper.
Remember that Klipper is an open-source firmware and benefits from an active community of developers and users. Online resources, forums, and the Klipper documentation offer invaluable guidance and support along your 3D printing journey with Klipper.
So, embrace the power of Klipper and unlock the full potential of your 3D printer. Explore its capabilities, experiment with settings, and let your creativity soar. With Klipper, you’re just a few clicks away from achieving exceptional print quality and taking your 3D printing to new heights.