Introduction
Welcome to the world of DIY 3D scanning with Raspberry Pi! If you’re looking for an exciting project that combines your love for technology and creativity, building a 3D scanner using a Raspberry Pi is a great option. With the affordability and versatility of Raspberry Pi, you can transform your ordinary camera into a powerful 3D scanning device, opening up a whole new realm of possibilities.
3D scanning involves capturing the dimensions and textures of real-life objects to create accurate digital representations. Whether you’re a hobbyist, a designer, or an engineer, having a 3D scanner can be invaluable. You can use it for replicating objects, prototyping, reverse engineering, or even creating stunning visual effects. And the best part is, you can build your own 3D scanner using Raspberry Pi without breaking the bank!
In this step-by-step guide, we will walk you through the process of building a 3D scanner using Raspberry Pi. We will cover everything from selecting the right Raspberry Pi model to assembling the hardware components, setting up the Raspberry Pi, installing the required software, calibrating the scanner, capturing images, processing the images, and finally creating a 3D model from the scanned images.
Before we dive into the details, it’s important to note that building a 3D scanner with Raspberry Pi requires a basic understanding of electronics, programming, and the Raspberry Pi operating system. Don’t worry if you’re new to these concepts – we’ll explain everything in a beginner-friendly manner.
So, if you’re ready to embark on this exciting DIY journey, let’s get started on building your very own 3D scanner with Raspberry Pi!
Choosing the Right Raspberry Pi Model
When it comes to building a 3D scanner with Raspberry Pi, selecting the right model is crucial. Raspberry Pi offers a range of models, each with its own capabilities and specifications. Let’s take a look at the factors you should consider when choosing the Raspberry Pi model for your 3D scanner project.
1. Processing Power: The processing power of the Raspberry Pi determines how quickly it can handle complex tasks like image processing. For 3D scanning, it’s recommended to choose a model with a faster processor, such as the Raspberry Pi 4. With its quad-core processor and higher RAM capacity, the Raspberry Pi 4 ensures smoother and faster performance.
2. Connectivity Options: To connect the necessary hardware components for your 3D scanner, you’ll need a Raspberry Pi model that offers a variety of connectivity options. The Raspberry Pi 4 comes with USB 3.0 ports, HDMI ports, and Wi-Fi capabilities, making it easier to connect cameras, sensors, and other peripherals.
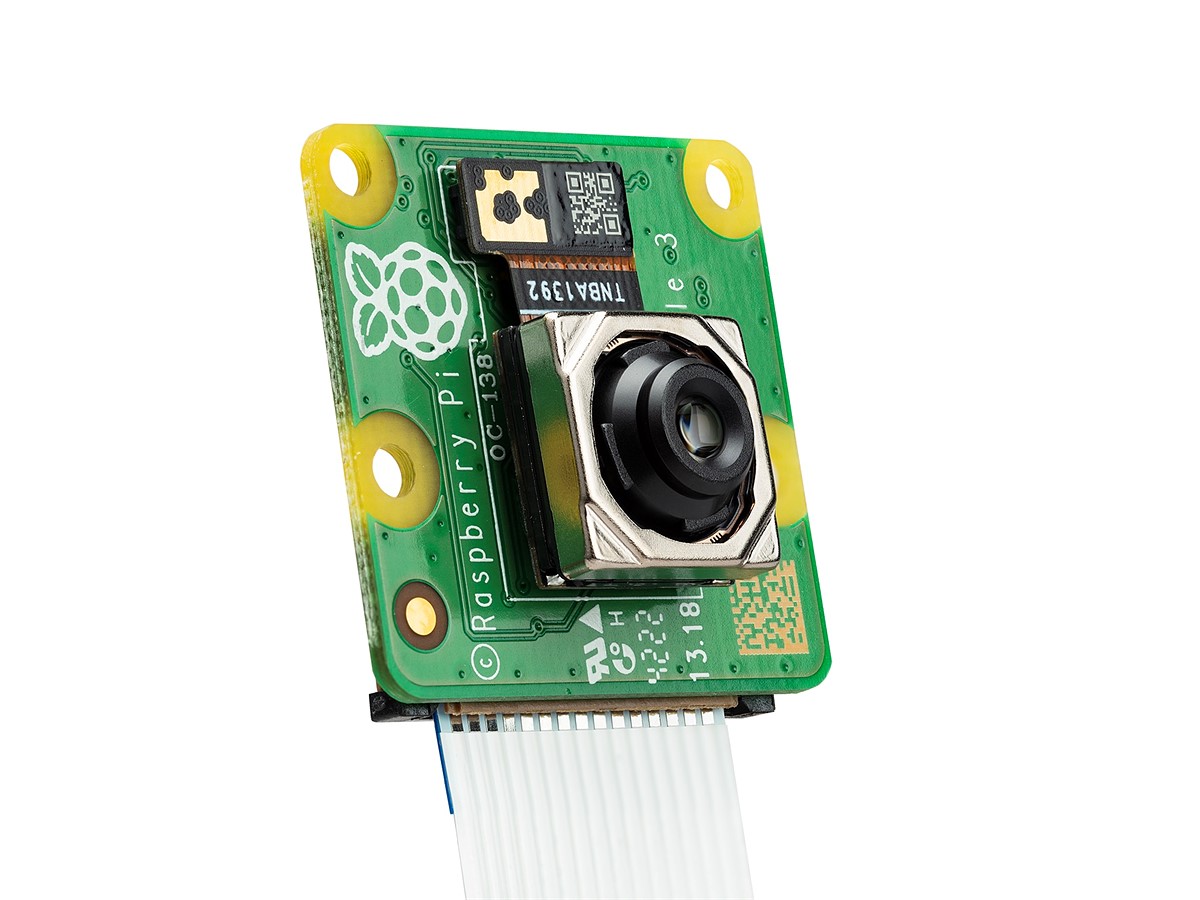
3. Camera Support: The Raspberry Pi Camera Module is an essential component for your 3D scanner. Ensure that the Raspberry Pi model you choose supports the camera module. Most models, including the Raspberry Pi 4, are compatible with the camera module, allowing you to capture high-resolution images for 3D scanning.
4. Storage Capacity: Building a 3D scanner involves capturing and processing a significant amount of data. It’s important to have sufficient storage capacity on your Raspberry Pi to store images and scan data. Consider opting for a model with ample storage options or use external storage solutions like SD cards or USB drives.
5. Budget: Lastly, consider your budget when choosing the right Raspberry Pi model. Raspberry Pi models vary in price, with newer models generally being more expensive. Assess your needs and find a model that strikes a balance between performance and affordability.
By considering these factors, you can find the perfect Raspberry Pi model for your 3D scanner project. The Raspberry Pi 4 is a popular choice due to its powerful processing capabilities, abundant connectivity options, camera support, and reasonable price. However, feel free to explore other models depending on your specific requirements and budget.
Assembling the Hardware Components
Now that you have chosen the right Raspberry Pi model, it’s time to assemble the hardware components for your 3D scanner. Here’s a step-by-step guide on how to do it:
1. Raspberry Pi: Start by connecting the Raspberry Pi to a power source and a monitor using the appropriate cables. Make sure the Raspberry Pi is properly powered up before moving on to the next step.
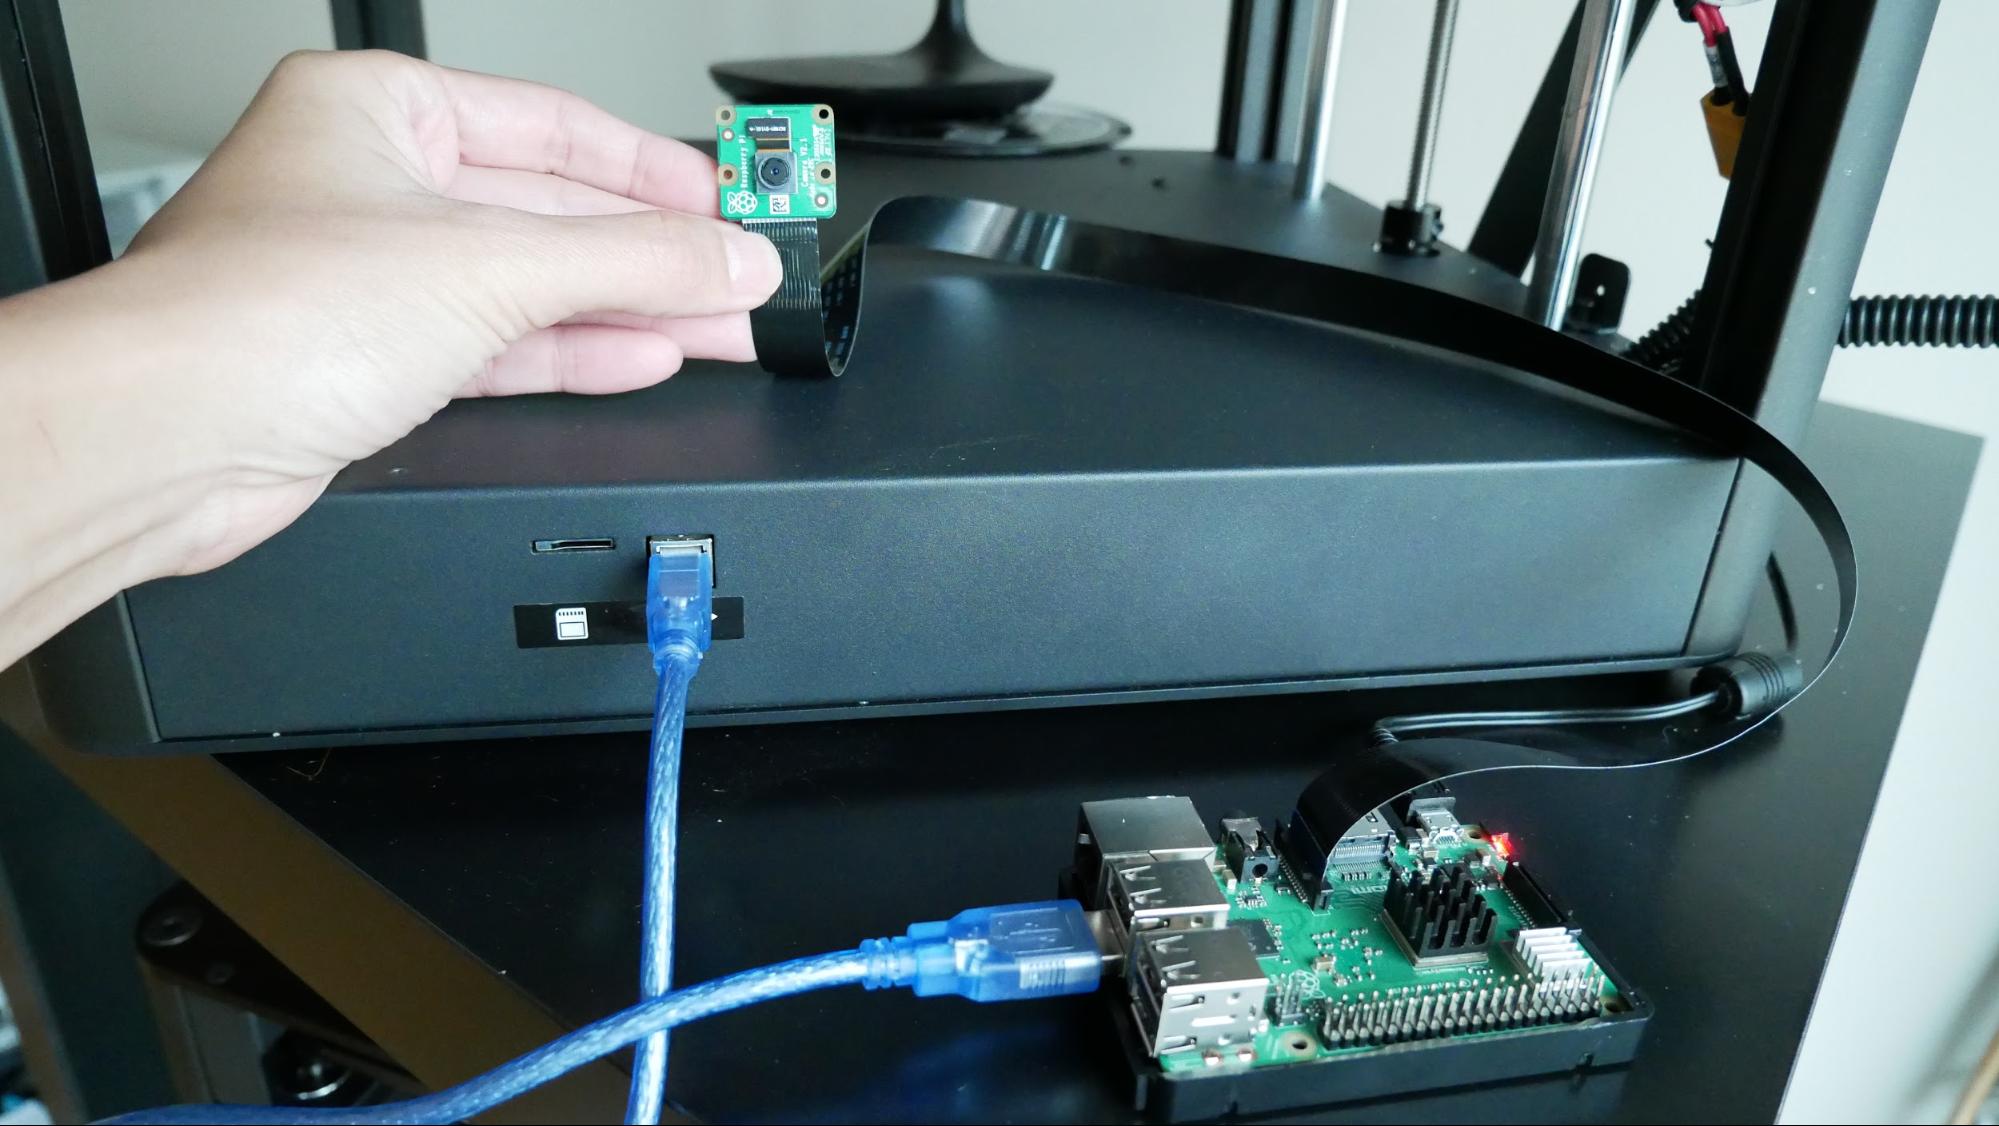
2. Raspberry Pi Camera Module: Attach the Raspberry Pi Camera Module to the Raspberry Pi’s camera port. Make sure to align the camera module correctly and gently push it into place. Secure it using the camera module retaining screw, if provided.
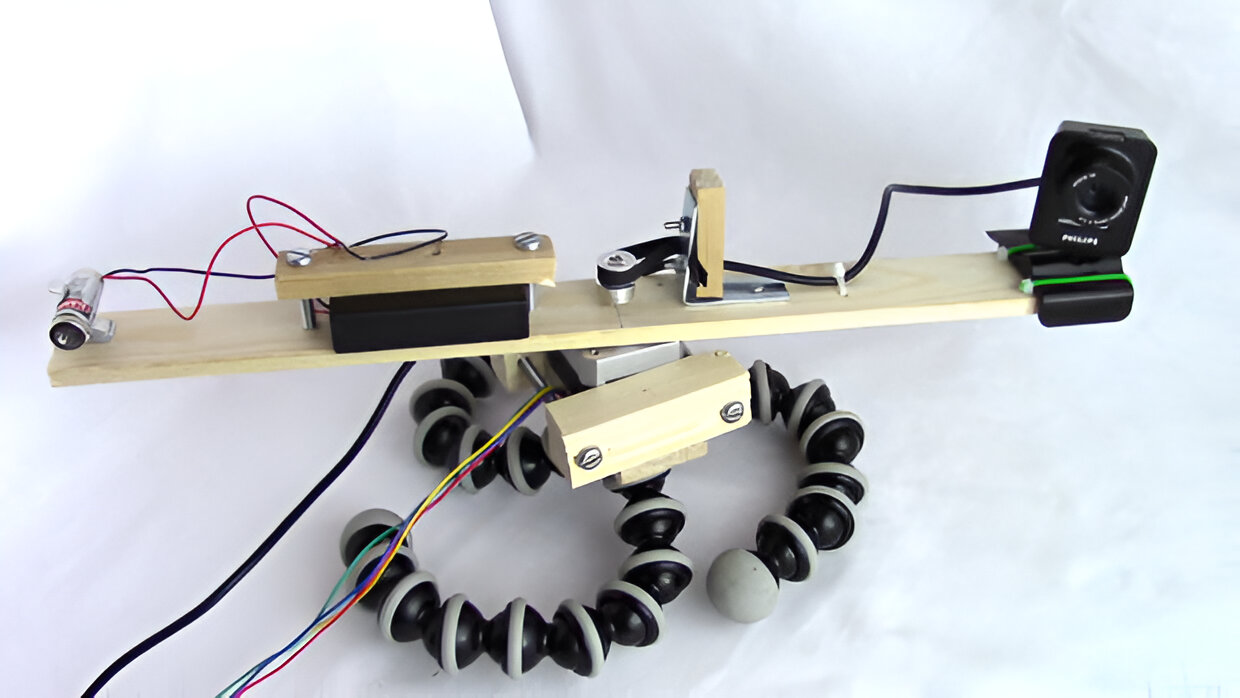
3. Tripod or Mounting Stand: Set up a stable tripod or mounting stand to hold the Raspberry Pi and camera module. This will ensure that the scanning process remains steady and consistent.
4. Object Platform: Create a platform to hold the object you want to scan. This can be a simple rotating platform or a stationary surface. Make sure the platform is sturdy enough to support the weight of the object and allows for easy rotation or movement.
5. Lighting Setup: Proper lighting is crucial for obtaining high-quality 3D scans. Set up a well-lit environment by using diffused lighting sources to minimize shadows and reflections. You can use LED lights or photography lighting kits for optimal results.
6. Optional Components: Depending on your specific requirements, you may need additional components such as a turntable for automated object rotation, a laser or depth sensor for capturing more detailed information, or a calibration board for accurate measurements. Incorporate these components into your setup as needed.
7. Cable Management: Keep all the cables organized and secured to avoid any accidental damage or interference during the scanning process. Use cable ties or adhesive clips to neatly route the cables along the tripod or mounting stand.
Once you have assembled all the hardware components, take a moment to double-check all the connections and make sure everything is properly aligned and secured. This will ensure smooth and accurate scanning without any interruptions.
With the hardware components set up, you are now ready to move on to the next step: setting up the Raspberry Pi and installing the required software.
Setting up the Raspberry Pi
Before you can start using your Raspberry Pi for 3D scanning, you need to set it up and configure the necessary software. Follow these steps to get your Raspberry Pi up and running:
1. Download the Operating System: Choose a suitable operating system for your Raspberry Pi. Raspberry Pi OS (formerly known as Raspbian) is a popular choice and recommended for most projects. Download the latest version of Raspberry Pi OS from the official Raspberry Pi website.
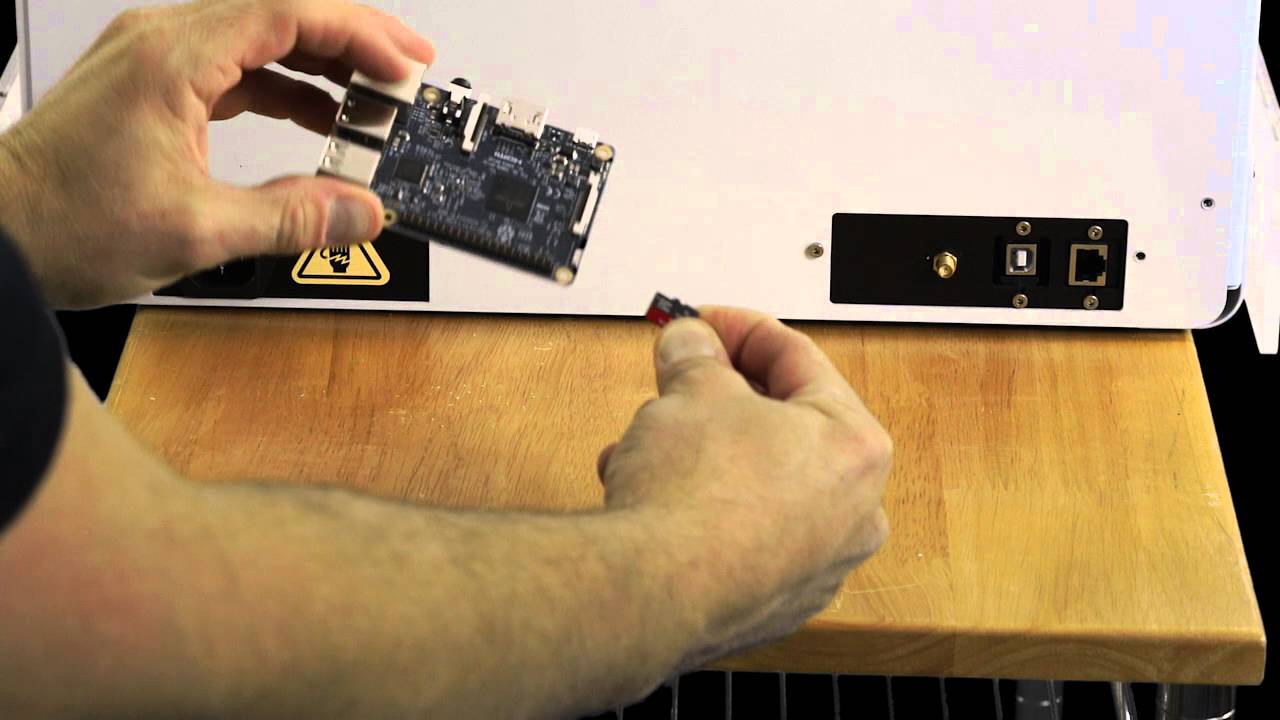
2. Flash the OS to an SD Card: Once you have downloaded the Raspberry Pi OS, use a software like Etcher to flash the operating system onto an SD card. Insert the SD card into the Raspberry Pi’s SD card slot.
3. Connect Peripherals: Connect a keyboard, mouse, and monitor to the Raspberry Pi’s USB ports and HDMI port respectively. This will allow you to interact with the Raspberry Pi’s interface.
4. Power Up the Raspberry Pi: Connect the power adapter to the Raspberry Pi to power it up. Once powered up, the Raspberry Pi will boot into the installed operating system.
5. Initial Setup: Follow the on-screen instructions to complete the initial setup of Raspberry Pi OS. This includes configuring preferences, setting up Wi-Fi, and updating the system.
6. Enable Camera Module: To use the Raspberry Pi Camera Module, you need to enable it in the Raspberry Pi settings. Open the Raspberry Pi Configuration tool and navigate to the Interfaces tab. Check the box next to Camera and click OK to enable it.
7. Test the Setup: Verify that the camera module is working correctly by opening the Raspberry Pi Camera application or using the command line to capture a test image. Ensure the image is clear and properly aligned.
8. Install Additional Software: Depending on the specific software you will be using for 3D scanning, you may need to install additional software packages or libraries. Follow the instructions provided by the software documentation to install the required dependencies.
By following these steps, you can set up your Raspberry Pi and ensure it’s ready to be used for 3D scanning. Once the Raspberry Pi is set up, you can move on to installing the necessary software for your 3D scanning project.
Installing the Required Software
Now that your Raspberry Pi is set up and running, it’s time to install the necessary software to enable 3D scanning functionality. Here’s a step-by-step guide on how to install the required software:
1. Slicer Software: Start by installing a slicer software that will help you process the scanned images and create a 3D model. Popular slicer software options include MeshLab, Blender, or FreeCAD. Use the package manager on your Raspberry Pi to install the desired slicer software.
2. 3D Scanning Software: Next, you’ll need to install 3D scanning software that will facilitate the capture and processing of images. Depending on the specific requirements of your project, options like OpenCV, 3D Slicer, or Microsoft 3D Scan can be installed. Follow the instructions provided by the software documentation to install it.
3. Dependencies and Libraries: Some 3D scanning software may have additional dependencies or libraries that need to be installed. Make sure to check the software’s documentation for any specific requirements and follow the instructions accordingly.
4. Firmware and Driver Updates: It’s a good practice to ensure that your Raspberry Pi’s firmware and drivers are up to date. Use the `sudo apt-get update` and `sudo apt-get upgrade` commands to update the system and any necessary firmware or drivers.
5. Plug and Play Scanners: If you are using a plug-and-play 3D scanner that is specifically designed for Raspberry Pi, follow the manufacturer’s instructions to install any required software and drivers. These scanners may have their own dedicated software for capturing and processing 3D scans.
6. Test the Software: Once all the required software is installed, it’s important to test the functionality before proceeding. Open the 3D scanning software and ensure that it can properly detect and interact with the Raspberry Pi Camera Module. Perform a test scan to verify that everything is working as expected.
By following these steps, you can successfully install the required software for your Raspberry Pi 3D scanner project. Make sure to thoroughly read and follow the documentation provided by the software developers to ensure a smooth installation process.
Calibrating the 3D Scanner
Calibrating your 3D scanner is a crucial step to ensure accurate and high-quality scans. It involves fine-tuning the settings and parameters of the scanning software to achieve optimal results. Here’s a step-by-step guide on how to calibrate your 3D scanner:
1. Understand Calibration: Calibration is the process of mapping real-world measurements to the digital space. It involves determining the relationship between the physical dimensions of an object and the corresponding data captured by the scanner. Understanding the principles of calibration will help you make the necessary adjustments for accurate and precise scanning.
2. Calibration Board: Obtain a calibration board or a known reference object. Calibration boards are grids with known spatial patterns that can help the scanner software establish accurate scaling and distortion correction. These boards can be easily purchased or created using a whiteboard or a printed pattern.
3. Position the Calibration Board: Place the calibration board in the scanning area and ensure it is well-lit and positioned parallel to the camera’s field of view. The board should be visible in the frame and cover a significant area.
4. Run the Calibration Software: Open the calibration software included with your 3D scanning package or utilize tools like Apriltag and Calibrate_Camera to calibrate the camera. Follow the instructions provided by the software to start the calibration process.
5. Capture Calibration Images: Capture a series of images of the calibration board from various angles and positions. The software will use these images to analyze the patterns on the board and calculate the necessary calibration parameters.
6. Analyze and Adjust: Once the calibration images are captured, the software will analyze the data and provide calibration parameters such as focal length, lens distortion, and camera position. Review the results and adjust the parameters as necessary to achieve accurate scanning results.
7. Test the Calibration: After adjusting the calibration parameters, perform a test scan to ensure that the objects are accurately captured and scaled. Pay attention to the dimensions, sharpness, and alignment of the scanned objects. Make further adjustments if necessary.
8. Repeat if Needed: Calibration is an iterative process, and you may need to repeat the steps and make further adjustments to achieve the desired accuracy. It’s important to spend time fine-tuning the parameters until you are satisfied with the scanning results.
By following these calibration steps, you can ensure that your 3D scanner is accurately capturing the dimensions and details of the objects. Calibration is a crucial step towards achieving high-quality 3D scans and obtaining accurate and reliable 3D models.
Capturing Images with the Raspberry Pi Camera
The Raspberry Pi Camera is a key component of your 3D scanner, as it allows you to capture images that will be used for creating 3D models. Capturing high-quality images is essential for obtaining accurate and detailed scans. Here’s a step-by-step guide on how to capture images with the Raspberry Pi Camera:
1. Positioning: Ensure that the camera is securely attached to the Raspberry Pi and properly positioned. Adjust the camera angle and position to capture the object you want to scan. The camera should be stable and parallel to the object’s surface for accurate imaging.
2. Lighting: Proper lighting conditions are essential for capturing clear and well-lit images. Set up consistent and diffused lighting to minimize shadows and reflections. Avoid direct sunlight or harsh light sources that may cause overexposure or uneven lighting on the object.
3. Camera Settings: Adjust the camera settings to optimize image quality. You can access the camera settings through the Raspberry Pi’s operating system or by using the command line interface. Experiment with settings such as brightness, contrast, saturation, and sharpness to achieve the desired image quality.
4. Image Resolution: Select the appropriate image resolution depending on the level of detail you desire in your scans. Higher resolutions allow for more precise and accurate scans, but they may also require more processing power and storage capacity.
5. Manual or Timed Capture: Choose between manual or timed capture depending on the stability of the setup and the scanning object. Manual capture involves clicking the capture button when you are ready, while timed capture allows you to set a delay before the image is captured. Use timed capture for situations where manual capture may introduce motion blur or shake.
6. Multiple Angles: For a complete 3D scan, capture images from multiple angles around the object. This will ensure that all sides of the object are captured and can be stitched together to create a comprehensive 3D model.
7. Image Sequence: Capture a sequence of images as you move the camera around the object. This will provide more data points for the scanning software to process and generate a more accurate 3D model.
8. Review and Adjust: After capturing the images, review them on a computer or the Raspberry Pi’s interface to ensure they meet your requirements. Adjust the camera settings or reshoot if needed.
By following these steps, you can capture high-quality images with the Raspberry Pi Camera to use in your 3D scanning process. Remember to maintain consistency in lighting and camera settings for all captured images to ensure consistent and accurate results.
Processing the Images for 3D Scanning
Once you have captured the necessary images with the Raspberry Pi camera, the next step in the 3D scanning process is to process these images to generate a 3D model. This involves converting the 2D images into a three-dimensional representation of the scanned object. Here’s a step-by-step guide on how to process the images for 3D scanning:
1. Image Preprocessing: Before processing the images, it’s important to apply some preprocessing techniques to enhance the quality and consistency of the images. This can include adjusting brightness and contrast, removing noise, and aligning the images if they were captured from different angles.
2. Feature Extraction: Identify and extract features from the images that will help the scanning software determine the shape and structure of the object. This can include feature detection algorithms such as SIFT or SURF, which find key points and descriptors from the images.
3. Image Registration: Align the captured images to create a seamless dataset. Image registration techniques can be used to match common points among the images and correct for any differences in the angle or position of the camera during capture.
4. Image Stitching: Combine the aligned images together to create a single panoramic image. This involves blending the overlapping regions of the images to create a smooth transition and reduce any visible seams or artifacts.
5. Depth Estimation: Estimate the depth information for each pixel in the combined image to create a depth map. This can be achieved using various techniques such as structured light scanning, stereo vision, or depth from focus.
6. Surface Reconstruction: Convert the depth map and the 2D images into a 3D point cloud representation of the object’s surface. This involves triangulating the corresponding points in the different images and creating a mesh that defines the object’s shape.
7. Mesh Refinement: Refine the generated mesh to improve its accuracy and smoothness. This can involve removing noise, filling gaps in the mesh, and optimizing the mesh’s topology.
8. Texture Mapping: Apply the captured images as textures onto the generated 3D model to add color and texture information. This will enhance the realism and visual appearance of the final 3D scan.
9. Model Optimization: Perform any necessary optimization or post-processing steps to clean up the 3D model and reduce file size. This can include reducing mesh complexity, removing outliers, and optimizing the triangle count.
10. Exporting the Model: Finally, export the processed 3D model in a suitable file format, such as OBJ, STL, or PLY. This allows you to use the generated model for visualization, 3D printing, or further processing in other software applications.
By following these steps, you can process the captured images and generate a high-quality 3D model of the scanned object. Remember to experiment with different techniques and parameters to optimize the results for your specific scanning project.
Creating a 3D Model from the Scanned Images
Once the images have been processed, the next step in the 3D scanning process is to create a 3D model from the scanned images. This involves reconstructing the shape and structure of the object in a three-dimensional form. Here’s a step-by-step guide on how to create a 3D model from the scanned images:
1. Point Cloud Generation: The first step is to convert the processed images into a point cloud representation. A point cloud is a collection of 3D points that represent the surface of the object. This can be achieved using specialized software that uses the processed images as input to generate the point cloud.
2. Mesh Generation: Once the point cloud is created, it needs to be converted into a mesh. A mesh is a collection of interconnected triangles that form a solid representation of the object’s surface. Mesh generation algorithms use the points from the point cloud to create the mesh by connecting the nearby points together.
3. Mesh Refinement: After generating the initial mesh, it may require further refinement to improve its accuracy and smoothness. This can involve processes such as noise reduction, hole filling, and mesh smoothing to ensure the resulting model is high-quality and visually appealing.
4. Texture Mapping: Texture mapping involves applying the captured images onto the created mesh to add color and texture information. This process involves aligning the images with the surface of the mesh and mapping each pixel from the image to its corresponding position on the mesh. This step enhances the realism and visual fidelity of the 3D model.
5. UV Unwrapping: To properly apply the textures onto the mesh, it often requires UV unwrapping. This process involves flattening the mesh onto a 2D plane, creating a UV map. The UV map determines how the 2D image textures will be wrapped onto the 3D surface of the mesh.
6. Fine-tuning: After applying the textures, it’s important to examine the 3D model and make any necessary adjustments. This can include fixing any areas where the textures misalign or correcting any distortions by manipulating the UV map. Fine-tuning the model ensures that it accurately represents the scanned object.
7. Exporting the Model: Once the 3D model is complete, export it into a file format that can be used in other applications or 3D printers. Popular file formats for 3D models include OBJ, STL, and PLY.
Creating a 3D model from the scanned images requires specialized software and careful attention to detail. The quality of the final model will depend on factors such as the accuracy of the scans, the mesh generation algorithm, and the texture mapping process. Take your time to refine and optimize the model until you are satisfied with the results.
Fine-Tuning the 3D Scanner
After you have created a 3D model from the scanned images, it’s important to fine-tune your 3D scanner to improve its performance and the quality of the scans. Fine-tuning involves making adjustments and optimizations to various aspects of the scanner setup and process. Here are some key areas to focus on when fine-tuning your 3D scanner:
1. Lighting: Lighting plays a crucial role in capturing high-quality and accurate scans. Experiment with different lighting setups, diffusers, and intensities to find the optimal lighting conditions for your specific scanner. Minimize shadows and reflections on the object’s surface for more detailed scans.
2. Camera Settings: Adjust the camera settings to optimize the image quality and capture fine details. Experiment with settings like exposure, white balance, aperture, and focus to obtain clear and sharp images. Find the right balance between capturing enough detail and avoiding noise or overexposure.
3. Calibration: Regular calibration is essential to maintain the accuracy of your 3D scanner. Periodically recalibrate the camera, lens, and other components to ensure precise measurements and alignment. Follow the instructions provided by the manufacturer or refer to calibration guides specific to your 3D scanning software or hardware.
4. Object Setup: Pay attention to how objects are positioned and secured during the scanning process. Ensure that the object is stable and fixed in place to avoid any movement or vibrations that could affect the scan quality. Use additional tools like clamps or fixtures to securely hold the object during scanning, especially for complex shapes.
5. Image Capture Technique: Experiment with different capture techniques to optimize the scan quality. This can include varying the number of images captured from different angles, adjusting the distance between the object and the camera, or using multiple cameras for simultaneous capture. Find the technique that produces the best results for your specific scanning needs.
6. Software Parameters: Explore the software settings and parameters of your 3D scanning software. Adjust settings such as point cloud density, mesh resolution, and noise reduction to achieve the desired level of detail in the scans. Understand how each parameter affects the final output and optimize them accordingly for your specific requirements.
7. Post-Processing Techniques: Utilize post-processing techniques to further refine and enhance the scanned models. This can include smoothing the mesh, filling gaps or holes, and removing unwanted artifacts or noise. Experiment with different post-processing algorithms and tools to achieve the desired level of refinement.
8. User Experience: Continually gather feedback from both yourself and users of the 3D scanner. Assess the ease of use, efficiency, and reliability of the scanning process. Make adjustments to any hardware or software aspects that can improve the overall user experience and increase the efficiency of the scanning workflow.
Fine-tuning your 3D scanner is an ongoing process that requires experimentation, adjustment, and continuous improvement. By addressing the aforementioned areas and focusing on optimizing each aspect, you can enhance the performance, accuracy, and overall quality of your 3D scanner.
Conclusion
Building and fine-tuning your own 3D scanner using Raspberry Pi can be a rewarding and exciting journey. With the right hardware components, software, and calibration techniques, you can transform your Raspberry Pi into a powerful scanning device capable of capturing high-quality 3D models.
In this guide, we covered the essential steps involved in creating a 3D scanner. We discussed the importance of choosing the right Raspberry Pi model, assembling the hardware components, setting up the Raspberry Pi, installing the necessary software, calibrating the scanner, capturing images, processing the images, and creating a 3D model from the scanned images. We also highlighted the significance of fine-tuning your 3D scanner to optimize its performance and improve the quality of the scans.
It’s important to note that 3D scanning is a complex process that requires practice and experimentation to achieve optimal results. Each scanning project may present unique challenges and considerations, and you may need to adapt the techniques and settings based on your specific requirements.
Throughout the process, it’s crucial to maintain patience, attention to detail, and a willingness to learn from any setbacks. Embrace the iterative nature of 3D scanning and continually refine your techniques to enhance the accuracy, resolution, and overall quality of your scans.
With time and practice, you’ll be able to unlock the full potential of your Raspberry Pi 3D scanner and explore a multitude of applications, from prototyping and reverse engineering to art, gaming, and beyond.
Now that you have a solid understanding of the steps involved in building and fine-tuning a 3D scanner with Raspberry Pi, it’s time to embark on your own scanning adventures. Get creative, push the boundaries of what’s possible, and enjoy the exciting world of 3D scanning!