Introduction
3D printing has revolutionized the world of manufacturing and prototyping, allowing individuals to bring their ideas into reality with precision and efficiency. Whether you’re a designer, engineer, or hobbyist, understanding how to prepare a model for 3D printing is essential to ensure a successful outcome.
Before diving into the technicalities of 3D modeling and printing, it’s important to have a clear understanding of the entire process. In this article, we will guide you through the necessary steps to prepare your model for 3D printing, from choosing the right software to optimizing your design and troubleshooting common issues.
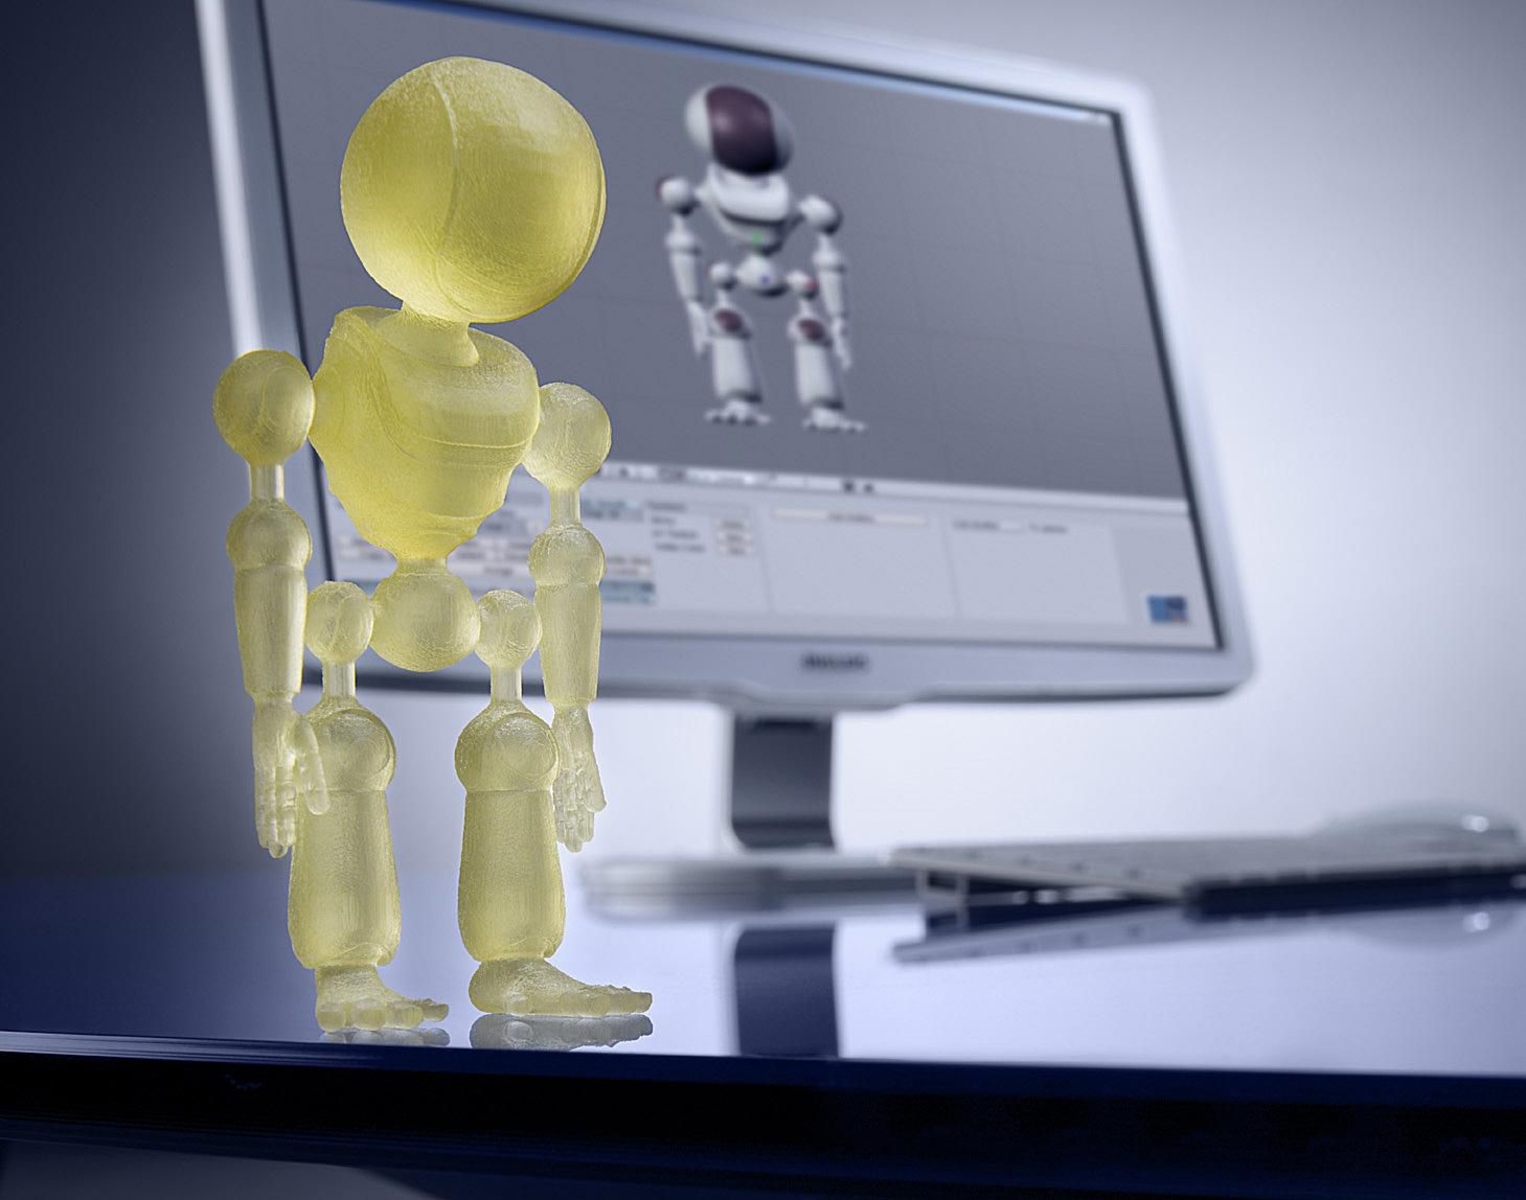
One of the first considerations when venturing into 3D printing is selecting the appropriate 3D modeling software. This software allows you to create or import your designs, manipulate them in a virtual environment, and eventually export them for printing. There are various software options available, each with its own features and learning curve. By choosing the right software, you can streamline your design process and enhance your modeling capabilities.
Once you have chosen your software, it’s crucial to familiarize yourself with the design guidelines for 3D printing. These guidelines outline the limitations and constraints specific to the printing technology you will be using. They cover aspects such as minimum wall thickness, file formats, maximum printable size, and more. Adhering to these guidelines is essential to ensure that your model can be successfully printed and that it retains its structural integrity.
Design considerations play a vital role in preparing a model for 3D printing as well. Unlike traditional manufacturing methods, 3D printing introduces new possibilities and limitations. Factors such as material choice, print orientation, support structures, and surface finishes need to be taken into account during the design phase. By optimizing your design for 3D printing, you can minimize printing errors and achieve the desired outcome.
Once you have finalized your design, the next step is to prepare the model for printing. This involves checking for errors, optimizing the model’s geometry, and ensuring the appropriate scaling and positioning. It’s crucial to thoroughly inspect your model and address any issues before proceeding with the printing process. Ignoring or overlooking errors may result in failed prints, wasted material, and costly reprints.
After preparing your model, you will need to export it in a file format compatible with your 3D printer. Different printers may require specific file formats, and it’s essential to ensure compatibility to avoid any compatibility issues during the printing process. Exporting your model accurately helps to preserve its geometry and ensures that the printer reads it correctly.
Choosing the right 3D printer and material is another important step in the preparation process. There are various types of 3D printers available, each with its advantages and limitations. Likewise, different materials offer unique properties and finishes. By selecting the appropriate printer and material, you can achieve the desired quality and functionality for your printed model.
Once you have acquired the necessary equipment, it’s crucial to properly set up the 3D printer before starting the printing process. This includes calibrating the printer, leveling the print bed, and ensuring the printer is clean and well-maintained. Proper setup ensures accurate and reliable prints.
After printing your model, there are still post-processing steps to consider. This may include removing support structures, sanding or smoothing the surface, and applying finishes or coatings. Post-processing is crucial to achieving the desired aesthetics and functionality of your printed model.
Throughout the 3D printing process, it’s common to encounter issues and challenges. By understanding common troubleshooting techniques, you can quickly identify and resolve problems such as warping, layer misalignments, or printing failures. Familiarizing yourself with these troubleshooting techniques will help you overcome obstacles and achieve successful prints.
To conclude, preparing a model for 3D printing requires careful consideration at every step, from software selection to troubleshooting. By following best practices and guidelines, you can ensure a smoother and more successful printing experience. In the next sections, we will dive deeper into each of these steps, providing you with the necessary knowledge and tools to prepare your models for 3D printing.
Choosing the Right 3D Modeling Software
When it comes to preparing a model for 3D printing, selecting the appropriate 3D modeling software is crucial. This software serves as the foundation for creating, manipulating, and exporting your designs. With a wide range of software options available, it’s essential to choose one that aligns with your needs, skill level, and desired output.
There are several factors to consider when choosing the right 3D modeling software:
- Functionality: Different software offers various features and tools. Evaluate your specific requirements and determine what functionality you need. Are you creating complex organic shapes or more mechanical designs? Make sure the software you choose has the capabilities to fulfill your design goals.
- User Interface: The user interface plays a significant role in your modeling experience. Look for software that has an intuitive and user-friendly interface. A clean and organized interface can streamline your workflow and make the modeling process more efficient.
- Learning Curve: Consider the learning curve associated with the software. If you’re a beginner, opting for software with a gentle learning curve and ample tutorials can help you get up to speed quickly. On the other hand, if you’re an experienced designer, you may be comfortable with more complex software that offers advanced features.
- Compatibility: Ensure that the software you choose is compatible with the file formats required by your 3D printer. This compatibility will ease the export process and ensure that your models can be read correctly by the printer.
- Community and Support: Consider the availability of a supportive community and resources for the software. Online forums, tutorials, and a robust user community can be invaluable in helping you overcome challenges and expand your knowledge.
Some popular 3D modeling software options include:
- Autodesk Fusion 360: This software offers a wide range of modeling tools suitable for both beginners and advanced users. It provides comprehensive functionality for 3D mechanical design, rendering, and simulation.
- SolidWorks: SolidWorks is a professional-grade software widely used in engineering and industrial design. It offers powerful tools and features for creating precise 3D models with parametric design capabilities.
- Blender: Blender is a free and open-source software that is suitable for both 3D modeling and animation. It has a robust toolset for creating organic models and offers a supportive community.
- Tinkercad: Tinkercad is a beginner-friendly web-based software that requires no installation. It provides a simple interface and basic modeling tools, making it ideal for beginners and educational purposes.
Ultimately, the choice of 3D modeling software depends on your specific needs, skill level, and budget. Take the time to explore different options, experiment with trial versions if available, and consider the feedback and recommendations of other users. Finding the right software will contribute significantly to your success in preparing models for 3D printing.
Understanding Design Guidelines for 3D Printing
Design guidelines for 3D printing are essential considerations that ensure your models can be successfully printed and maintain their structural integrity. These guidelines outline the limitations and constraints specific to the 3D printing technology you will be using, and they play a crucial role in preparing your model for a successful print.
Here are some key aspects covered in design guidelines:
- Minimum Wall Thickness: Each 3D printing technology has a minimum recommended wall thickness. This specification ensures that the walls of your model are thick enough to be structurally sound and prevent the risk of breakage or collapse. Different materials may have different minimum wall thickness requirements, so it’s important to consider the specific material properties when designing.
- File Formats: Design guidelines often specify the acceptable file formats for 3D printing. STL (Standard Tessellation Language) is the most common file format used in 3D printing. Many software programs have the ability to export your models directly in STL format, which is compatible with most 3D printers. It’s important to ensure that your chosen software can export in the required file format for your printer.
- Maximum Printable Size: The maximum printable size refers to the largest dimensions your 3D printer can accommodate. This limitation is dictated by the physical size of the printer’s build plate. Design guidelines will specify the maximum printable dimensions to ensure your model fits within the printer’s capabilities.
- Overhangs and Support Structures: Overhangs are areas of a model that extend horizontally or at an angle without support from the layers below. Depending on the material and printer capabilities, overhangs may need support structures to prevent drooping or collapsing during printing. Design guidelines will provide recommendations for maximum overhang angles and suggest the use of support structures when necessary.
- Clearance and Tolerances: When designing models that have moving parts or need to fit together, clearance and tolerances play a crucial role. Design guidelines will provide recommendations on the required clearances between parts to ensure smooth movement and proper assembly. Tolerances define the acceptable variation in dimensions, ensuring parts fit together correctly without being too loose or too tight.
Understanding and following design guidelines is vital for a successful 3D print. Failing to adhere to these guidelines can result in poor print quality, structural issues, or even printer failure. It’s important to carefully review and understand the specific guidelines provided by your printer manufacturer or 3D printing service.
Additionally, keep in mind that different materials may have specific design considerations. Materials like ABS, PLA, or resin each have unique properties, such as shrinkage or brittleness, which may impact your design decisions. Always consult the manufacturer’s guidelines for the chosen material to ensure your model is designed appropriately.
By understanding and incorporating design guidelines into your 3D modeling process, you can optimize your designs for a successful 3D print. Following these guidelines will help you avoid common issues and ensure that your models are accurately printed with the desired quality and functionality.
Design Considerations for 3D Printing
Design considerations play a critical role in preparing models for 3D printing. Unlike traditional manufacturing methods, 3D printing introduces unique possibilities and limitations that need to be taken into account during the design process. By considering these factors, you can optimize your designs for successful and high-quality 3D prints.
Here are some important design considerations to keep in mind:
- Material Choice: The material you choose for your 3D print will have a significant impact on the final outcome. Different materials have varying properties such as strength, flexibility, heat resistance, and texture. Understanding the characteristics of the materials available to you will help guide your design decisions and ensure the best results.
- Print Orientation: The orientation in which you position your model for printing can have a significant impact on the print quality. Factors such as overhangs, support structures, and surface finish can be influenced by the print orientation. Experimenting with different orientations and considering the limitations of your printer can maximize the success of your prints.
- Support Structures: Support structures are temporary structures printed alongside your model to provide stability for overhangs and complex geometries. When designing your model, consider where support structures may be required and how they will impact the overall print. Minimizing the need for support structures can enhance print quality and reduce post-processing work.
- Surface Finishes: 3D printing can produce different surface finishes depending on the printer and material used. Consider the desired finish of your model and how it will affect the overall aesthetics. If a smooth finish is important, additional post-processing steps such as sanding or polishing may be necessary.
- Structural Integrity: Ensuring the structural integrity of your model is crucial. Consider the intended application of the print and design accordingly. Reinforcing critical areas, adding fillets or chamfers to reduce stress concentrations, and avoiding sharp corners can all contribute to a stronger and more durable print.
- Complexity vs. Printability: While 3D printing allows for intricate designs, it’s important to strike a balance between complexity and printability. Extremely complex designs with intricate details may require higher resolution printers or may be prone to printing errors. Evaluating the capabilities of your printer and considering the limitations of the chosen material will help you strike this balance.
By considering these design considerations, you can optimize your models for successful 3D prints. It’s important to iterate and refine your designs based on the feedback and results from test prints. Analyzing the strengths and weaknesses of previous prints will allow you to make informed design decisions and improve the overall quality of your 3D prints.
Additionally, staying up to date with the latest advancements and techniques in 3D printing will expand your possibilities for design. Explore new materials, tools, and software features that can enhance your design workflow and push the boundaries of what is possible with 3D printing.
Remember, designing for 3D printing requires a balance of creativity and technical knowledge. By taking design considerations into account and leveraging the capabilities of 3D printing technology, you can bring your ideas to life with precision and efficiency.
Preparing Your Model for 3D Printing
Once you have finalized your 3D model, the next crucial step is to prepare it for the 3D printing process. Proper preparation ensures that your model is optimized for printing and minimizes the risk of printing errors or failures. Here are the key steps to prepare your model for 3D printing:
- Check for Errors: Thoroughly inspect your 3D model for any potential errors or issues before printing. These errors could include non-manifold geometry, intersecting or overlapping surfaces, or other mesh imperfections. Make use of tools in your 3D modeling software or specialized error-checking software to identify and fix these errors.
- Optimize Geometry: Simplify and optimize your model’s geometry to reduce the complexity of the print. Remove unnecessary details and reduce the number of polygons in your model without sacrificing its overall shape and functionality. This reduces printing time and minimizes the chance of printing errors.
- Scale and Position: Ensure your model is appropriately scaled and positioned within the 3D printing software. Consider the dimensions of your 3D printer’s build plate and adjust the size of your model accordingly. Position the model on the build plate in a way that optimizes material usage and reduces the likelihood of supports or overhangs.
- Hollowing and Wall Thickness: If applicable, consider hollowing out your model to conserve material and reduce print time. Keep in mind the minimum required wall thickness for your chosen material and ensure that the thickness is sufficient for the structural integrity of your model. Reinforce critical areas if necessary.
- Add Supports: If your model contains overhangs or requires support structures, add them using the support generation tools provided by your 3D modeling software. Supports help prevent sagging or collapse during printing and can be easily removed post-printing. Optimizing support placement reduces the need for excess support material and minimizes post-processing work.
- Consider Printing Orientation: Experiment with different printing orientations to achieve the best print quality and minimize the requirement for supports. Adjusting the orientation can help improve surface finish, reduce visible layer lines, and improve the overall strength of the print.
It’s important to note that these steps may vary depending on your specific 3D modeling software and the requirements of your 3D printer. Familiarize yourself with the tools and options available in your software and consult the user manual or online documentation for guidance.
Before finalizing the preparation of your model, it’s recommended to perform a test print or a slicing simulation to visualize the printing process and identify any potential issues. These previews can help you verify the orientation, check for support structures, and make any necessary adjustments before sending the final file to the printer.
By following these steps and taking the time to properly prepare your model for 3D printing, you can increase the chances of a successful print with minimal errors. Remember to save a backup copy of your model before making any modifications to avoid losing any important work along the way. With proper preparation, you’ll be one step closer to bringing your digital designs to life through the exciting world of 3D printing.
Checking and Fixing Errors in Your 3D Model
One of the crucial steps in preparing your 3D model for printing is to thoroughly check for errors that could affect the printing process. Identifying and addressing these errors will help ensure the success and quality of your print. Here are the key steps to checking and fixing errors in your 3D model:
- Visual Inspection: Take a close look at your model and inspect it from various angles. Look for any visual abnormalities or irregularities that may indicate potential issues. Pay attention to gaps, intersecting surfaces, or any unintentional overlaps that could affect the integrity of the print.
- Software Tools: Utilize the error-checking tools available in your 3D modeling software. These tools can help identify common issues such as non-manifold geometry, flipped or inverted faces, self-intersections, or other mesh imperfections. Run these tools to detect and highlight any errors that need to be fixed.
- Repairing Non-Manifold Geometry: Non-manifold geometry refers to geometry that doesn’t adhere to the rules of solid modeling, such as holes in the mesh or intersecting surfaces. Use the repair functions in your software to fix these issues, ensuring that your model is manifold and ready for printing.
- Resolving Overlapping/Intersecting Geometry: If your model has overlapping or intersecting surfaces, these areas can cause printing errors or difficulties during the print. Identify and separate intersecting parts, or use Boolean operations to combine overlapping pieces into a single, connected mesh.
- Reinforcing Thin or Weak Areas: Evaluate areas of your model that may be too thin or fragile to print successfully. Strengthen these areas by adding additional geometry or increasing the thickness where necessary. Reinforcing thin sections will help ensure structural integrity and prevent breakage or deformation during printing.
- Resolution and Smoothing: Fine-tune the resolution of your model to strike a balance between detail and printability. In some cases, overly detailed models with high-resolution meshes can cause performance issues during slicing or printing. Optimize the resolution while maintaining the desired level of detail, and utilize smoothing features to reduce jagged edges or unwanted surface artifacts.
Once you have identified and fixed any errors or issues in your model, it’s crucial to test the modified model before proceeding. Perform a test print or slicing simulation to verify that the changes have rectified the previous errors and that the model is ready for the final print. This step ensures that you can catch any remaining issues and make further adjustments if necessary.
Remember, the specific tools and functionalities for checking and fixing errors may vary depending on the 3D modeling software you’re using. Take the time to explore and familiarize yourself with these tools, and refer to the software’s documentation or online resources for more detailed guidance on error checking and repair.
By diligently inspecting, identifying, and resolving errors in your 3D model, you can greatly improve the printing outcome. Taking the time to check and fix errors reduces the risk of failed prints, ensures the structural integrity of your design, and ultimately leads to a higher-quality and more successful 3D printing experience.
Optimizing Your Model for 3D Printing
Optimizing your 3D model for printing is a crucial step to ensure the best possible results. By making thoughtful adjustments and considerations, you can enhance print quality, minimize printing time, and optimize material usage. Here are some key areas to focus on when optimizing your model for 3D printing:
- Simplify Geometry: Simplify the geometry of your model by reducing unnecessary complexity. Eliminate excessive details or fine features that may not translate well in the physical print. Simplifying the model helps improve printing speed and reduces the chance of errors or failed prints.
- Reduce Triangle Count: Reduce the number of triangles in your model to optimize file size and printing efficiency. High-resolution models with excessive triangles can consume more resources during slicing and printing, resulting in longer processing times. Aim for a balance between detail and efficiency to achieve the best printing performance.
- Hollowing Out: Consider hollowing out your model, when possible, to minimize material consumption and reduce printing time. Hollowing out the interior of your model using proper wall thickness ensures structural integrity while optimizing resource usage. This technique is particularly useful for larger prints or models with solid infill that are not essential.
- Wall Thickness: Pay attention to the wall thickness of your model to ensure its strength and stability. The recommended wall thickness depends on the chosen material and printing technology. Design your model with adequate wall thickness to prevent structural issues or brittleness in the final print.
- Orientation of Printing: Experiment with different orientations of your model for printing to optimize surface finish and minimize the need for support structures. Adjusting the orientation can help reduce visible layer lines and improve the overall aesthetics. By considering the limitations and capabilities of your 3D printer, you can determine the best orientation for your specific model.
- Adding Support Structures: Incorporate support structures where necessary to ensure the successful printing of overhanging or intricate features. Support structures provide stability during the printing process. It’s important to strategically place support structures to minimize their impact on the final print and make their removal easier.
- Consider Print Resolution: The chosen print resolution affects the level of detail and accuracy of the final print. Higher resolutions produce finer details but also increase printing time and resource usage. Evaluate the desired level of detail for your specific model and choose the appropriate resolution to balance quality and printing efficiency.
It’s important to note that optimization techniques may vary depending on the specific 3D modeling software and printing technology you are using. Familiarize yourself with the features and capabilities of your software, as well as the guidelines provided by your printer manufacturer or 3D printing service.
Before finalizing your optimized model, perform a test print or slicing simulation to verify the changes and ensure the desired outcome. This allows you to catch any remaining issues and make further adjustments if needed.
By optimizing your model for 3D printing, you can achieve higher print quality, reduce print time, and make the most efficient use of materials. Taking the time to analyze and fine-tune your design leads to an overall better 3D printing experience and ensures your model’s successful transition from the digital realm to a physical, tangible object.
Exporting Your Model for 3D Printing
Once you have prepared and optimized your 3D model, the next step is to export it in a format compatible with your 3D printer. Properly exporting your model ensures that it can be read and interpreted correctly during the printing process. Here are the key steps to export your model for 3D printing:
- Confirm File Format: Verify the acceptable file format required by your 3D printer. The Standard Tessellation Language (STL) format is widely compatible with most 3D printers and is commonly used for 3D printing. Ensure that your software allows you to export your model in the appropriate file format.
- Simplify Geometry: Depending on your software, you may have the option to simplify the geometry during export. This feature reduces the complexity of the file by reducing the number of polygons, which can improve file size and printing efficiency. Consider enabling this feature if available.
- Check Scale and Units: Before exporting, it’s crucial to double-check the scale and units of your model. Ensure that the dimensions of your model match the intended size in real life. It’s recommended to use the metric system (millimeters) as it is widely adopted in the 3D printing community.
- Apply Scaling if Needed: If your model needs to be scaled up or down before printing, make the appropriate adjustments within your software. Scaling should be done proportionally, maintaining the aspect ratio of the model. Be mindful of the printing limits imposed by your 3D printer, such as the maximum printable size.
- Export Settings: Some 3D modeling software offers export settings that allow you to specify additional options before exporting. These settings may include selecting the desired file format, specifying resolution or tolerance levels, defining the number of triangles, or adjusting the level of detail. Review and adjust these settings according to your printing requirements.
- Ensure Water-Tight Mesh: Before exporting, verify that your model’s mesh is fully closed and watertight. This means that there are no holes or gaps in the mesh that could cause issues during printing. Perform a final check for any incomplete surfaces or open edges and fix any issues before exporting.
Once you have adjusted the necessary settings and confirmed the accuracy of your model, proceed with exporting it in the required file format. Save a copy of the exported file in a dedicated folder or location, ensuring that it is easily accessible for the next steps of the printing process.
It’s important to note that different 3D printers may have specific requirements or preferences regarding file format and settings. Familiarize yourself with the guidelines and instructions provided by your printer manufacturer or 3D printing service to ensure compatibility and optimal printing results.
By properly exporting your model, you ensure that it can be accurately interpreted by the 3D printer during the printing process. Taking the time to double-check the scale, apply necessary adjustments, and confirm the file format will contribute to a smoother and more successful printing experience.
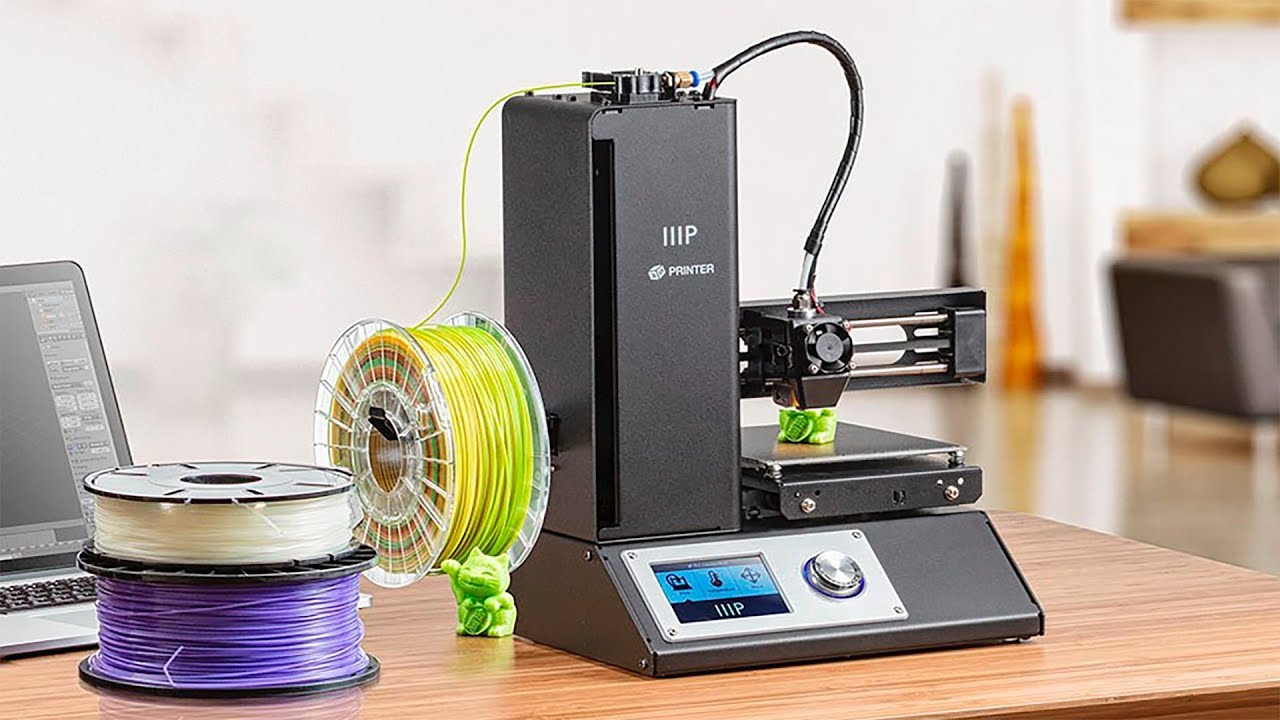
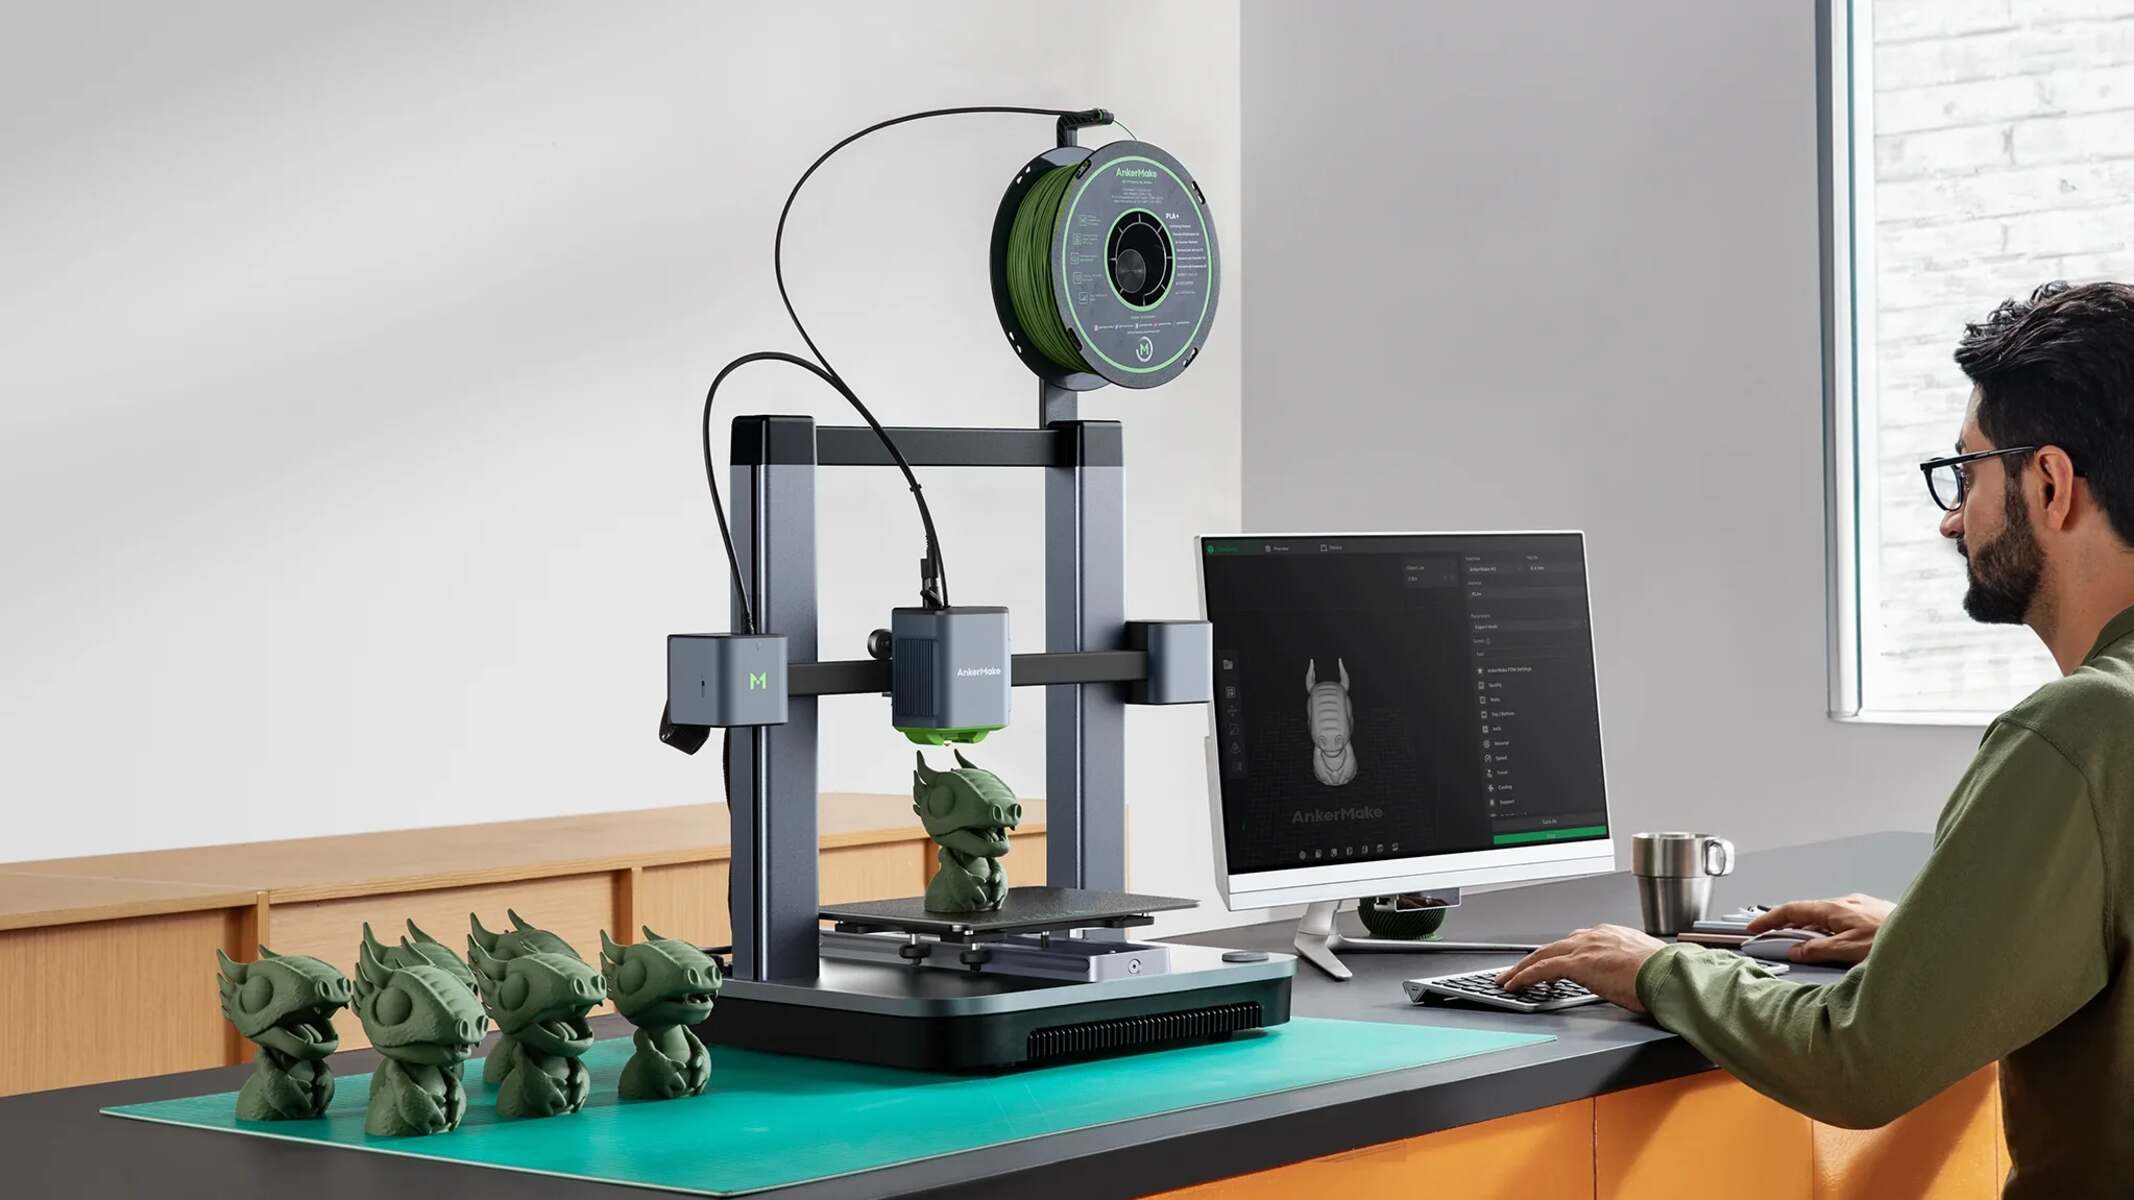
Choosing the Right 3D Printer and Material
When preparing for 3D printing, selecting the right 3D printer and material is crucial for achieving the desired results. The choice of printer and material will depend on several factors, including your specific requirements, budget, and the intended use of the printed objects. Here are some key considerations to keep in mind when choosing a 3D printer and material:
- Printing Technology: There are several different 3D printing technologies available, each with its own strengths and limitations. Common technologies include FDM (Fused Deposition Modeling), SLA (Stereolithography), SLS (Selective Laser Sintering), and DLP (Digital Light Processing). Research and understand the capabilities and suitability of each technology for your intended applications.
- Build Volume: The build volume refers to the maximum size of objects that the 3D printer can accommodate. Consider the size requirements of your prints and choose a printer with a build volume that can accommodate your intended designs. Keep in mind that larger build volumes typically come at a higher cost.
- Resolution: The resolution of a 3D printer determines the level of detail and precision that can be achieved in the printed objects. Higher-resolution printers can produce finer details, but they also tend to have slower printing speeds and may come at a higher price. Consider the level of detail required for your specific applications and choose a printer accordingly.
- Print Speed: The print speed of a 3D printer is an important factor to consider, especially if you have large or time-sensitive projects. Faster printing speeds can increase productivity and reduce overall production time. However, faster printers may sacrifice some level of detail or require higher maintenance to ensure accuracy.
- Material Compatibility: Not all 3D printers are compatible with all materials. Different printing technologies have specific material requirements. Consider the materials that would best suit your desired applications and ensure that the printer you choose can handle those materials. Popular 3D printing materials include PLA, ABS, PETG, nylon, resin, and more.
- Cost Considerations: Budget is an important aspect when choosing a 3D printer. Determine your budget and research printers within that range. While it might be tempting to opt for the cheapest option, consider the long-term costs associated with maintenance, replacement parts, and material compatibility. Strike a balance between initial investment and ongoing expenses.
- Online Reviews and Recommendations: Before making a final decision, research and read reviews from other users who have experience with the specific printer models you are considering. Your unique printing requirements and preferences may be better addressed by certain printers, and their experiences will provide valuable insights.
Similarly, when selecting a material, consider factors such as strength, flexibility, heat resistance, durability, and surface finish. The choice of material also depends on the specific printer’s compatibility and settings, so ensure that the material you choose is supported by your selected 3D printer.
Additionally, it’s worth exploring the availability of support materials, color options, and post-processing requirements associated with the chosen materials. Understanding all these details will help you make an informed choice that aligns with your project goals and budget.
By considering these factors, you can choose the right 3D printer and material combination that fits your specific needs. Remember to thoroughly research and compare options before making a final decision, as this choice will greatly impact the quality and success of your 3D printing projects.
Preparing Your 3D Printer
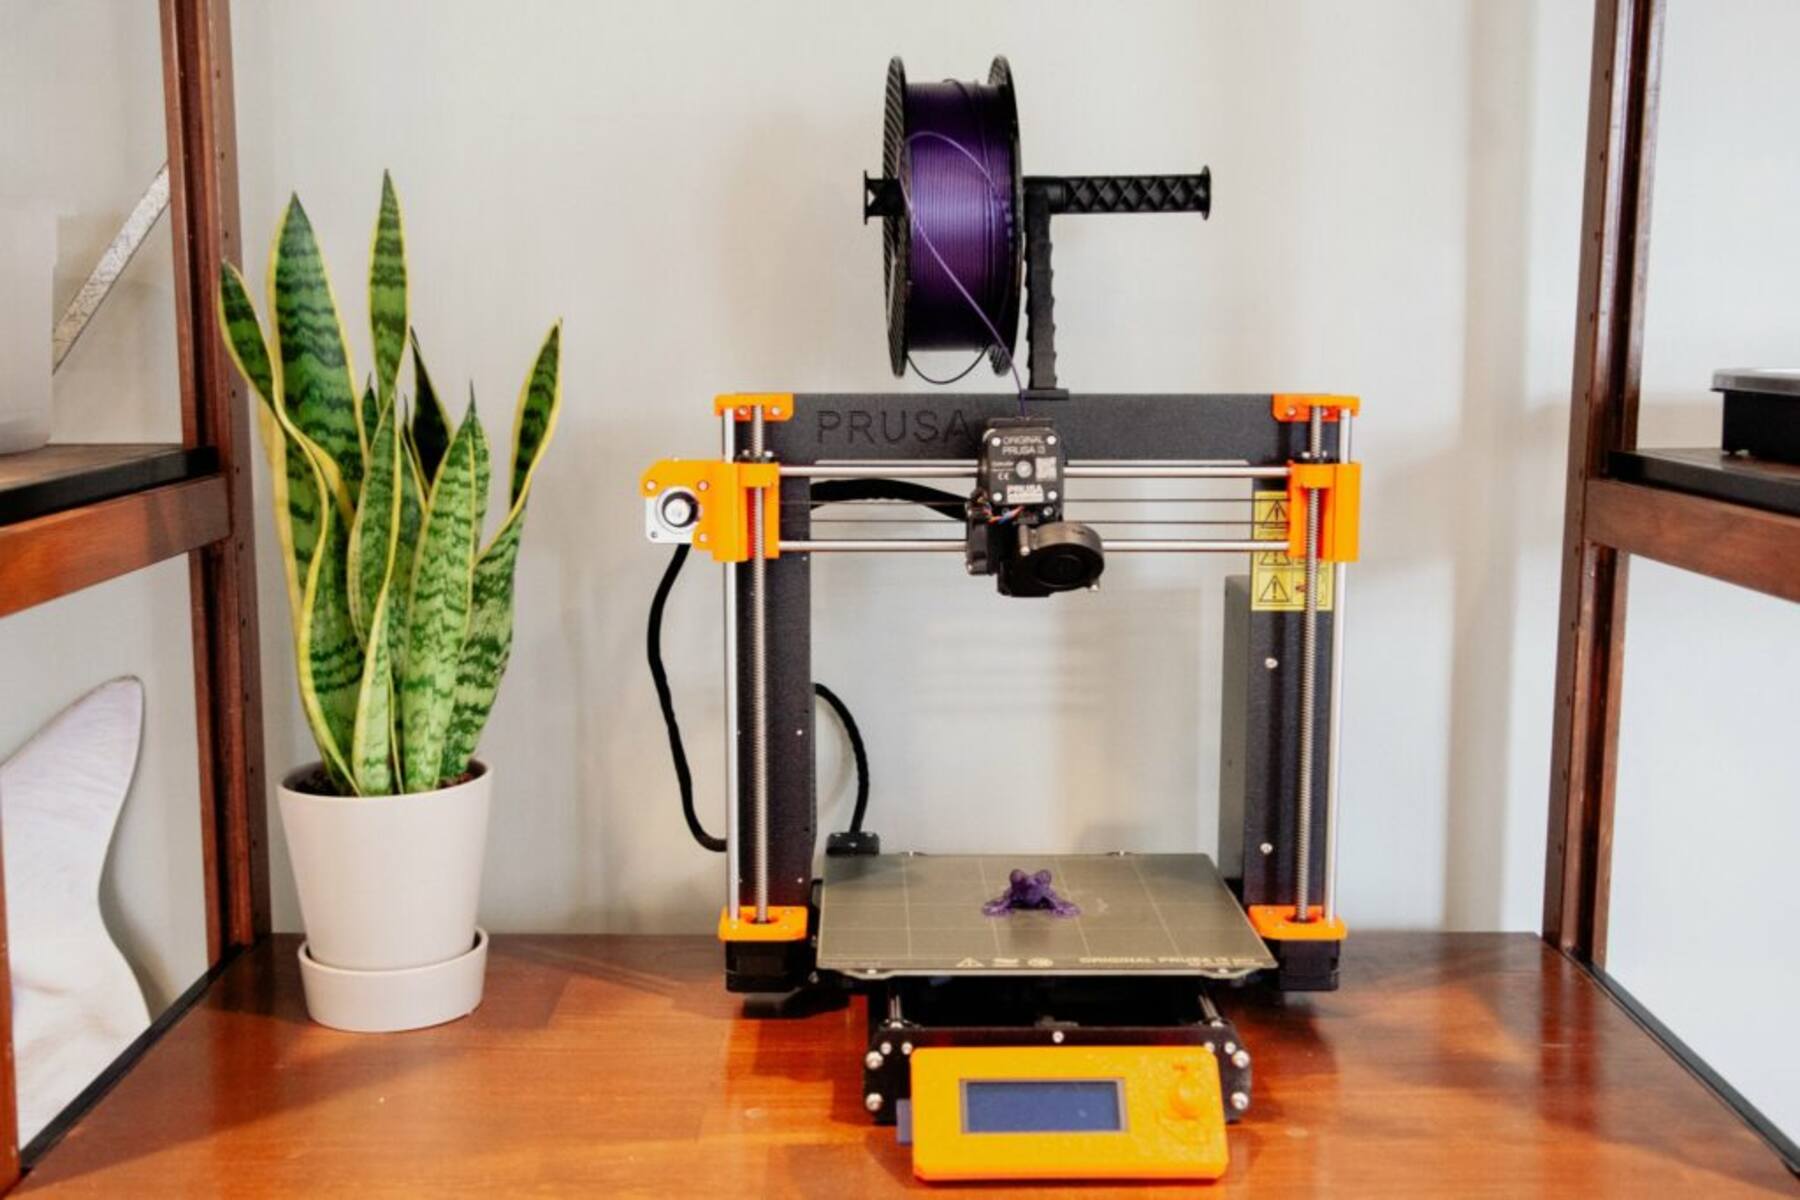
Before you start the actual printing process, it is crucial to properly prepare your 3D printer. Taking the time to ensure that your printer is calibrated, clean, and ready for operation will help optimize the printing results and reduce the chances of errors or failures. Here are the key steps to preparing your 3D printer:
- Calibration: Proper calibration of your 3D printer is essential for accurate and consistent prints. Check the printer’s bed leveling to ensure it is perfectly level across all axes. Calibration also includes setting the correct nozzle height and alignment, which ensures proper material deposition during printing. Follow the manufacturer’s instructions or consult online resources for detailed calibration procedures specific to your printer model.
- Clean the Printer: Clean the printer thoroughly before each print to remove any dust, debris, or residual filament from previous prints. Pay special attention to the print bed and the nozzle area, as any leftover material or foreign particles can impact print quality and cause unwanted inconsistencies. Use a soft cloth or brush to clean the surfaces, and consider using cleaning solutions recommended by the printer manufacturer, if necessary.
- Material Preparation: Ensure that you have prepared the printing material according to the manufacturer’s guidelines. This includes loading the appropriate filament or resin into the printer and checking that it is properly fed and extruded. If using filament-based printers, verify the filament diameter and check for any signs of entanglement or damage that could cause interruptions during printing.
- Slicer Settings: Use slicing software to convert your 3D model into printable instructions for your specific printer. Configure the slicer settings according to your desired print quality, material, and printer specifications. Pay attention to parameters such as layer height, infill density, print speed, and support settings. Optimize these settings for your specific project to achieve the desired balance between print quality and printing time.
- Preheat the Printer: Before starting a print, preheat your printer to the recommended temperature for the chosen material. This enables proper material flow and adhesion, ensuring that the first layer adheres securely to the build plate. Preheating also helps maintain stable print temperatures throughout the printing process, minimizing the risk of temperature-related issues during printing.
- Bed Adhesion: It’s essential to ensure proper bed adhesion to prevent the print from detaching during the printing process. Depending on your printer and material, different techniques such as applying adhesive sprays, using a heated bed, or utilizing specialized build surfaces may be required to improve bed adhesion. Experiment with different techniques to find the one that works best for your specific printer and materials.
- Monitoring and Safety: Once the printer is prepared and the print is initiated, it’s important to monitor the printing process periodically. Check for any signs of filament jams, layer misalignments, or other irregularities. Ensure that the printer is operating safely and in a well-ventilated area, adhering to any safety guidelines provided by the printer manufacturer.
Following these steps will help ensure that your 3D printer is ready for a successful print. Taking the time to properly prepare your printer not only improves print quality but also reduces the likelihood of issues or failed prints. Keep in mind that specific printer models may have additional steps or requirements, so consult the printer’s manual or online resources for detailed instructions.
By thoroughly preparing your 3D printer before each print, you set a solid foundation for achieving accurate, consistent, and high-quality prints. Proper calibration, cleanliness, and adherence to material and slicer settings will help you achieve the desired results and make the most of your 3D printing experience.
Printing and Post-Processing Your Model
After all the preparations have been made, it’s time to begin the printing process and bring your 3D model to life. Once the print is complete, there are post-processing steps that can further enhance the appearance and functionality of your printed model. Here is a breakdown of the printing and post-processing stages:
- Start the Print: Initiate the print job on your 3D printer, ensuring that all settings are correctly configured based on the desired printing resolution, material, and model complexity. Monitor the printer closely during the initial layers to verify proper adhesion and filament flow.
- Monitor the Print: Throughout the printing process, periodically check on the progress and inspect for any signs of printing issues. Keep an eye out for potential problems such as warping, layer shifting, or filament jams. Address any issues that arise promptly to prevent them from negatively impacting the print.
- Remove the Print: Once the print is finished, carefully remove the printed object from the print bed. Depending on the printer and adhesion techniques used, you may need to use a scraper or spatula to gently pry the print from the surface. Take care not to apply excessive force that could damage the print or the print bed.
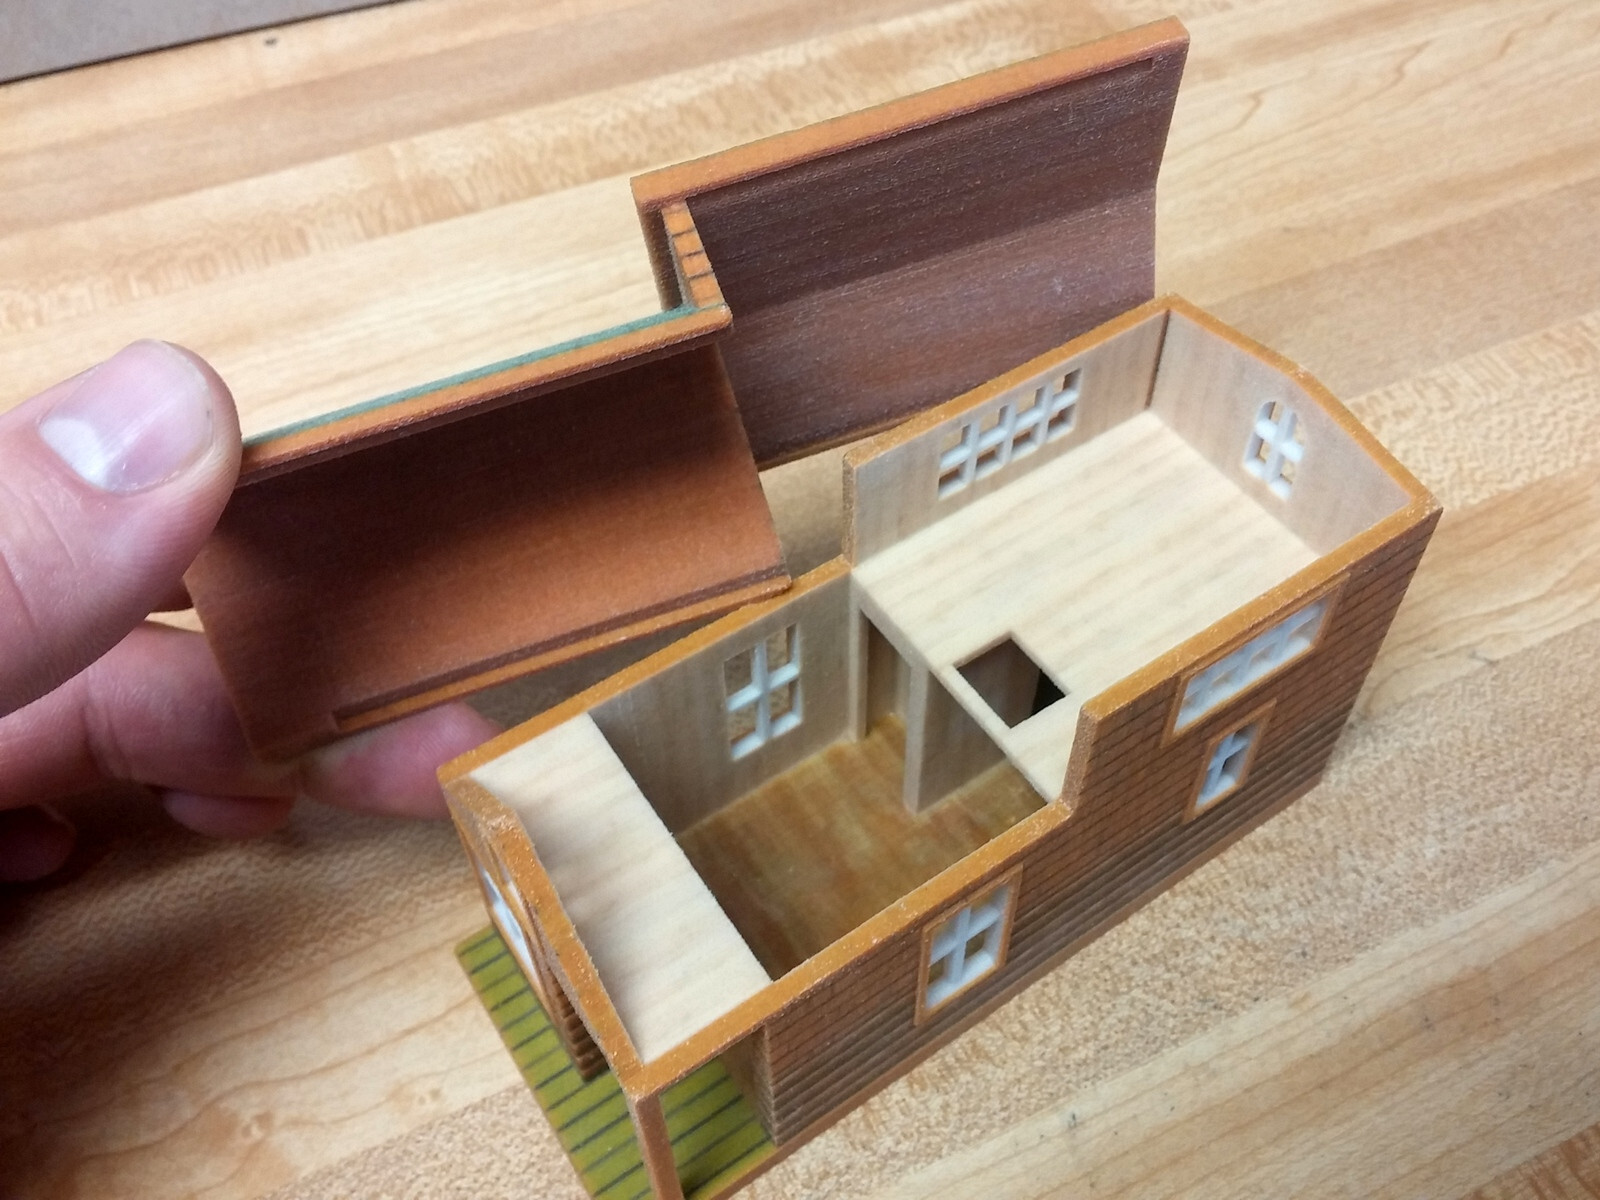
- Remove Support Structures: If your model has support structures, carefully remove them using appropriate tools such as pliers or tweezers. Take your time to remove the supports without damaging the printed object. In some cases, sanding or filing might be required to achieve a smooth and seamless finish.
- Post-Processing: Depending on your desired outcome and the characteristics of the printed object, you may need to perform additional post-processing steps. This could include sanding the surface to smooth out any imperfections or layer lines, applying a primer or filler to prepare the surface for painting, or using various finishing techniques to enhance the aesthetics of the print.
- Precision and Detail Work: If your print requires fine details, intricate designs, or assembly, additional precision work might be necessary. This could involve cleaning out small holes or gaps, removing excess material, aligning and fitting individual components, or adding additional details through painting or other techniques.
- Apply Finishes or Coatings: To enhance the aesthetics and protect the printed object, you can choose to apply specific finishes or coatings. This could include painting, varnishing, or applying specialized coatings such as UV protection or moisture resistance. Follow the recommended techniques and materials for the chosen finish to achieve the desired results.
Remember, post-processing steps can significantly impact the final outcome of your printed object, so take your time and pay attention to detail. Experiment with different techniques and materials to find the post-processing methods that work best for your specific prints and desired results.
Additionally, take into consideration any safety precautions, such as wearing appropriate protective equipment (e.g., masks, gloves) when sanding or working with certain materials or chemicals. Ensure that the post-processing area is well-ventilated to avoid inhaling fumes or dust particles.
By carefully printing and post-processing your model, you can achieve the desired aesthetics, functionality, and overall quality. Each step, from the moment the print begins to the final touches of post-processing, contributes to the success and satisfaction of your 3D printing journey.
Troubleshooting Common Issues
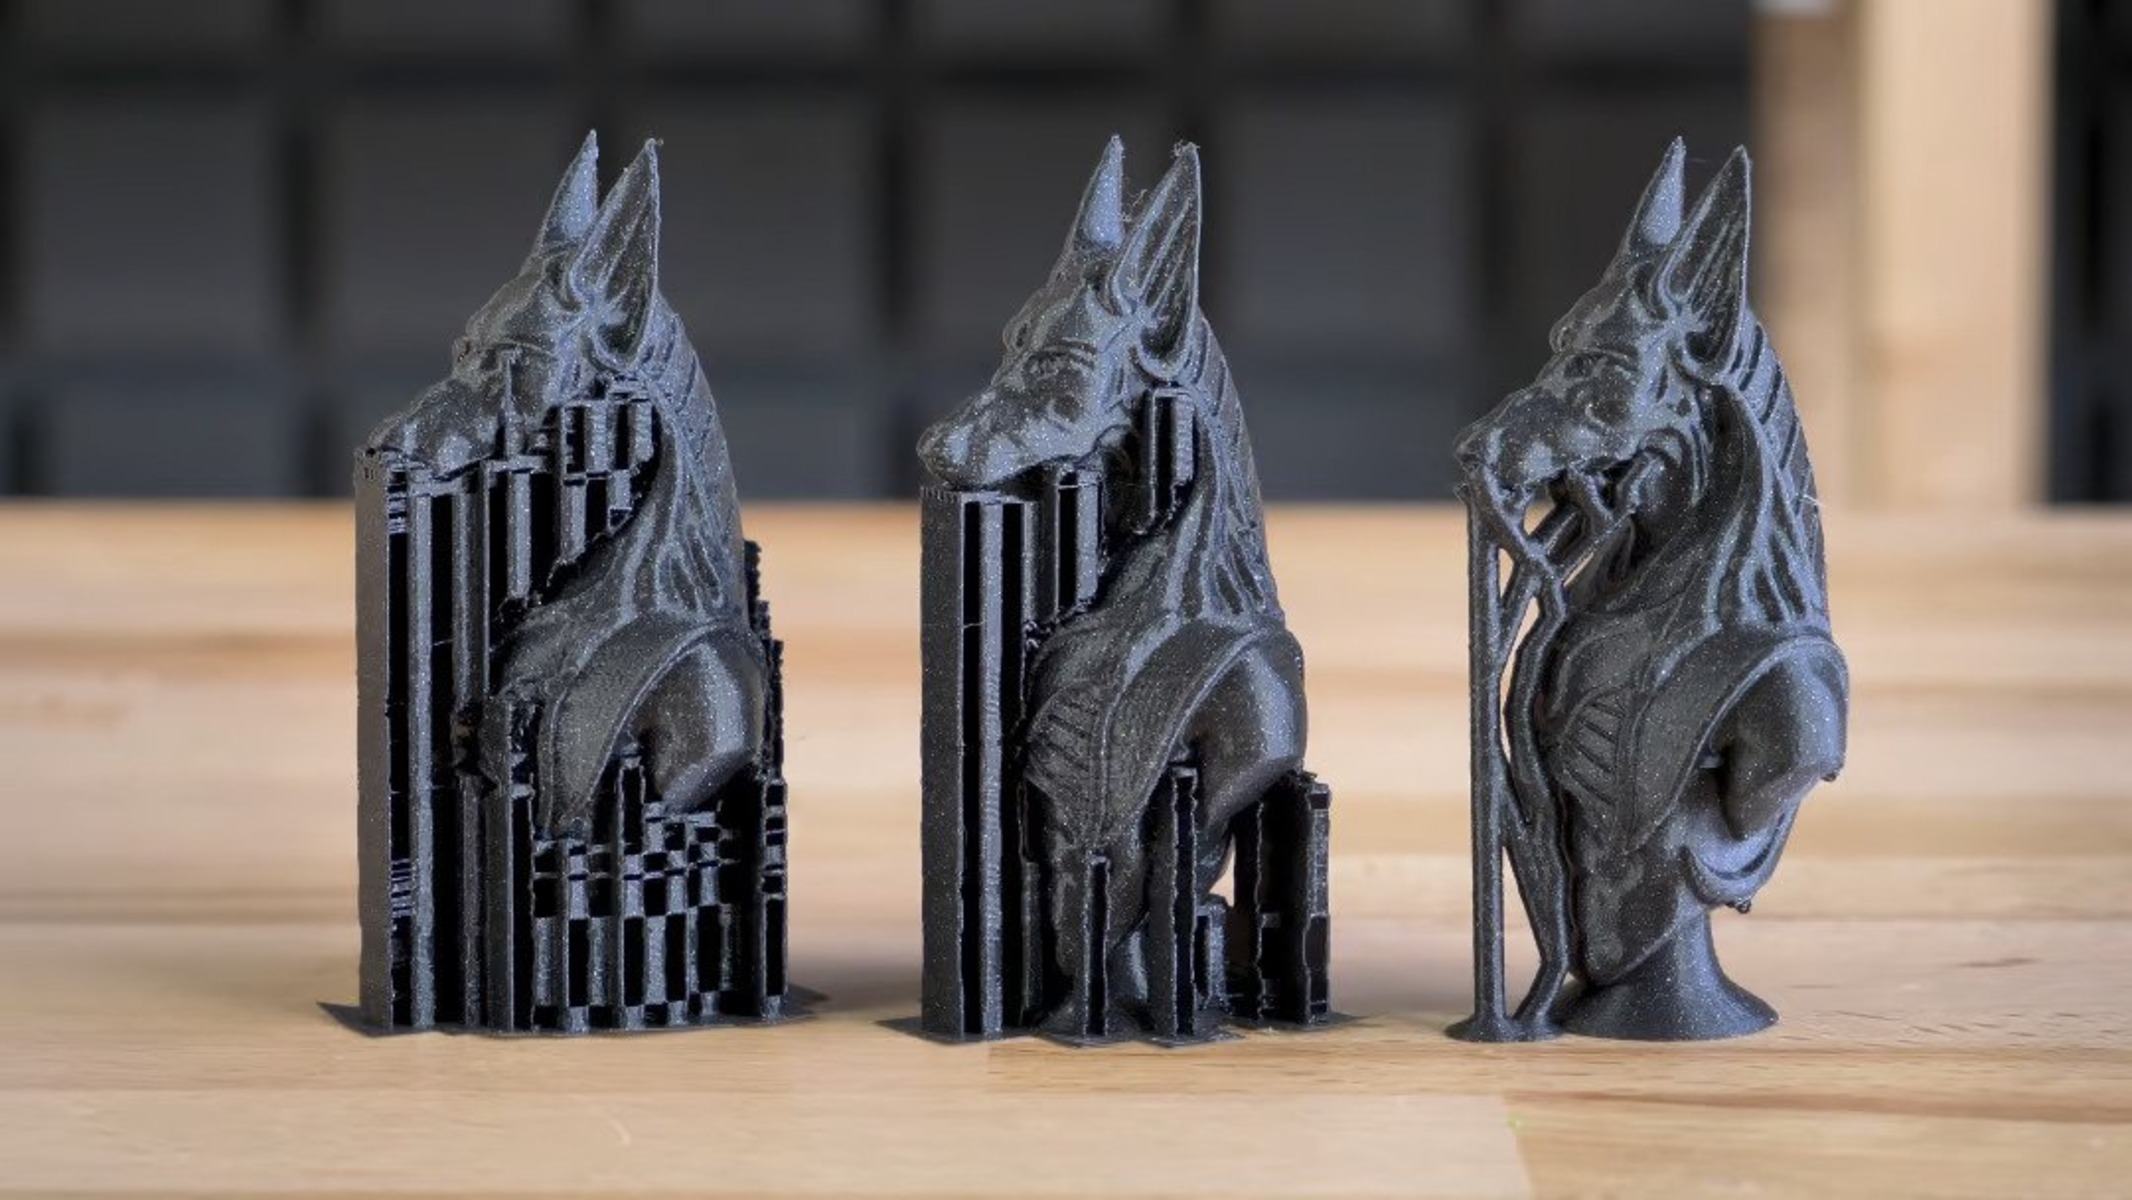
While 3D printing offers exciting possibilities, it’s not uncommon to encounter issues during the process. Understanding common problems that can arise and knowing how to troubleshoot them will help you overcome obstacles and achieve successful prints. Here are some of the most common issues that may arise during 3D printing and their troubleshooting steps:
- Warping: Warping occurs when the corners or edges of a print lift up or detach from the print bed during printing. To address this issue, ensure that the print bed is properly leveled and clean. Use adhesion techniques such as a heated bed, raft, or adhesive sprays. Consider enclosing the printer to maintain a stable temperature and reduce temperature fluctuations.
- Layer Misalignments: Layer misalignments can result in uneven or distorted prints. This issue could be caused by a loose belt, stepper motor issues, or an unstable printer frame. Check and tighten belts, ensure proper lubrication of moving parts, and inspect for any mechanical issues. Calibrate your printer and make sure it is stable on a flat surface.
- Poor Adhesion or Bed Adhesion Failure: Insufficient bed adhesion can result in prints detaching from the print bed during the print. Ensure a clean print bed surface and consider using adhesion aids such as adhesive sprays or specialized print surfaces. Adjust print bed temperature, verify leveling, and increase initial layer printing speed if necessary.
- Underextrusion or Overextrusion: Underextrusion occurs when the printer doesn’t extrude enough filament, resulting in weak or incomplete layers. Overextrusion, on the other hand, leads to excessive material deposition, causing bulging or oozing. To address these issues, check the nozzle for clogs, adjust extrusion settings, and ensure correct filament diameter settings in your slicer software.
- Print Shifting or Skipping: Print shifting or skipping happens when the printer fails to move correctly, resulting in shifted or misplaced layers. This issue may indicate loose belts, improper stepper motor calibration, or mechanical issues. Tighten belts, recalibrate stepper motor settings, and verify that all mechanical components are functioning correctly.
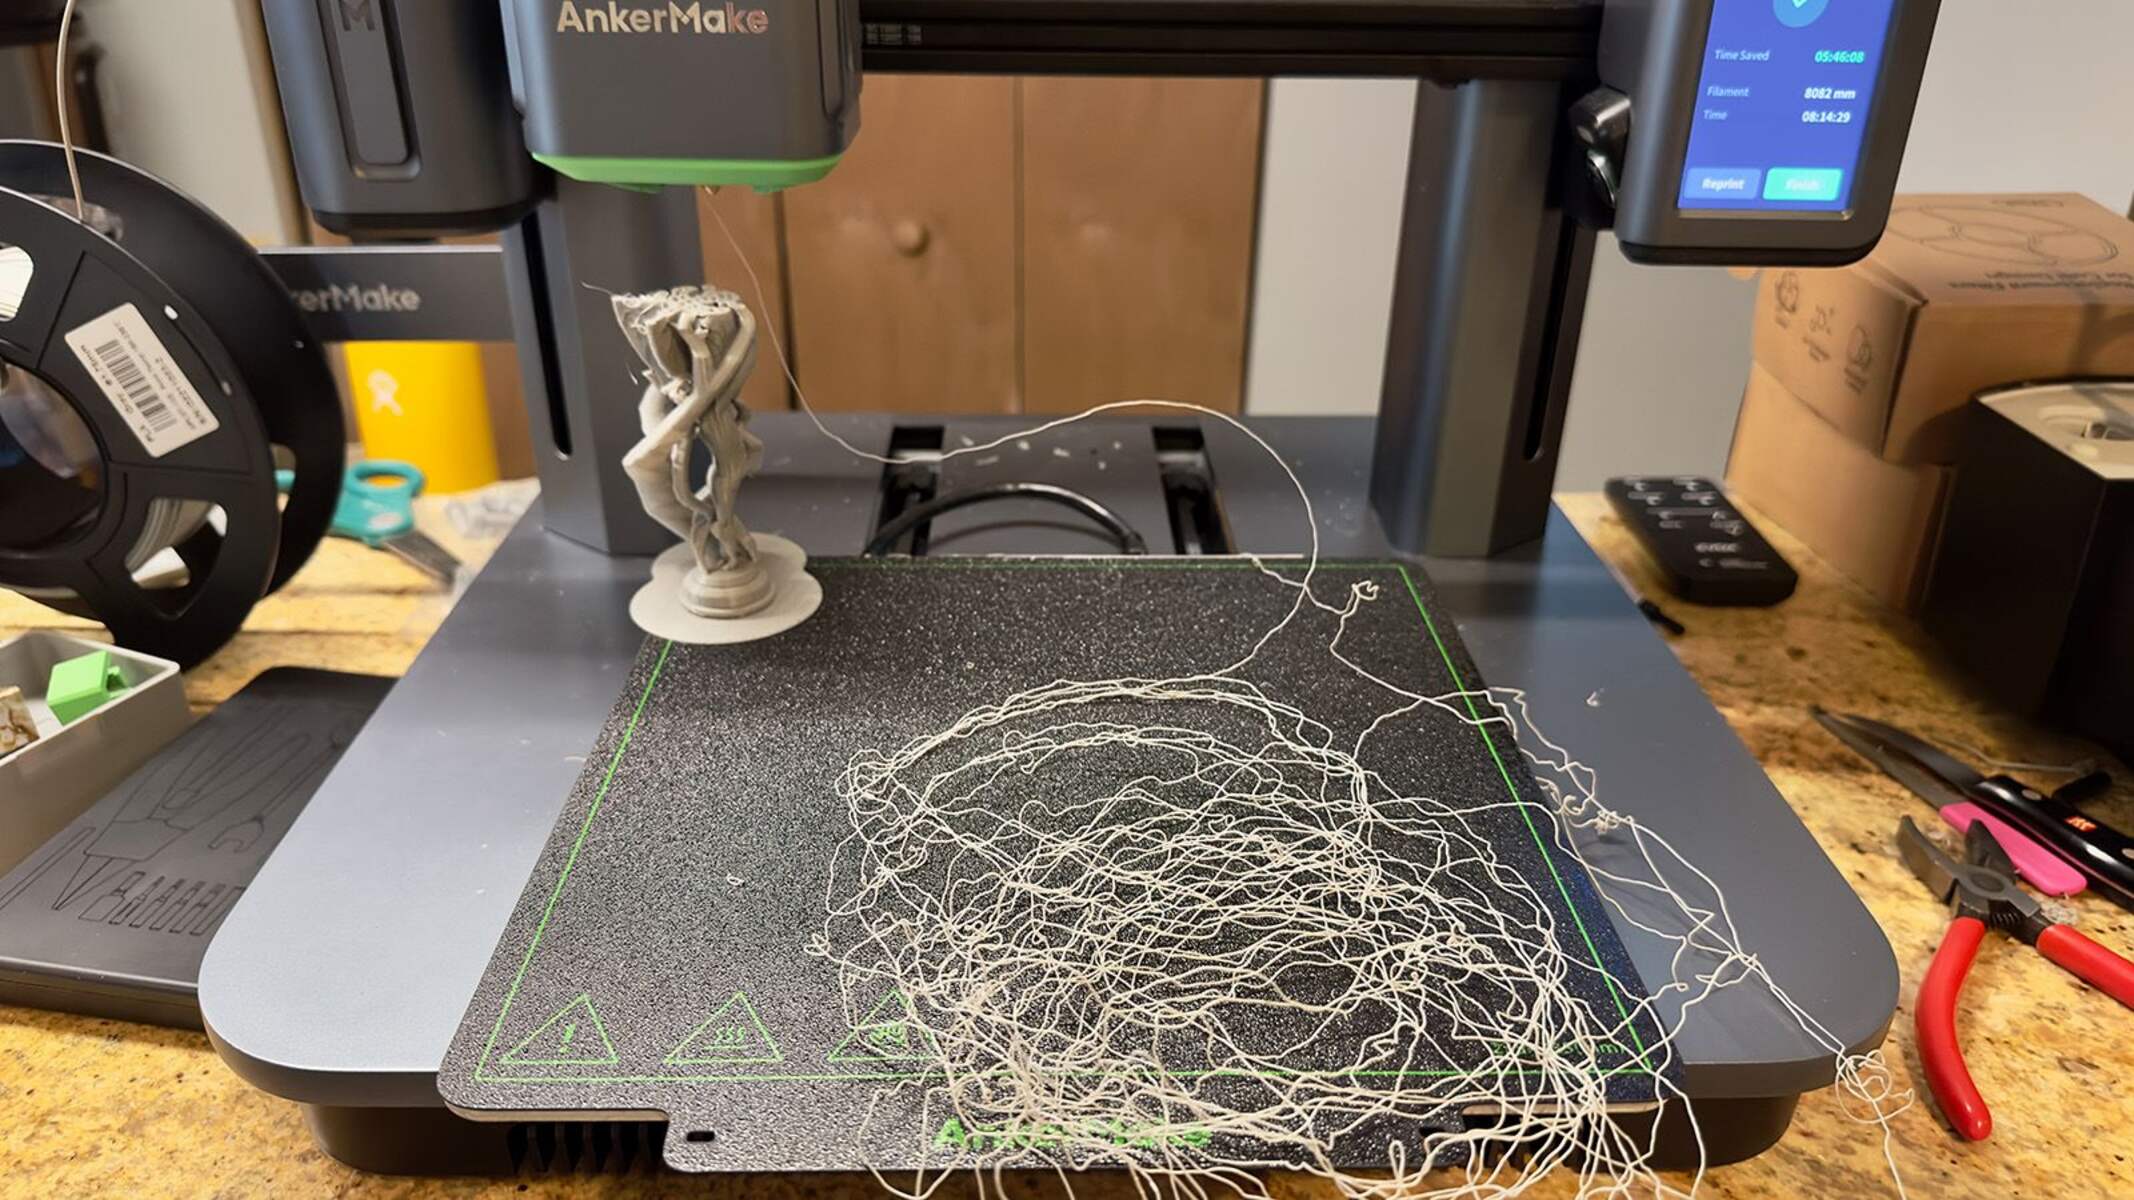
- Stringing or Oozing: Stringing occurs when the printer leaves thin strands of filament between different parts of the print where there should be none. Oozing refers to excess filament flowing out from the nozzle when it should not. Address these issues by optimizing retraction settings, adjusting print temperature, and ensuring that cooling fans are functioning properly to prevent filament leakage.
- Blobs or Zits: Blobs or zits are unwanted extrusions of filament on the surface of the print, resulting in small bumps or imperfections. To reduce blobs and zits, optimize retraction settings, adjust print temperature, and consider using coasting or wiping features in your slicer software.
- Support Removal Difficulty: Removing support structures can be challenging without causing damage to the printed object. Adapt support settings in your slicer software to minimize the amount of support material needed. Use specialized support removal tools, such as pliers or tweezers, to carefully remove support structures. Sand or file any remaining marks or imperfections if necessary.
These are just a few examples of common issues that can occur during 3D printing. Remember that each printer model and material have their own unique characteristics and troubleshooting techniques. Stay informed by reading user manuals, consulting online forums and tutorials, and seeking advice from experienced 3D printing enthusiasts.
When troubleshooting, it’s important to approach the issue systematically and make one adjustment at a time, testing the print after each adjustment. This approach allows you to identify the specific cause of the issue and determine the most effective solution.
Troubleshooting is a continuous learning process, and every challenge presents an opportunity to refine your skills and gain a deeper understanding of 3D printing. Although it may be frustrating at times, the rewards of overcoming obstacles and achieving successful prints make it all worthwhile.
Conclusion
Preparing a model for 3D printing requires careful consideration, attention to detail, and a willingness to troubleshoot and iterate. By following the steps outlined in this guide, you can optimize the printing process, enhance the quality of your prints, and achieve your desired outcomes.
From choosing the right 3D modeling software to understanding design guidelines and considerations, each stage contributes to the success of your 3D prints. Ensuring proper calibration, cleanliness, and material preparation of your 3D printer will set the foundation for accurate and consistent prints.
Throughout the printing process, it’s essential to monitor and proactively address any issues that might arise. By understanding and troubleshooting common problems such as warping, layer misalignments, or poor adhesion, you can overcome obstacles and achieve successful prints.
After the print is complete, post-processing steps can further enhance the aesthetics and functionality of your models. Removing support structures, sanding, and applying finishes or coatings can provide the desired final touches to your prints.
Remember that 3D printing is a continuous learning journey. Each print offers an opportunity to refine your skills, experiment with new techniques, and overcome challenges. Embrace the iterative nature of the process and do not be discouraged by setbacks.
By combining your creativity, attention to detail, and troubleshooting abilities, you can unlock the full potential of 3D printing. Embrace the possibilities that 3D printing offers and let your imagination come to life in ways that were once unimaginable.