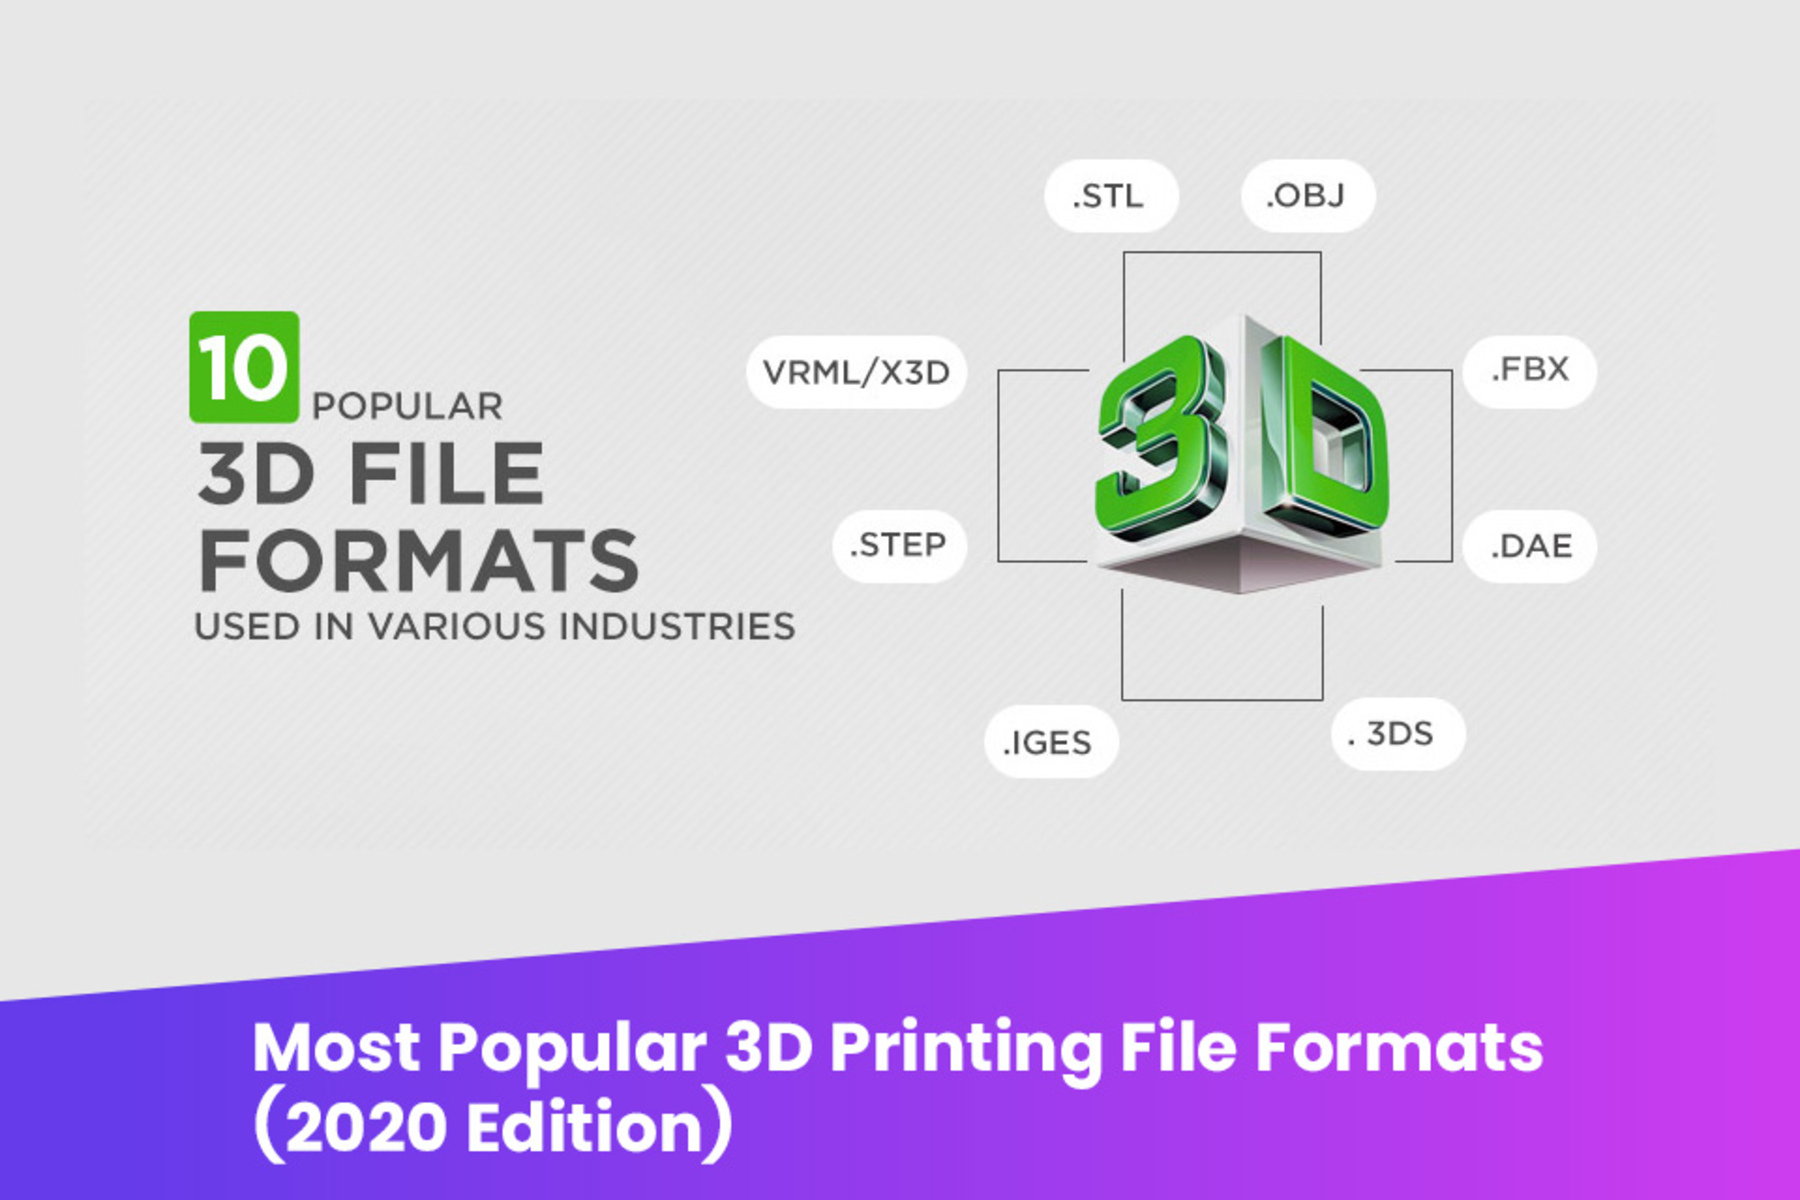
What is an STL file?
An STL file is a commonly used file format in 3D printing. STL stands for Standard Triangle Language or Stereolithography, and it is a digital file format that represents the geometry of a 3D object as a collection of connected triangles. It is the de facto standard for representing 3D models in additive manufacturing processes.
Each triangle in an STL file is defined by three vertices, which consist of three-dimensional coordinates (x, y, and z). The collection of these triangles creates a mesh that represents the surface of the 3D object. This mesh data defines the shape, size, and structure of the object and is essential for successful 3D printing.
STL files can be divided into two types: binary and ASCII. Binary STL files use a compact binary format, making them smaller in size and more efficient to process. On the other hand, ASCII STL files use plain text to represent the geometry, making them easier to read and edit manually, but larger in size.
STL files are widely supported by various 3D printing software and hardware, making them compatible with most 3D printers. They provide a universal language for exchanging 3D models across different platforms and systems.
When preparing a 3D model for 3D printing, it is necessary to convert it into an STL format, as it contains all the information required for the printer to interpret the model accurately. The STL file essentially tells the 3D printer how to construct the object layer by layer.
In the next sections, we will explore the steps to create an STL file for 3D printing and the considerations you need to keep in mind to ensure the successful conversion of your 3D model into this format.
Steps to Create an STL File for 3D Printing
Creating an STL file for 3D printing involves a series of steps to ensure the successful conversion of your 3D model into the appropriate format. Here are the essential steps to follow:
- Choose the right software: Start by selecting a 3D modeling software that supports STL file export. There are several options available, ranging from beginner-friendly software to more advanced tools. Some popular choices include Blender, Tinkercad, Fusion 360, and SolidWorks.
- Design or find a 3D model: Once you have the software, you can either create your own 3D model from scratch or find a pre-designed model from online repositories such as Thingiverse or GrabCAD. Pay attention to the model’s licensing terms and ensure it is suitable for 3D printing.
- Prepare the model for 3D printing: Ensure that your 3D model is properly optimized for 3D printing. This includes checking for manifoldness (ensuring the model is a closed volume with no holes), resolving any overlapping or intersecting geometry, and ensuring adequate wall thickness to avoid structural issues during printing.
- Export the model as an STL file: Once your model is ready, export it as an STL file from your chosen 3D modeling software. The export options may vary depending on the software you are using, but look for the option to save or export the model in STL format, specifying the desired settings such as file resolution and precision.
- Tips for optimizing your STL file: To ensure optimal printing results, consider further optimizing your STL file. This can include reducing triangle count, applying smoothing algorithms, or simplifying complex details. These optimizations can help improve printing speed and reduce file size without impacting the overall quality of the printed object.
- Verify and repair the STL file: Before sending your STL file to the 3D printer, it is advisable to verify its integrity using specialized software. These tools can check for any potential errors or issues in the file and suggest repairs if needed. This step helps to avoid printing failures and ensures a smooth printing process.
By following these steps, you can effectively create an STL file ready for 3D printing. It is essential to pay attention to the details and ensure the quality and integrity of your 3D model before exporting it as an STL file. Next, we will discuss in more detail how to choose the right software for creating and editing your 3D models.
Choosing the Right Software
When it comes to creating and editing 3D models, choosing the right software is crucial. The software you select will determine the ease of use, available features, and compatibility with the STL file format. Here are some considerations to keep in mind when choosing the right software:
- User-friendly interface: If you are new to 3D modeling, consider software with a user-friendly interface and intuitive controls. This will help you quickly grasp the basics of 3D modeling and reduce the learning curve.
- Feature set: Different software offers varying levels of functionality and capabilities. Assess your needs and select software that aligns with the complexity of your project. Some software may have advanced features such as parametric modeling, sculpting tools, or intricate mesh editing, while others may focus on simplicity and ease of use.
- Compatibility: Ensure that the software you choose supports the STL file format for export. This is crucial for generating an appropriate file that can be read by the 3D printer. Additionally, compatibility with popular 3D printers or slicer software can streamline your workflow and ensure seamless integration.
- Available support and resources: Look for software that offers comprehensive documentation, tutorials, and an active community. Having access to resources and support will be beneficial, especially when encountering technical issues or seeking guidance on specific modeling techniques.
- Cost: Consider your budget when selecting software. Some programs may offer free or open-source versions, while others may have subscription or licensing fees. Think about your long-term needs and how the cost factors into your overall 3D modeling and printing endeavors.
- Reviews and recommendations: Research and read reviews from other users to gain insight into the strengths and weaknesses of different software options. This can help you make an informed decision and find software that suits your specific requirements.
Popular software options for 3D modeling include Blender, Tinkercad, Fusion 360, and SolidWorks. Each of these software solutions has its own strengths and caters to different levels of expertise and specific use cases. Take the time to explore and experiment with different software to find the one that best suits your needs and preferences.
Next, we will discuss the process of designing or finding a 3D model to work with in your chosen software.
Designing or Finding a 3D Model
When it comes to creating a 3D model, you have two options: designing your own from scratch or finding a pre-existing model. Here’s what you need to know about each approach:
Designing your own 3D model: If you have experience with 3D modeling software, designing your own model can be a rewarding process. You have total control over the design, allowing you to bring your ideas to life. Whether you’re designing a functional object or an artistic sculpture, starting from scratch gives you the freedom to customize every aspect of the model.
To design your own 3D model, you’ll need a 3D modeling software. Popular options include Blender, Autodesk Fusion 360, SolidWorks, and SketchUp. These software tools provide a wide range of features and tools to help you create complex and detailed 3D models. Start by sketching your ideas on paper, then transfer them to the 3D software to begin the modeling process.
Finding a pre-existing 3D model: If you’re new to 3D modeling or looking for a quick solution, finding a pre-existing 3D model can be a great option. There are numerous online platforms that host vast libraries of 3D models, such as Thingiverse, Cults3D, and GrabCAD. These platforms offer a wide variety of free and paid models, created by a community of designers.
When choosing a pre-existing 3D model, it’s important to consider the licensing terms associated with it. Some models may require attribution or have restrictions on commercial use. Make sure to read the licensing information provided by the model’s creator to ensure that it aligns with your intended use.
Once you’ve found a suitable model, you can import it into your chosen 3D modeling software to make any necessary modifications or adjustments. This could involve scaling the object, smoothing edges, or customizing certain details to fit your specific needs.
Whether you’re designing your own 3D model or finding one online, it’s essential to ensure that the model is suitable for 3D printing. Take a close look at the details and complexity of the model to ensure that it can be successfully printed without any structural issues or printing limitations.
In the next section, we’ll discuss the process of preparing the model for 3D printing, ensuring that it is optimized and ready for the conversion to STL format.
Preparing the Model for 3D Printing
Before you can convert your 3D model into an STL file for 3D printing, it’s essential to ensure that the model is properly prepared. This involves optimizing the geometry, checking for errors, and making necessary adjustments to ensure a successful print. Here are the key steps to follow when preparing your model:
- Check for manifoldness: Ensure that your 3D model is manifold, meaning it is a closed volume with no holes or gaps in the geometry. Holes or gaps can lead to printing failures or result in a structurally weak object. Use the software’s analysis tools to identify and fix any manifold issues.
- Resolve overlapping or intersecting geometry: Check for any overlapping or intersecting geometry within the model. This can cause issues during slicing and printing. Use the software’s editing tools to separate or combine overlapping parts and ensure that there are no intersecting surfaces.
- Check wall thickness: Pay attention to the wall thickness of your model. The walls should be thick enough to withstand the printing process without collapsing or becoming too fragile. Consult the specific material guidelines for your 3D printer to determine the appropriate wall thickness for optimal printability.
- Consider support structures: Depending on the complexity of your model and the printing orientation, you may need to add support structures to prevent overhangs or bridges from sagging or failing. Many 3D modeling software tools offer automated support generation, or you can manually design and add supports where necessary.
- Optimize the model’s orientation: Experiment with different orientations of your model to minimize the need for support structures and achieve the best balance between surface finish, strength, and printability. Consider the overall shape of the object and ensure that any critical features or details are oriented in a way that enhances their printing quality.
- Check for small features: Evaluate if the model has small features or details that may not be feasible to print accurately. Factors like printer resolution and material limitations can impact the ability to reproduce tiny details. Adjust or remove such features if necessary, or consider printing at a higher resolution if your printer allows it.
- Ensure proper file organization: Organize the components of your model if it consists of multiple parts. Merge common parts into a single model or keep them separate, depending on your printing goals. Organizing the model helps with assembly, reduces printing errors, and allows for optimal positioning in the print bed.
By following these steps, you can ensure that your model is optimized and ready for 3D printing. Take the time to carefully review and make any necessary adjustments to achieve the desired print quality. Next, we’ll discuss the process of exporting your optimized 3D model as an STL file.
Exporting the Model as an STL File
Once you have prepared your 3D model for 3D printing, the next step is to export it as an STL (Standard Triangle Language) file format. The STL file contains all the necessary information about the geometry of the object and serves as the universal format for 3D printing. Here’s how to export your model as an STL file:
- Select the export option: In your 3D modeling software, look for the export option. This is usually found in the “File” or “Export” menu. Click on it to open the export settings.
- Set the file resolution: Choose the desired resolution for your STL file. Higher resolution can result in more details but larger file sizes. Consider the capabilities of your 3D printer and the level of detail required for your specific print. Adjust the resolution settings accordingly.
- Specify the file format: Confirm that you want to export the file in STL format. Some software may support other file formats as well, so make sure to select the correct one. STL is the standard format and is compatible with most 3D printing software and slicers.
- Choose the export location: Specify the folder or directory where you want to save the exported STL file. Select a location that is easily accessible and well organized for convenient retrieval when needed.
- Verify any additional export settings: Depending on the software you are using, there may be additional settings to configure during the export process. These could include units of measurement, tolerance values, or other options related to the specific requirements of your 3D printing setup. Review and adjust these settings as needed.
- Export the model: Click on the “Export” or “Save” button to generate the STL file. The software will process the model and convert it into the STL format. This process may take a few moments, depending on the complexity of your model and the speed of your computer.
- Verify the exported STL file: After the export is complete, take a moment to verify the exported STL file. Check that the file size is reasonable for the complexity of your model and ensure that you can open the file in a 3D viewer or slicer software. This step helps to confirm the integrity of the exported file.
By following these steps, you can export your optimized 3D model as an STL file, ready for 3D printing. The STL file holds all the necessary information to create the physical object layer by layer. In the next section, we will provide some tips for optimizing your STL file for better printing results.
Tips for Optimizing Your STL File
Optimizing your STL (Standard Triangle Language) file can greatly improve the printing results and overall efficiency of the 3D printing process. Here are some tips to enhance your STL file for better printing:
- Reduce triangle count: The number of triangles in your STL file affects the file size and the time it takes to slice and print the model. Simplify the geometry and reduce the triangle count when possible without compromising the overall shape and details of the object.
- Apply smoothing algorithms: If your original 3D model has a high level of detail or sharp edges, consider applying smoothing algorithms to the model before exporting it as an STL file. This can help create smoother surfaces and reduce the number of unnecessary triangles.
- Simplify complex details: If your 3D model contains intricate or complex details that are not crucial for the final print, simplify or remove them. This can help reduce the complexity of the model and improve printing speed and accuracy.
- Minimize thin features: Thin features such as walls or structures can be problematic during printing, as they have a higher risk of warping or breaking. Increase the thickness of these features to ensure they are printable and can withstand the printing process.
- Consider hollowing the model: If the final print doesn’t require a solid object, consider hollowing out the model. This can significantly reduce print time and material consumption. However, be mindful of adding proper ventilation holes and supports if needed.
- Optimize for printing orientation: Experiment with different printing orientations to find the one that minimizes the need for support structures and provides the best surface finish and overall print quality. A well-optimized orientation can help save time and material during the printing process.
- Check for watertightness: Ensure that your model is watertight, meaning there are no gaps or holes in the geometry. These issues can lead to printing failures or create weak spots in the final print. Use special software tools to check and repair any non-watertight areas.
- Consider file format compression: If file size is a concern, consider compressing your STL file using file compression software. This can help reduce the overall size of the file without affecting the geometry or details of the model.
- Perform a test print: Before printing the full-sized model, consider running a test print of a smaller version. This allows you to identify any potential issues or areas that need optimization without wasting a significant amount of time and material.
By applying these tips, you can optimize your STL file for a smoother and more efficient 3D printing process. Experiment with different settings and techniques to achieve the desired print quality and balance the overall printability and complexity of the model. Once your STL file is optimized, you’re ready to move forward with the printing process.
Verify and Repair the STL File
After exporting your 3D model as an STL (Standard Triangle Language) file, it’s important to verify and, if necessary, repair the file to ensure a successful printing process. Here are the steps to verify and fix any issues in your STL file:
- Use STL file validation software: There are various software tools available that can verify the integrity of your STL file. These tools analyze the file for potential issues like non-manifold geometry, self-intersecting triangles, or other errors. Run your STL file through a validation software to identify any problems that need to be addressed.
- Check for wall thickness: Confirm that the wall thickness of your model is suitable for the intended printing process and material. Thin walls may result in structural weaknesses or cause difficulties during the printing process. Adjust the thickness as necessary to ensure a successful print.
- Ensure proper scaling: Verify that your model is correctly scaled before printing. Use a 3D viewer or slicing software to check the dimensions and measurements of the model. It’s crucial to ensure that the intended size of the printed object matches your expectations.
- Repair any issues: If the STL file validation software detects any errors or issues, use the repair tools provided by the software to fix them. This may involve automatically or manually repairing non-manifold geometry, filling holes, or smoothing out any irregularities in the model. Follow the instructions provided by the software to complete the repairs successfully.
- Review the repaired STL file: After making the necessary repairs, review the repaired STL file to confirm that the changes have been applied correctly. Use a 3D viewer or slicing software to inspect the geometry and ensure that all errors have been resolved.
- Perform a test print: To further guarantee the printability of your model, consider conducting a test print of a scaled-down version or a specific section of the model. This will allow you to assess the quality, fit, and any potential issues before committing to a full-sized print.
By verifying and repairing your STL file, you eliminate the risk of encountering problems during the printing process. Taking the time to validate and fix any issues ensures that your 3D printer can accurately interpret the file and produce a high-quality print. Once you’ve confirmed the integrity of your STL file, you can confidently proceed with the printing process.
Conclusion
In conclusion, creating an STL file for 3D printing involves several key steps that are essential for a successful print. Understanding the importance of each stage ensures that your 3D model is optimized and ready for the printing process.
We started by discussing what an STL file is, highlighting its significance as the standard format for representing 3D models in additive manufacturing. The file format contains the necessary information about the object’s geometry in the form of a collection of connected triangles.
We then explored the steps to create an STL file, beginning with selecting the right 3D modeling software that supports STL file export. Whether designing your own model or finding a pre-existing one, preparing the model for 3D printing is crucial. Checking for manifoldness, resolving overlapping geometry, and ensuring proper wall thickness are all important considerations in this stage.
Exporting the model as an STL file is the next step, where you set the desired resolution, specify the file format, and save it in the appropriate location. The exported file should be verified, and any necessary repairs made to resolve errors or issues that may arise using validation software.
We also provided tips for optimizing your STL file, such as reducing triangle count, simplifying complex details, and optimizing the printing orientation. These optimizations can improve printing quality, reduce print time, and conserve material usage.
Lastly, we emphasized the significance of verifying and repairing the STL file to ensure a smooth printing process. Using STL file validation software, checking for wall thickness, and conducting a test print help to verify the accuracy and printability of the model.
By following these steps and implementing the tips provided, you can create an optimized STL file that is ready for 3D printing. Remember to choose the right software, design or find a suitable model, and prepare it meticulously to ensure the best possible printing results.
So, go ahead and embark on your 3D printing journey with confidence, armed with the knowledge and understanding of how to create and optimize STL files for exceptional 3D prints.