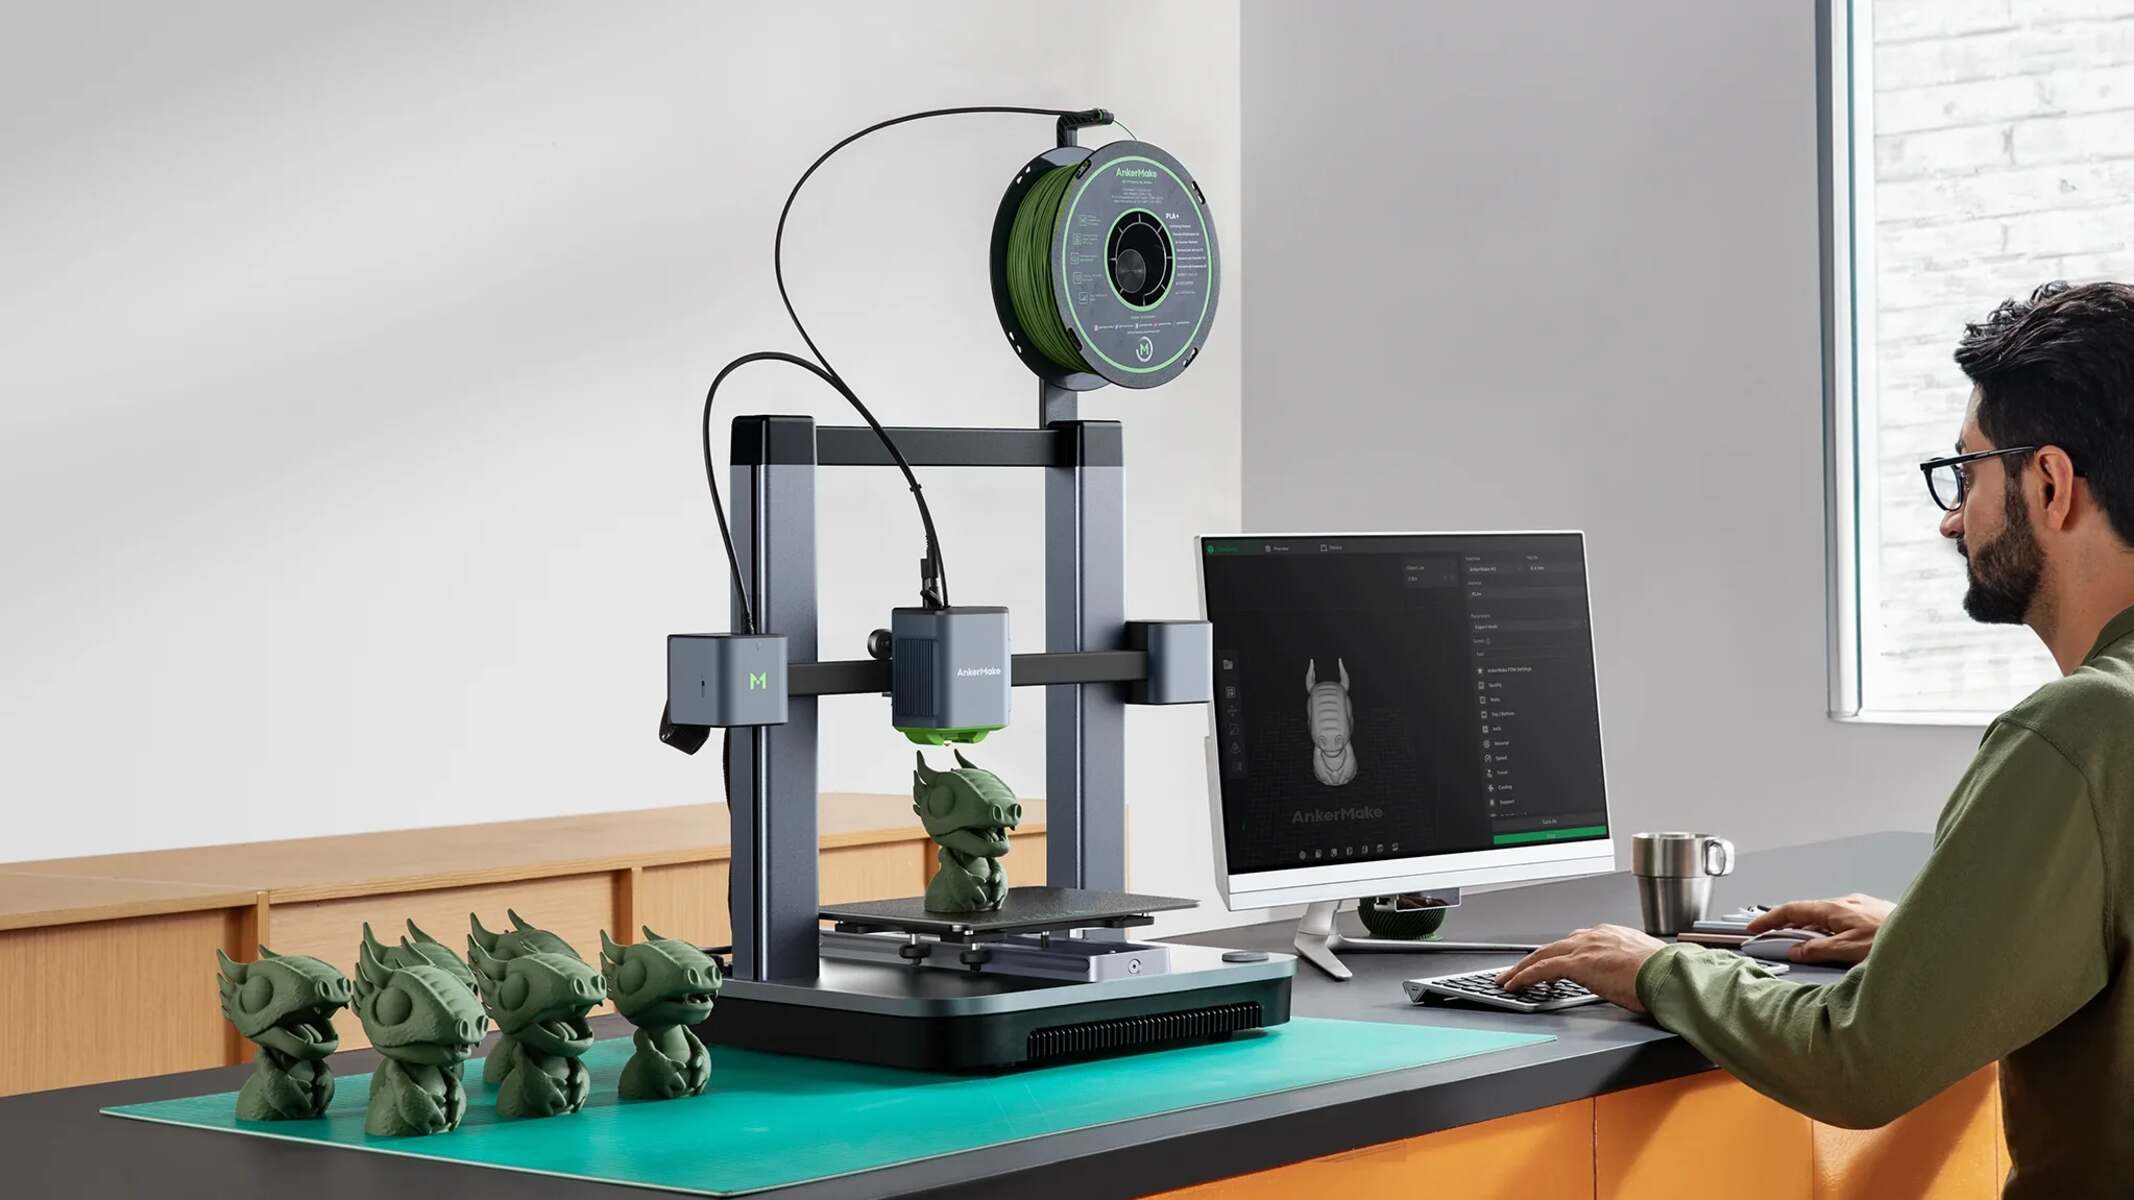
Introduction
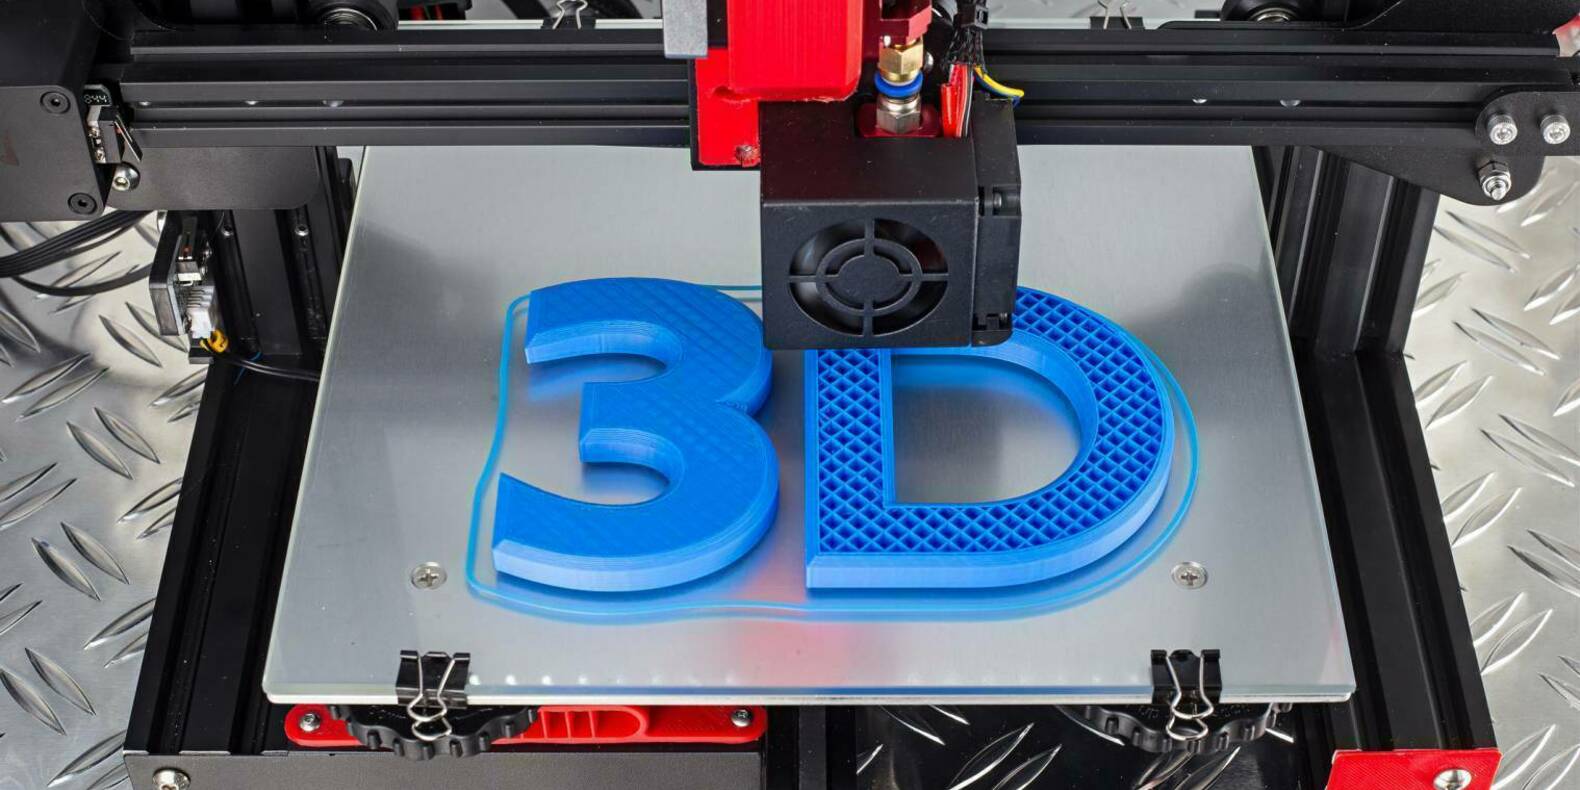
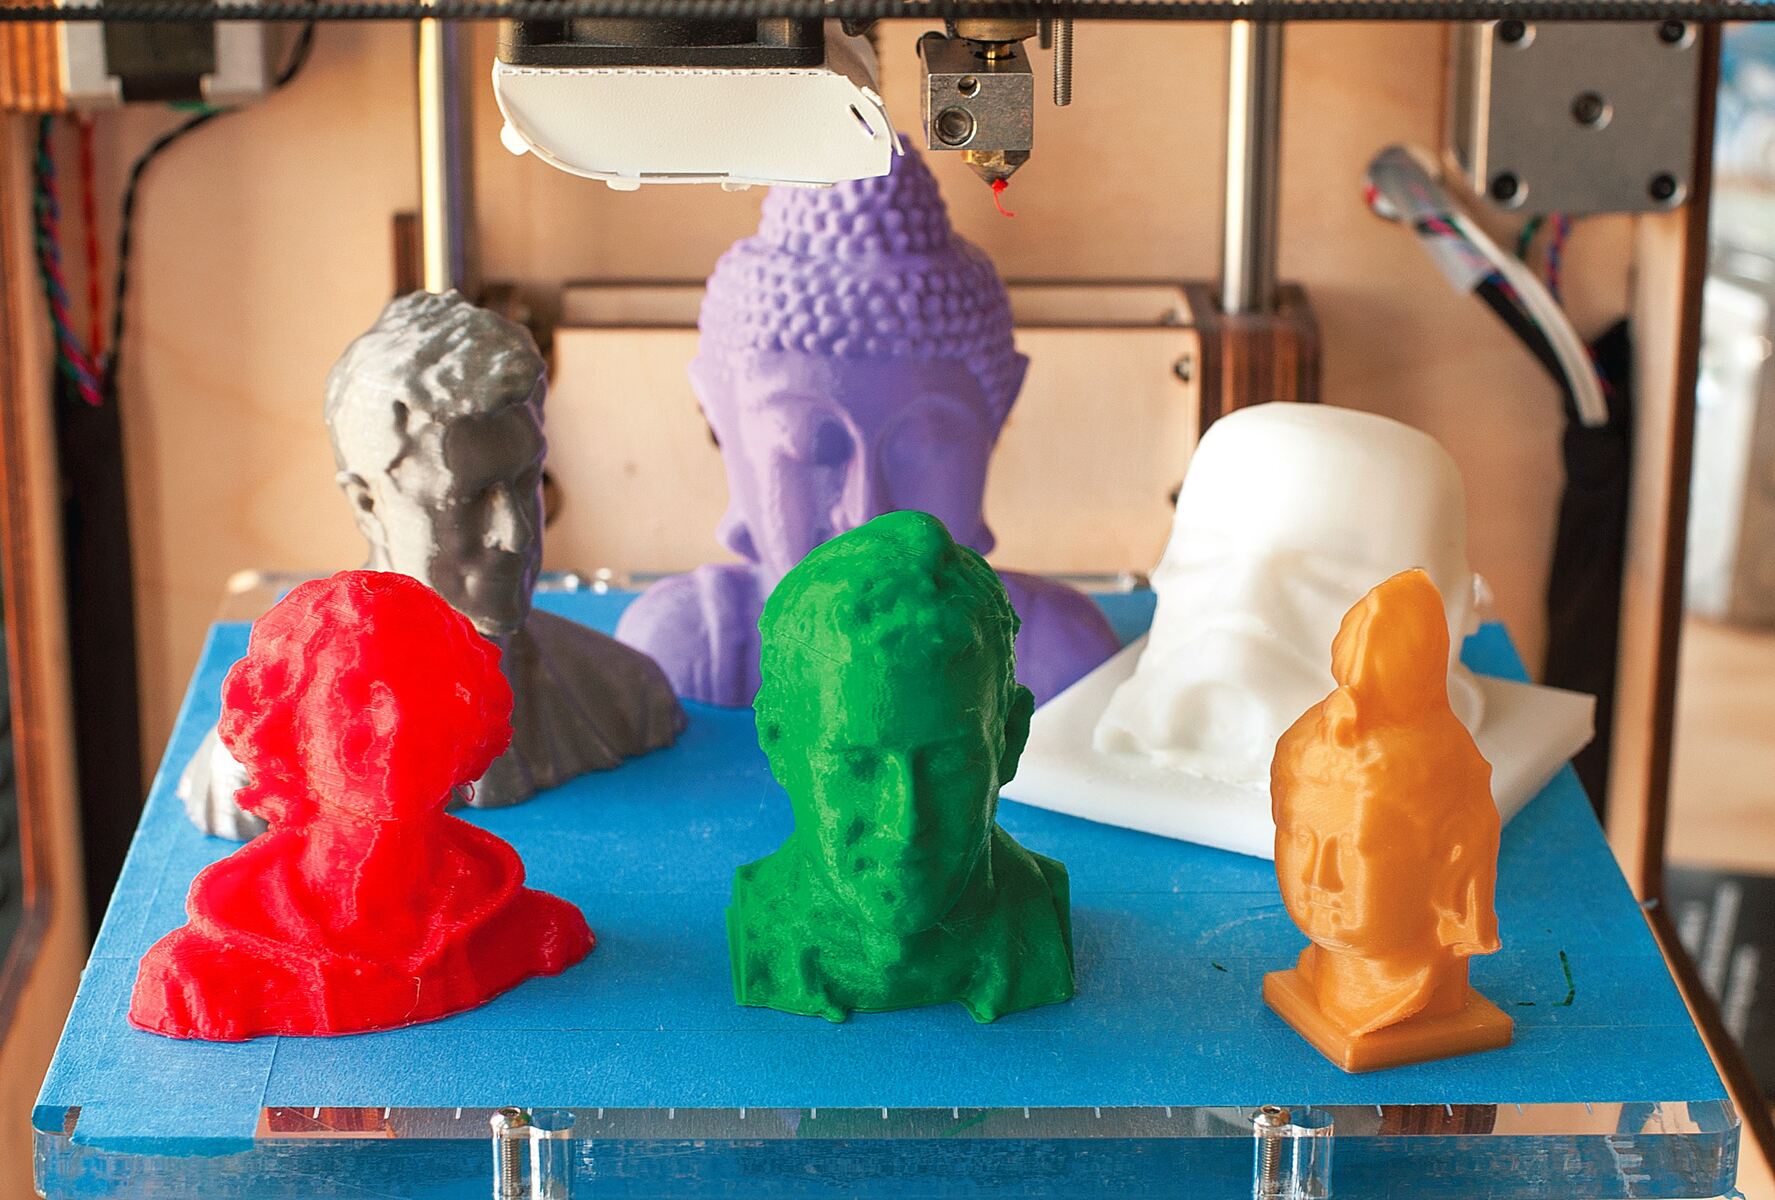
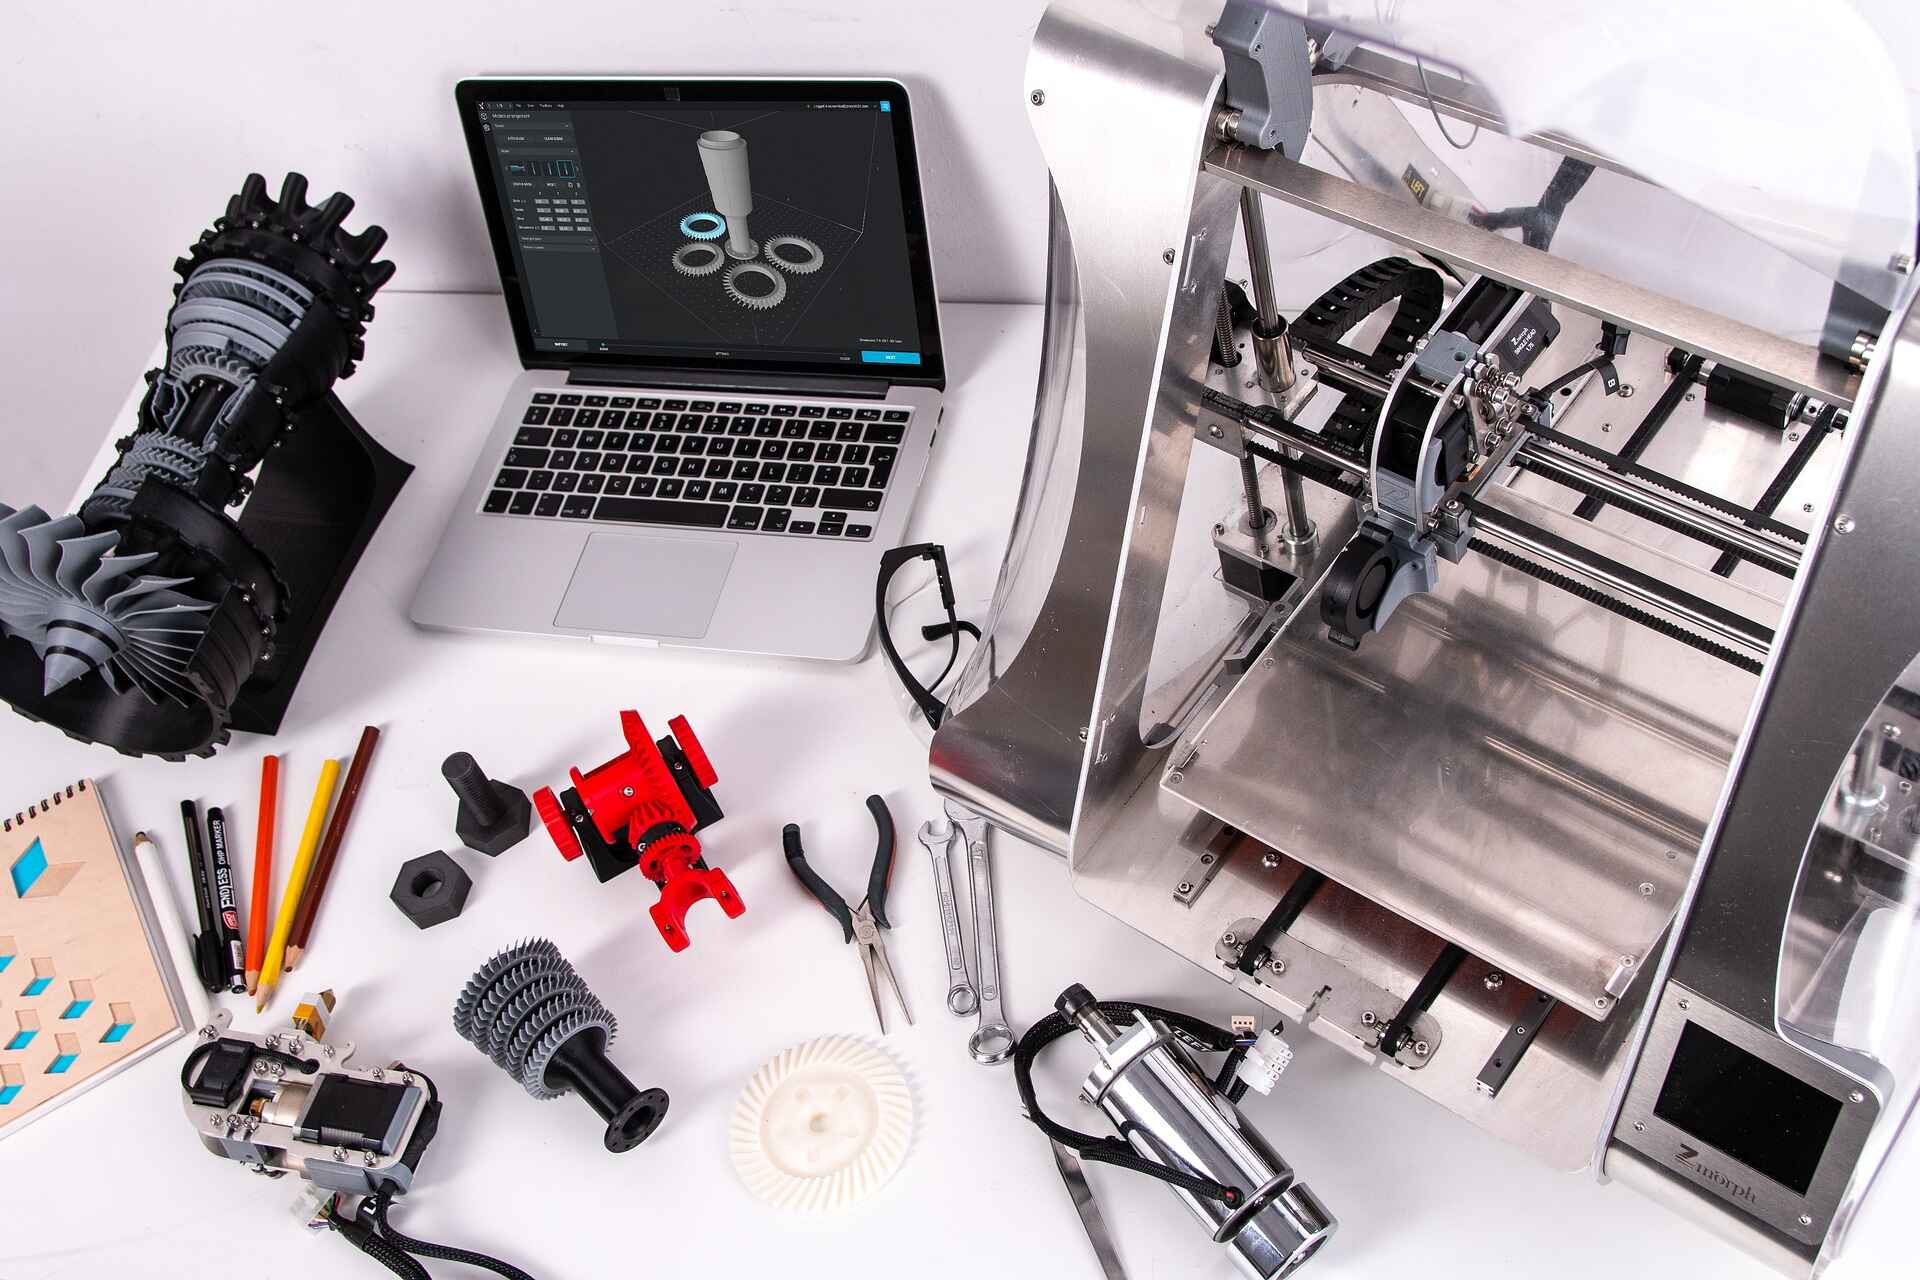
3D printing has revolutionized the way we design and create various objects, from prototypes to functional parts. One of the key components in the 3D printing process is the file that contains the digital representation of the object to be printed. These 3D printing files provide the instructions necessary for a 3D printer to produce the desired object layer by layer.
In this article, we will explore the process of creating files specifically tailored for 3D printing. Whether you are starting from scratch or modifying existing designs, understanding the different file formats and best practices is crucial for achieving high-quality prints.
Before we dive into the technical aspects, let’s take a moment to appreciate the potential of 3D printing. The ability to transform a digital design into a tangible object opens up a whole new world of possibilities. From customized jewelry and household items to complex engineering prototypes, 3D printing allows for unparalleled creativity and innovation.
However, to harness the full potential of 3D printing, it is important to understand the intricacies of creating 3D printing files. This article aims to demystify the process and provide you with a comprehensive guide to creating files for 3D printing.
Whether you are a hobbyist, an entrepreneur, or an engineer, this article will equip you with the knowledge and skills necessary to prepare and optimize your 3D printing files. So, let’s explore the world of 3D printing file creation and unleash your creativity!
Understanding 3D Printing Files
Before delving into the process of creating files for 3D printing, it’s essential to understand the basics of 3D printing files and their role in the printing process. 3D printing files, also known as 3D models or designs, are digital representations of the object you want to print.
These files are created using computer-aided design (CAD) software or obtained from online repositories where designers and enthusiasts share their creations. A 3D printing file contains all the necessary information to recreate the physical object layer by layer using a 3D printer.
Essentially, a 3D printing file is a collection of geometric data that defines the shape, structure, and dimensions of the object. It also contains additional instructions, such as the printing parameters and material specifications, which ensure a successful print.
There are different file formats used in 3D printing, each with its pros and cons. Some common file formats include STL (Standard Tessellation Language), OBJ (Object), and AMF (Additive Manufacturing File Format). These file formats are widely accepted and compatible with most 3D printers and software.
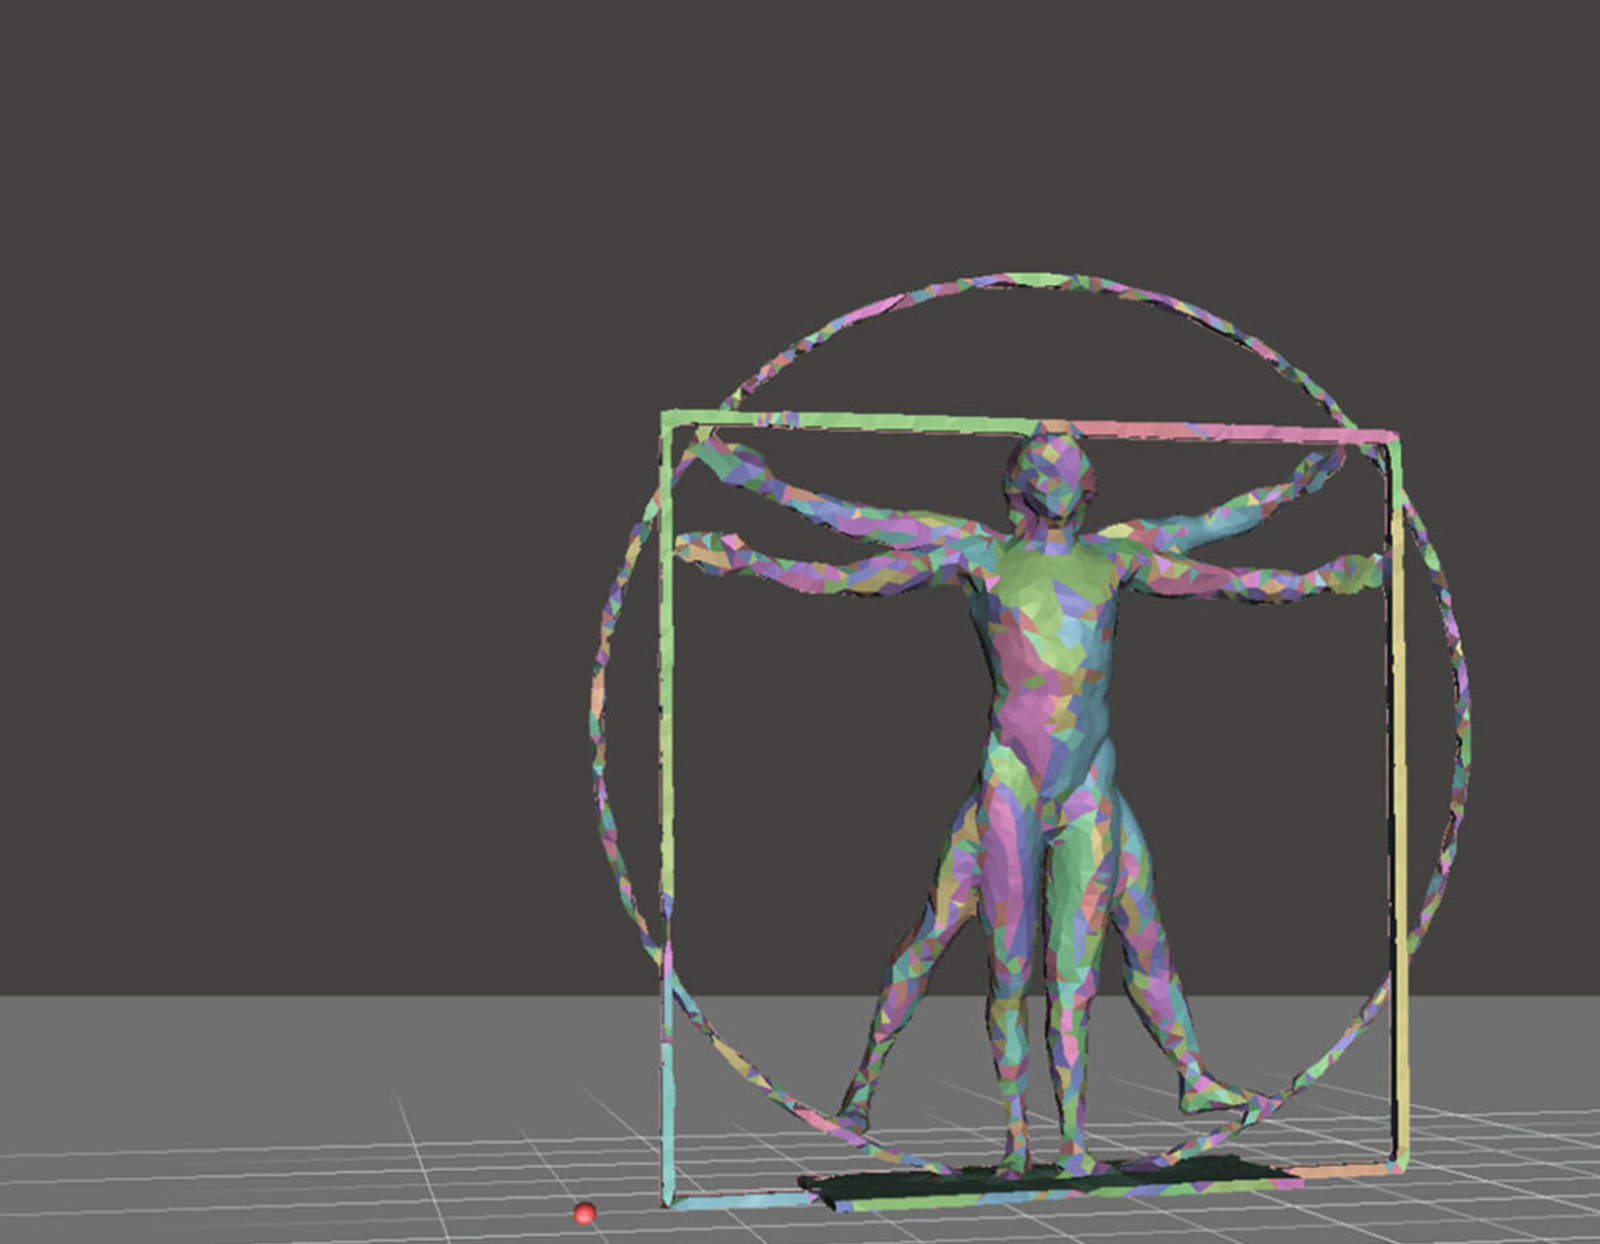
Understanding the anatomy of a 3D printing file is crucial for successful printing. A 3D model is composed of a collection of interconnected triangles, known as a mesh. Each triangle consists of three vertices, which define its shape and size. The more triangles in a mesh, the higher the level of detail in the printed object.
In addition to the mesh, a 3D printing file may also include other important information, such as textures, colors, and material properties. These details add realism and aesthetic value to the printed object.
It is important to note that not all 3D printing files are created equal. The quality and integrity of a 3D model can significantly impact the print outcome. A poorly designed or flawed file may result in printing errors, such as gaps, overlapping geometry, or structural weaknesses.
Therefore, before printing a file, it is crucial to inspect and repair any potential issues using specialized software tools. These tools can analyze the file, detect errors, and automatically correct them, ensuring a smooth and successful printing process.
Now that we have a basic understanding of 3D printing files, let’s explore the common file formats used in 3D printing in the next section.
Common File Formats for 3D Printing
When it comes to 3D printing, selecting the appropriate file format is crucial. Different file formats have varying levels of compatibility, functionality, and suitability for 3D printing purposes. Here are some of the most common file formats used in the world of 3D printing:
- STL (Standard Tessellation Language): One of the oldest and most widely used file formats in 3D printing, STL represents a 3D model as a collection of connected triangles. This format is supported by virtually all 3D printers and software and is perfect for simple shapes and geometries. However, it lacks color and texture information, making it less suitable for models that require high levels of detail and realism.
- OBJ (Object): OBJ files store 3D model data, including vertex positions, texture coordinates, and face normals. This format is versatile and compatible with most 3D printers and software. OBJ files can accurately represent complex shapes, textures, and colors, making them ideal for models that require fine details and realistic appearances.
- AMF (Additive Manufacturing File Format): AMF files are XML-based and provide a more complete representation of a 3D model compared to STL files. With AMF, you can include information about geometry, materials, colors, and textures, enabling a more accurate and detailed printing experience. However, not all software and printers support AMF files, so it’s important to check compatibility before using this format.
- PLY (Polygon File Format): PLY files are commonly used for storing 3D scan data or point clouds captured by 3D scanners. They store information like vertex positions, colors, and normals, making them useful for creating accurate reproductions or detailed virtual representations of physical objects.
While these are some of the most popular file formats for 3D printing, it’s important to note that different printers and software may have specific requirements or support additional formats. Before choosing a file format, it’s recommended to check the documentation and specifications of your particular printer to ensure compatibility.
In addition to the file format, other factors like file size, resolution, and level of detail also play a crucial role in 3D printing. Large file sizes and high levels of detail can impact printing time and overall print quality. Therefore, it’s important to strike a balance between the level of detail and the practicality of the print.
Now that we have explored various file formats, let’s move on to the process of creating 3D printing files from scratch using computer-aided design (CAD) software.
Creating Files from Scratch
If you have a design idea in mind and want to create a 3D printing file from scratch, computer-aided design (CAD) software is the go-to tool. CAD software allows you to design and manipulate 3D models with precision and ease.
Here are the general steps involved in creating a 3D printing file from scratch:
- Start with a conceptual sketch or idea: Before diving into the CAD software, it’s helpful to have a rough sketch or idea of what you want to create. This will serve as a guideline during the design process.
- Choose the right CAD software: There are many CAD software options available, ranging from beginner-friendly to professional-grade tools. Consider your skill level, the complexity of your design, and the features you require to select the best software for your needs.
- Create the basic shape: Begin by creating the basic shape of your object using primitive shapes like cubes, spheres, or cylinders. Use the software’s modeling tools to manipulate and combine these shapes to form the desired structure.
- Add details and refine the design: Once the basic shape is created, it’s time to add details and refine the design. This involves using tools like extrusion, filleting, and mirroring to create intricate features and smooth surfaces.
- Consider the printability: While designing, keep in mind the limitations and capabilities of 3D printers. Avoid designs with overhangs and unsupported structures that may be difficult to print. Consider adding supports or adjusting the design to ensure successful printing.
- Optimize the model: Before saving the file, it’s important to optimize the model for 3D printing. This includes ensuring manifold geometry, checking for any errors, and performing a basic analysis to ensure the dimensions and proportions are suitable for printing.
As you gain experience with CAD software, you can explore more advanced techniques like parametric modeling, boolean operations, and sculpting tools to create complex and intricate designs.
Remember, creating 3D printing files from scratch requires practice and patience. Don’t be discouraged if your initial designs don’t meet your expectations. With time and experience, you will refine your skills and create amazing 3D printing files.
Now that we understand the process of creating files from scratch, let’s explore another approach—importing and modifying existing designs—in the next section.
Using Computer-Aided Design (CAD) Software
Computer-aided design (CAD) software is an essential tool for creating and modifying 3D printing files. CAD software provides a powerful set of tools and functionalities that enable precise and detailed design work.
Here are some key aspects to consider when using CAD software for 3D printing:
Choosing the Right Software: There is a wide range of CAD software available, each with its own features, interface, and complexity. Consider your level of experience, budget, and the specific requirements of your design project when selecting the right software. Some popular options include Autodesk Fusion 360, SolidWorks, and Blender.
Learning the Basics: CAD software can have a steep learning curve, especially for beginners. Invest time in learning the basic tools, commands, and workflows of the software you choose. Online tutorials, forums, and documentation provided by the software developers can be valuable resources for learning the fundamentals.
Designing with Precision: CAD software allows you to create precise and accurate 3D models with specific measurements and dimensions. Take advantage of tools like grids, guides, and snap features to ensure your design aligns with the desired specifications.
Exploring Advanced Features: Once you are comfortable with the basics, delve into the advanced features of the software. These can include parametric modeling, which allows you to create designs with adjustable parameters, and assembly modeling, which enables the creation of intricate assemblies made up of multiple parts.
Considering Printability: While designing in CAD software, keep in mind the limitations and requirements of 3D printers. Always consider factors such as support structures, overhangs, and wall thickness to ensure your design is optimized for successful printing. Most CAD software also provides tools to perform basic checks and analysis of your model’s printability.
Collaborating and Sharing: CAD software often provides options for collaboration and sharing. You can work on projects simultaneously with other designers, share your designs with clients or colleagues, and even access cloud-based libraries of pre-designed parts and components to speed up your design process.
With practice and experience, you will become more proficient in using CAD software for creating intricate and complex 3D models. Don’t be afraid to experiment, iterate, and learn from your mistakes as you explore the vast possibilities of CAD software in 3D printing.
In the next section, we will discuss another essential aspect of creating 3D printing files: importing and modifying existing designs.
Importing and Modifying Existing Designs
Creating a 3D printing file from scratch can be a time-consuming process, especially for complex designs. Fortunately, there is an alternative approach: importing and modifying existing designs. This method allows you to leverage existing 3D models and customize them to suit your specific requirements.
Here are the key steps involved in importing and modifying existing designs:
- Search for and find a suitable 3D model: There are numerous online repositories and marketplaces where you can find a wide variety of 3D models. Look for models that resemble the type of object you’re looking to print.
- Ensure compatibility: Before downloading a model, make sure it is compatible with your chosen CAD software and 3D printer. Different file formats and software versions may vary in compatibility, so pay attention to these details.
- Import the model into CAD software: Once you have a 3D model file, import it into your CAD software. Most CAD software supports common file formats like STL and OBJ, making it easy to bring the model into your workspace.
- Analyze the model: Take a close look at the imported model and analyze its components, dimensions, and structure. This step is important to understand the existing design and identify areas that may need modification or adjustment.
- Modify as needed: Use the editing tools and functionalities of your CAD software to modify the imported model. You can customize dimensions, alter characteristics, add or remove features, or merge multiple models together.
- Ensure printability: As with any 3D printing design, it’s crucial to ensure the modified model is suitable for printing. Check for potential issues such as overhangs, unsupported structures, or thin walls that may affect the print outcome. Make necessary adjustments to ensure a successful print.
- Save and export the modified file: Once you are satisfied with the modifications, save the file in the appropriate format for 3D printing. Export it as an STL or any other file format compatible with your 3D printer.
Importing and modifying existing designs can save you time and effort, especially if you need to create variations or personalized versions of existing objects. It also provides an opportunity to learn from existing designs and gain inspiration for your own creations.
Remember, when modifying someone else’s design, always respect the terms of their licenses or usage guidelines. Some designs may have restrictions on commercial use or require attribution to the original designer.
In the next section, we will explore important considerations when adjusting the scale, orientation, and dimensions of 3D printing files.
Adjusting Scale, Orientation, and Dimensions
When preparing 3D printing files, it’s often necessary to adjust the scale, orientation, and dimensions of the model to suit your specific needs or constraints. This step ensures that the final printed object meets your requirements and fits within the limitations of your 3D printer.
Here are some important considerations when adjusting the scale, orientation, and dimensions of 3D printing files:
- Scale: Scaling a 3D model involves increasing or decreasing its size while maintaining the proportions. When adjusting the scale, carefully consider the intended use of the printed object, the available space, and any functional requirements. Keep in mind that scaling too much or unevenly may result in distorted or unstable prints.
- Orientation: The orientation of a 3D model determines how it will be positioned during printing. It can affect the surface quality, support requirements, and overall print success. Experiment with different orientations to find the one that minimizes overhangs, reduces the need for supports, and ensures maximum stability during printing.
- Dimensions: Modifying the dimensions of a 3D model involves adjusting the length, width, and height. This is particularly important when creating functional parts or prototypes. Consider the specific measurements required for the object to function properly and fit within its intended application.
- Integrity and Proportions: When making adjustments to the scale or dimensions of a 3D model, ensure that the integrity and overall proportions of the design are maintained. Distorting the proportions may lead to a loss of functionality or aesthetics, so it’s important to carefully adjust each dimension accordingly.
- Print Bed Constraints: Consider the size of your 3D printer’s print bed when adjusting the scale and dimensions. Make sure that the modified model fits within the available printing area and remains within the printer’s maximum build volume. Adjust the size if needed to ensure a successful print without any parts extending beyond the build area.
- Assembly Considerations: If you are designing multiple parts that need to fit together, ensure that the adjusted dimensions and tolerances allow for proper assembly. Pay attention to features like interlocking mechanisms, tabs, or holes that are necessary for the successful assembly of the printed object.
Take the time to experiment with different scale adjustments, orientations, and dimensions to find the optimal settings for your specific needs. It’s recommended to create test prints or use 3D printing simulation software to evaluate and tweak the design before finalizing the adjustments.
Remember, each adjustment made to a 3D model should be done carefully and in accordance with the design’s intended purpose. By taking these considerations into account, you can ensure that your 3D printing files are optimized for successful and accurate prints.
In the next section, we will discuss the process of exporting and saving 3D printing files in the appropriate format for printing.
Exporting and Saving Files in the Right Format
Once you have created or modified your 3D printing file, it’s crucial to export and save it in the appropriate format to ensure compatibility with your 3D printer. Choosing the right file format and settings can greatly impact the success of your print.
Here are important steps to consider when exporting and saving 3D printing files:
- Select the appropriate file format: Different 3D printers and software have specific requirements and preferences for file formats. The most widely supported format for 3D printing is the STL (Standard Tessellation Language), which represents the 3D model as a collection of triangles. However, check the documentation of your printer or software to see if any other format is recommended or required.
- Adjust export settings: When exporting the file, pay attention to any export settings or options provided by the software. These settings may include adjusting the level of detail (mesh resolution), the unit of measurement, or other specific requirements for your printer or software.
- Check for errors: Before saving the file, it’s crucial to perform a final check for any errors or issues that may affect the print outcome. Use software tools or plugins designed for error detection and repair to ensure the integrity of the model and its suitability for 3D printing.
- Save a backup copy: It’s always a good practice to save a backup copy of your 3D printing file before exporting. This ensures that you have a version of the file in its original format for future modifications or troubleshooting if necessary.
- Organize your files: Establish a logical file naming and organization system to keep track of your 3D printing files. Create folders for different projects or categories, and consider adding additional information, such as a date or version number, to the file names for easy reference.
- Archive your designs: If you have a library of 3D printing files, consider creating an archive to safely store and manage your designs. This can include backups on external storage devices or cloud-based platforms that offer version control and access from multiple devices.
Remember to double-check the compatibility of the exported file with your 3D printer and software. Some printers may require specific settings or additional modifications, such as slicing the model into printable layers or adjusting printing parameters.
By exporting and saving your 3D printing files correctly, you ensure that the digital representation of your design is optimized for successful printing and can be easily accessed and utilized in the future.
In the next section, we will provide a checklist of important considerations to prepare your 3D printing files before sending them to the printer.
File Preparation Checklist
Before you send your 3D printing file to the printer, it’s essential to ensure that your file is properly prepared to achieve a successful print. Use this checklist to make sure you have covered all the important considerations:
- Check file integrity: Run a final check to ensure that your 3D printing file is free of errors, such as non-manifold geometry or intersecting surfaces. Use software tools or plugins to automatically repair any identified issues.
- Review dimensions and scale: Double-check the dimensions of your model to ensure they match your intended design. Verify that the scale is set correctly, considering the desired size of the printed object and the limitations of your 3D printer.
- Optimize geometry: If your model contains intricate or fine details, consider simplifying or reducing the level of detail to improve printability and reduce file size. Balancing detail with printability will help ensure better print quality and more efficient printing times.
- Confirm print bed compatibility: Verify that the model fits within the dimensions of your 3D printer’s print bed. Ensure that there are no parts extending beyond the print bed or exceeding the printer’s maximum build volume.
- Manage overhangs and support structures: Assess your design for any overhangs or structures that may require support during printing. Add or remove support structures as necessary to ensure the stability and integrity of the printed object.
- Consider wall thickness: Evaluate the thickness of the walls in your design, especially for hollow or enclosed structures. Ensure that the walls are thick enough to maintain structural integrity, but not too thick that print times are unnecessarily increased or material is wasted.
- Ensure proper orientation: Position your model in the most optimal orientation for printing. Consider minimizing or eliminating the need for supports, reducing the number of overhangs, and ensuring proper layer adhesion throughout the printing process.
- Review material requirements: Check the recommended material specifications for your 3D printer. Ensure that the chosen material is suitable for your design in terms of strength, flexibility, temperature resistance, or any other specific requirements.
- Save multiple file formats: Save your 3D printing file in the appropriate format for your printer, such as STL or any other recommended format. Additionally, keep a backup copy of the file in its original format for future modifications or adjustments.
- Document settings and parameters: Make a note of the specific settings and parameters used for the print, including layer height, print speed, temperature, and any other relevant details. This information will be helpful for reference, troubleshooting, or reproducing the print in the future.
This checklist serves as a guide to ensure that your 3D printing files are optimized for a successful print. By thoroughly preparing your files, you can minimize print failures, achieve better print quality, and optimize the overall printing process.
Now that you have completed the file preparation checklist, you are ready to send your 3D printing files to your printer and bring your designs to life.
Conclusion
Congratulations! You have now gained valuable insights into the process of creating files for 3D printing. From understanding the basics of 3D printing files to adjusting dimensions and preparing the files for printing, you are equipped with the knowledge and skills to embark on your 3D printing journey with confidence.
Remember, the key to successful 3D printing starts with creating or obtaining the right file format. Whether you are starting from scratch using CAD software or modifying existing designs, the file format, scale, orientation, and dimensions play vital roles in achieving the desired print outcome.
Additionally, consider the capabilities and limitations of your 3D printer, such as the print bed size, supported materials, and required supports, to ensure optimal printability and minimize errors during the printing process.
By following best practices, conducting thorough checks, and optimizing your 3D printing files, you can create remarkable and functional objects that showcase your creativity and meet your specific needs.
Remember, the world of 3D printing is constantly evolving, and there is always more to learn and explore. Continue to expand your skills, experiment with different designs, and stay up-to-date with new advancements in 3D printing technology.
Now it’s time to unleash your imagination, bring your ideas to life, and enjoy the exciting possibilities that 3D printing has to offer. Happy printing!