Introduction
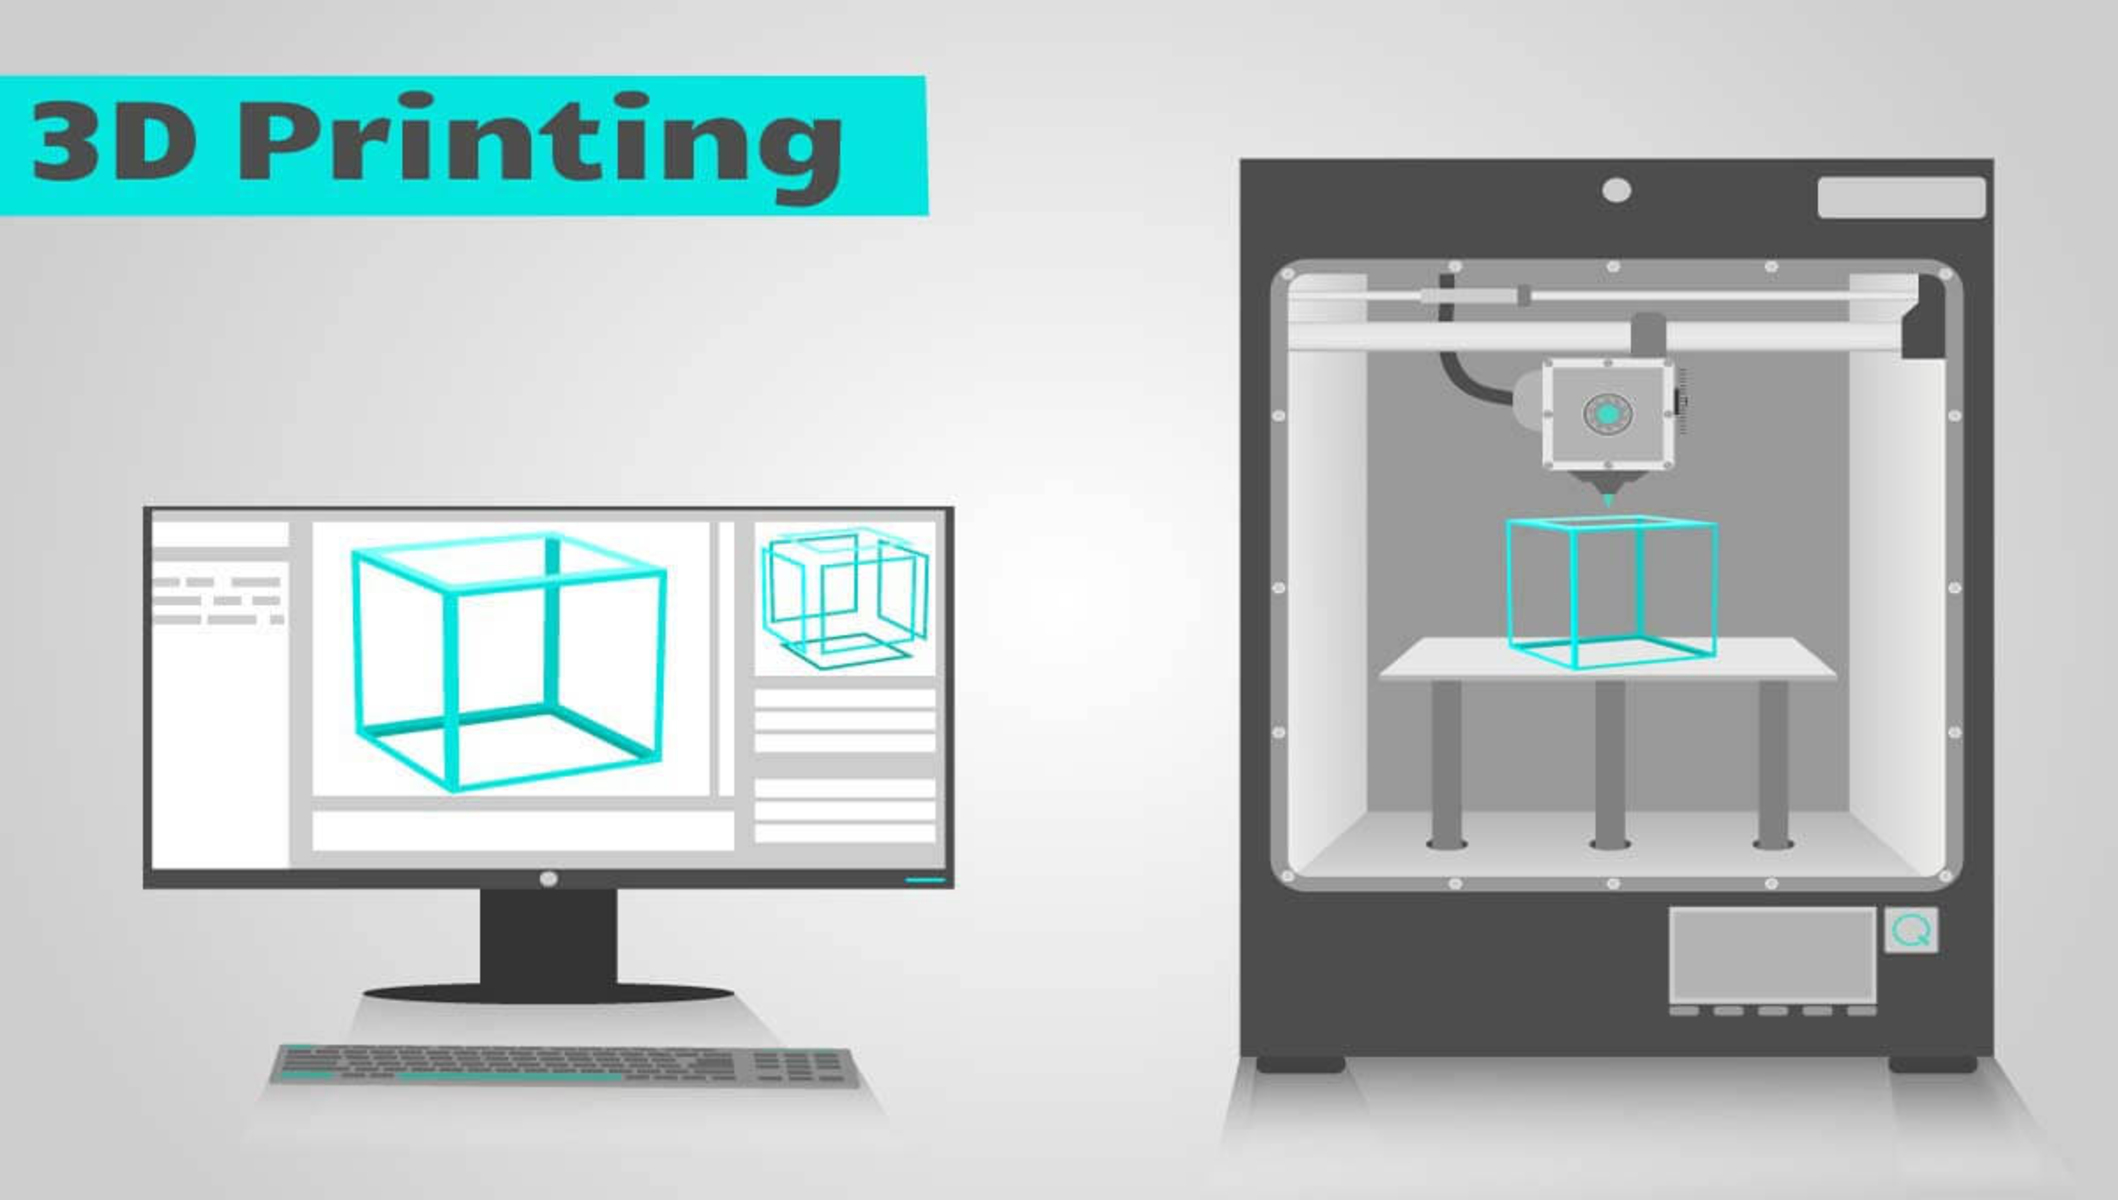
Welcome to the exciting world of 3D printing! With advancements in technology, creating your very own physical objects has become more accessible than ever. Whether you’re a hobbyist, an artist, or an engineer, being able to design and bring your ideas to life is an incredibly satisfying experience.
Blender, a powerful open-source 3D modeling software, provides a versatile platform for creating models that can be 3D printed. From intricate figurines to functional prototypes, Blender offers a wide range of tools and features to help you unleash your creativity.
In this article, we will guide you through the process of modeling in Blender specifically for 3D printing. We will cover important considerations such as scale and units, essential modeling tools, and design considerations for successful 3D printing. By the end, you will have a solid understanding of how to model in Blender and prepare your creations for 3D printing.
Whether you’re new to 3D modeling or have some experience, this guide will provide you with the necessary knowledge and techniques to create printable models in Blender. So, let’s dive in and discover the exciting possibilities that await!
Step 1: Choosing the Right Scale and Units
Before diving into the modeling process in Blender, it’s essential to set the correct scale and units for your 3D printed object. Choosing the right scale ensures that your model will accurately represent its real-life dimensions.
In Blender, the default unit is “Blender Units” (BU), which is a virtual unit of measurement. However, when designing for 3D printing, it’s best to work with real-world units such as millimeters (mm) or inches (in).
To set the unit system, click on the “Scene” tab in the Properties panel, located on the right side of the Blender interface. Under the “Units” section, choose the desired unit system from the dropdown menu. For example, select “Metric” and set the length unit to “Millimeters.” This ensures that your model will be scaled correctly for 3D printing.
Once you have decided on the units, it’s important to consider the appropriate scale for your object. Keep in mind the dimensions, purpose, and context of your design. For example, if you’re creating a tabletop figurine, you might want to consider a scale that fits well with standard miniature sizes.
A helpful tip is to reference physical objects of similar size or consult industry standards to ensure your model aligns with the desired scale. Additionally, it’s a good practice to check the printing capabilities of your 3D printer and adjust the scale accordingly. This prevents any potential issues, such as printing objects that are too small or too large.
By choosing the right scale and units, you are setting the foundation for a successful 3D printing process. It ensures that your model will be accurately represented in the physical world and simplifies the design process. Now that you have set the scale and units, we can move forward to explore the fundamental modeling tools and techniques in Blender.
Step 2: Understanding the Basic Modeling Tools in Blender
Now that you have set the correct scale and units for your 3D printed object, it’s time to familiarize yourself with the basic modeling tools in Blender. These tools will be the building blocks of your creations and allow you to shape and manipulate your models with precision.
Blender provides a wide range of modeling tools, but for beginners, it’s important to grasp the fundamentals. Let’s explore some key tools and techniques:
- Mesh Primitives: Blender offers a variety of preset shapes, known as mesh primitives, such as cubes, spheres, cylinders, and planes. These primitives serve as a starting point for your models and can be modified and combined to create more complex shapes.
- Extrusion: Extrusion is a technique used to create depth and volume from existing geometry. By selecting a face, edge, or vertex and extruding it along a specific direction, you can add complexity and detail to your models.
- Modifiers: Modifiers are powerful tools that allow you to apply a range of transformations and effects to your models. For example, the Subdivision Surface modifier can smoothen and refine the geometry, while the Boolean modifier can be used for complex boolean operations like union or difference.
- Transformations: Blender provides various transformation tools, such as translation, rotation, and scaling. These tools allow you to move, rotate, and resize your objects in the 3D space, giving you complete control over their placement and orientation.
- Vertex, Edge, and Face Editing: Blender allows you to manipulate individual vertices, edges, and faces of your models for precise control. You can select, move, extrude, and manipulate these elements to shape your object exactly as you envision it.
- Sculpting: Blender’s sculpting tools enable you to add finer details and organic shapes to your models. Using brushes and different sculpting modes, you can sculpt the surface of your model, adding texture and intricate details.
- UV Unwrapping: UV unwrapping is the process of creating a 2D representation of your 3D model’s surface, which is necessary for applying textures and materials accurately. Blender offers powerful UV unwrapping tools that help you create precise and distortion-free UV maps.
By familiarizing yourself with these basic modeling tools in Blender, you can effectively create and manipulate your models for 3D printing. Remember to experiment, practice, and explore the vast array of tools and techniques Blender has to offer. Once you’re comfortable with these fundamentals, we can move on to the next step: understanding design considerations specific to 3D printing.
Step 3: Design Considerations for 3D Printing
While designing for 3D printing in Blender, it’s important to keep certain considerations in mind to ensure a successful and high-quality printed object. These design considerations will help you optimize your models for the 3D printing process and minimize potential issues.
Here are some key design considerations for 3D printing:
- Overhangs and Support Structures: Overhangs refer to parts of the model that extend beyond a certain angle without any support underneath. 3D printers have limitations in printing these overhangs. To successfully print objects with overhangs, it is advisable to use support structures. Blender offers an automatic support generation feature, which can be enabled in the print settings or manually added using modifiers.
- Wall Thickness: Ensure that your model has sufficient wall thickness to prevent it from being too fragile or prone to breaking. The minimum wall thickness varies depending on the 3D printer and material being used, but a general rule of thumb is to aim for at least 1-2 millimeters. Additionally, consider the purpose and size of your model to determine an optimal wall thickness.
- Clearance and Tolerance: When designing multiple interlocking or moving parts, consider adding clearance and tolerance to ensure a proper fit. This allows for easy assembly, prevents parts from getting stuck during printing or after assembly, and accommodates any deviations that may occur during the printing process.
- Orientation: The orientation of your model during printing can impact the surface quality and overall strength. Consider orienting the model in a way that minimizes the need for support structures, ensures optimal layer adhesion, and produces a visually appealing end result.
- File Format and Export: When exporting your model from Blender, ensure that you save it in a 3D printable file format, such as STL (Standard Tessellation Language) or OBJ (Wavefront Object). These formats are widely supported by 3D printing software and services. Additionally, double-check your file before exporting to ensure it is error-free and ready for printing.
By incorporating these design considerations into your modeling process, you can optimize your models for 3D printing. It’s vital to strike a balance between aesthetics and printability, ensuring that your design can be successfully translated into a physical object. With these considerations in mind, let’s move on to the next step: modeling a simple object in Blender for 3D printing.
Step 4: Modeling a Simple Object for 3D Printing
Now that you have a good grasp of the basic modeling tools and design considerations for 3D printing in Blender, let’s put that knowledge into practice by modeling a simple object suitable for 3D printing.
For the purpose of this example, let’s say we want to create a small vase. Here’s a step-by-step guide on how to model it:
- Start by creating a new Blender project and delete the default cube by selecting it and pressing the ‘X’ key on your keyboard.
- Next, add a cylinder mesh primitive by pressing ‘Shift + A’ and selecting ‘Mesh’ > ‘Cylinder’ from the menu.
- Adjust the size and proportions of the cylinder to create the desired shape of your vase. You can use the scaling tool (‘S’ key) to adjust the height and radius or the grab tool (‘G’ key) to move and position the cylinder in the 3D space.
- Once you’re satisfied with the basic shape of the vase, consider adding some details and personal touches. You can use extrusion, scaling, and other modeling techniques to carve out patterns or add decorative elements.
- Remember to pay attention to the design considerations we discussed earlier. Ensure the walls have sufficient thickness, check for overhangs that may require support structures, and make any necessary adjustments.
- Lastly, when you’re ready to export your model for 3D printing, go to ‘File’ > ‘Export’ and select the appropriate file format (e.g., STL or OBJ). Save the file to your desired location.
Keep in mind that this is just a basic example, and you can choose to model any simple object that aligns with your creative vision or project requirements. The key is to apply the knowledge you’ve gained about modeling tools and design considerations for 3D printing in Blender.
Once you’re comfortable with modeling simple objects, you can gradually progress to more complex designs and experiment with advanced techniques to push the boundaries of your creativity.
Now that you know how to model a simple object for 3D printing, let’s proceed to the final step: checking and preparing the model for 3D printing.
Step 5: Checking and Preparing the Model for 3D Printing
After modeling your object in Blender, it’s essential to go through a thorough check and preparation process to ensure its suitability for 3D printing. This step helps identify and fix any potential issues that could affect the final print quality. Here’s a step-by-step guide on checking and preparing your model:
- Check for Mesh Errors: Use Blender’s built-in tools or add-ons to check for any mesh errors, such as non-manifold geometry, duplicate vertices, or intersecting faces. Fix these issues to ensure a clean and watertight mesh.
- Inspect with X-Ray Mode: Enable the X-Ray mode in Blender to inspect the interior of your model. This is particularly useful when designing hollow objects like vases or containers, as it allows you to ensure the interior walls are properly closed and devoid of any defects or intersecting geometry.
- Scale and Dimensions: Double-check the scale and dimensions of your model, making sure it matches your intended size. Additionally, check if the dimensions fit within the printing volume of your 3D printer.
- Wall Thickness: Verify that the walls of your model have a sufficient thickness for successful printing. Ensure that the walls are thick enough to avoid being too fragile or prone to breakage. Adjust the thickness if necessary.
- Support Structures: If your model has overhangs or complex geometries that require support structures, ensure they have been added correctly. Check if the supports are properly placed and won’t interfere with the overall design or functionality of your object.
- Export and File Validation: Export your model as an STL or OBJ file, ensuring to adhere to the requirements of your 3D printer or printing service. Validate the exported file using online tools or specialized software to check for potential errors, such as non-manifold edges, flipped normals, or other mesh issues.
By carefully checking and preparing your model, you increase the chances of a successful 3D print. Taking the time to address any issues beforehand can save you from potential printing complications or failed prints.
Now that you’ve completed the final step of checking and preparing your model, you’re ready to send it to your 3D printer or 3D printing service and bring your creation to life. Congratulations on reaching this stage!
Remember, the more you practice and explore the world of 3D modeling for 3D printing, the more skilled and knowledgeable you will become. Embrace experimentation, try new techniques, and don’t be afraid to push the boundaries of your creativity.
Conclusion
Congratulations, you’ve now learned the essential steps to model in Blender for 3D printing! You’ve gained a solid understanding of important aspects such as choosing the right scale and units, understanding the basic modeling tools, considering design factors specific to 3D printing, and preparing your model for successful printing.
By following these steps, you can confidently create 3D printable models in Blender and unleash your creativity in the world of 3D printing. Remember to always consider the limitations and requirements of your 3D printer or printing service, and make any necessary adjustments to ensure the best possible print results.
As you continue your 3D modeling journey, don’t be afraid to explore more advanced techniques and experiment with different design ideas. With each project, you’ll gain more experience and refine your skills in creating intricate and complex models for 3D printing.
Whether you’re using 3D printing as a hobby, for artistic expression, or for prototyping functional objects, Blender provides a versatile platform for turning your ideas into physical reality. Enjoy the process of bringing your creations to life and sharing them with the world.
Now, armed with the knowledge and techniques you’ve acquired, it’s time to start modeling in Blender and unlocking the endless possibilities of 3D printing.