Introduction
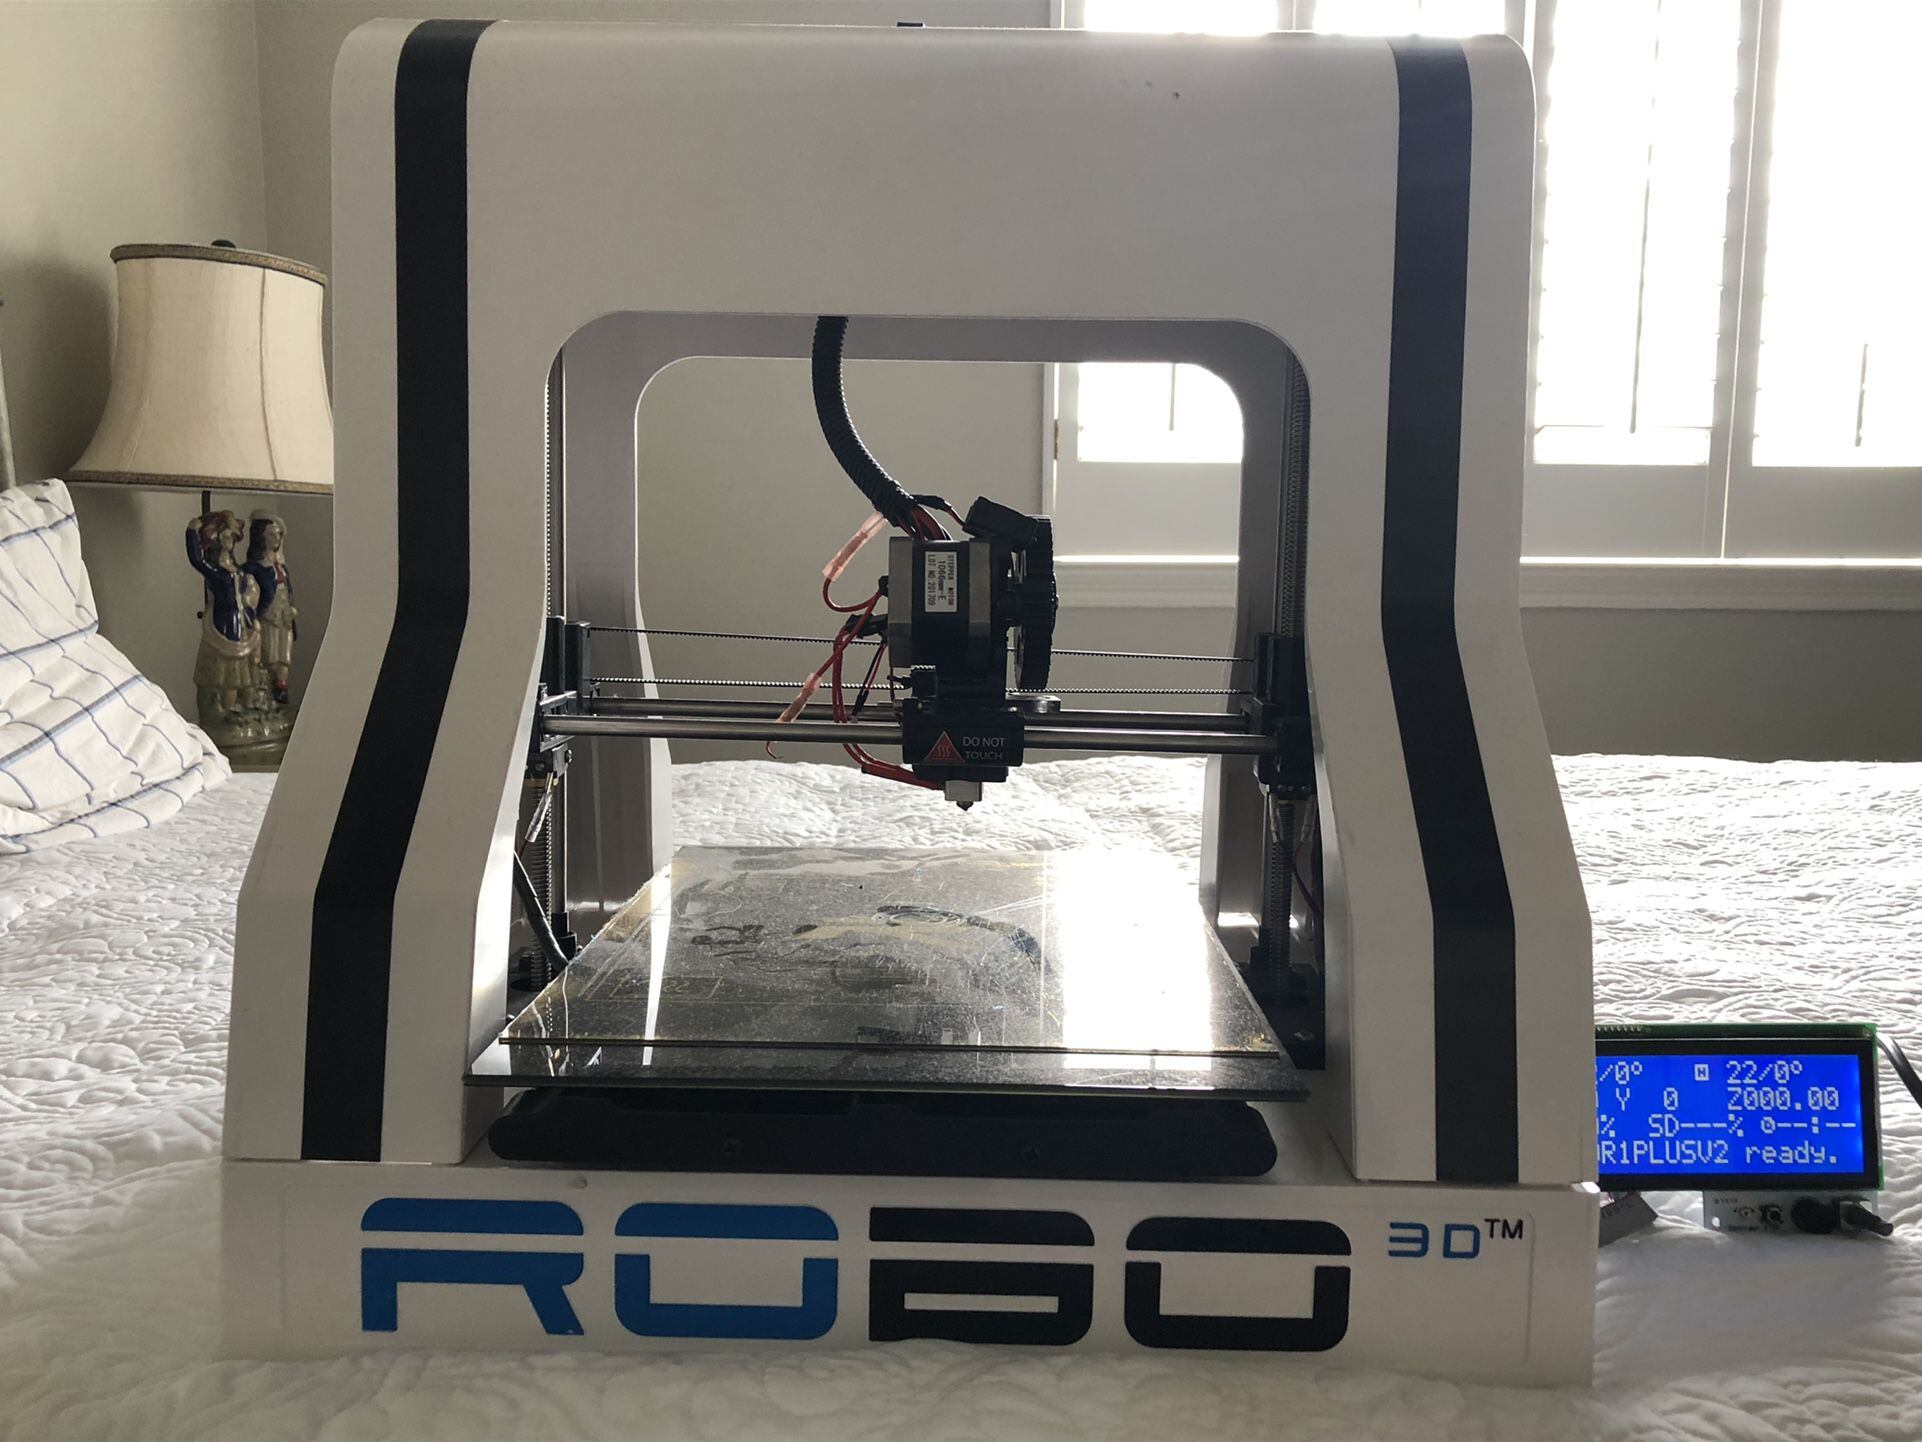
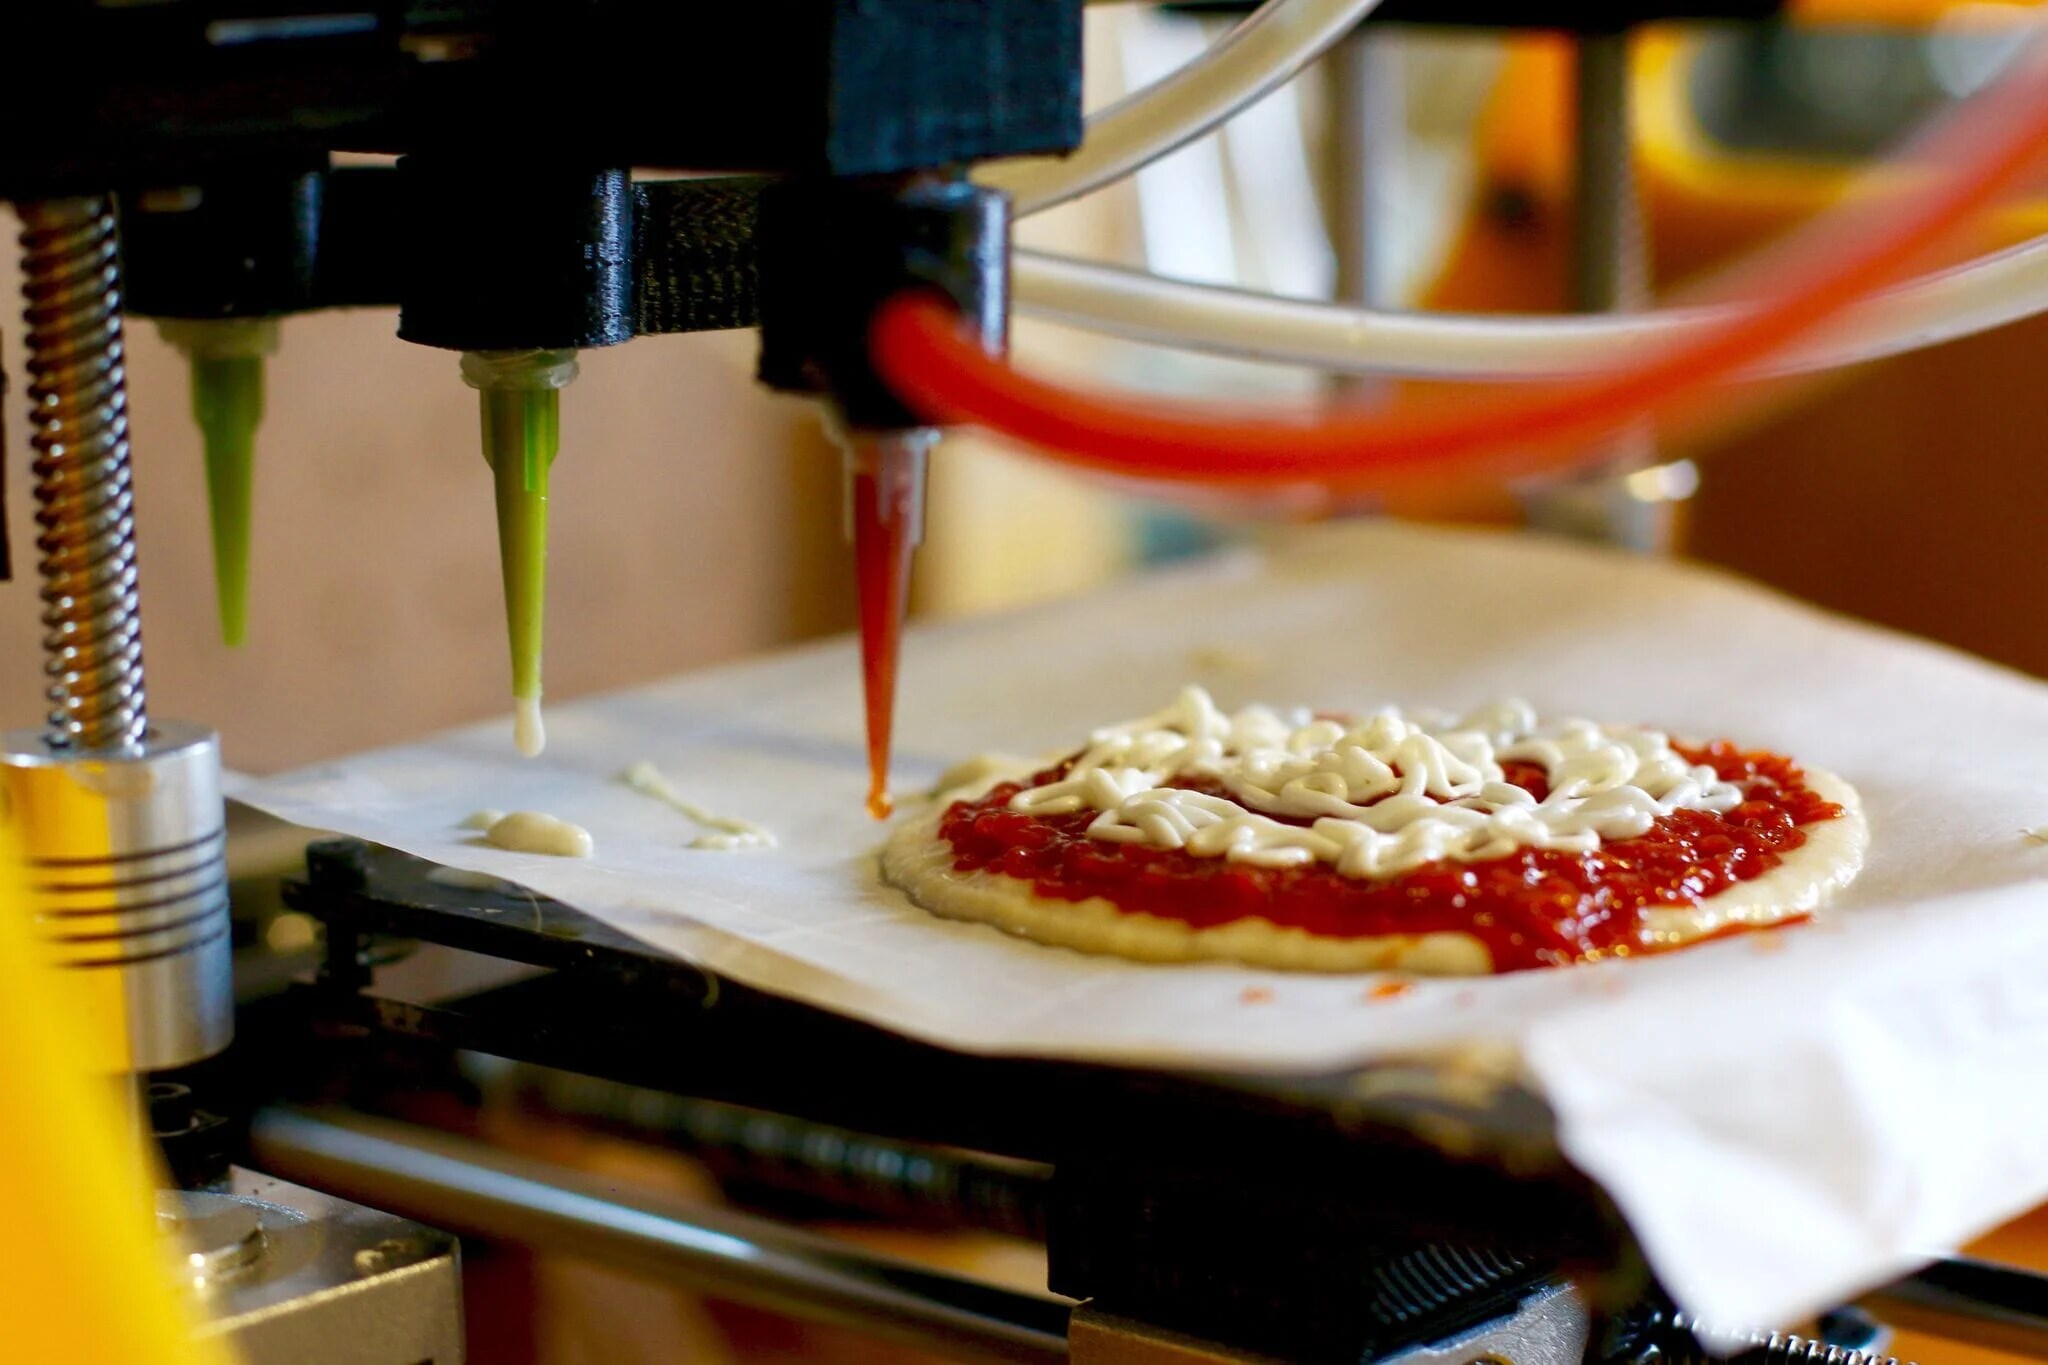
Welcome to the exciting world of 3D printing! Whether you are a budding designer, an engineer, or even just someone who wants to bring their creative ideas to life, 3D printing offers endless possibilities for innovation and problem-solving. This groundbreaking technology allows you to design and create three-dimensional objects from scratch, layer by layer, using various materials such as plastics, metals, and even food! But where do you start?
In this article, we will explore the essential steps and considerations involved in designing something for 3D printing. From choosing the right design software to understanding the specific guidelines for 3D printing, we will guide you through the key principles and best practices that will help you optimize your designs for a successful print.
Designing for 3D printing is not just about creating attractive shapes or intricate details; it is also about ensuring the practicality and functionality of your final product. With the right approach, you can create objects that are not only visually appealing but also functional and durable.
Throughout this article, we will delve into the technical aspects of 3D design, such as designing with accuracy and tolerances in mind, adding supports and overhangs, optimizing for printing speed and cost, and troubleshooting common design issues. By the end of this journey, you will have gained the necessary knowledge and skills to confidently design for 3D printing and turn your ideas into reality.
So, let’s dive in and explore the fascinating world of 3D printing design, where imagination knows no bounds and innovation takes shape!
Choosing a Design Software
When it comes to designing for 3D printing, the first step is to choose the right design software that suits your needs and skill level. There are various options available, ranging from beginner-friendly software to more advanced professional tools. Here are a few factors to consider when making your decision:
- User-Friendliness: If you are new to 3D design, opting for software with a user-friendly interface and intuitive controls is essential. Look for software that provides a clear and easy-to-understand workflow, making it easier for you to bring your ideas to life without getting overwhelmed.
- Functionality: Consider the specific features and capabilities of the software. Some software may offer basic functionality, while others provide advanced tools like parametric modeling and sculpting. Assess your requirements and choose software that aligns with your design goals and the complexity of the objects you want to create.
- Compatibility: Ensure that the design software you choose supports the file formats compatible with 3D printers. The most common format is .STL (Standard Tessellation Language), which represents the 3D geometry of a model. This compatibility ensures a smooth transition from the design software to the printing process.
- Community and Support: Consider the availability of a supportive community and helpful resources. Look for software with an active user community, forums, and tutorials that can assist you when facing challenges or seeking inspiration. Having access to a knowledgeable support network can significantly enhance your learning and troubleshooting experience.
- Cost: Evaluate the cost associated with the design software. Some software options are free, while others require a subscription or upfront payment. Consider your budget and the level of functionality you require, weighing your options to make an informed decision.
Some popular design software options for 3D printing include Autodesk Fusion 360, Tinkercad, SolidWorks, and Blender. Each offers a unique set of features and functionalities, catering to different skill levels and design requirements.
Remember, choosing the right design software is crucial as it will determine your overall experience and ease of bringing your ideas to life. Take your time to explore different options, try out free trials or demos, and consider seeking recommendations from other 3D printing enthusiasts. With the right software in hand, you are ready to embark on your 3D printing design journey!
Understanding Design Guidelines for 3D Printing
When designing for 3D printing, it is essential to have a clear understanding of the specific design guidelines that apply to this manufacturing process. These guidelines help ensure that your design can be successfully printed with accuracy and reliability. Let’s explore some key considerations:
- Minimum Wall Thickness: 3D printers have limitations when it comes to printing thin walls. It is important to design your model with a minimum wall thickness that is within the capabilities of your chosen printer. Generally, a wall thickness of 1-2mm is recommended, but it may vary depending on the printer and material used.
- Overhangs and Support Structures: Overhangs are horizontal features that require support during the printing process. Designing with overhangs greater than the printer’s supported threshold can lead to structural issues. It is advisable to use support structures or incorporate gradual angles to avoid unsupported areas.
- Clearance and Tolerances: Consider the clearance and tolerances between moving parts or assemblies in your design. 3D printing may introduce slight deviations in dimensions due to factors like material shrinkage. It is crucial to leave appropriate space and establish tolerances to ensure smooth movement and proper functionality of your printed object.
- Bridging: Bridging refers to printing horizontal spans without support structures underneath. To achieve successful bridging, consider the printer’s capabilities and material properties. Designing with proper angles, using infill patterns, and adjusting cooling settings can help improve the bridging performance.
- Orientation and Stability: The orientation of your design on the print bed can affect its structural integrity and surface finish. It is recommended to position the design in such a way that critical features and surfaces are supported adequately. Additionally, ensuring a stable base or adding a raft can help prevent warping during the printing process.
- File Format: Save your design files in the appropriate file format that is compatible with 3D printers, typically the .STL format. This format uses a mesh representation of the model and ensures that your design can be accurately interpreted by the slicing software, which prepares the model for printing.
These guidelines serve as a foundation for designing models that can be successfully printed. However, it is important to note that different printers and materials may have specific requirements that go beyond these general principles. Therefore, it is always recommended to consult the user manual or guidelines provided by the printer manufacturer and material supplier to ensure optimal design for 3D printing.
By adhering to these design guidelines, you can minimize the risk of failed prints, enhance the quality of your printed objects, and save time and effort in the overall printing process.
Designing with Accuracy and Tolerances in Mind
One of the crucial aspects of designing for 3D printing is considering accuracy and tolerances. 3D printers have limitations when it comes to achieving precise dimensions, and understanding these limitations is essential for creating designs that meet your requirements. Here are some key considerations:
- Printer Resolution: Different 3D printers have varying resolutions or layer heights, which determine the level of detail that can be achieved. It is important to consider the printer’s resolution when designing your object to ensure that the intended level of detail is achievable without compromising structural integrity.
- Shrinkage and Material Properties: Most 3D printing materials are subject to some degree of shrinkage during cooling or curing. This shrinkage can result in slight dimensional variations from the original design. Research and consider the material properties, including shrinkage rates, to account for such deviations when designing your model.
- Tolerance Design: Designing with tolerances in mind is vital to ensure proper fit and functionality of assembled parts. Consider the tolerances required for moving or mating parts and design accordingly. It is advisable to leave some clearance between parts to accommodate the slight variations in dimensions introduced during the printing process.
- Testing and Iteration: Even with careful planning, it is common to face some discrepancies between the designed dimensions and the printed results. To ensure accurate and functional designs, conduct test prints, evaluate the tolerances and fit, and iterate if necessary. This iterative process allows you to fine-tune your designs and achieve the desired results.
- Compensation Techniques: Depending on the specific requirements of your design, you may need to employ compensation techniques to account for potential inaccuracies. For example, if a particular feature needs to be precisely aligned, you can deliberately oversize or offset the part to compensate for the anticipated deviations during printing.
By designing with accuracy and tolerances in mind, you can minimize unwanted variations and ensure that your 3D-printed objects meet the desired specifications. It is important to strike a balance between the desired level of accuracy and the limitations of your chosen 3D printing process and materials.
Remember, each printer and material may have specific characteristics that affect accuracy and tolerances. Familiarize yourself with the capabilities and limitations of your specific setup, conduct test prints, and learn from the results to achieve exceptional accuracy in your 3D printing designs.
Adding Supports and Overhangs in Your Design
Supports and overhangs are crucial considerations when designing for 3D printing, especially for objects with complex or intricate shapes. 3D printers cannot magically print objects in mid-air, so supports are necessary to provide stability and prevent sagging or collapsing during the printing process. Here’s what you need to know:
- Identify Overhangs: Overhangs are areas of your design that extend horizontally without any support underneath. These sections can be challenging to print accurately, as the molten material tends to droop or result in a poor surface finish. Identify the overhangs in your design and consider how you can add supports to ensure successful printing.
- Support Structures: Support structures are temporary structures that are printed alongside your object and can be easily removed once the print is complete. These structures provide the necessary support for overhangs, bridges, and other features that require stability during printing. Design your supports to be easily removable and consider the impact of their removal on the final aesthetics of your object.
- Automatic Support Generation: Some 3D design software allows for automatic generation of support structures based on your design’s overhangs and angles. These built-in features can save you time and effort in manually creating supports. However, it’s important to review and fine-tune the generated supports to ensure optimal results.
- Manual Support Placement: If your software does not offer automatic support generation or if you want more control over the placement and customization of supports, you can manually add them to your design. Consider factors such as support attachment points, ease of removal, and limitations of your printer when adding supports manually.
- Gradual Angles: Designing gradual angles instead of sharp overhangs can help enhance the printability of your object. By gradually sloping the overhang, you reduce the degree of overhang and minimize the need for extensive supports.
- Support Density and Pattern: Adjusting the density and pattern of supports can have a significant impact on print quality and removal. A higher support density provides more stability but may lead to a rougher surface finish. Experiment with different densities and patterns to find the optimal balance between stability and aesthetics.
Adding supports and addressing overhangs effectively is crucial to prevent failed or distorted prints. It is important to strike a balance between providing adequate support and minimizing the impact on the overall design and surface finish of your object.
Remember to consider the limitations and capabilities of your specific printer and material when designing supports and overhangs. Conduct test prints to evaluate the effectiveness of your support structures and make necessary adjustments to ensure successful and visually appealing 3D prints.
Optimizing Your Design for Printing Speed and Cost
As a 3D printing enthusiast, you may be looking for ways to optimize your designs for faster printing speeds and cost efficiency. By considering certain factors during the design process, you can achieve faster print times and reduce material waste, leading to significant savings. Here are some strategies to optimize your design:
- Simplify Geometry: Complex geometries with intricate details may require a longer print time. Simplifying your design by reducing unnecessary complexity and intricate features can significantly speed up printing while maintaining the overall essence of your object.
- Adjust Layer Height and Print Speed: Optimizing the layer height and print speed settings in your slicing software can have a notable impact on printing time. Increasing the layer height or adjusting the print speed can save time, but it’s important to find the right balance to maintain print quality.
- Optimal Infill Percentage: Infill refers to the internal support structure of your print. Adjusting the infill percentage to find the right balance between strength and material consumption is key. Higher infill percentages provide added strength but require more material and time to print, while lower percentages reduce material usage but may compromise structural integrity.
- Hollowing Out Designs: If appropriate for your object, consider hollowing out the interior to save on material and reduce print time. However, be mindful of the structural integrity and stability of the design when removing internal material.
- Orientation and Print Layout: Properly orienting your design on the print bed and arranging multiple objects efficiently can help minimize print time and reduce material waste. Consider the stability, surface finish, and supports required for each orientation, and experiment with different layouts to find the most optimal arrangement.
- Material Selection: Choosing the right material for your design is crucial in terms of both cost and printing speed. Some materials are more affordable, while others may offer superior print properties but come at a higher cost. Evaluate your requirements and select the material that best suits your needs and budget.
- Printability Analysis: Utilize software tools or plugins that offer printability analysis to identify potential issues before printing. These tools can detect features that may cause printing problems, such as overhangs, thin walls, or excessive support material. By addressing these issues in the design phase, you can avoid failed prints and unnecessary waste of time and resources.
By implementing these optimization strategies, you can significantly improve printing speeds and reduce material costs. However, it is important to strike a balance between speed, cost, and the desired quality of your printed objects. Regularly evaluate and fine-tune your designs based on test prints and feedback to achieve the best results.
Remember that optimizing for speed and cost should not compromise the functionality or aesthetic appeal of your design. Strike a balance between these factors to ensure a successful and cost-effective printing experience.
Preparing Your Design for 3D Printing
Once your 3D design is complete, the next step is to prepare it for the printing process. Proper preparation ensures that your design is ready to be translated into a format that the 3D printer can understand and execute accurately. Here are the essential steps for preparing your design:
- Exporting to the Correct File Format: Save your design in the appropriate file format supported by your 3D printer. The most common format is .STL (Standard Tessellation Language), which represents the 3D geometry of your object. Make sure to verify the specific file format requirements of your printer.
- Scaling and Orienting: Check the scale of your design and ensure it aligns with your intended size. Pay attention to the dimensions and adjust if necessary. Additionally, orient your design on the print bed to ensure stability, optimal use of supports, and desired surface finish.
- Slicing Your Design: Use slicing software to prepare your design for printing. Slicing software processes the 3D model file and converts it into a series of 2D layers with specific instructions for the printer. Adjust settings such as layer height, print speed, infill density, and support structures based on your preferences and the specifics of your design and printer.
- Reviewing and Previewing: Before sending your design to the printer, carefully review the sliced model in the software’s preview mode. Pay attention to critical features, overhangs, and support structures to ensure they are correctly represented. This step allows you to identify and address any potential issues before initiating the print.
- Check Printing Parameters: Double-check the parameters in your slicing software, such as print temperature, bed adhesion, cooling settings, and layer adhesion. Ensure that they are appropriate for the chosen material and optimize these settings based on previous print experience and material specifications.
- Exporting the G-code: Once you are satisfied with the slicing settings, export the G-code file from the slicing software. The G-code contains machine-specific instructions necessary for the 3D printer to execute the print. Save the G-code file to an SD card or transfer it to the printer directly, depending on your printer’s connectivity options.
- Preparing the Printer: Ensure that your 3D printer is properly set up and calibrated. Level the print bed, check filament availability, and clean the printer’s extruder and nozzle. Following manufacturer instructions, load the filament, insert the SD card, or establish the necessary printer connection to initiate the print job.
By following these preparation steps, you can ensure that your design is optimized for the 3D printing process and increase the chances of a successful print. Remember to refer to your printer’s user manual and guidelines provided by the manufacturer for specific instructions and recommendations to achieve the best results.
Take the time to understand your printer’s capabilities and experiment with different settings and materials. Continuous learning and refinement of your design and printing process will help you produce high-quality 3D prints that bring your ideas to life.
Troubleshooting Common Issues in 3D Printing Designs
While 3D printing is an exciting technology, it is not uncommon to encounter challenges or issues during the printing process. Understanding common problems that can arise in 3D printing designs and knowing how to troubleshoot them is essential. Here are some typical issues and solutions to help you overcome them:
- Warping and Adhesion Issues: Warping occurs when the printed object lifts off the print bed or experiences uneven cooling, resulting in distorted or detached layers. Ensure that your print bed is properly leveled and clean. Use adhesive materials such as tape or a sticky print surface to improve adhesion. Adjusting the print bed temperature and using a heated chamber, if available, can also help reduce warping.
- Stringing and Oozing: Stringing or oozing refers to the thin strands or blobs of material that appear between distinct parts of your print. It is often caused by excessive material oozing or insufficient retraction settings. Adjust the retraction distance and speed in your slicing software to minimize stringing. Additionally, reducing the print temperature and increasing travel speed can also help mitigate this issue.
- Layer Lines and Uneven Surfaces: Layer lines and uneven surfaces can diminish the quality of your print. To address this issue, consider reducing the layer height or increasing the print resolution to achieve smoother results. Proper leveling of the print bed and ensuring proper cooling can also help improve surface quality. Experiment with different slicing settings and print speeds to find the optimal combination for your specific design.
- Support Removal and Cleanup: Removing support structures can sometimes prove challenging, especially if they are tightly attached or leave visible marks on the print. Use appropriate tools such as pliers, tweezers, or support removal tools to carefully remove the supports without damaging the printed object. Sanding, filing, or using other post-processing techniques can help smooth out any marks or imperfections left by the supports.
- Weak or Brittle Prints: If your prints are weak or brittle, it may be due to insufficient infill density or inadequate material flow. Increase the infill density in your slicing software to strengthen the internal structure of your print. Consider adjusting the flow rate or temperature to ensure proper extrusion and consistent material flow. Additionally, using higher quality or reinforced filament materials can improve the strength and durability of your prints.
- Misalignment or Skewed Prints: Misalignment or skewed prints can occur due to issues with the printer’s mechanical components or incorrect calibration. Check and clean the printer’s belts, rods, and nozzles for any debris or obstructions. Recalibrate the printer and ensure that all axes are properly aligned. Additionally, double-check your design’s orientation and ensure it is properly aligned on the print bed.
When troubleshooting issues in 3D printing designs, keep in mind that each problem can have multiple causes. It may require several iterations of adjustments, parameter changes, and testing to achieve the desired results. Using the feedback and insights gained from previous prints can help you narrow down the root cause and find effective solutions.
Don’t be discouraged by challenges along the way. Troubleshooting is an integral part of the 3D printing process, and with patience and persistence, you can overcome these issues and continue to improve the quality and success rate of your prints.
Conclusion
Congratulations! You have now gained valuable insights into the world of designing for 3D printing. Throughout this article, we explored the essential steps and considerations involved in creating successful 3D prints, from choosing the right design software to troubleshooting common issues. By understanding design guidelines, optimizing for printing speed and cost, and preparing your design effectively, you are well-equipped to embark on your 3D printing journey.
Remember, designing for 3D printing is a dynamic and iterative process. Embrace experimentation, continuous learning, and a willingness to adapt and iterate as you discover new techniques and gain experience. The more you practice and refine your skills, the better your designs will become.
Keep in mind that 3D printing is a combination of art, science, and technology. Balancing aesthetics, functionality, and printability is key to achieving outstanding results. As you delve deeper into the world of 3D printing, continue to explore new materials, techniques, and design methodologies to expand your capabilities and push the boundaries of what is possible.
So, unleash your creativity, apply the knowledge you have gained, and bring your ideas to life through the fascinating possibilities of 3D printing. With dedication, patience, and a passion for innovation, you will undoubtedly create extraordinary designs that captivate and inspire.