Introduction
Welcome to the fascinating world of 3D printing! With the technological advancements of recent years, 3D printing has become more accessible than ever before. It allows individuals and businesses to bring their creative ideas to life by turning digital models into tangible objects. Whether you’re a hobbyist, designer, or entrepreneur, learning how to create 3D models for 3D printing is an essential skill to master.
In this article, we will guide you through the process of creating 3D models specifically tailored for 3D printing. From choosing the right software to preparing your model for printing, we’ll cover all the necessary steps to help you transform your digital designs into physical objects.
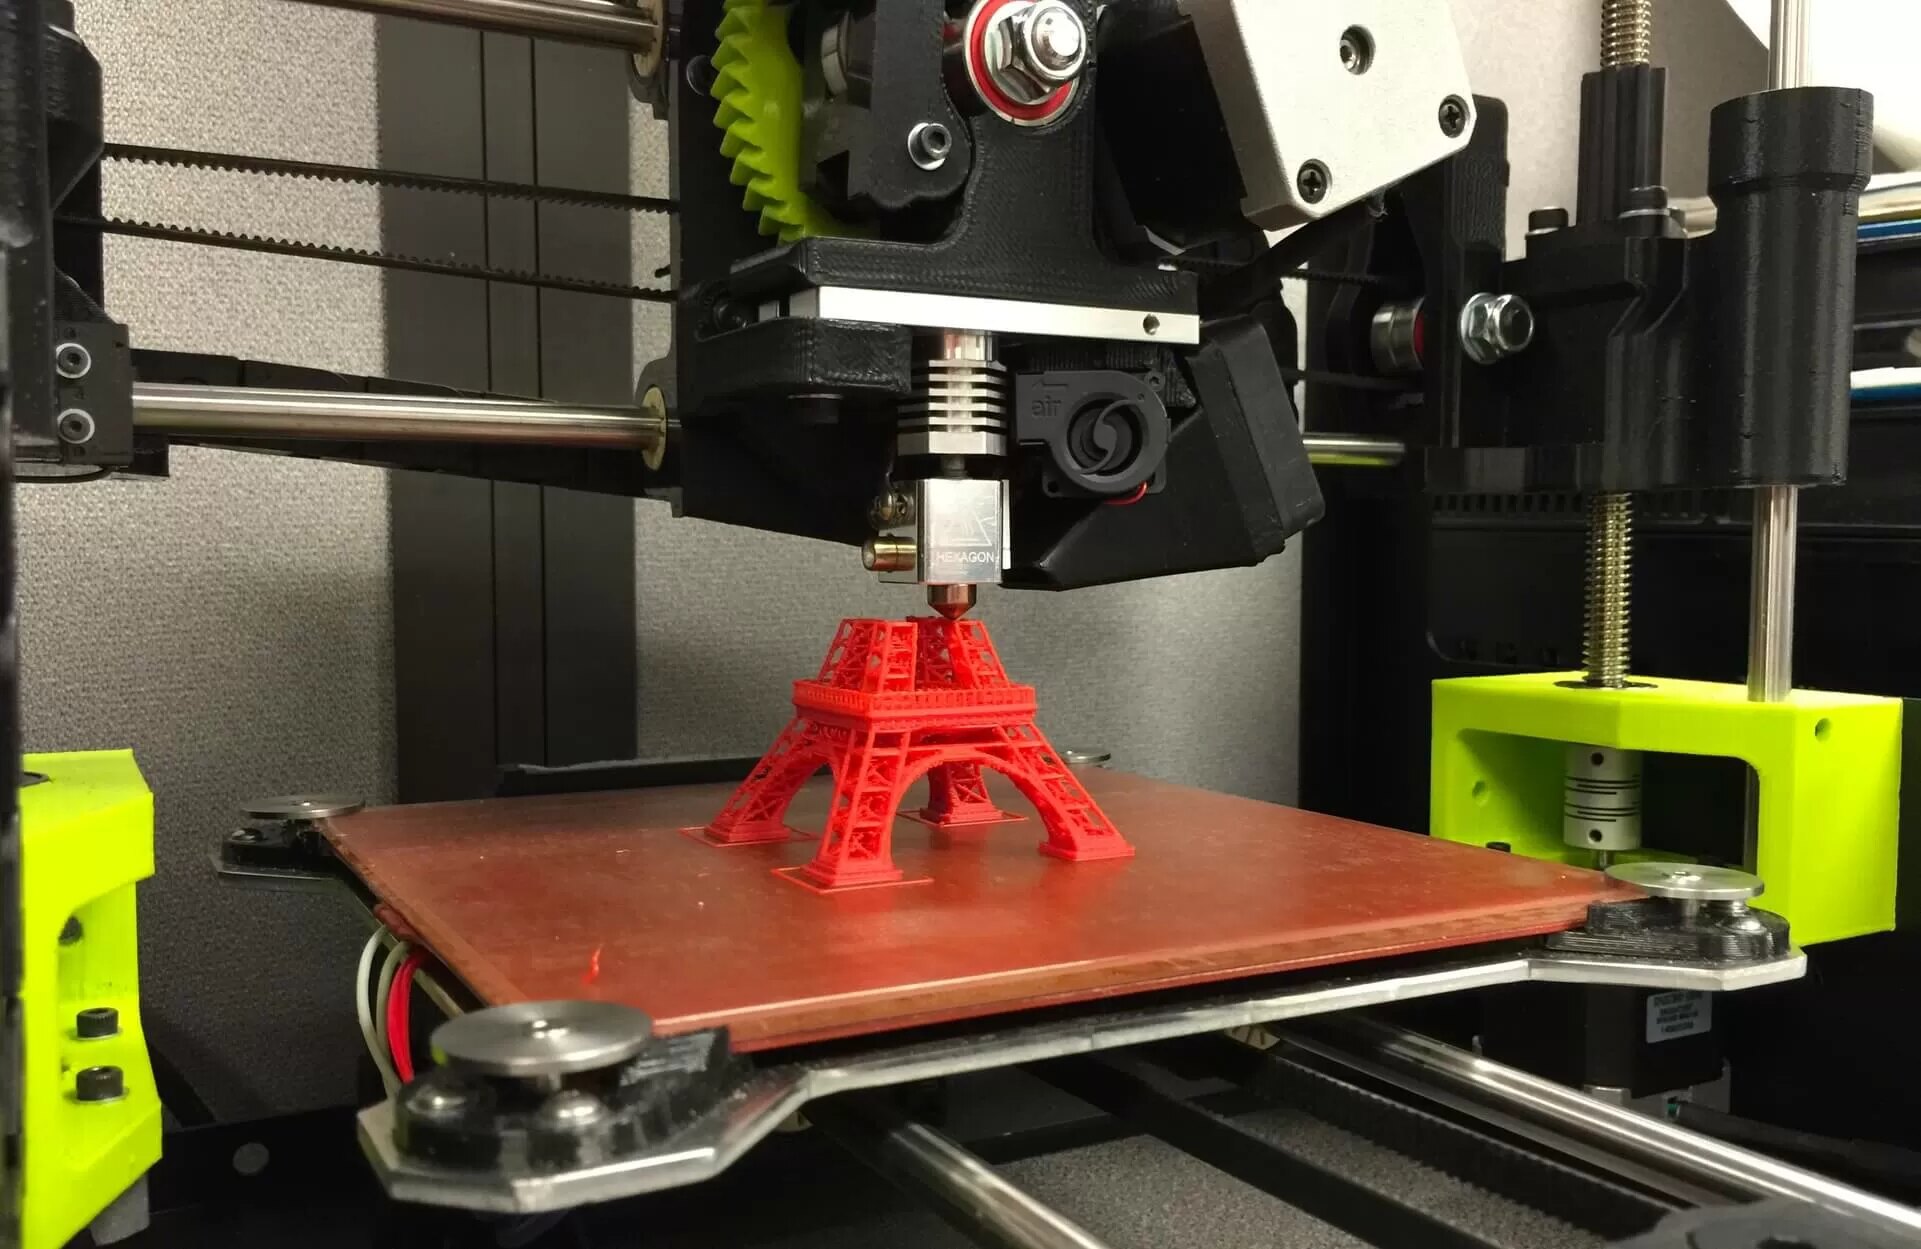
Before we dive into the technical aspects, it’s important to understand the basics of 3D printing and its endless possibilities. 3D printing, also known as additive manufacturing, involves building objects layer by layer using a range of materials, such as plastic, metal, or even food! It opens up a world of creativity, enabling the production of intricate prototypes, personalized objects, and even replacement parts.
Now that you have a grasp of the incredible potential that 3D printing offers, let’s explore the different stages involved in creating a 3D model for printing. From software selection to final post-processing, each step is crucial in ensuring a successful print. So, whether you’re a beginner or have some experience in 3D modeling, this guide will equip you with the knowledge and tools you need to bring your designs to life with 3D printing.
Choosing the Right Software
Before diving into the world of 3D modeling, it’s important to choose the right software that suits your needs and skill level. There are various options available, each with its own set of features and learning curves. Here are some popular choices to consider:
- Tinkercad: If you’re new to 3D modeling, Tinkercad is a great starting point. It’s a web-based tool that offers a user-friendly interface and a wide range of pre-made shapes that can be easily manipulated and combined.
- Fusion 360: Developed by Autodesk, Fusion 360 is a powerful software that caters to both beginners and advanced users. It provides a comprehensive set of tools for 3D modeling, rendering, and simulations.
- Blender: Known for its versatility, Blender is a free and open-source software that is widely used in the 3D modeling community. It offers advanced features for modeling, animation, and rendering.
- SolidWorks: Popular in the engineering and manufacturing industries, SolidWorks is a professional-grade software that provides robust tools for precise 3D modeling and product design.
- ZBrush: If you’re primarily interested in creating organic and highly detailed models, ZBrush is the go-to software. It offers powerful sculpting tools that allow for intricate designs.
When choosing the right software, consider factors such as your level of expertise, the complexity of your projects, and your budget. Many software options offer free trials or beginner-friendly versions, allowing you to explore and learn without fully committing.
Additionally, it’s worth exploring online communities and forums to see what others in your field recommend. User reviews and tutorials can provide valuable insights and help you make an informed decision.
Remember, the software you choose will impact your workflow and the capabilities of your final 3D models. Don’t hesitate to experiment and try different software until you find the one that best suits your needs and preferences.
Understanding 3D Modeling Basics
Now that you have chosen the right software, it’s time to familiarize yourself with the basic concepts of 3D modeling. Understanding these fundamentals will pave the way for creating complex and accurate 3D models for printing.
At its core, 3D modeling involves creating a virtual representation of an object in a three-dimensional space. This is achieved by manipulating basic shapes, vertices, edges, and faces. Here are some key concepts to grasp:
- Vertices: These are the points in a 3D model where the edges and faces meet. They define the shape and structure of the model.
- Edges: Edges connect two vertices and create the boundaries of a face.
- Faces: Faces are flat surfaces that connect a set of edges. They form the exterior and interior surfaces of the 3D model.
- Primitives: Primitives are basic shapes that can be manipulated to create more complex forms. Examples include cubes, spheres, cylinders, and cones.
- Extrusion: Extrusion is the process of extending a face or edge to create depth. It is commonly used to add volume and thickness to a model.
- Boolean Operations: Boolean operations involve combining or subtracting shapes to create more intricate forms. This technique is useful for creating complex geometries such as holes, fillets, or blends.
To become proficient in 3D modeling, it’s important to practice these techniques and explore the various tools and functions offered by your chosen software. Tutorials, online courses, and community forums can be valuable resources for learning and honing your skills.
Remember, mastering 3D modeling takes time and practice. Start with simple projects and gradually challenge yourself with more intricate designs. As you gain experience, you’ll develop an understanding of how different shapes and modifiers can be combined to create visually appealing and printable 3D models.
Design Guidelines for 3D Printing
When it comes to 3D printing, understanding the design guidelines is crucial to ensure that your models can be successfully printed. These guidelines help optimize your designs for the printing process and minimize the risk of errors or failure.
Here are some important design considerations for 3D printing:
- Size and Scale: Keep in mind the limitations of your 3D printer when designing your models. Ensure that the size of the object fits within the build volume of your printer. If it’s too large, consider breaking it down into smaller parts that can be assembled later.
- Wall Thickness: Design your model with a sufficient wall thickness to ensure its structural integrity during and after the printing process. Consult your printer’s specifications or manufacturer’s guidelines to determine the recommended minimum wall thickness.
- Overhangs and Support Structures: Consider the limitations of your 3D printer when designing overhangs or unsupported features. In most cases, angles below 45 degrees require support structures for successful printing. Incorporate support structures into your model or design the object with self-supporting angles.
- Avoiding Floating Parts: Ensure that your model is designed with a solid base or platform to prevent floating or detached parts during printing. This will enhance the stability and overall quality of the printed object.
- Clearance and Tolerances: Allow for sufficient clearance and tolerances between moving parts or assembled components. This ensures that the parts can fit together smoothly after printing without any interference or binding.
- File Type and Resolution: Save your 3D model in the appropriate file format, typically STL (Standard Tessellation Language), as it is widely compatible with most 3D printers. Additionally, prioritize a higher mesh resolution for detailed and accurate prints.
It’s important to note that design guidelines may vary depending on the specific 3D printer and material you are using. Check the documentation and recommendations provided by your printer manufacturer or service bureau to ensure optimal results.
By following these design guidelines, you can enhance the performance and quality of your 3D prints. Experimentation and iteration are key in refining your designs and optimizing them for successful and visually appealing results.
Integrating Necessary Supports
When creating 3D models for printing, it’s important to consider the need for supports, especially when dealing with complex geometries or overhangs. Supports are temporary structures that help maintain the integrity of the model during the printing process.
Here are some key points to keep in mind when integrating supports into your 3D models:
- Identifying Overhangs: Analyze your model to identify areas with overhangs or steep angles that may require support structures. Most 3D modeling software provides tools or features that can automatically detect and generate supports for these areas.
- Support Material: Consider the type of support material to use, which is typically different from the main printing material. Common support materials include PVA (Polyvinyl Alcohol) and HIPS (High Impact Polystyrene). These materials are water-soluble or easily removable, making cleanup easier after printing.
- Placement and Orientation: Carefully position your model to minimize the amount of support material needed. Adjust the orientation of the model so that overhangs are facing upwards or towards the side with minimal contact to reduce the need for supports.
- Adding Custom Supports: In some cases, automatically generated supports may not provide optimal results. In these instances, you can manually add custom supports using your 3D modeling software. This gives you more control over the placement and structure of the supports.
- Support Removal: After printing, carefully remove the supports using pliers or other appropriate tools. Take your time to remove them without causing any damage to the printed object. If using water-soluble supports, submerge the model in water to dissolve the supports.
Integrating supports into your 3D models may add some complexity to the design process, but it ensures the successful printing of your models, especially for intricate and challenging geometries. Experimentation and test prints can help you refine your support placement and optimize the overall printing process.
Remember to review the guidance provided by your 3D printer manufacturer, as well as specific material requirements, to ensure you are using the appropriate support configurations and materials for best results. By effectively integrating supports, you’ll achieve cleaner and more accurate prints, unlocking new design possibilities for your 3D models.
Optimizing the Model for Printing
To ensure successful 3D printing, optimizing your model is essential. This involves making adjustments and optimizations to enhance the printing process and achieve the best possible results. Here are some key points to consider when optimizing your 3D model for printing:
- Model Orientation: The orientation of your model can impact the print quality and the need for supports. Experiment with different orientations to find the optimal position that minimizes the need for supports and maximizes the strength of the final print.
- Filling and Infill Density: Rather than printing a completely solid model, consider adjusting the infill density. This refers to the internal structure of the print and can be adjusted to optimize strength, material usage, and print time. A higher infill density provides increased strength, while a lower density reduces material usage and print time.
- Hollowing: For larger or less structurally demanding models, consider hollowing out the interior to reduce material usage and printing time. However, be cautious not to compromise the overall structural integrity of the model.
- Wall Thickness: Ensure that the thickness of the walls in your model meets the minimum requirements of your chosen printing technology. Thicker walls provide greater stability and strength, while thinner walls may result in fragility or failure during printing.
- File Size and Resolution: Optimize your 3D model’s file size and resolution to ensure efficient processing and printing. Large file sizes can cause delays or errors during the printing process. Reduce the number of unnecessary details and use lower-resolution settings when appropriate.
- Check for Overlaps and Intersecting Geometry: Overlapping or intersecting geometry can cause printing issues and may result in parts that don’t fit together properly. Perform thorough checks to ensure that all the geometry in your model is clean and properly aligned.
As you optimize your model, it’s important to strike a balance between print quality, strength, material usage, and print time. Experiment with different settings and perform test prints to refine your model’s optimizations.
Additionally, familiarize yourself with the capabilities and limitations of your specific 3D printer and printing material. Different machines and materials may require different approaches to optimization. Consult the documentation and guidelines provided by the printer manufacturer and material supplier for specific recommendations.
By implementing these optimization techniques, you can ensure that your 3D models are well-prepared for the printing process, resulting in high-quality prints that accurately reflect your design intent.
Exporting as STL File Format
Once you have finished optimizing your 3D model, the next step is to export it in a format that is compatible with 3D printing. The most common file format for 3D printing is STL (Standard Tessellation Language). Exporting your model as an STL file ensures that it can be read and processed by slicing software, which generates the toolpaths for your 3D printer. Here’s how to export your model as an STL file:
- Finalize your Model: Before exporting, double-check your model for any errors or issues that may affect the print quality. Make sure that all the geometry is clean, properly aligned, and ready for printing.
- Scale and Units: Ensure that your model is scaled correctly and matches the desired dimensions. Verify that the units of measurement in your 3D modeling software align with the units required for the 3D printer.
- Select Export Options: Access the export options in your 3D modeling software and choose the STL file format. Some software allows you to customize additional parameters such as resolution, quality, or triangulation.
- Saving the STL File: Specify the destination folder and file name for your exported STL file. It’s recommended to use a descriptive and easily identifiable name.
- Prepare for Slicing: Once the STL file is saved, make sure to locate it and transfer it to the computer running your slicing software. This is where you’ll prepare the print settings and generate the instructions for your 3D printer.
Remember to follow any specific guidelines provided by your 3D modeling software or 3D printer manufacturer when exporting as an STL file. These guidelines may include suggestions for file resolution, surface detail preservation, or other necessary settings.
It’s also worth noting that the size of the STL file can affect print times and processing requirements. If your file size is large, consider reducing the level of detail or utilizing compression techniques to optimize the file size without compromising the integrity of the model.
By exporting your model as an STL file, you’re one step closer to bringing your 3D designs to life through the printing process. This file format ensures compatibility with a wide range of slicing software and allows you to fine-tune the printing parameters for the best possible results.
Slicing and Preparing the Model for Printing
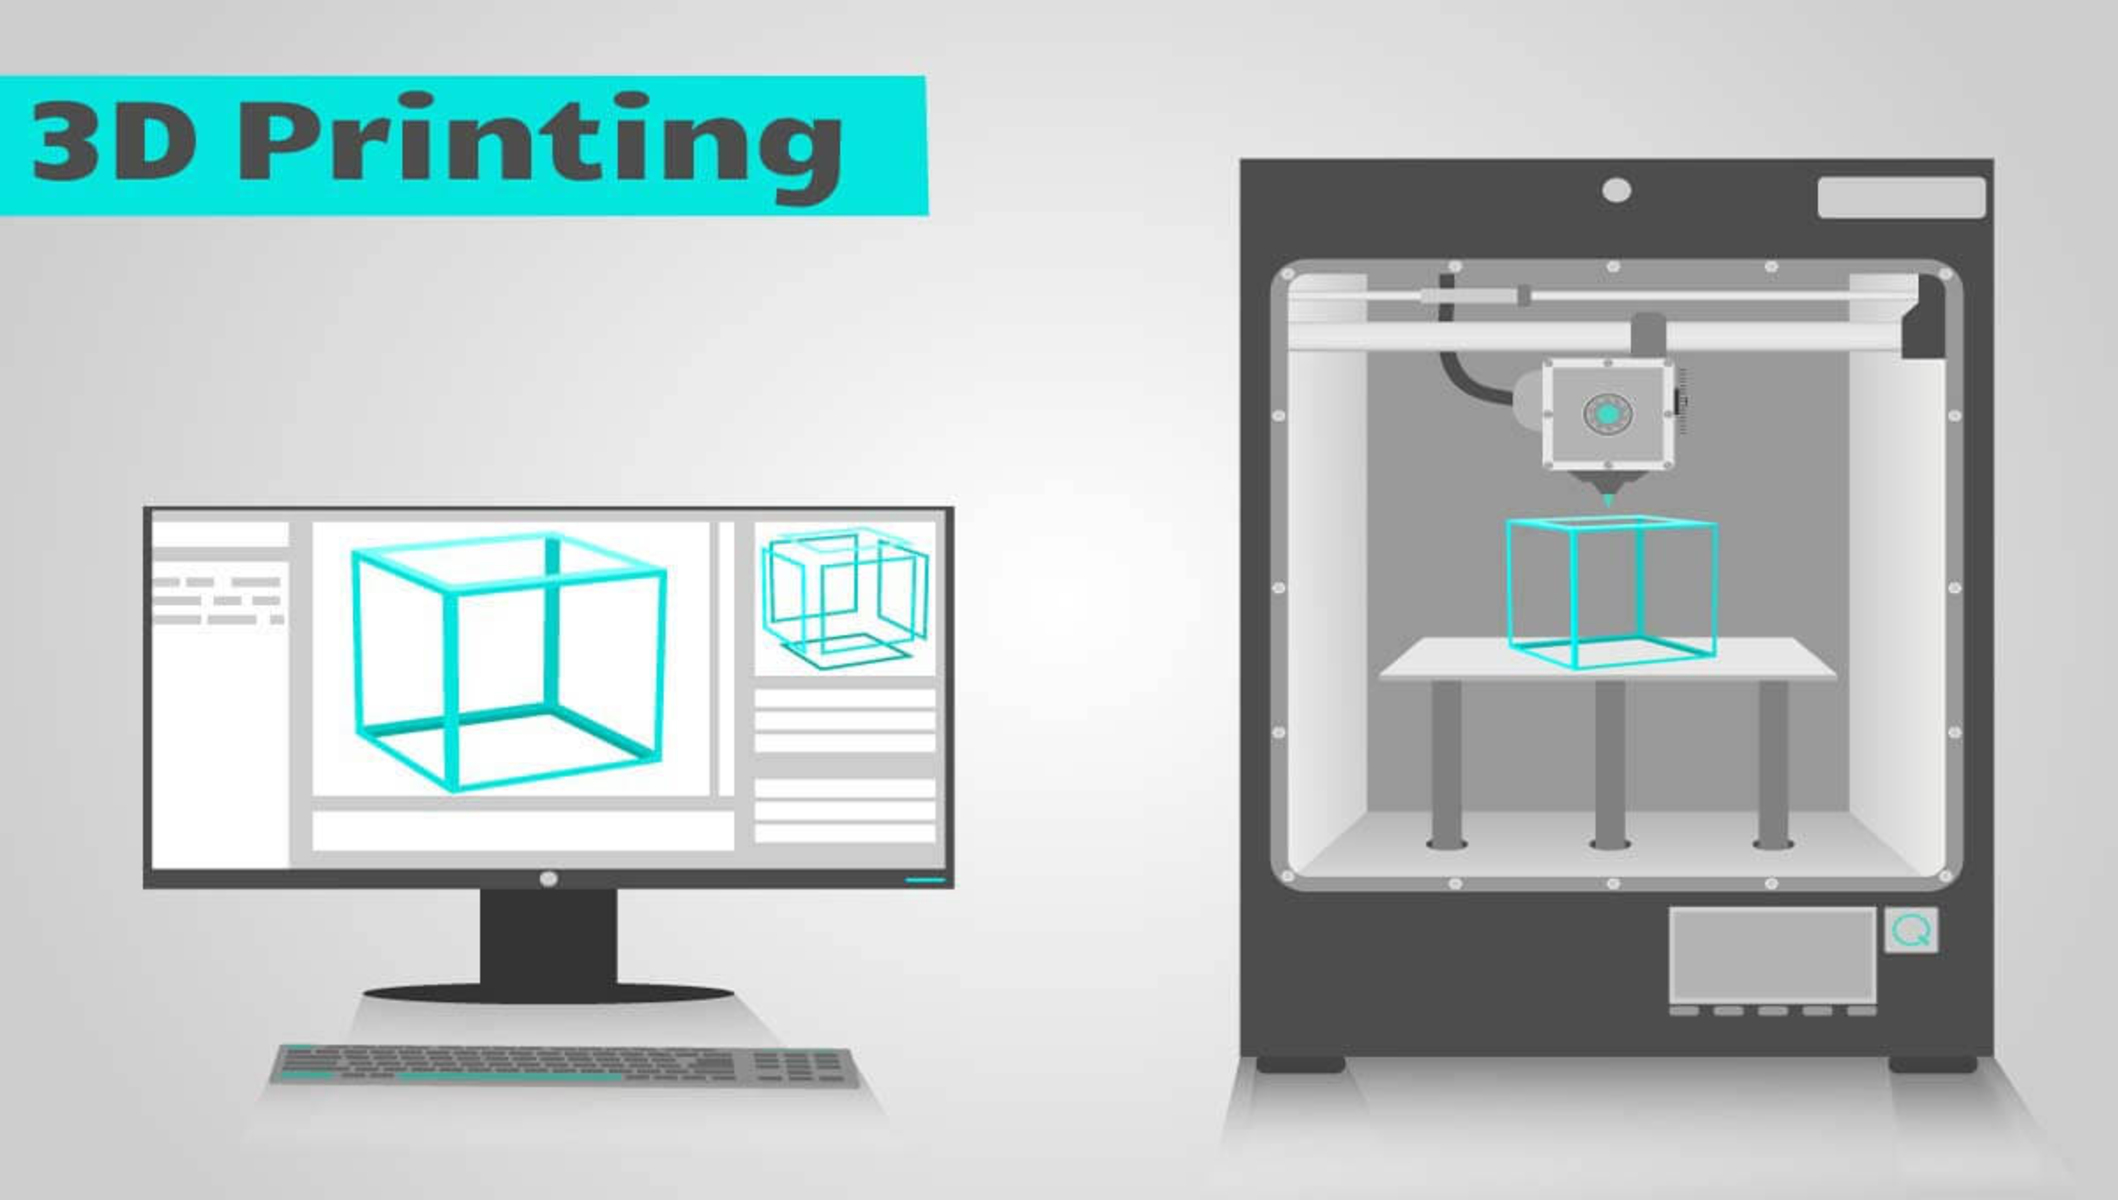
After exporting your model as an STL file, the next step is to slice and prepare it for printing. Slicing software takes your 3D model and generates the instructions that the 3D printer needs to bring it to life. Here’s how to properly slice and prepare your model for printing:
- Select the Slicing Software: Choose a slicing software that is compatible with your 3D printer. Popular options include Ultimaker Cura, PrusaSlicer, and Simplify3D. These software programs allow you to fine-tune print settings and generate the G-code necessary for printing.
- Import the STL File: Open the slicing software and import the saved STL file of your 3D model. The software will load the model and display it in a virtual build plate environment.
- Configure Print Settings: Adjust the print settings in the slicing software to match your specific requirements. This includes choosing the appropriate printer profile, selecting the desired layer height, adjusting the print speed, and configuring support and infill parameters.
- Orient and Position the Model: In the virtual build plate environment, orient and position the model to achieve the desired printing outcome. Consider factors such as minimizing supports, optimizing surface quality, and maximizing stability during printing.
- Generate the G-code: Once the model is properly positioned, generate the G-code, which contains machine-specific instructions for the 3D printer. The G-code instructs the printer to move the print head, extrude the filament, and build your model layer by layer.
- Save the G-code File: Save the generated G-code file to your computer or directly on an SD card for transfer to the 3D printer.
It’s crucial to carefully review the slicing settings to ensure that they align with your intended printing outcome. Pay attention to parameters such as layer height, print speed, temperature, and support structures to achieve the desired balance between print quality and printing time.
Keep in mind that different printers may require specific slicer settings. Additionally, consider consulting resources such as user manuals, online forums, or manufacturer’s documentation for recommended settings tailored to your printer or printing material.
By properly slicing and preparing your model for printing, you’ll be ready to execute the print and bring your design to life. Take the time to double-check the settings and verify that the G-code is generated correctly to ensure a successful and accurate print.
Printing and Post-Processing the 3D Model
Now that your model has been sliced and prepared in the previous step, it’s time to execute the print and bring your design into the physical world. Here’s a breakdown of the printing process and some post-processing steps to consider:
- Preparing the Printer: Ensure that your 3D printer is properly set up, leveled, and calibrated. Make sure the print bed is clean and free from any debris that may interfere with the print. Install the appropriate filament and load the generated G-code.
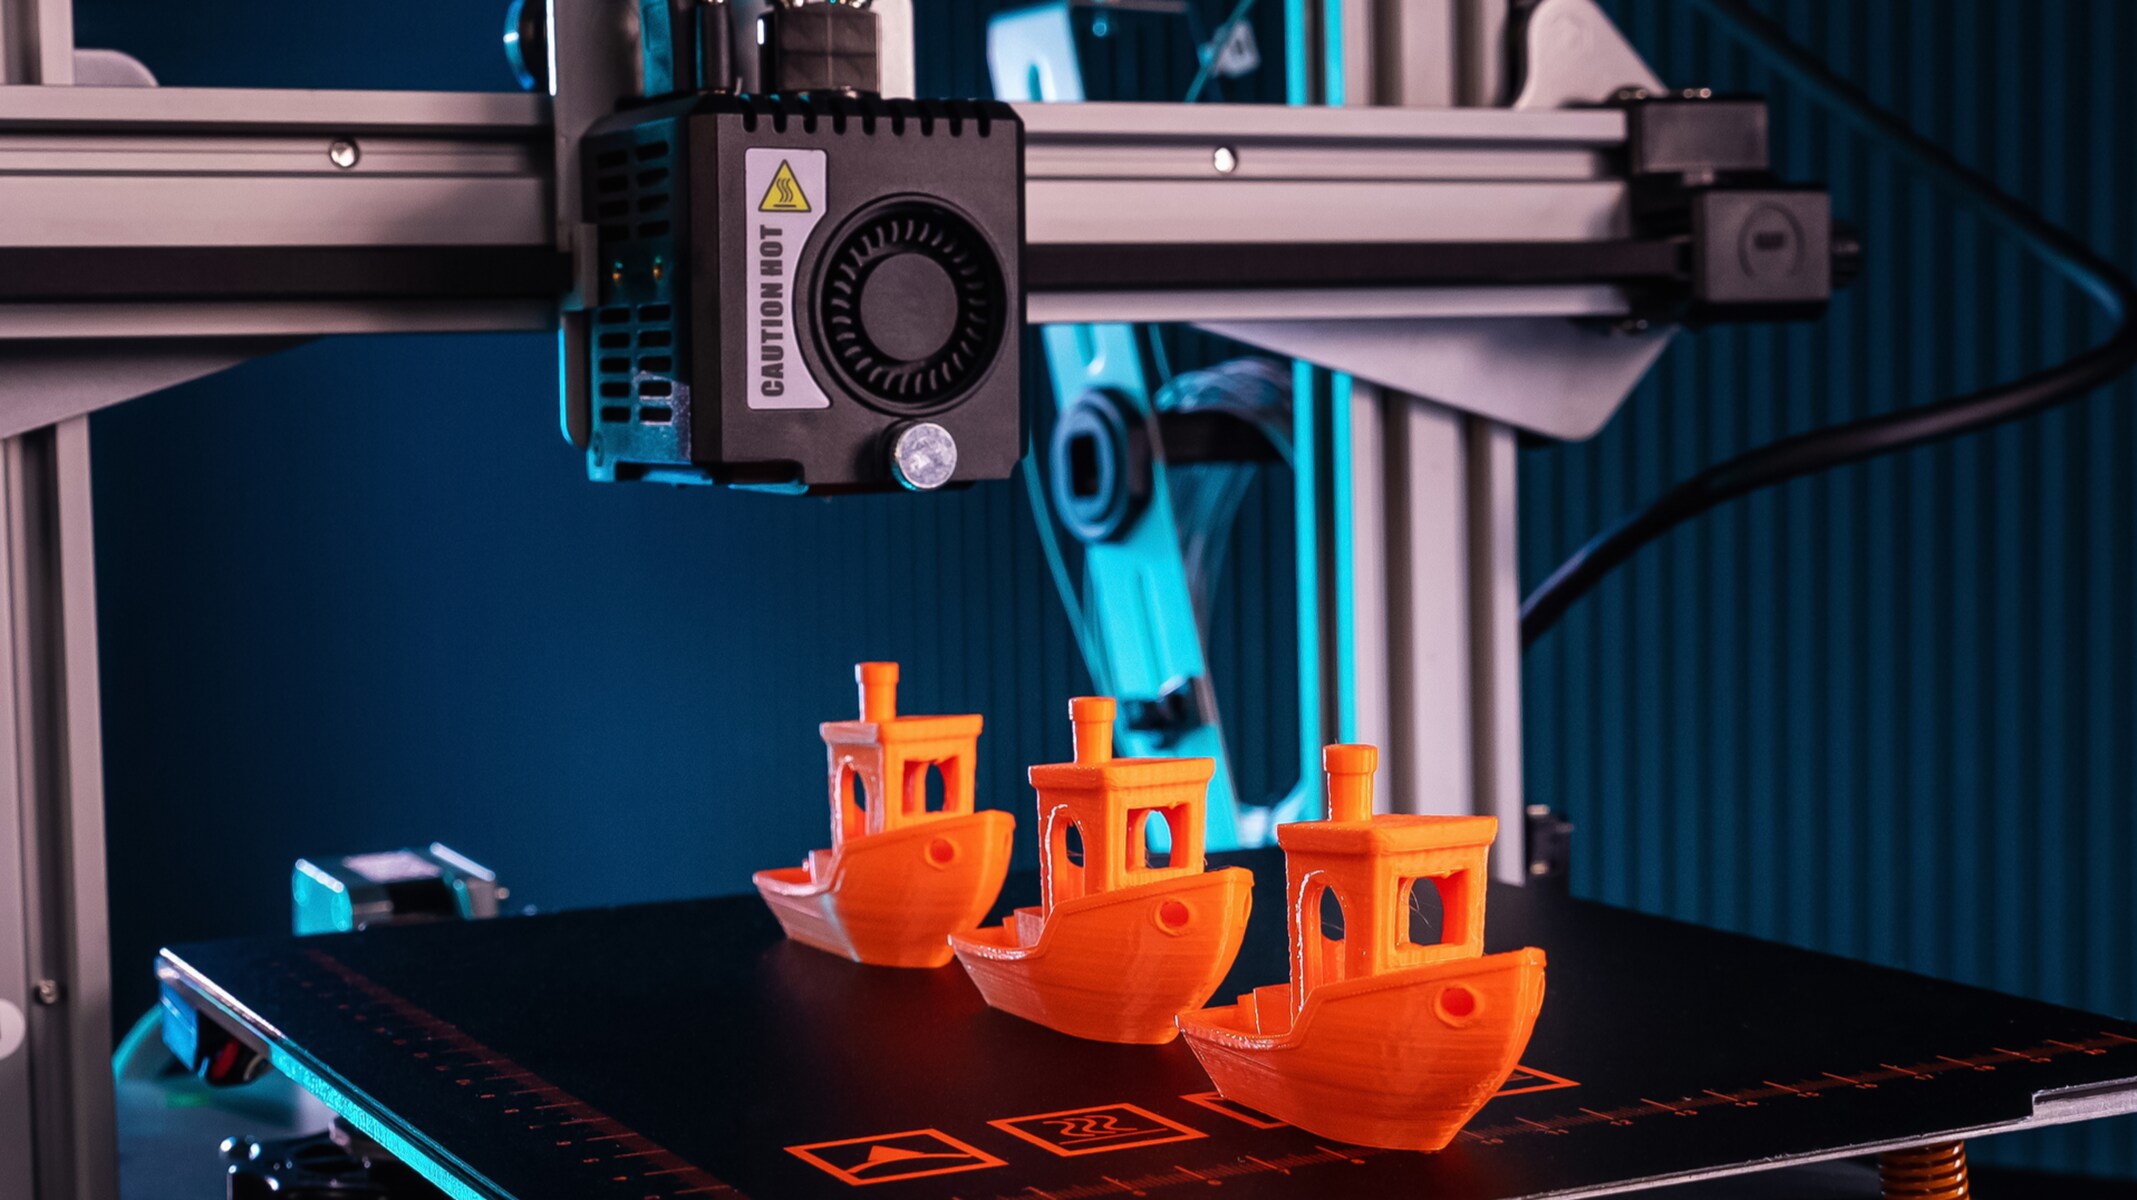
- Start the Print: Initiate the print from the printer’s control panel or the connected computer. Depending on the complexity and size of your model, the print time can vary significantly. Monitor the print process periodically to ensure there are no issues or errors.
- Post-Processing: Once the print is complete, carefully remove the printed object from the print bed, taking care not to damage it or the printer. Depending on the quality of the print and the desired outcome, you may need to perform some post-processing steps, such as:
- Removing Supports: If your model incorporated support structures, carefully remove them using pliers or other appropriate tools. Take your time to ensure that no damage is done to the printed object.
- Sanding and Smoothing: If you’re looking for a polished finish, you can use sandpaper or a sanding sponge to smooth any rough surfaces. Additionally, consider using filler or putty to fill in any imperfections or gaps.
- Painting and Finishing: For decorative or functional purposes, you may choose to paint your printed object. Use appropriate paints and primers designed for 3D prints. Additionally, consider applying a final protective coating to enhance durability.
- Assembling and Post-Processing: If your print includes multiple parts, carefully fit them together according to your design. Confirm that the assembly is secure and functions as intended. Additionally, consider any additional post-processing steps specific to your project, such as heat treatment or surface treatment.
It’s important to note that post-processing steps may vary depending on the specific requirements of your project and the desired outcome. Experimentation and practice will help you develop the skills and techniques necessary to achieve the desired results.
Finally, don’t forget to properly clean up your workspace and store your tools and materials safely. Dispose of any waste materials or support structures responsibly, adhering to local environmental regulations.
Printing and post-processing the 3D model is an exciting and rewarding part of the process. By following these steps and having attention to detail, you’ll be able to bring your virtual designs to life and create physical objects that showcase your creativity and expertise.
Conclusion
Congratulations! You have now gained valuable insights into the creation of 3D models for 3D printing. From choosing the right software to printing and post-processing, you’ve learned the important steps and considerations to ensure successful and high-quality prints.
Creating 3D models for 3D printing opens up a world of possibilities, whether you’re a hobbyist, designer, or entrepreneur. With the right tools, knowledge, and creativity, you can bring your ideas to life, turning virtual designs into tangible objects.
Remember to choose the appropriate software for your needs and skill level. Familiarize yourself with the basics of 3D modeling and optimize your models for printing by following design guidelines and integrating necessary supports. Export your models as STL files, slice them using the appropriate software, and prepare them for printing with the right settings and orientation.
As you embark on the print journey, be patient and embrace the iterative process. Adjust and refine settings as needed to achieve the desired print quality. After printing, explore post-processing techniques to enhance the appearance and functionality of your printed objects.
Keep in mind that 3D printing is a rapidly evolving field, and new technologies and techniques continue to emerge. Stay updated with the latest advancements and industry trends to continuously improve your skills and take advantage of new possibilities.
Now, armed with the knowledge and understanding of 3D modeling for 3D printing, unleash your creativity, experiment with different designs, and enjoy the exciting world of 3D printing!


