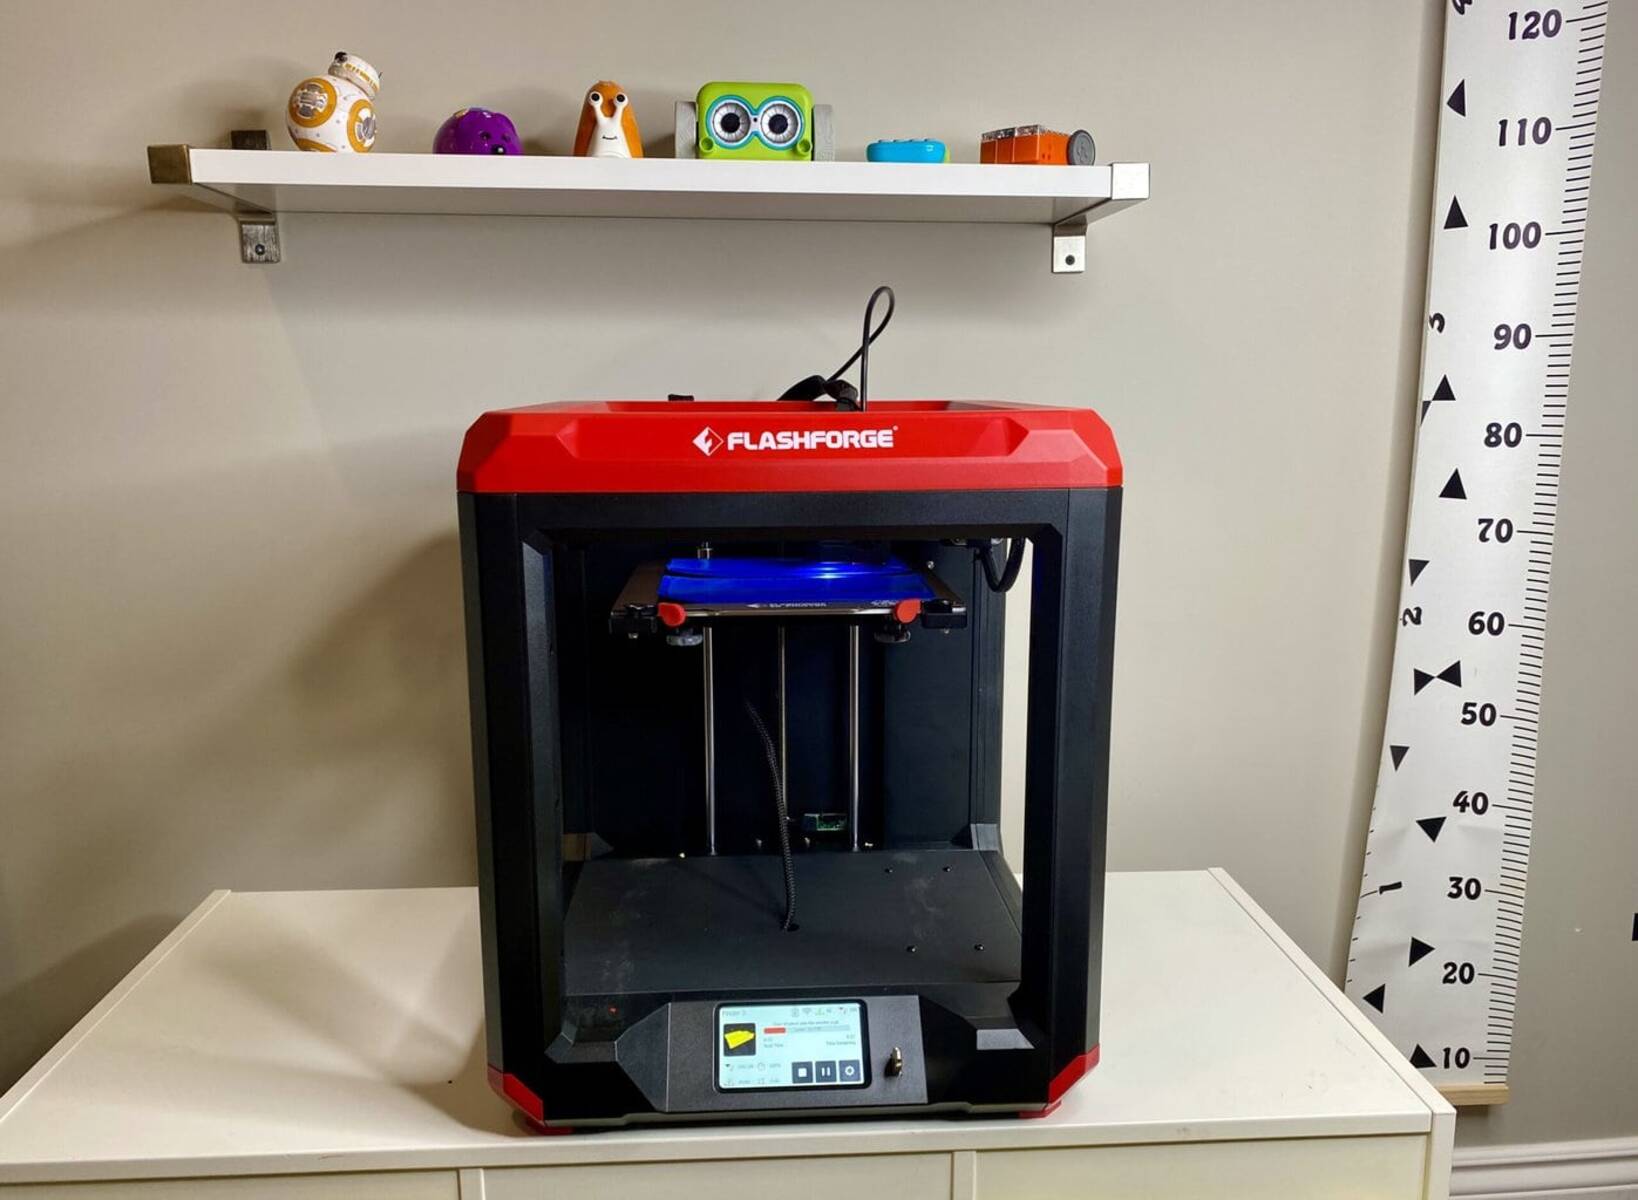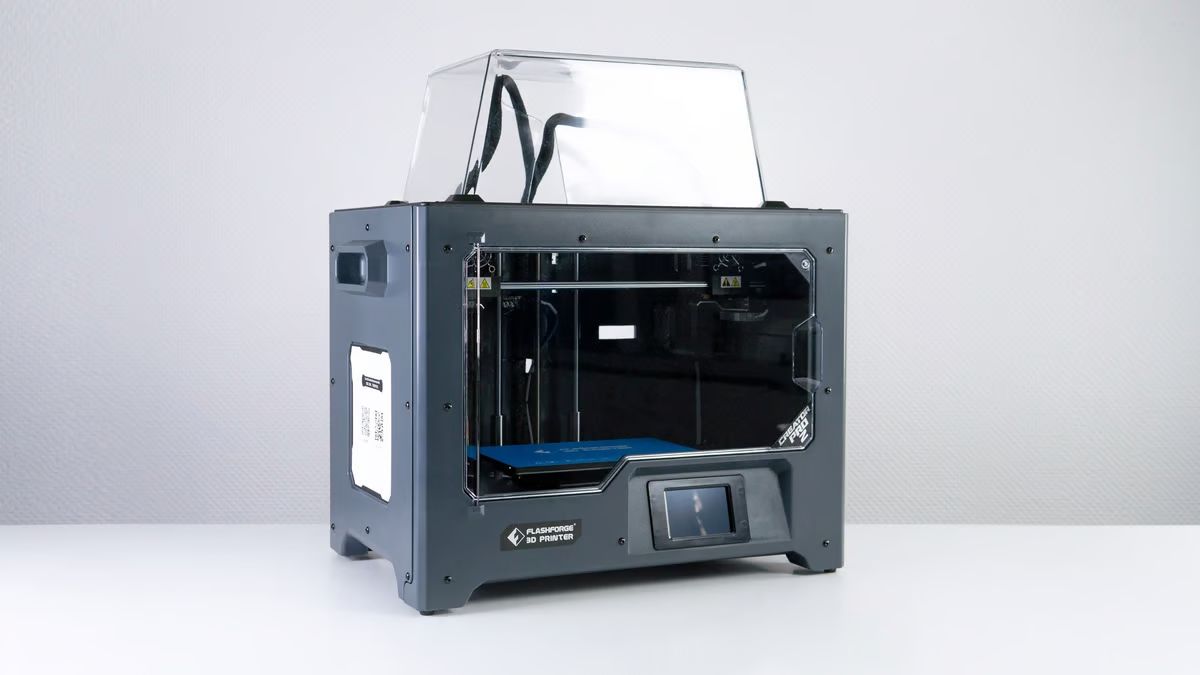
Flashforge 3D printers use a sliced print file format for actual printing, which is primarily GX, G, or standard G-code, and not the 3D model files you download or design. Understanding this Flashforge 3d printer file format distinction is essential: you feed model files like STL into a slicer, and the slicer outputs the specific file type your printer executes. If you need help getting your model into the software first, learn how to upload STL file to a 3D printer.
What file format does a Flashforge 3D printer actually use to print?
The short answer is that a Flashforge 3D printer prints using a sliced file, not a raw 3D model. Most Flashforge models execute G-code, a standardized set of instructions that controls the printer's movements, temperature, and extrusion. However, many Flashforge printers also use a proprietary format called GX, which bundles G-code with printer-specific metadata like temperature settings and print time estimates. Older or specific models may use a .G file, which is essentially G-code with a different extension. The key takeaway is that you never send an STL or OBJ directly to the printer; you must first process it through slicing software to generate the correct executable file. If you're new to this workflow, you can learn to use flash forge on a 3D printer from setup to your first successful print.
Input vs. output: model files and sliced print files
3D printing with a Flashforge printer is a two-stage process. The first stage is input: you import a 3D model file into slicing software. The second stage is output: the slicer converts that model into a sliced print file that the printer can read. This distinction is critical because beginners often confuse the model file they download with the file the printer actually uses. The model file describes the geometry of your object, while the sliced file contains layer-by-layer instructions. You will always need to use a slicer to bridge the gap between design and print.
Model input formats FlashPrint accepts
FlashPrint, the official slicing software for Flashforge printers, accepts several common 3D model file formats as input. The most widely used is STL, which represents a model's surface geometry as a mesh of triangles. OBJ is also supported, offering the advantage of storing color and texture information alongside geometry. Additionally, FlashPrint can import 3MF files, a modern format that can contain multiple materials, colors, and printer settings. Finally, FlashPrint accepts the FPP format, which is a native FlashPrint project file that saves your model along with all your slicing settings, allowing you to resume work later. FlashPrint software can also convert PNG, JPG, JPEG, and BMP image files into STL format to generate relief shapes on a model, a useful feature for creating custom lithophanes or embossed designs.
Sliced print file formats for Flashforge printers
Once you have prepared your model in FlashPrint, you export a sliced file for your printer. The most common format is standard G-code, which almost all Flashforge printers can read. Many models, particularly from the Creator and Adventurer series, use the GX format, which adds a header with printer-specific information. Some older or specific models use a .G file extension, which is functionally identical to G-code. Selected newer Flashforge printer models, including the Adventurer 5M series and Creator 5 series, can also utilize a sliced 3MF file for printing, which embeds the sliced data in a container format. The Flashforge Creator Pro 2 specifically uses GX or G-code files for printing and does not recognize X3G files, so always verify your printer's requirements before transferring a file.
A note on importing 3MF files from external sources
When importing 3MF files from external sources, users should be aware that they may contain the creator's printer and nozzle settings, which might require importing the file as geometry only or adjusting the printer profile within the slicer. This is because a 3MF file can store not just the model geometry, but also the specific printer, material, and process settings used by the original creator. If you import such a file directly, your slicer may attempt to apply those settings, which could cause errors if they do not match your Flashforge printer. To avoid this, use the import option that strips out the printer-specific data and brings in only the geometry, then apply your own settings.
Alternative slicer: Orca-Flashforge
For users of the Adventurer 5M series, Flashforge provides a specialized alternative to FlashPrint called Orca-Flashforge. Orca-Flashforge is a customized version of the popular Orca Slicer, tuned specifically for the Adventurer 5M's hardware capabilities. It is capable of exporting sliced 3MF or G-code files, giving you flexibility in how you transfer prints. This slicer offers advanced features like pressure advance calibration and more granular control over print parameters, making it a powerful tool for users who want to fine-tune their prints. Using Orca-Flashforge can help you achieve better quality and consistency on your Adventurer 5M printer.
Transferring files to your Flashforge printer
Once you have your sliced file, you need to get it to your printer. Sliced print files can be transferred to Flashforge printers via a USB drive, Wi-Fi, or cloud platforms like FlashCloud and PolarCloud. Using a USB drive is the simplest method: copy the file to a USB stick, insert it into the printer, and select the file from the printer's menu. Wi-Fi transfer allows you to send files directly from your computer or phone over your local network, which is convenient for quick prints. FlashCloud and PolarCloud are cloud-based services that let you upload files to your printer from anywhere, enabling remote printing and management. Choose the method that best fits your workflow and network setup.
\nRelated reading: How To Use Toybox 3D Printer.