Introduction
Loading firmware onto a 3D printer is a crucial step in ensuring optimal performance and unlocking advanced features. Firmware acts as the operating system for your printer, controlling various functions such as temperature management, motor control, and connectivity. Whether you’re upgrading to the latest firmware version or replacing a faulty one, this guide will walk you through the process.
Before diving into the steps, it’s important to note that firmware loading requires some technical understanding and familiarity with your 3D printer’s model and software. Additionally, ensure that you have the necessary tools and resources available to avoid any complications.
In this article, we will provide a comprehensive guide on how to load firmware onto a 3D printer. We will cover the necessary preparations, tools required, the firmware download process, connecting your 3D printer to your computer, flashing the firmware, and verifying the installation.
Whether you are a seasoned 3D printing enthusiast or a beginner, understanding the firmware loading process is essential for personalizing your printer and optimizing its performance.
So, let’s dive in and explore the step-by-step process of loading firmware onto your 3D printer!
Preparing the Firmware
Before you can load the firmware onto your 3D printer, it is crucial to ensure that you have the correct firmware version and that it is compatible with your printer model. Firmware updates often bring improvements, bug fixes, and new features, so it’s always a good idea to stay up to date.
The first step is to identify your printer model and visit the manufacturer’s website. Most manufacturers provide firmware updates for their printers, along with instructions on how to install them. Locate the firmware section on the website and search for the appropriate firmware version for your specific printer model.
Make sure to carefully read the documentation provided by the manufacturer. They may include important information about the process, any specific requirements, and potential risks. It’s essential to follow their instructions to avoid damaging your printer.
Additionally, it’s a good practice to back up your existing firmware before proceeding with any updates. This will allow you to revert to the previous version in case any issues arise during the installation process.
Next, check if there are any dependencies or prerequisites for the firmware update. For example, some updates may require specific software versions or additional libraries. Ensure that you have all the necessary tools and resources before proceeding.
If your printer is equipped with an SD card slot, it’s advisable to format the SD card before loading the new firmware. This will ensure that the card is empty and ready to store the updated firmware file.
Once you have gathered all the required information, firmware version, and dependencies, you are ready to move on to the next step: gathering the necessary tools.
Gathering Required Tools
Before you begin the firmware loading process, it’s important to gather all the necessary tools and resources. Having the right tools at hand will make the process smoother and help prevent any unforeseen issues. Here are the essential tools you’ll need:
- Computer: You will need a computer that is compatible with your 3D printer and its firmware update software. Make sure your computer meets the system requirements specified by the manufacturer.
- USB Cable: Most 3D printers connect to the computer via a USB cable. Check the specifications of your printer to determine the type of USB cable required.
- SD Card: If your printer supports firmware updates via an SD card, make sure to have a compatible SD card at hand. Ensure that the SD card has sufficient storage capacity to accommodate the firmware file.
- Firmware Update Software: Manufacturers usually provide specific software for updating the firmware of their printers. Visit the manufacturer’s website and download the appropriate firmware update software for your printer model.
- Internet Connection: An internet connection is necessary to access the manufacturer’s website, download firmware updates, and gather any additional resources or documentation.
- Documentation: Keep any documentation or instructions provided by the manufacturer handy. It may contain valuable information about specific steps or precautions to take during the firmware loading process.
- Patience and Caution: Firmware loading can sometimes be a delicate process. It’s important to approach it with patience and caution. Read through all the instructions and documentation carefully before proceeding.
Gathering these tools beforehand will ensure a smooth and stress-free firmware loading experience. Now that you have all the necessary tools, let’s move on to the next step: downloading the firmware.
Downloading the Firmware
Once you have identified the correct firmware version for your 3D printer and gathered all the necessary tools, it’s time to download the firmware onto your computer. The firmware file contains the instructions and code that will be flashed onto your printer to update its operating system. Here’s how to download the firmware:
- Visit the manufacturer’s website and navigate to the firmware section.
- Search for the firmware version that corresponds to your printer model. Pay attention to any notes or compatibility information provided by the manufacturer.
- Click on the download link for the firmware version you need. The file will typically be in a compressed format, such as a .zip or .rar file.
- Choose a suitable location on your computer to save the downloaded firmware file. Remember this location as you will need to access it in the next steps.
- Wait for the download to complete. The time required will depend on the size of the firmware file and the speed of your internet connection.
- Once the download is finished, locate the downloaded firmware file on your computer and extract it if necessary. This will typically involve right-clicking on the file and selecting “Extract” or using a suitable extraction software.
It’s recommended to keep the extracted firmware file in a easily accessible folder on your computer. This will make it easier to locate and load the firmware during the flashing process.
With the firmware successfully downloaded, you are now ready to move on to the next step: connecting your 3D printer to your computer.
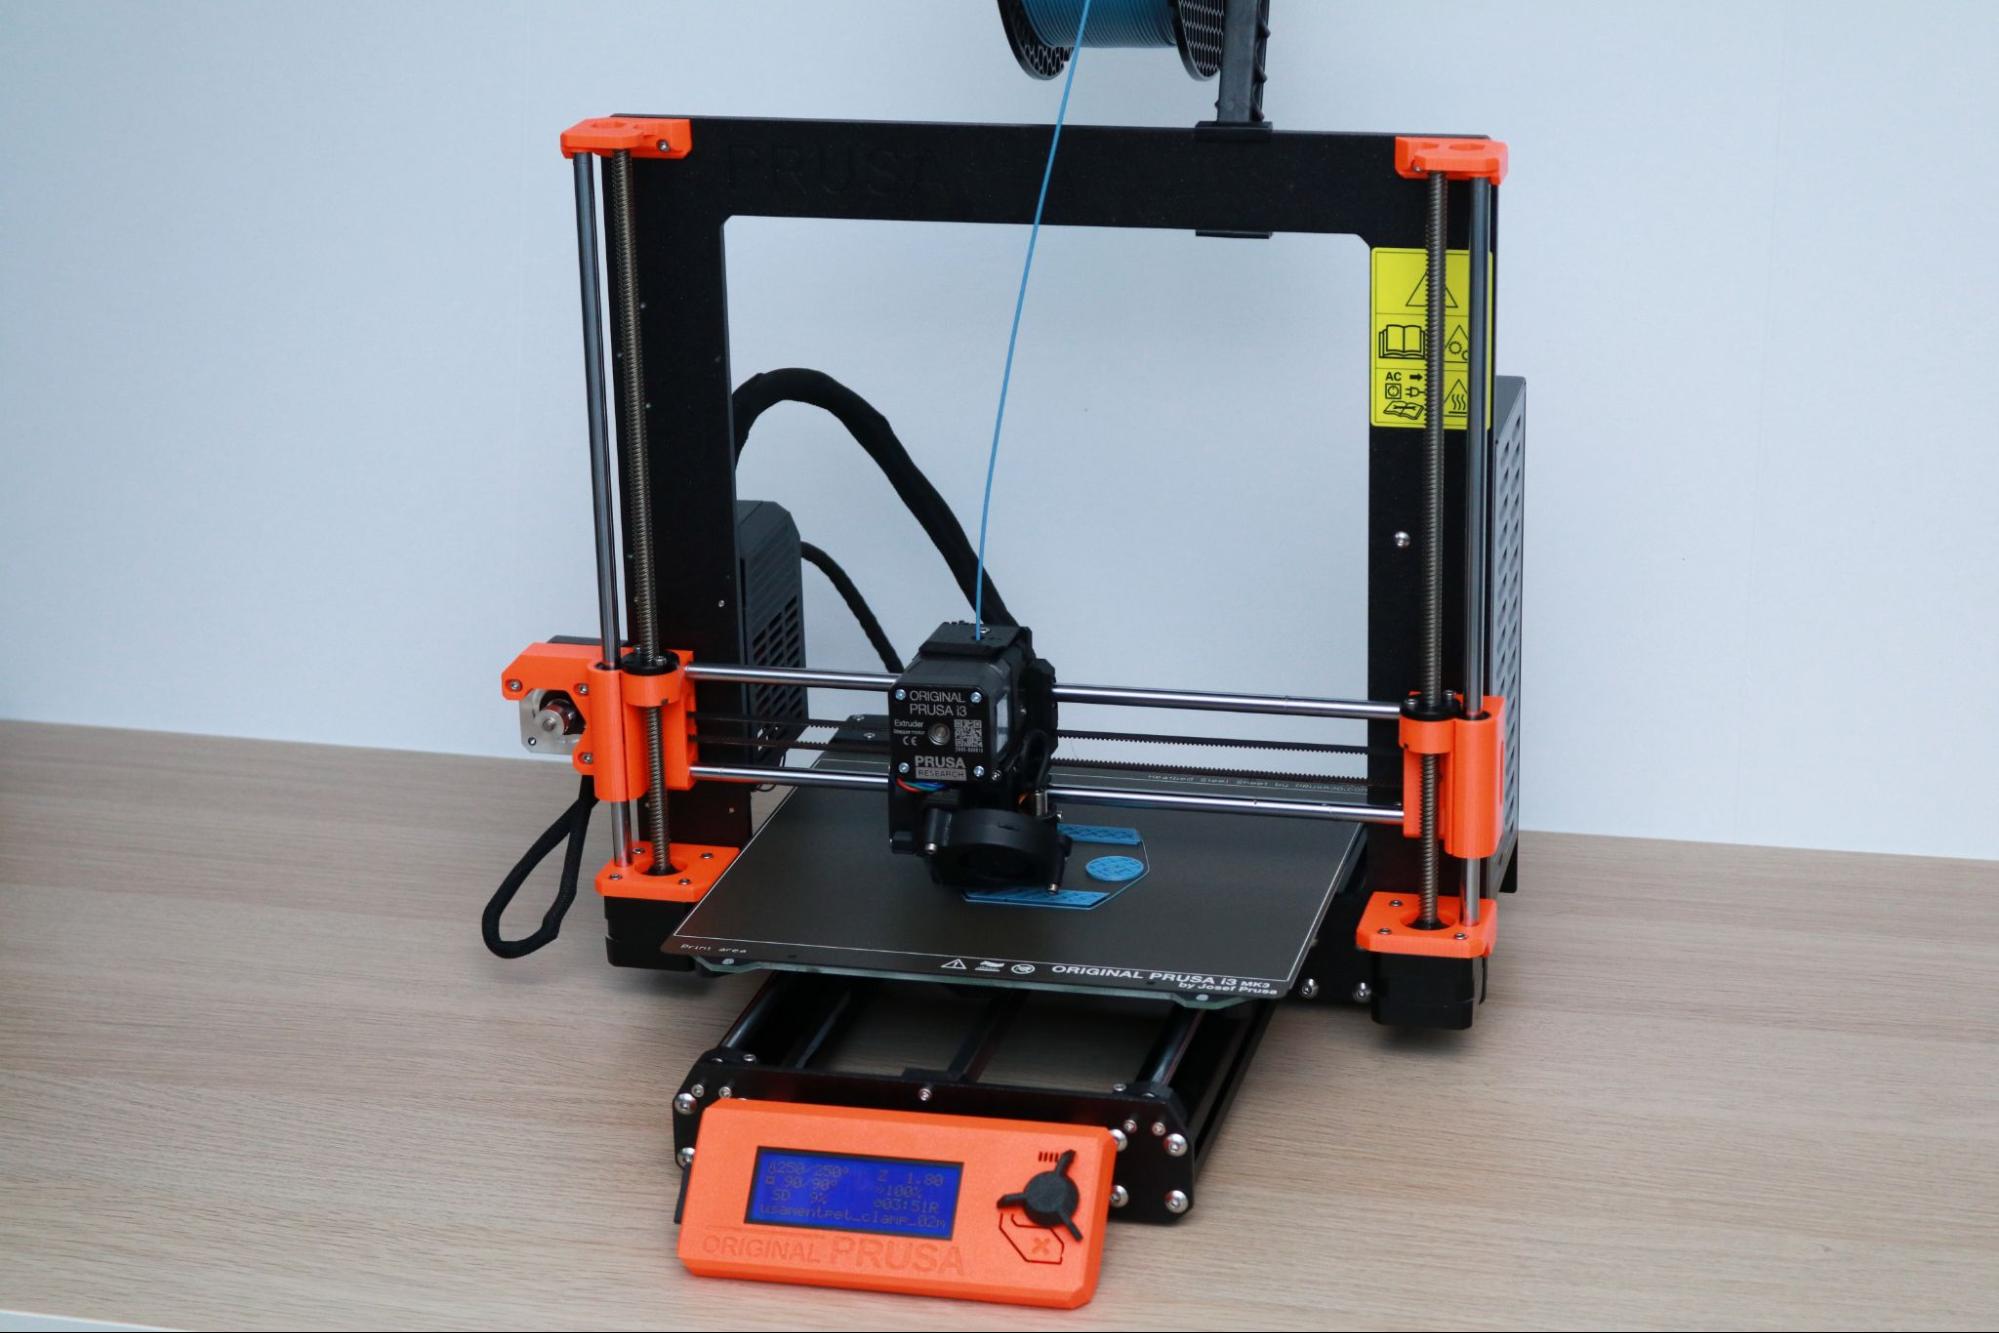
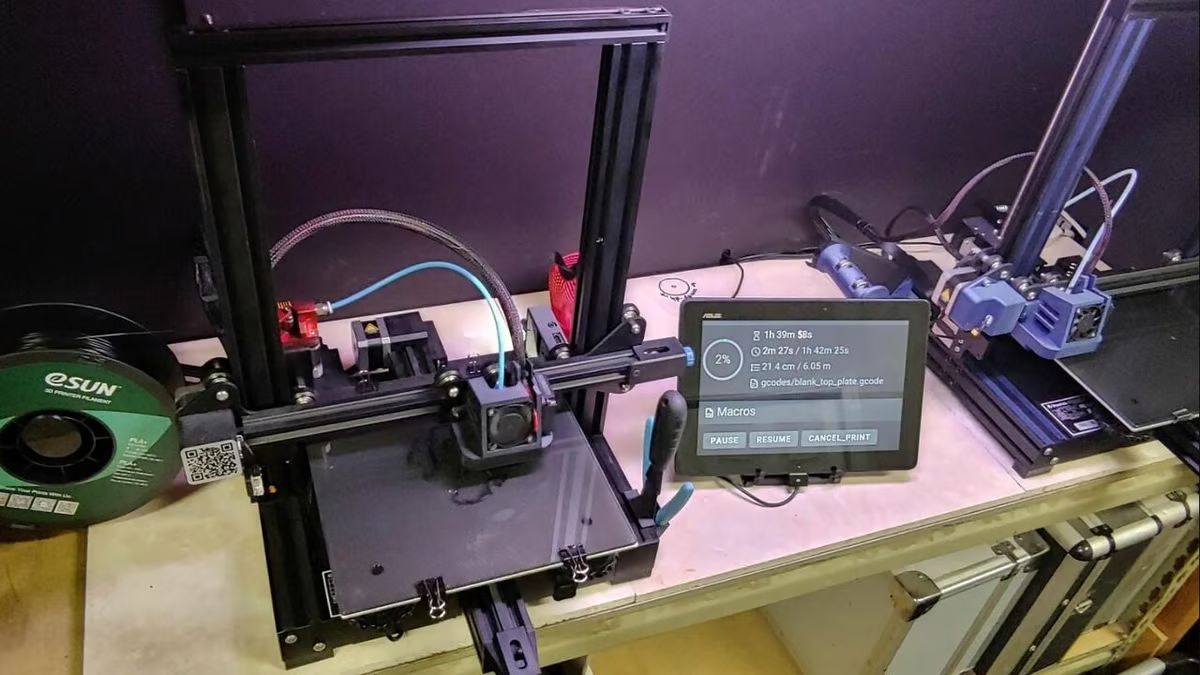
Connecting the 3D Printer to Your Computer
Before you can proceed with flashing the firmware onto your 3D printer, you need to establish a connection between your printer and your computer. This connection allows the firmware update software to communicate with the printer and initiate the flashing process. Here’s how you can connect your 3D printer to your computer:
- Ensure that your 3D printer is powered off and disconnected from any power source.
- Locate the USB port on your printer. It’s typically located on the side or back of the printer.
- Take the USB cable and connect one end to the USB port on your printer.
- Connect the other end of the USB cable to an available USB port on your computer.
- Turn on your 3D printer.
- Wait for your computer to detect the connected printer. This may take a few moments.
- If your printer requires any specific drivers or software for the connection, follow the manufacturer’s instructions to install them on your computer.
- Once the connection is established and your computer recognizes the printer, you are ready to proceed with flashing the firmware.
It’s important to ensure that the USB cable connection is secure and stable. A loose connection may result in communication errors during the firmware flashing process. Double-check the connections before moving on to the next step.
With the printer successfully connected to your computer, you are now ready to flash the firmware onto your 3D printer.
Flashing the Firmware
Flashing the firmware is the process of transferring the downloaded firmware file from your computer to your 3D printer. This step updates the printer’s operating system with the new firmware version. Follow the steps below to flash the firmware:
- Open the firmware update software on your computer. This software is usually provided by the manufacturer and should be compatible with your printer model.
- Look for an option or button in the software to initiate the firmware flashing process. Click on it to start.
- The software will prompt you to select the firmware file you downloaded earlier. Navigate to the location where the firmware file is stored and select it.
- Confirm that you want to proceed with flashing the firmware by following the on-screen instructions. Be aware that flashing the firmware may reset some printer settings, so it’s recommended to note down any customized settings beforehand.
- Wait for the firmware flashing process to complete. This may take a few minutes. Do not interrupt or disconnect the printer during the process.
- Once the firmware flashing is finished, the software will notify you. Some printers may automatically restart after flashing.
During the firmware flashing process, it’s important to follow the instructions provided by the manufacturer and avoid any interruptions or power outages. Interrupting the process may lead to firmware corruption or printer malfunctions.
After successfully flashing the firmware, your printer will be updated with the latest version. However, it’s always a good practice to verify the firmware installation to ensure that the process was successful.
Next, we will discuss how to verify the firmware installation on your 3D printer.
Verifying the Firmware Installation
After flashing the firmware onto your 3D printer, it is essential to verify that the installation was successful. Verifying the firmware ensures that your printer is running on the updated version and allows you to check for any potential issues or errors. Here are the steps to verify the firmware installation:
- Ensure that your 3D printer is powered on and connected to your computer.
- Access the firmware update software on your computer.
- Look for an option or menu within the software that provides information about the firmware version installed on your printer.
- Click on the option to view the firmware information.
- Verify that the displayed firmware version matches the version you just installed. This confirms that the firmware installation was successful.
- If there is a discrepancy or the firmware version is not displayed, try reconnecting your printer to the computer and refreshing the firmware information in the software.
It’s important to note that the process of verifying firmware installation may vary depending on the manufacturer and the firmware update software. Refer to the manufacturer’s documentation or support resources for specific guidance if needed.
If you encounter any issues or errors during the verification process, double-check the firmware installation steps and ensure that you followed them correctly. If the problem persists, consult the manufacturer’s support documentation or contact their customer support for further assistance.
Verifying the firmware installation gives you the confidence that your printer is running on the latest firmware version and ready to benefit from any enhancements or bug fixes provided by the update.
Now that you have verified the firmware installation, it’s time to address any potential issues that may arise during the process. In the next section, we will discuss troubleshooting common issues encountered when loading firmware onto a 3D printer.
Troubleshooting Common Issues
Loading firmware onto a 3D printer can occasionally come with challenges or unexpected issues. Understanding and troubleshooting these common problems will help you overcome any hurdles you may encounter during the process. Here are some of the common issues and their potential solutions:
- Connection Errors: If you are unable to establish a connection between your printer and computer, ensure that the USB cable is securely connected and try using a different USB port. Also, verify that you have installed any necessary drivers or software provided by the manufacturer.
- Compatibility Issues: If the firmware you downloaded is not compatible with your printer model, it may lead to errors during the flashing process. Double-check that you have selected and downloaded the correct firmware version specific to your printer model.
- Firmware Corruption: Sometimes, firmware files may become corrupted during the download or extraction process. If you encounter errors during flashing or verification, try re-downloading the firmware and ensure that the file is not corrupted.
- Power Interruptions: Power disruptions during the firmware flashing process can cause issues and may corrupt the firmware. Make sure you have a stable power source and your printer is connected to an uninterrupted power supply or battery backup.
- Settings Reset: After flashing new firmware, some printer settings might get reset to their default values. Take note of any customized settings before starting the firmware update and reconfigure them if necessary after the update.
- Insufficient Storage: If you are updating the firmware via an SD card, ensure that the card has enough free space to accommodate the new firmware file. Remove any unnecessary files from the card or use a card with a larger capacity.
If you encounter any other issues or errors that are not covered here, consult the manufacturer’s documentation or support resources. They will likely have specific troubleshooting steps tailored to your printer model and firmware update software.
Remember to approach troubleshooting with patience and caution. Make sure to follow the manufacturer’s instructions and recommendations to avoid any damage to your 3D printer.
With these troubleshooting tips in mind, you should be well-equipped to overcome common issues that may arise while loading firmware onto your 3D printer.
Now, let’s wrap up this guide with a summary of the key takeaways and a reminder of the importance of firmware updates.
Conclusion
Loading firmware onto a 3D printer is a crucial step in optimizing its performance and unlocking new features. In this guide, we have covered the essential steps involved in loading firmware onto a 3D printer, including preparing the firmware, gathering the required tools, downloading the firmware, connecting the printer to your computer, flashing the firmware, and verifying the installation. We have also discussed common issues that may arise during the process and provided troubleshooting tips to overcome these challenges.
Remember, always ensure that you have the correct firmware version for your specific printer model and follow the manufacturer’s instructions and recommendations. Take your time to gather the necessary tools, backup your existing firmware, and carefully download and extract the firmware file. When connecting your printer to your computer, ensure the USB connection is secure and stable. During the flashing process, be patient and avoid any interruptions or power disruptions. Finally, verify the firmware installation to ensure it was successful.
Regularly updating your firmware is important as it brings improvements, bug fixes, and new features that can enhance your 3D printing experience. It is recommended to check for firmware updates periodically and stay up to date with the latest versions provided by the manufacturer.
By following the steps outlined in this guide and being aware of the potential issues and solutions, you can confidently load firmware onto your 3D printer and experience the full capabilities of your machine. Happy 3D printing!