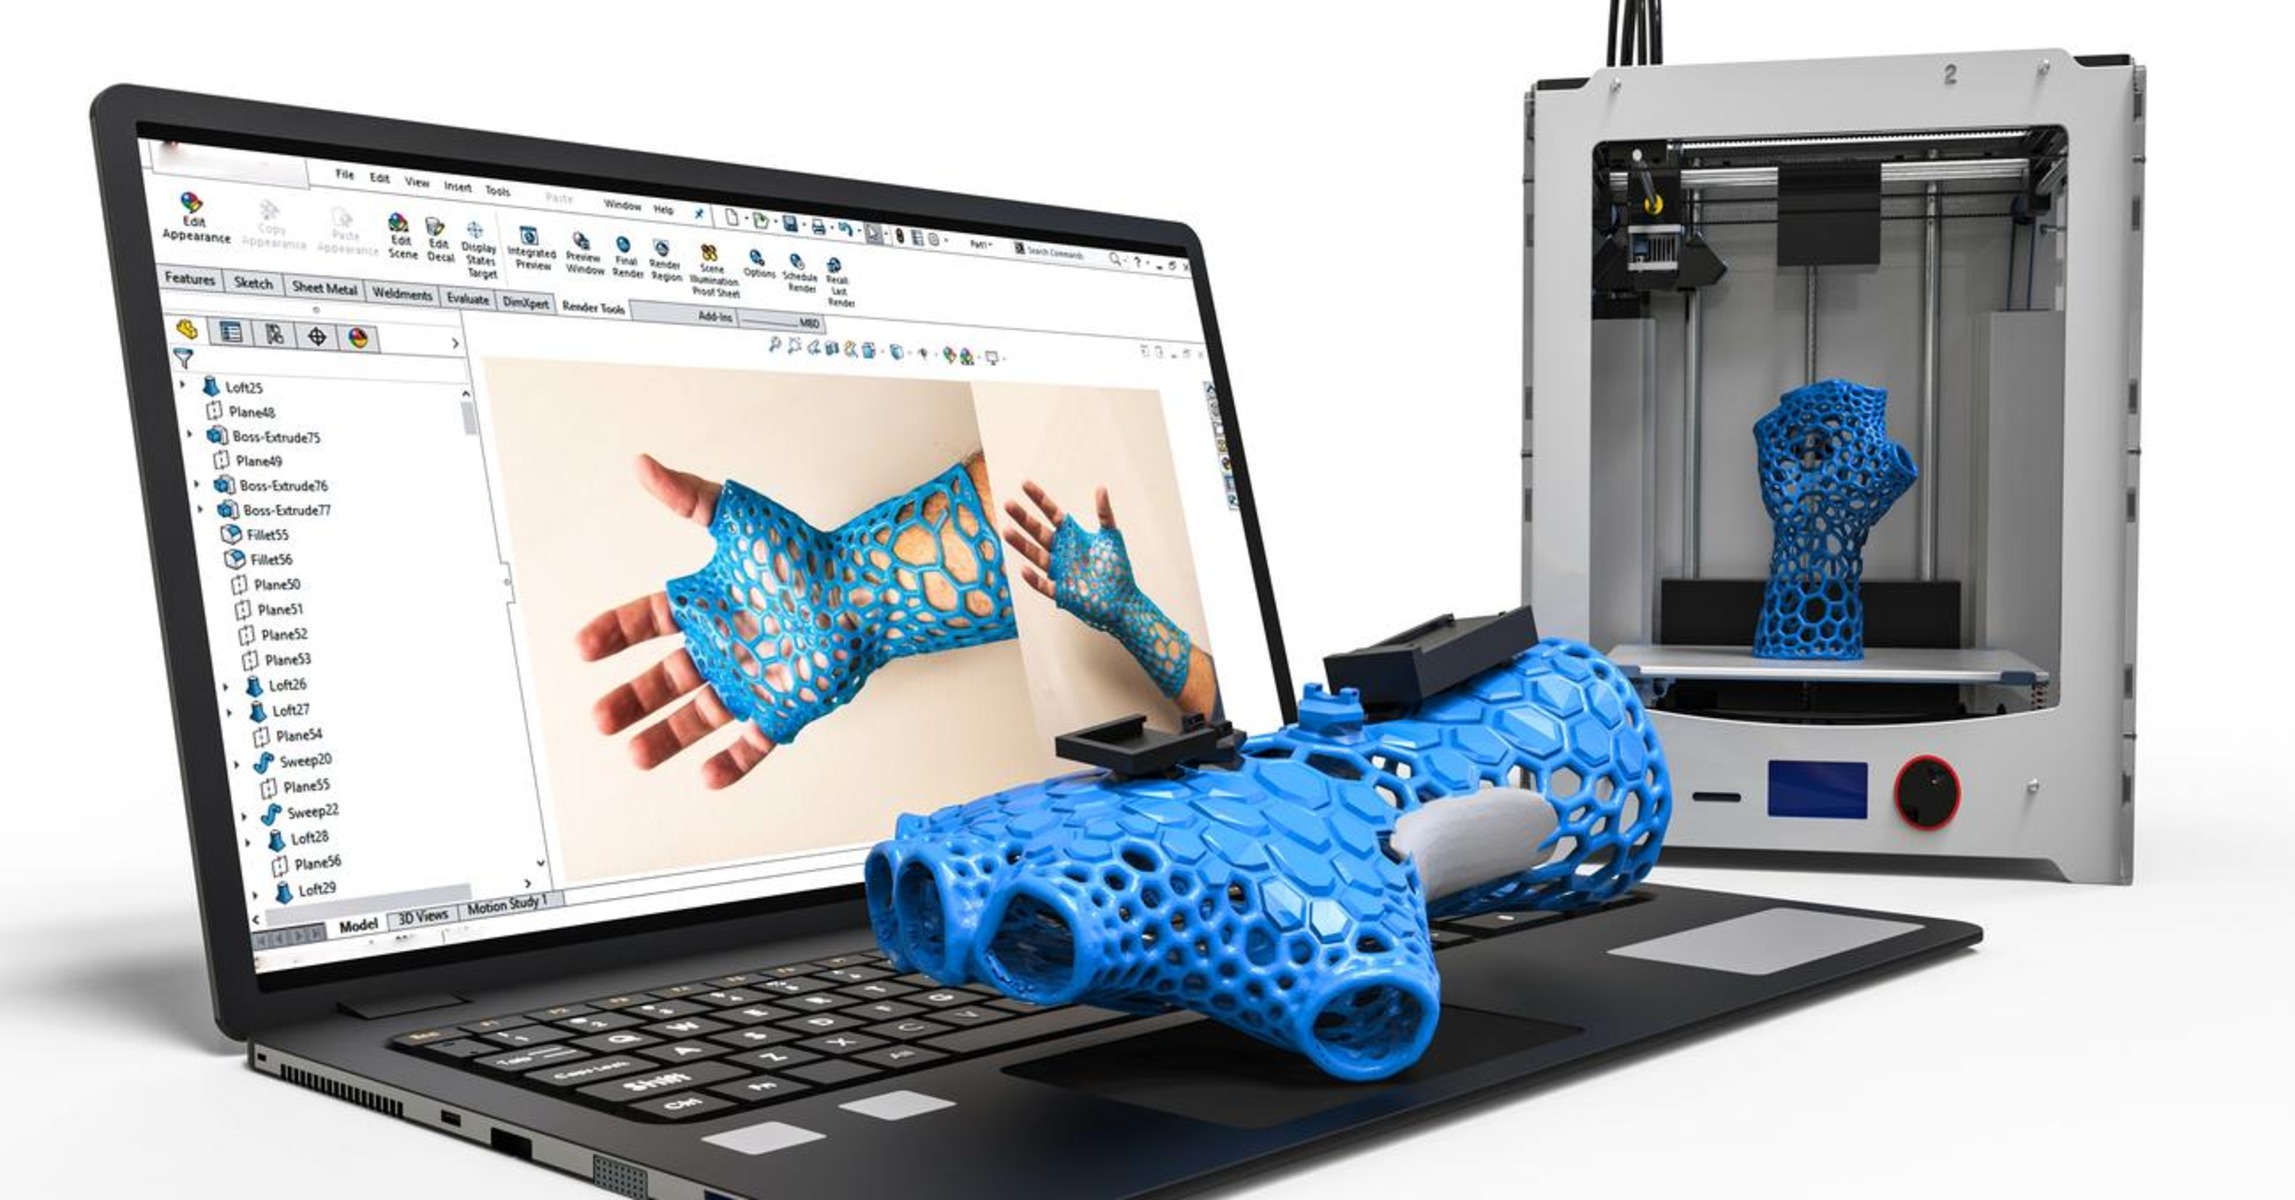
Introduction
Welcome to the world of 3D printing! In recent years, 3D printing has gained immense popularity due to its ability to turn digital designs into physical objects. And one of the most renowned and reliable 3D printers on the market is the Prusa 3D printer. Whether you are a beginner or an experienced enthusiast, learning how to use a Prusa 3D printer can open up a world of creative possibilities.
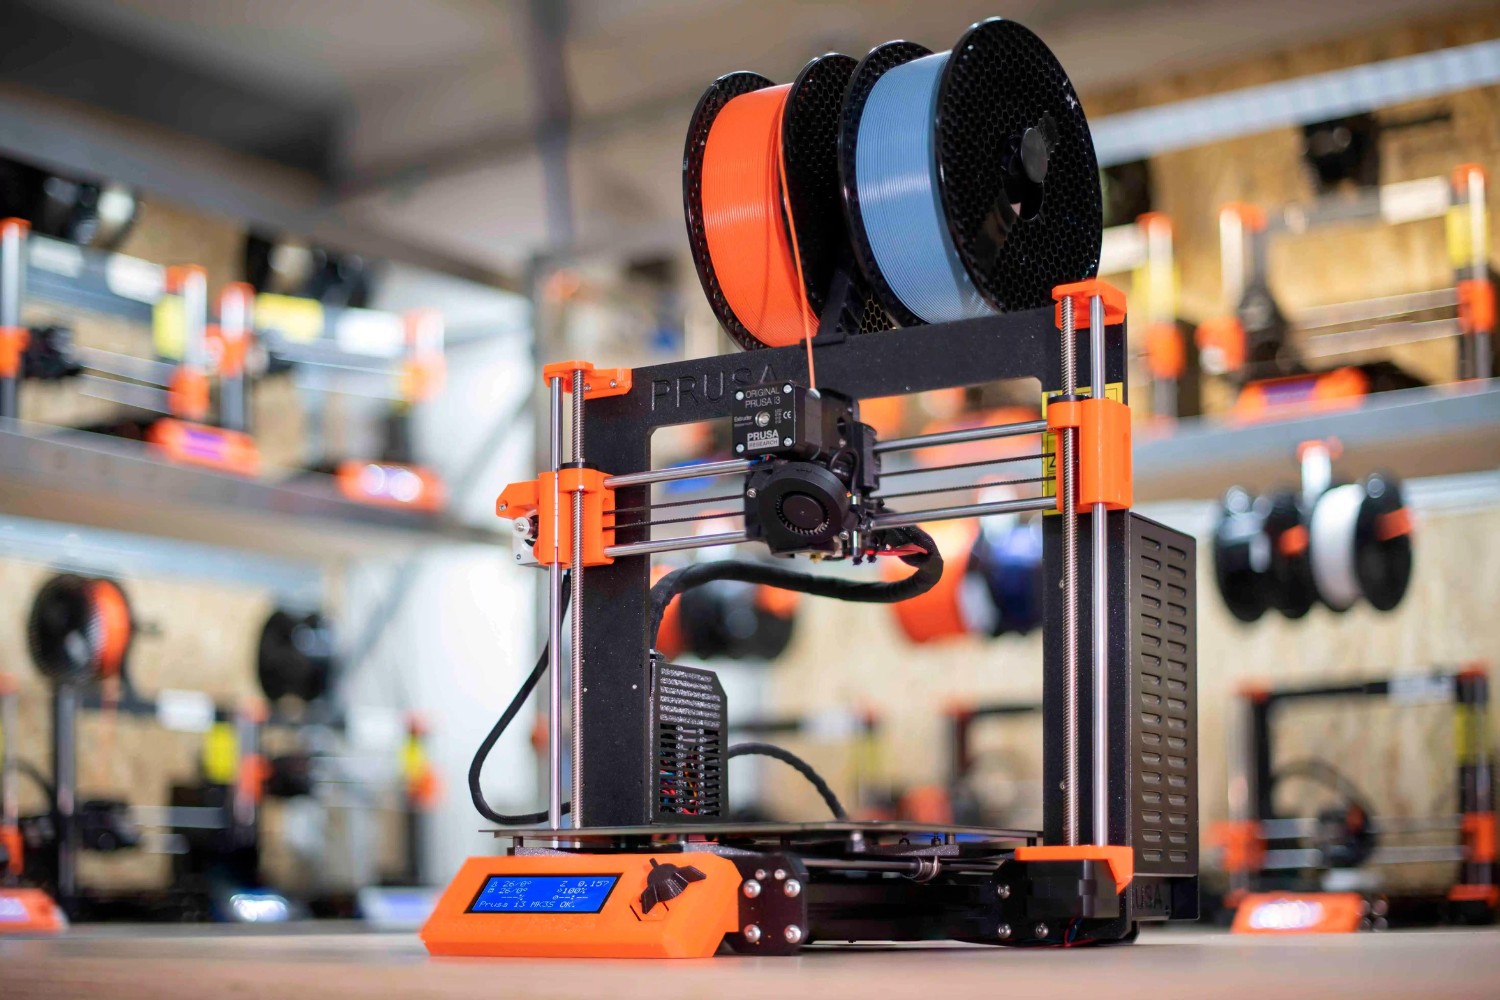
The Prusa 3D printer, developed by Josef Prusa, offers exceptional print quality, easy usability, and a robust open-source community. Its popularity can be attributed to its affordability and versatile functionality, making it a top choice for both hobbyists and professionals.
In this guide, we will walk you through the process of using a Prusa 3D printer, from setting it up to troubleshooting common issues. Whether you are creating prototypes, personalized gifts, or functional objects, understanding the Prusa 3D printer’s operation will help you bring your ideas to life.
Throughout this guide, we will cover essential topics, such as safety precautions to follow, software and firmware configuration, optimizing filament loading and unloading, adjusting printing settings, and more. By the end, you will have the knowledge and confidence to embark on your 3D printing journey with the Prusa 3D printer.
So, let’s dive in and explore the fascinating world of 3D printing with the Prusa 3D printer!
Understanding the Prusa 3D Printer
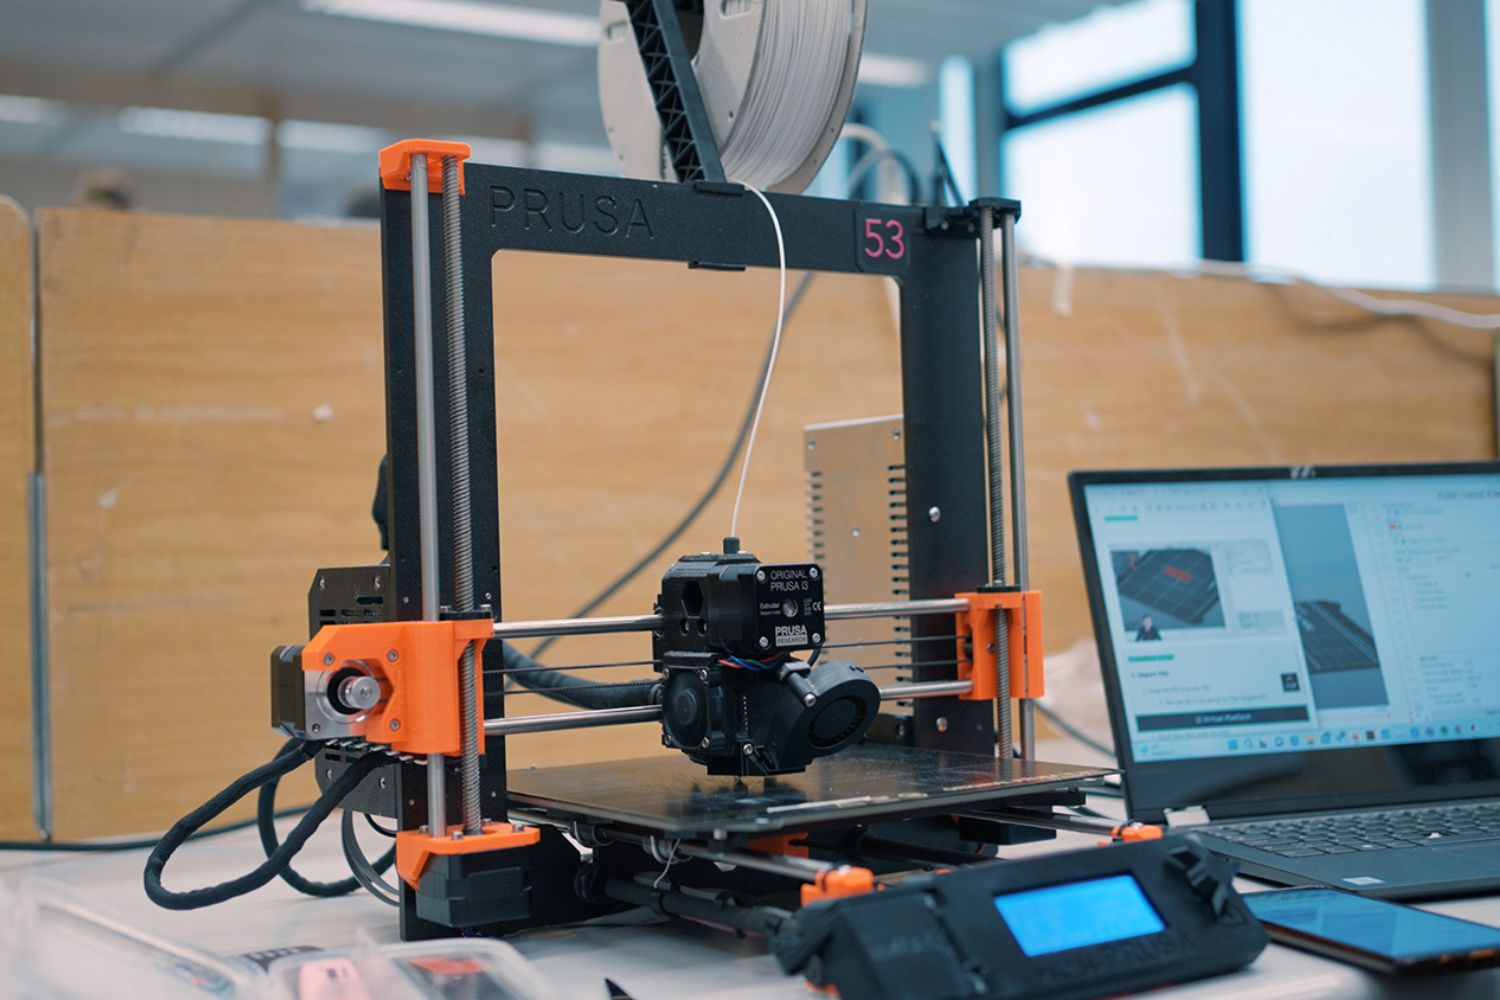
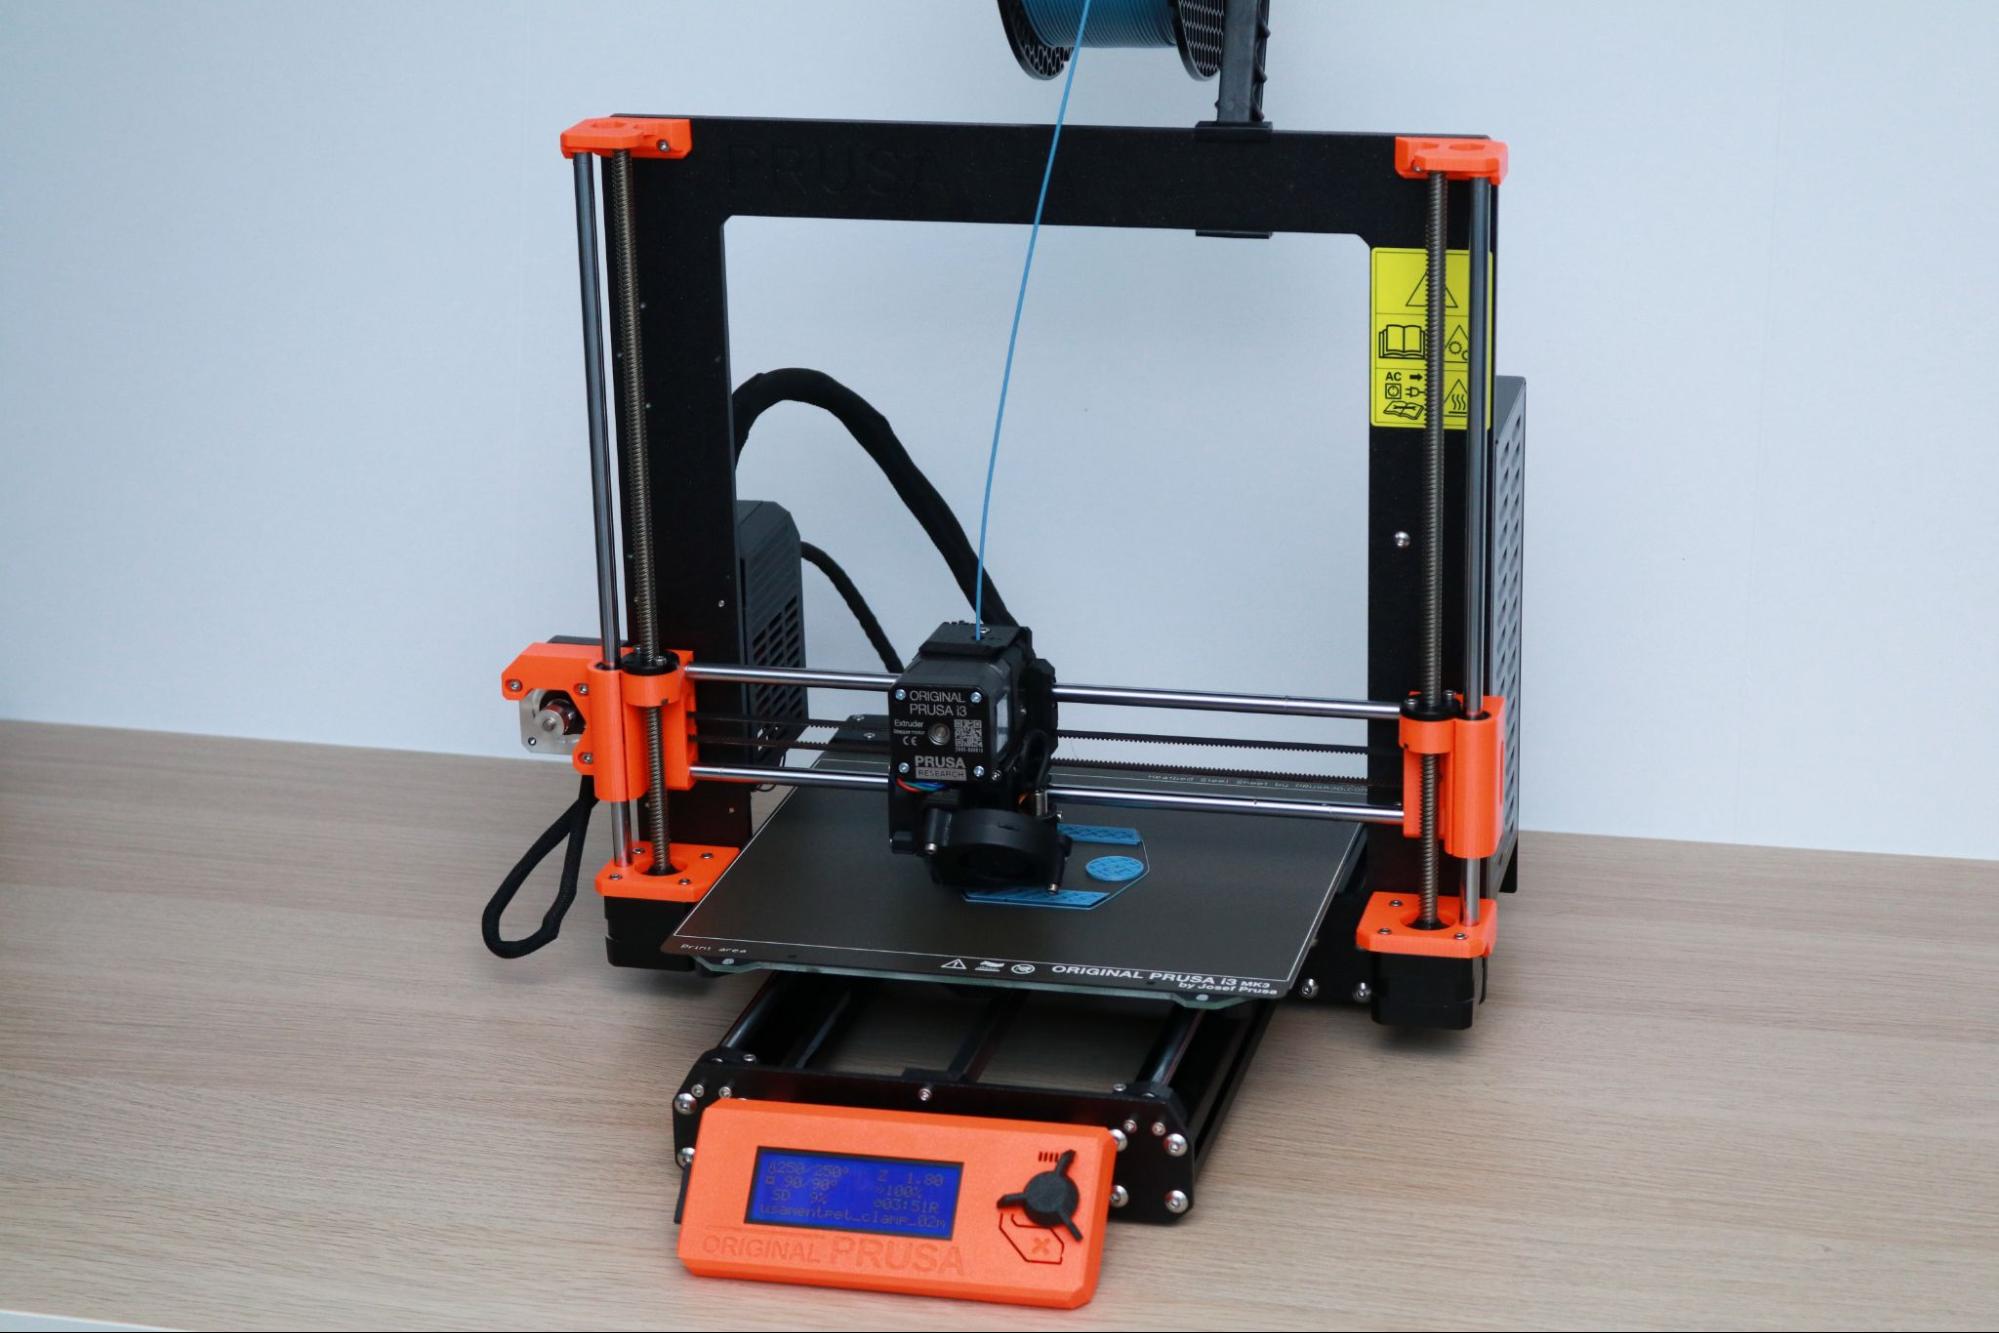
Before diving into the process of using a Prusa 3D printer, it’s important to have a clear understanding of its components and how it functions. The Prusa 3D printer is a type of Fused Deposition Modeling (FDM) printer, which means it builds objects layer by layer using melted filament.
The main components of a Prusa 3D printer include the extruder, heated bed, frame, control board, and LCD interface. The extruder is responsible for pushing the filament through a hot nozzle, which melts the filament and deposits it onto the build plate. The heated bed ensures that the printed object adheres firmly to the platform while minimizing warping.
The frame of the Prusa 3D printer provides the structure and stability needed for precise printing. It is typically made of sturdy materials such as aluminum or steel to minimize vibrations and ensure accurate movements. The control board is the brain of the printer, controlling the motors and receiving commands from the computer or SD card.
To interact with the Prusa 3D printer and monitor the printing process, there is an LCD interface that displays important information, such as temperature, progress, and menu options. You can navigate through the menus using the rotary encoder or buttons.
Understanding the operation of the Prusa 3D printer is crucial to ensure successful prints. It’s important to familiarize yourself with manual controls, like the extruder and bed temperature adjustments, as well as software settings for slicing and generating G-code. G-code is a language that instructs the printer on how to move and extrude filament to create the desired object.
The Prusa 3D printer’s open-source nature also allows for customization and upgrades, with a wide range of community-developed modifications available. These modifications can enhance print quality, increase speed, or add new features to suit specific needs.
By understanding the various components and capabilities of the Prusa 3D printer, you can make informed decisions during the printing process and troubleshoot any issues that may arise. With this knowledge, you are ready to move on to the next step: setting up the Prusa 3D printer.
Safety Precautions
When using a Prusa 3D printer, it is important to prioritize safety to prevent accidents and ensure a smooth printing process. By following these safety precautions, you can minimize risks and confidently operate your Prusa 3D printer:
- Read the User Manual: Familiarize yourself with the user manual provided by Prusa. It contains important safety information, instructions, and guidelines specific to your printer model.
- Operate in a Well-Ventilated Area: 3D printing involves melting and fusing plastic, which can release potentially harmful fumes. Make sure you operate the printer in a well-ventilated area or use a fume hood to minimize inhalation exposure.
- Keep Filament Away from Children and Pets: Filament can be a choking hazard for children and pets. Store it in a secure location, out of reach from curious hands and paws.
- Ensure a Stable Workspace: Place your Prusa 3D printer on a flat, stable surface to prevent it from tipping over during printing. A sturdy desk or table is recommended.
- Do Not Leave the Printer Unattended: While it may be tempting to leave the printer running and check back later, it is crucial to always supervise the printing process. This allows you to address any issues that may arise, such as filament jams or mechanical failures, and prevent potential accidents.
- Use Heat-Resistant Gloves: When handling the heated bed or extruder nozzle, always wear heat-resistant gloves to avoid burns. Even after the printing process is complete, these components can remain hot for a significant amount of time.
- Keep the Workspace Clean: Maintain a clean and organized workspace to prevent trip hazards and ensure proper functioning of the printer. Remove any dust or debris that may interfere with the printing process.
- Keep Flammable Materials Away: The Prusa 3D printer uses heat to melt the filament, so it is essential to keep flammable materials away from the printer. This includes paper, textiles, and other easily combustible materials.
- Regular Maintenance: Perform regular maintenance tasks, such as cleaning the printer and lubricating moving parts, to keep it in optimal condition and extend its lifespan.
By following these safety precautions, you can ensure a safe and enjoyable experience with your Prusa 3D printer. Remember to prioritize safety at all times and exercise caution when operating the printer. Now that you are aware of the necessary safety measures, let’s move on to setting up your Prusa 3D printer.
Setting up the Prusa 3D Printer
Before you can start using your Prusa 3D printer, you need to properly set it up. Follow these steps to ensure a smooth and successful setup:
- Unpack the Printer: Carefully unpack the Prusa 3D printer, ensuring you have all the necessary components such as the frame, control board, extruder, and power supply.
- Assemble the Frame: Follow the instructions provided in the user manual to assemble the frame of the printer. Make sure all the components are securely fastened.
- Connect the Control Board: Connect the control board to the frame according to the instructions. Double-check the connections to ensure they are secure.
- Attach the Extruder: Install the extruder onto the carriage, ensuring it is properly aligned. Secure it in place using the provided screws.
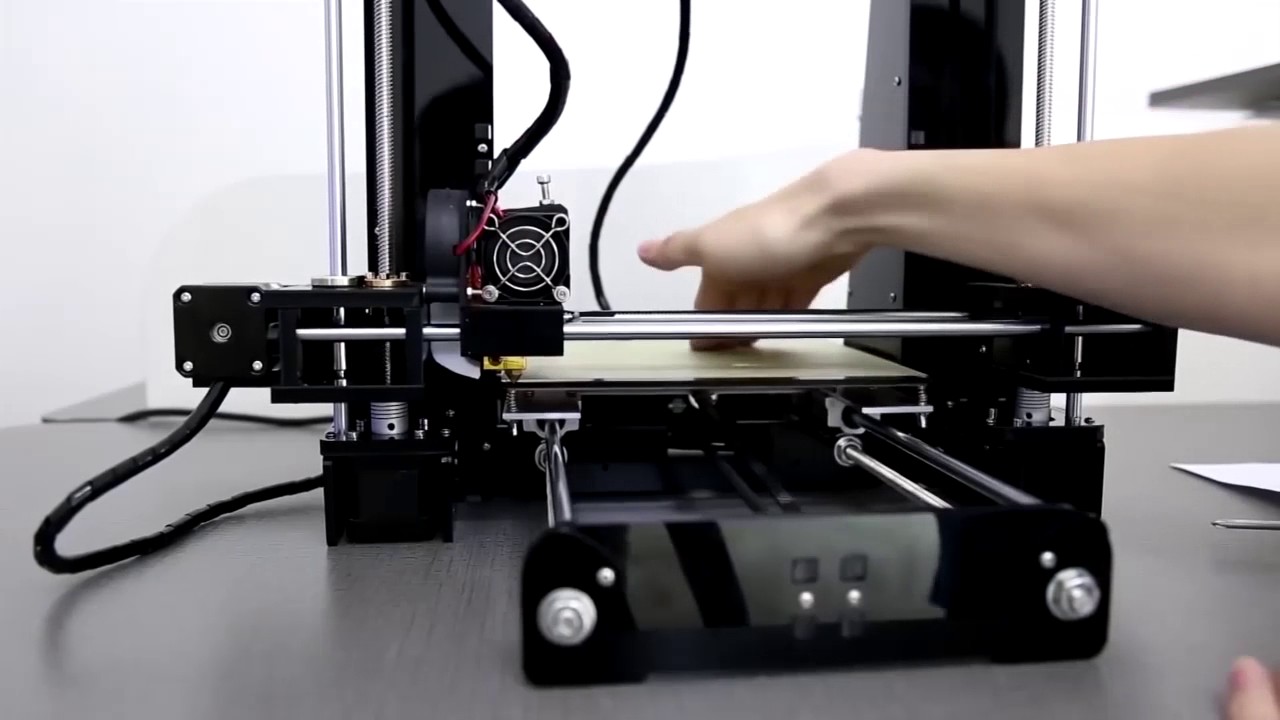
- Level the Print Bed: Use the built-in leveling procedure or manual adjustments to ensure that the print bed is leveled properly. This is crucial for successful prints.
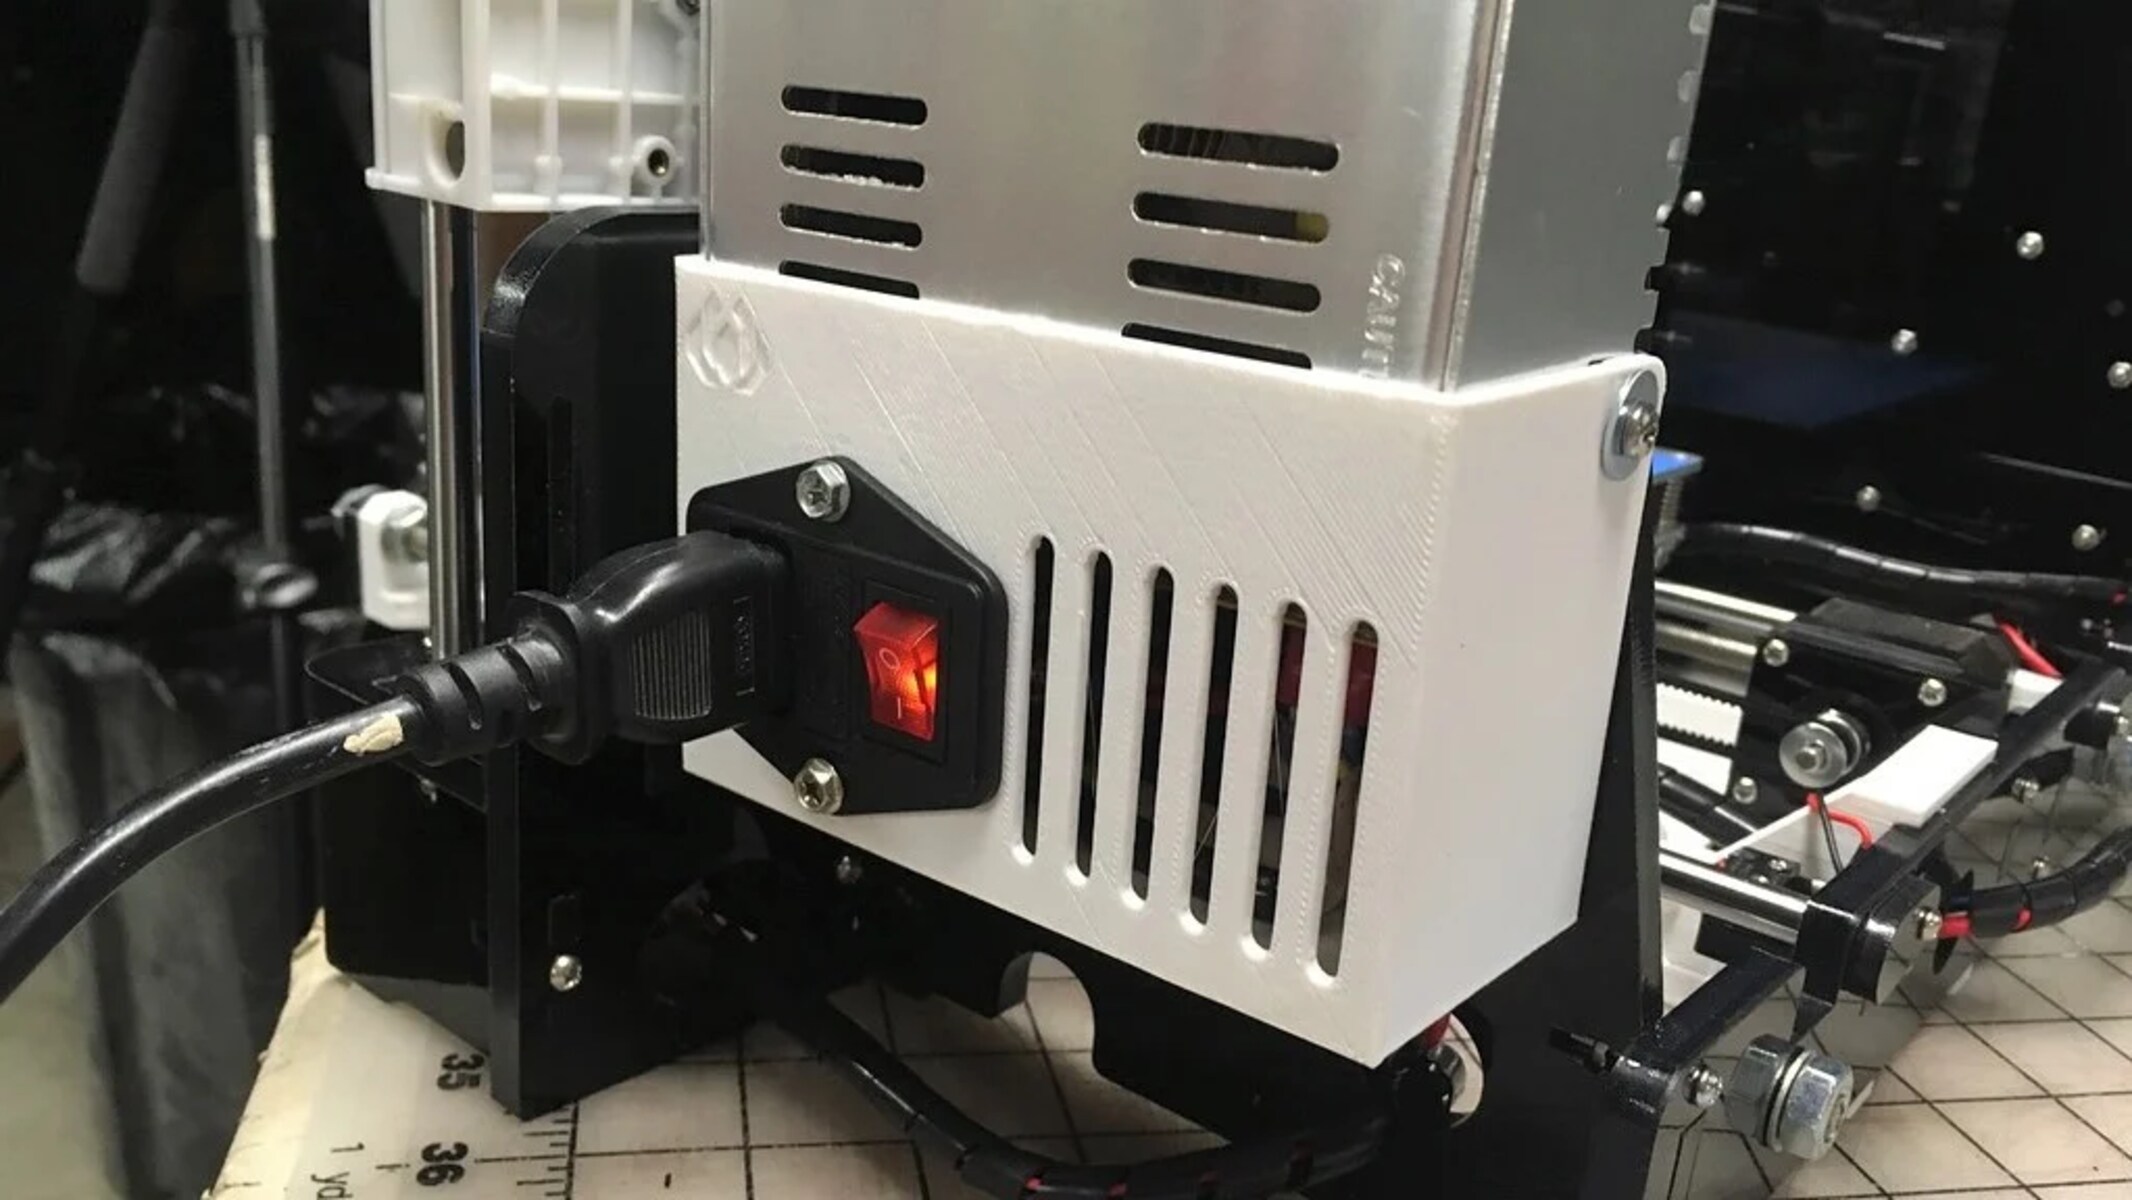
- Connect the Power Supply: Plug in the power supply and connect it to the control board. Ensure that the power supply is compatible with your local voltage.
- Connect to a Computer: Use a USB cable or connect your Prusa 3D printer to a computer via Wi-Fi to establish a connection. Install the necessary drivers and software, following the instructions provided.
- Calibrate the Extruder: Follow the instructions to calibrate the extruder by adjusting the filament flow rate. This will ensure accurate and consistent extrusion during printing.
- Perform a Test Print: Once your Prusa 3D printer is set up, perform a test print to verify that everything is functioning correctly. Pay attention to the quality and accuracy of the print and make any necessary adjustments.
Remember to consult the user manual for specific instructions based on your Prusa 3D printer model. Properly setting up your Prusa 3D printer is essential for achieving optimal print results. Now that your printer is set up and calibrated, it’s time to optimize the filament loading and unloading process, which we will explore in the next section.
Optimizing Filament Loading and Unloading
Efficiently loading and unloading filament is crucial for a smooth and hassle-free 3D printing process with your Prusa 3D printer. Follow these steps to optimize the filament loading and unloading process:
- Preparing the Filament: Before loading the filament, make sure it is properly prepared. Trim the end of the filament to ensure a clean and straight tip for easy insertion into the extruder.
- Heating the Extruder: Heat the extruder to the recommended temperature specified for the filament you are using. This will melt the filament and allow it to flow smoothly during the loading process.
- Loading Filament: Open the extruder release mechanism and insert the filament into the filament path. Push it gently until you feel resistance. Continue pushing until you see a steady stream of filament extruding from the nozzle.
- Performing a Filament Change: If you need to change filament colors or types, follow the process specified for your Prusa 3D printer model. Typically, this involves heating the extruder, manually removing the old filament, and loading the new filament following the same steps as before.
- Unloading Filament: To unload filament from your Prusa 3D printer, navigate to the appropriate option in the LCD menu or through the software interface. Follow the prompts to unload the filament safely. Remember to carefully remove the filament from the extruder once it has fully cooled down.
- Clearing Filament Jams: If you encounter a filament jam during the loading or unloading process, follow the instructions provided by Prusa to clear the jam. This may involve manually removing the filament from the extruder and ensuring that there are no obstructions blocking the filament path.
Optimizing the filament loading and unloading process will help prevent issues such as clogs and filament feed failures during the printing process. Remember to refer to the user manual and Prusa support resources for specific instructions and troubleshooting advice for your printer model.
Now that you have learned how to optimize filament loading and unloading, it’s time to delve into the 3D printing software used with the Prusa 3D printer to prepare your design for printing.
Overview of the 3D Printing Software
When it comes to 3D printing with your Prusa printer, having a good understanding of the 3D printing software is essential. This software is responsible for translating your 3D design into instructions that the printer can understand. Here’s an overview of the key components of 3D printing software:
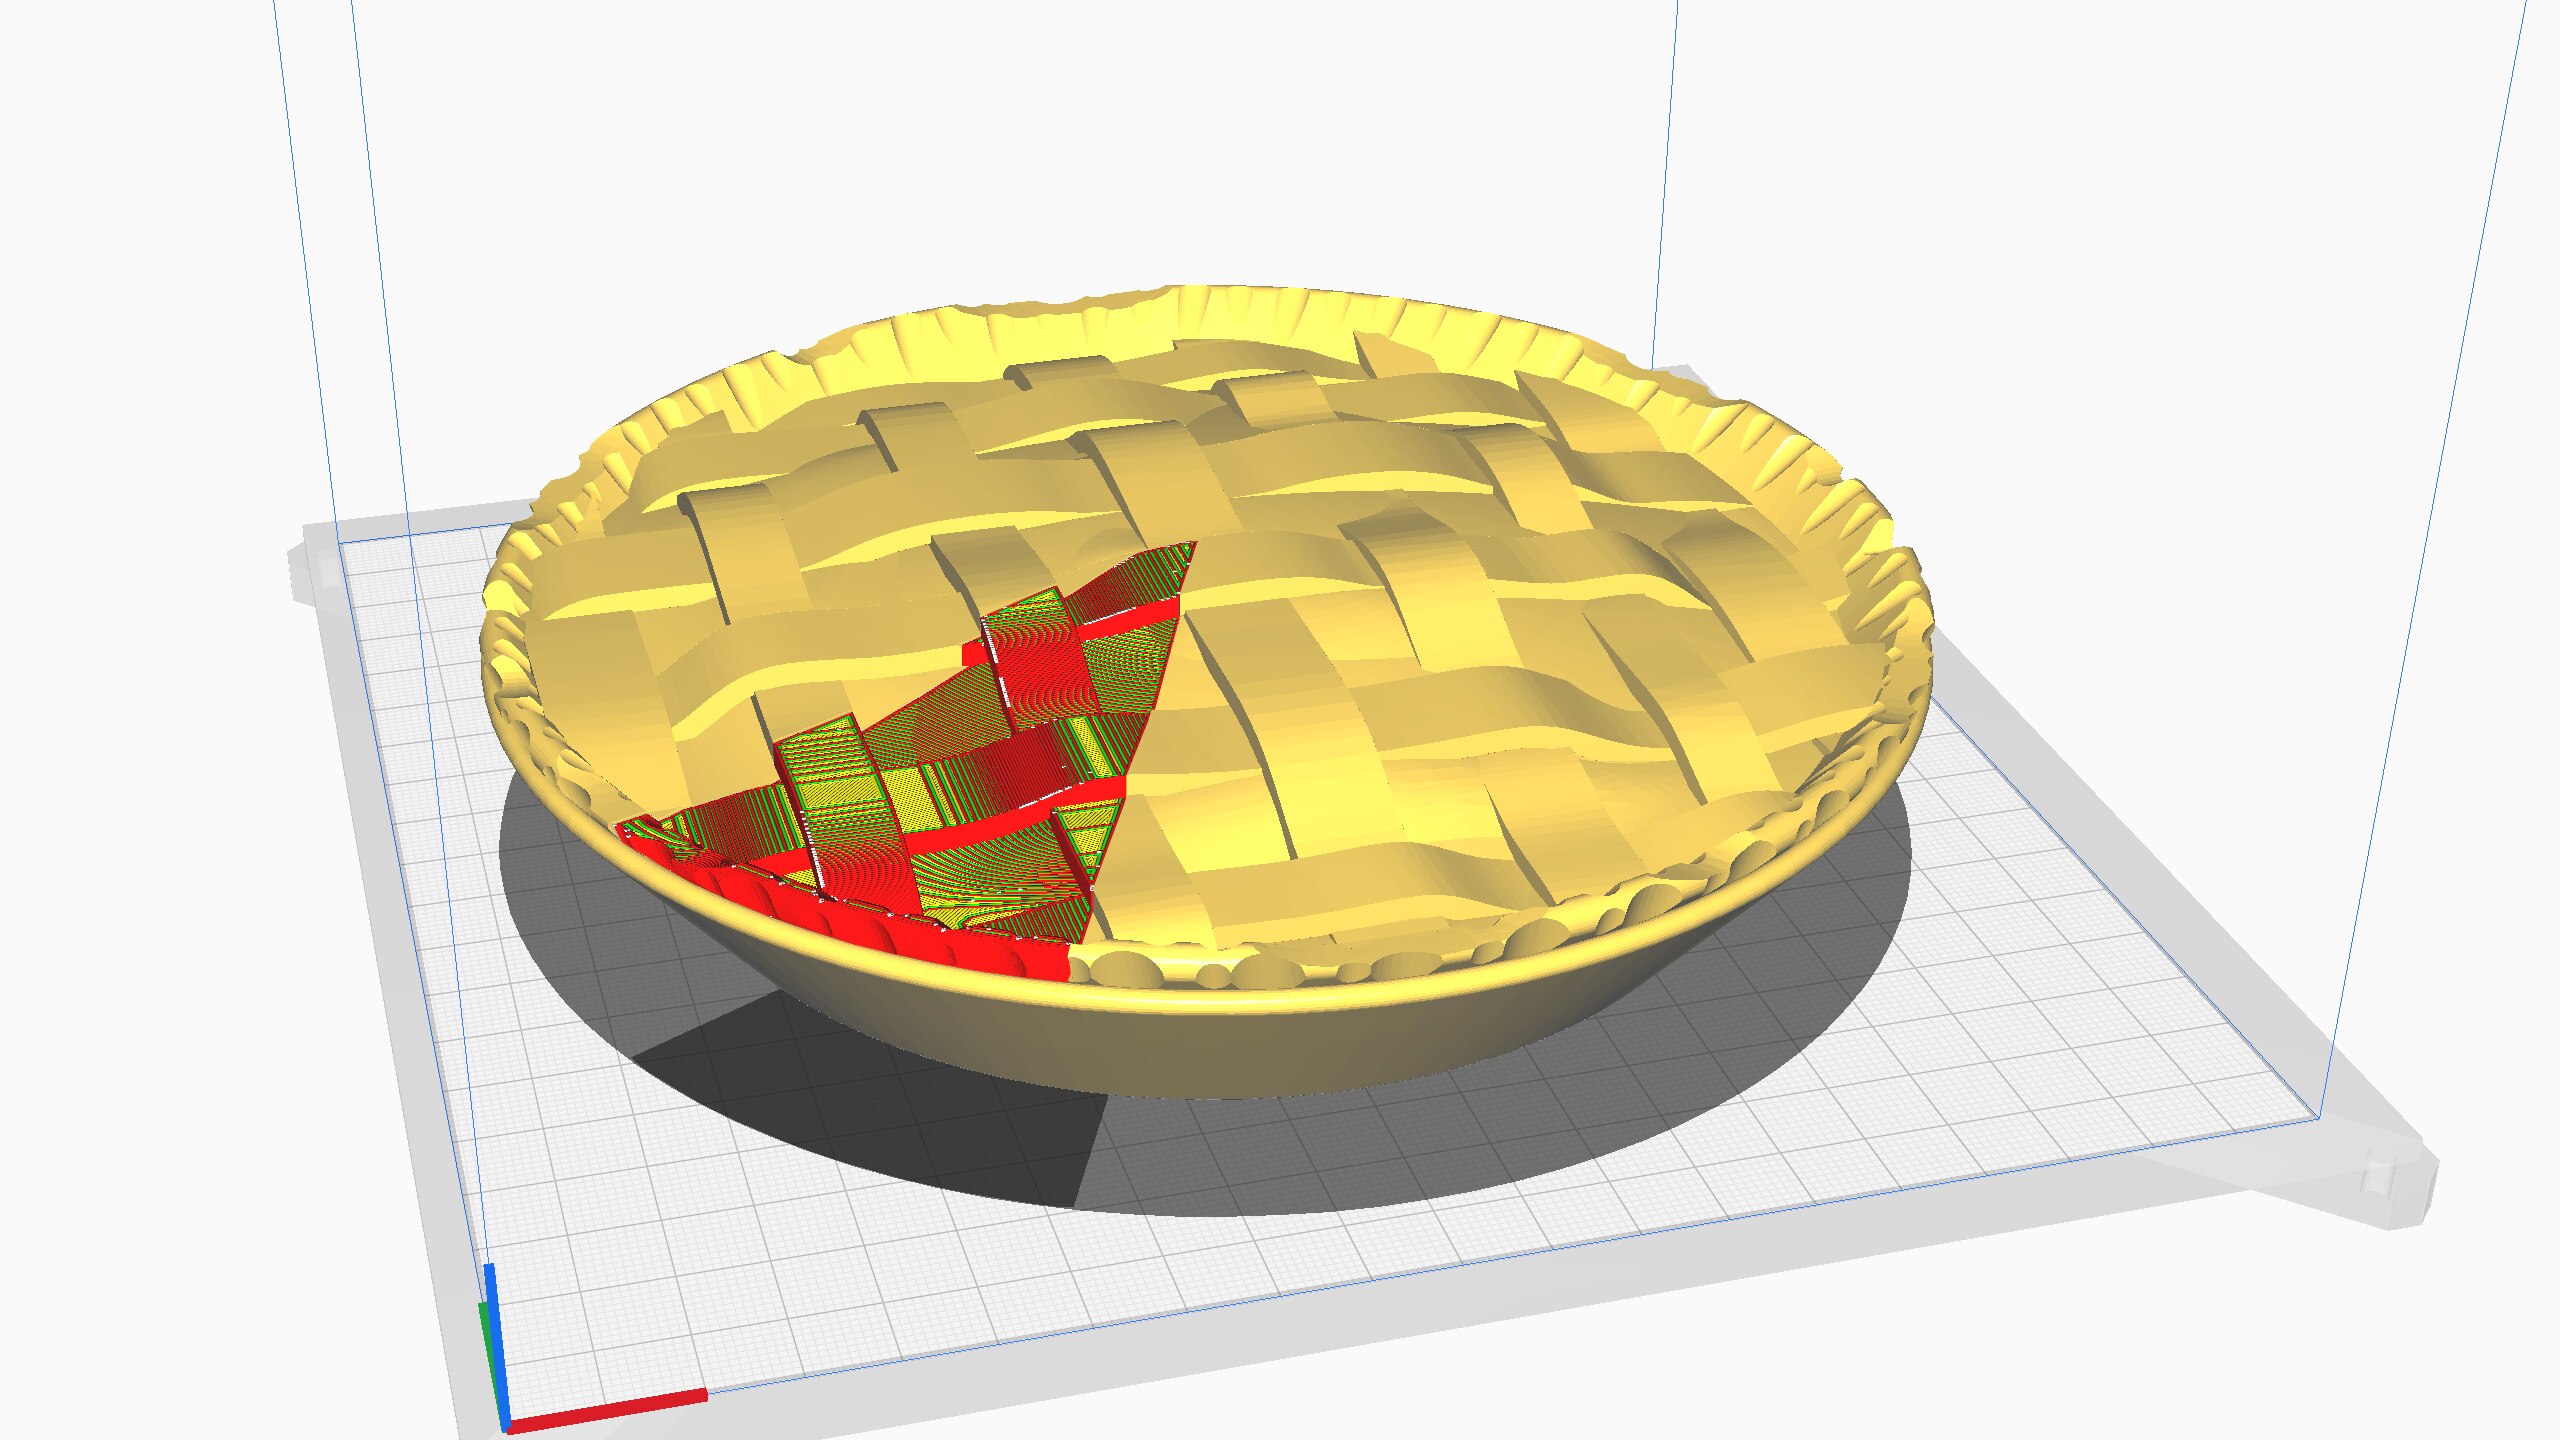
- Slicing Software: The first step in preparing your design for 3D printing is slicing. Slicing software takes your 3D model and slices it into thin layers, generating the toolpath for the printer to follow. Some popular slicing software options for Prusa printers include PrusaSlicer, Simplify3D, and Ultimaker Cura. These software tools allow you to adjust various settings such as layer height, print speed, and infill density to optimize your print quality and efficiency.
- G-code: After slicing, the software generates G-code, a set of instructions that tells the printer how to move and extrude filament to create the object layer by layer. The G-code consists of commands such as move to a specific position, extrude filament, and adjust temperature. The G-code file can be executed directly by the printer or saved to an SD card for later use.
- Printer Control Software: Printer control software acts as an interface between your computer and the Prusa 3D printer. This software allows you to connect to the printer, monitor the printing process, and control various settings such as temperature, fan speed, and bed leveling. Prusa Printers provides its own printer control software called PrusaControl, and there are also other options such as OctoPrint and Repetier-Host.
- Firmware: Firmware is the software embedded in the control board of your Prusa printer. It provides the low-level control and functionality required for smooth printer operation. Firmware can be updated and customized with features and improvements released by Prusa or developed by the community.
Understanding the 3D printing software and how it works together with your Prusa printer is essential for achieving high-quality prints. Take the time to explore the features and settings of the software you choose to use, and don’t hesitate to refer to online resources and user communities for tips and guidance.
With a solid grasp of the software, you’re now ready to dive into preparing your design for printing by adjusting printing settings, which we will cover in the next section.
Preparing your Design for Printing
Once you have a 3D model ready for printing, the next step is to prepare it for the Prusa 3D printer. Properly preparing your design ensures optimal print quality and reduces the chances of encountering issues during the printing process. Here are some steps to follow when preparing your design:
- Import or Create a 3D Model: Start by importing your 3D model into the slicing software of your choice. You can create your own model using CAD software or download ready-made models from online repositories. Ensure that the model is in a compatible file format like .STL or .OBJ.
- Orient and Scale the Model: Position and orient the model in the slicing software to achieve the desired printing orientation. Consider factors such as support structures, overhang angles, and overall print quality. Scale the model as necessary, keeping in mind the print bed size of your Prusa 3D printer.
- Adjust Printing Settings: Customize the printing settings in the slicing software. This includes choosing the layer height, infill density, print speed, and support structures. Strive for a balance between print quality and print time/cost based on your requirements.
- Generate Supports: If your model requires support structures, enable automatic support generation in the slicing software. These supports help prevent print failures for overhangs and complex geometries.
- Preview and Validate: Utilize the preview function in the slicing software to visualize how the print will be executed layer by layer. Check for any potential issues like gaps, overlaps, or missing sections. Make any necessary adjustments before generating the G-code.
- Export G-code: Once you are satisfied with the settings and preview, export the G-code file. This file contains the commands that the Prusa 3D printer will execute to bring your design to life. Save the G-code file to an SD card or send it directly to the printer via a USB connection.
By carefully preparing your design for printing, you can optimize print quality and minimize potential issues during the printing process. Remember to experiment and iterate with different settings and support structures to achieve the best results for your specific design.
Now that your design is prepared, it’s time to adjust the printing settings on your Prusa 3D printer to ensure the optimal outcome, which we will discuss in the next section.
Adjusting Printing Settings
When it comes to 3D printing with your Prusa 3D printer, adjusting the printing settings is crucial for achieving the desired print quality and functionality. Here are some key aspects to consider when adjusting the printing settings:
- Layer Height: The layer height refers to the thickness of each layer that the printer will deposit. A smaller layer height will result in finer details and smoother surfaces but will also increase print time. Choose a layer height based on the level of detail required for your print.
- Infill Density: Infill density determines the amount of internal structure inside the print. Higher infill density provides more strength but also increases material usage and print time. Consider the application of the printed object and adjust the infill density accordingly.
- Print Speed: Print speed affects the overall print time and can impact print quality. Higher speeds can result in reduced print quality, especially for intricate designs, so finding the right balance between speed and accuracy is essential. Experiment with different print speeds to find the optimal setting for your particular print.
- Support Structures: If your design requires support structures, enable them in the slicing software. Support structures are essential for overhangs and intricate geometries, ensuring proper printing. Adjust the support settings to balance ease of removal with stability during the printing process.
- Temperature Settings: Adjusting the temperature settings is important to achieve optimal extrusion and adhesion. Follow the recommendations provided by filament manufacturers and conduct test prints to fine-tune the temperature settings for your specific filament type.
- Print Bed Adhesion: Proper adhesion between the print and the print bed is crucial for a successful print. Depending on the type of print bed surface (such as PEI or BuildTak), you may need to adjust the bed temperature, apply adhesives like glue stick or hairspray, or use a brim or raft for better adhesion.
Remember, adjusting the printing settings may require trial and error to find the perfect combination for your specific needs. Every print is unique, and factors like filament type, model complexity, and desired print quality will influence the optimal settings. Don’t be afraid to experiment and iterate to achieve the best results!
Once you have adjusted the printing settings, you are ready to initiate the 3D printing process on your Prusa 3D printer, which we will explore in the next section.
Initiating the Printing Process
With your design prepared and printing settings adjusted, it’s time to initiate the 3D printing process on your Prusa 3D printer. Follow these steps to start printing:
- Prepare the Printing Surface: Ensure that the print bed is clean and properly prepared for printing. If necessary, apply adhesives or use a suitable printing surface to promote adhesion.
- Load Filament: Insert the filament into the extruder and follow the filament loading process we discussed earlier. Make sure the filament is securely and properly fed into the extruder.
- Select the G-code File: If using an SD card, insert it into the printer’s card slot and navigate the LCD menu to select the G-code file you generated. Alternatively, if printing through a computer connection, select the file within the printing software.
- Start the Print: Once the G-code file is selected, you can start the print process. The printer will begin heating up, and the extruder will position itself at the designated starting point on the print bed.
- Monitor the Print: Throughout the printing process, monitor the progress to ensure everything is running smoothly. Pay attention to the first layer to ensure proper adhesion and observe whether the printer is extruding filament properly.
- Address Issues Promptly: If you notice any issues during the printing process, such as poor print quality, adhesion problems, or filament-related concerns, address them promptly. Stop the print if necessary, troubleshoot the issue, and make the necessary adjustments.
- Complete the Print and Remove the Object: Once the print is complete, the printer will finish cooling down. Carefully remove the printed object from the print bed, using appropriate tools if necessary. Take care not to damage the print or the print bed surface.
It’s important to note that the duration of the printing process will depend on factors such as the size, complexity, and printing settings of your design. Be patient and allow the printer to complete the print without interruption.
Remember, the 3D printing process is not always perfect, and troubleshooting can be necessary from time to time. As you gain experience, you will become more familiar with the printer’s capabilities and learn to anticipate potential issues.
In the next section, we will provide some troubleshooting and maintenance tips to help you overcome common problems and keep your Prusa 3D printer in optimal condition.
Troubleshooting and Maintenance Tips
While 3D printing with your Prusa printer can be an exciting and fulfilling experience, it’s not uncommon to encounter issues along the way. Here are some troubleshooting and maintenance tips to help you overcome common problems and keep your Prusa 3D printer running smoothly:
- Filament Jams: If you experience filament jams during printing, stop the print and inspect the extruder. Clear any obstructions or tangled filament and ensure smooth filament flow. Adjusting the extruder tension or cleaning the nozzle may be necessary.
- Bed Adhesion and Warping: If prints are not sticking to the bed or warping, ensure the bed is clean and correctly leveled. Adjust the print bed temperature and consider using adhesion aids like glue stick or a heated bed surface. Proper bed leveling and calibration are crucial for successful prints.
- Layer Shifting: If you notice layer shifting during printing, where the layers are misaligned, check the tension of the belts and ensure they are properly secured. Avoid over-tightening the belts, as this can strain the motor and cause skipping or shifting.
- Under-Extrusion or Over-Extrusion: Inconsistent extrusion can lead to print quality issues. Calibrate the extruder to ensure the appropriate amount of filament is being fed. Check for clogs or partially blocked nozzles and clean them if necessary. Adjusting the printing temperature and filament flow rate may also help resolve extrusion problems.
- Print Quality Issues: If you encounter issues with print quality, such as stringing, rough surfaces, or inconsistencies, adjust the printing settings. Experiment with different layer heights, print speeds, and temperature settings. Check for proper cooling and ventilation during printing, especially for smaller features or intricate designs.
- Maintenance and Lubrication: Regular maintenance is essential to keep your Prusa 3D printer in optimal condition. Clean the print bed, remove debris from the extruder, and lubricate the necessary moving parts as recommended by Prusa. Regularly check and tighten screws and belts to prevent loosening and vibrations.
- Stay Connected with the Community: Join online forums, user communities, or social media groups dedicated to Prusa printers. These communities are valuable resources for troubleshooting, sharing tips and tricks, and finding solutions to common problems.
Remember, becoming proficient in 3D printing takes time and practice. Don’t get discouraged by initial challenges, as they are part of the learning process. The more you experiment, troubleshoot, and fine-tune your printer, the better your print results will become.
With these troubleshooting and maintenance tips in mind, you are now equipped to overcome obstacles and enjoy smooth and successful printing with your Prusa 3D printer.
Conclusion
Congratulations! You have reached the end of this guide on how to use a Prusa 3D printer. By following the steps outlined in this guide, you now have a solid understanding of the Prusa 3D printer’s components, safety precautions, setup process, filament loading and unloading, software overview, preparing designs for printing, adjusting printing settings, initiating the printing process, and troubleshooting common issues.
With your newfound knowledge, you can confidently embark on your 3D printing journey and bring your creative ideas to life. Remember to stay patient and embrace the iterative nature of 3D printing. Each print is an opportunity to learn and improve.
As you continue to explore the world of 3D printing, don’t hesitate to seek support from online communities, Prusa support resources, and fellow enthusiasts. Sharing experiences and knowledge can help you overcome challenges and discover new techniques.
Happy printing with your Prusa 3D printer, and may your creations inspire and amaze!