Introduction
Changing the nozzle on a 3D printer is a common task that may need to be done to improve print quality or replace a damaged nozzle. While it may seem like a daunting task, with the right tools and a step-by-step process, it can be easily accomplished. In this guide, we will walk you through the process of changing the nozzle on your 3D printer.
Whether you are a seasoned 3D printing enthusiast or just starting out, understanding how to change the nozzle is an essential skill to have. The nozzle is the part of the 3D printer responsible for depositing the melted filament onto the build plate, layer by layer, to create the three-dimensional object. Over time, the nozzle can become clogged, resulting in poor print quality or even failed prints. Additionally, if the nozzle gets damaged, it might need to be replaced.
To change the nozzle, you will need a few basic tools such as a wrench, pliers, and a heat-resistant glove. It’s important to note that the specific steps to change the nozzle may vary depending on the make and model of your 3D printer, so always refer to the manufacturer’s instructions for your particular printer.
In the following sections, we will guide you through the step-by-step process of changing the nozzle on a 3D printer. By following these instructions carefully, you will be able to maintain the performance and print quality of your 3D printer, ensuring successful prints and a seamless printing experience.
Tools Required
Before you begin the process of changing the nozzle on your 3D printer, gather the following tools:
- Wrench – A wrench or adjustable spanner will be necessary to loosen and tighten the nozzle.
- Pliers – Pliers can come in handy for holding onto the nozzle and unscrewing it from the extruder.
- Heat-resistant gloves – Since the nozzle can get extremely hot during the process, it’s important to protect your hands with heat-resistant gloves.
- Nozzle cleaning tools – You may need some tools specifically designed for cleaning the nozzle, such as a nozzle cleaning kit or a needle.
- Safety glasses – It’s always a good idea to protect your eyes with safety glasses during any maintenance tasks.
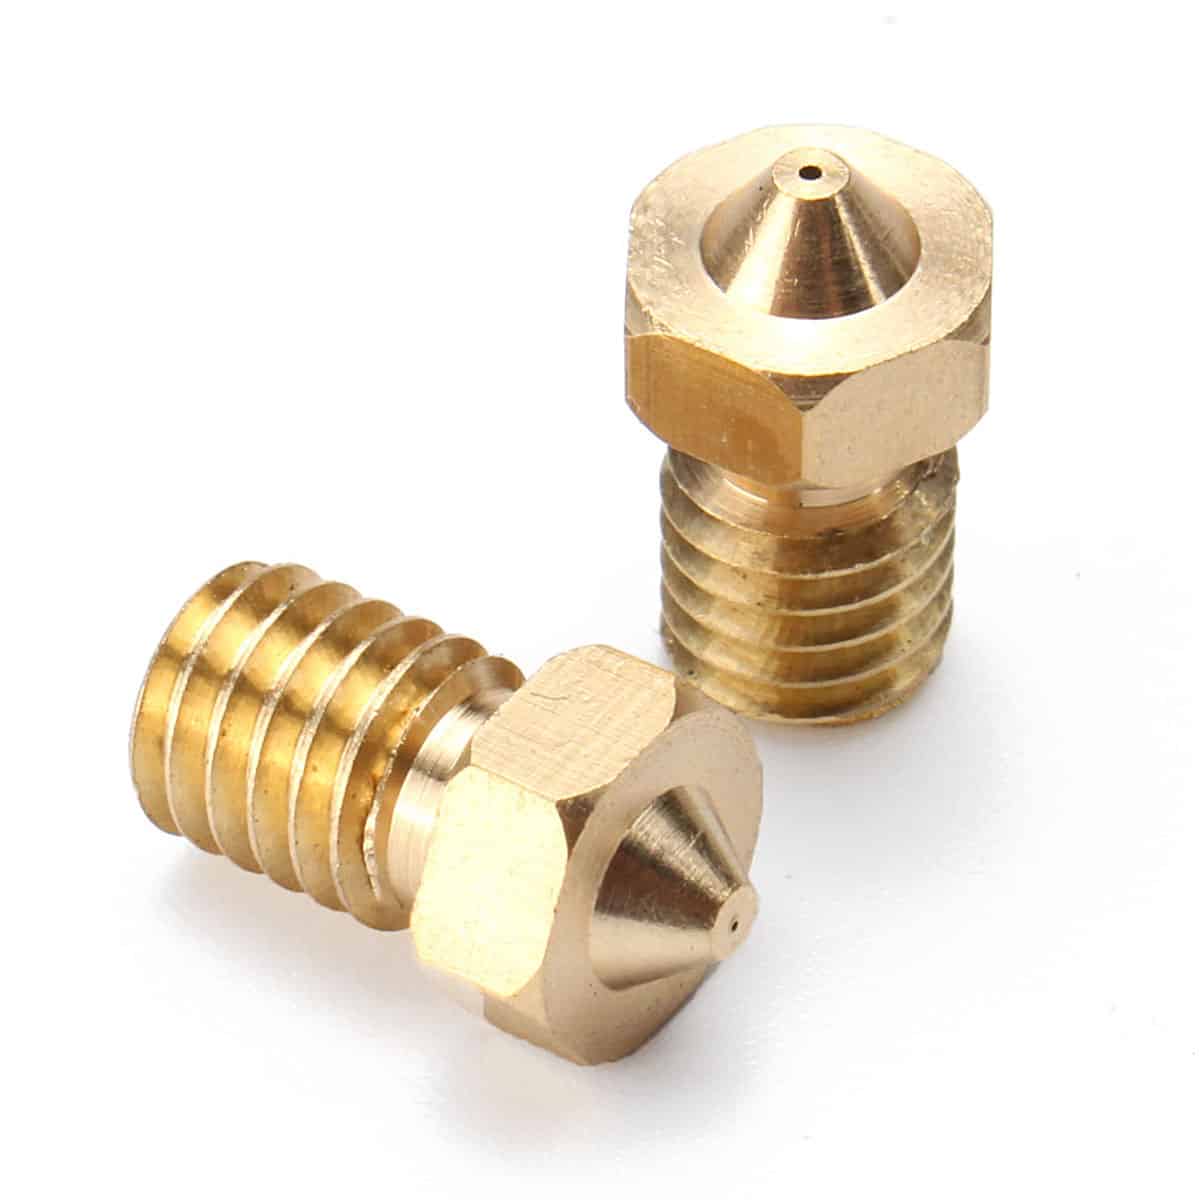
- Nozzle replacement – Make sure you have the correct replacement nozzle that is compatible with your 3D printer model.
- Print bed adhesive – Depending on the type of print bed you have, you may need adhesive solutions like glue stick or hairspray to ensure proper adhesion between the print and the bed.
Having these tools ready before starting the nozzle replacement process will make the task easier and more efficient. It’s essential to use the correct tools as specified by the manufacturer to avoid any damage to the printer or injuries to yourself.
Step 1: Turn off the 3D Printer
The first step in changing the nozzle on your 3D printer is to ensure that the printer is turned off and unplugged. This will prevent any accidental movement of the print head or potential injuries while working on the nozzle.
Start by locating the power switch on your 3D printer and turning it off. Once the printer is off, unplug it from the power source to ensure complete safety. It’s important to wait a few minutes for the printer to cool down before proceeding, as the nozzle can retain heat even after the printer is turned off.
This step is crucial as it eliminates the risk of the hotend reaching high temperatures during the maintenance process, reducing the possibility of burns and damage to the printer components. Always prioritize your safety when working with any electrical equipment.
By turning off and unplugging your 3D printer, you are taking the necessary precautionary measures to prevent accidents and ensure a safe working environment. Now that the printer is powered down, we can move on to the next step of the nozzle replacement process.
Step 2: Remove the Filament
After turning off and unplugging your 3D printer, the next step is to remove the filament from the extruder system. This will allow for easier access to the nozzle and prevent any accidental melting or damage to the filament during the nozzle replacement process.
To remove the filament, follow these steps:
- Heat the nozzle: Turn on your 3D printer and navigate to the settings menu. Find the option to preheat the nozzle and heat it to the appropriate temperature for the filament type you have been using. This will make the filament soft and easier to remove.
- Retract the filament: Once the nozzle is heated, go to the menu and select the option to retract the filament. This will reverse the filament feed, pulling it back from the extruder.
- Manually remove the filament: While the nozzle is still hot, gently pull the filament out from the extruder system. It should slide out smoothly without any resistance. If there is any resistance, check for any obstructions or clogs and clear them before proceeding.
It’s important to note that different 3D printers may have slight variations in the process of removing filament. Always refer to the manufacturer’s instructions for specific guidance on your printer model.
By removing the filament, you ensure that there is no filament left in the extruder system that could interfere with the nozzle replacement process. With the filament safely removed, we can now move on to the next step of replacing the nozzle.
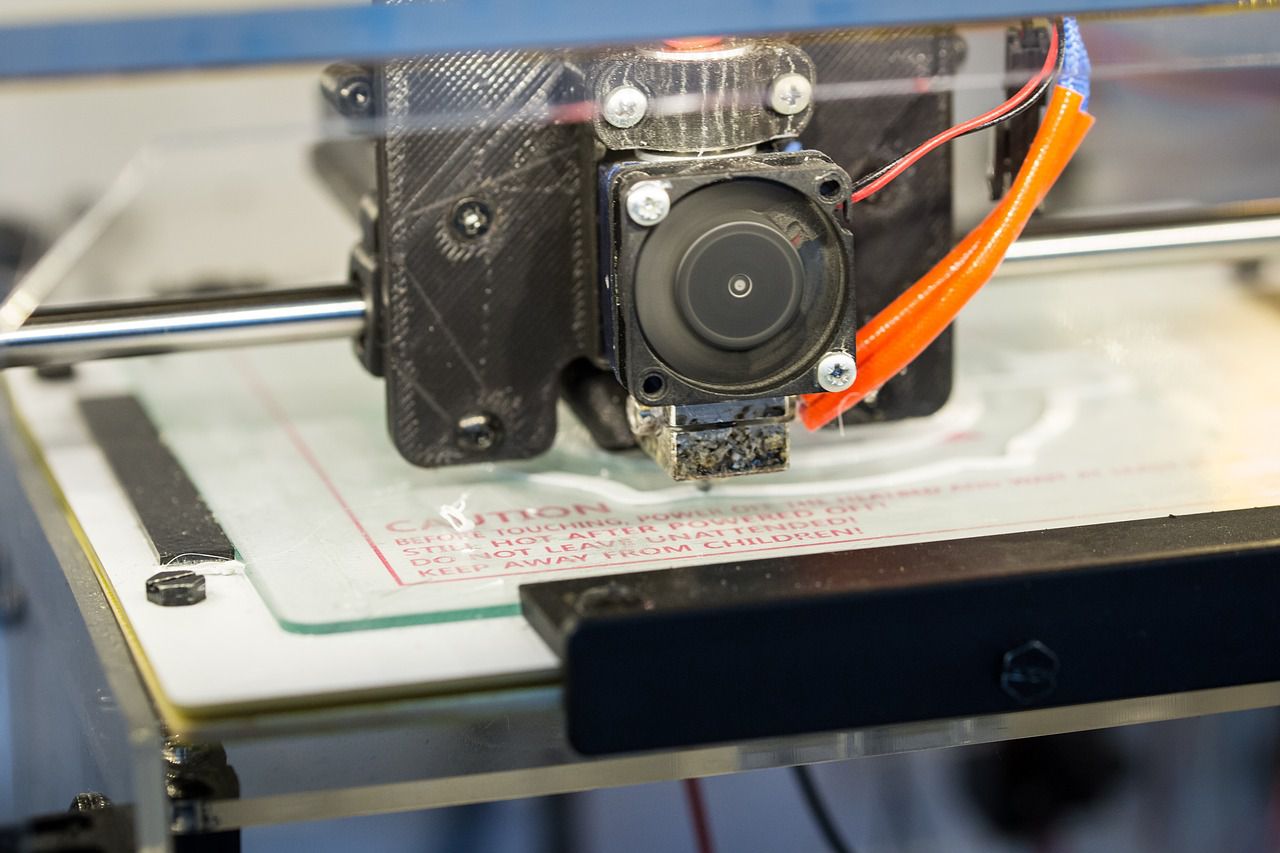
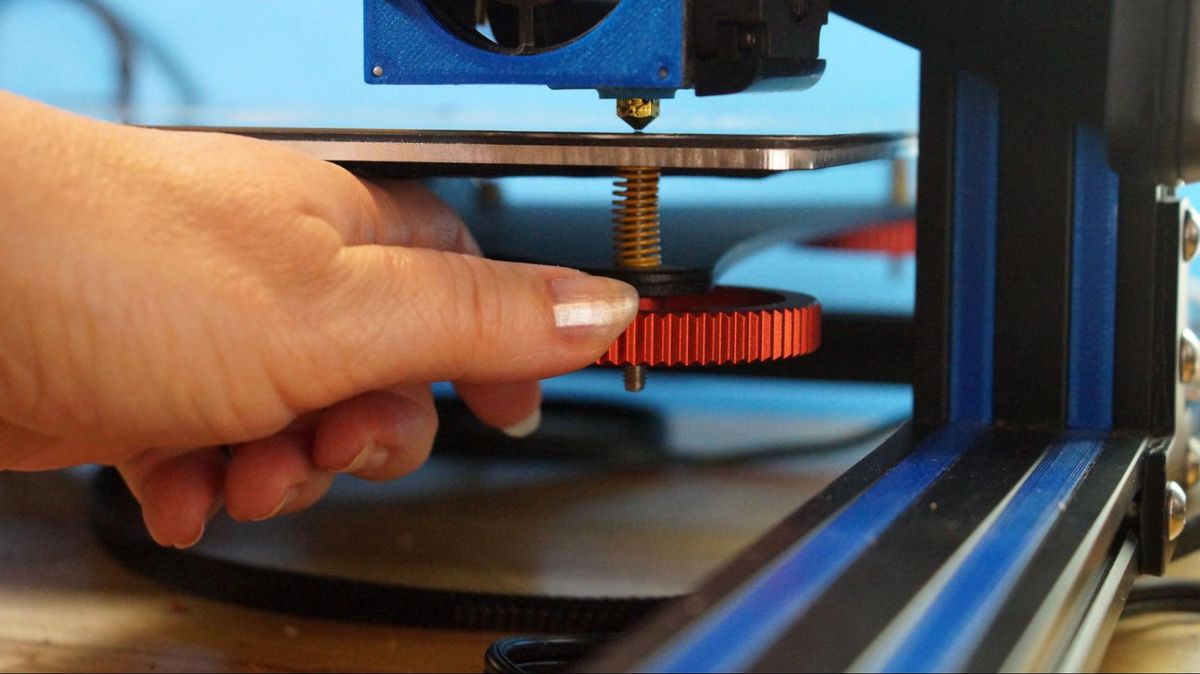
Step 3: Heat the Nozzle and Remove the Existing Nozzle
Now that the filament has been removed from the extruder, the next step is to heat the nozzle to make it easier to remove the existing nozzle. Heating the nozzle helps to soften any filament residue or adhesives that may be present, making it easier to unscrew the nozzle from the extruder.
Follow these steps to heat the nozzle and remove the existing nozzle:
- Access the nozzle: Depending on your 3D printer model, you may need to remove any covers or panels to access the nozzle. Consult the manufacturer’s instructions for specific guidance.
- Preheat the nozzle: Go to the settings menu of your 3D printer and select the option to preheat the nozzle. Set the nozzle temperature to a value that corresponds to the type of filament you have been using. Typically, it is recommended to heat the nozzle to around 200-220°C.
- Wait for the nozzle to heat: Give the nozzle some time to reach the desired temperature. This will ensure that the filament residue inside the nozzle is sufficiently softened for removal.
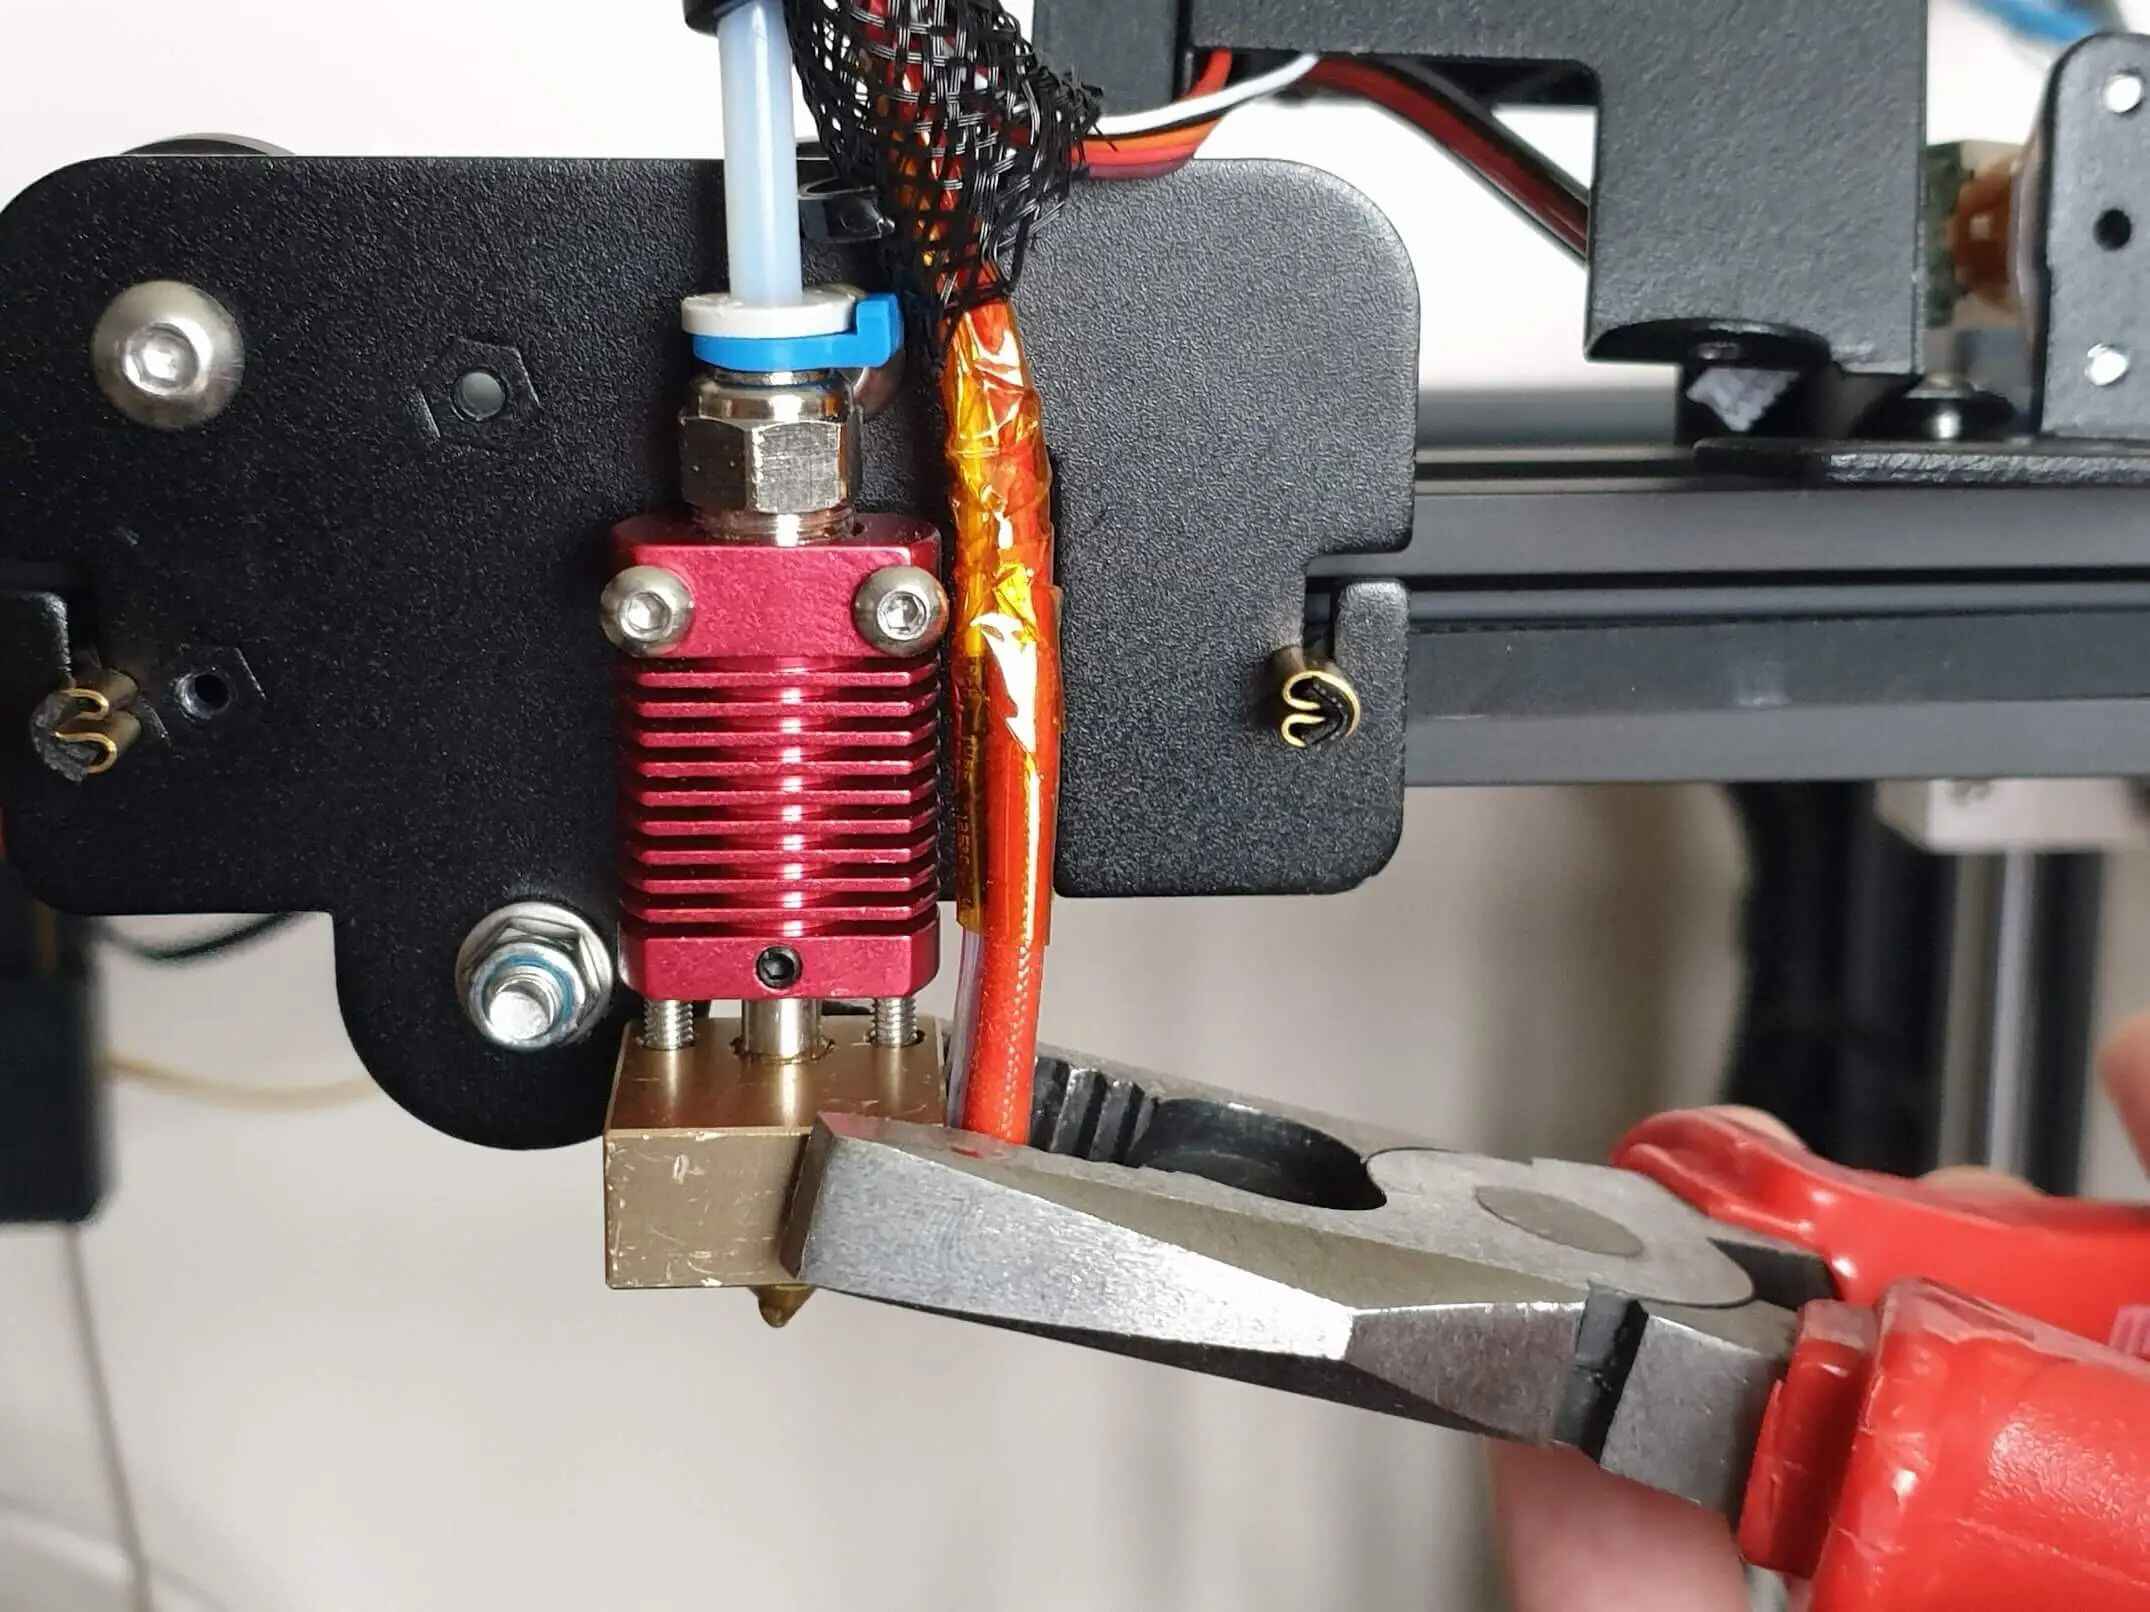
- Remove the existing nozzle: Once the nozzle is heated, use a wrench or pliers to carefully unscrew the existing nozzle from the extruder. Turn it counterclockwise to loosen and remove it. Be cautious as both the nozzle and the extruder may still be hot.
Take care not to exert excessive force when removing the nozzle to avoid damaging the extruder or other components of the 3D printer. If the nozzle is stubborn and doesn’t come off easily, you can try using a nozzle removal tool or apply gentle heat to the nozzle for further softening.
By heating the nozzle and removing the existing nozzle, you are preparing the extruder for the installation of a new nozzle. In the next step, we will focus on cleaning the nozzle thoroughly before installing the new one.
Step 4: Clean the Nozzle Thoroughly
After removing the existing nozzle from the 3D printer, it is essential to clean the nozzle thoroughly before installing the new one. Cleaning the nozzle helps remove any residue or clogs that may have accumulated, ensuring optimal performance and preventing any potential printing issues.
Follow these steps to clean the nozzle thoroughly:
- Allow the existing nozzle to cool: Before proceeding with the cleaning process, ensure that the existing nozzle is completely cool to avoid any burns or injuries.
- Inspect the nozzle: Carefully examine the removed nozzle for any signs of filament residue or clogs. Look for any debris or hardened material that may hinder the proper flow of filament.
- Use a nozzle cleaning kit or needle: Depending on your preference and the severity of the clog, you can use a specialized nozzle cleaning kit or a thin needle to gently dislodge any debris or residue from the nozzle opening. Be careful not to damage the delicate nozzle opening while cleaning.
- Clean with filament or cold pull method: Another effective method for cleaning the nozzle is by performing a filament or cold pull. Heat the nozzle to the appropriate temperature and manually feed filament through it. This helps remove any leftover filament or impurities. You can repeat this process a few times until the filament comes out clean.
- Reinspect the nozzle: After cleaning, reinspect the nozzle to ensure that it is free from any clogs or debris. Use a magnifying glass if necessary to check for any remaining residue.
Remember to approach the cleaning process with care and avoid using any sharp or abrasive tools that may damage the nozzle. Also, be mindful of the specific cleaning recommendations provided by the manufacturer of your 3D printer.
By thoroughly cleaning the nozzle, you are ensuring that the filament flow is unobstructed, which is crucial for producing high-quality prints. Now that the nozzle is clean, we can proceed with the installation of the new nozzle in the next step.
Step 5: Install the New Nozzle
With the existing nozzle cleaned and ready, it’s time to install the new nozzle onto your 3D printer. Installing a new nozzle is a relatively straightforward process, but it requires precision and careful handling to ensure proper alignment and sealing.
Follow these steps to install the new nozzle:
- Ensure the printer is still turned off and unplugged: Before beginning the installation process, double-check that your 3D printer is powered off and disconnected from the power source.
- Securely hold the new nozzle: Take the new nozzle and securely hold it in place, ensuring a firm grip to prevent any accidental slips or damage.
- Screw in the new nozzle: Align the threads of the new nozzle with the extruder’s nozzle opening and carefully screw it in clockwise. Use a wrench or pliers to tighten it, but be cautious not to overtighten, as this can cause damage to the nozzle or extruder.
- Check for proper alignment: Once the new nozzle is tightened, visually examine it to ensure it is properly aligned with the extruder assembly. Make sure it is straight and not tilted or misaligned.
- Reassemble any covers or panels: If you had to remove any covers or panels to access the nozzle, now is the time to carefully reassemble them, ensuring they are securely in place.
It’s important to reference the manufacturer’s instructions or documentation for any specific requirements or recommendations regarding the installation process for your particular 3D printer model. Following their guidelines can help ensure a successful installation.
By installing the new nozzle, you are ensuring that your 3D printer is equipped with a fresh and functioning component that will contribute to improved print quality. Now, let’s move on to the next step of the nozzle replacement process.
Step 6: Reheat the Nozzle and Load the Filament
After successfully installing the new nozzle, the next step is to reheat the nozzle and load the filament back into the extruder system. This will prepare the printer for printing and ensure a smooth flow of filament through the nozzle during the printing process.
Follow these steps to reheat the nozzle and load the filament:
- Turn on the 3D printer: Plug in your 3D printer and turn it on. Allow it some time to reach the desired operating temperature.
- Preheat the nozzle: Access the settings menu on your printer and select the option to preheat the nozzle. Set the temperature to the appropriate value for the filament type you will be using.
- Wait for the nozzle to heat: Give the nozzle some time to reach the specified temperature. This ensures that the filament will melt properly and flow smoothly through the nozzle during printing.
- Load the filament: Once the nozzle has reached the desired temperature, feed the filament into the extruder system. Follow the specific instructions of your 3D printer model to load the filament correctly. This usually involves inserting the filament into the designated input and pushing it gently until it reaches the nozzle.
- Monitor the extrusion: Keep an eye on the extrusion to ensure that the filament is flowing smoothly and evenly through the nozzle. Monitor for any signs of clogs or inconsistencies in the filament flow.
- Perform a test extrusion: To confirm that the filament is properly loaded, perform a test extrusion by initiating a small print or manually extruding a small amount of filament. This allows you to verify that the filament is coming out of the nozzle without any issues.
By reheating the nozzle and loading the filament, you are ensuring that your 3D printer is ready for printing. Properly melted and smoothly flowing filament is essential for achieving high-quality prints. Now, let’s proceed to the final step of the nozzle replacement process.
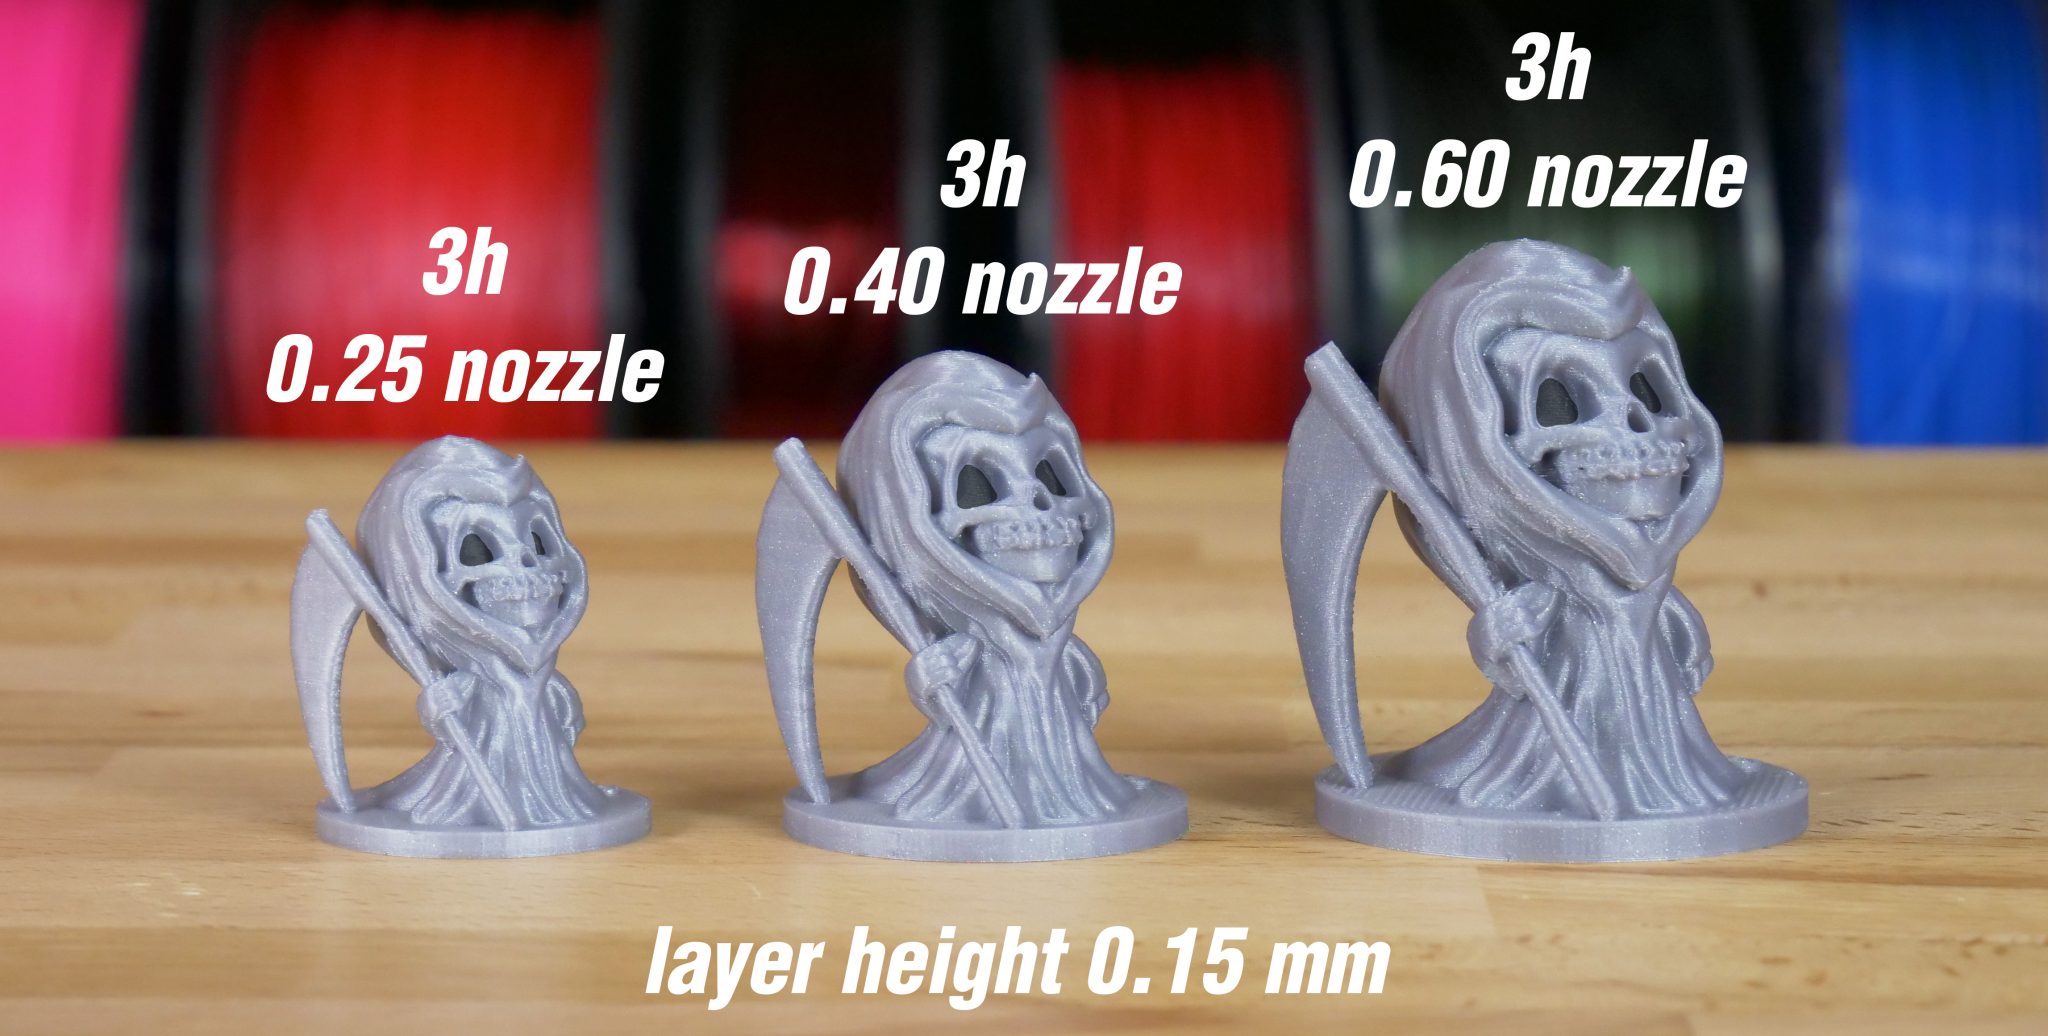
Step 7: Run a Test Print
After completing the nozzle replacement process and ensuring that the filament is properly loaded, it’s time to run a test print to verify the functionality of the new nozzle. A test print allows you to assess the print quality, check for any issues or adjustments that may be required, and ensure that the printer is ready for regular use.
Follow these steps to run a test print:
- Select a test print model: Choose a simple test print model that showcases different geometries, details, and overhangs. This will help evaluate the performance of the new nozzle across various aspects of the print.
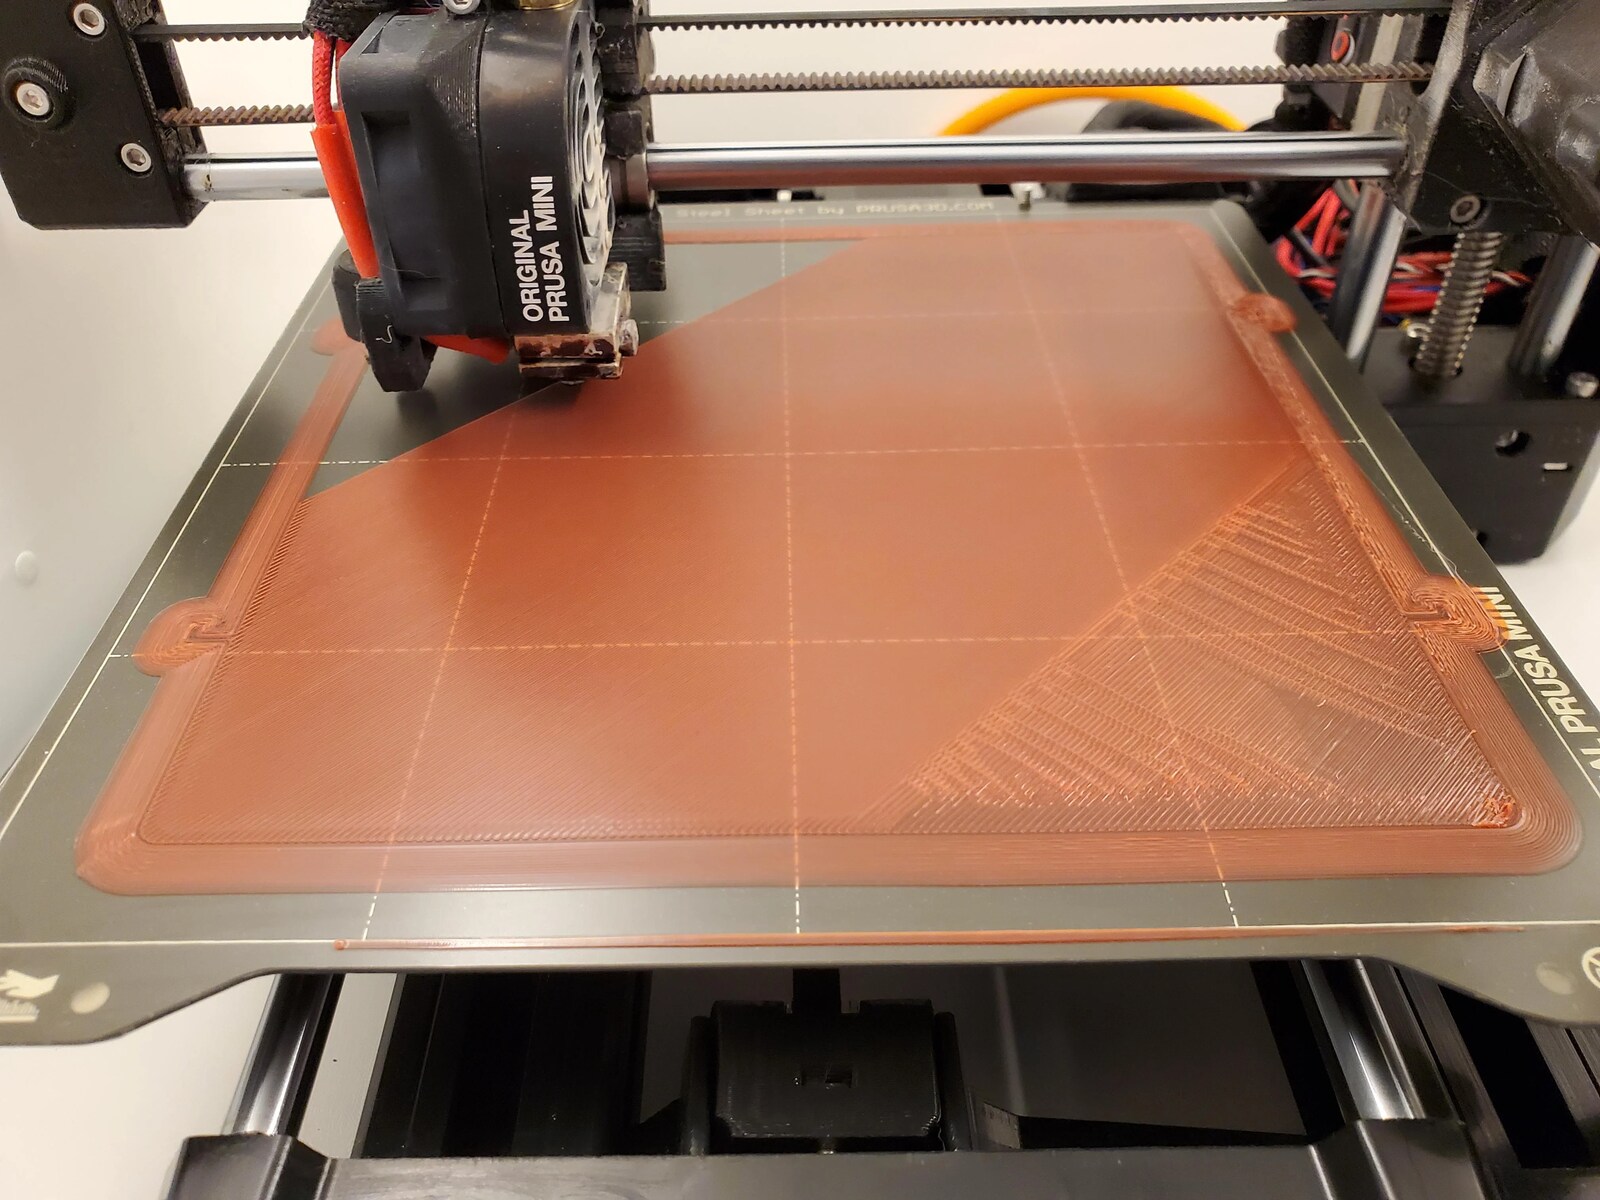
- Prepare the build plate: Clean the build plate thoroughly to ensure optimal adhesion. If required, apply the appropriate adhesive solution, such as a glue stick or hairspray, based on the type of build plate material you are using.
- Initiate the test print: Load the test print model file onto your 3D printer software and initiate the print. Ensure that the settings, such as print speed and layer height, are appropriate for the filament and nozzle combination being used.
- Monitor the print process: As the test print progresses, monitor the print closely for any signs of issues such as filament jams, under extrusion, or any other irregularities. Pay attention to the overall print quality, layer adhesion, and the accuracy of fine details.
- Evaluate the test print: Once the test print is complete, carefully examine the finished object. Check for any inconsistencies, layer imperfections, or other print flaws that may indicate potential issues with the nozzle or printing settings.
- Make necessary adjustments: If the test print reveals any issues or areas for improvement, make the necessary adjustments to the printer settings or nozzle configuration. Refer to the manufacturer’s instructions and online resources for troubleshooting guidance if needed.
- Perform additional test prints if necessary: Depending on the results of the initial test print, you may choose to run additional test prints or calibration prints to ensure that the nozzle replacement has been successful and to fine-tune the printer settings.
Running a test print allows you to validate the functionality of the new nozzle and identify any further adjustments or improvements required to achieve optimal print quality. By carefully evaluating the test print, you can ensure that your 3D printer is ready for regular use and capable of producing high-quality prints.
Conclusion
Changing the nozzle on your 3D printer may seem like a complex task, but by following the step-by-step process outlined in this guide, you can easily replace the nozzle and maintain the performance of your printer. Here’s a quick recap:
First, turn off and unplug the 3D printer for safety. Then, remove the filament from the extruder to prepare for the nozzle replacement. Heat the nozzle and carefully remove the existing nozzle, making sure to clean it thoroughly before proceeding.
Next, install the new nozzle onto the extruder, ensuring proper alignment and tightening. Reheat the nozzle and load the filament back into the extruder system, ensuring a smooth flow and proper extrusion. Finally, run a test print to evaluate the print quality and make any necessary adjustments.
By following these steps, you can maintain the performance of your 3D printer, improve print quality, and resolve any issues related to the nozzle. Remember to consult the manufacturer’s instructions specific to your 3D printer model for detailed guidance.
Regular maintenance, including nozzle replacement when necessary, is crucial for ensuring consistent and high-quality 3D prints. By mastering the process of changing the nozzle, you empower yourself to troubleshoot and maintain your 3D printer effectively.
With this newfound knowledge, you can confidently embark on your 3D printing projects, knowing that you have the skills to tackle nozzle issues and optimize your printing experience. Happy printing!